The Conversation (0)
Sign Up

Supplies- see list for details. I made the grid to measure with by taping 1/4 inch graph paper I printed up from a free download to the back of a clear cutting board.

This is the type if clear cutting board I used but it was brand new.
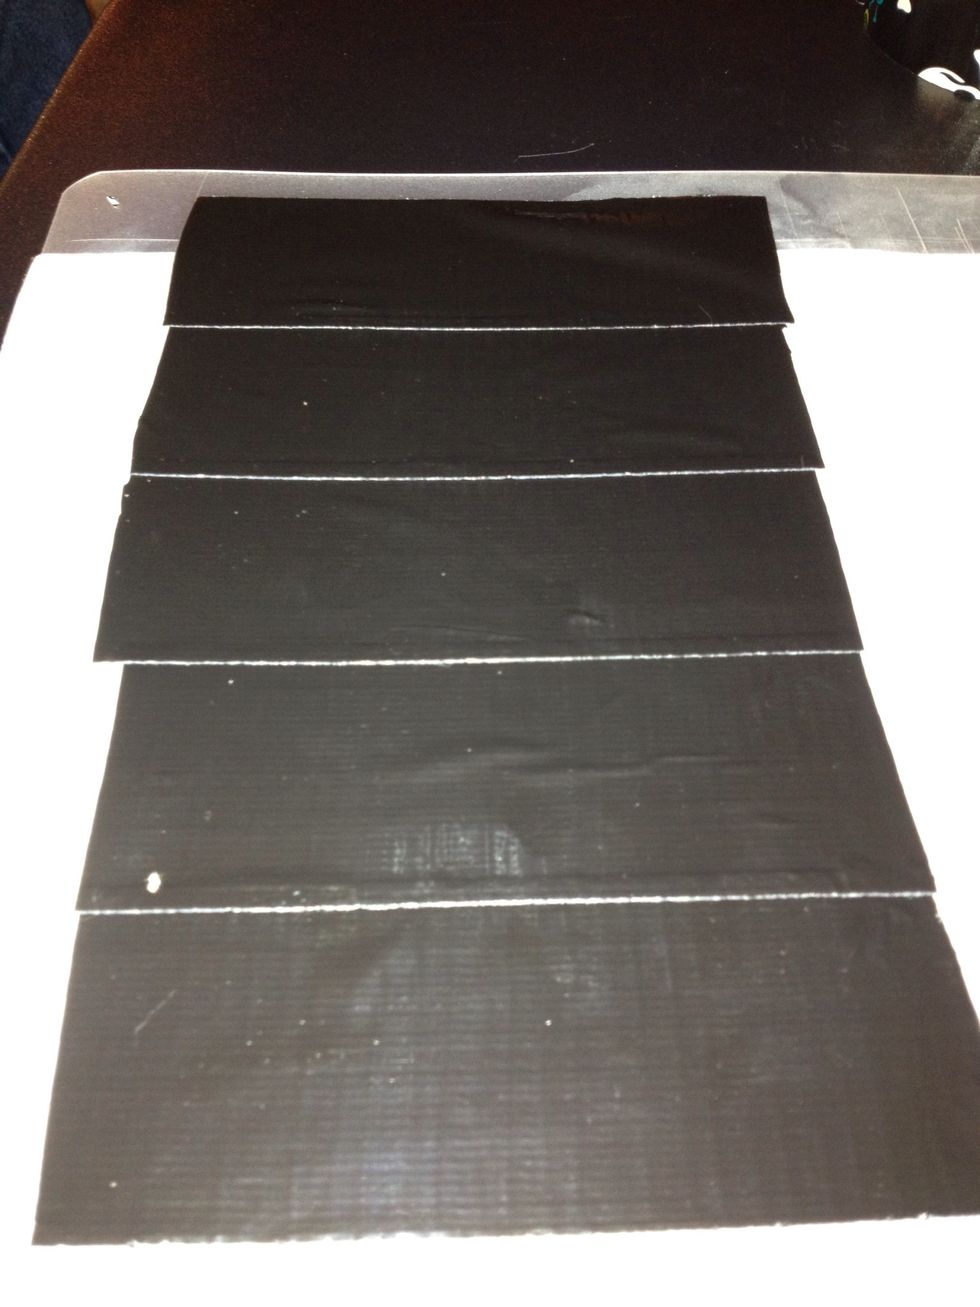
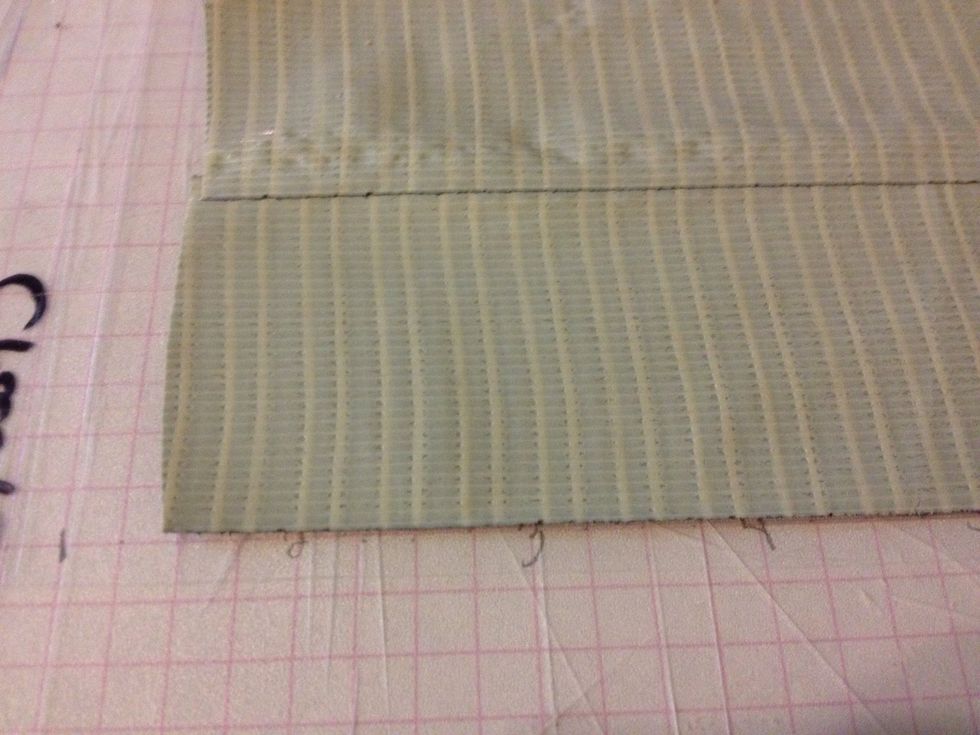
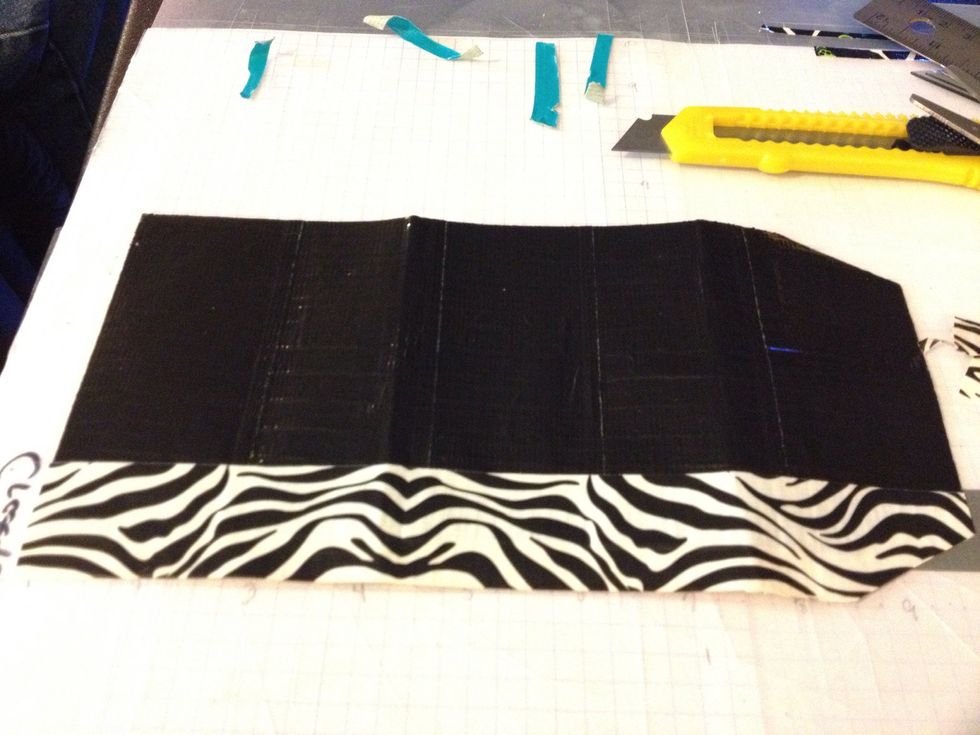
Start by putting down 5 strips of the duct tape in your primary color. They should overlap a bit and they need to be straight.

It is easiest to do this by lining them up with the lines of the grid.
They need to overlap a bit so the extra approximate 1/8th of an inch that you'll have if you are using the 1/4 inch lines as guides is perfect.

The strips need to be at least 4 1/2 inches long but to be on the safe side make them a bit longer. I find what works best for me is to cut them with the razor knife as I go.
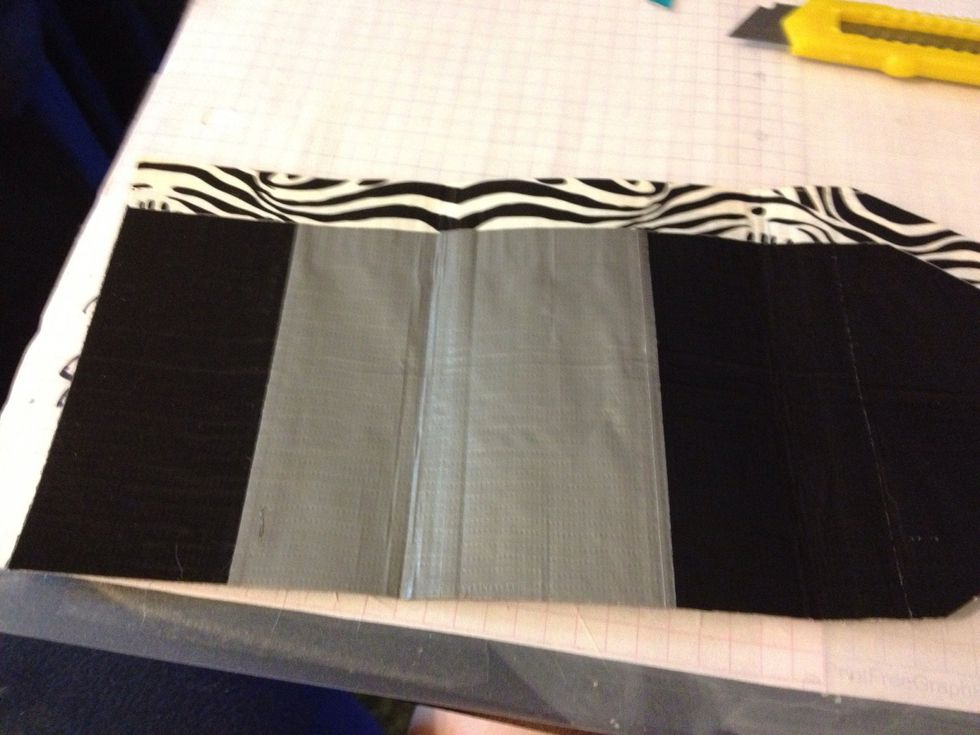
Once you have them all lined up into a sheet peel them up.
Flip them over being very careful not to let the sheet get tangled up.
Line the sheet back up with the lines so it is nice and straight.
Very carefully lay down strips of tape on the other side over the sheet of tape you have made. Use the grid to get things aligned perfectly and keep them nice and straight. Take your time.

Once the tape contacts tape that's it! If you mess up you can always tape over it though. Practice does help :) What you'll end up with is something that looks like this.

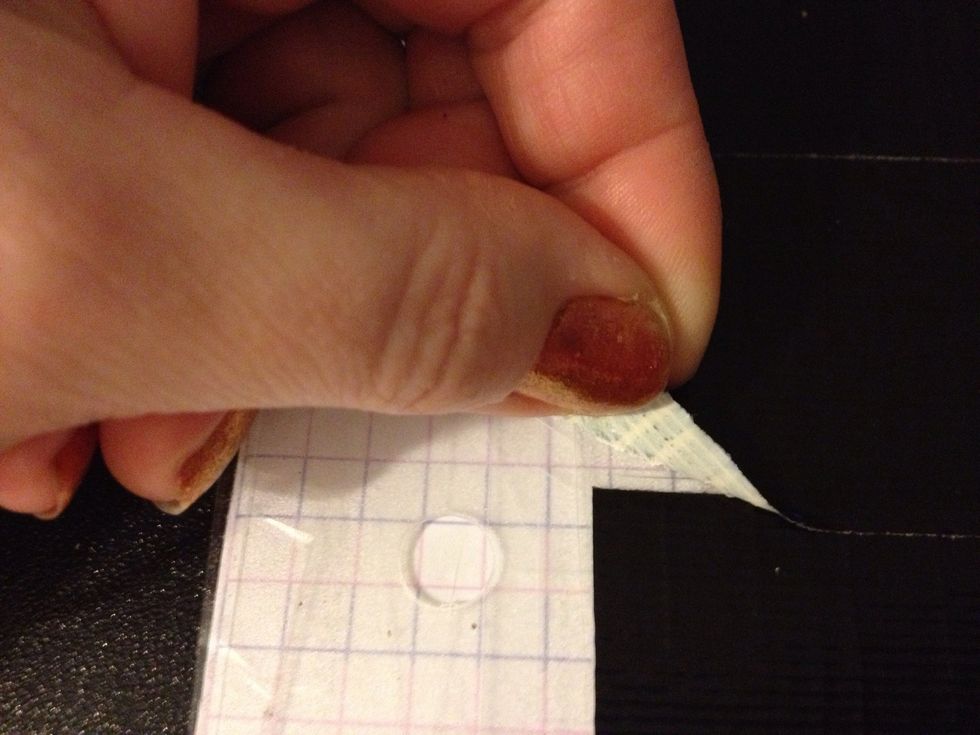
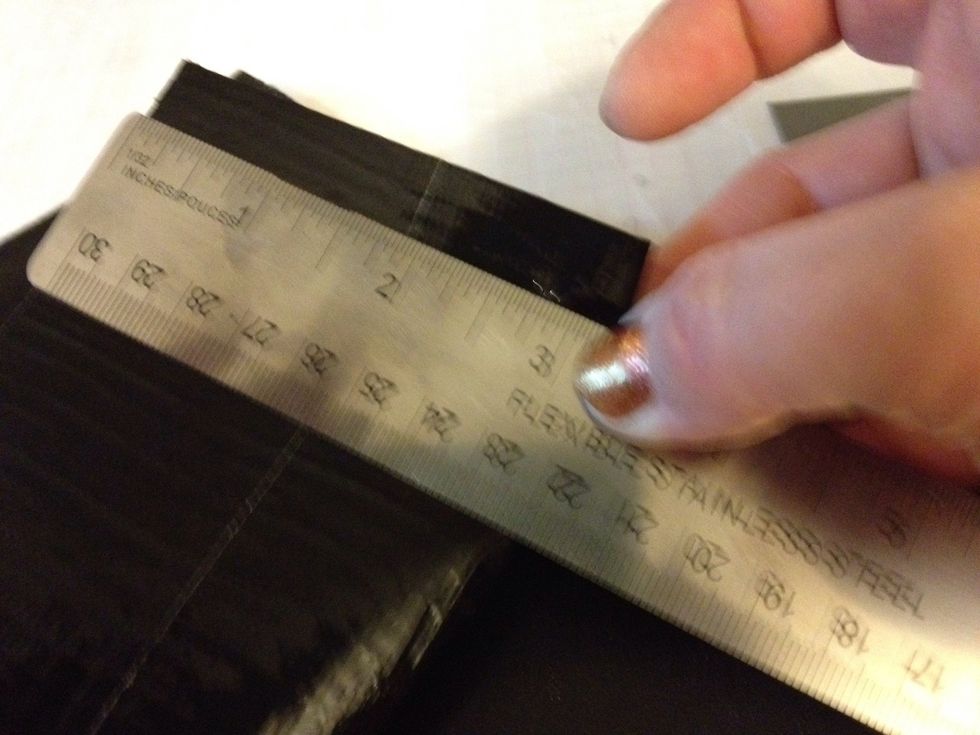
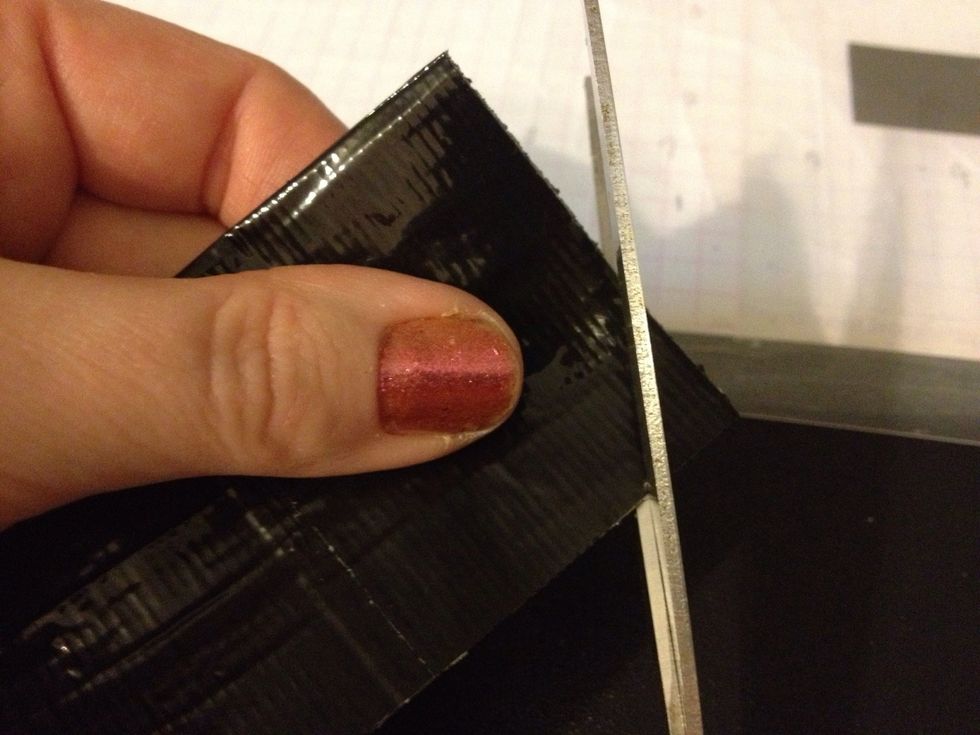
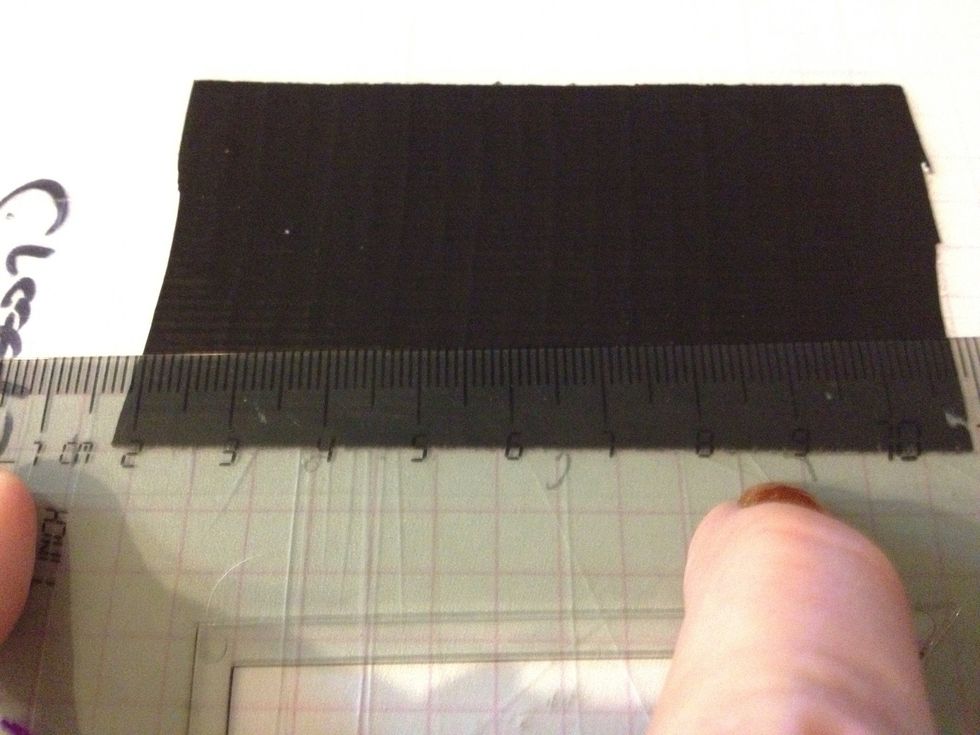
I tape it down with little bits of tape to keep it from moving so I can get it perfectly square. Make sure To align the ruler so that the sticky on both sides will be trimmed
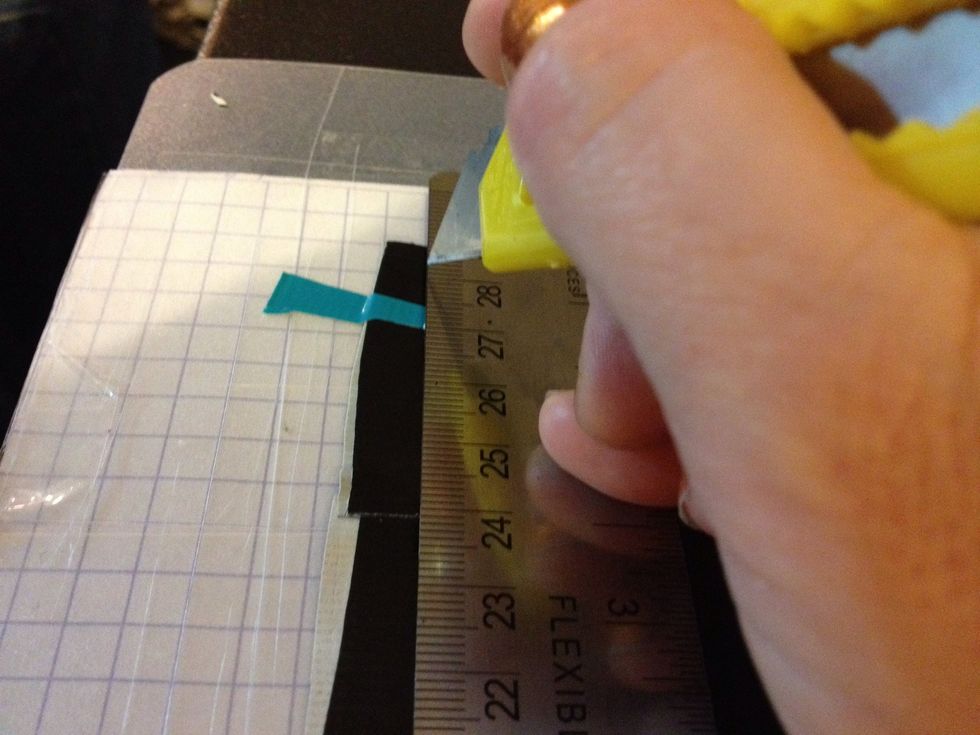
Align the ruler with the grid so it is square and straight then cut with the razor knife. Then do the same on the other side.

Check to be sure it is square and even.
I had not been as careful as I should have been so mine was 1/4 inch wider on one end so I had to trim that up.
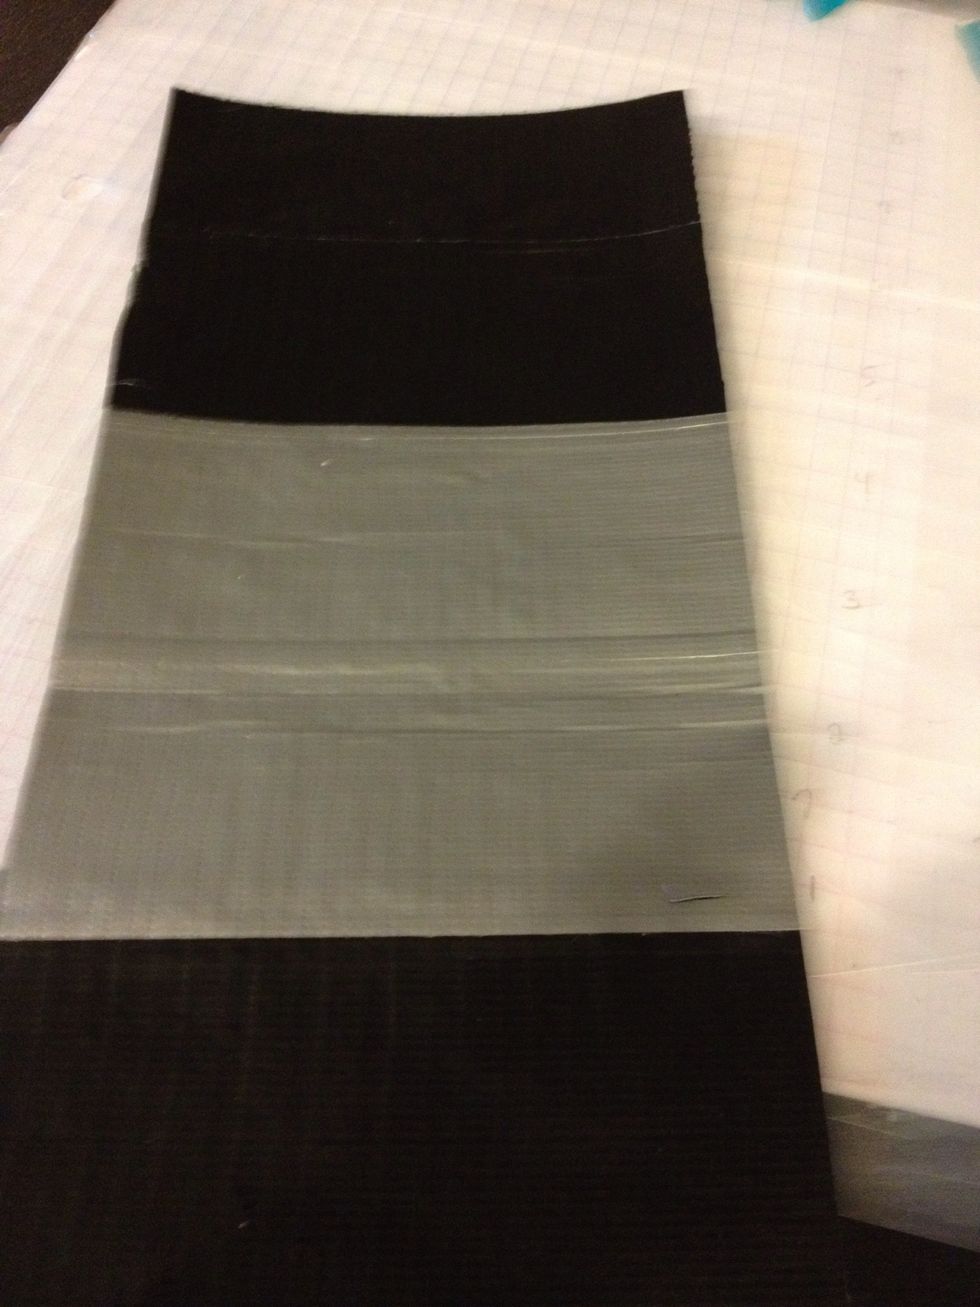
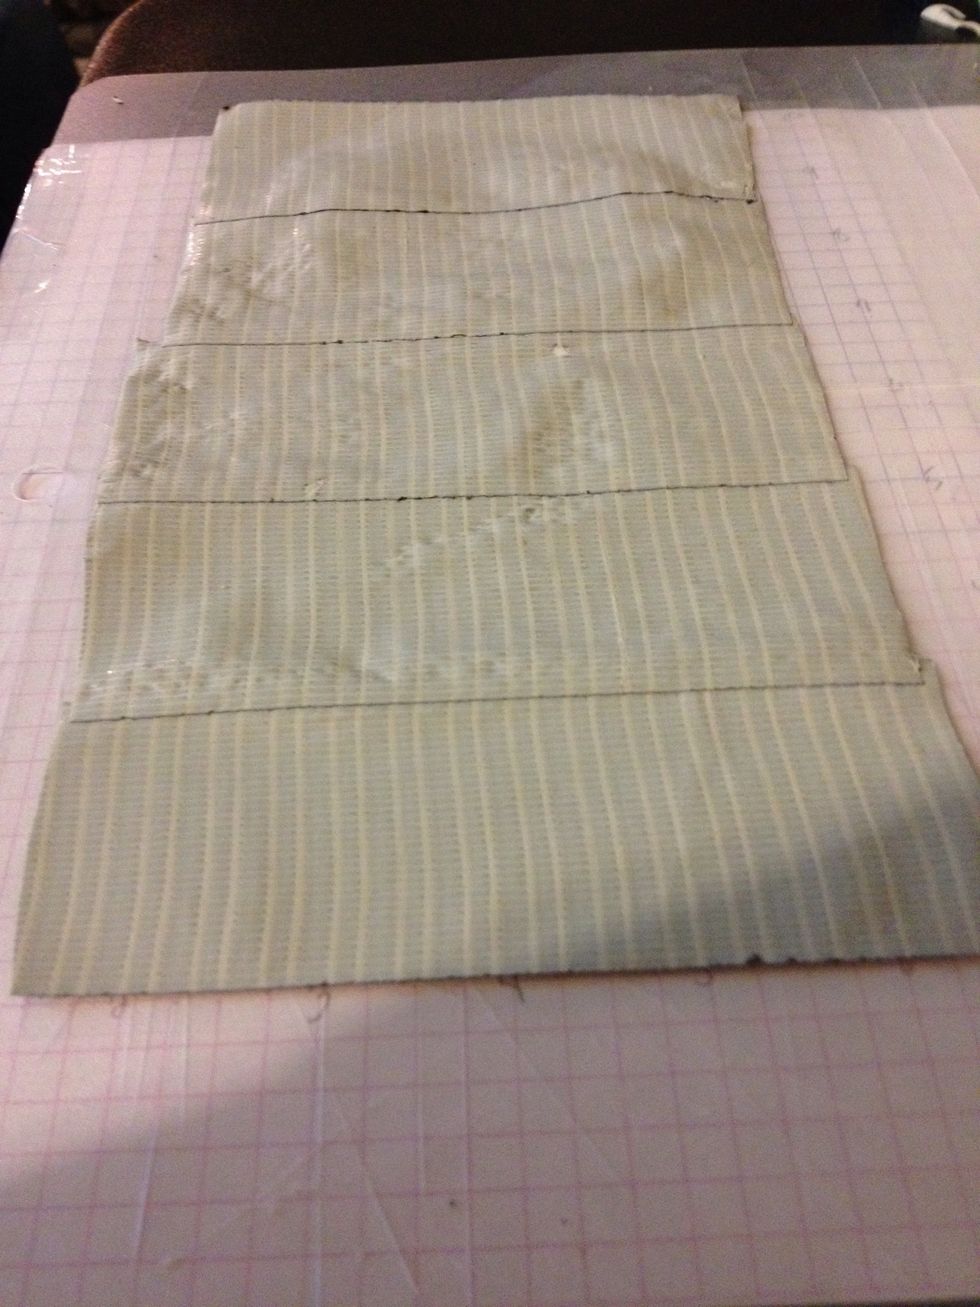
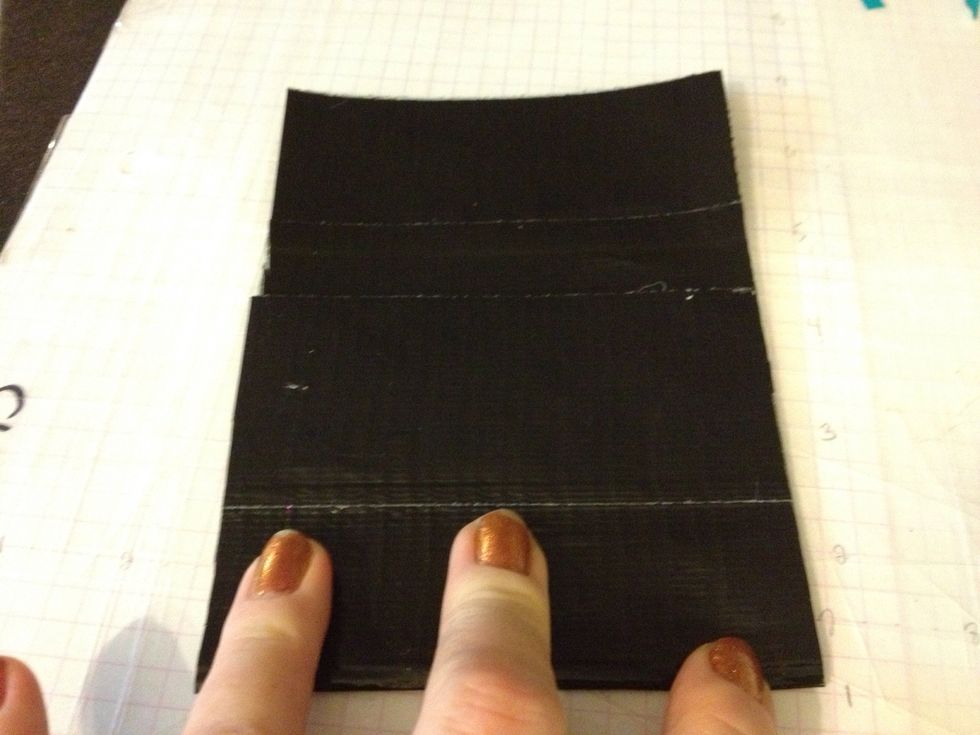
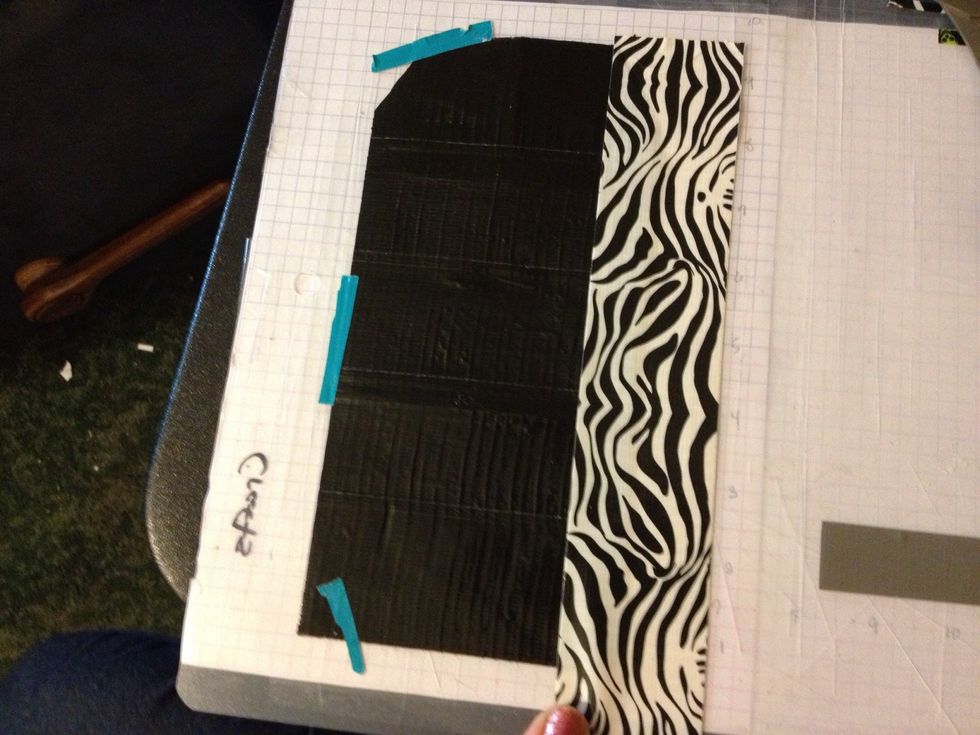
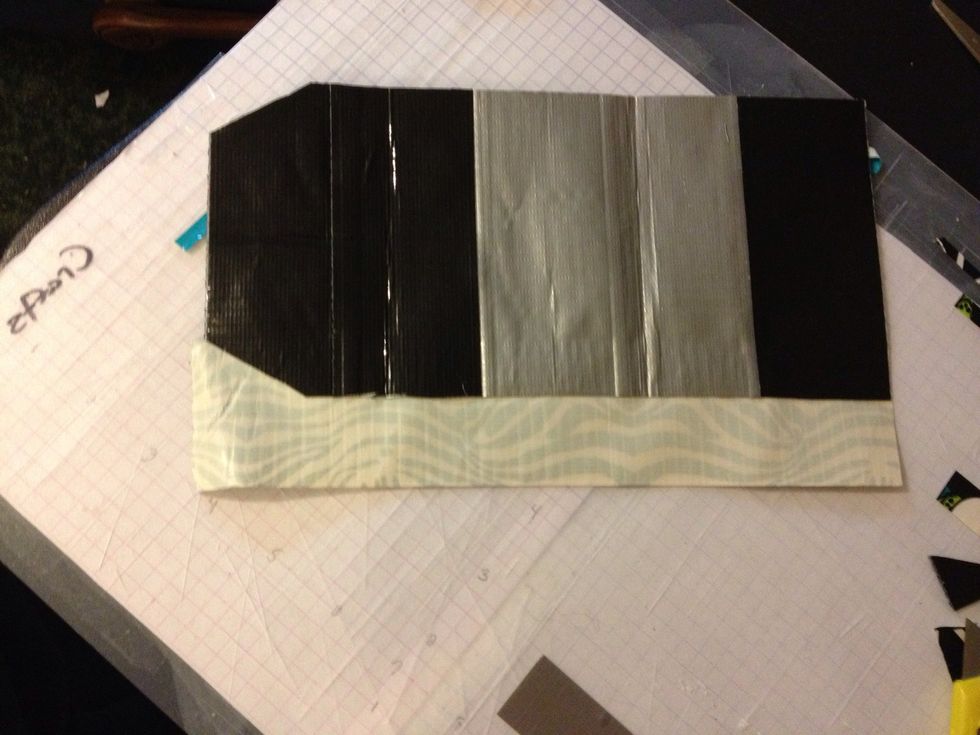
The final piece should measure 4 1/2 inches by 8 3/4 inches or so inches. The 4 1/2 is important but the other can vary a bit. I used som grey for some of the area that won't show.
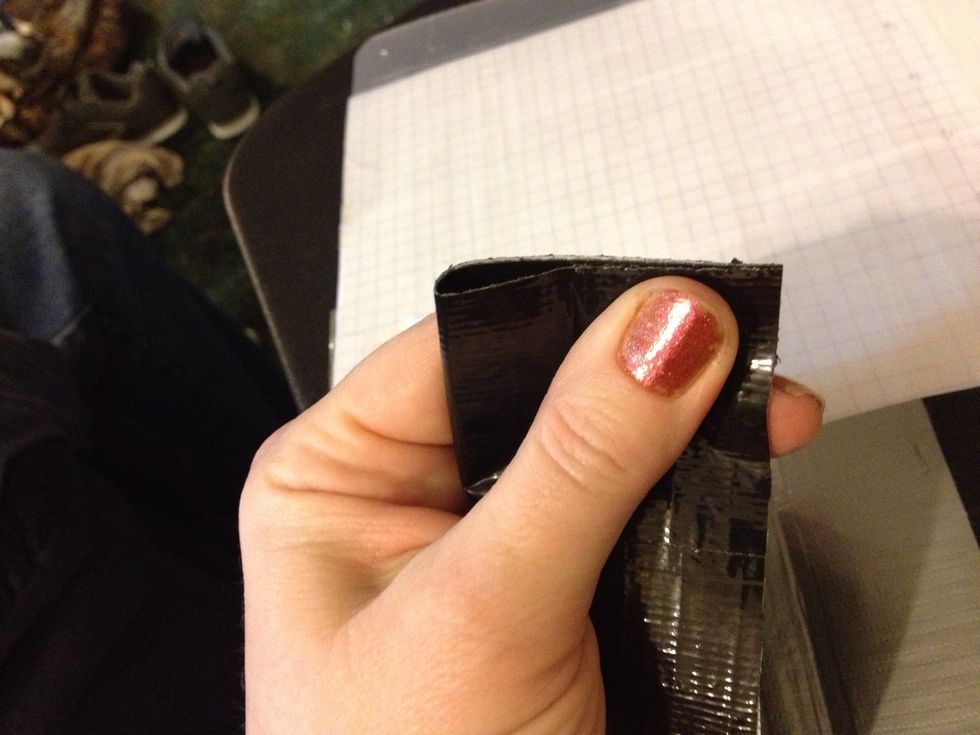
The next step is to make the preliminary folds. Measure 3 1/4 inches up from the bottom on both sides. This will be the body of the pouch.
Make sure it is nice and square then crease the fold at that 3 1/4 inch mark well. You should also fold over the top flap and note where it begins.
If you don't want a squared off top flap now is the time to cut the corners or round it off. Start by folding it in half.
Then you can cut both at once and they will be perfectly symmetrical. Just be sure to allow about a 1/2 inch of full flap to fold over or it can look funny.

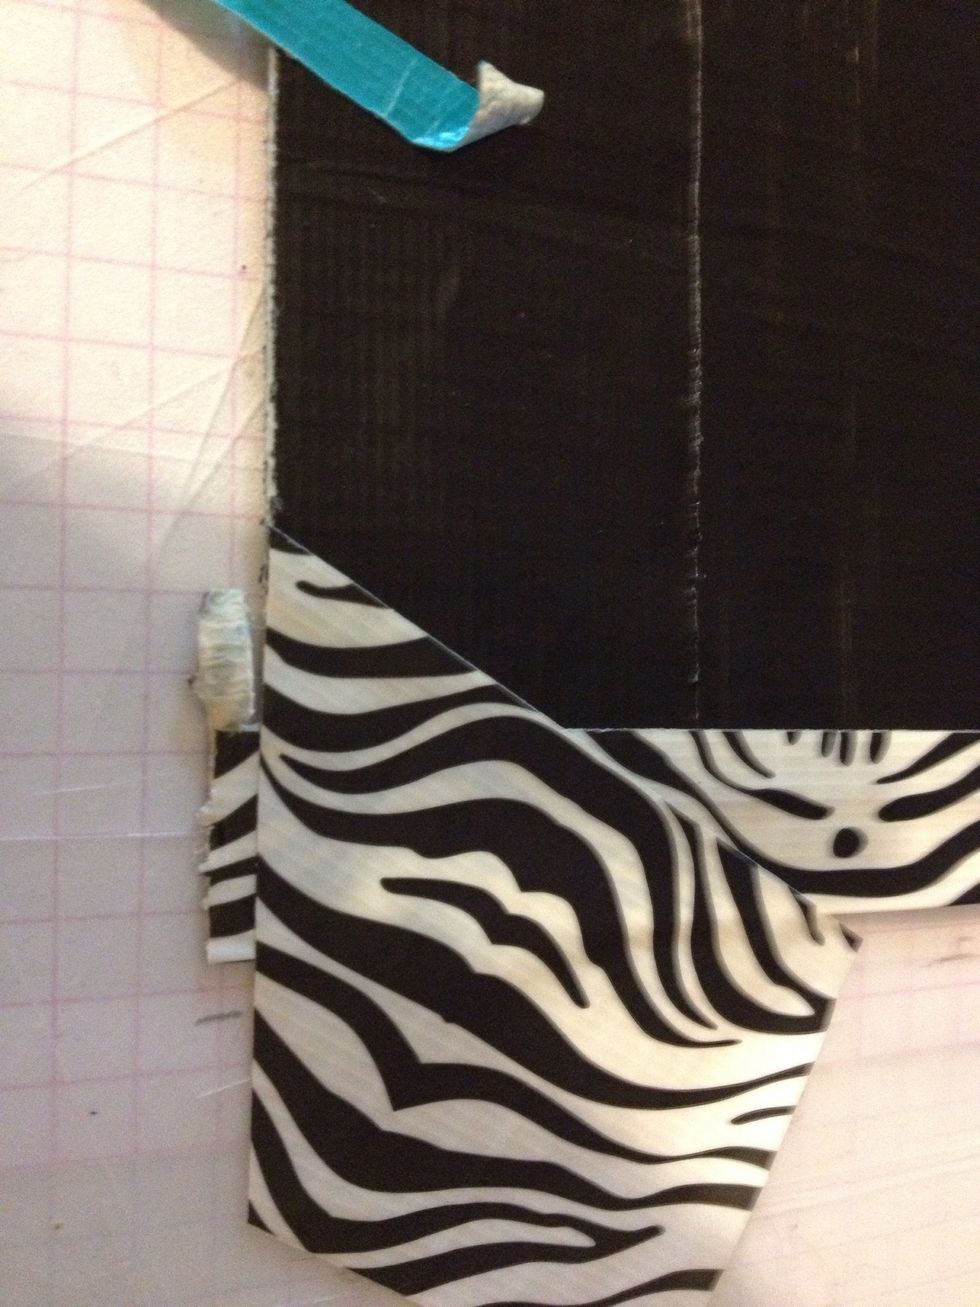
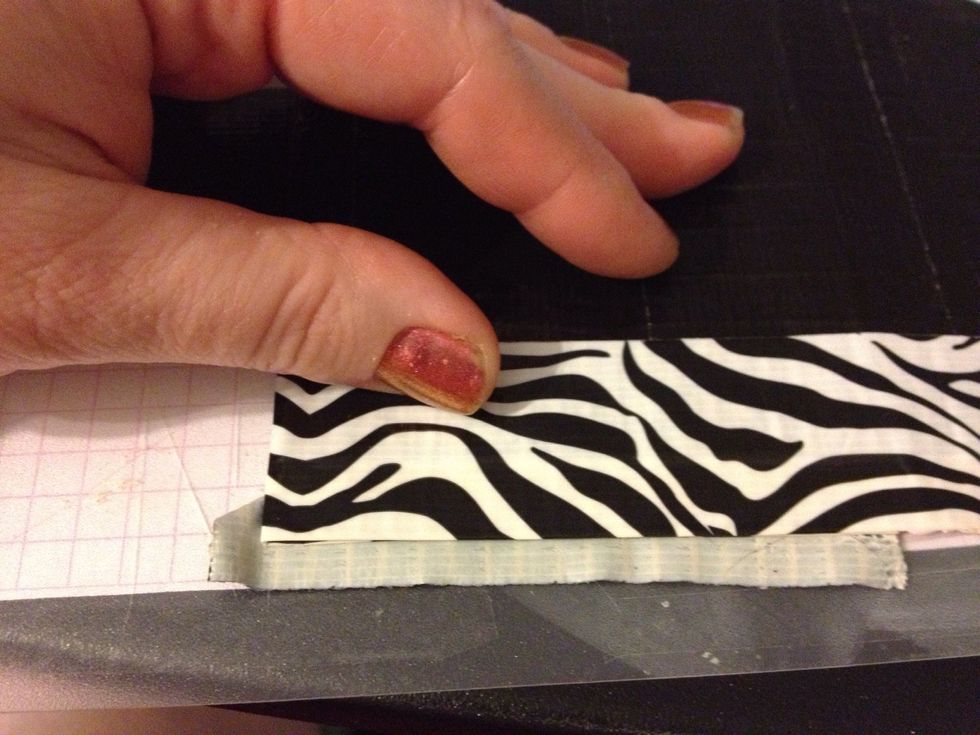
Press the folds in well. I discovered about here that that 1/4 inch mess up I made had my pouch too short. This also will show you a way you can accent with a design or other color.
I taped my bag down square on the grid and added a piece if tape to the edge with a 1/4 inch overlap past where I had cut the flap off.
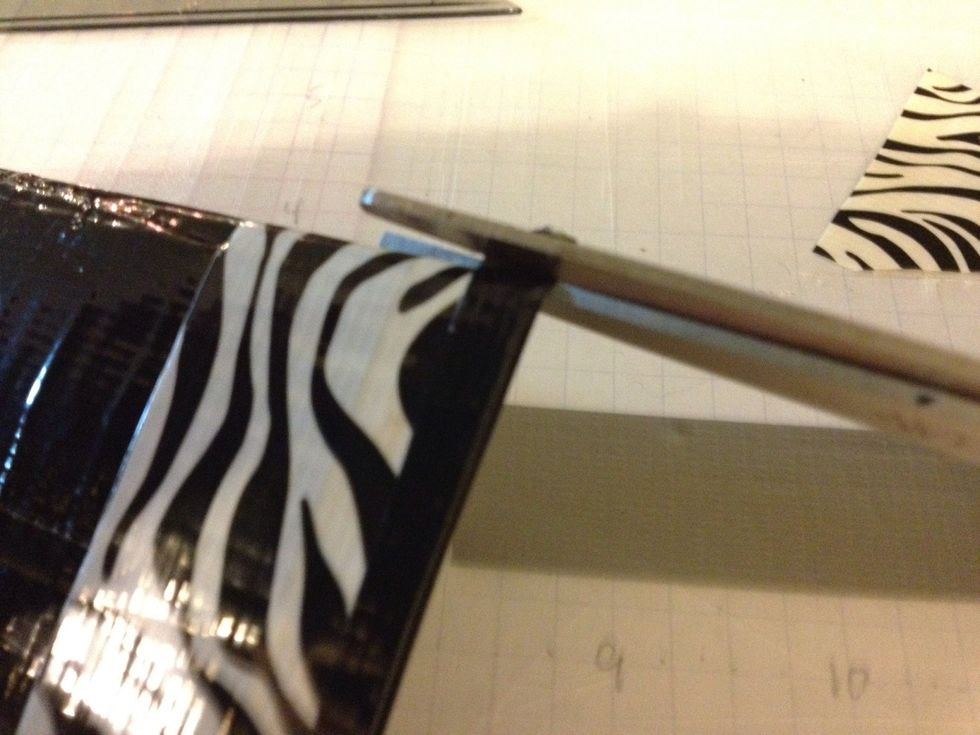
I then carefully flipped it over and secured it back then gingerly folded the tape over to add the needed 1/4 inch . I also could have just laid a second strip of tape down over it then trimmed it.
I needed a bit more tape to cover that corner on the inside
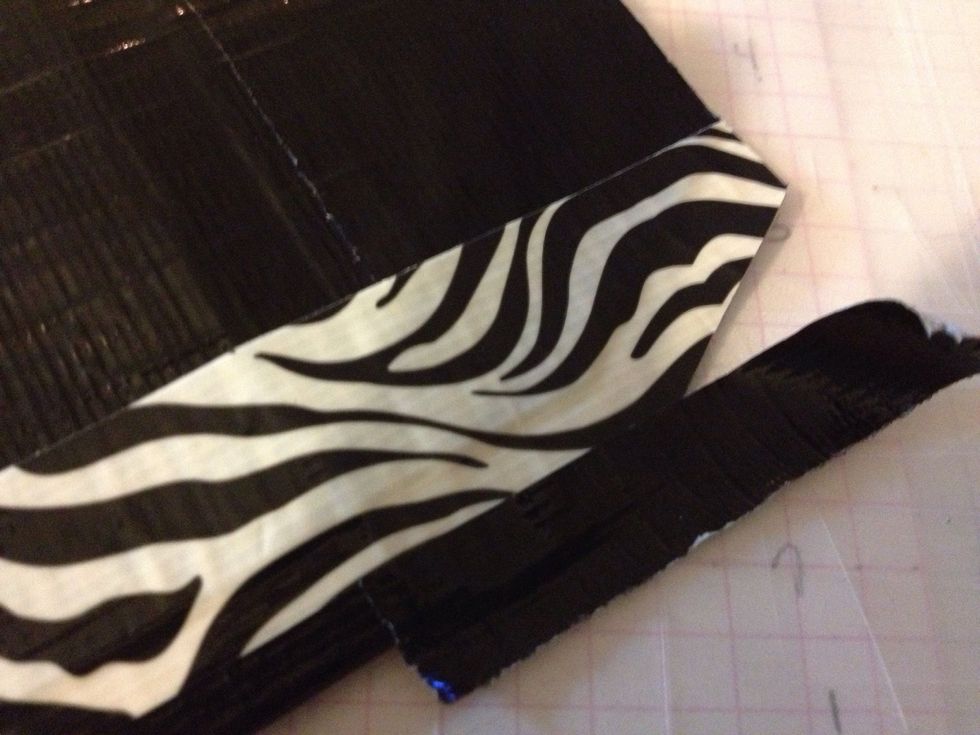
As before I folded it in half and matched the edges to get perfectly matching trimmed corners. This is what the outside now looks like.
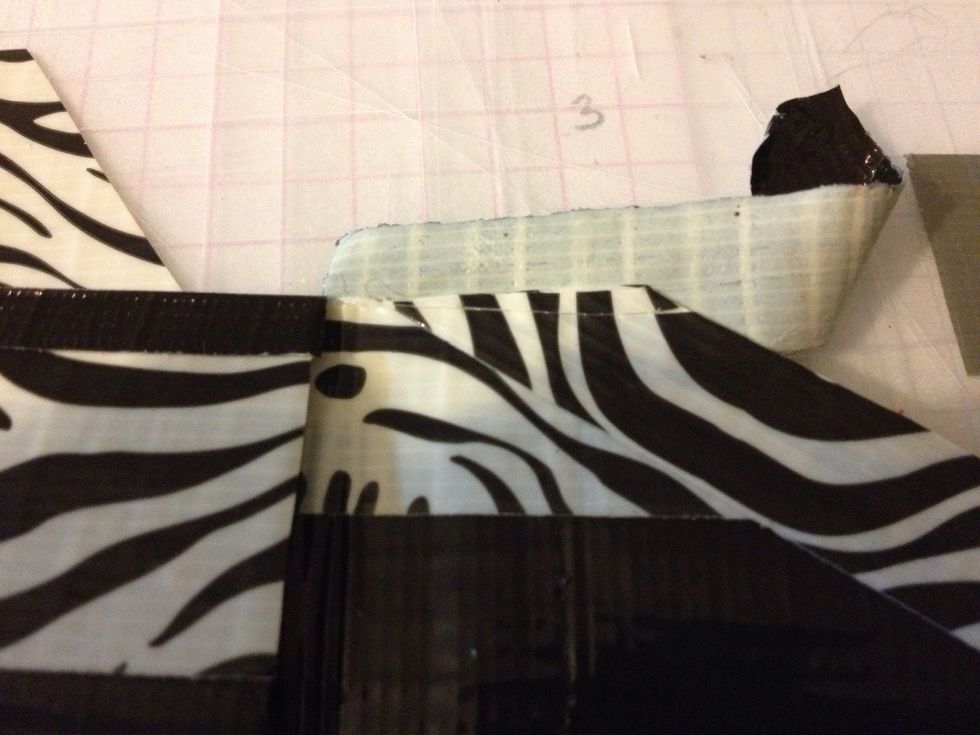
And this is the inside. Now that everything is all trimmed up, straight and the right size I can tape the thing together.
Once again I really flatten and press those folds in.
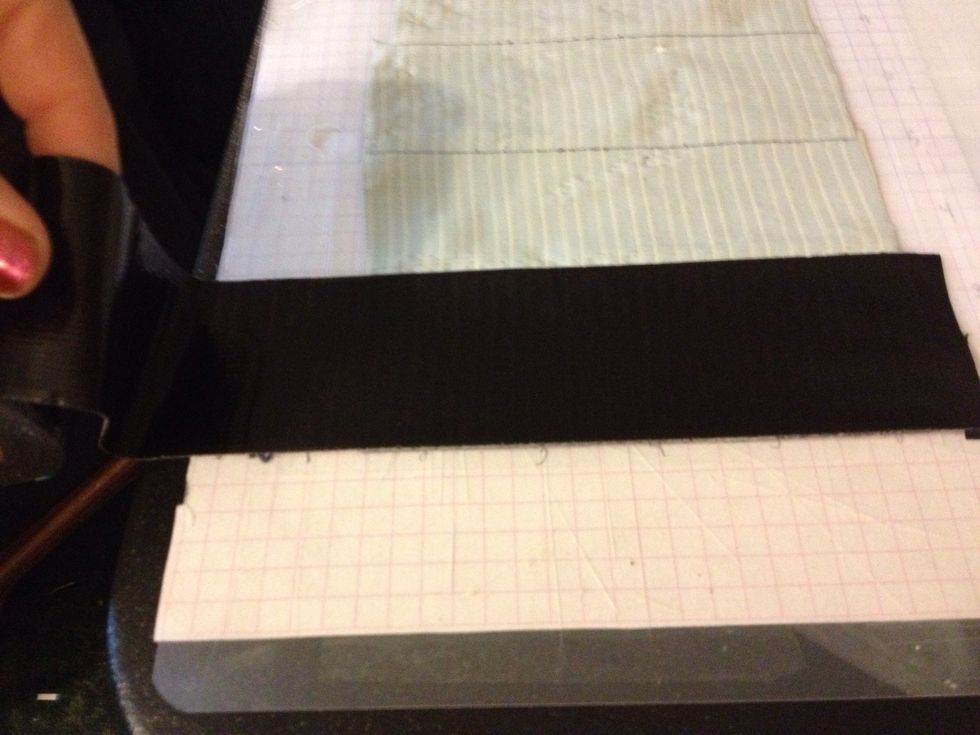
I need a piece of black tape that is a weensy bit over 3 1/4 inches long and 1/2 inch wide so I lay out a piece of tape on the grid and cut it with the razor knife.

I secure my folded pouch to the grid lined up with a line to make it easier to perfectly tape down that 1/2 inch strip of tape half on the pouch and half off.
I then can flip the pouch over and fold over and paste down perfectly the other side..
The excess at the bottom is trimmed with scissors.

Do the other side the same way.
Then it is time to trim out the flap. Using more 1/2 inch strips of tape you place the tape along the edges with half of it over- hanging.
You'll have 1/4 inch to fold over.
You can cut slits into the tape with the razor knife half way through the tape to make it easier to mold it around the edges.
Like this.
And this.
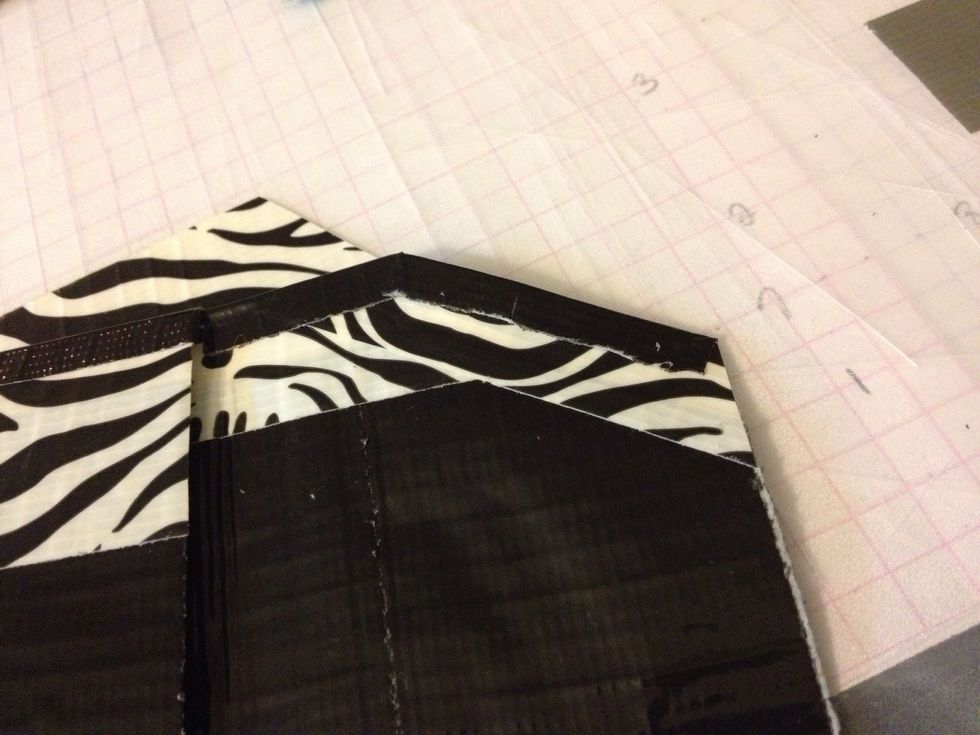
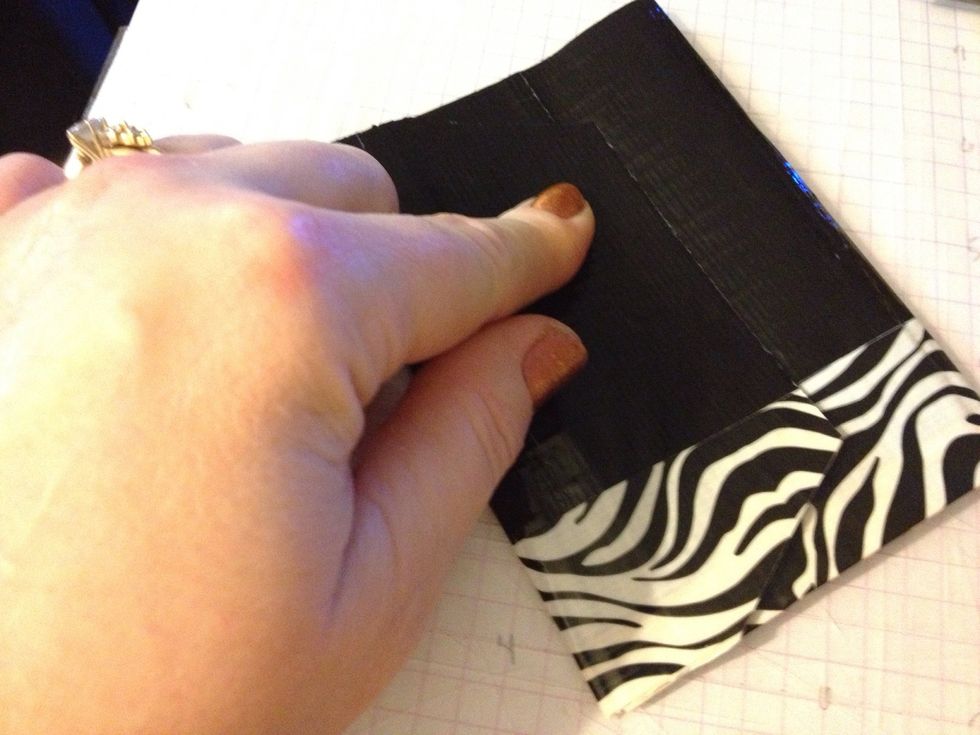
Here's the zebra side nearly done. I could stop with that but Im going to go on to add zebra trim to the black too.
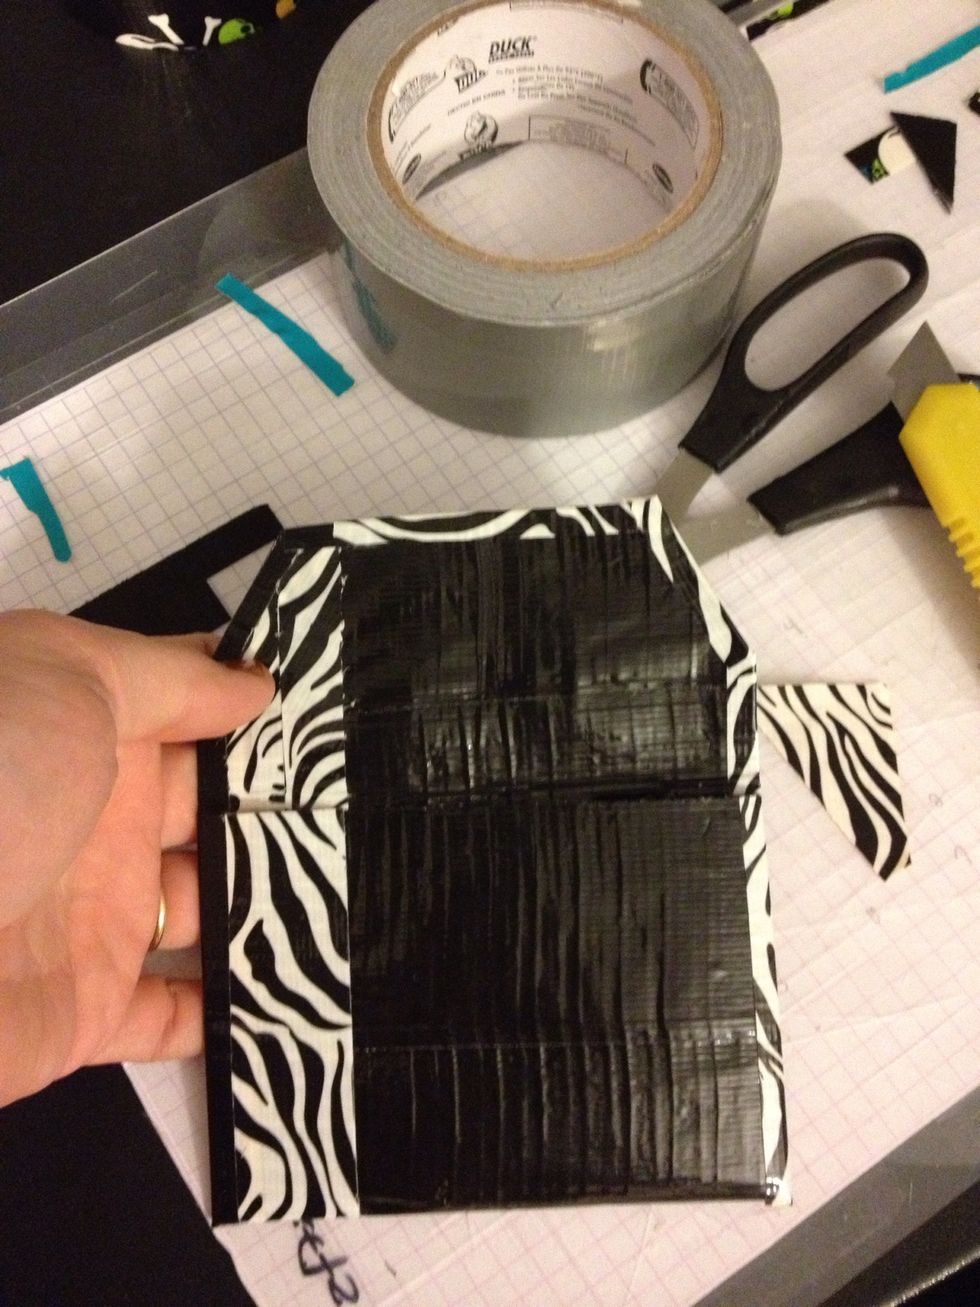
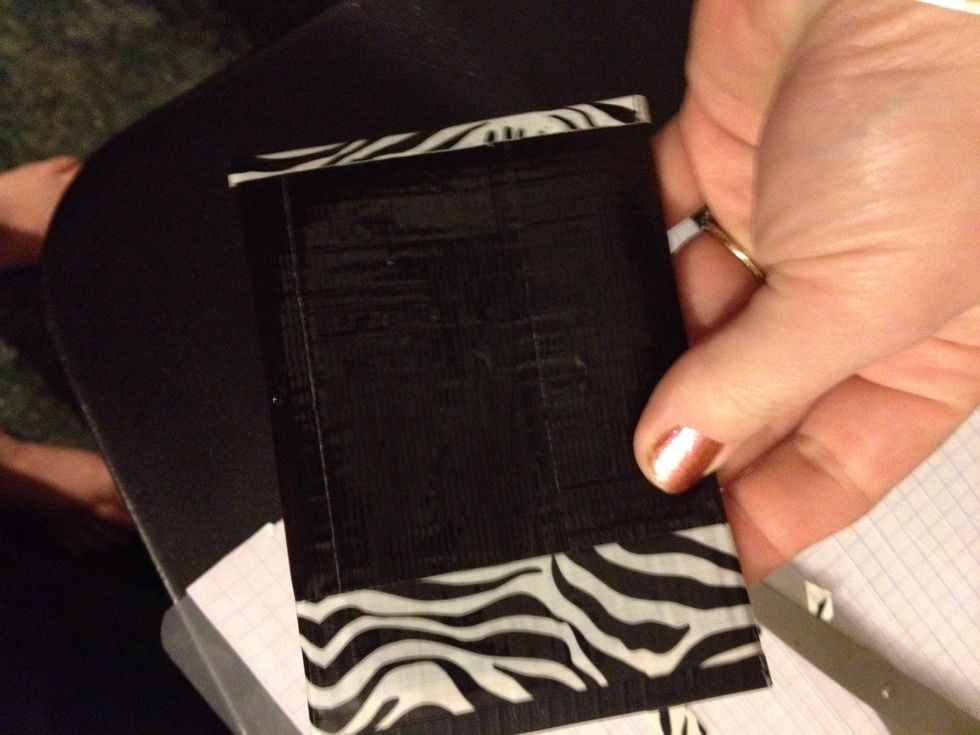
Here's the inside all completed. I also cut and filled in with an additional piece of zebra tape to fill in so the line was straight. I'm a perfectionist when it comes to details like that :P

Nearly complete outside. I need to add something for a closure and some embellishments.
Back - all it needs is embellishments.
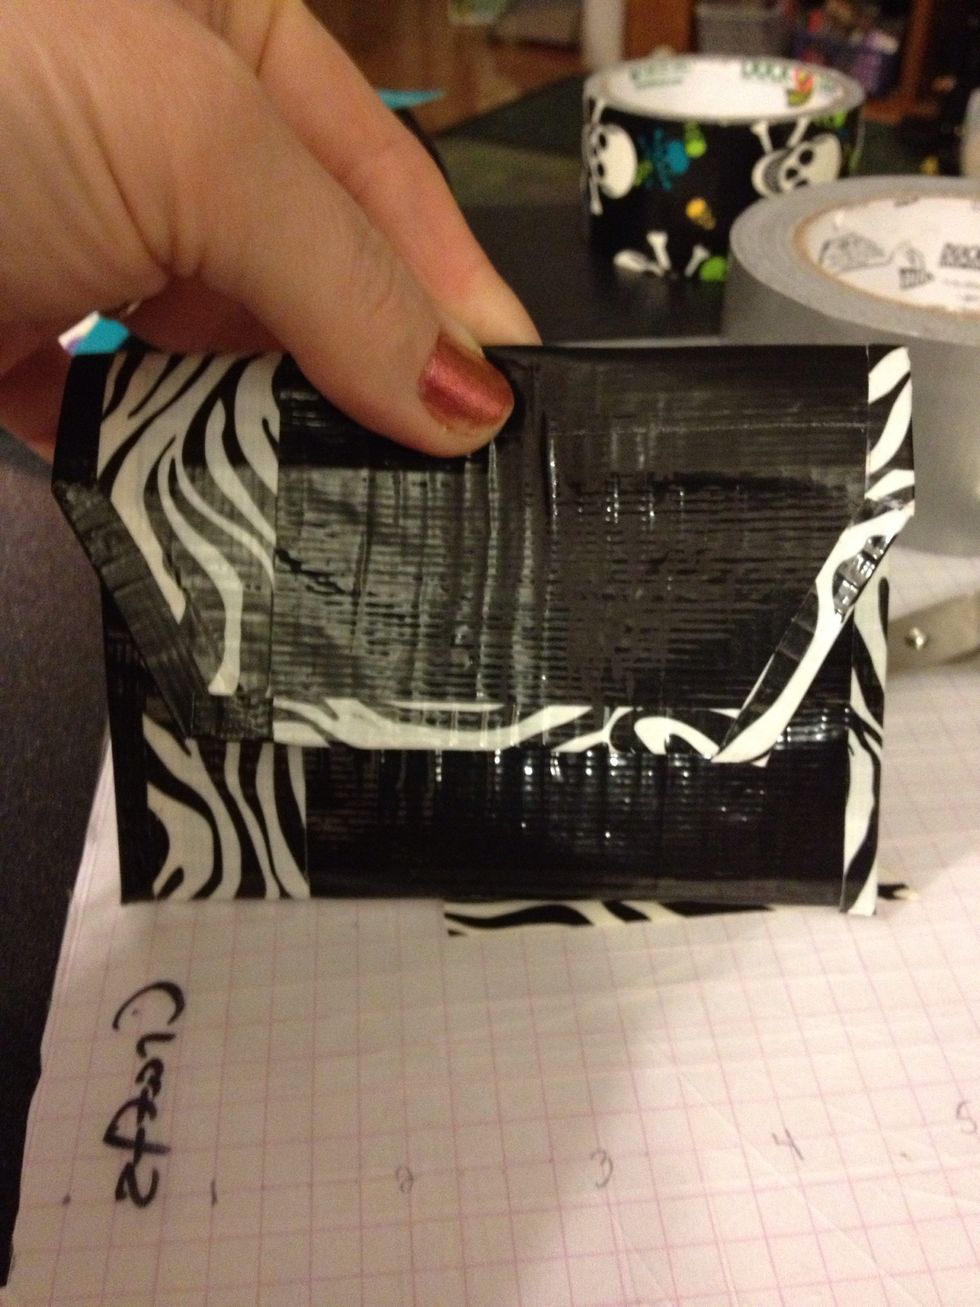
The front complete. I want to add something sparkly to it but I'm not sure what yet. I like to put them under a heavy book for a day to press those folds in really good so they'll stay.
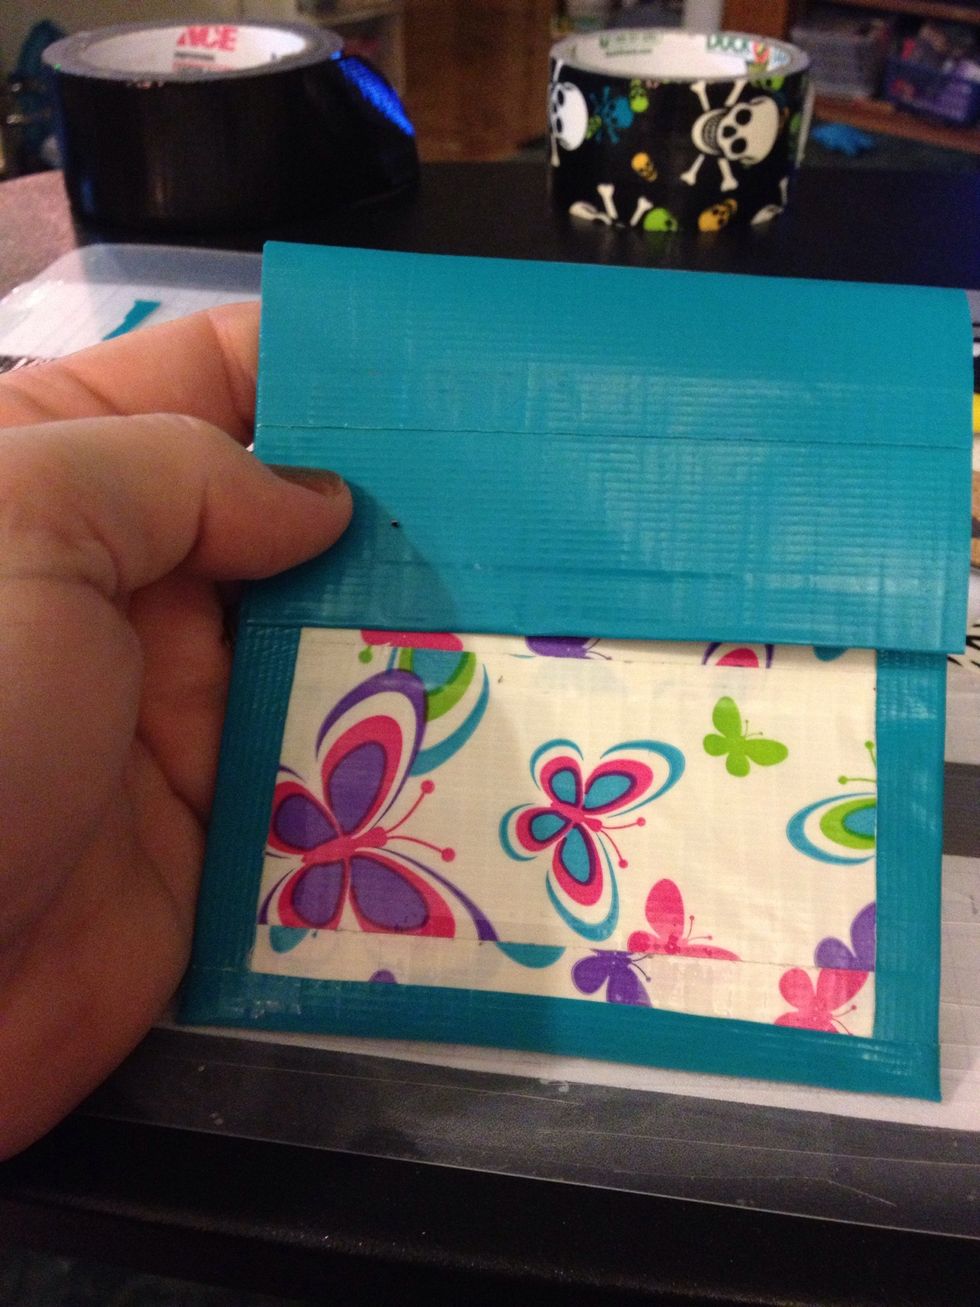
An alternate one that cards go in upright instead of sideways. 4 inches wide by 4 1/2 tall- total piece needed being 11 inches long. I made this one when I messed up on my tape measurements.