The Conversation (0)
Sign Up
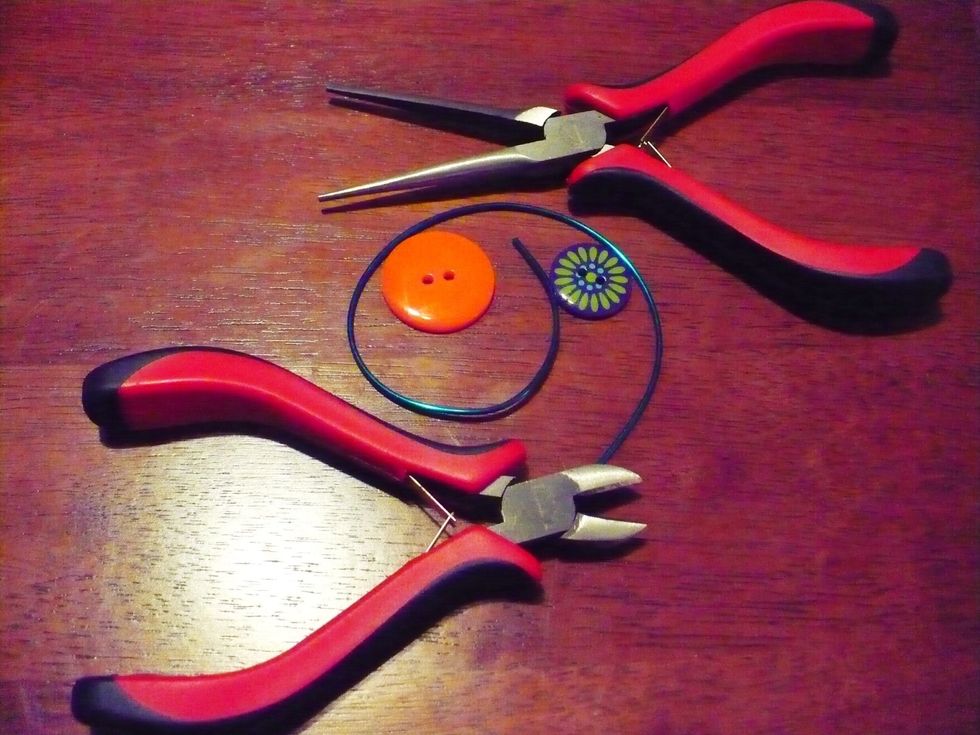
A ring mandrel is not necessary. You can use a thick marker or a dowel rod also. :)
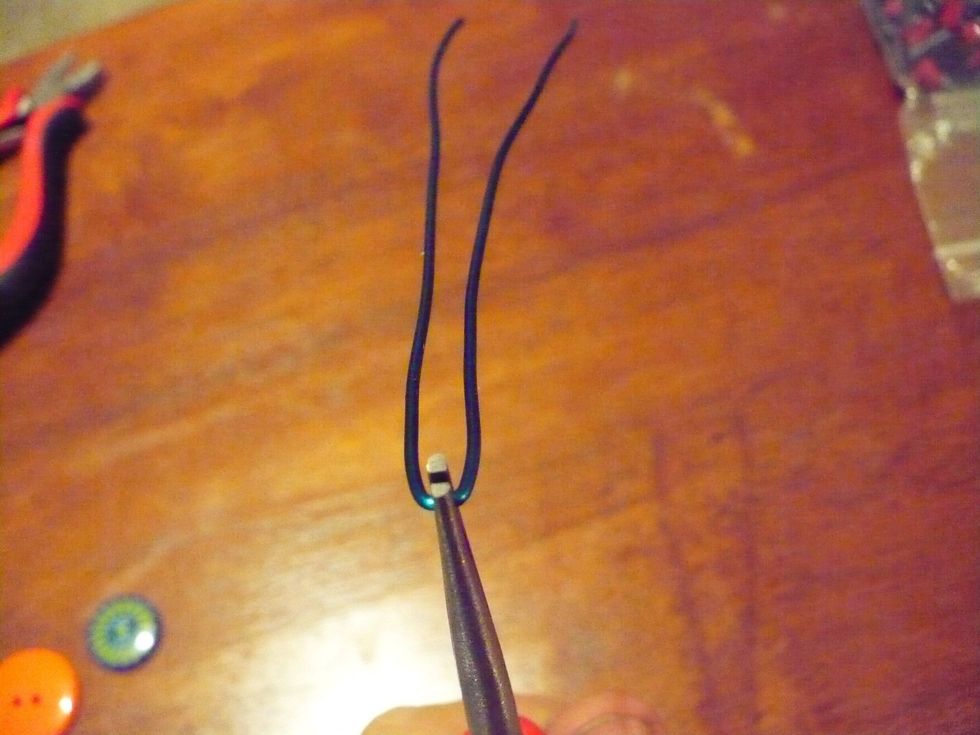
Pinch the wire as close to the center as possible with the chain nose pliers. Pull the two sides of the wire at a straight angle with the pliers like so.

Slide your button or buttons onto the wire. The smaller button should go on first.
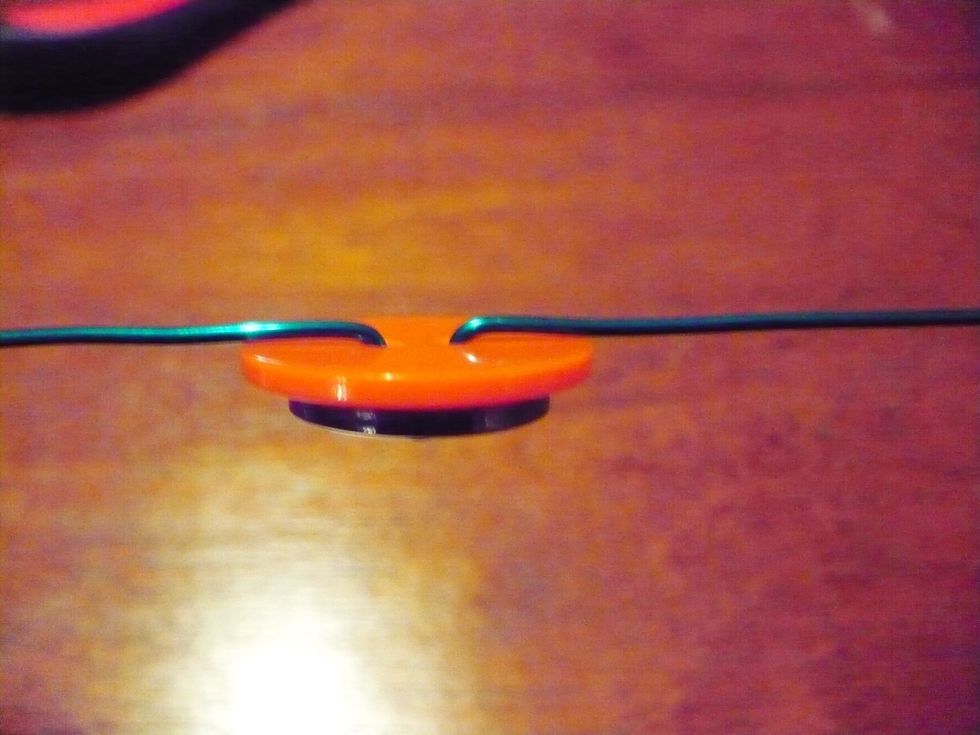
Flatten the wires straight out like this.
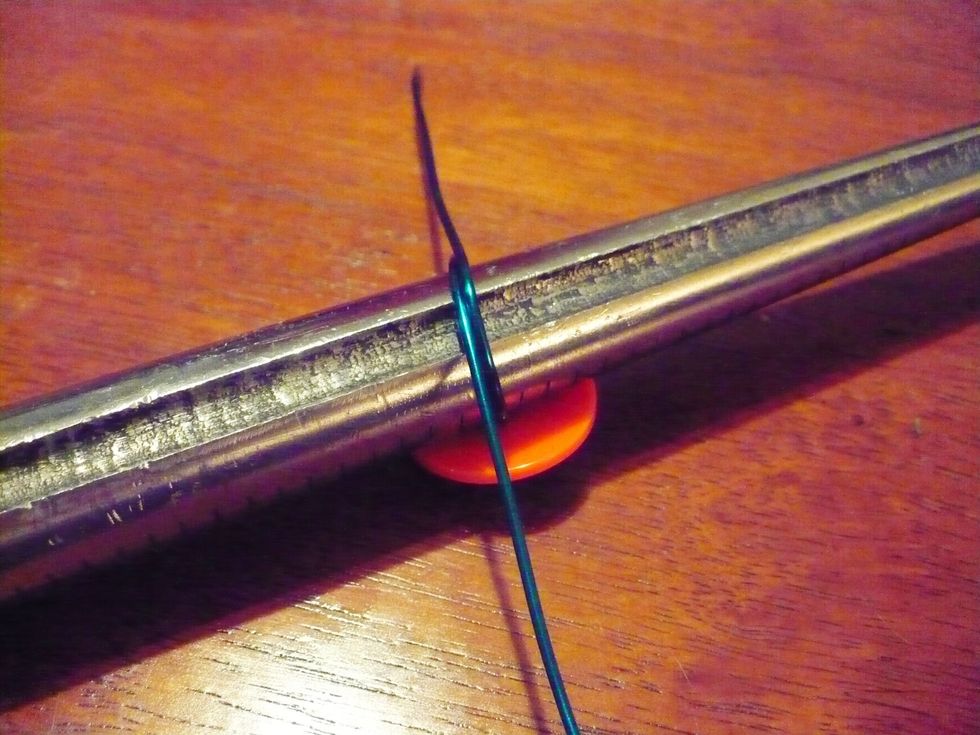
Place mandrel or dowel rod on top, then wrap the wires around it.
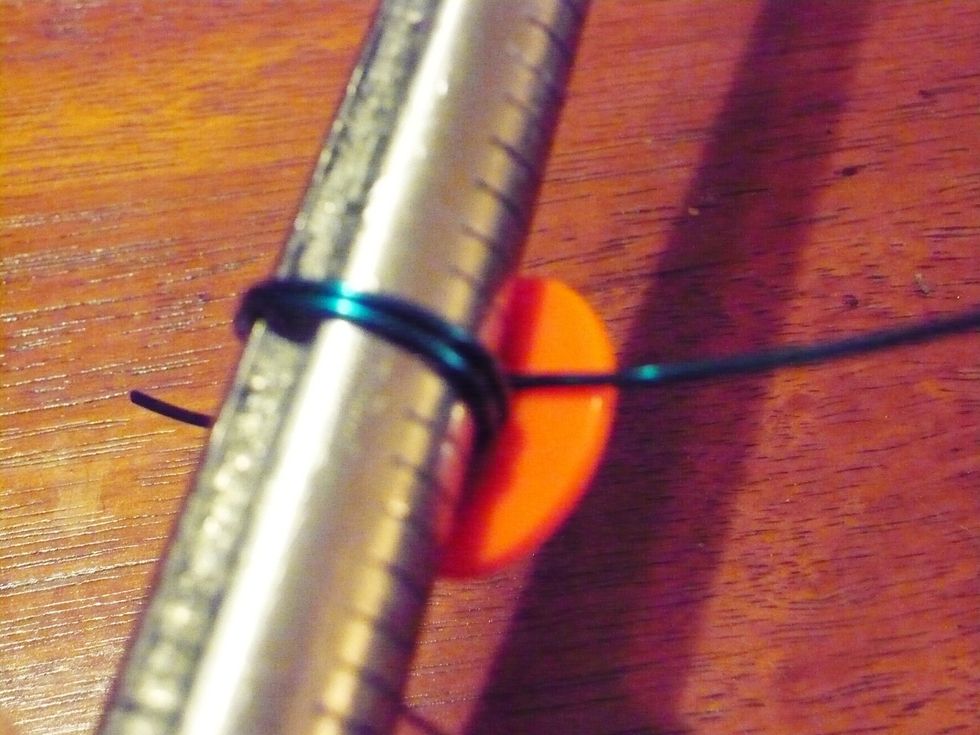
Wrap the wires between the mandrel and Buttons tightly as many times as you can. Wrap in the same direction. I tend to go clockwise.
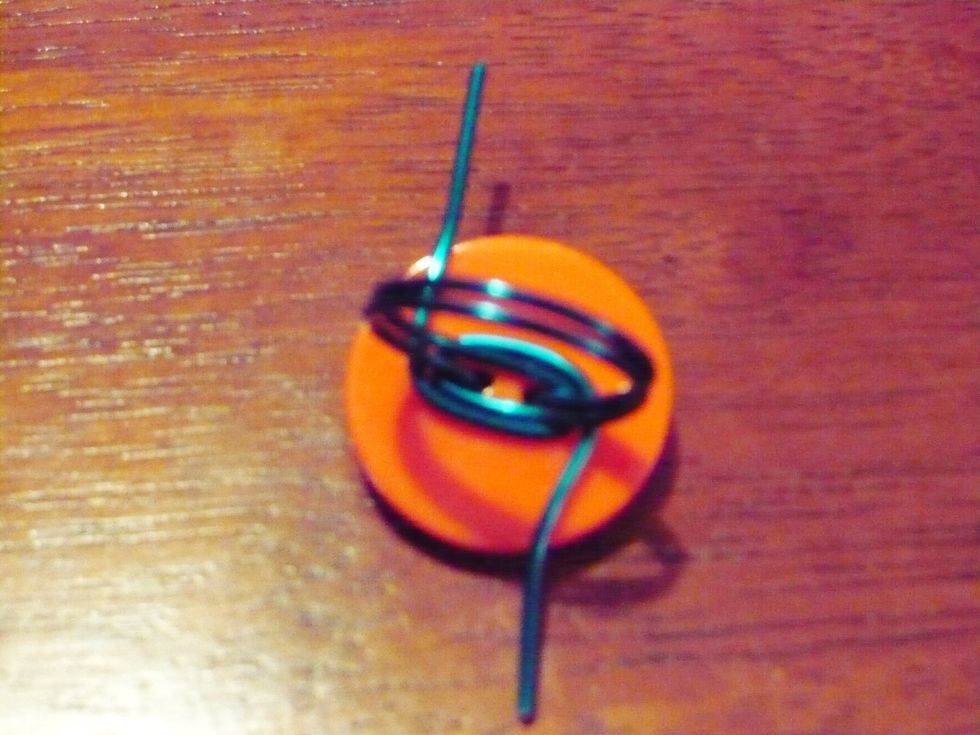
This is what it will look like when you remove the mandrel.
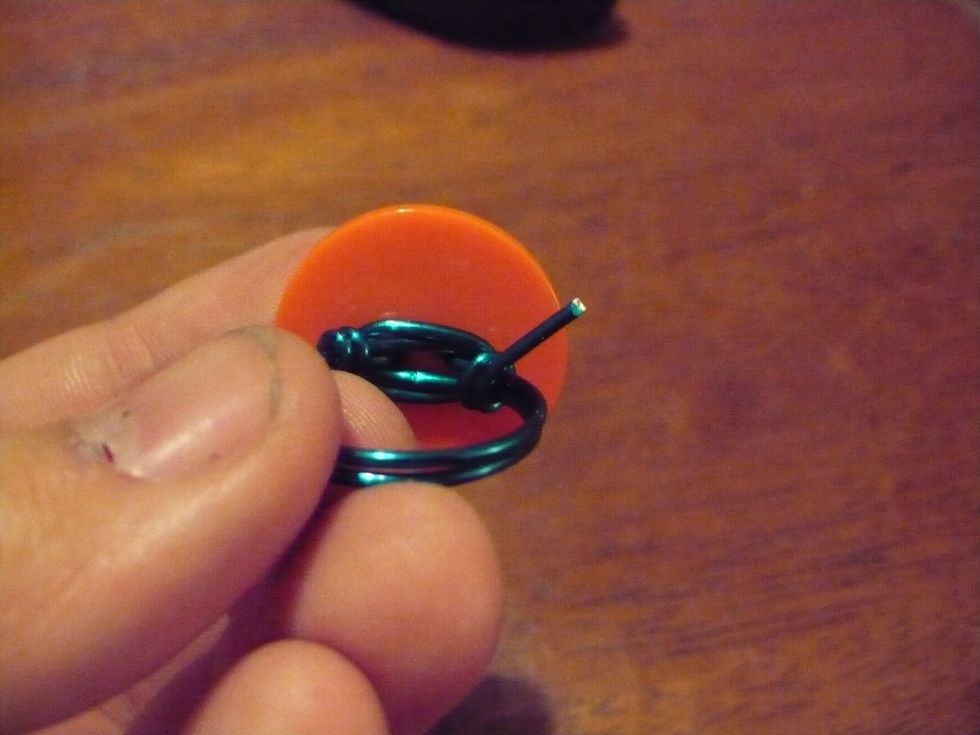
Coil the loose ends around the band of the Ring on each side. Then nip off the ends. Make sure to pinch the coils with the chain nosed pliers, or you could scratch yourself!
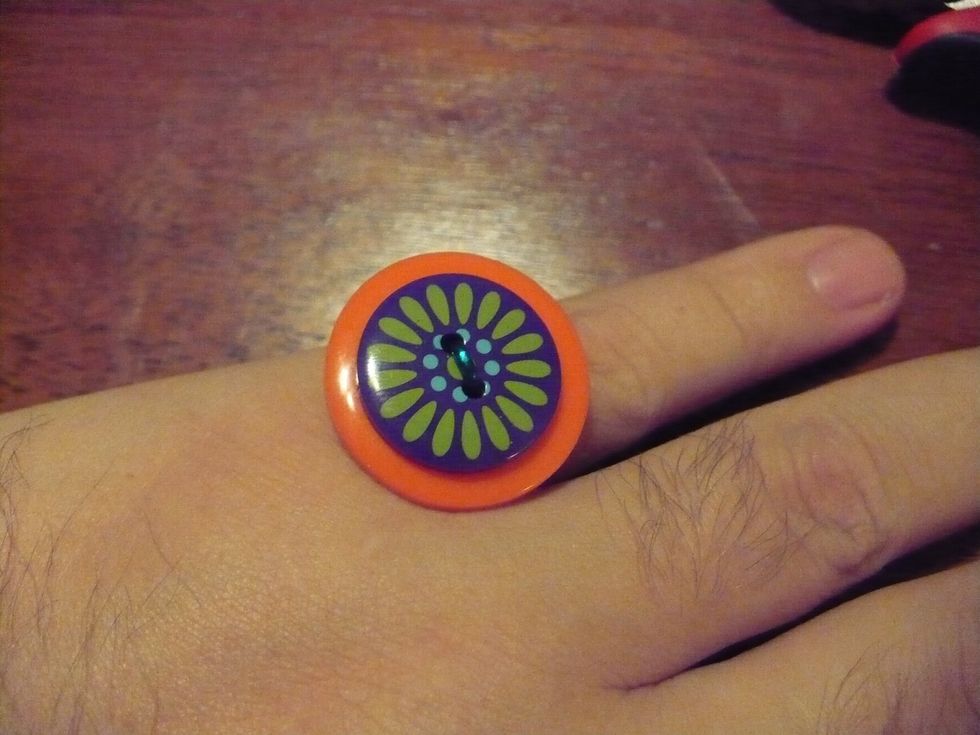
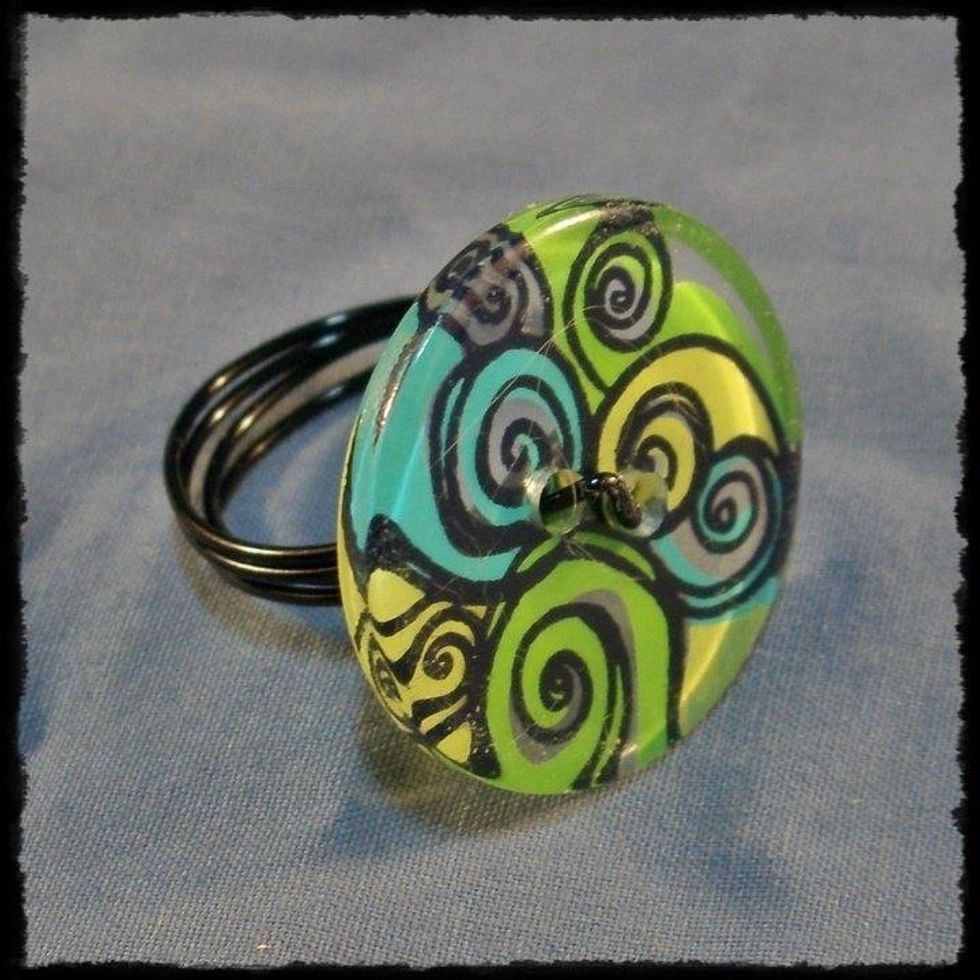
Cute, no? Not on my manly fingers, but you get the point. You're done! I hope you had fun. :)