The Conversation (0)
Sign Up
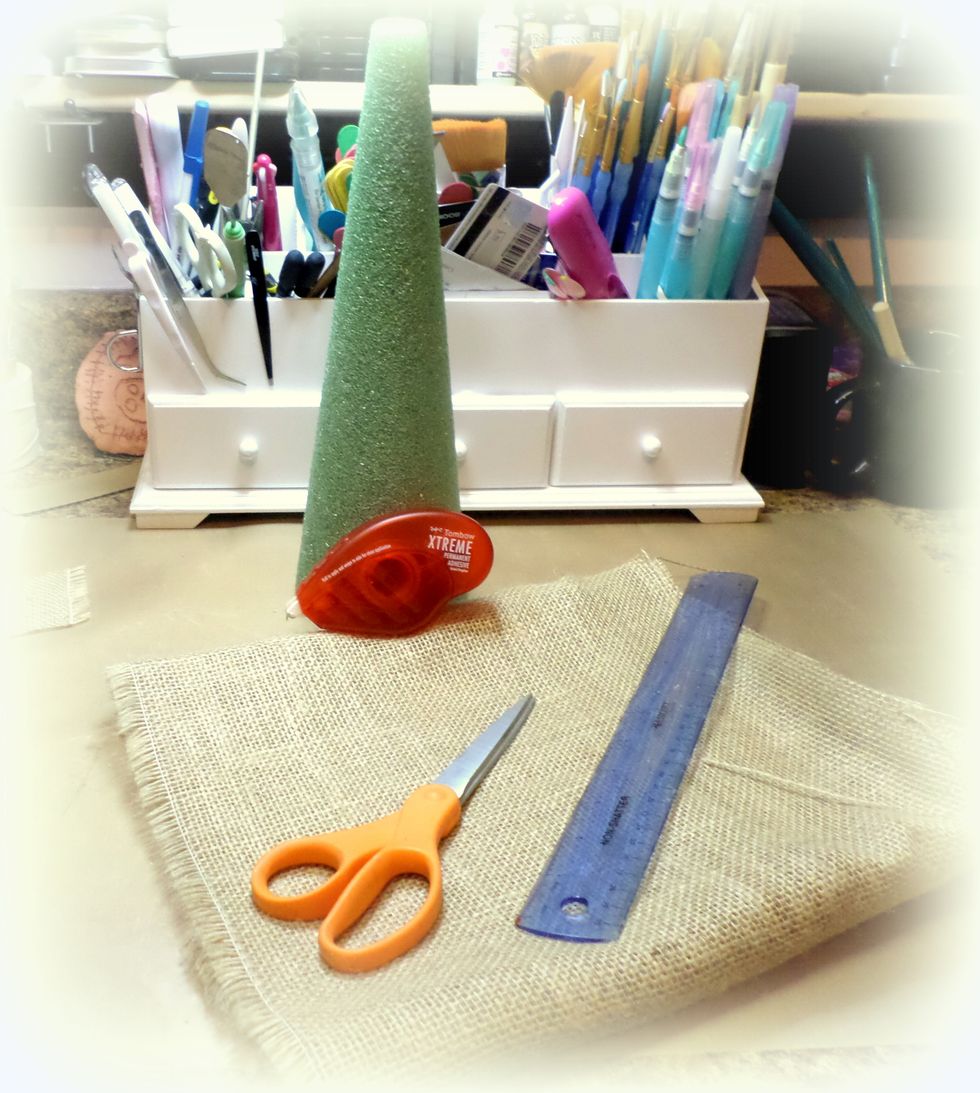
Gather your supplies. You will also need a marker, a ruler and scissors.
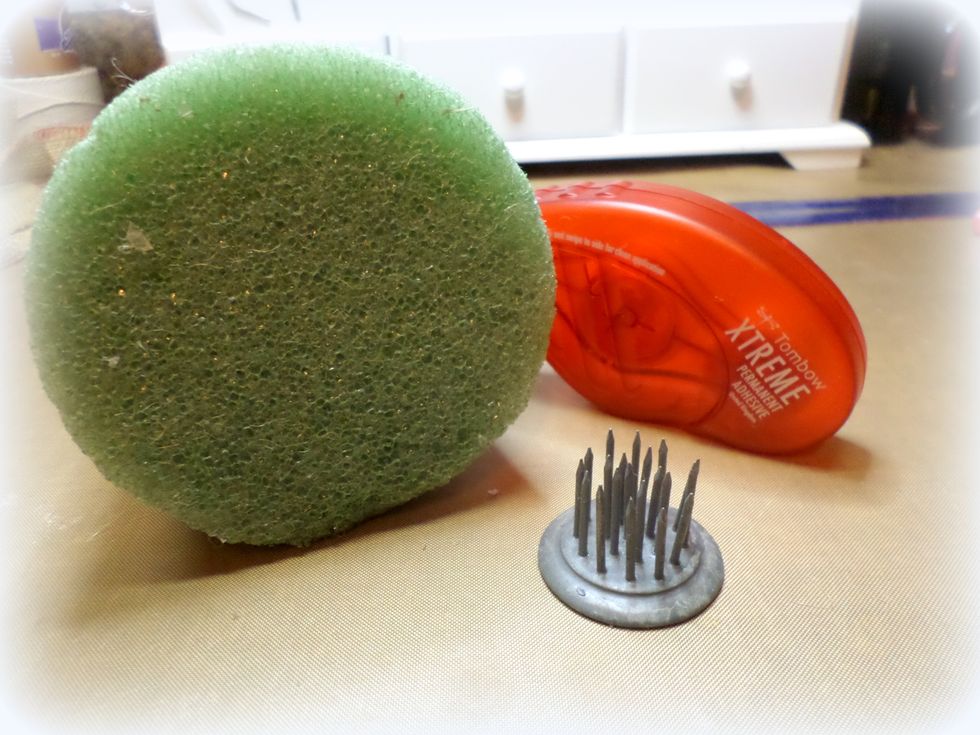
The Styrofoam tree is really light. To give it some weight, I used a "Floral Frog".
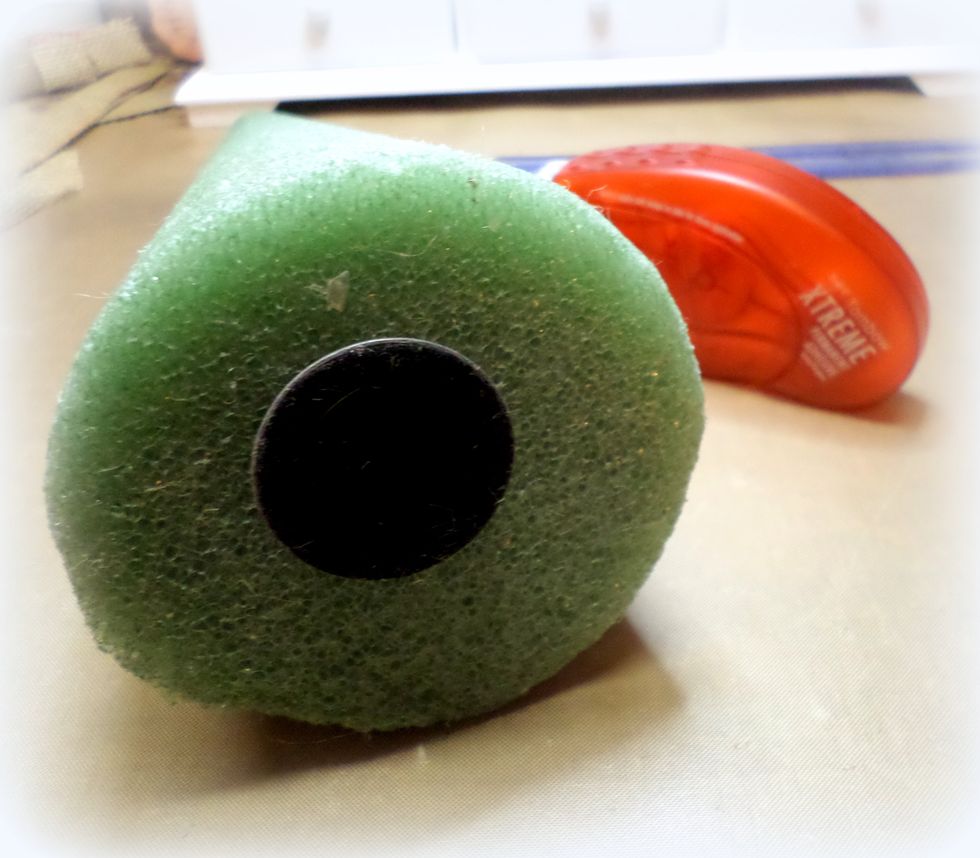
I put the "frog" in the center of the tree. You don't have to do this, your tree will be fine without this because the layers of burlap will give the tree enough weight.
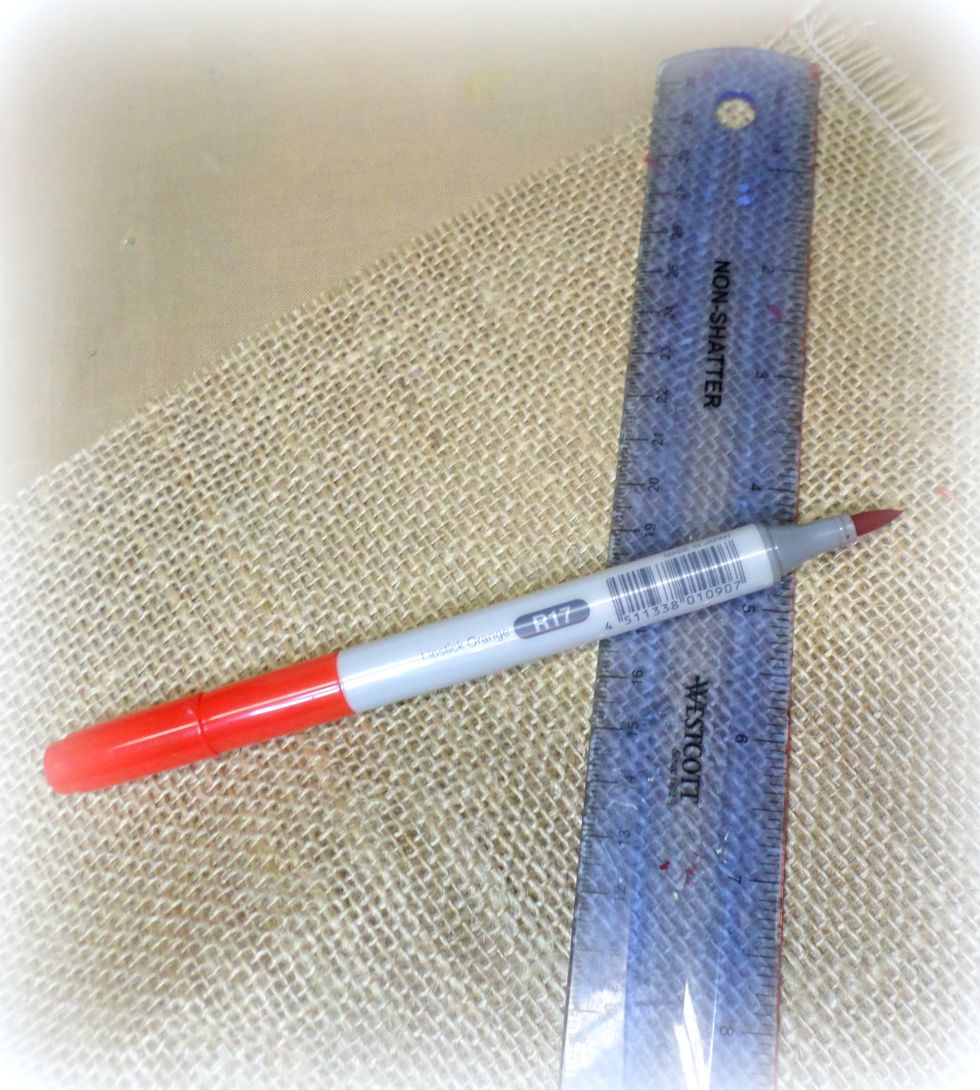
Measure your burlap lengths. You will need 4~ 2" x 12" strips, 5~ 1 1/2" x 12" strips and 5~ 1" x 12" strips.

Cut your strips and get ready to glue them!

Using the Tombow Xtreme Adhesive Runner I ran a line of adhesive down 1 side of my strip. This adhesive is so strong it holds burlap!
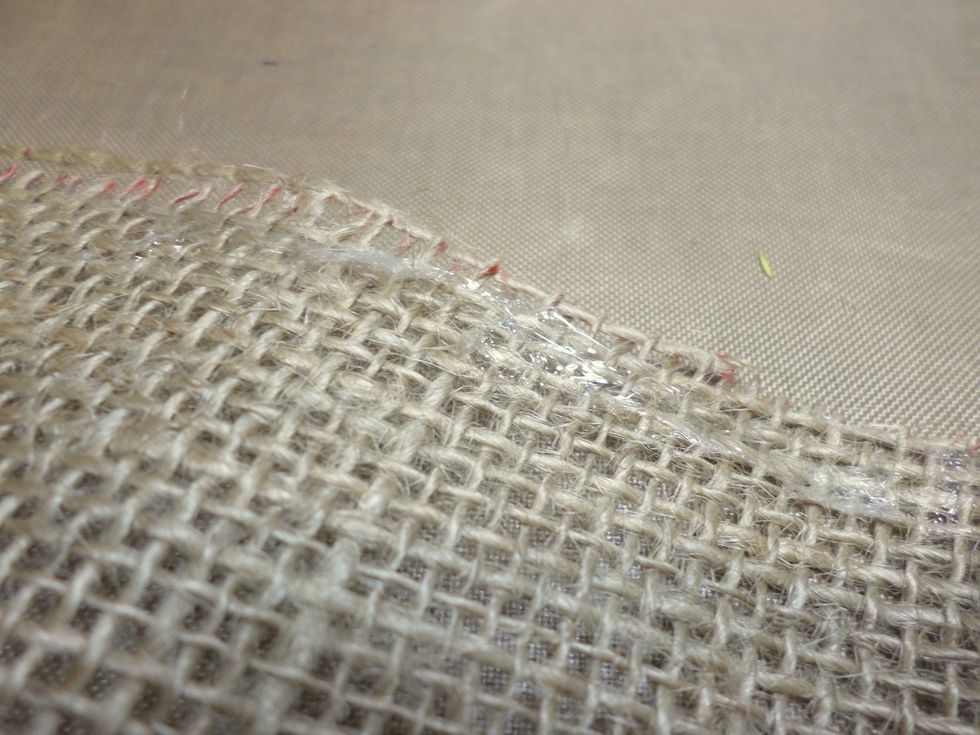
Can you see the line of adhesive? I use burlap a lot in my work and I've never been able to do this! Amazing!
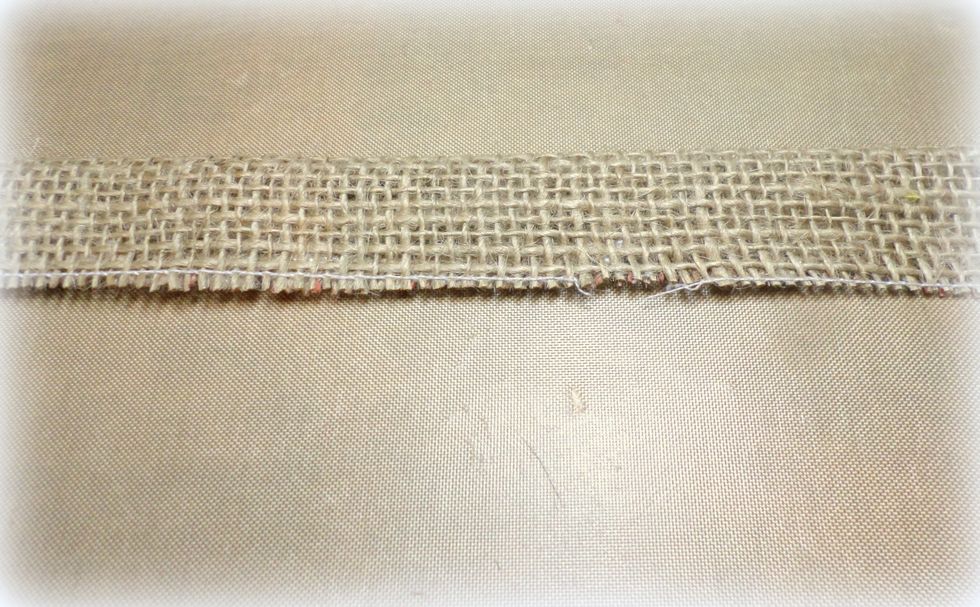
Fold the side of the burlap strip with no adhesive to the adhesive side. You get a folded strip.
The folded strip has a glued side and a loop side.
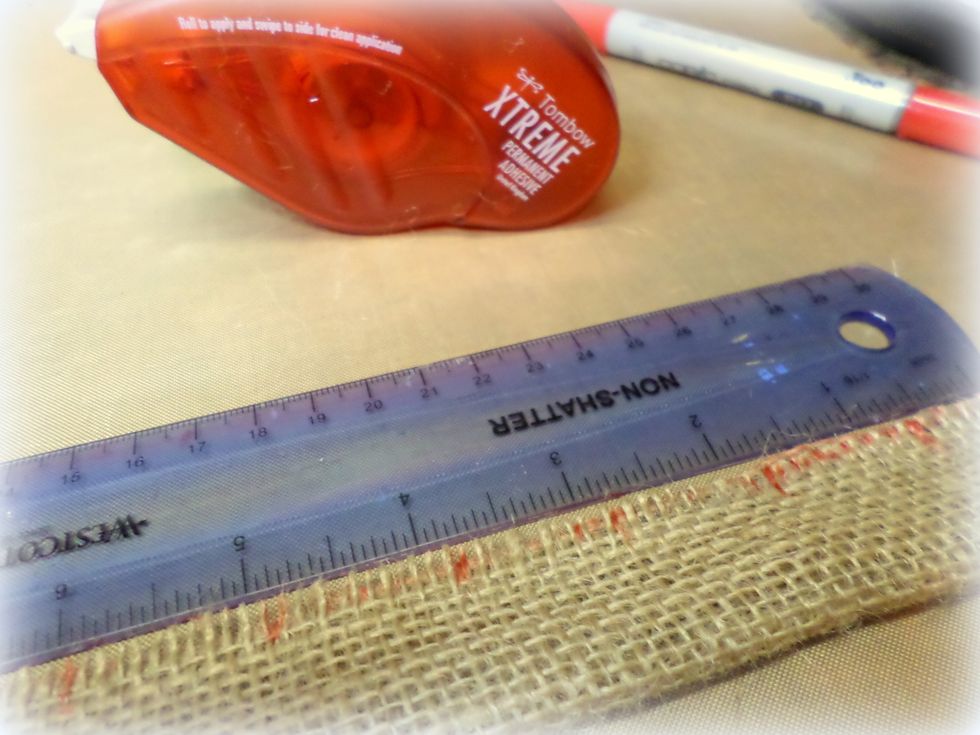
Measure and mark your burlap strip every 1".
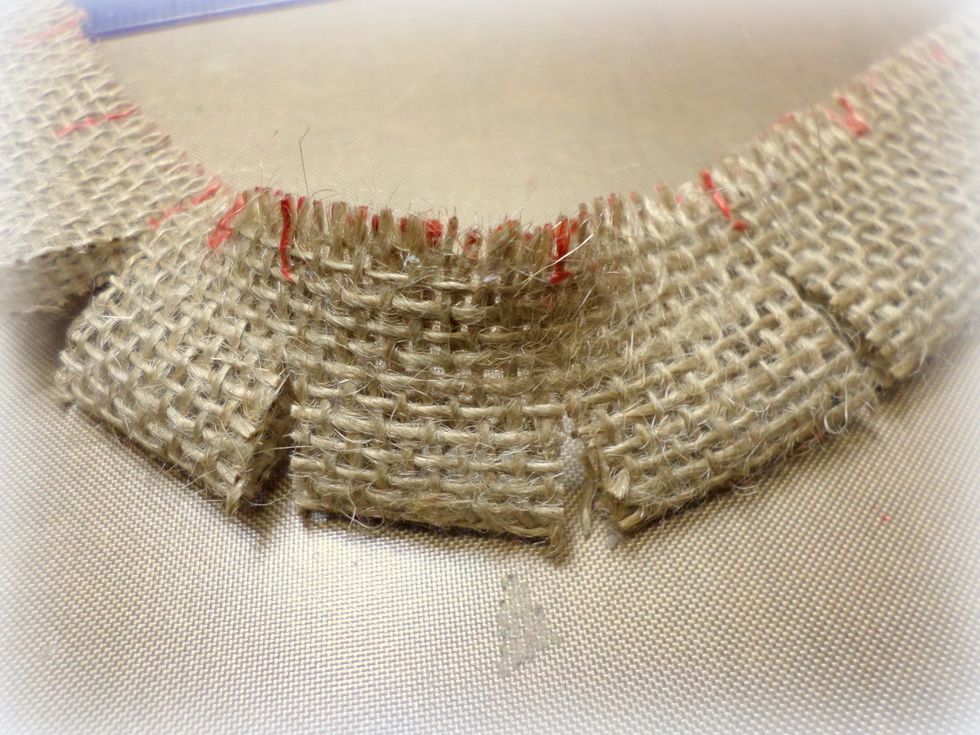
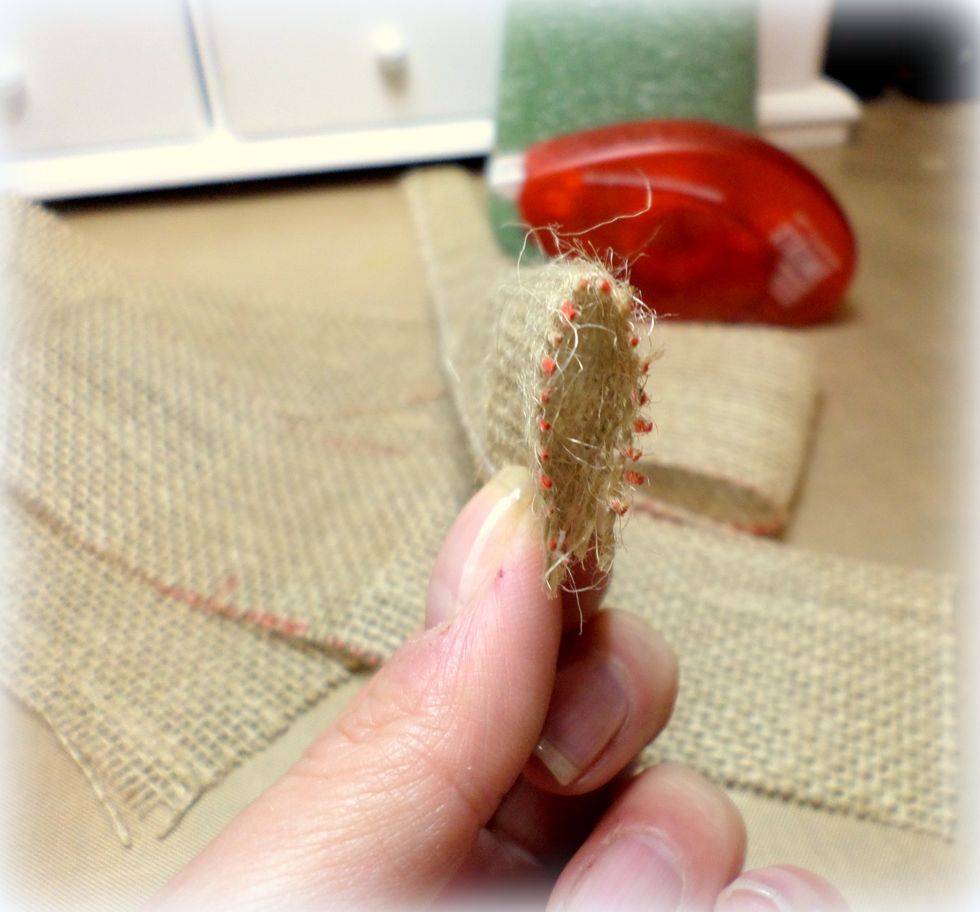
Cut where you marked but leave a small area at the top uncut. It will look like this. Don't worry about the marks you made. You will glue that side to the tree.
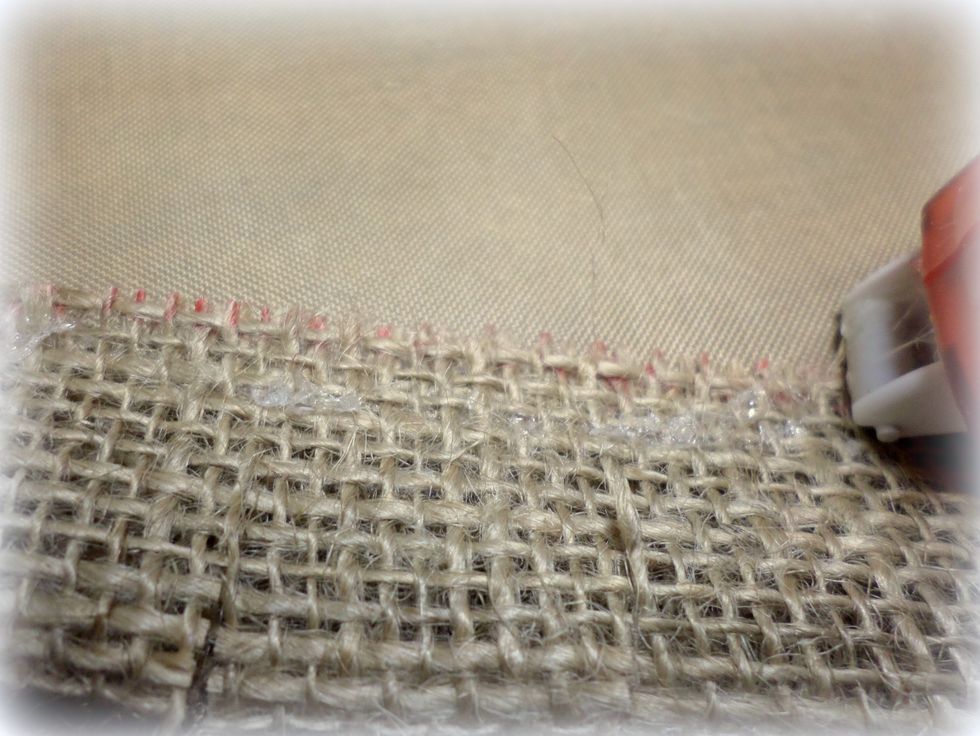
Again, I used the Tombow Xtreme Adhesive to run a line of adhesive on the top, uncut part, of the strip. This adhesive is amazing!!
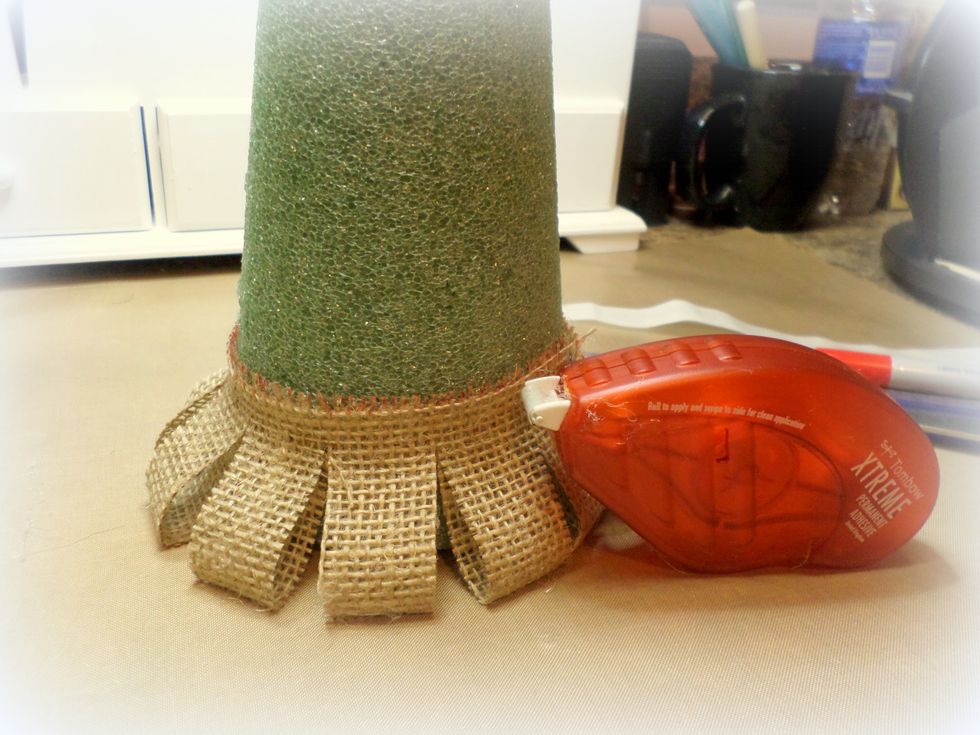
It's time to make a tree! Use your largest strip with the adhesive on it and wrap it around the bottom of the tree. See how the cut areas open up??
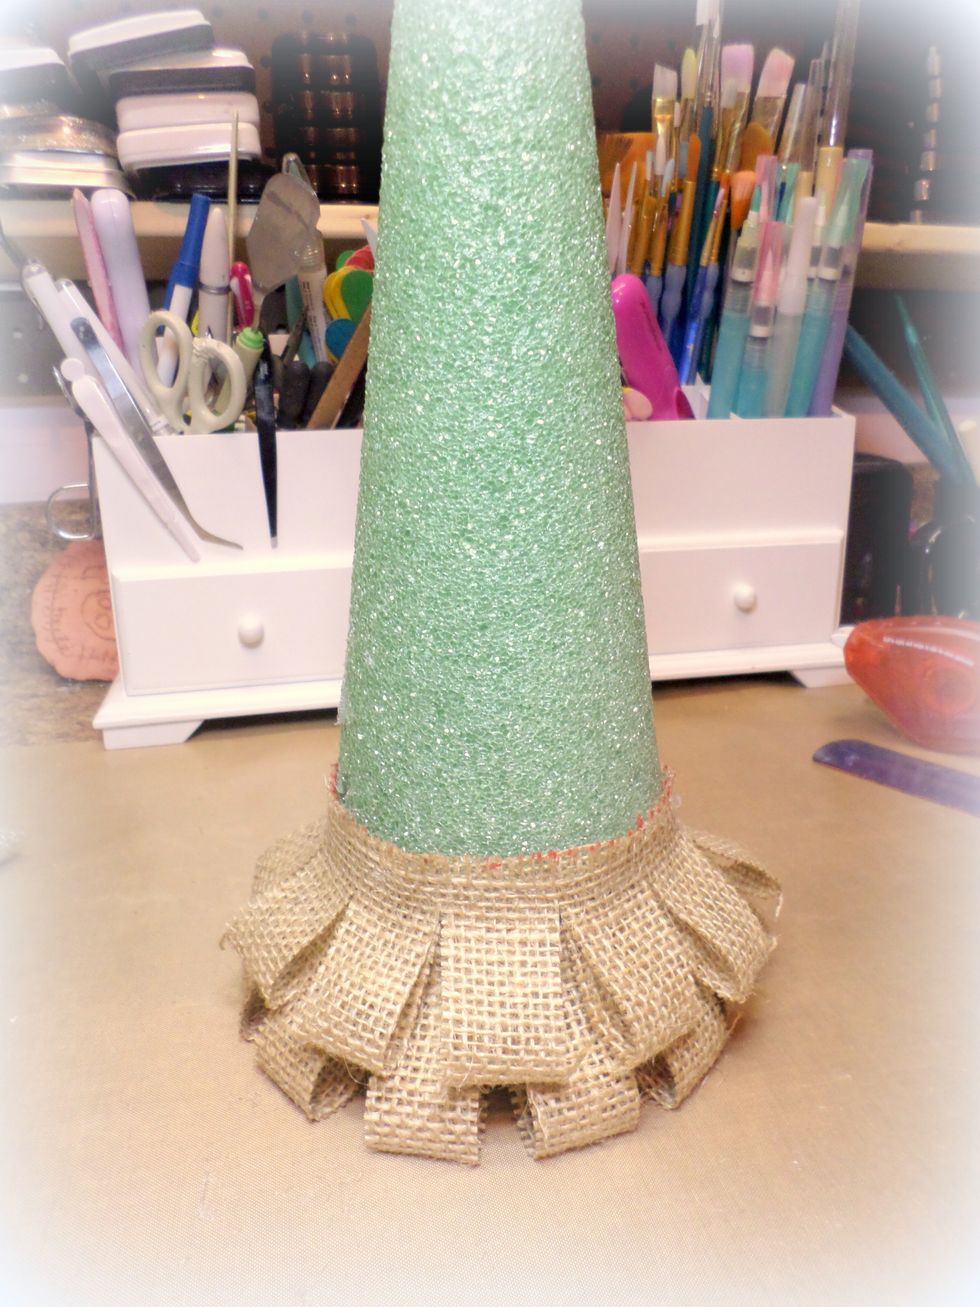
When you apply the next strip, make sure to alternate each open loop with a closed loop.
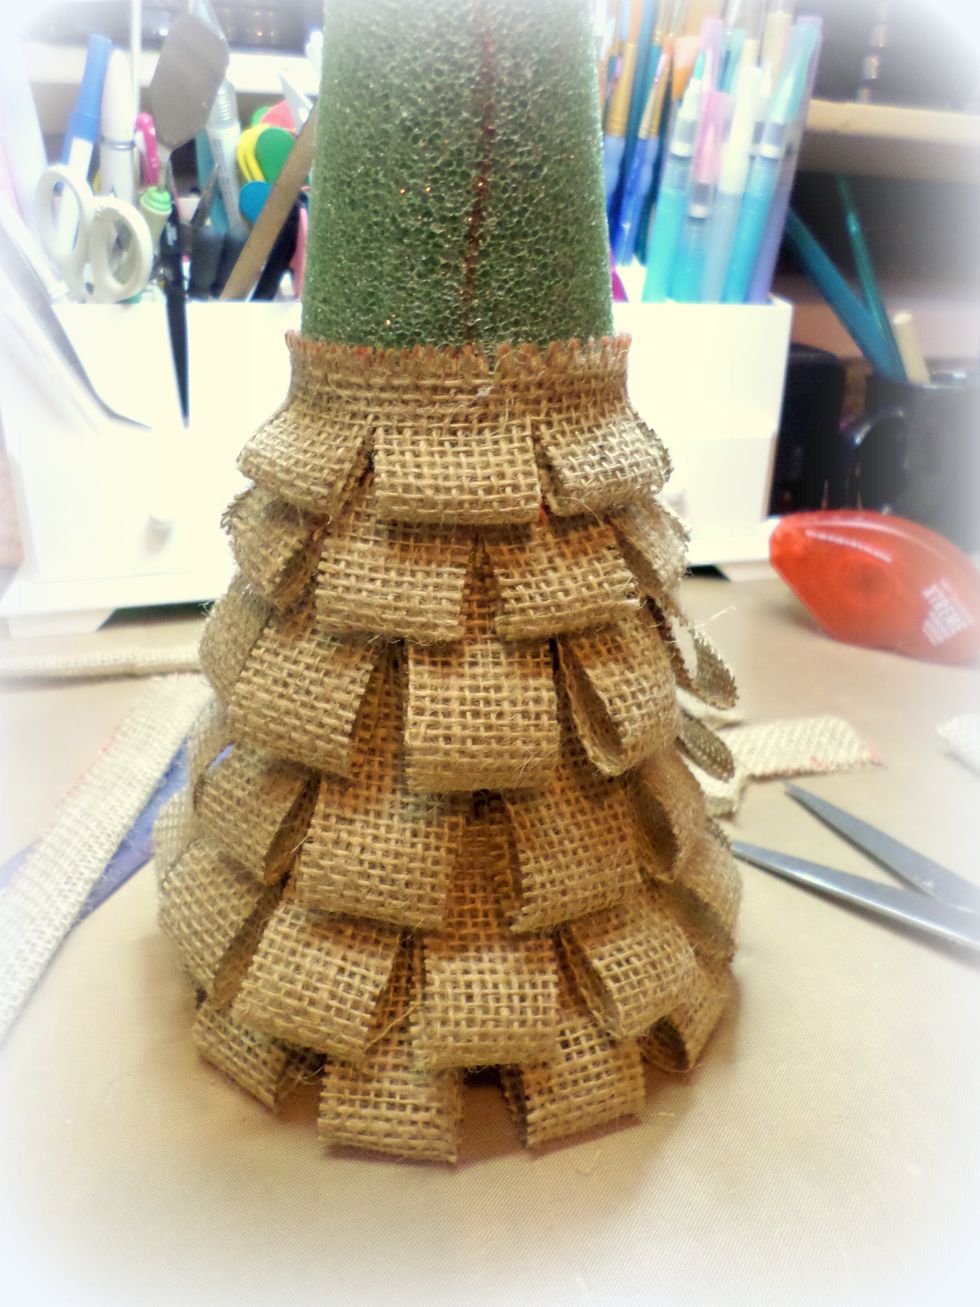
I made a red line on my tree so I would always know where the center was. Keep adding strips up the tree. As you can see, the smaller strips begin 4 rows up.
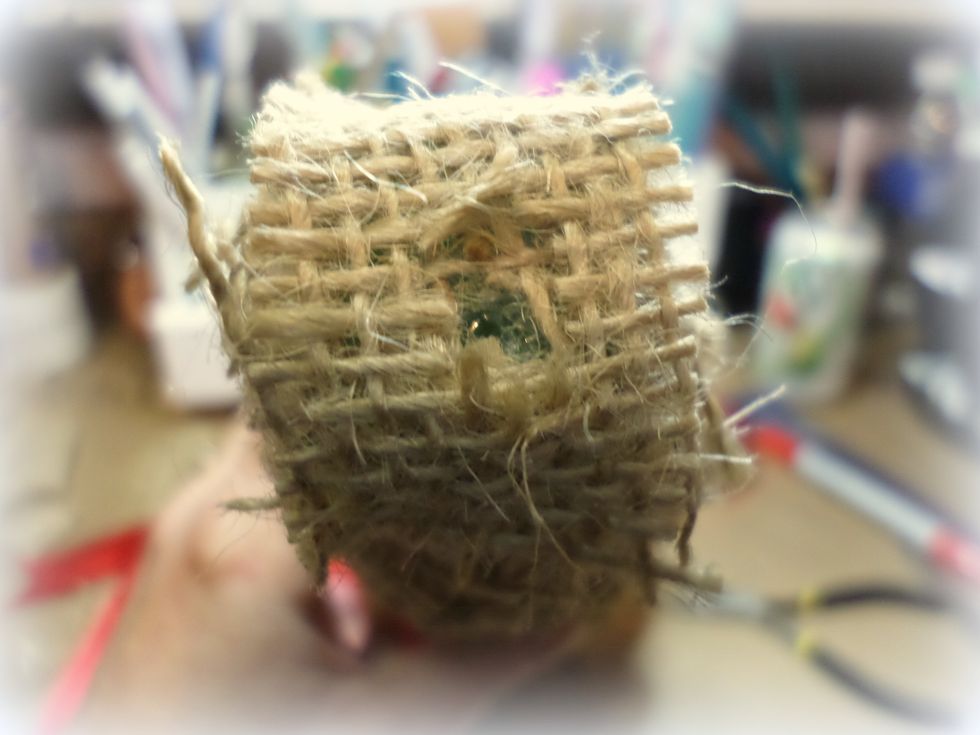
I Add a small piece of burlap to the top of the tree, using Tombow Xtreme Adhesive. Then I cut a small hole in the top.
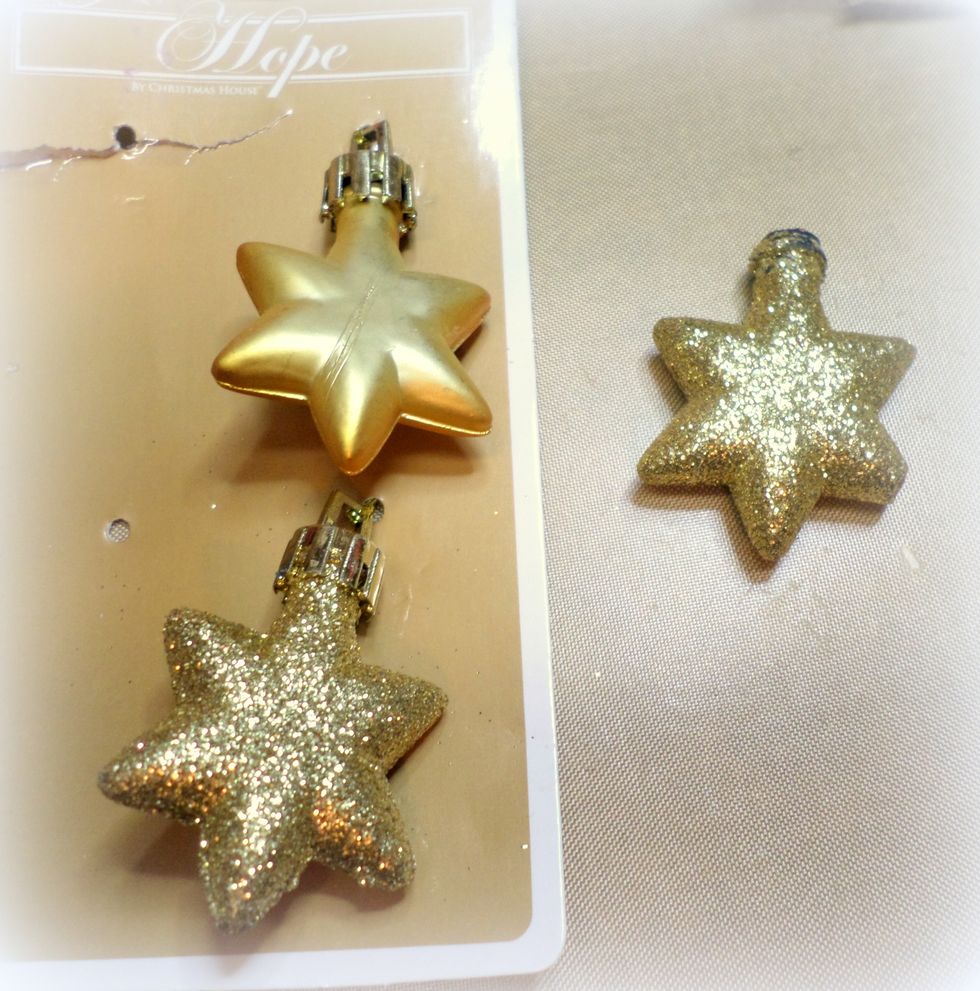
I got these little star ornaments at the Dollar Store. I used pliers to remove the hanging part of the ornament.
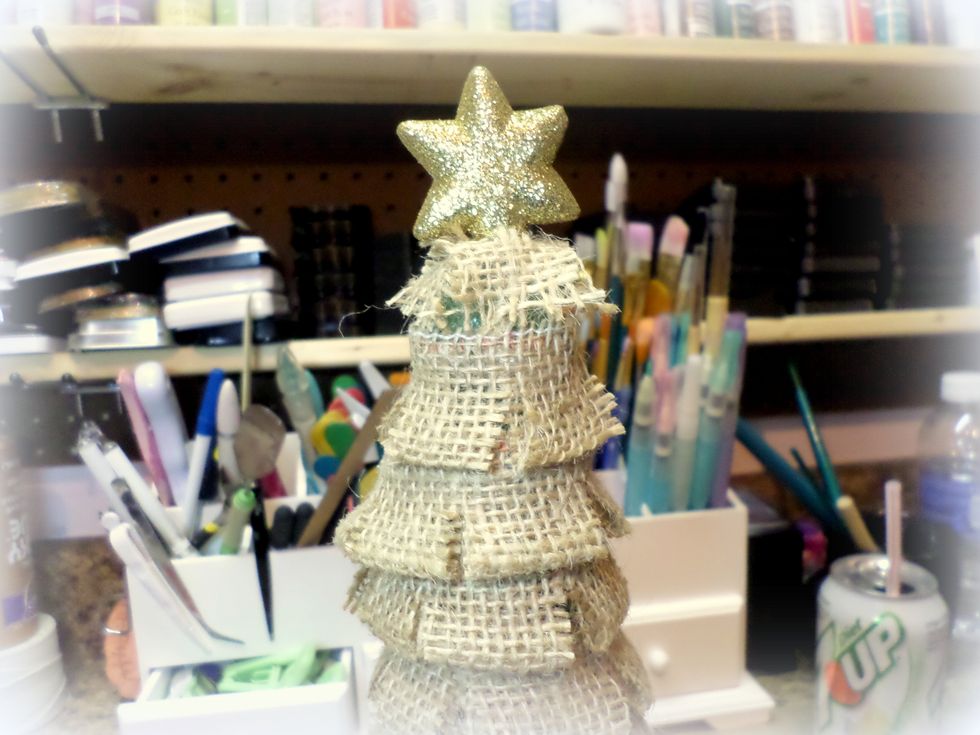
Put the part of the star where the hanging part was into the hole in the top of the tree.
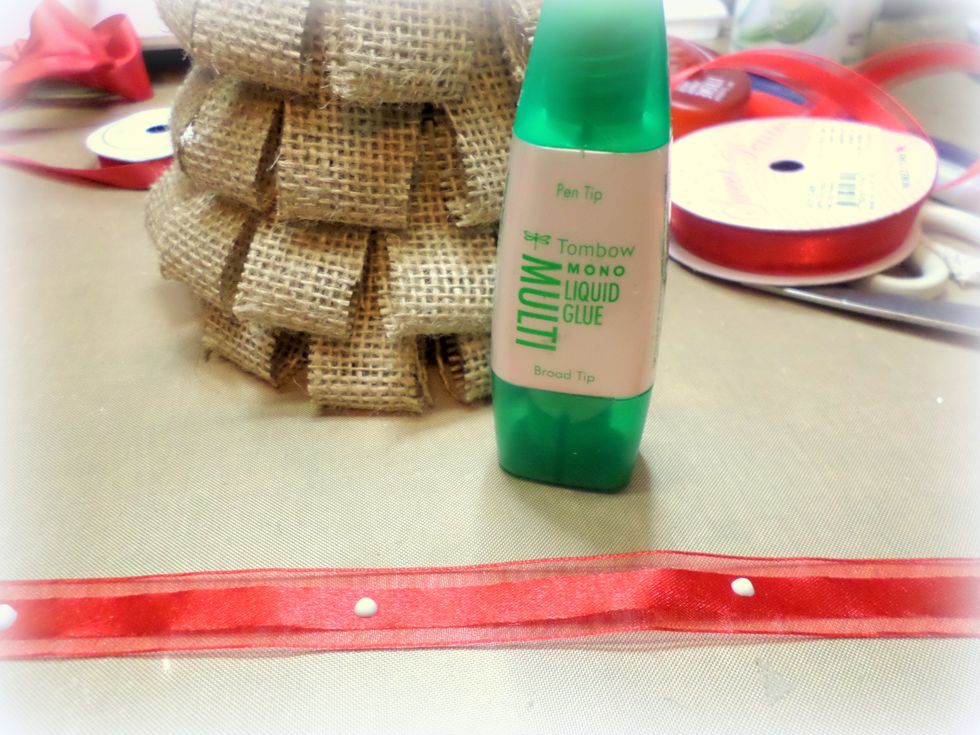
I decorated the tree with some ribbon. I used Tombow Mono Multi Adhesive because it becomes repositionable when it's dry. I'm always changing the placement of my ribbons and this glue lets me do that!
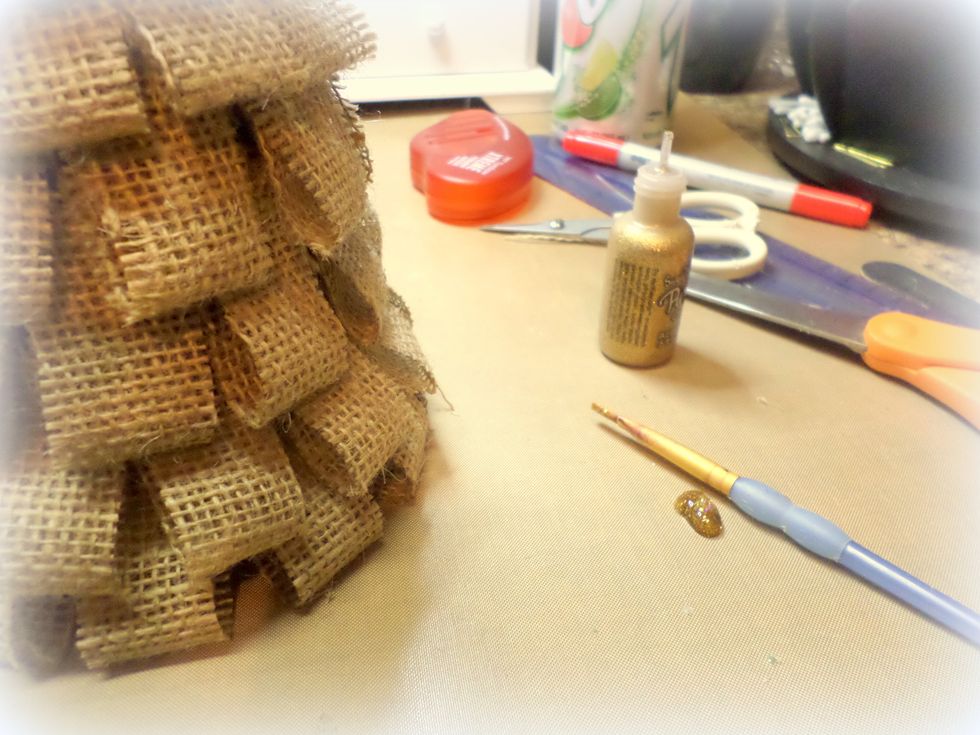
While the adhesive was drying, I added some gold Stickles. I like to apply it with a paint brush so I just squeezed some out on my craft mat.
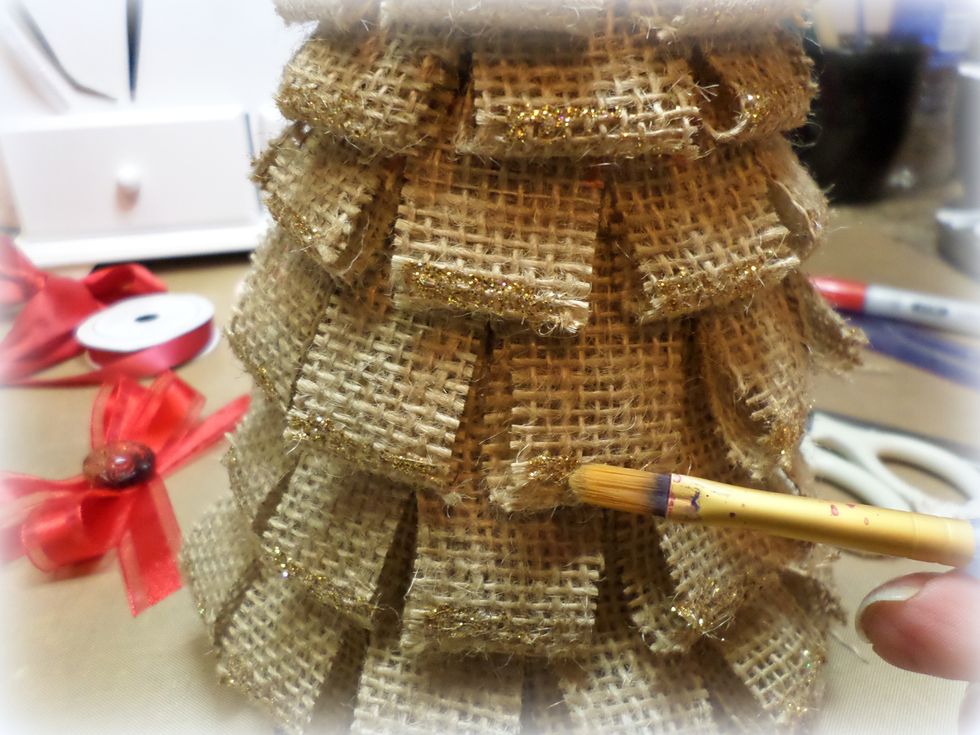
I like using the paint brush because you have more control of the glitter and you don't get big clumps. It goes exactly where you want it.

Now, add the ribbon! I used a piece around the top to give it a finished look. Take the ribbon you applied glue to and cascade it down the tree. I also made a bow for the top of the tree.
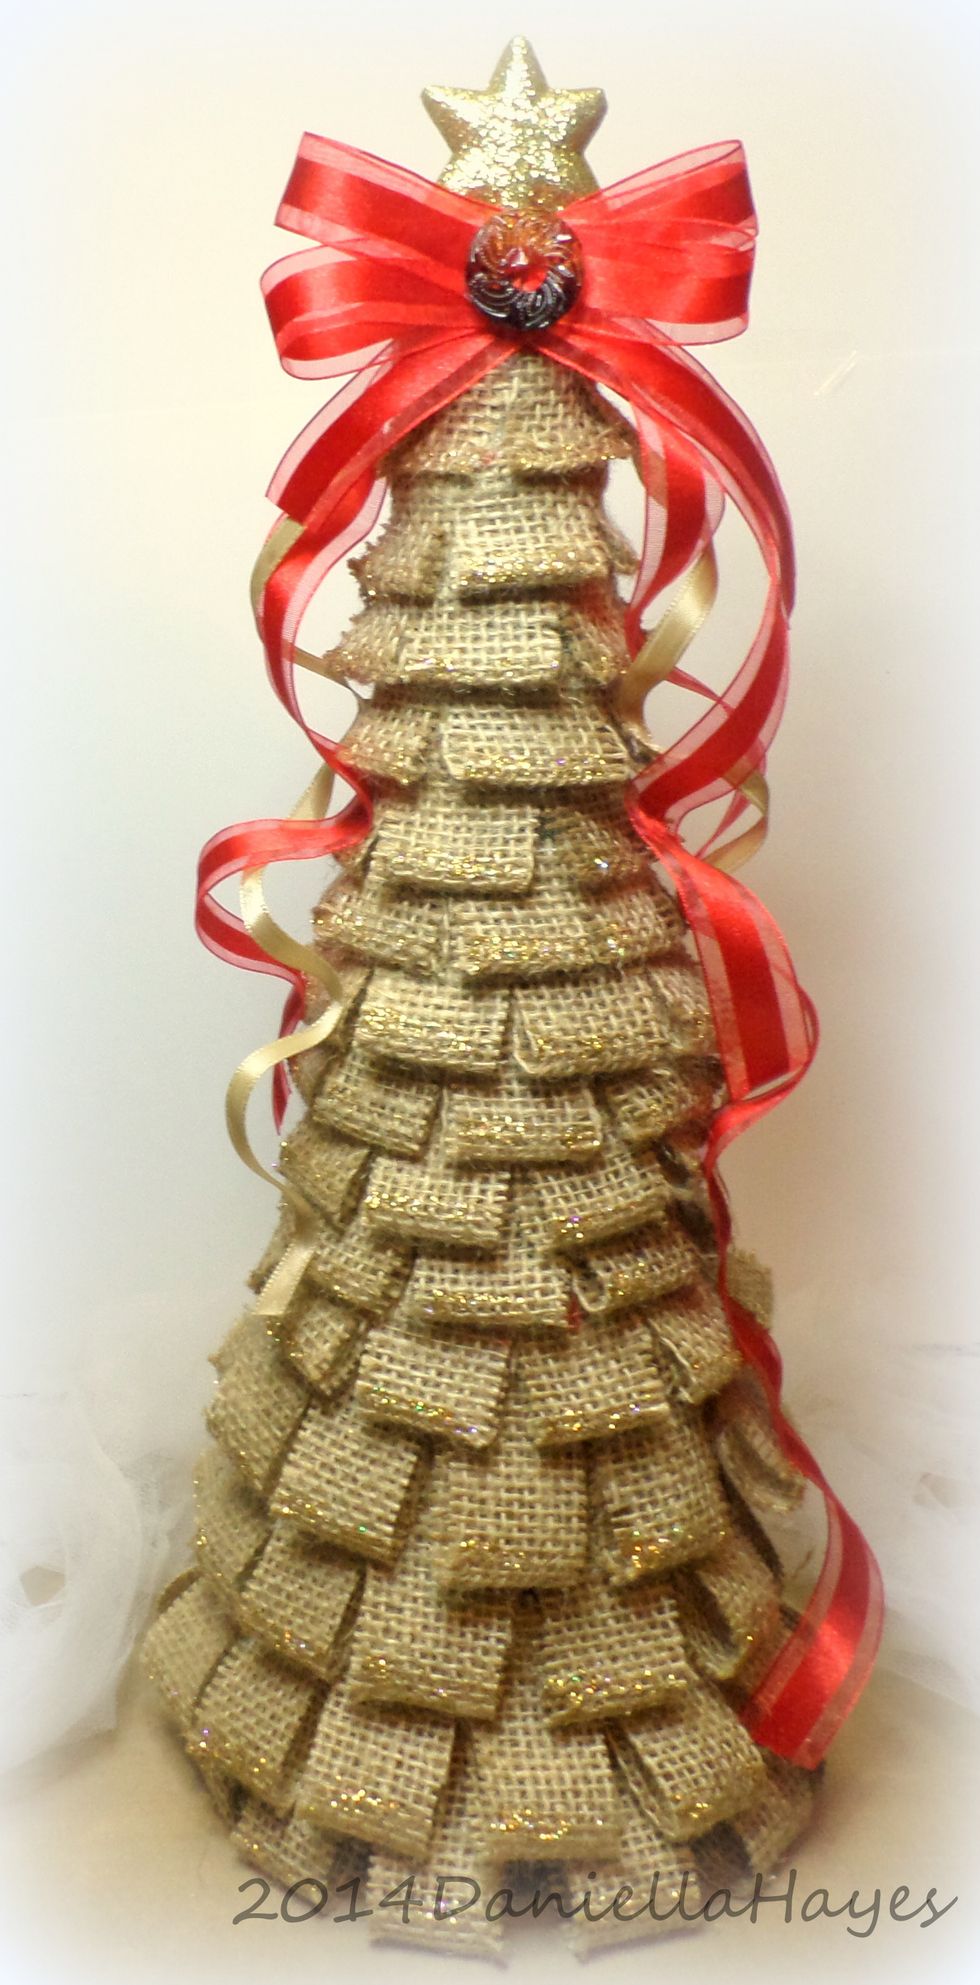
My finished tree! I added several ribbons in different lengths and colors and a big bow to the top. I love how it turned out!! Thank you so much for watching!