The Conversation (0)
Sign Up
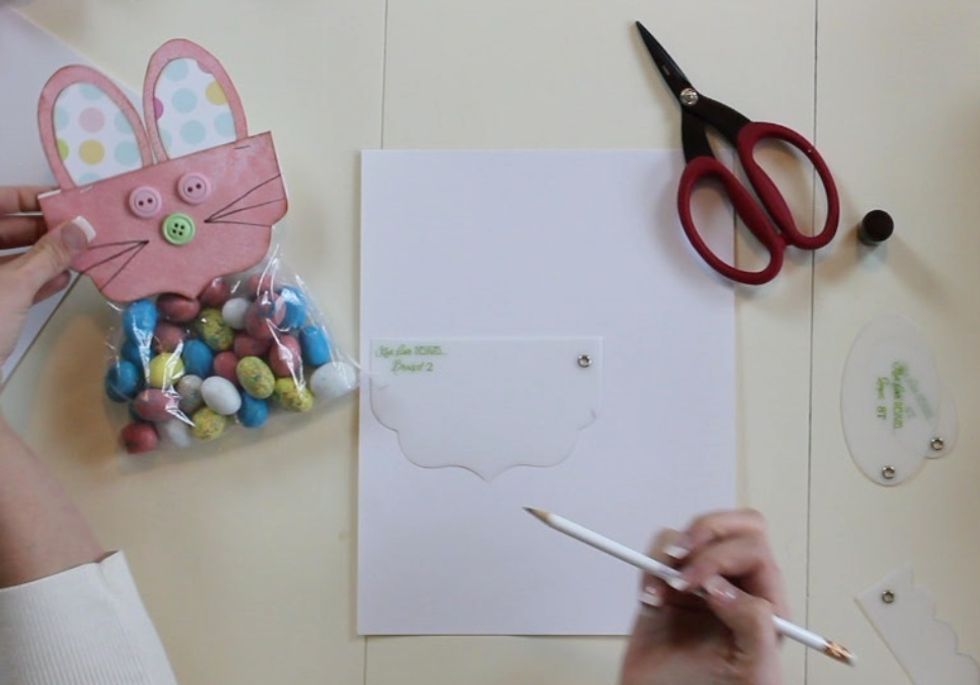
Trace a bracket once on pink cardstock. I used Kiwi Lane Designs Bracket #2 from the Brackets Accessory Set.
Flip the bracket and then trace it again.
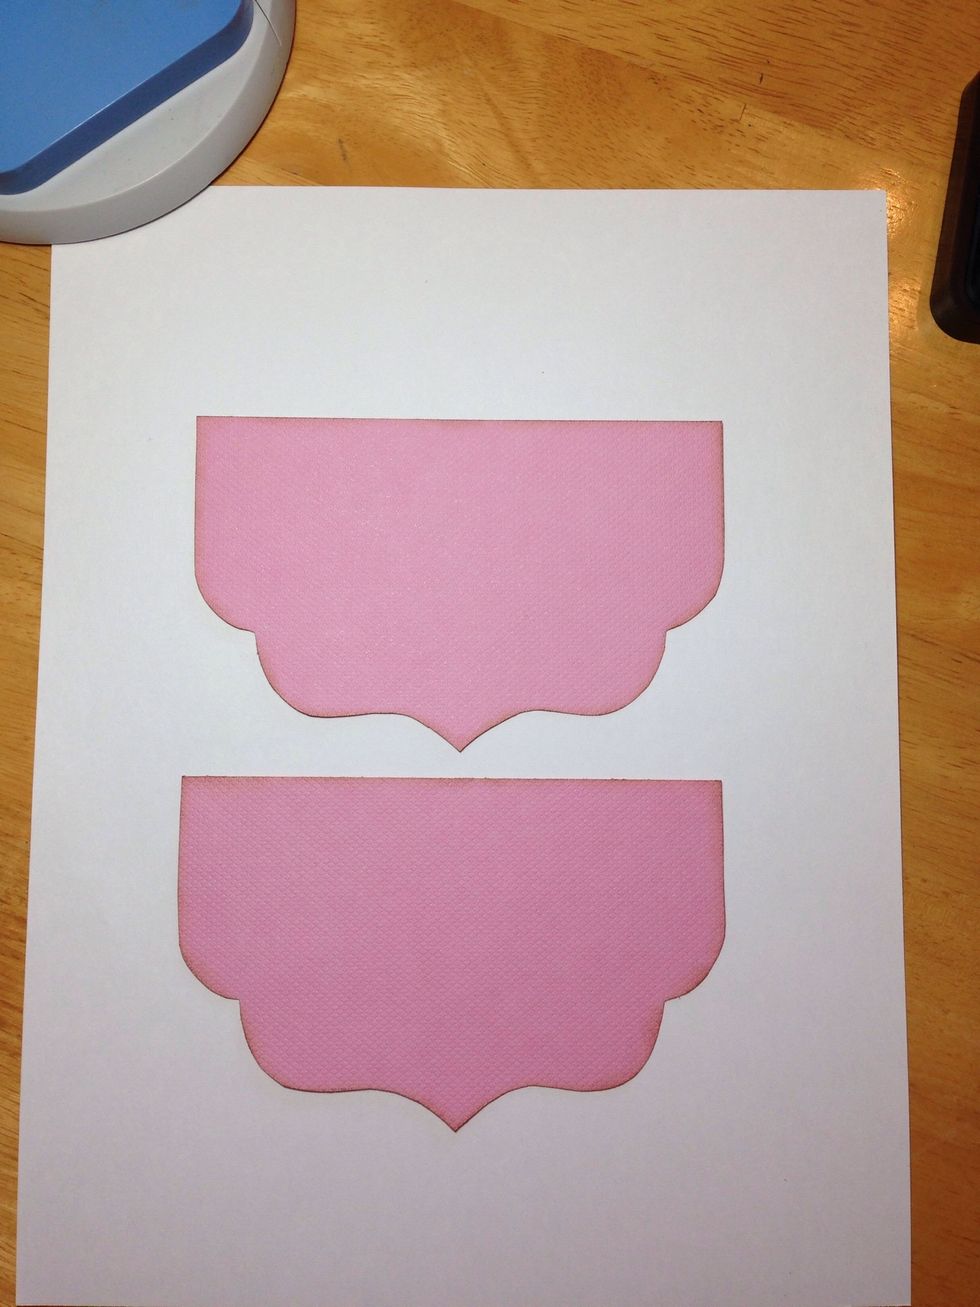
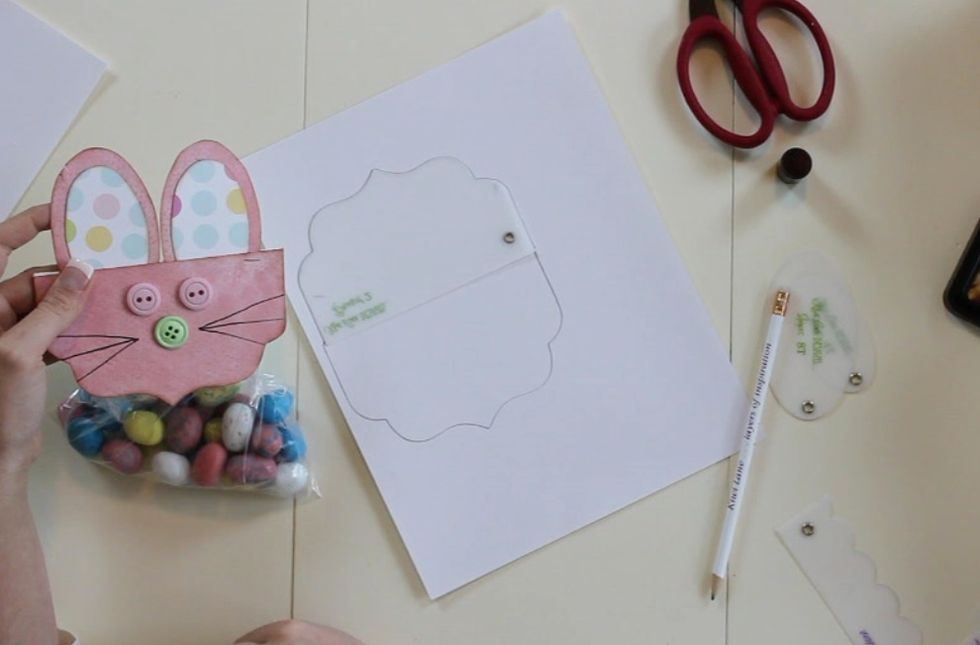
Cut each bracket out and ink the edges with a light or medium brown ink. I used Vintage Photo Distress Ink.
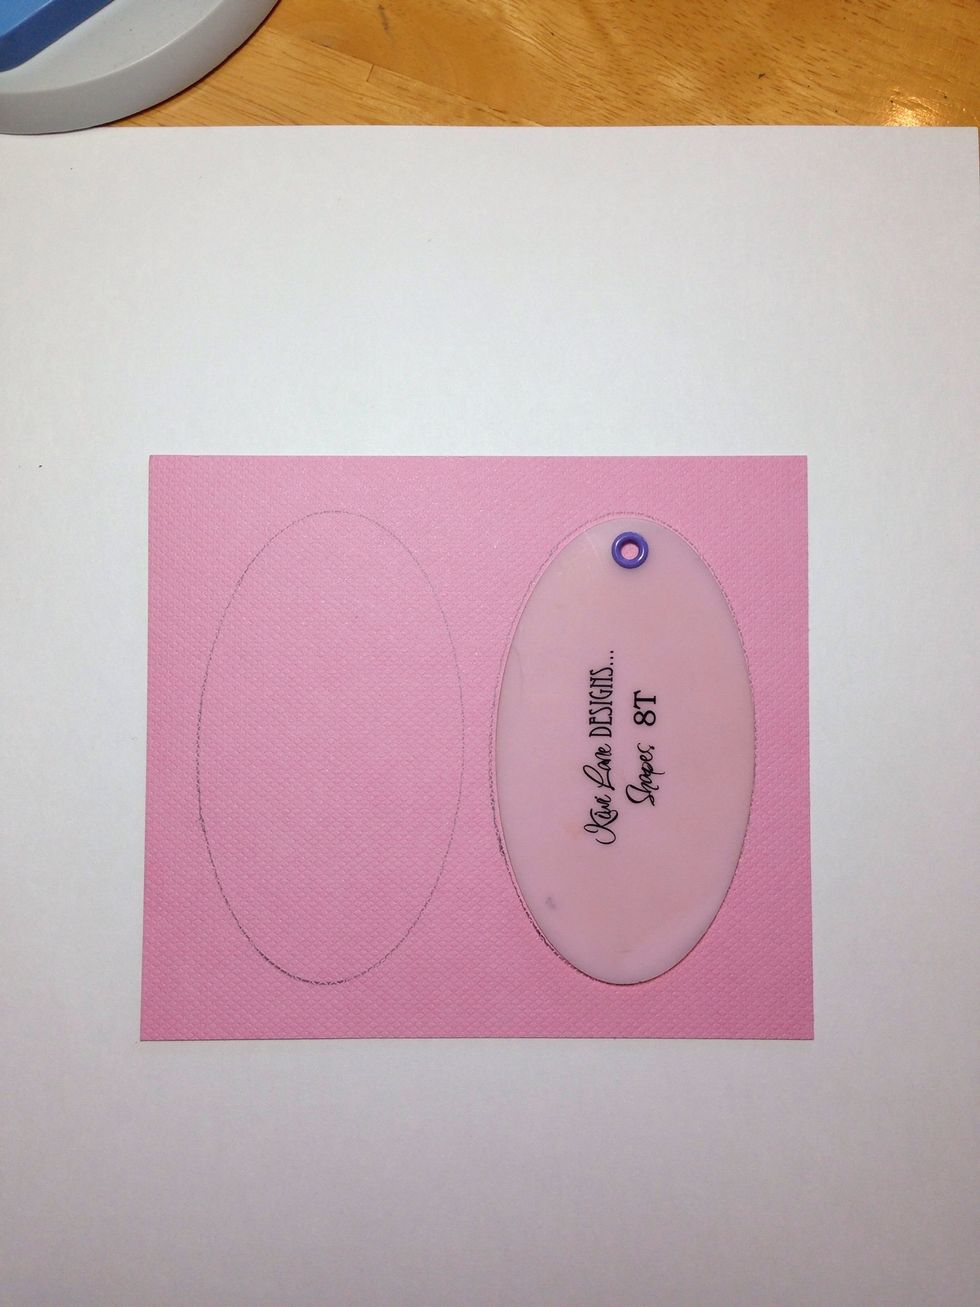
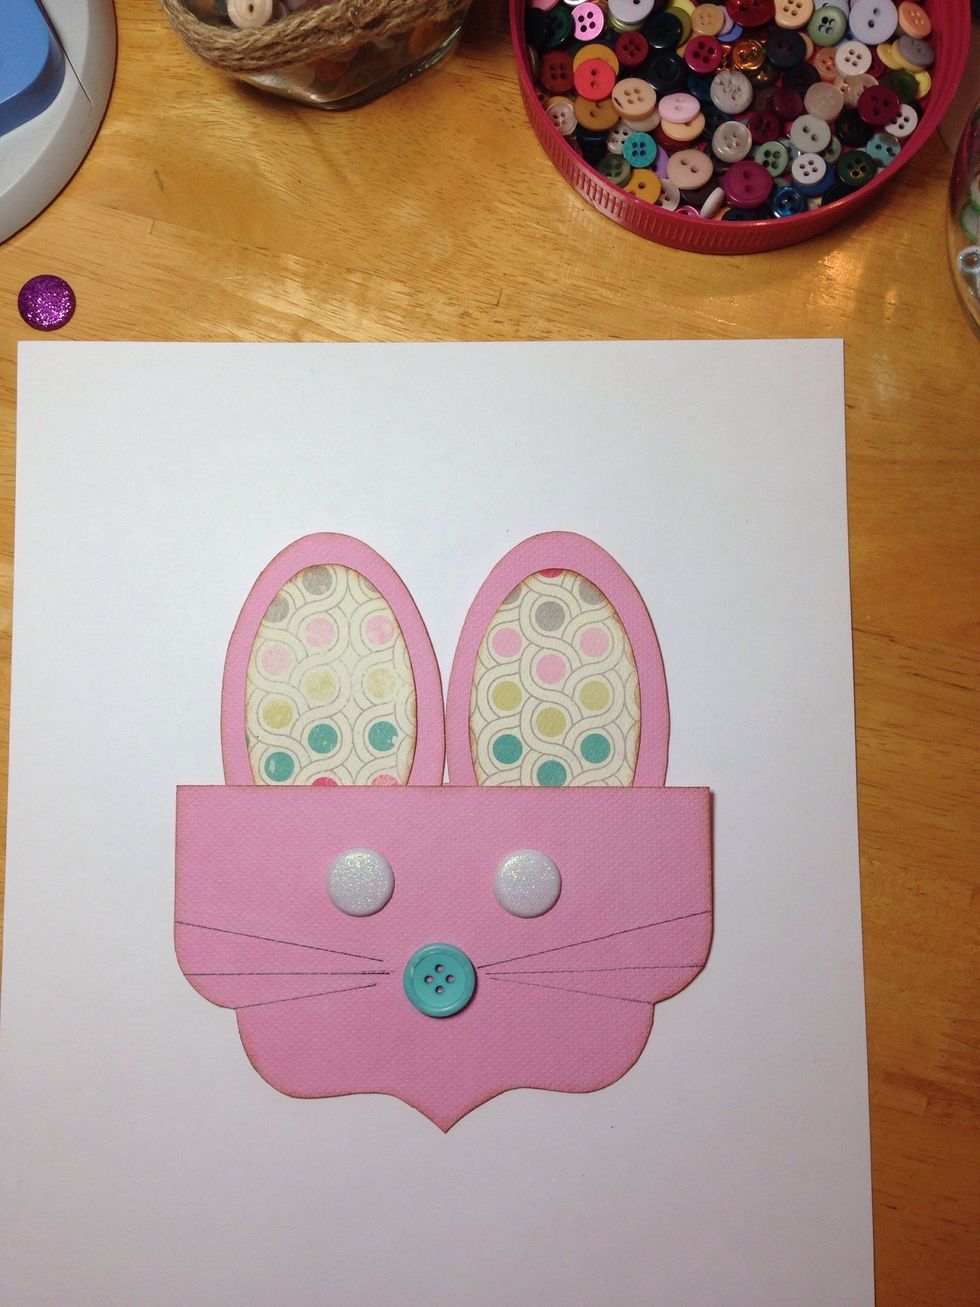
Trace two bunny ears using Kiwi Lane Tiny Shapes Template 8T.

Trace two inner bunny ears using KLD Tiny Shapes Template 4T.
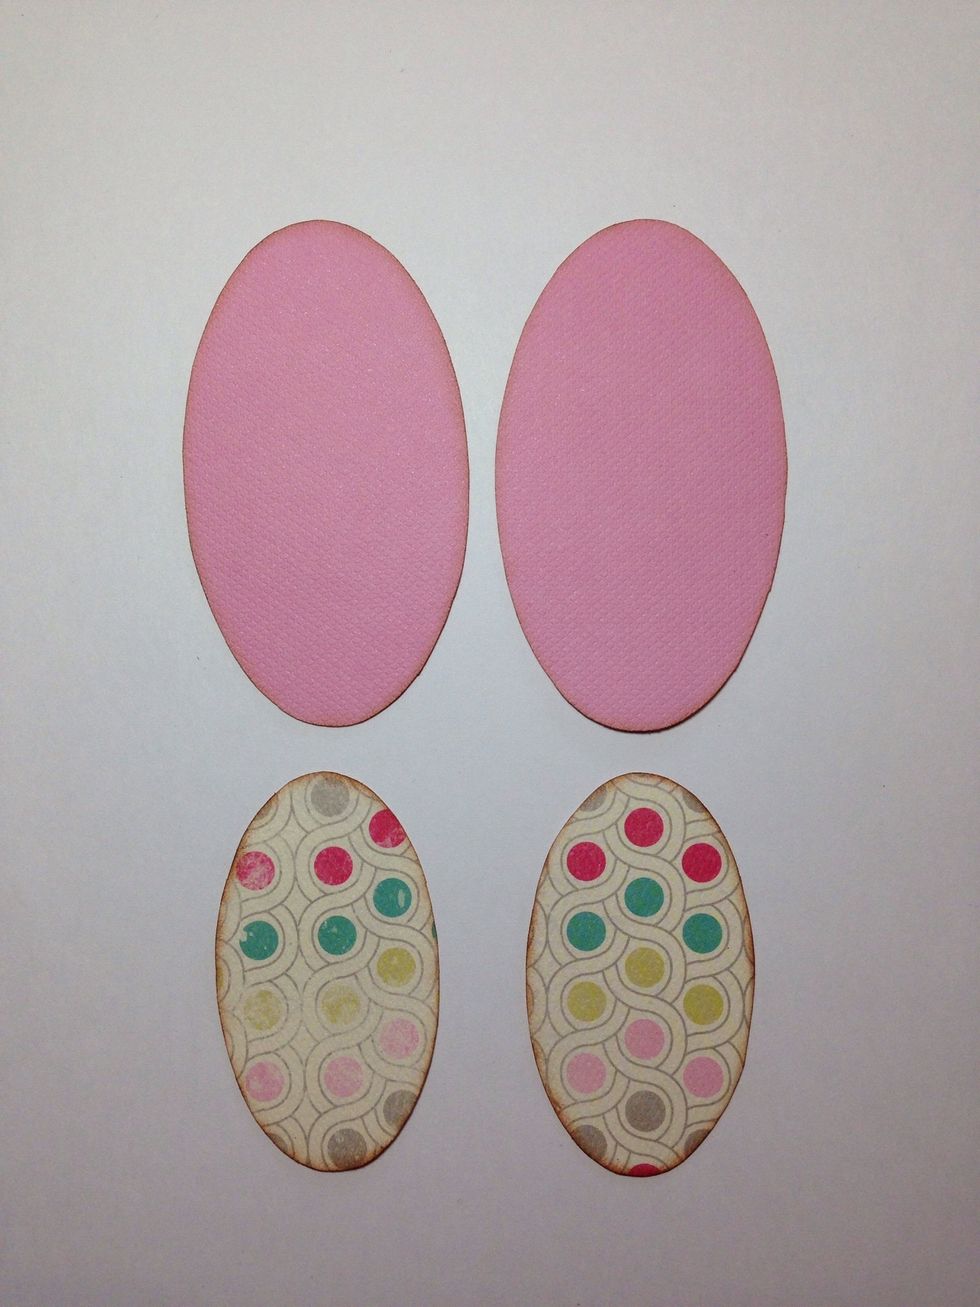
Cut out all ears and ink the edges.
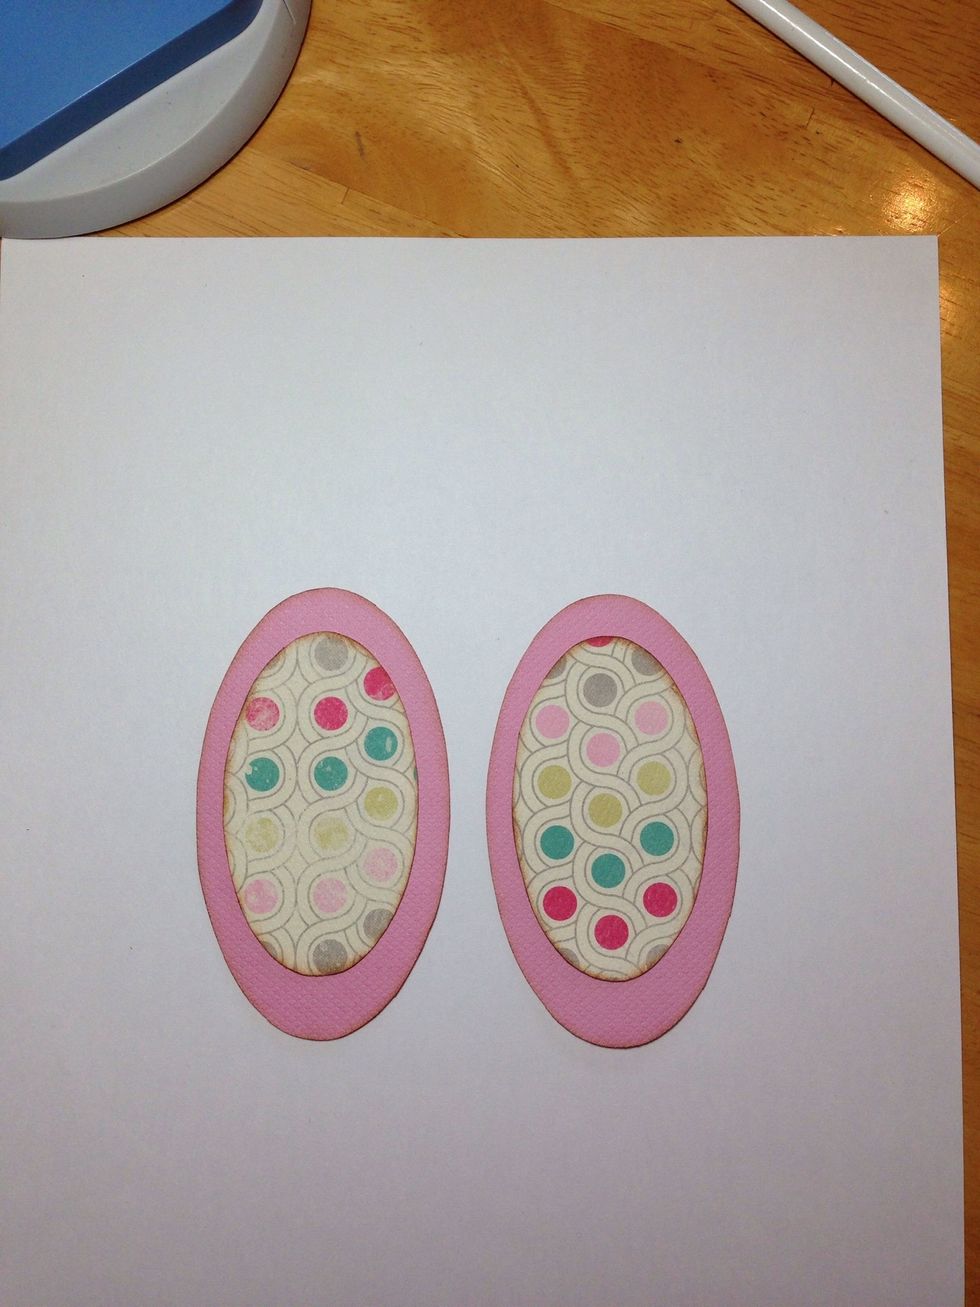
Adhere the inner ears to the pink ears.
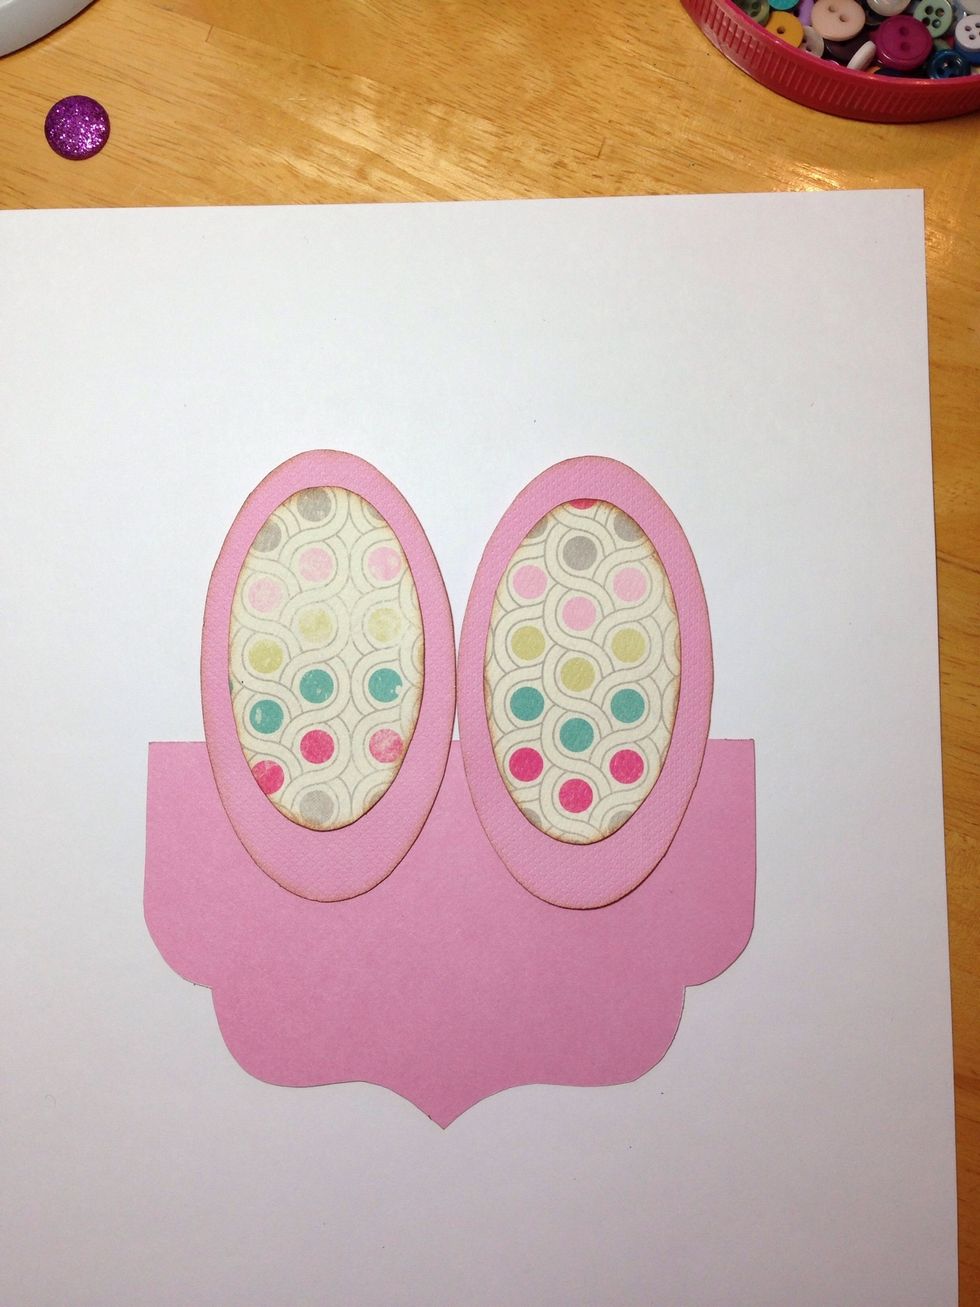
Adhere the bunny ears to the back of one of the brackets.
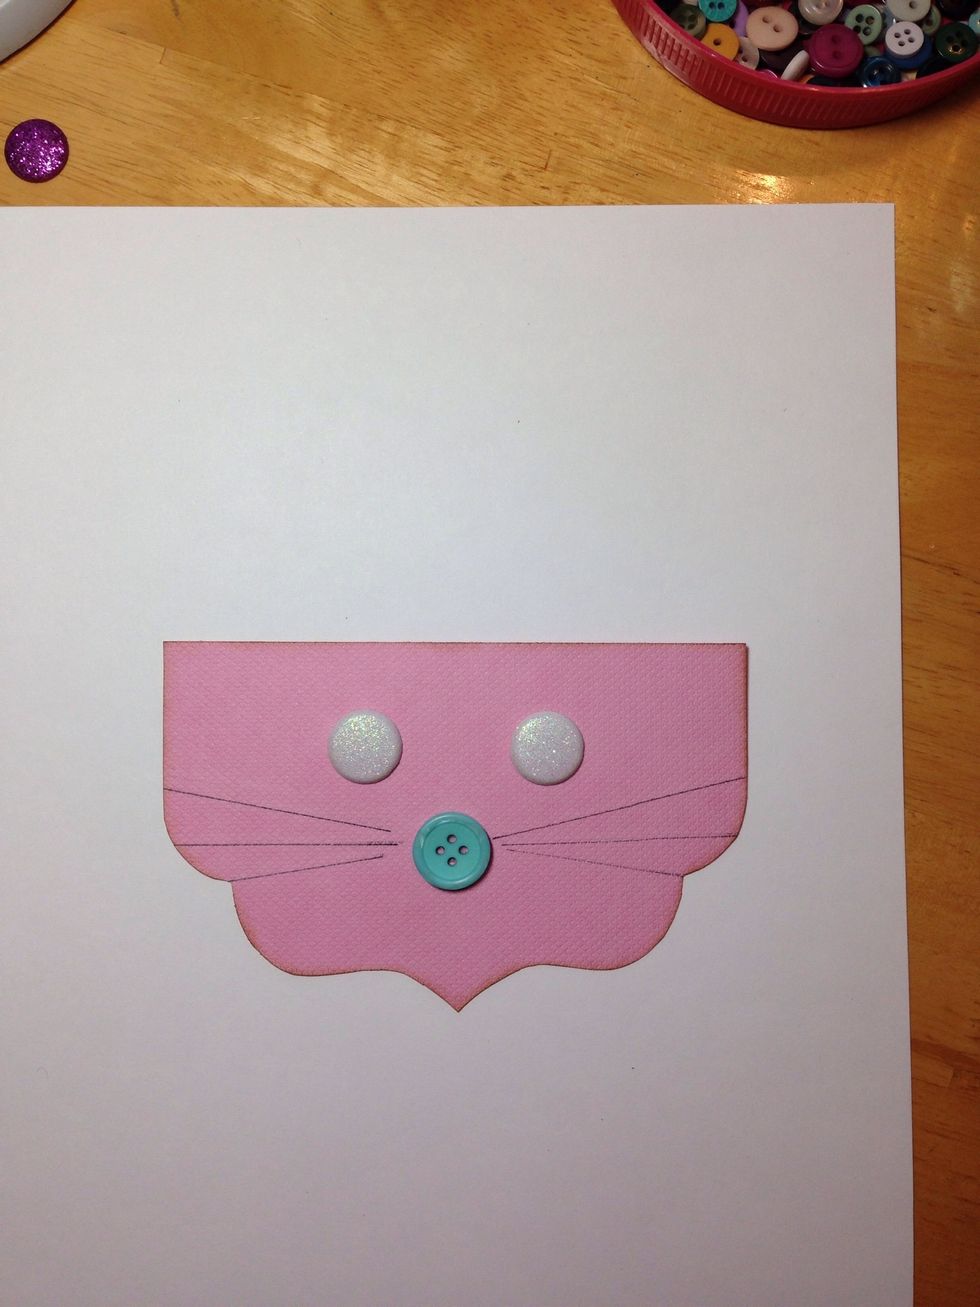
Create the bunny face on the other bracket with buttons or brads. Draw some whiskers.
Fill a bag with candy and place it between the two brackets. Staple the layers together and you will have a darling....
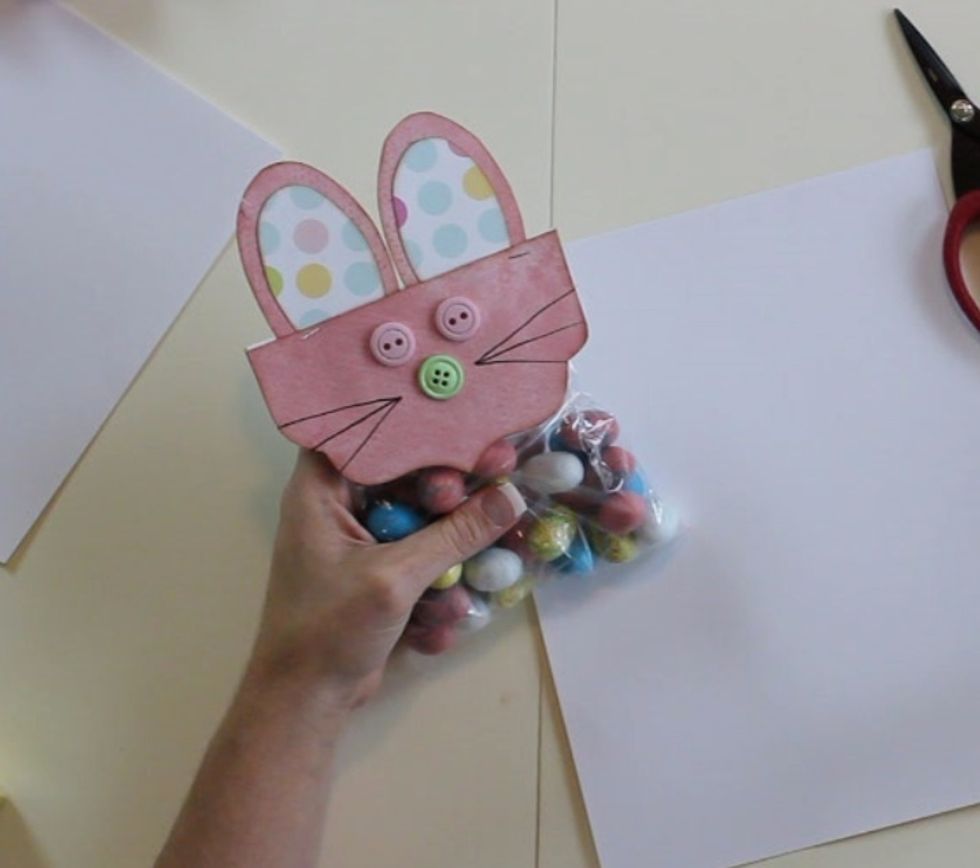
homemade Bunny Goodie Bag! For more info on these and other Kiwi Lane Designer Templates and fun ideas, visit www.kiwilane.com.

www.kiwilane.com