The Conversation (0)
Sign Up
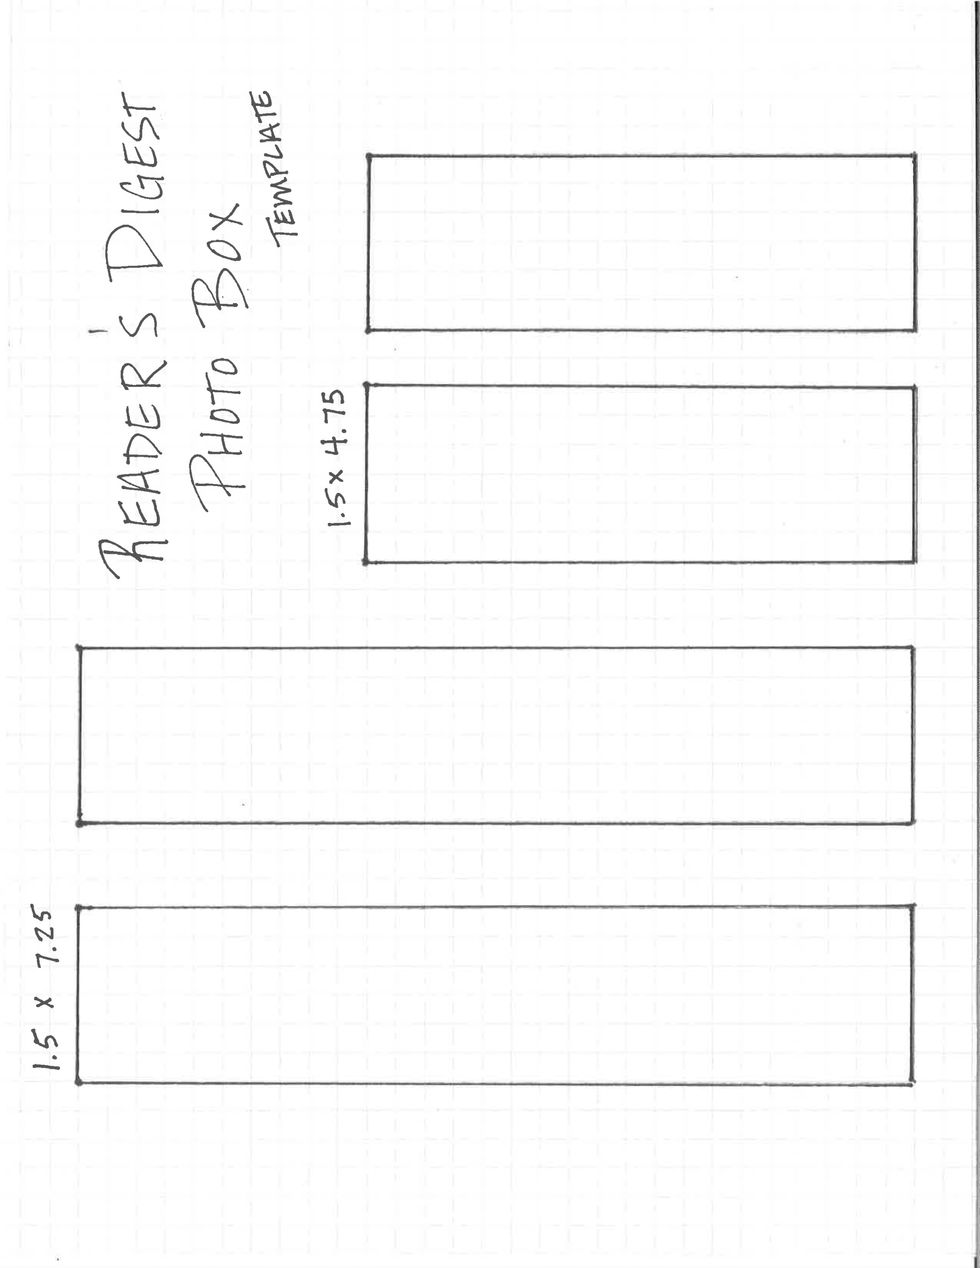
Here's the template. Print, cut, trace for measurements :)
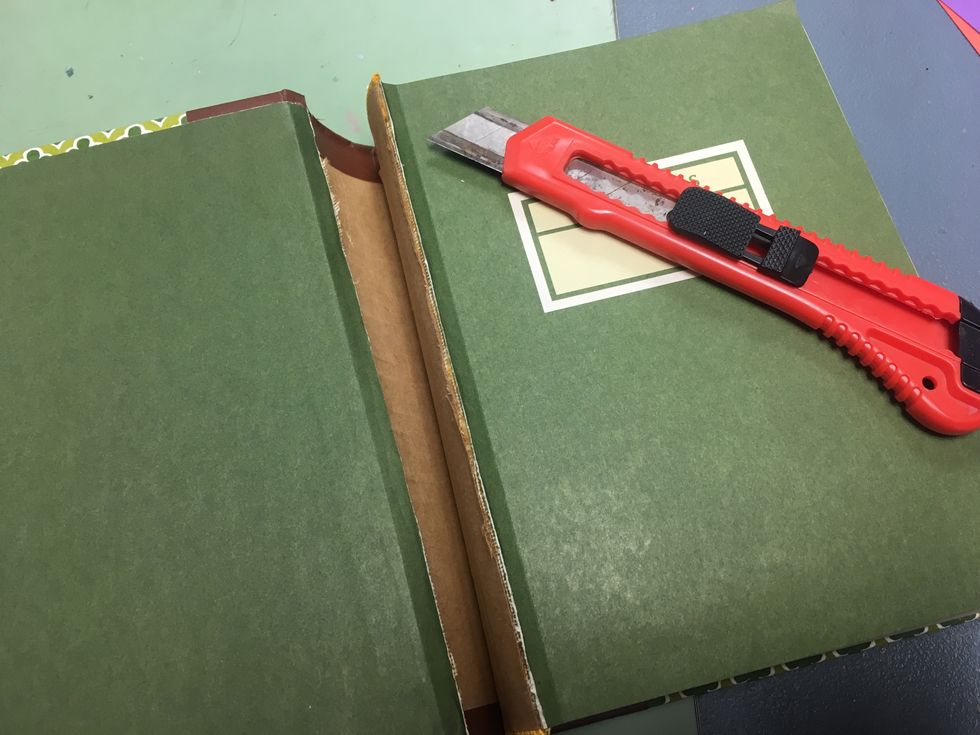
Begin by carefully removing the pages from the book by making one cut down each side with you exacto knife. Do this to both books.

The pages will remain intact. Save them for another project :)
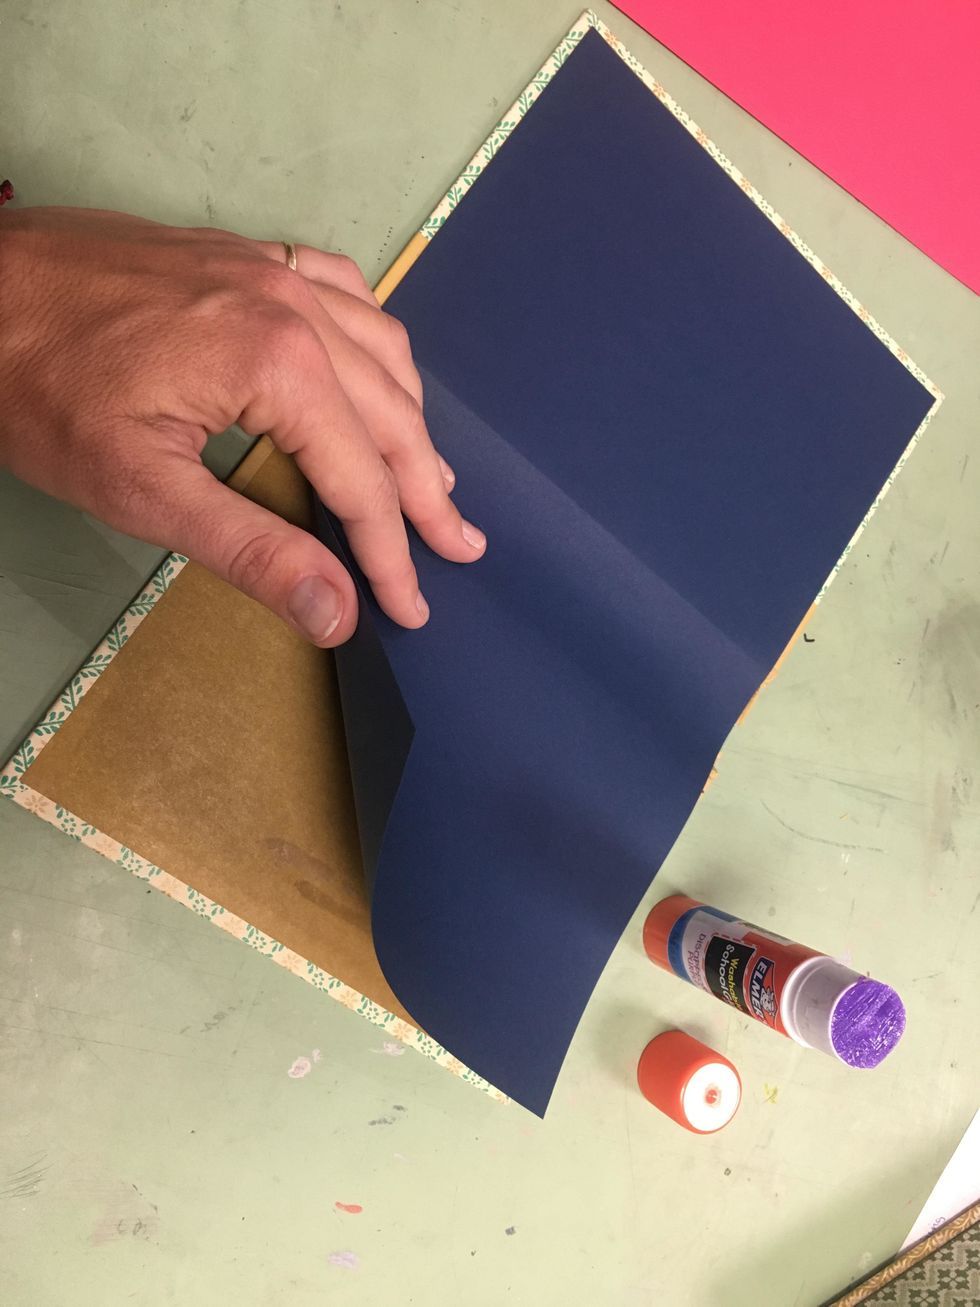
Glue a nice piece of paper inside the cover of one of the books. Choose a color that complements your two books.
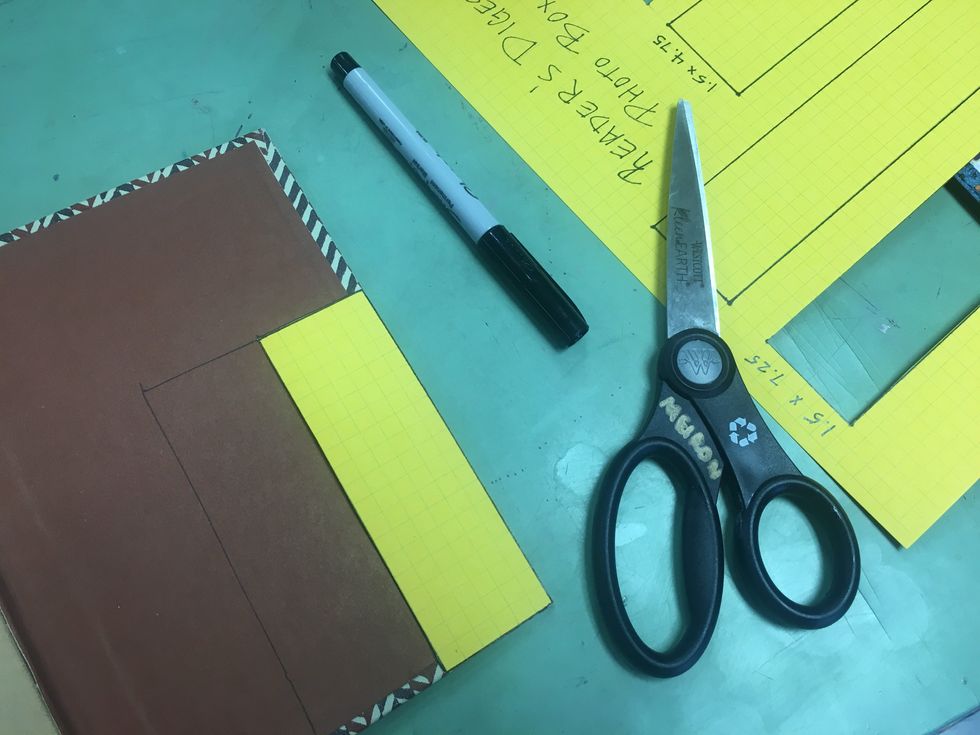
Cut out and trace the templates onto the inner cover of the second book.
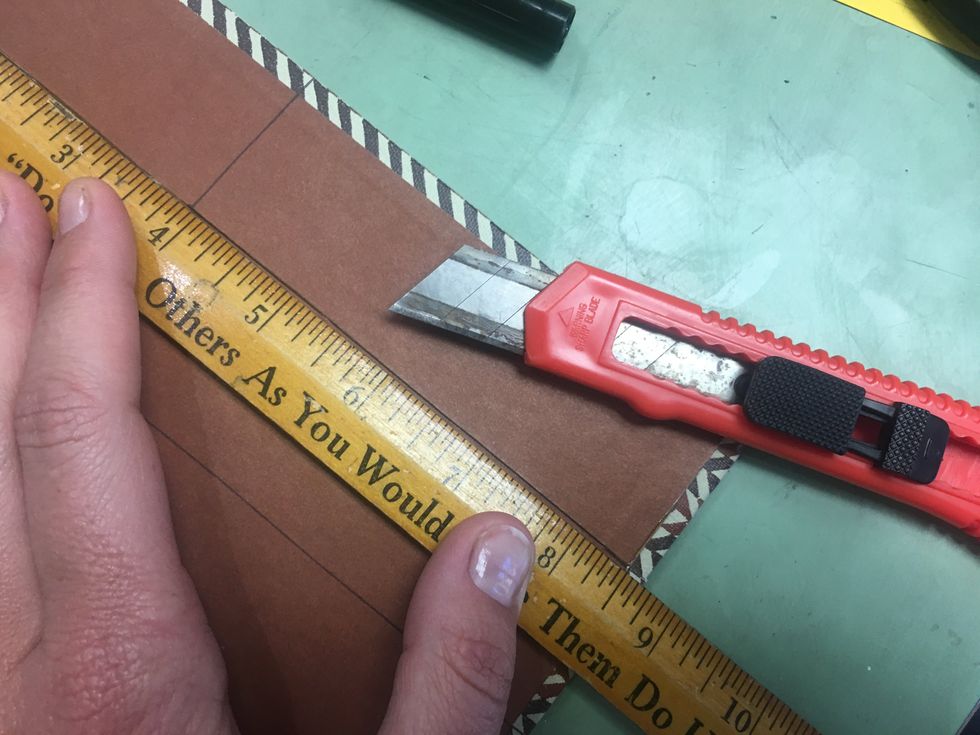
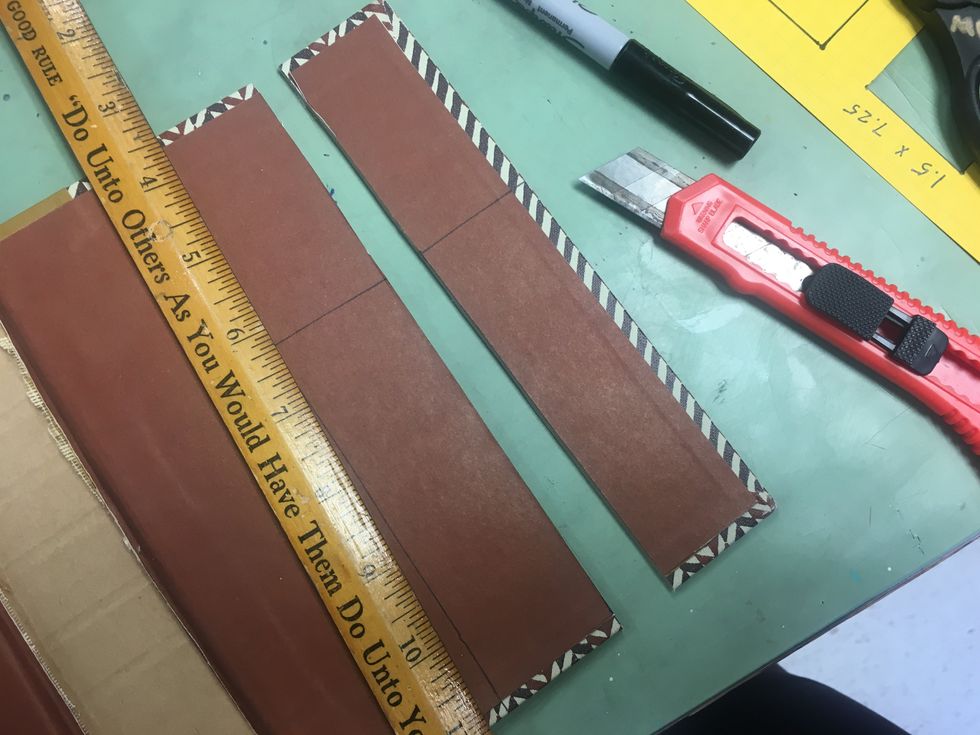
Using a ruler or straight edge cut out the pieces keeping in mind the decorative edges. Look at the following slides before cutting.
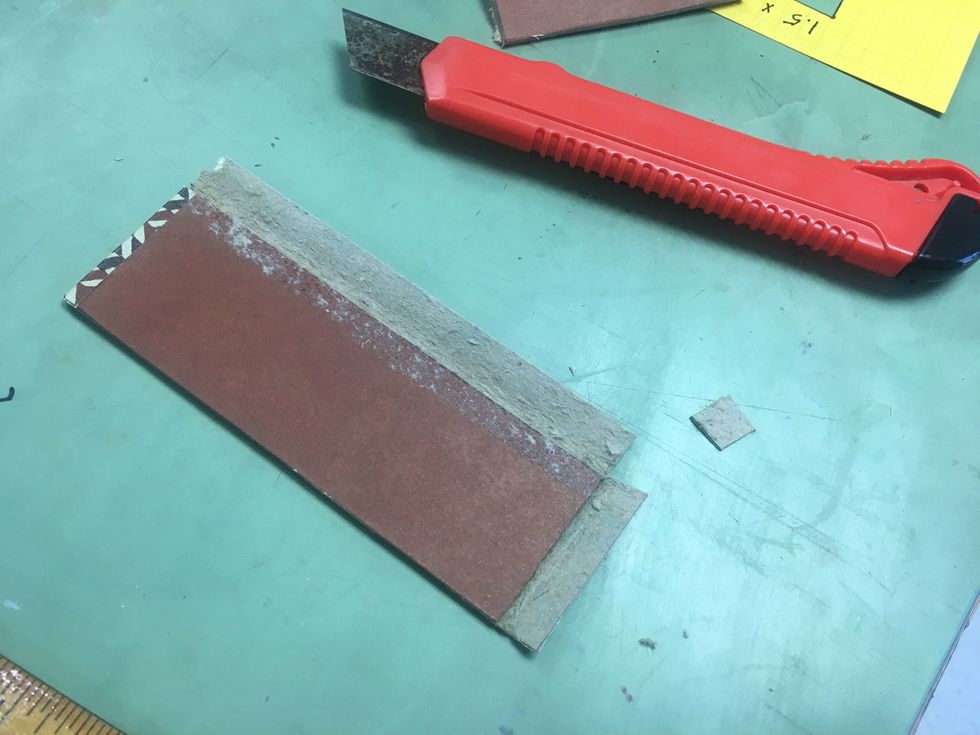
This piece has a decorative edge. We will make a decorative edge for the next one.


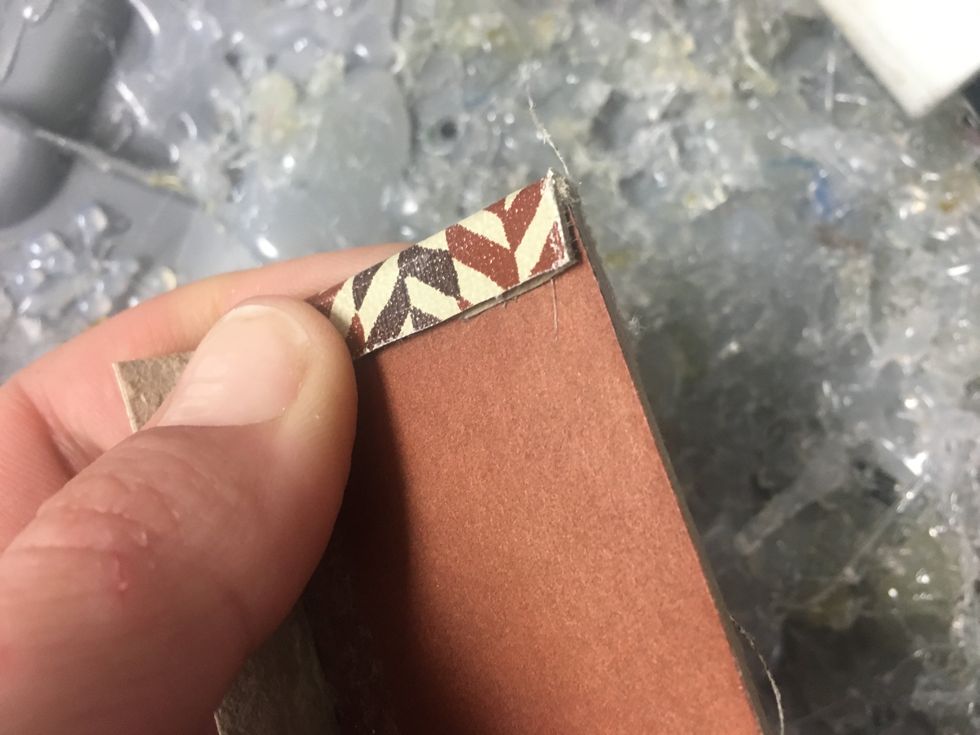
Once you reach the cover, peel the innermost side of the book back to separate it from the pretty outer cover.
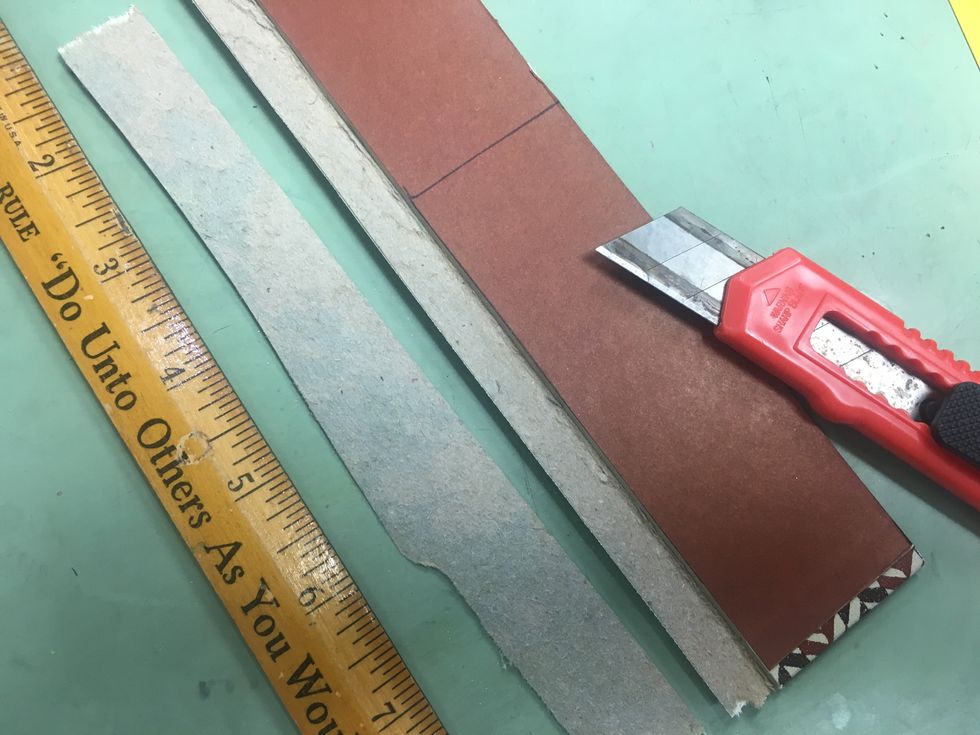
Use a straight edge to cut the cover so that there is enough of the cover to wrap around the edge of this piece.
As you cut out each piece of the book, remember to cut carefully so you can create pretty edges around 2 short edges and 1 long edge of every piece.
Fold the edges over.

Use hot glue to adhere the book cover around the edge of each piece.
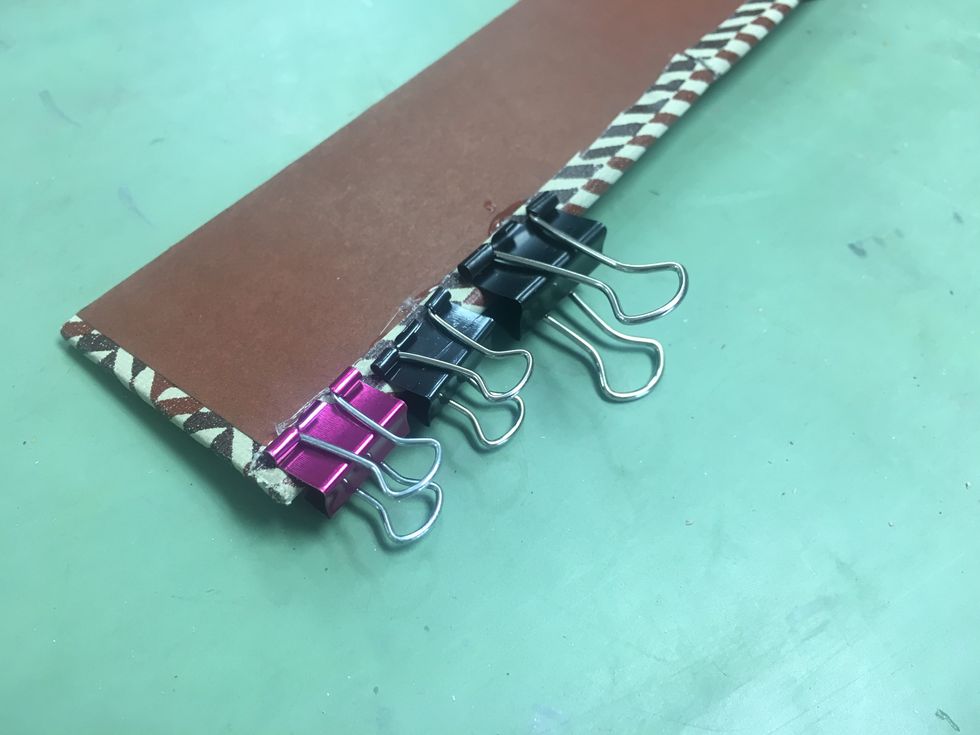
I recommend using paper clips to hold the edges in place while the glue cools.
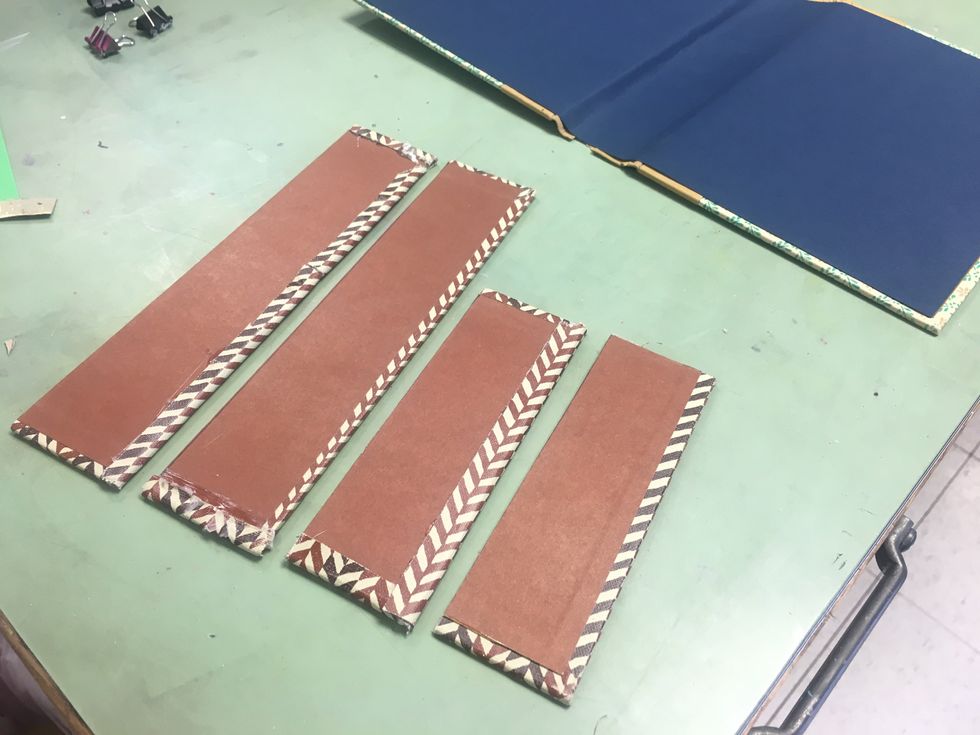
Here are my 4 pieces. Now I am ready to put my box together!

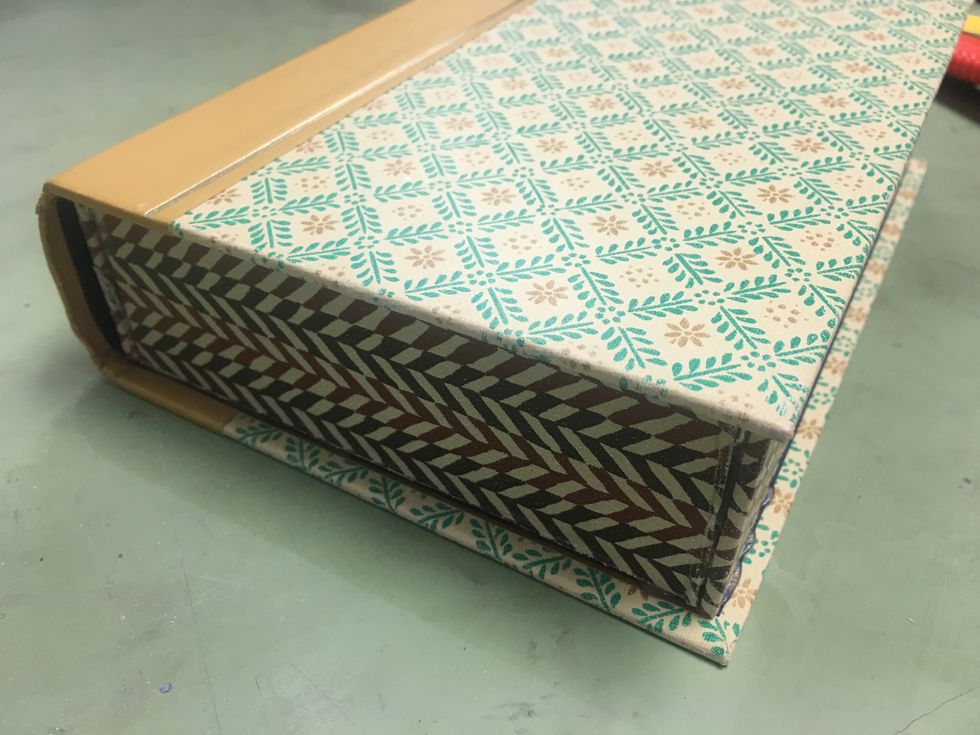
Glue the corners together one at a time until you create a rectangle. Keeping all of the pretty edges facing the same direction.
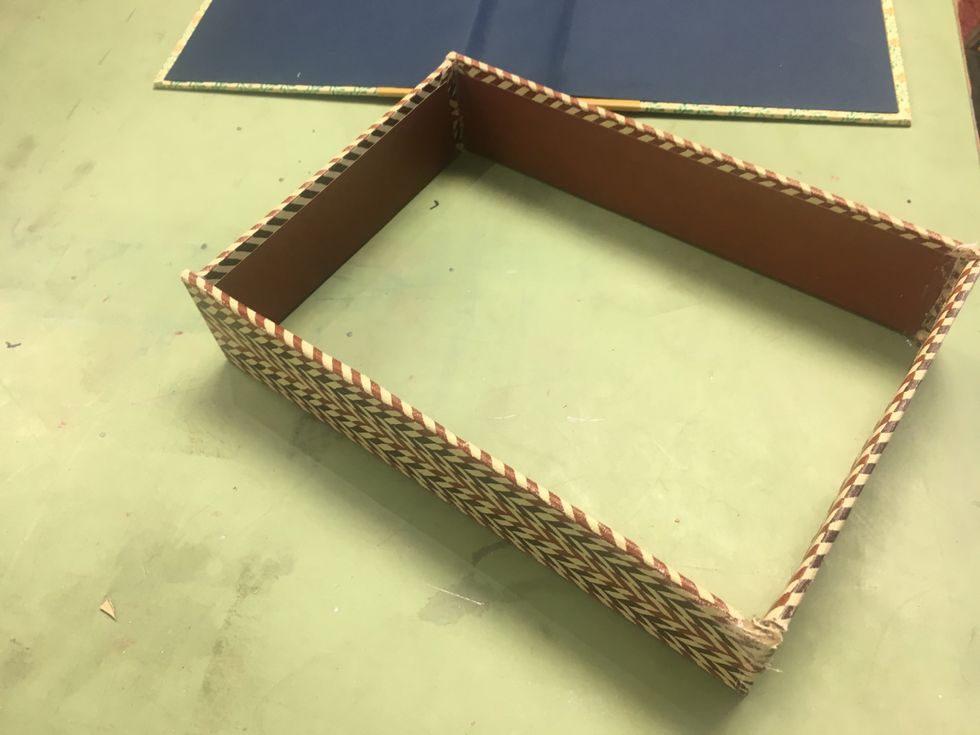
This is what it should look like.
Lastly, glue the rectangle onto one side of the other Book. Test it to make sure it closes correctly before glueing into position.
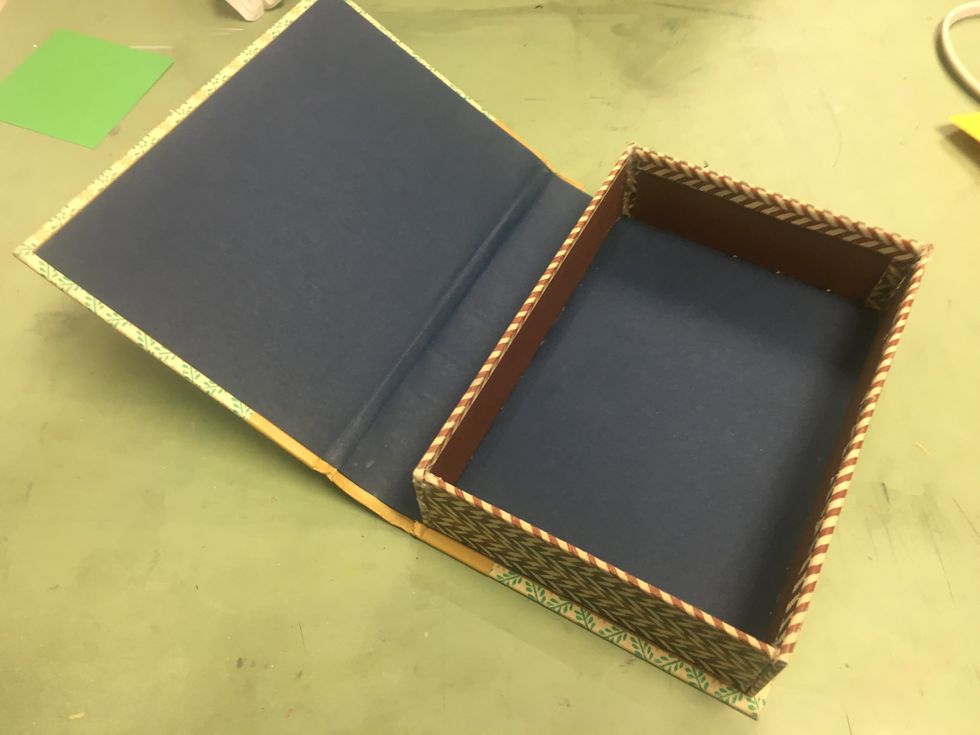
This is the finished product!