The Conversation (0)
Sign Up
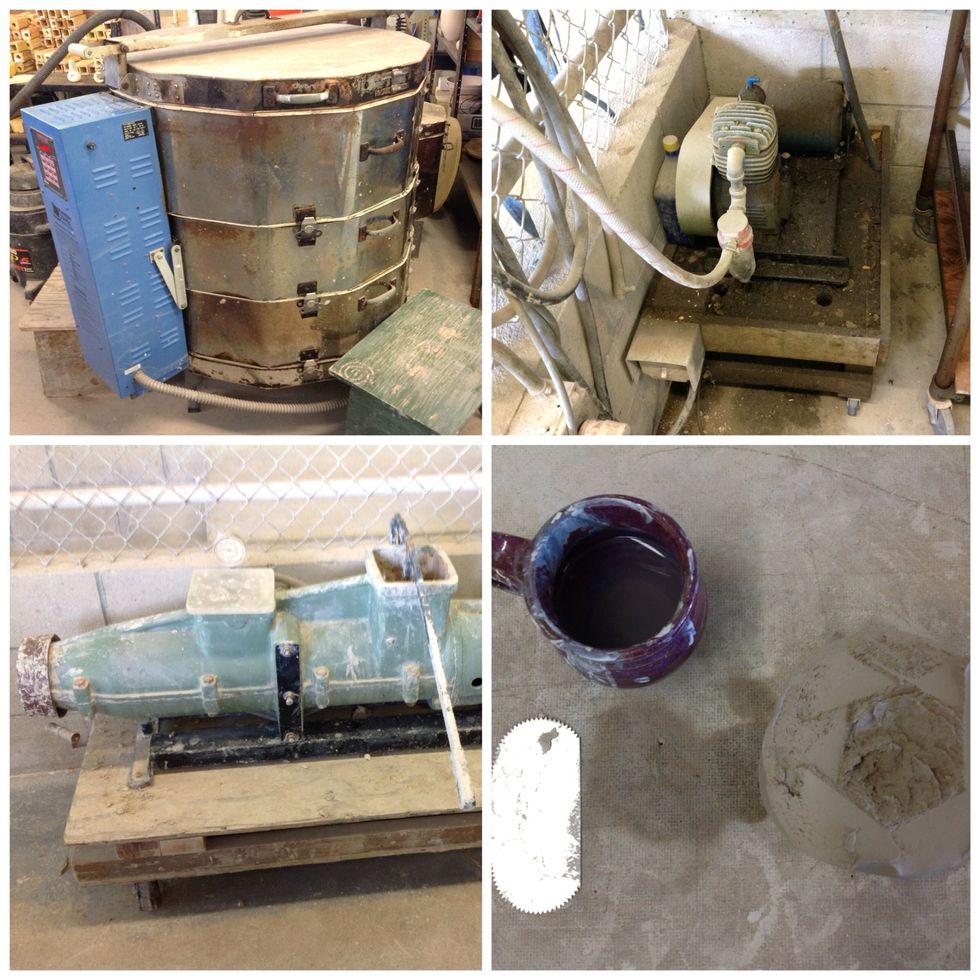
Materials you will need: generator, kiln, pugger, water, something to cut the clay with, and clay.
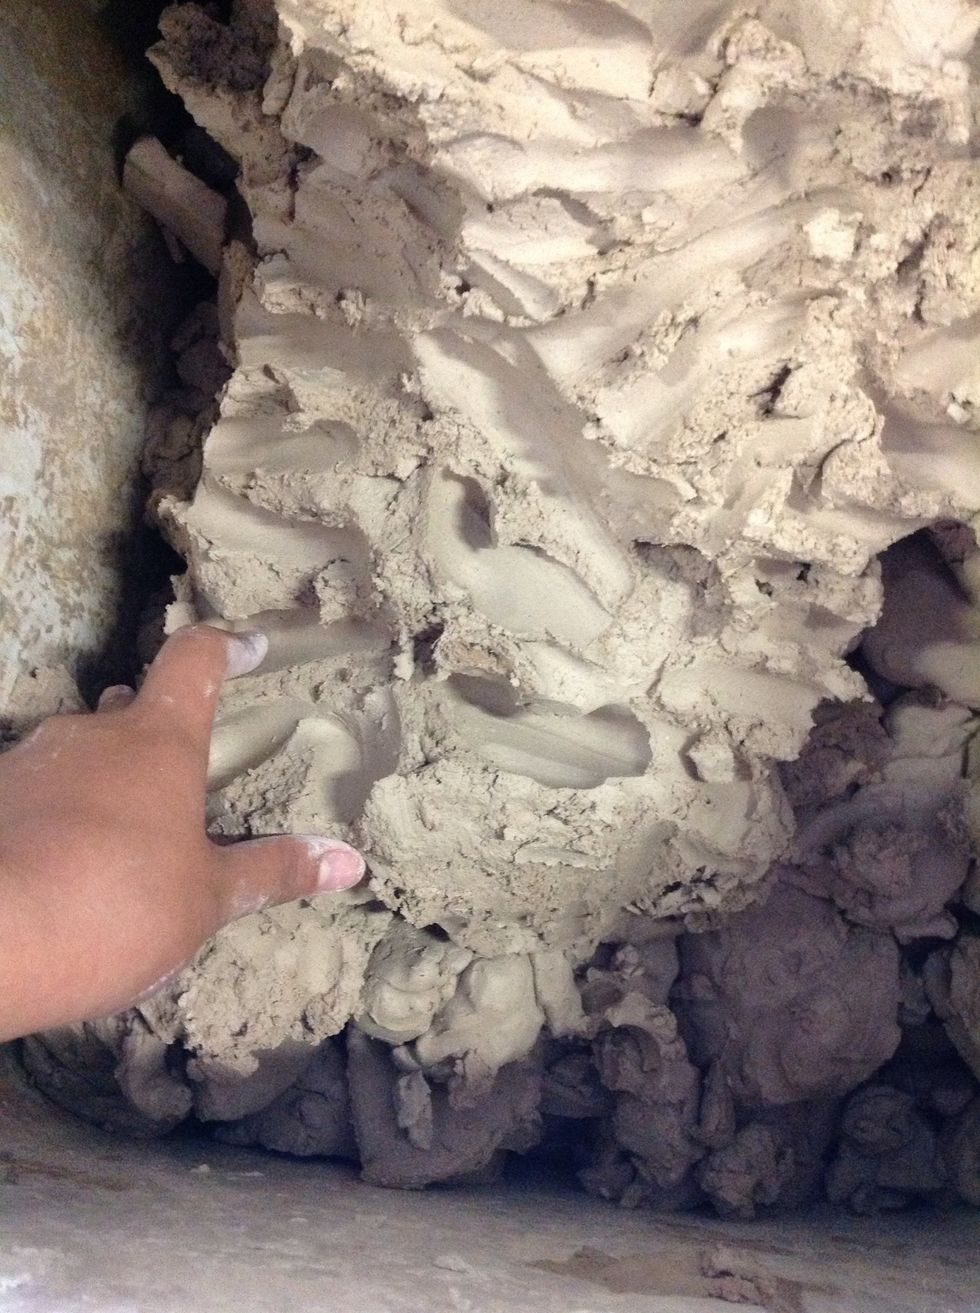
Grab some clay
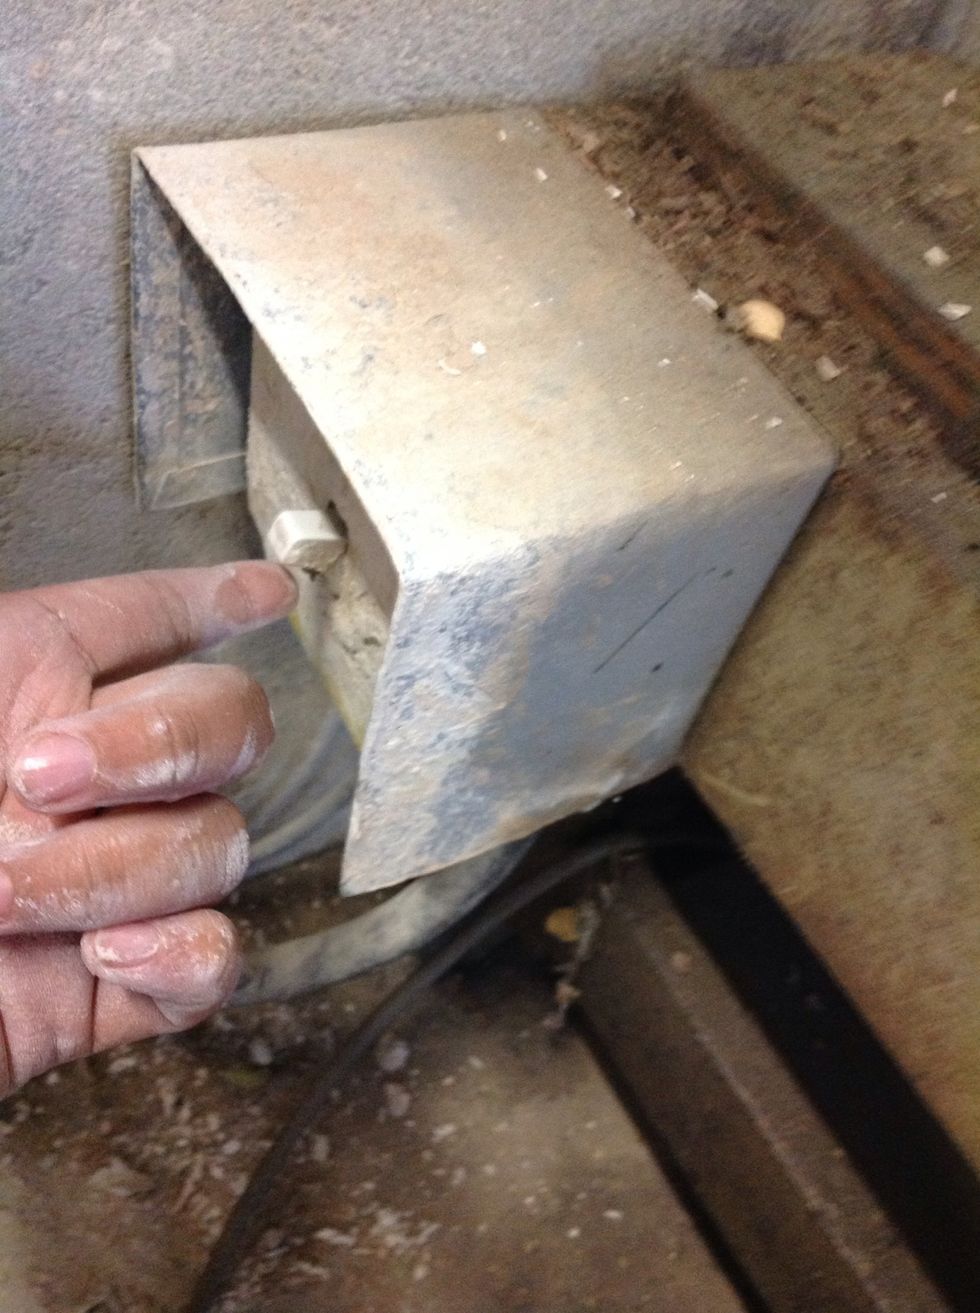
Turn on the generator for the pugger
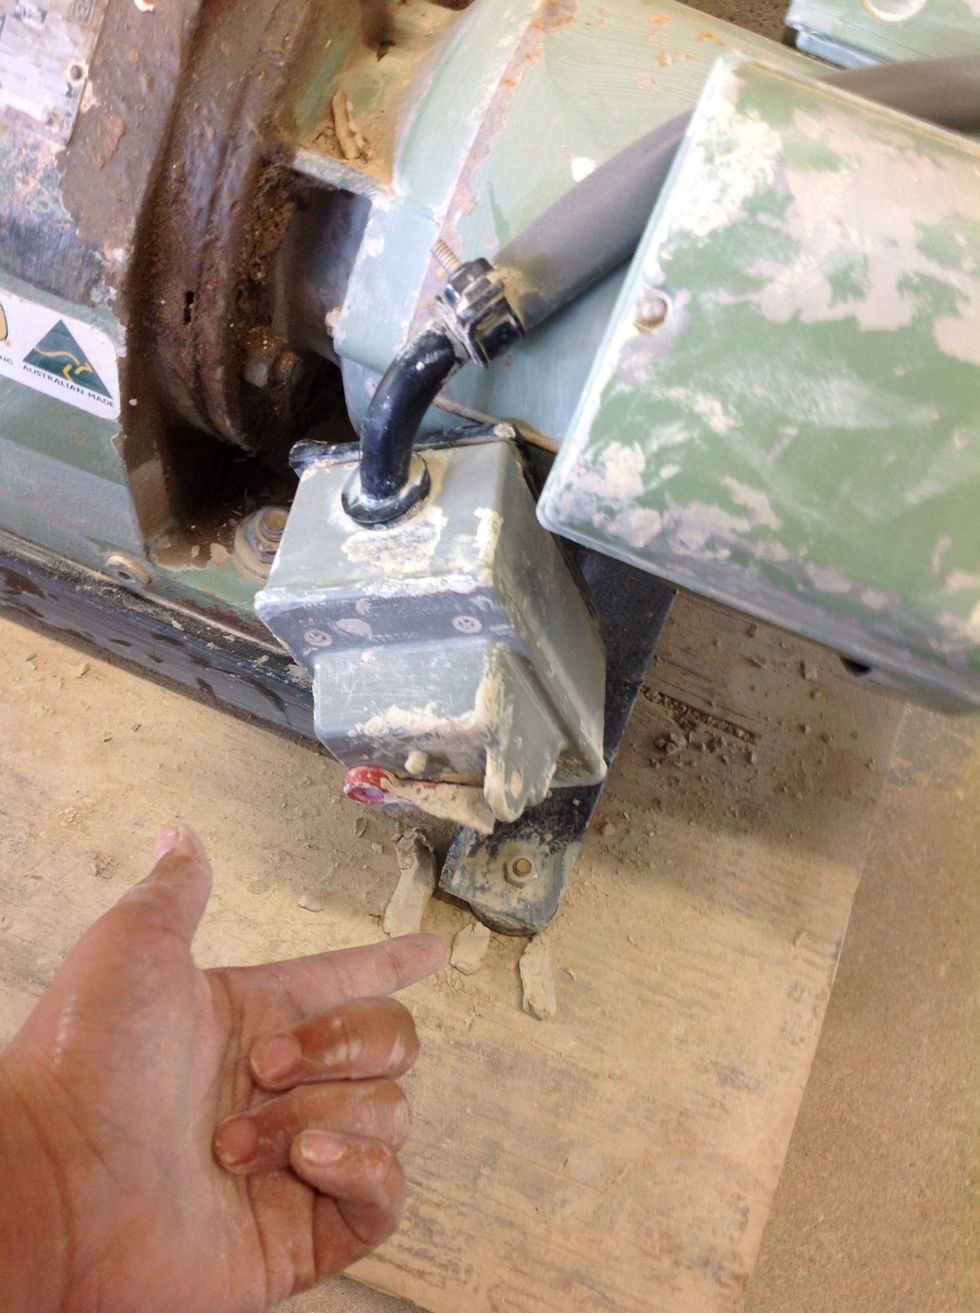
Turn on the pugger
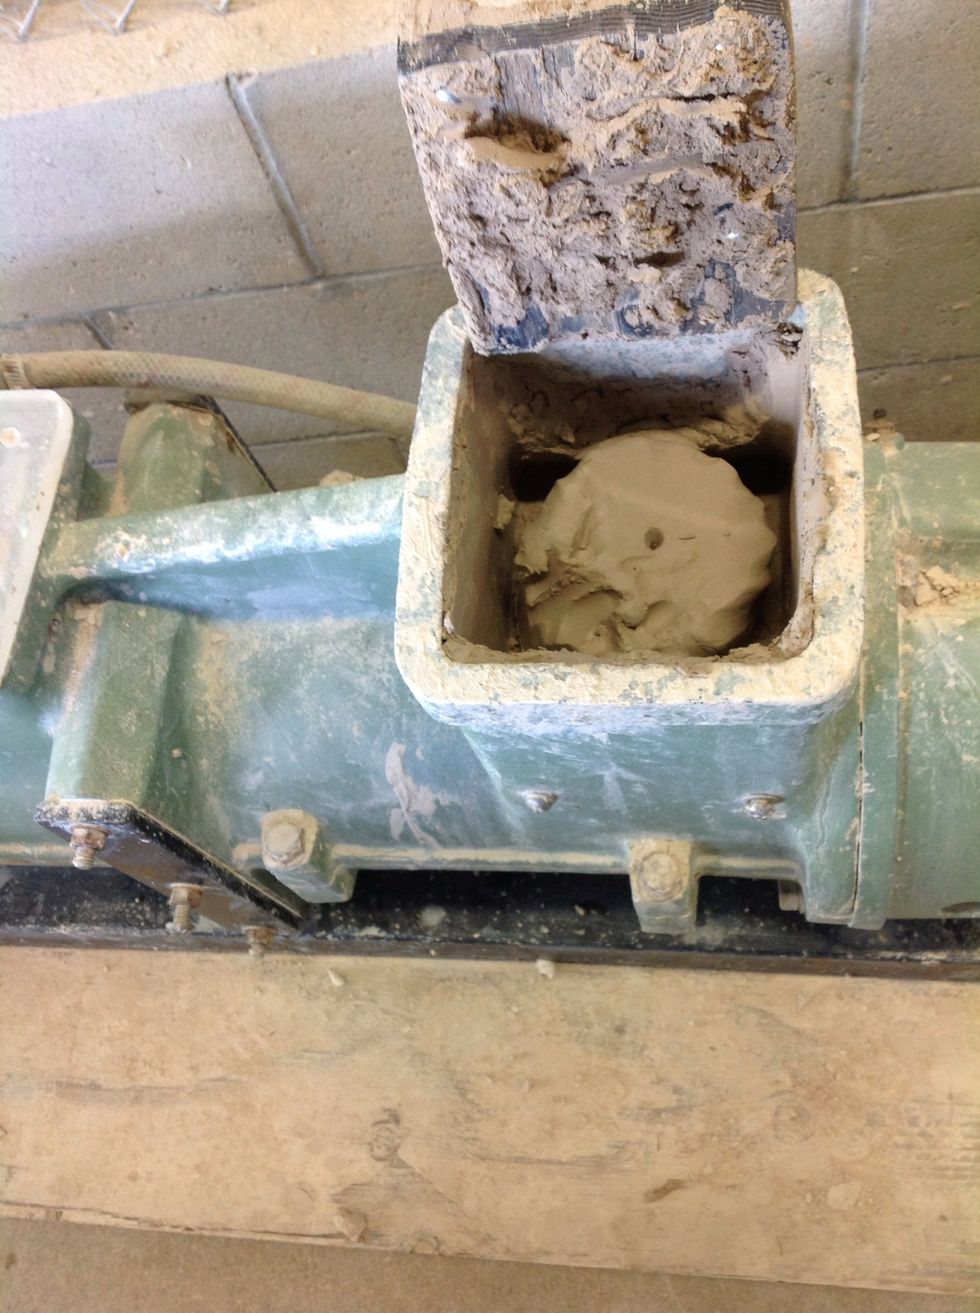
Place your clay into the pugger hole
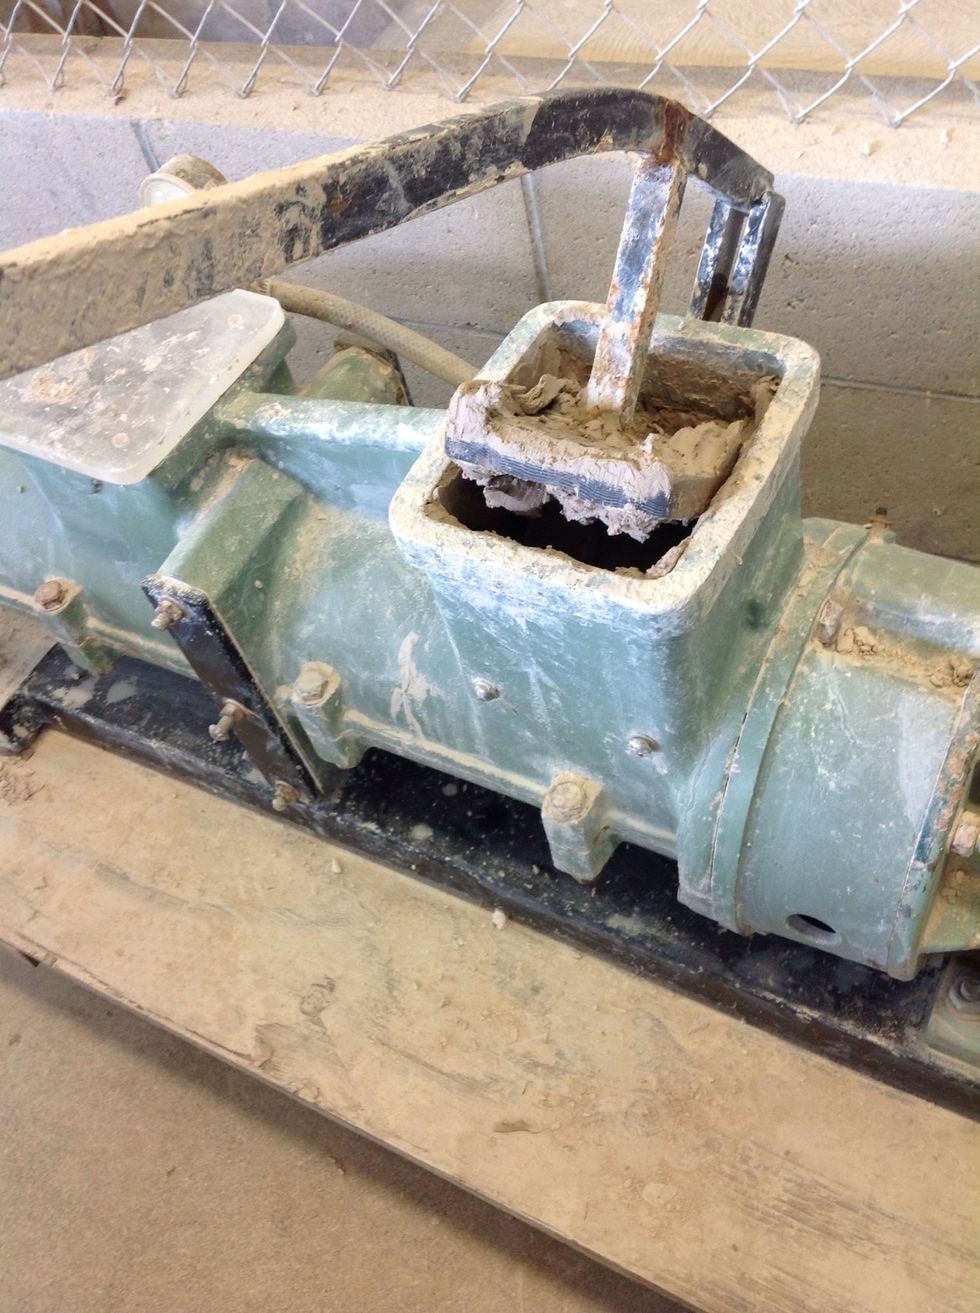
Push down on the lever. The pugger is made to diminish air bubbles in the clay.
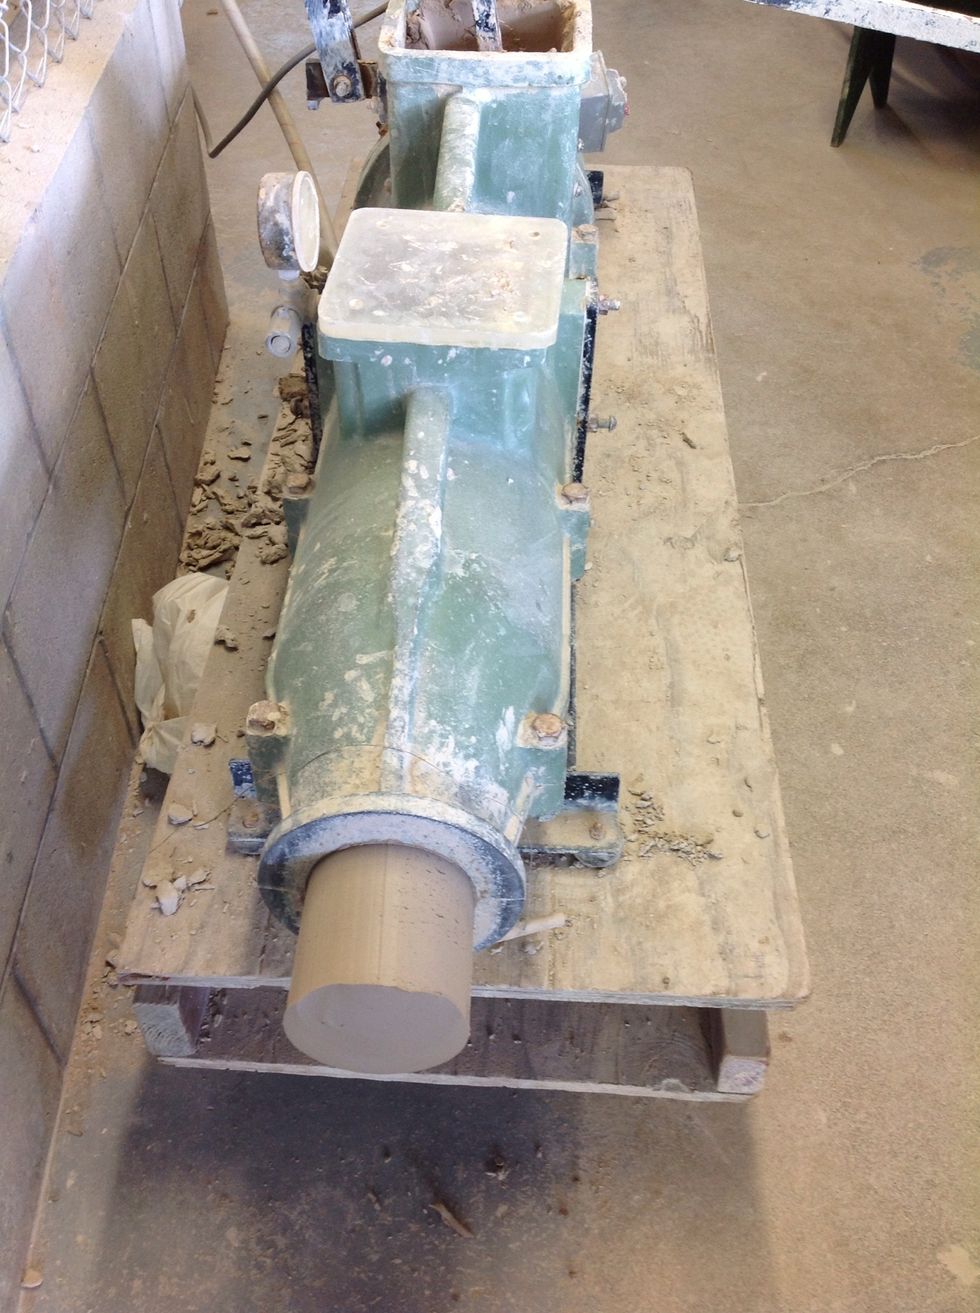
As the clay comes out make sure that it doesn't push too much out.
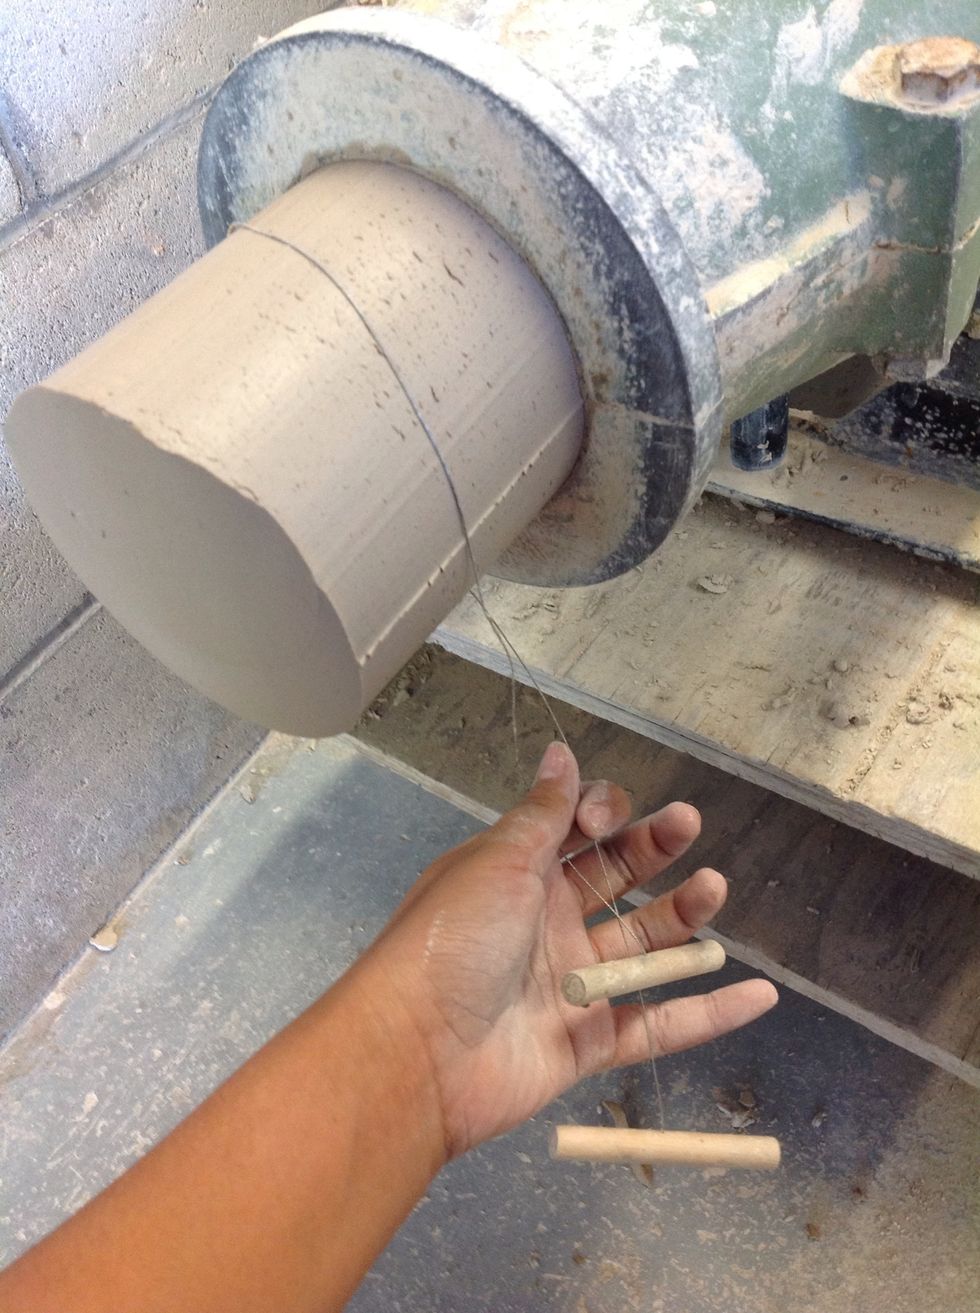
Using a tool,cut the clay slowly so that it isn't uneven
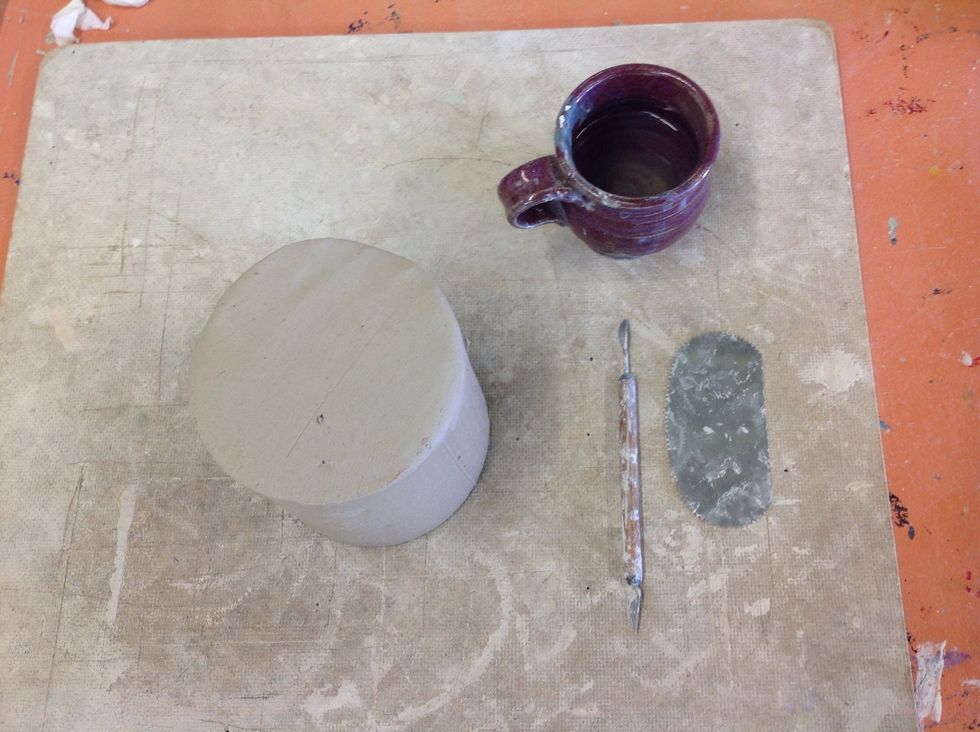
Place your clay down alongside your tools to make the bowl. supplies needed are water, and something to cut your clay with.
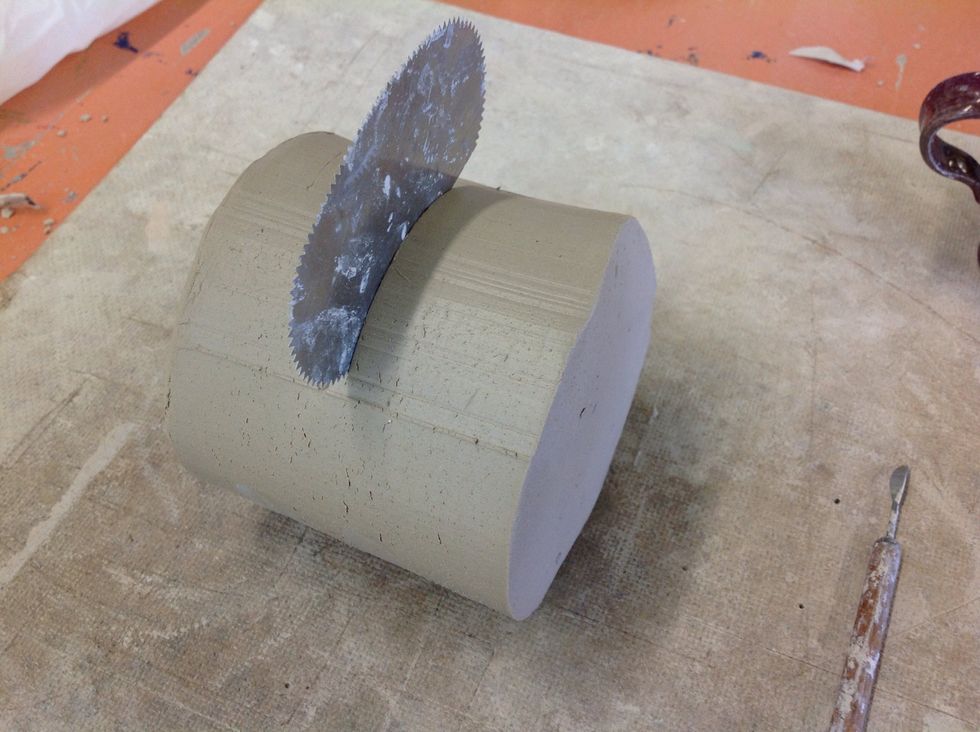
You might find that your clay is alittle bit too big for this next step so cut your clay in half.
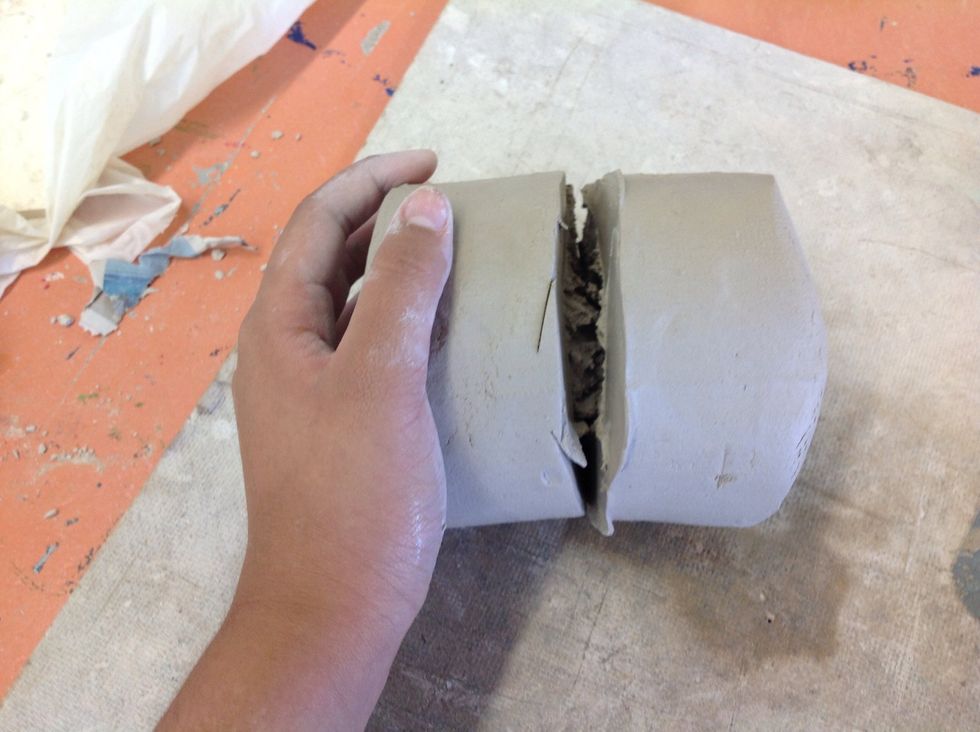
Break it in half and put your unwanted clay to the side or in a damp paper towel
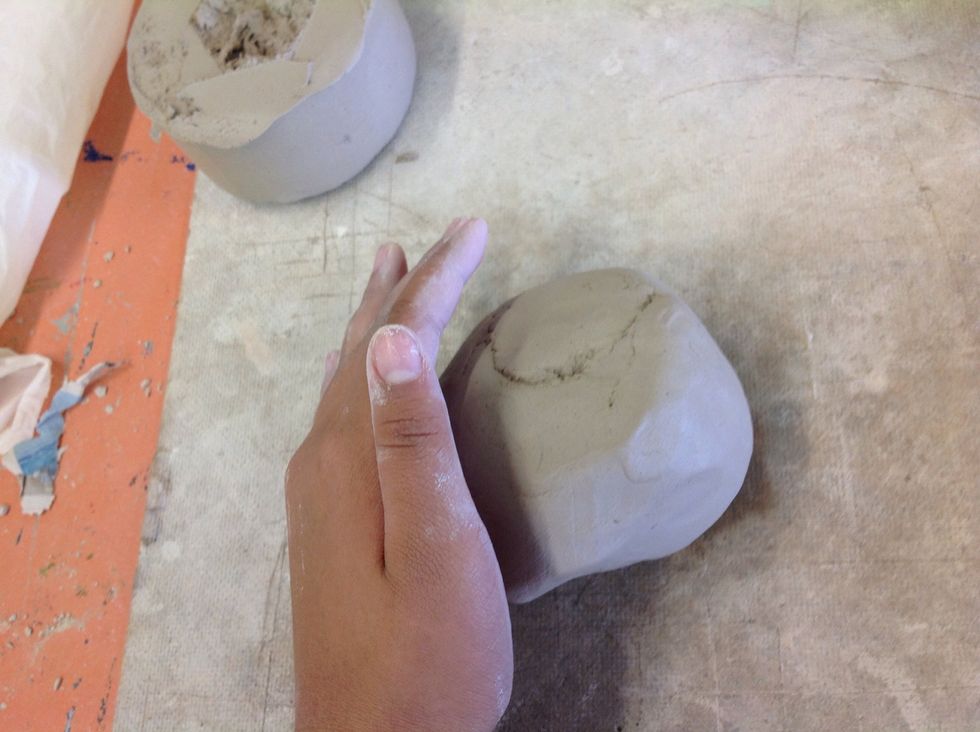
Start patting the edges to create a ball.

When you have patted your clay to create a ball, coat over the cracks with extra pieces of your left over clay or water to make it smooth
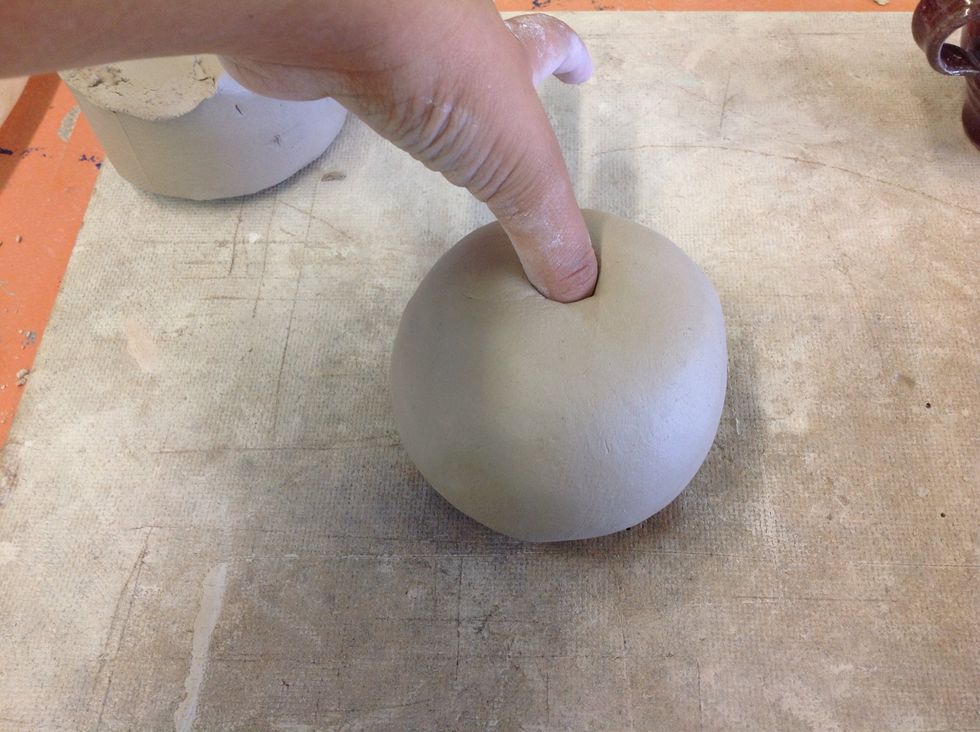
When your ball is nice and smooth place your thumb in the middle of the ball creating a hole
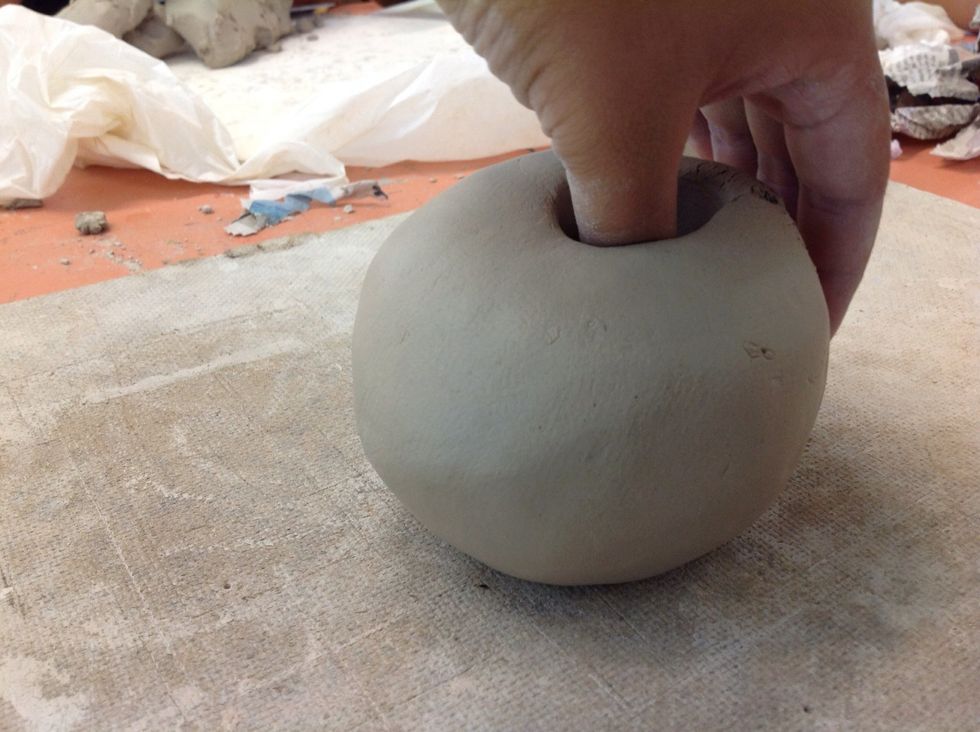
Start to pinch around to create your bowl shape
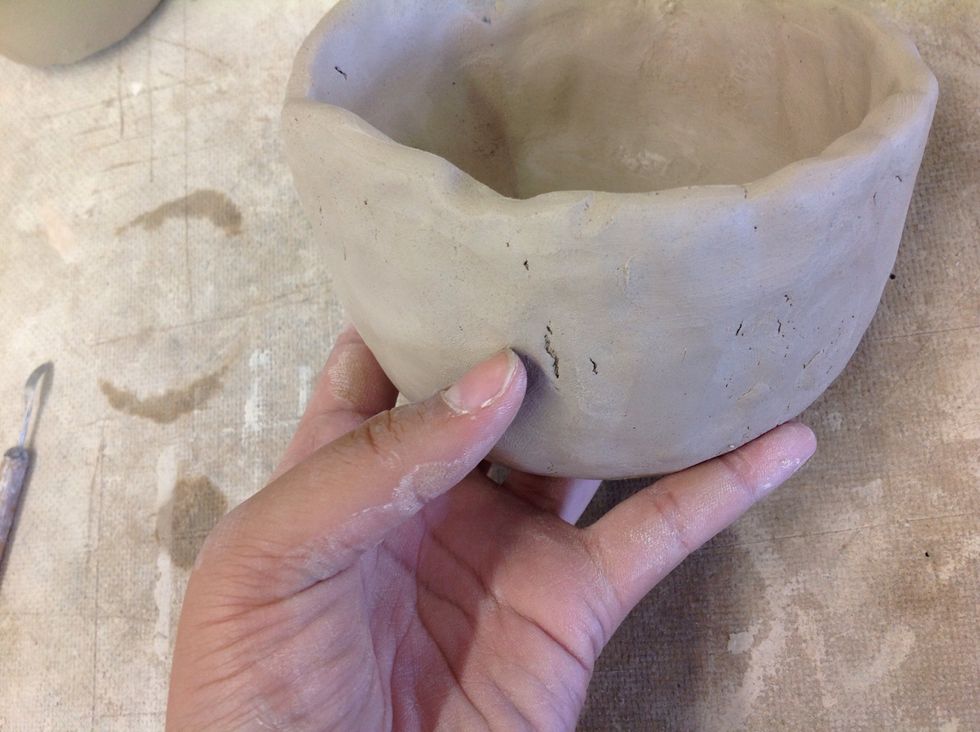
When sculpting the bowl is done, fill in left over cracks that you missed to smooth out the bowl and make a clean look.
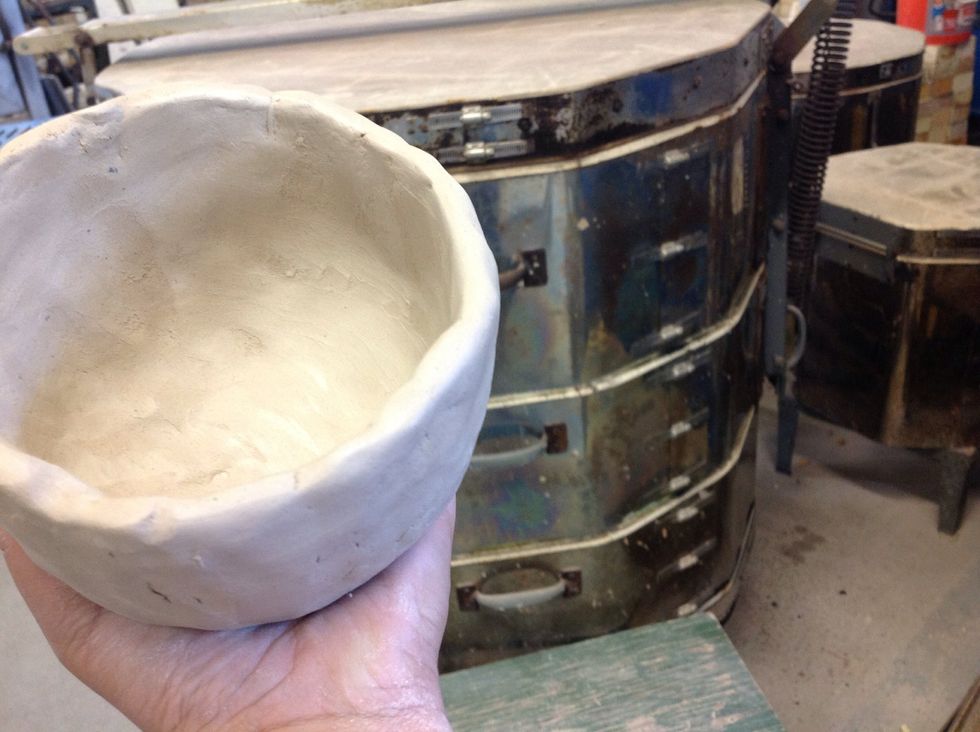
Take your bowl to the kiln and bake your bowl for a few days until your bowl is totally dry and it's color has changed.
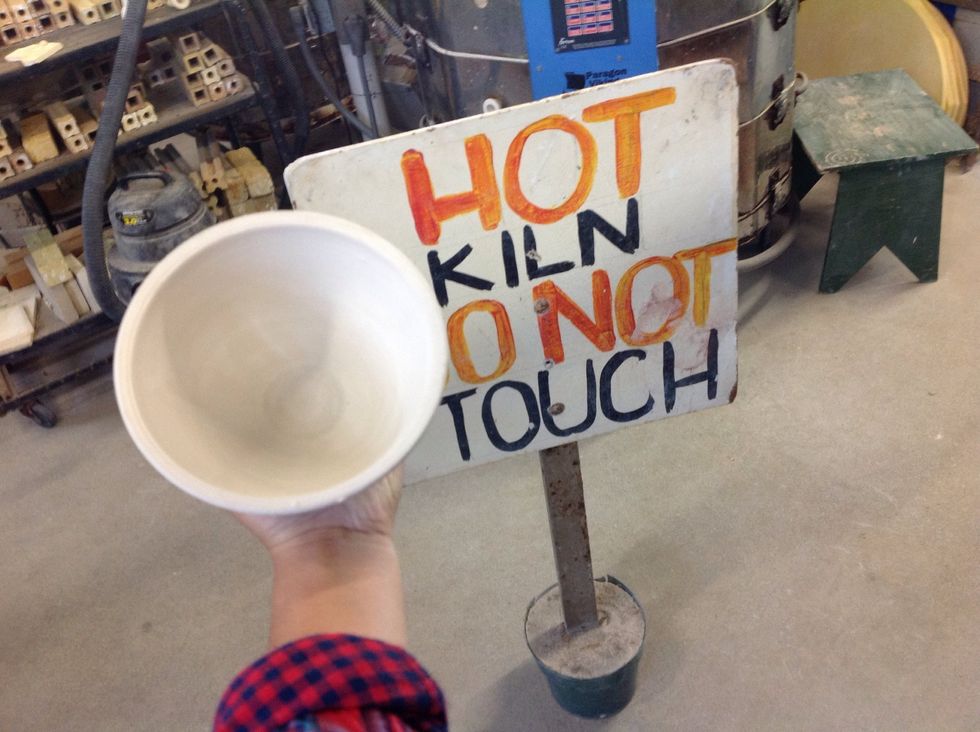
This is what your bowl should look like after a few days in the kiln. Cautiously take/insert your bowl from the kiln because it is very hot!