The Conversation (0)
Sign Up
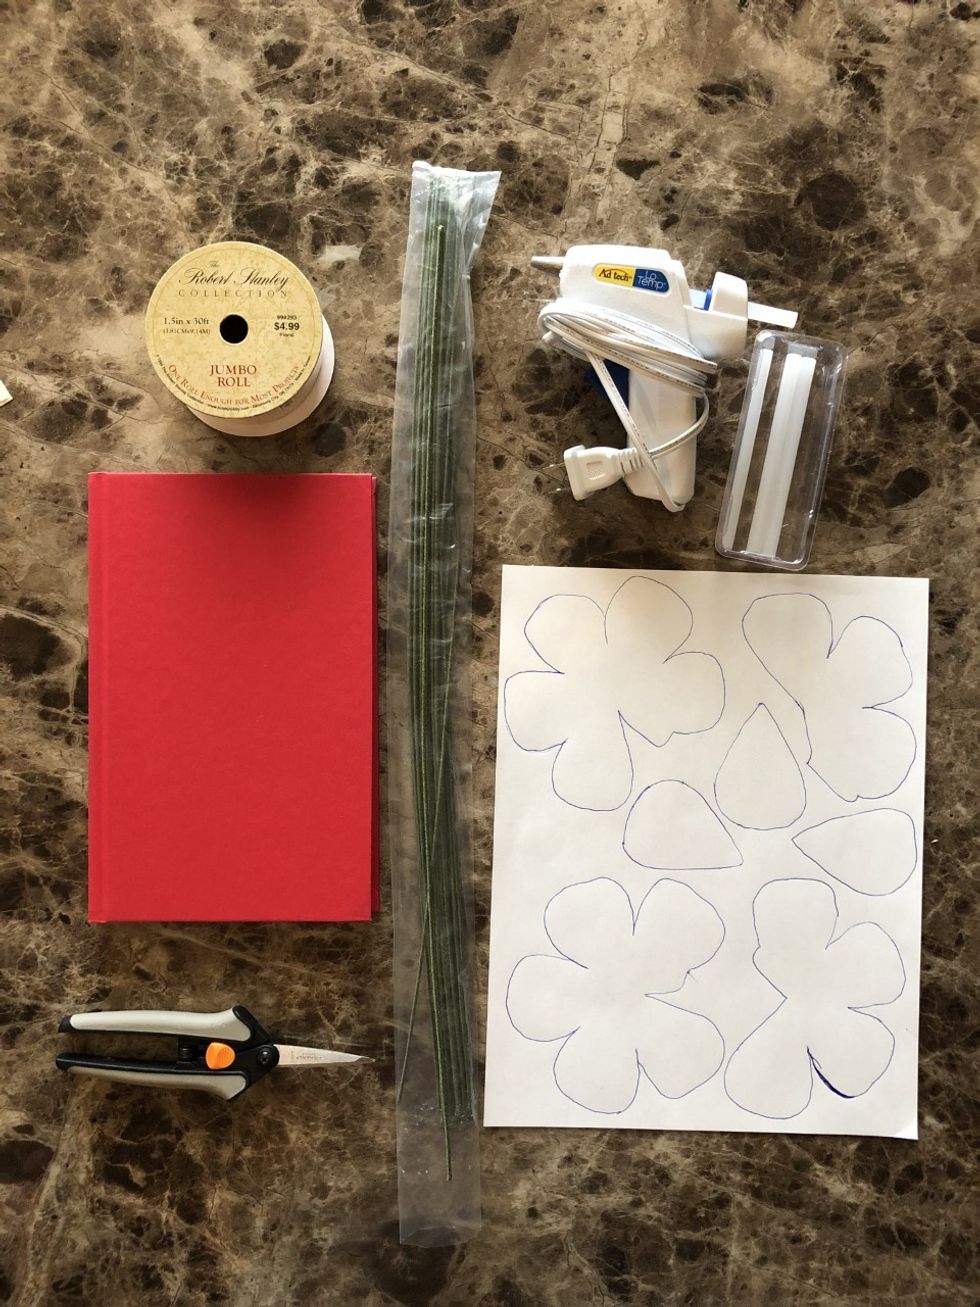
Supplies: Book, Flower pattern, Scissors, Glue gun, Glue sticks, Floral wire, Ribbon, and a Pencil
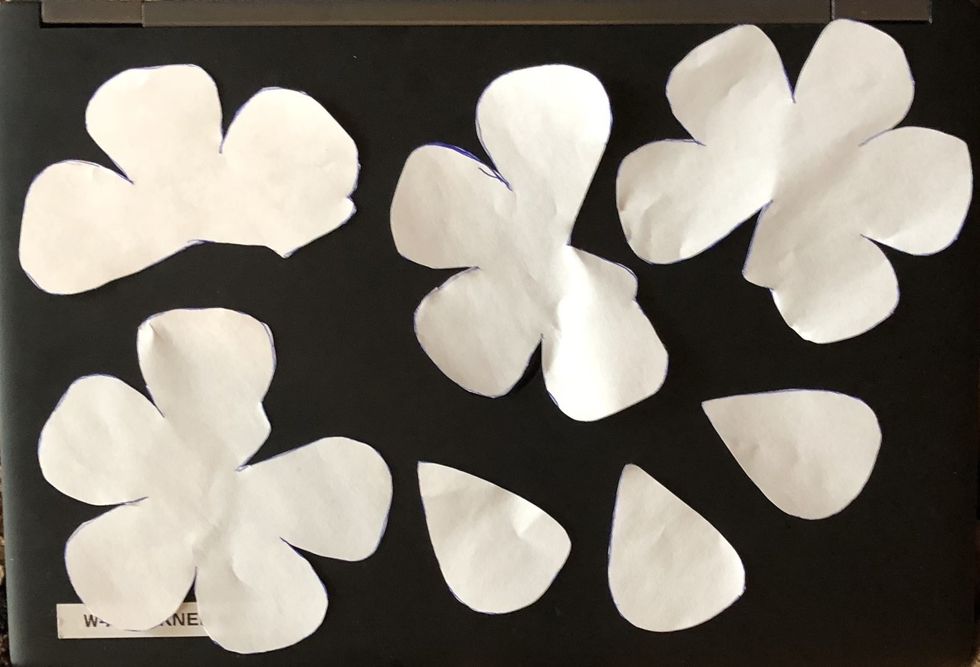
First, print the pattern I have provided in the course How to Create Beautiful Art from Books and cut out the pieces.
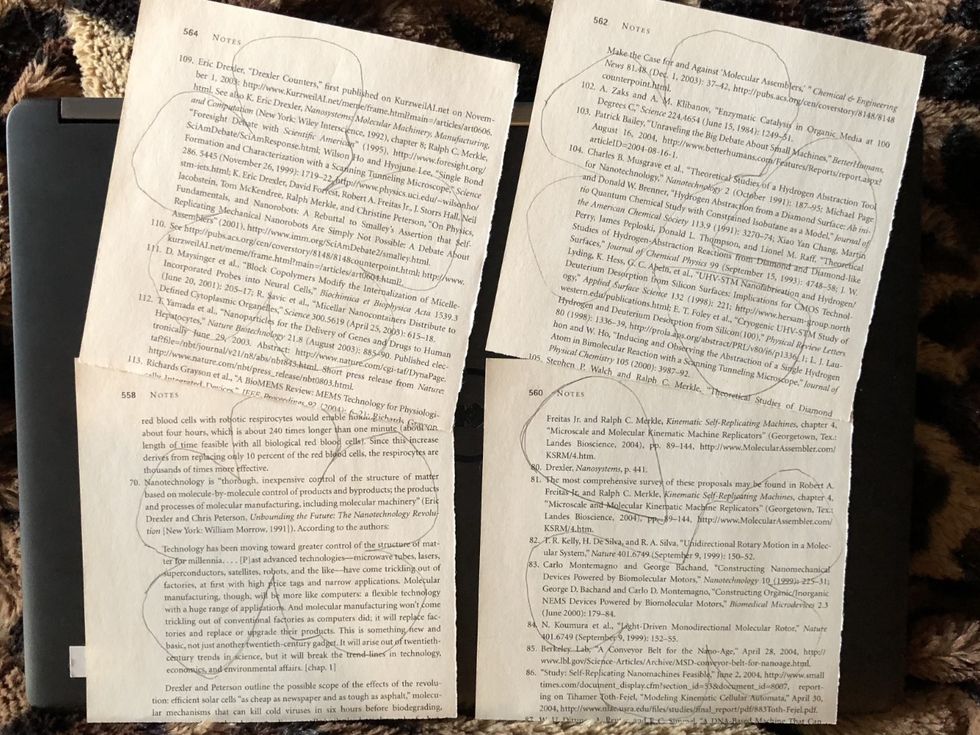
Next, trace the pattern onto your pages in pencil. I recommend removing the pages as close to the spine as possible by ripping them out or cutting them out first before tracing the pattern.
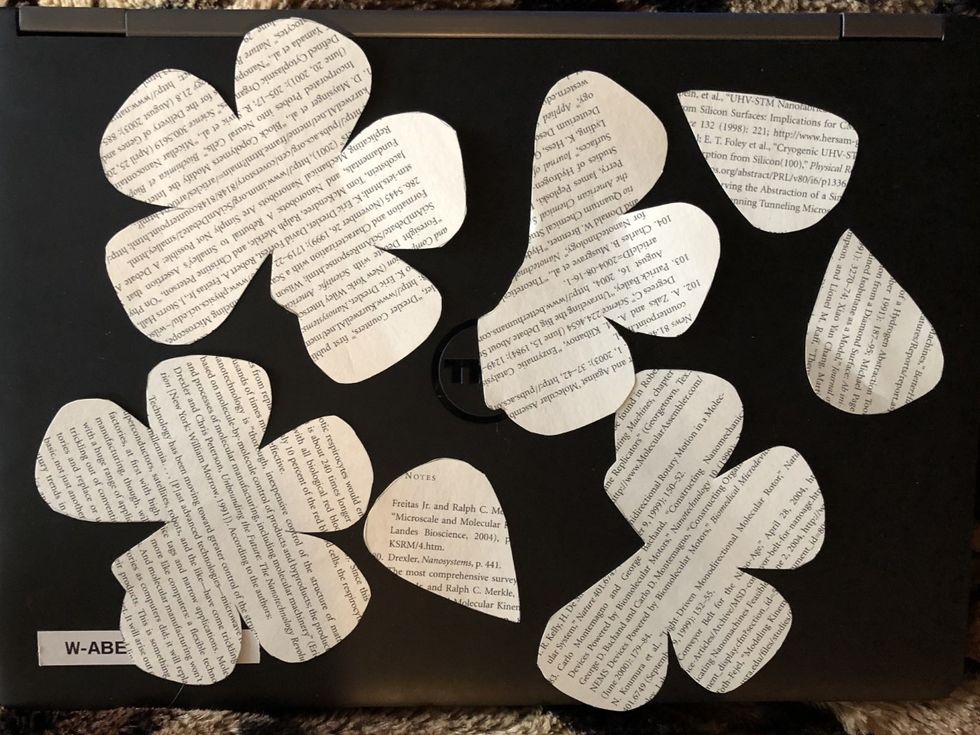
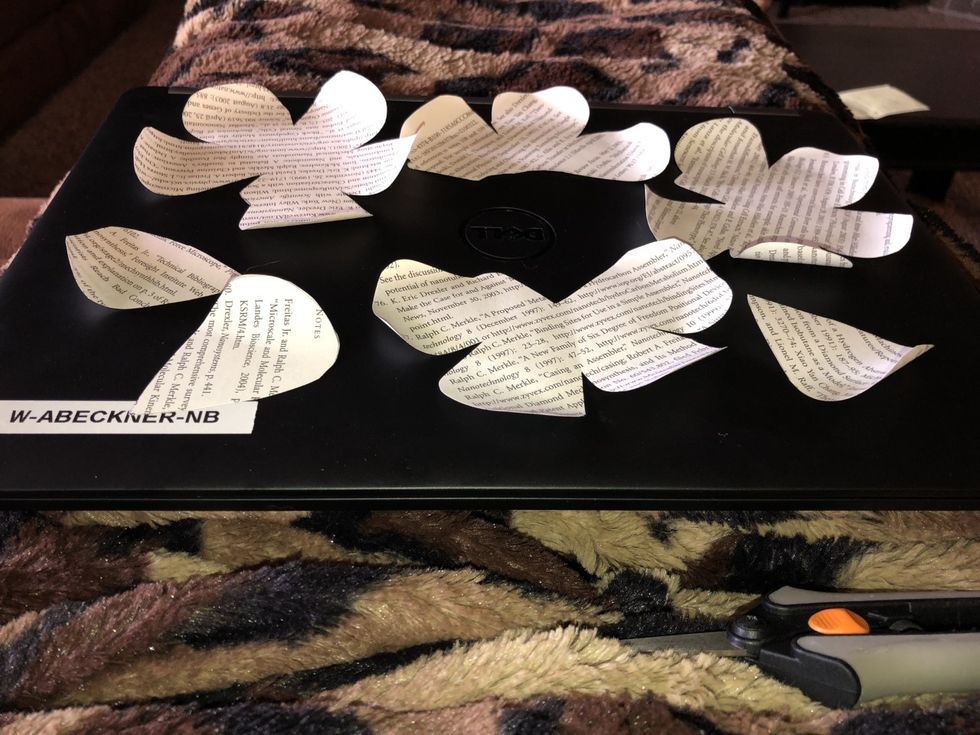
All pedals are now cut out. You are ready to curl the edges of the pedals.
Use scissors to curl the edges just like you would curl ribbon. Don't use too much tension or you will tear the paper.
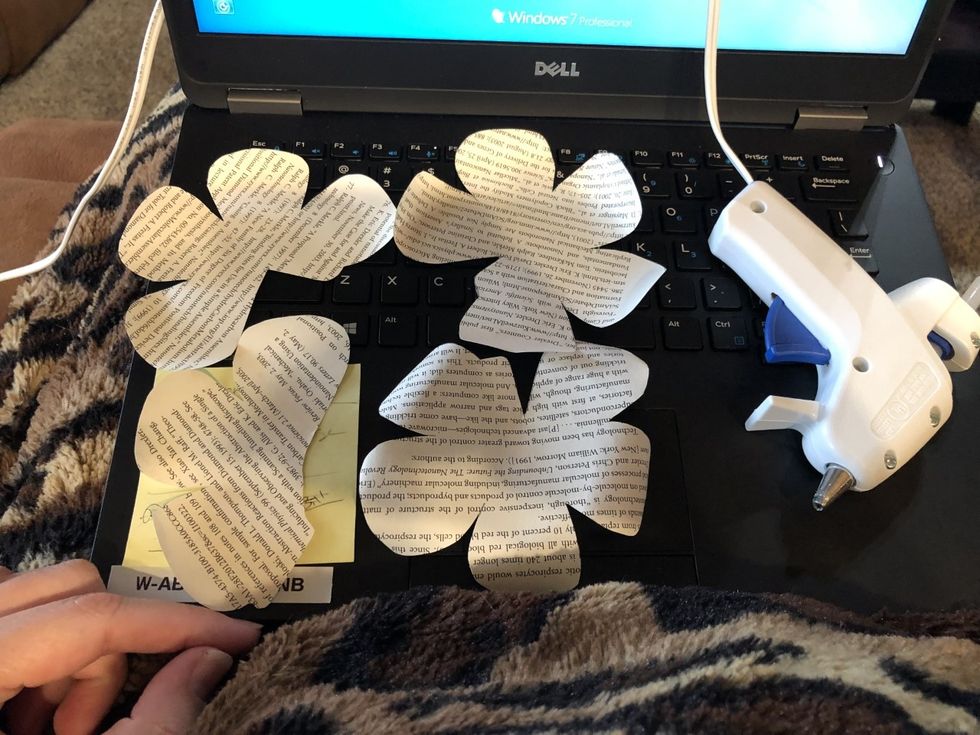
Continue curling all the edges. Once this is complete, you are ready to create your pedal layers by gluing the flap edge.
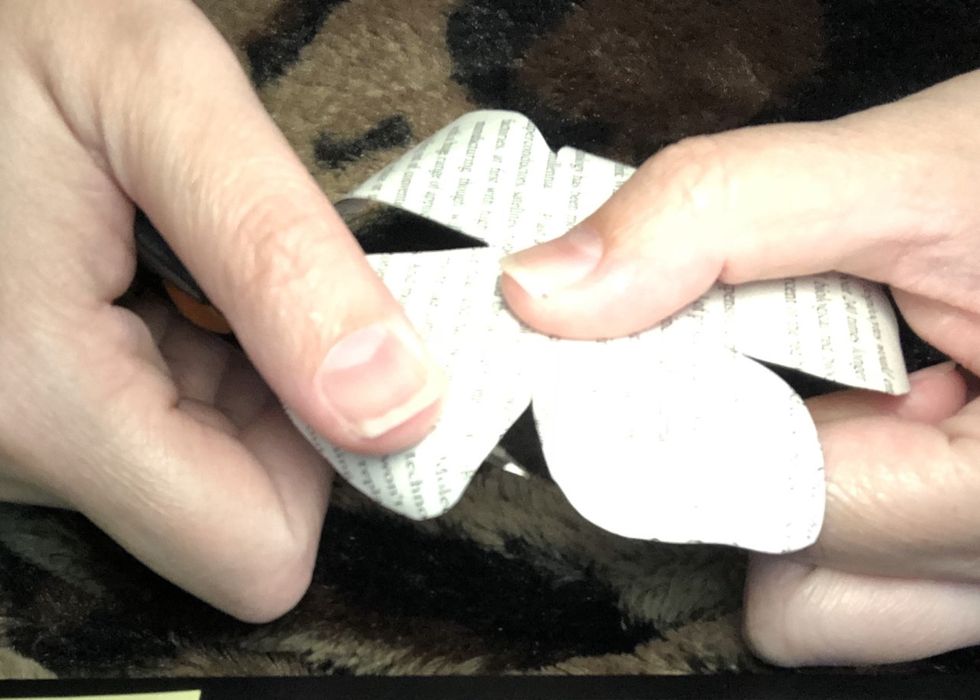
The flap edge is located on the two 5 pedal layers, the 4, and the 3. It is the little ledge that sticks out. This is the part that you will put glue on and overlap with the pedal next to it.
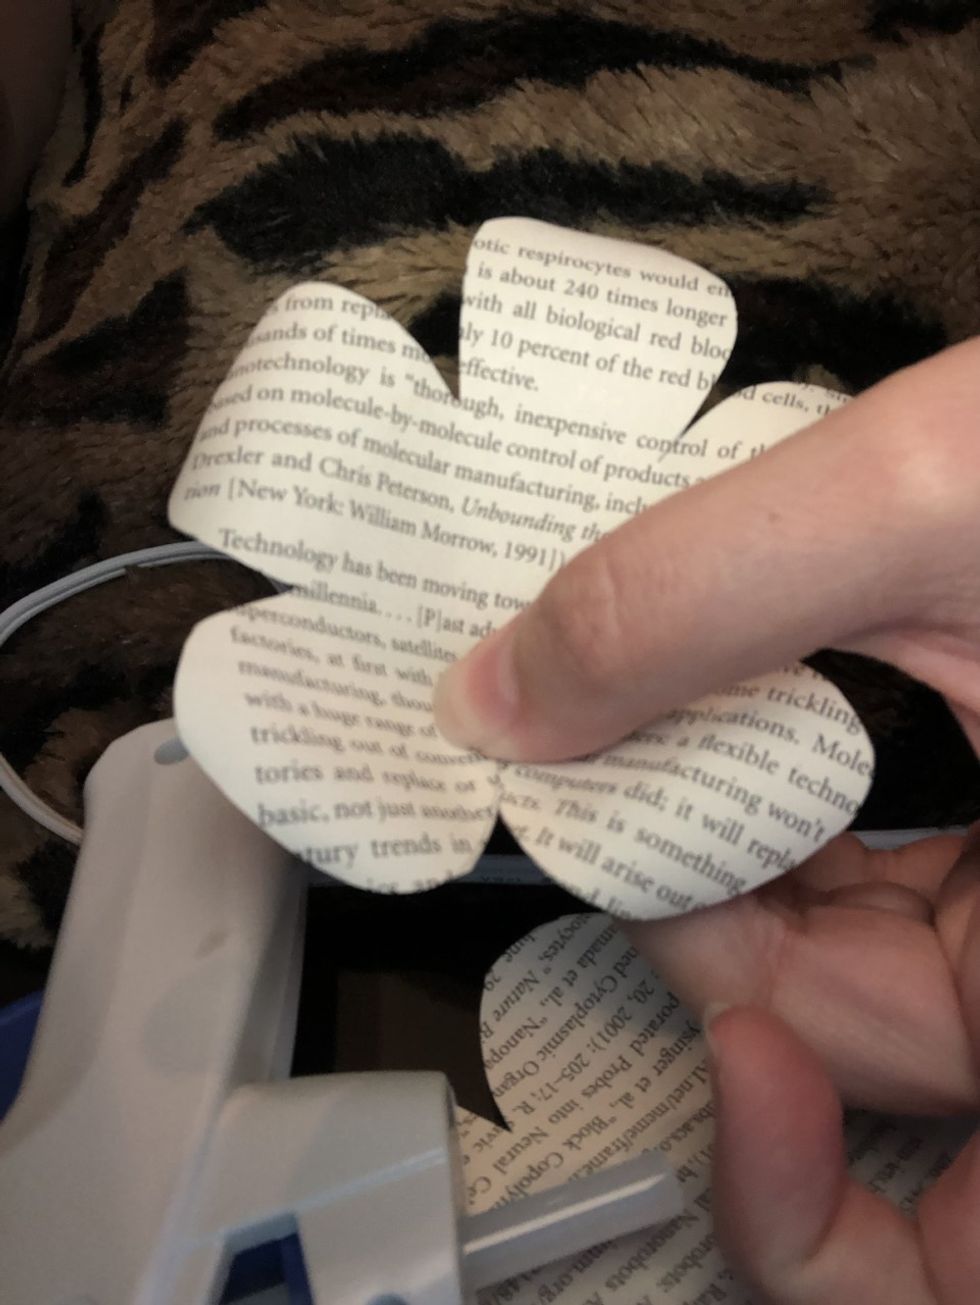
This is what the overlap will look like from the top.

This is what the glued down flap looks like from the bottom side.

This step is optional but it seems to help. Poke a small hole in the middle of each pedal layer. This will help it slide onto you wire better.

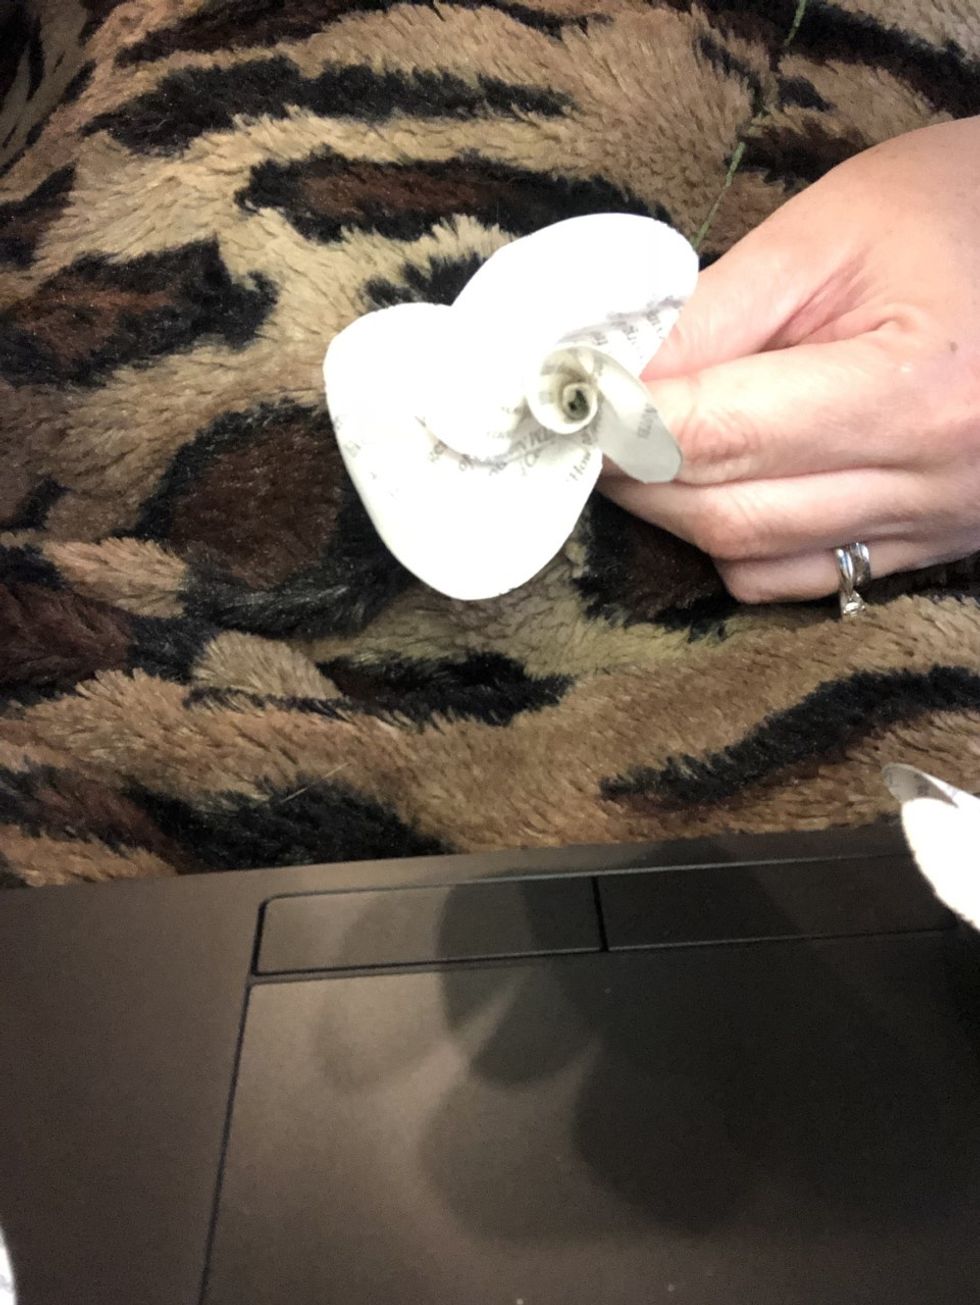
You are ready to start constructing your flower. Start by taking a single pedal and gluing it onto your wire.

Next, roll the pedal around the wire leaving just a little flap loose. Use a dab of glue to hold it in place.
Next, add your other two single pedals by gluing them around the first single pedal.
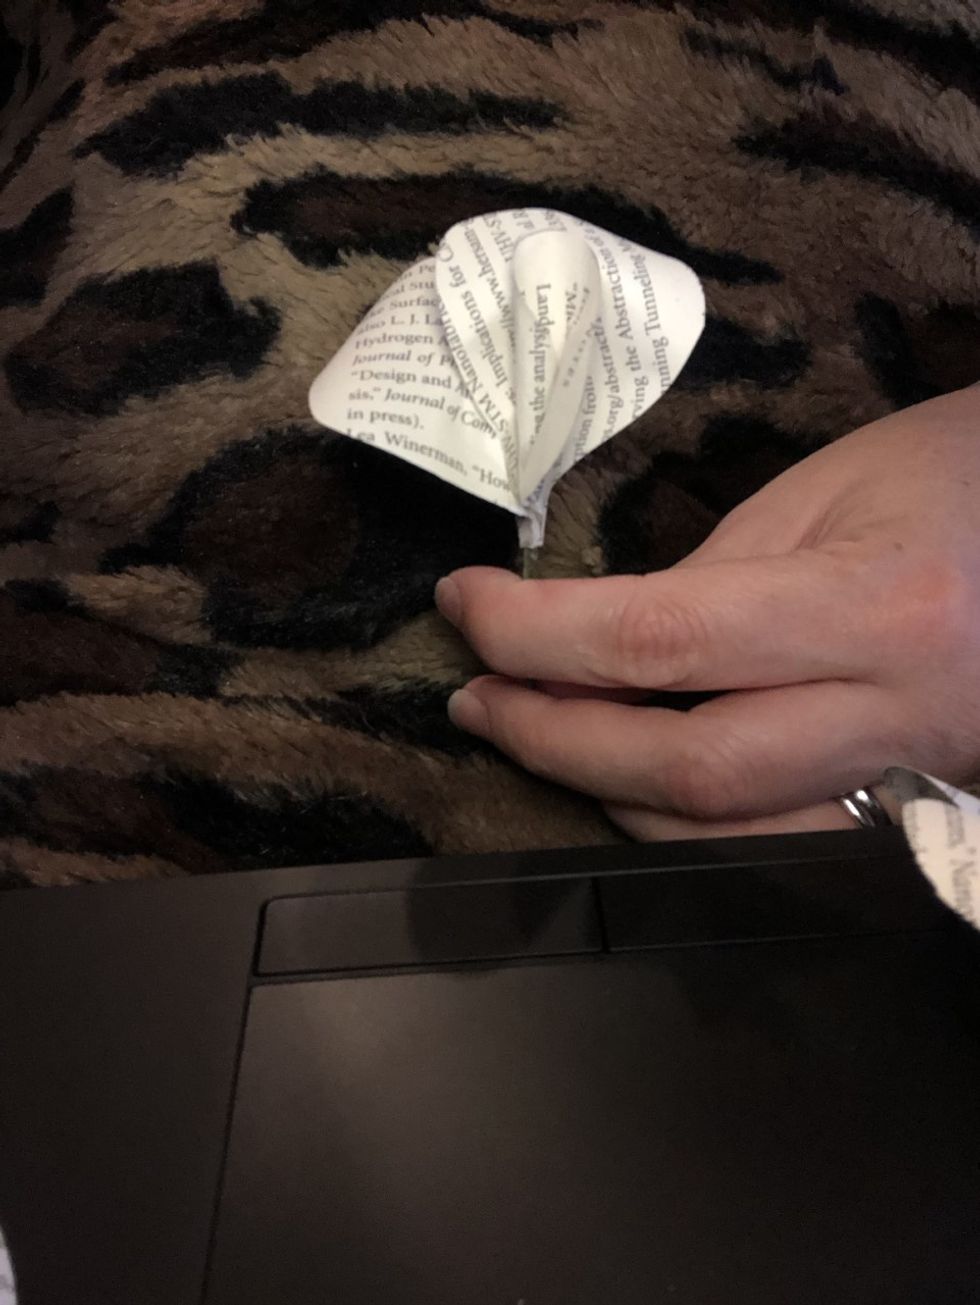
You should end up with something like this. You are now ready to add your other layers.
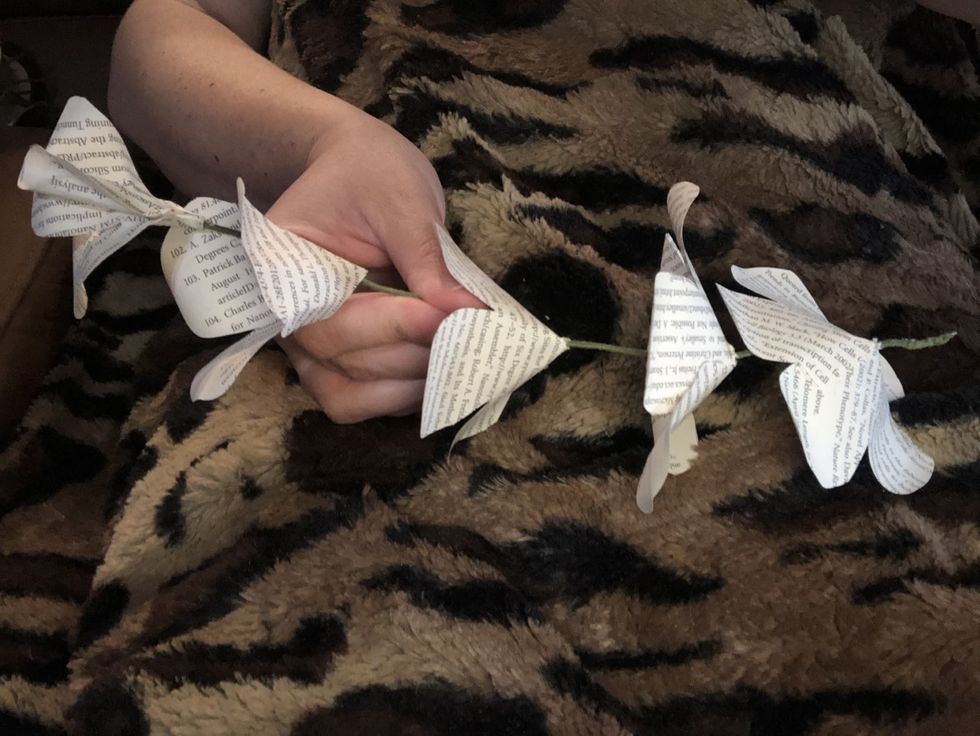
First slide on the 3 pedal layer, then the 4, then the two 5 pedal layers onto your wire.
Continue sliding the pedals up the wire until they are all gathered at the top.
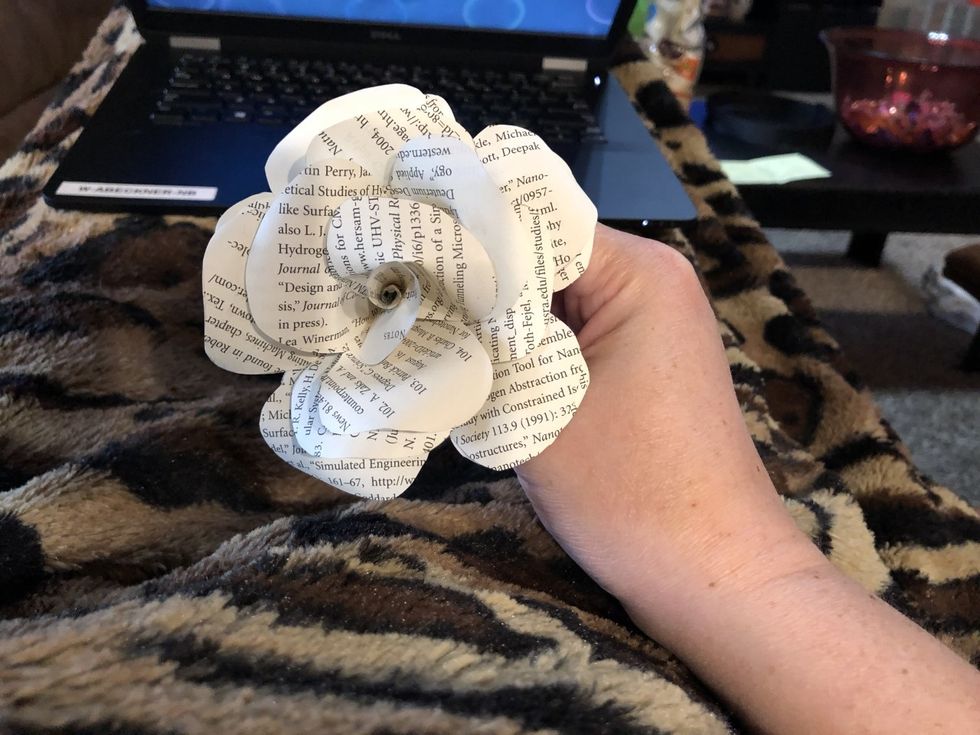
You may notice that some of your pedal layers are not showing. You can fix this by rotating the layers until you get your desired look.
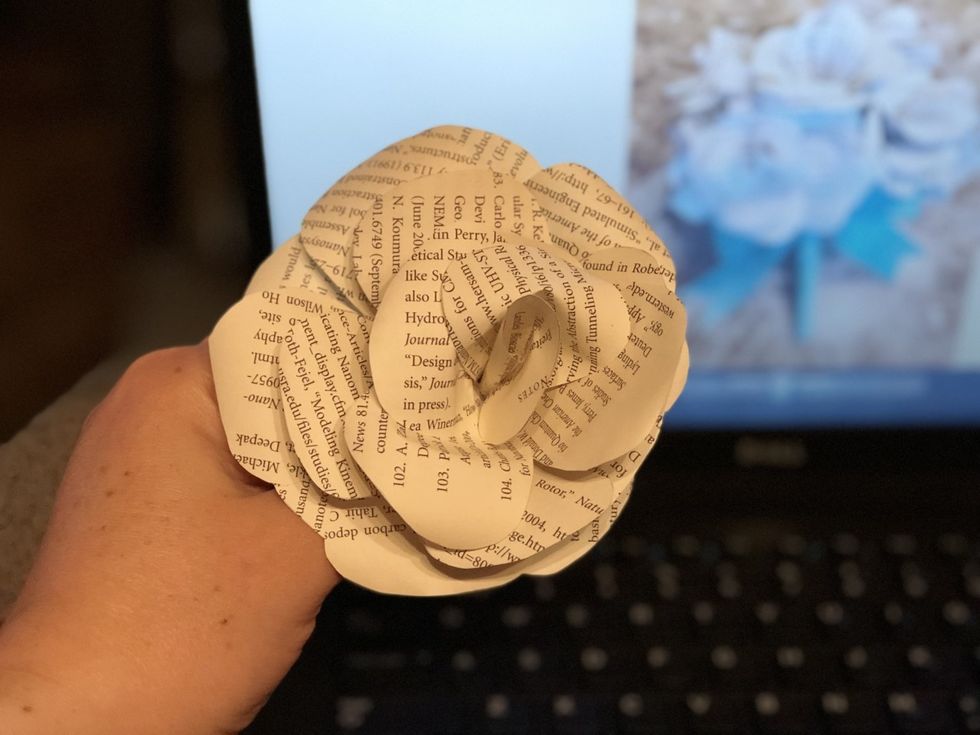
Once you have your desired look, glue the pedals in place. To complete a bouquet, repeat this process 11 more times.

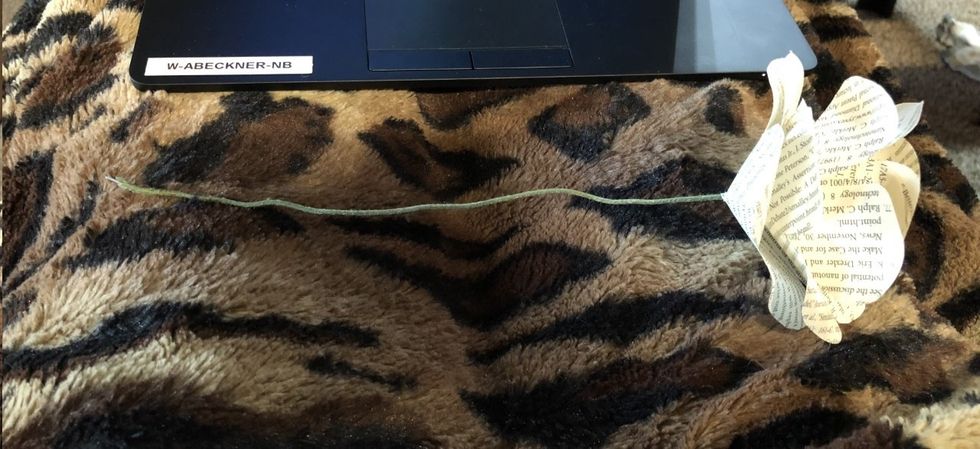
Once you have made all your flowers, gather the stems together and arrange them into a bouquet. I twist the wires together to hold the shape. You may want to trim the floral wire if it is too long.

To add a final finished touch, you can wrap the stems in ribbon and add a bow or ...
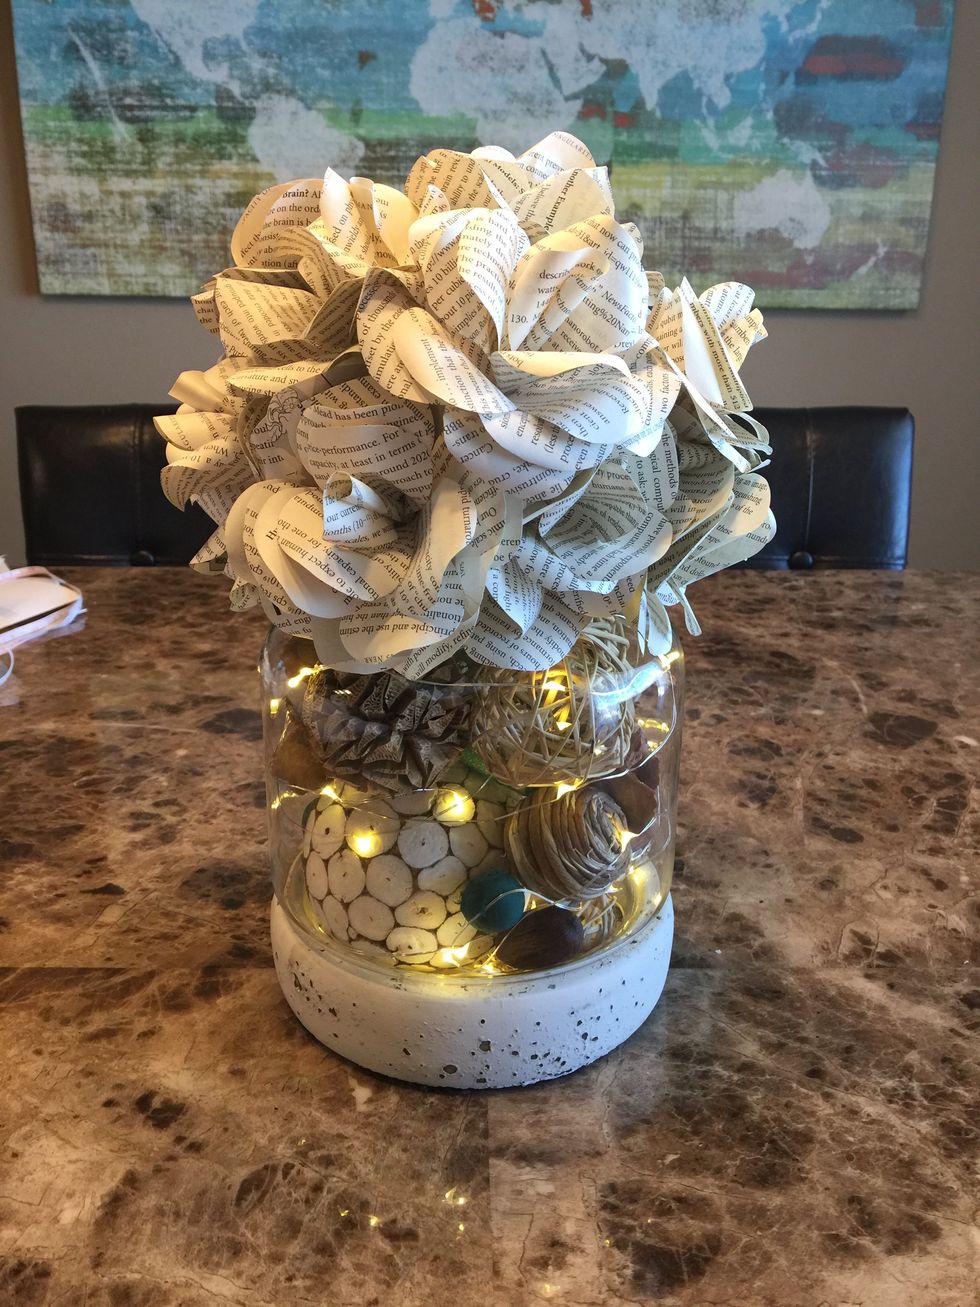
You can place the bouquet in a vase to make a pretty table centerpiece. You have now completed your project!