The Conversation (0)
Sign Up
Thread length depends on size of wrist, how many threads, etc. I start with about 80" because I double the threads when I start the bracelet. The two outer threads don't have to be as long.
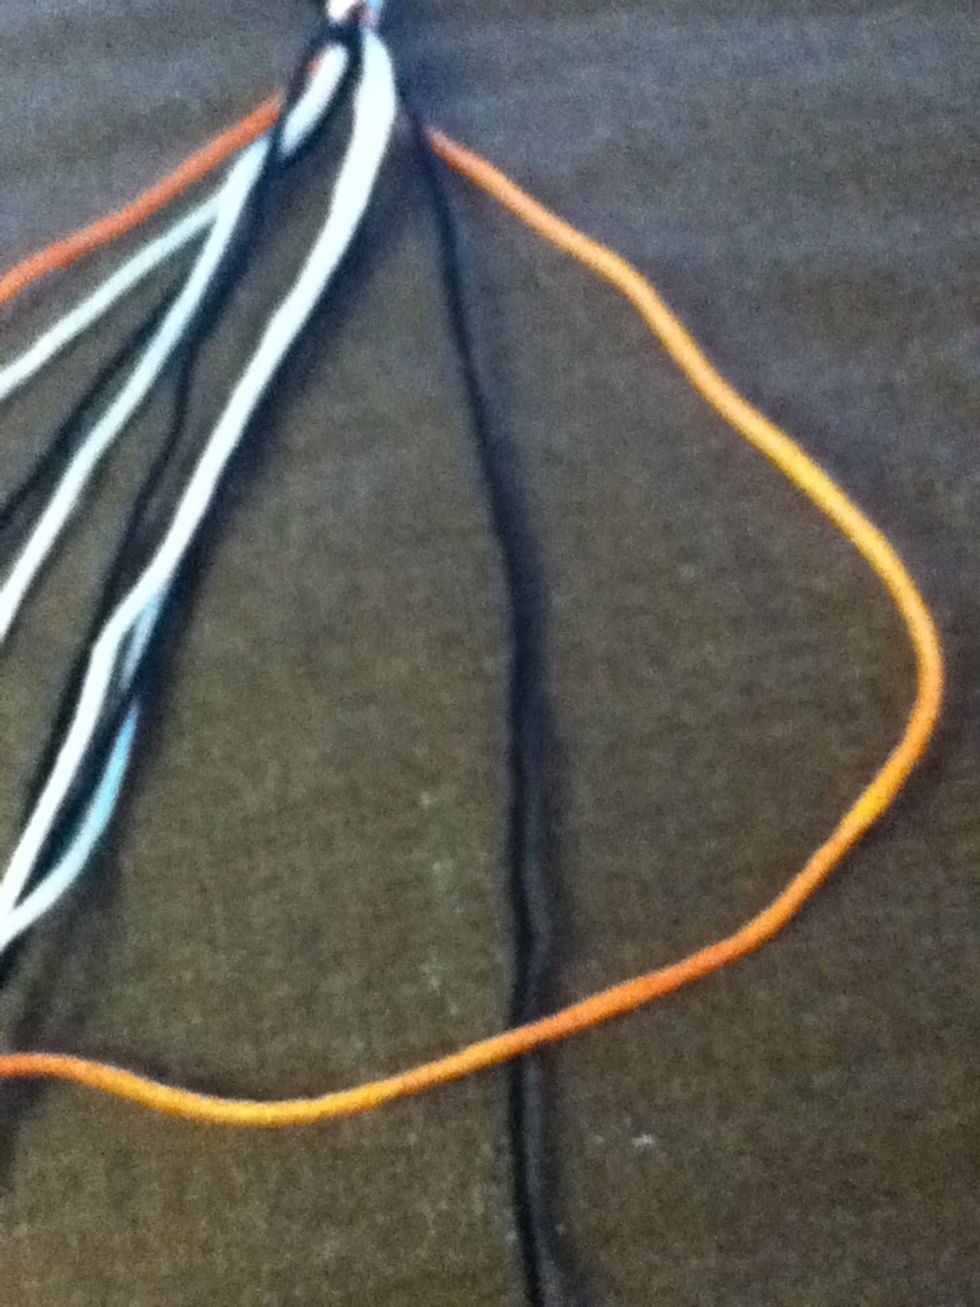
It takes practice to get the tension right. Don't pull the threads too hard or you will have gaps between the knots.
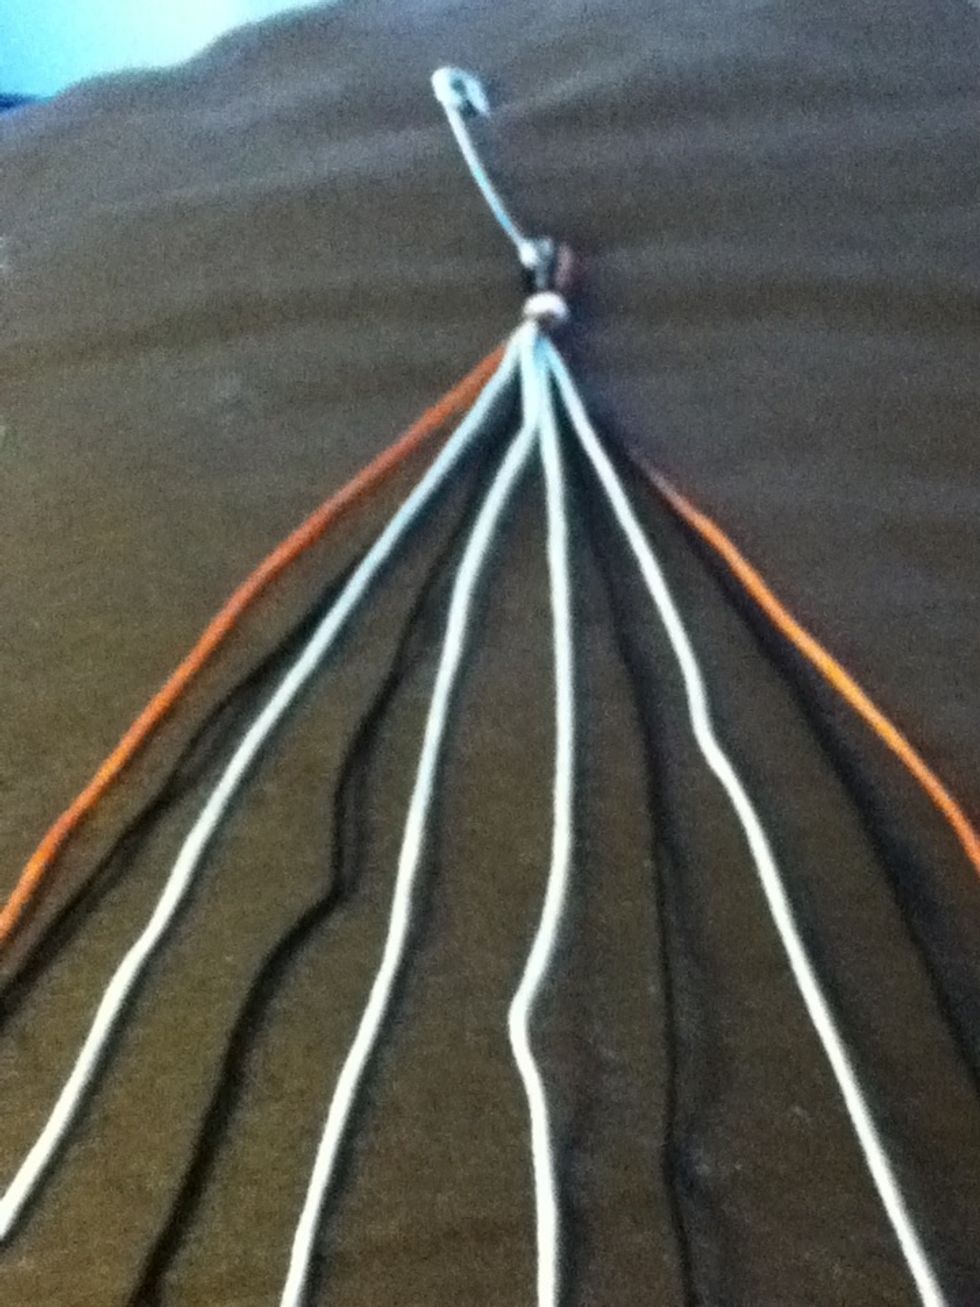
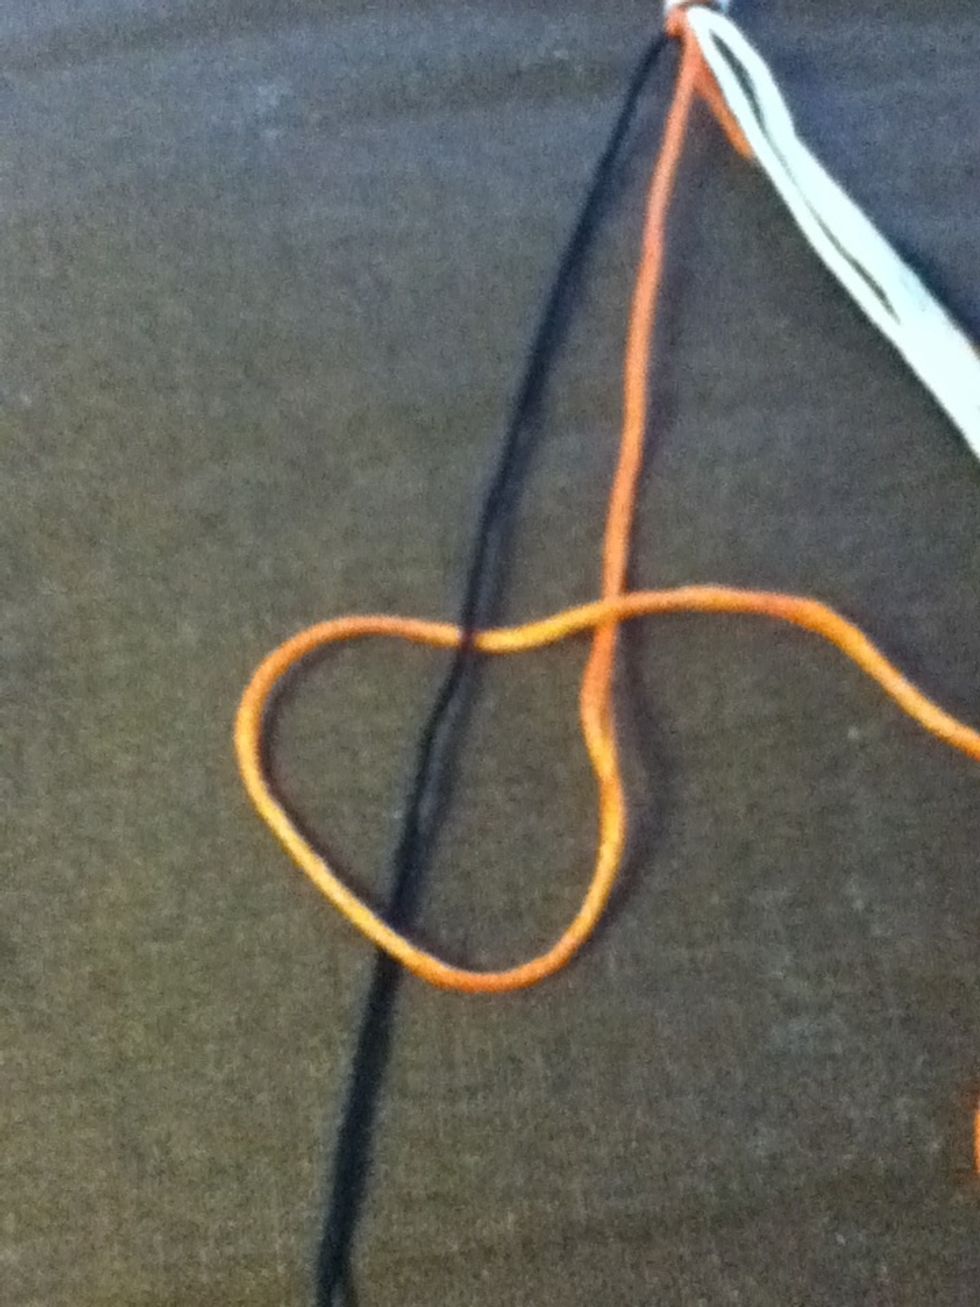
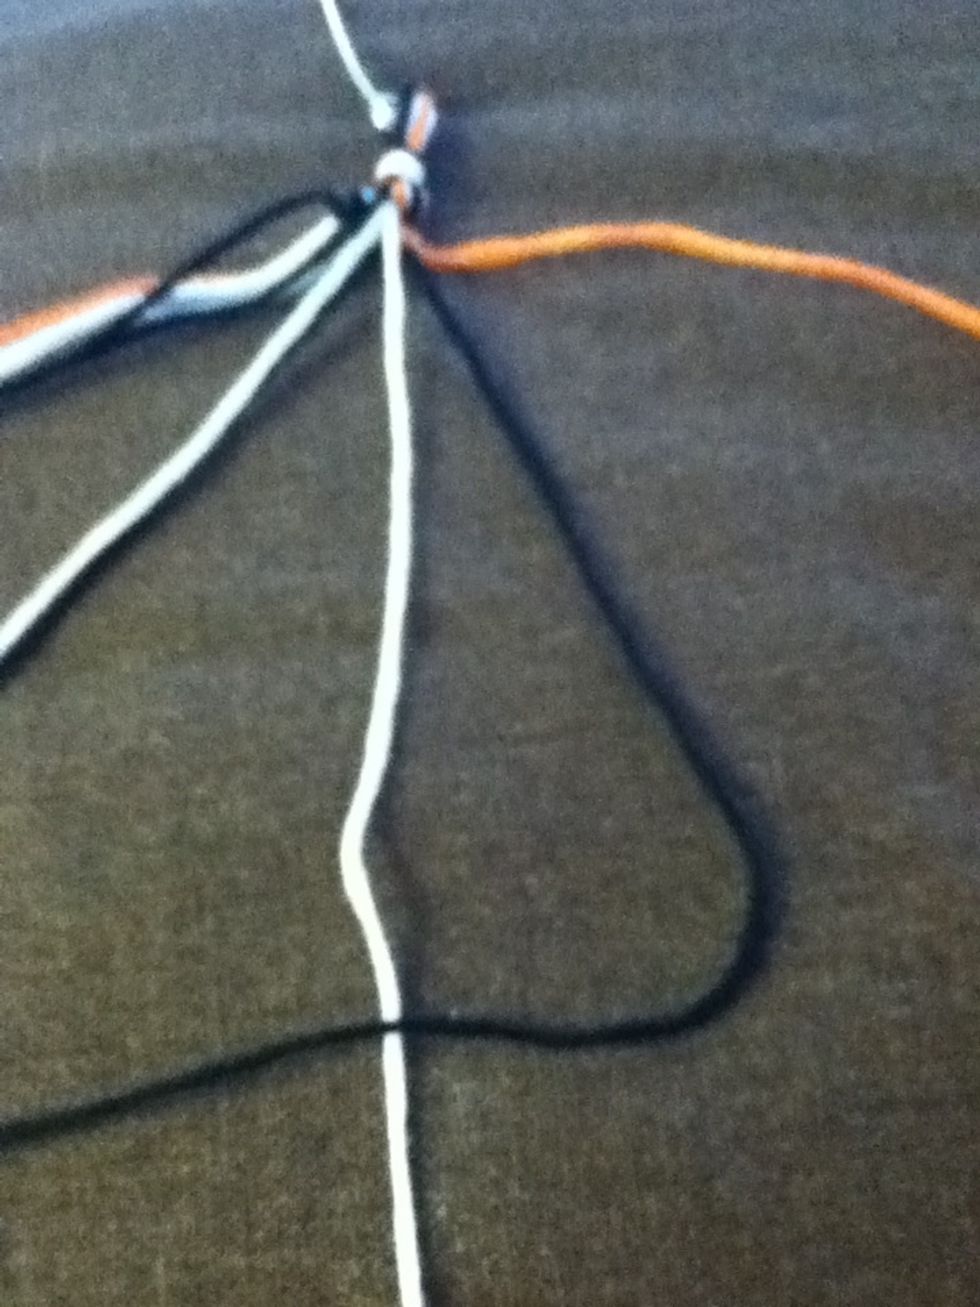
Double your threads, tie off leaving a loop, safety pin it to the work surface and separate your threads.
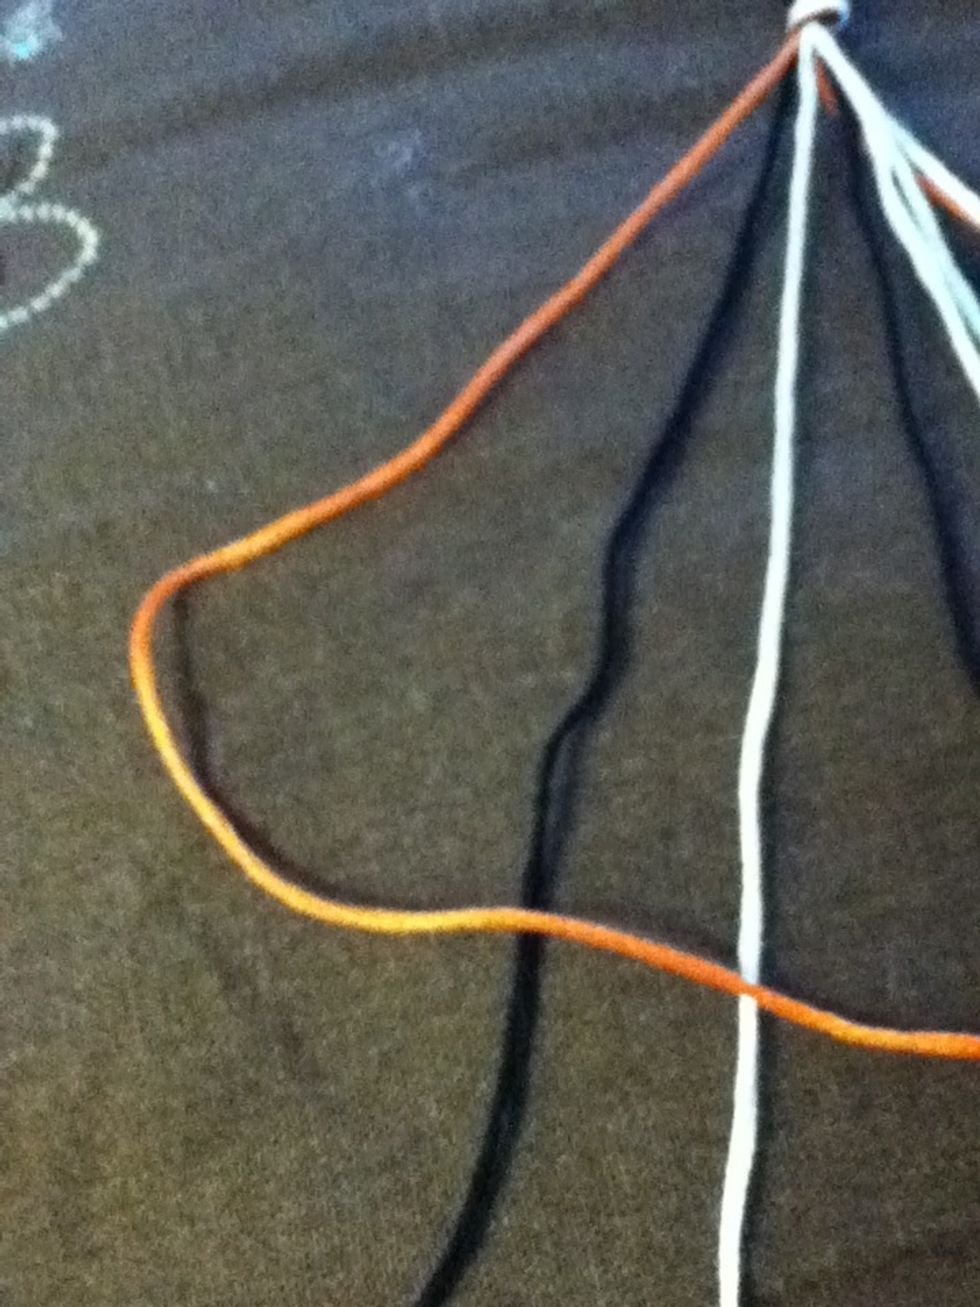
Take your left most (border) thread and make a "4" with the next thread.
Loop border thread around the second thread then back over itself. Pull knot to top. This is called a forward knot.
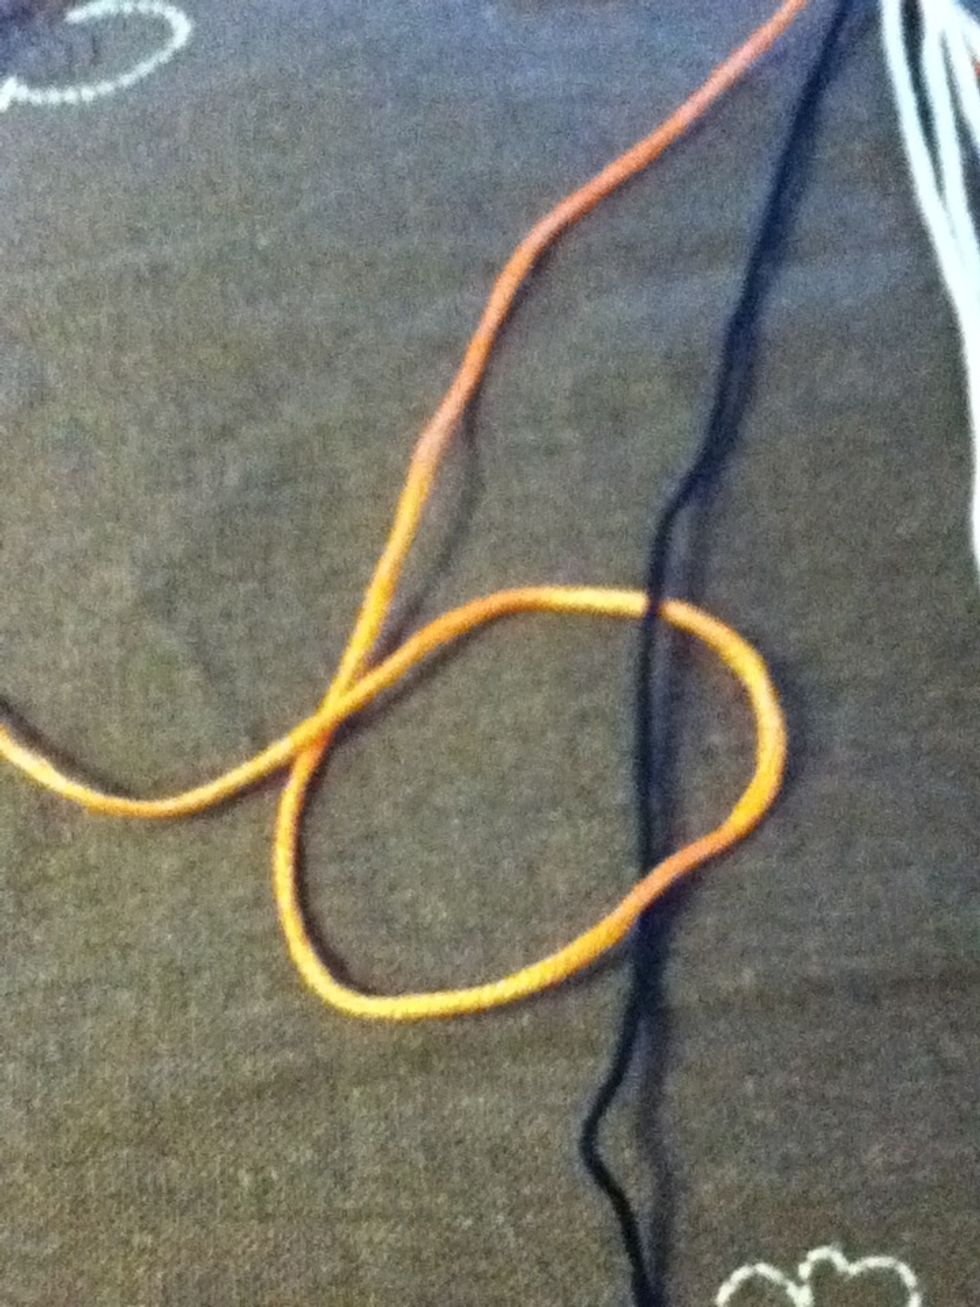
Make a "p" with the same border thread.
Loop the border thread around the second thread and back over itself. This is called a reverse knot.
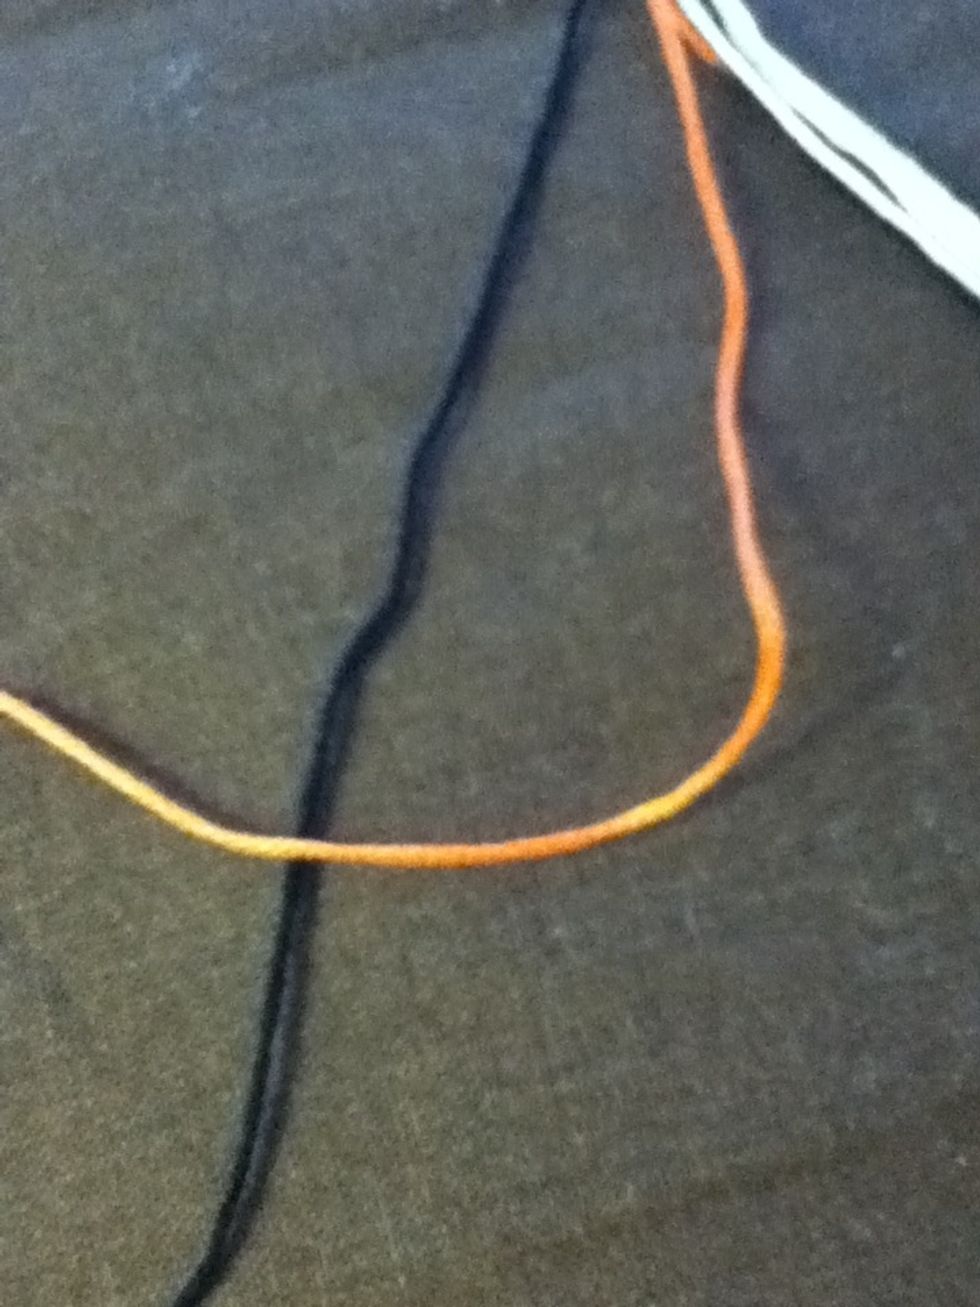
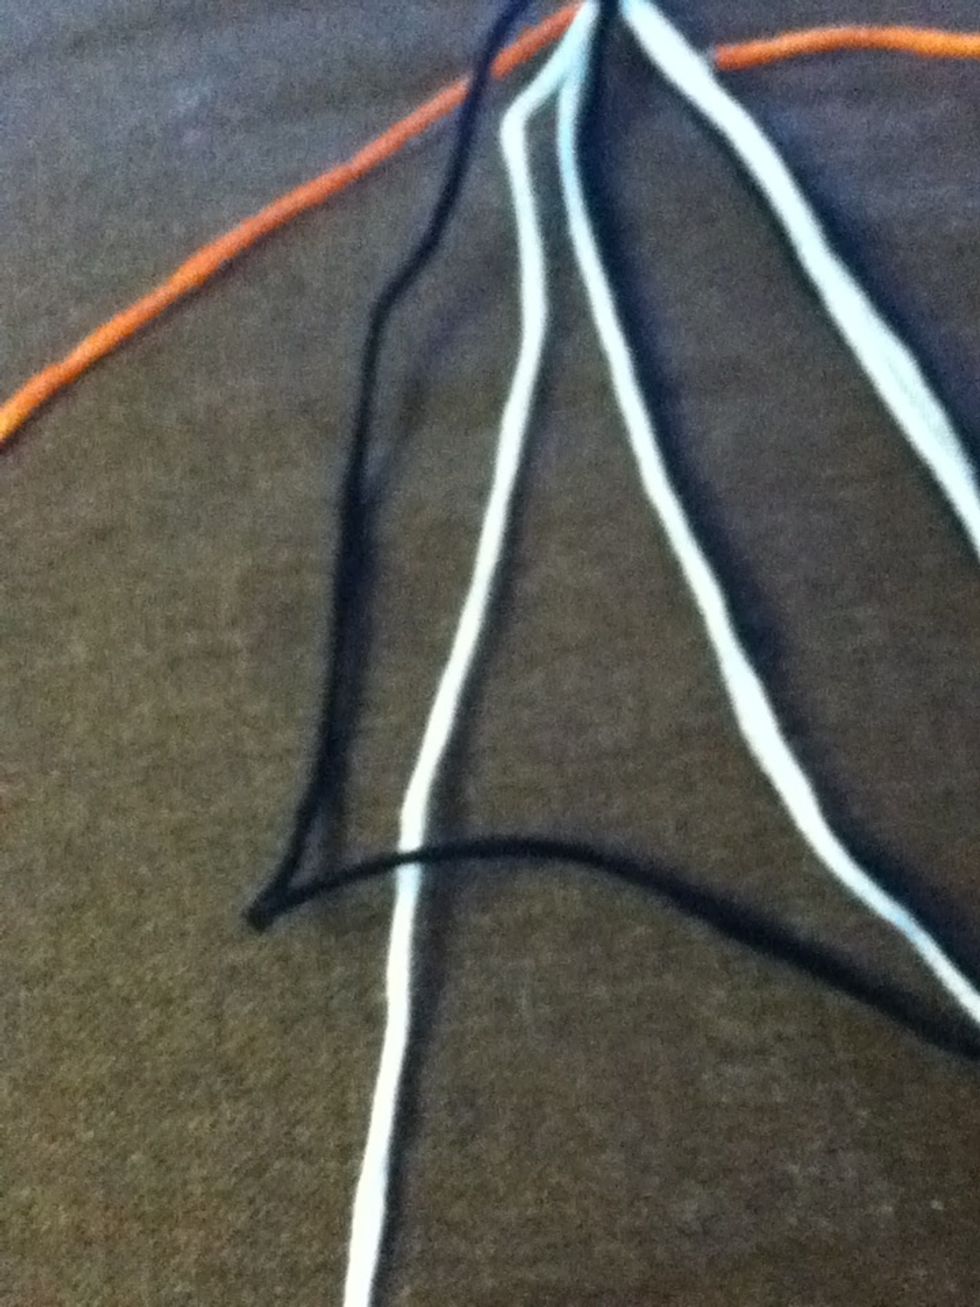
The forward ->reverse pattern will keep the border thread on the left. This pattern will always start the rows on the left.
Starting with the thread to the right of the border thread, tie two forward knots with the next thread.
The forward -> forward pattern will put the thread to the right. You will use this pattern with all non-border threads on the left half of the pattern.
Continue with the forward -> forward pattern until the thread reaches the center.
Take your border thread in the right and do a reverse -> forward pattern.
The reverse -> forward pattern will keep the thread on the right. You will use this to start each row from the right.
Take the thread to the left of the border thread and do a reverse -> reverse pattern.
The reverse -> reverse pattern will bring the thread to left. You will use this with all the non-border threads on the right half of the pattern.

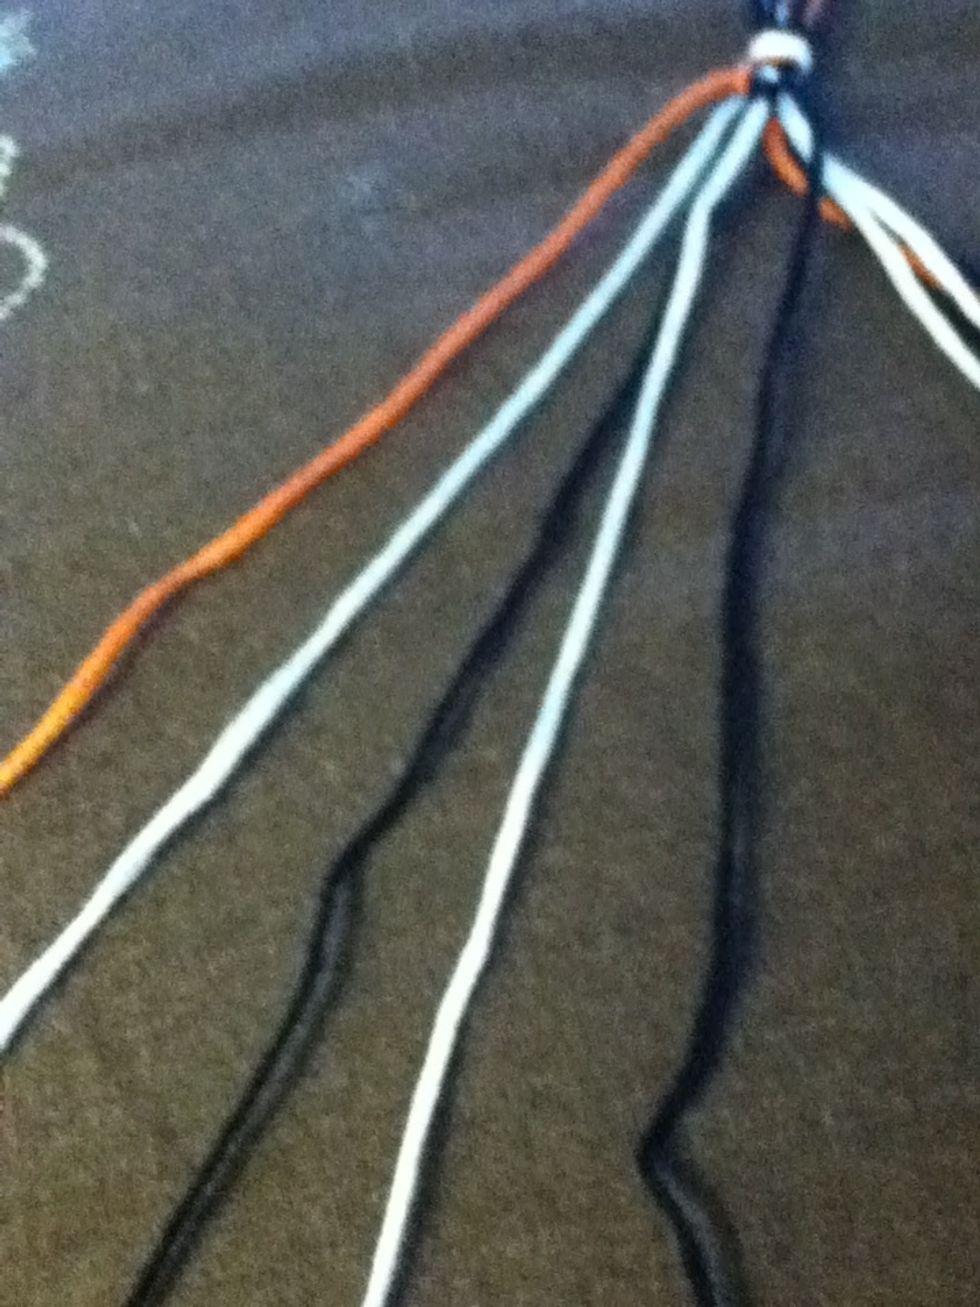
Continue the pattern to the left until you reach the center. The do the reverse -> reverse pattern over the other thread you brought to the center.
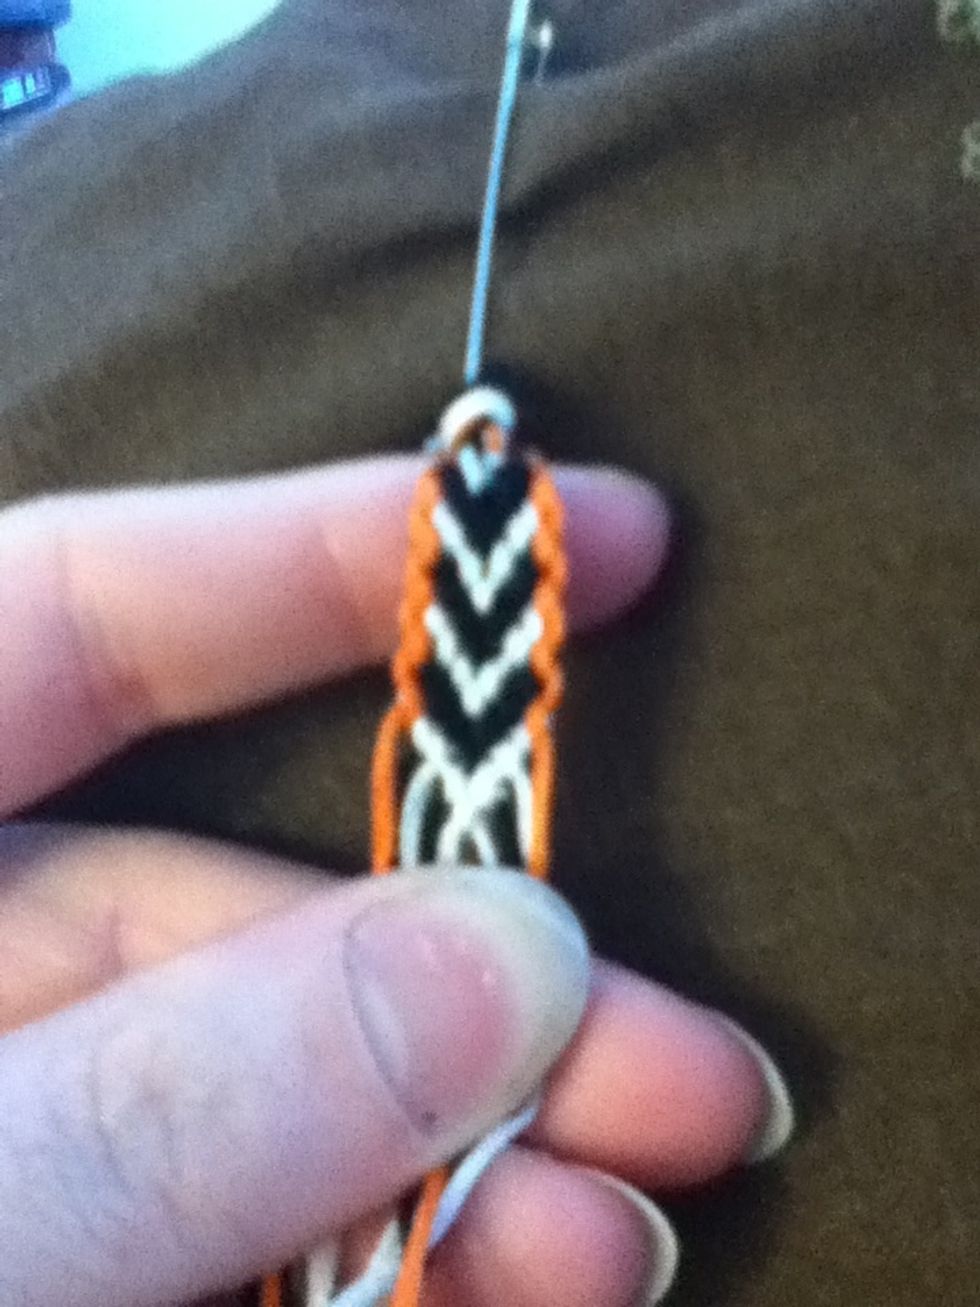
After a few rows, you can see the pattern.

When the bracelet is the desired length, tie it off. Then either braid a few inches or thread on the toggle and make a knot.

To put the bracelet on, thread the braid through the loop and make a knot or thread the toggle through the loop.