The Conversation (0)
Sign Up
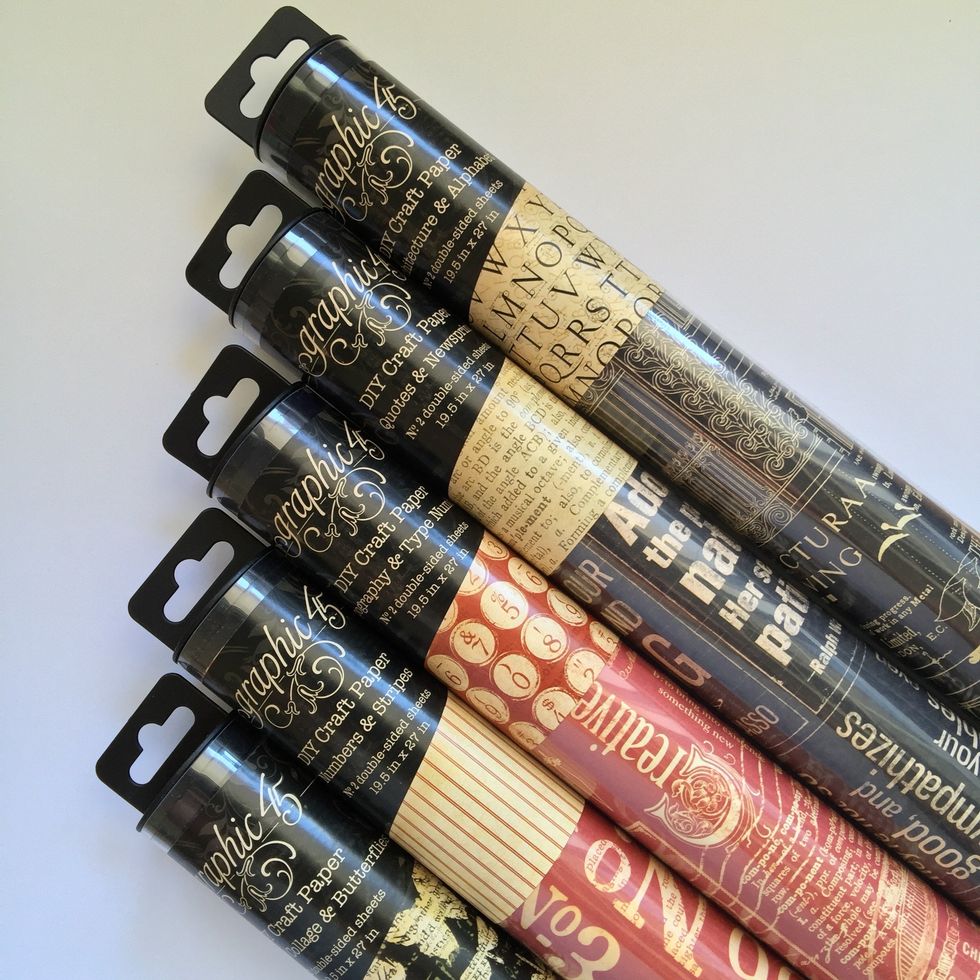
These are Graphic 45 DIY Craft Paper. They have a perfect size for any project you want to make and every design is really lovely. They are double-sided!
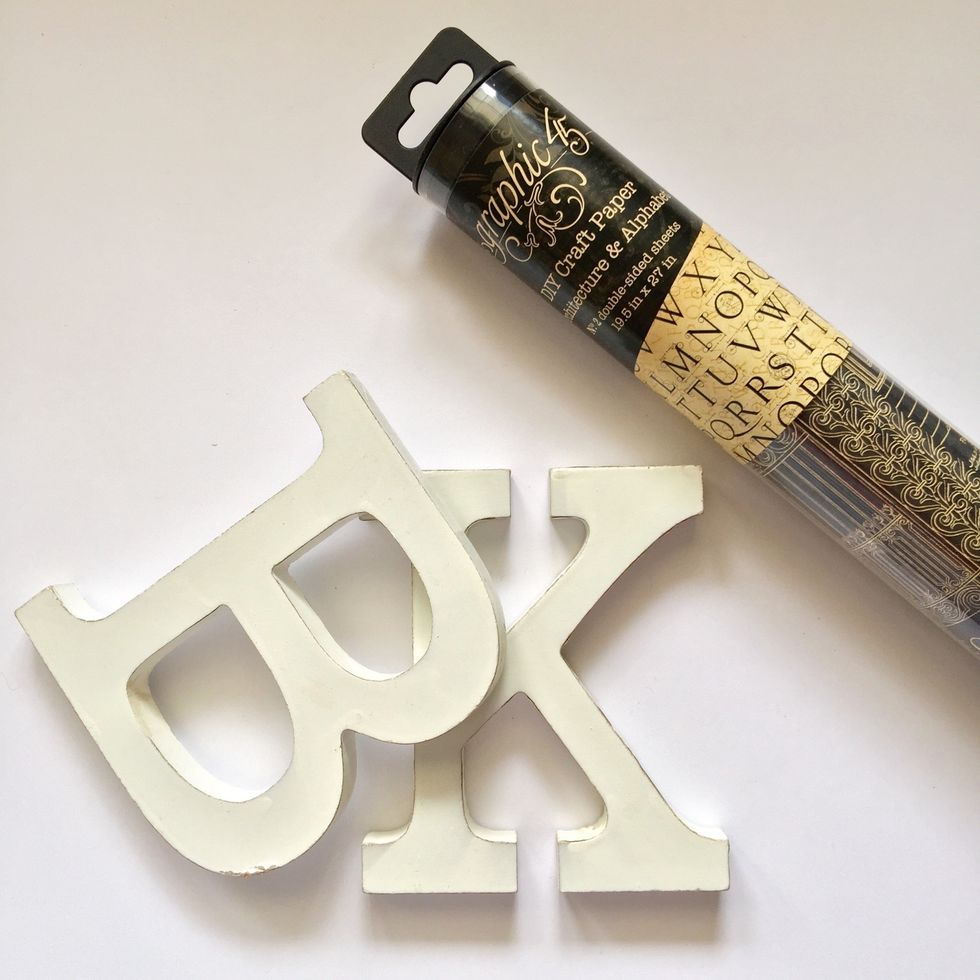
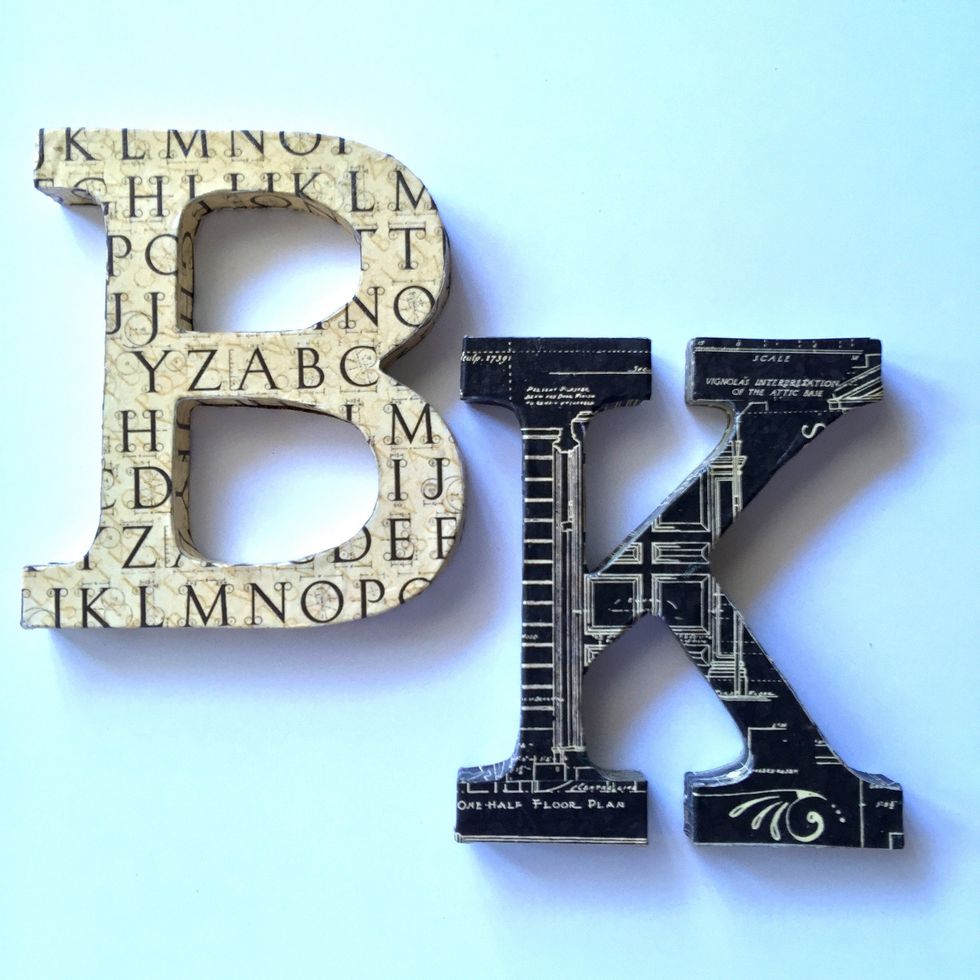
I selected this wonderful one, Architecture & Alphabet. You need two wood or cardboard letters.

You also need some decoupage glue and a brush.
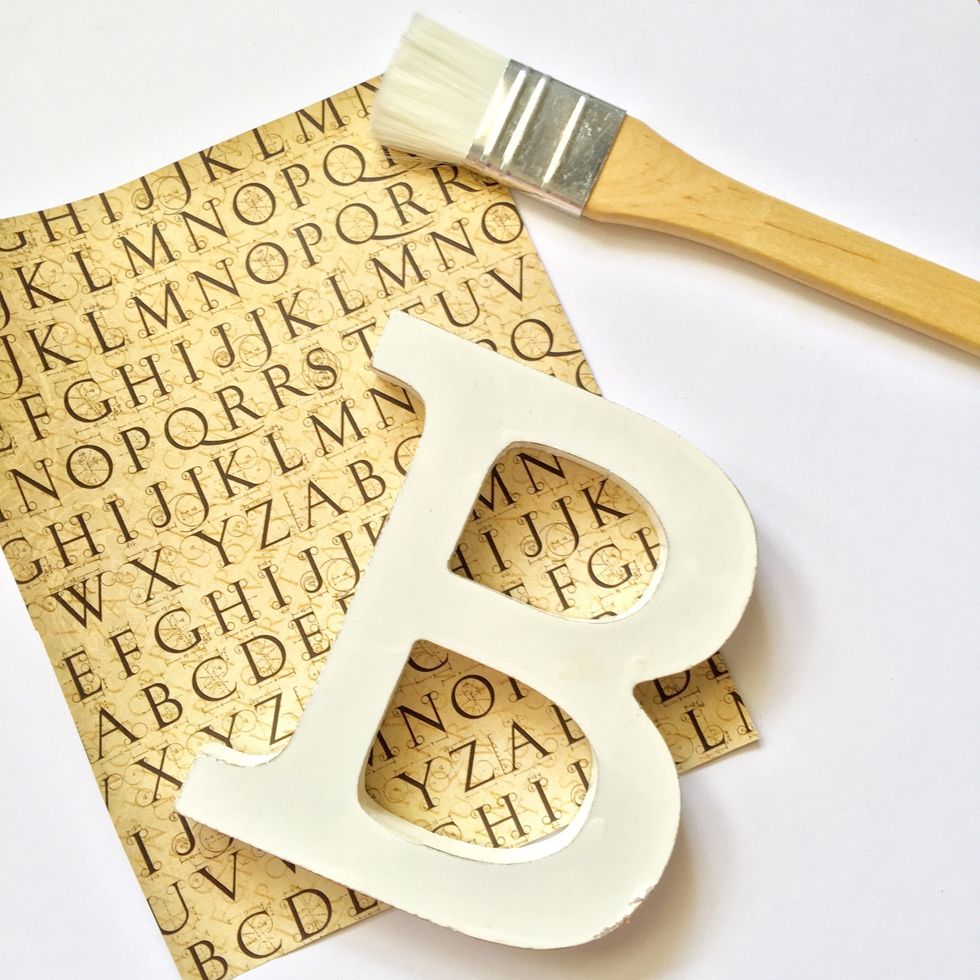
Cut a piece of paper bigger than the letter.
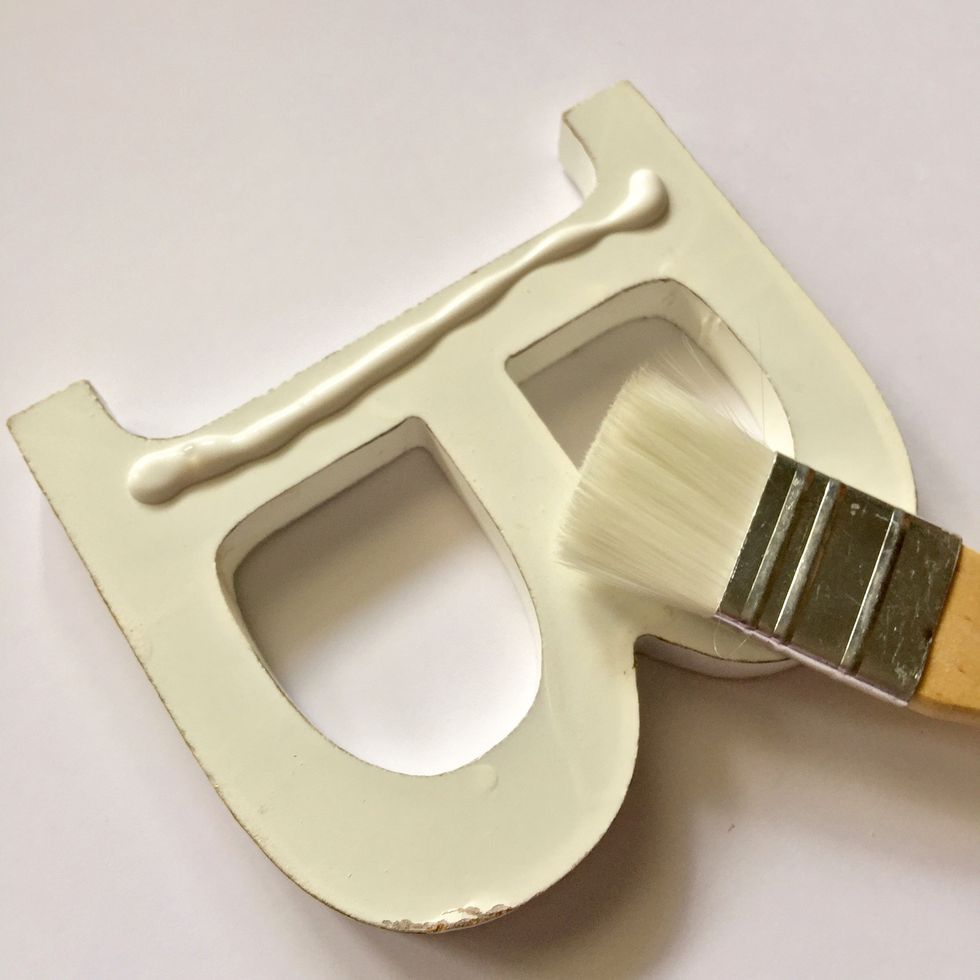
Spread decoupage glue with the brush.
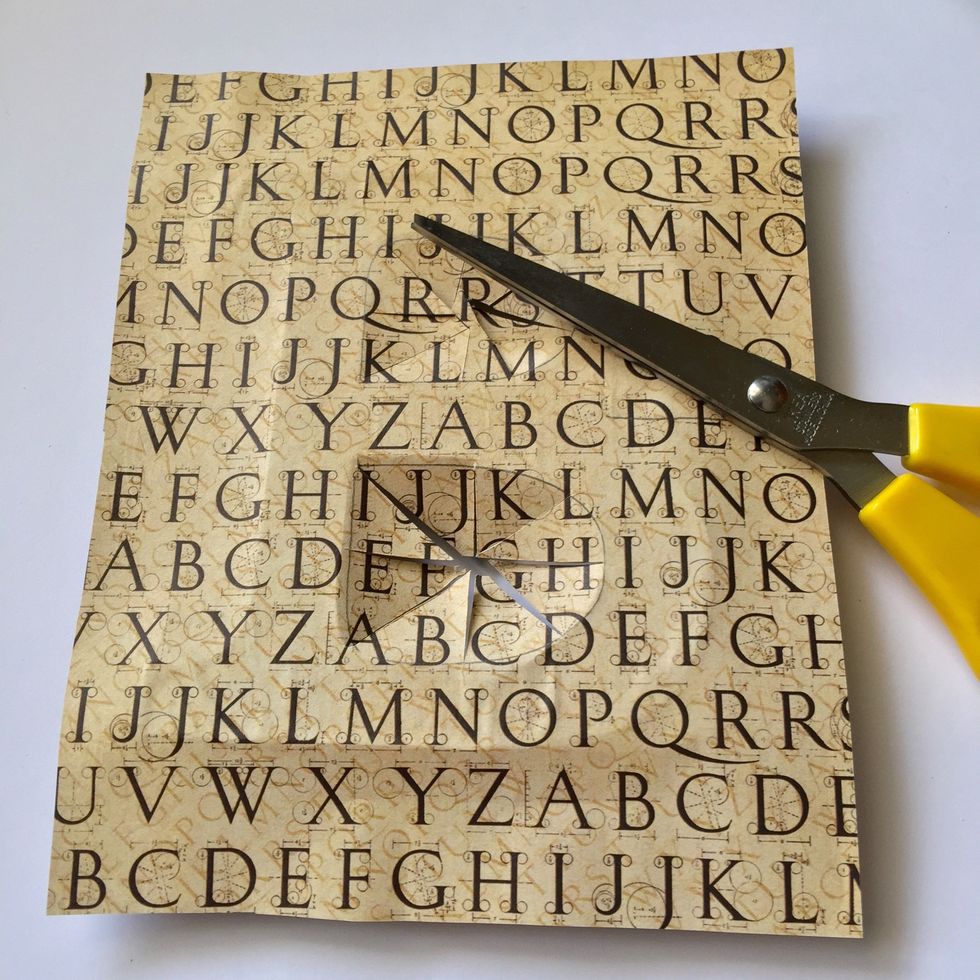
Glue the paper and cut the two holes of letter "B" as shown.
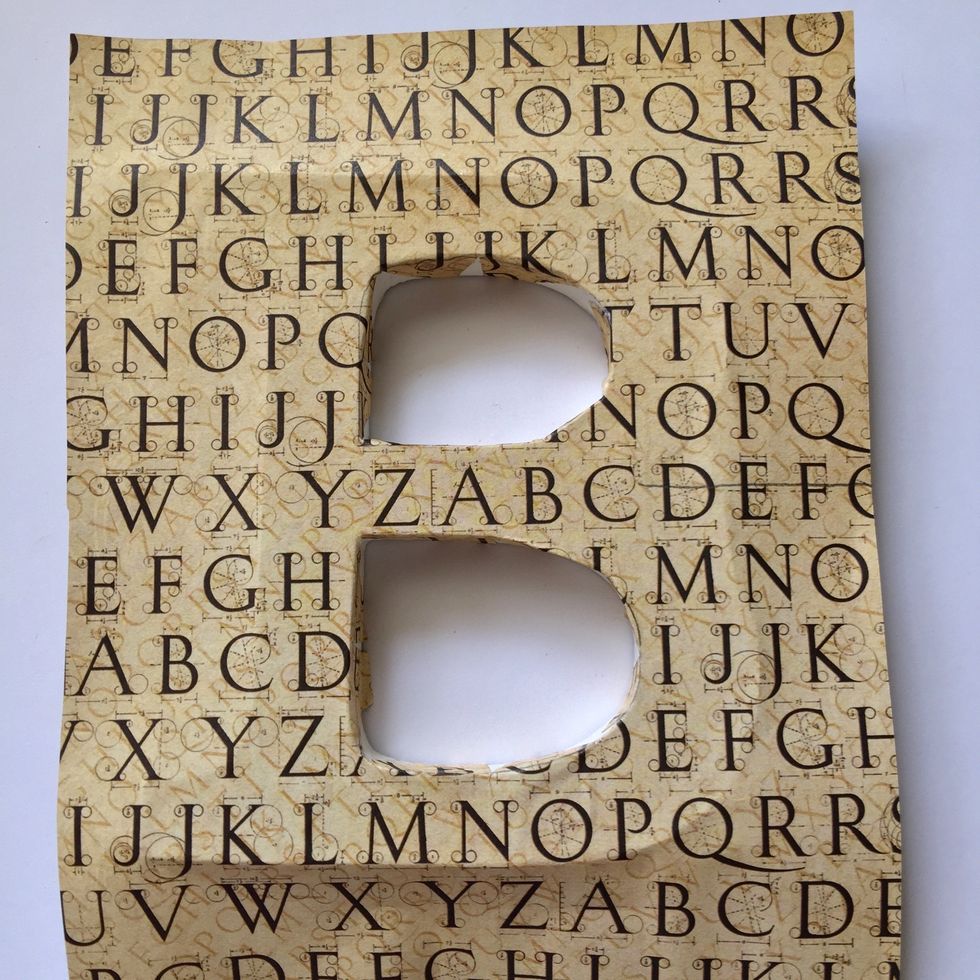
Put some glue inside the holes and glue the paper inside.
Glue the rest of the paper all around the letter.
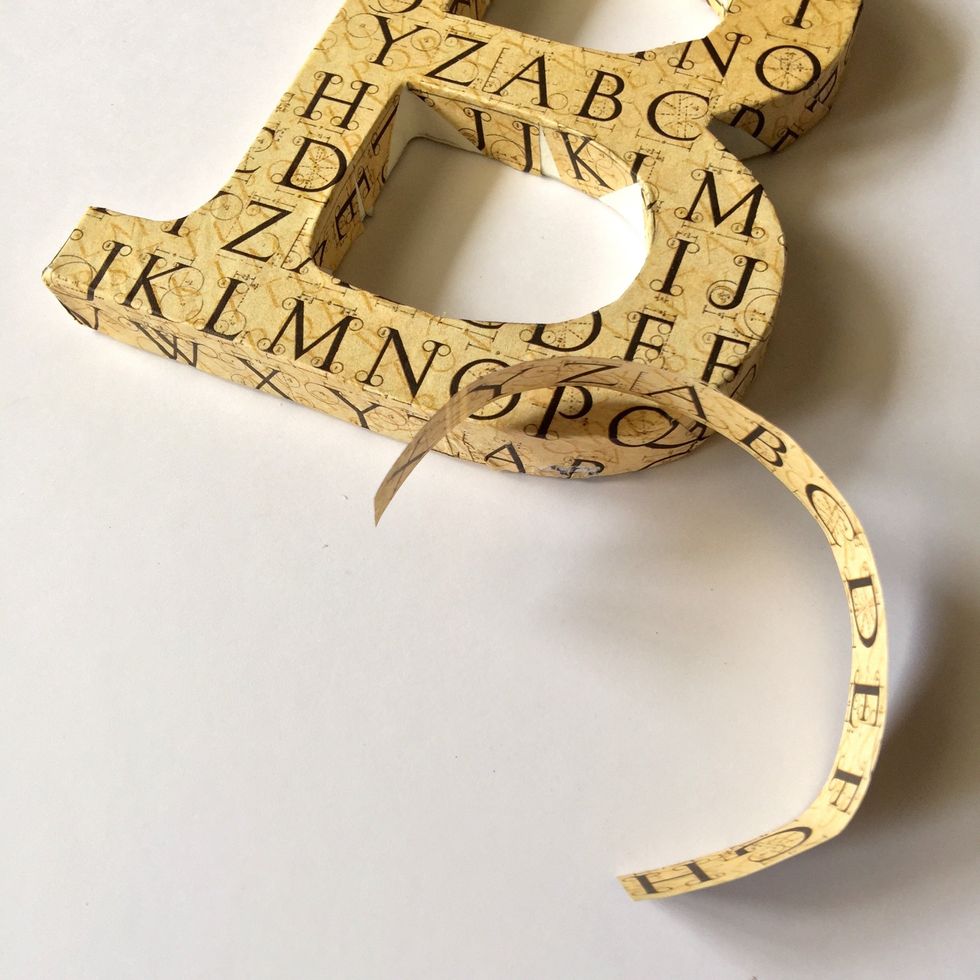
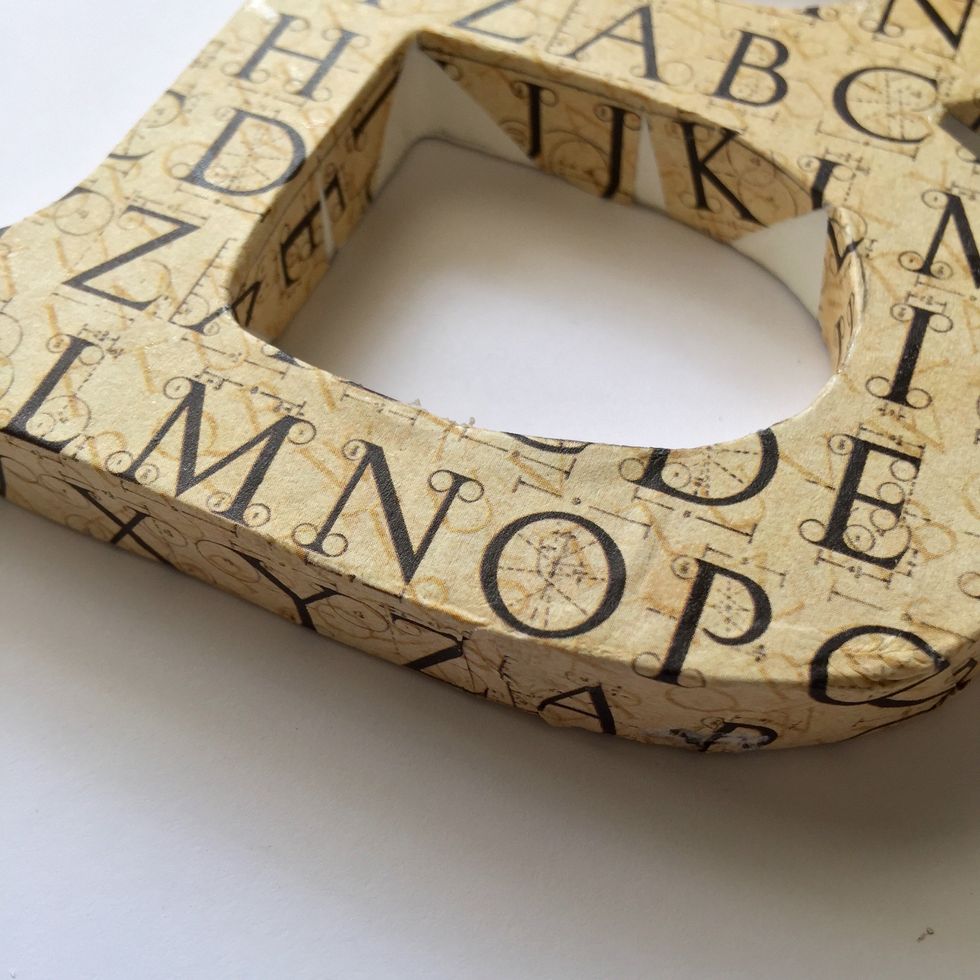
Cut two stripes of paper to cover the areas inside hole that have no paper.
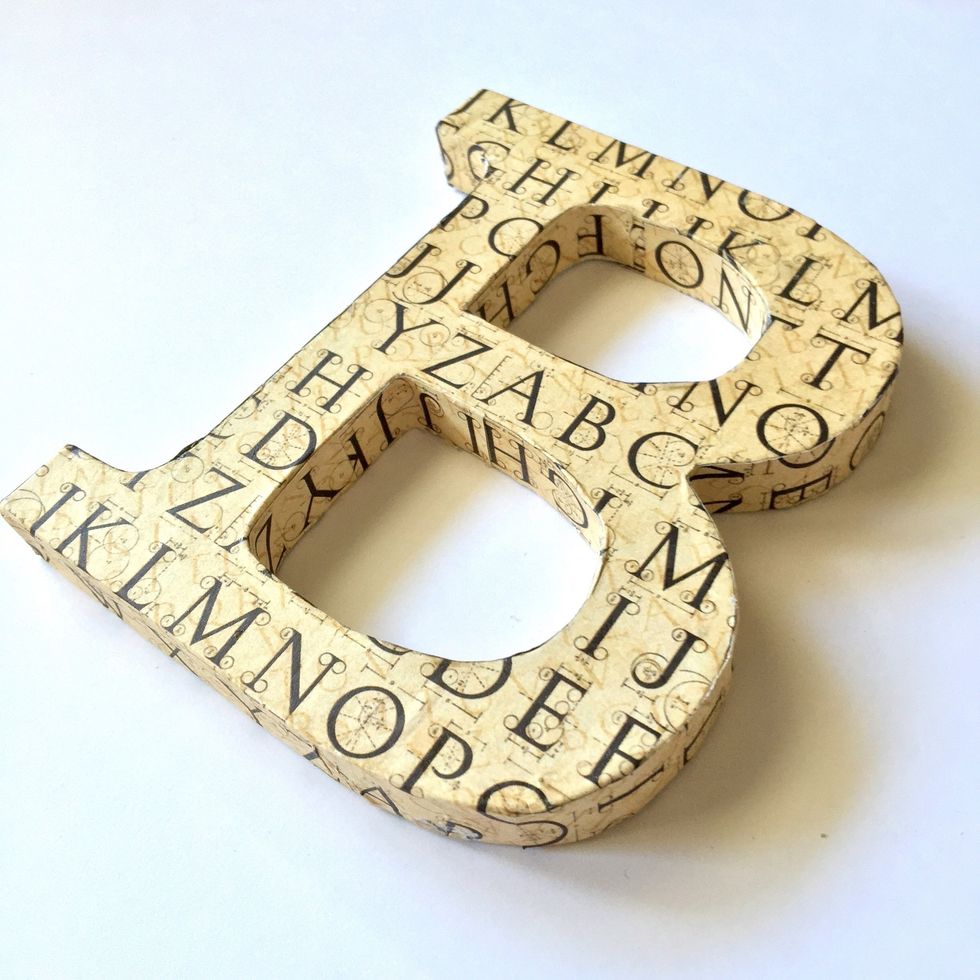
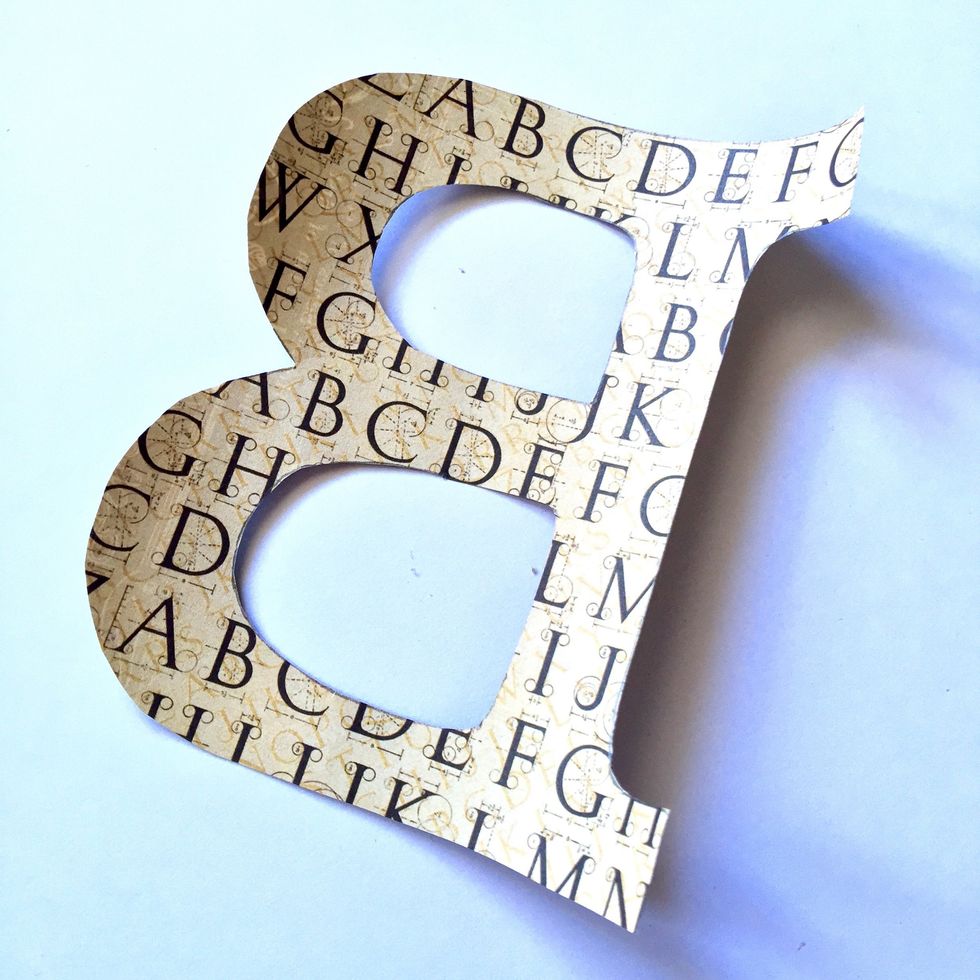
Cut a piece of paper using the letter as a pattern and glue on the back of the letter.
Repeat the process with the other letter. Then spread some decoupage glue on the surface of all the letter and let it dry.
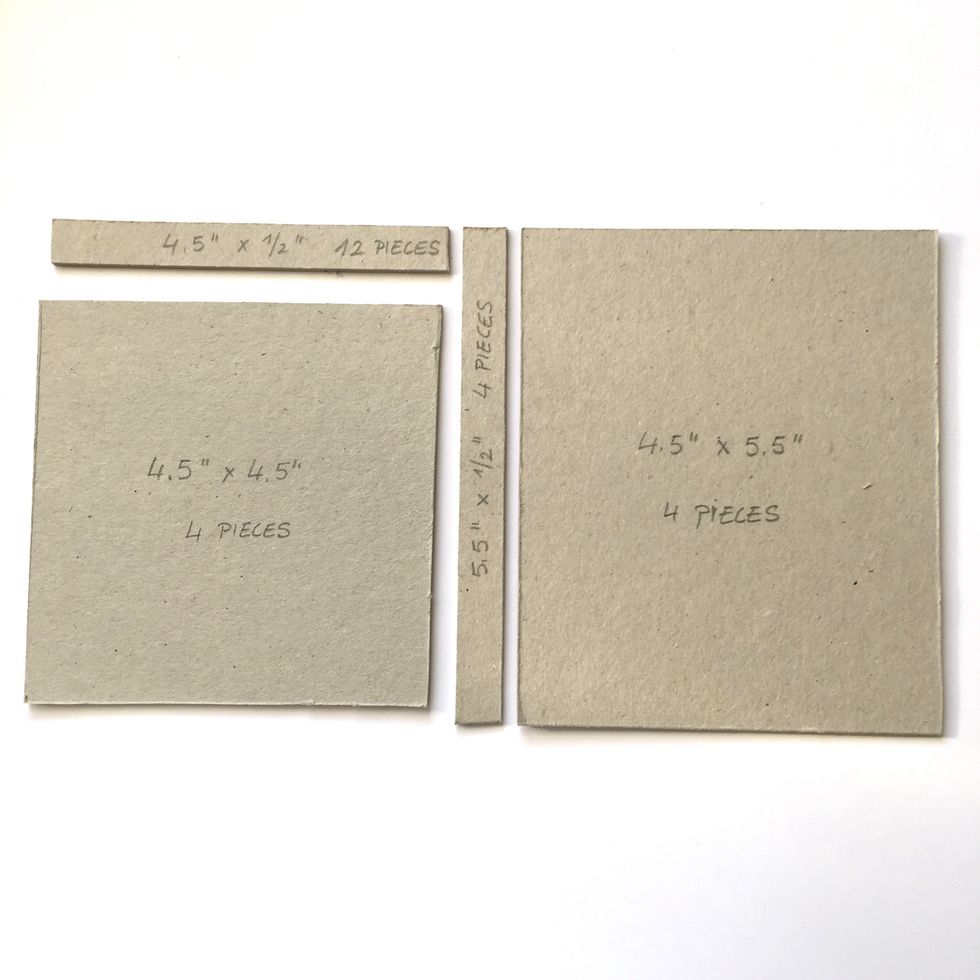
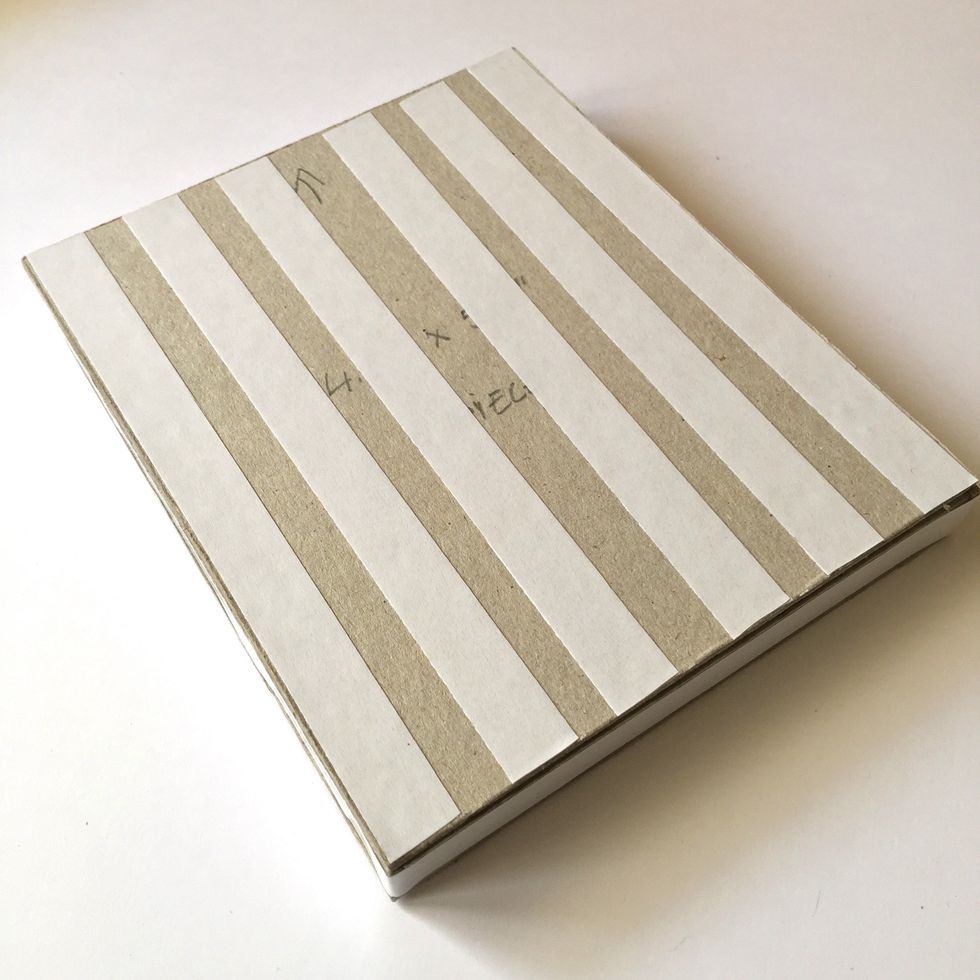
Cut cardboards to make the base.
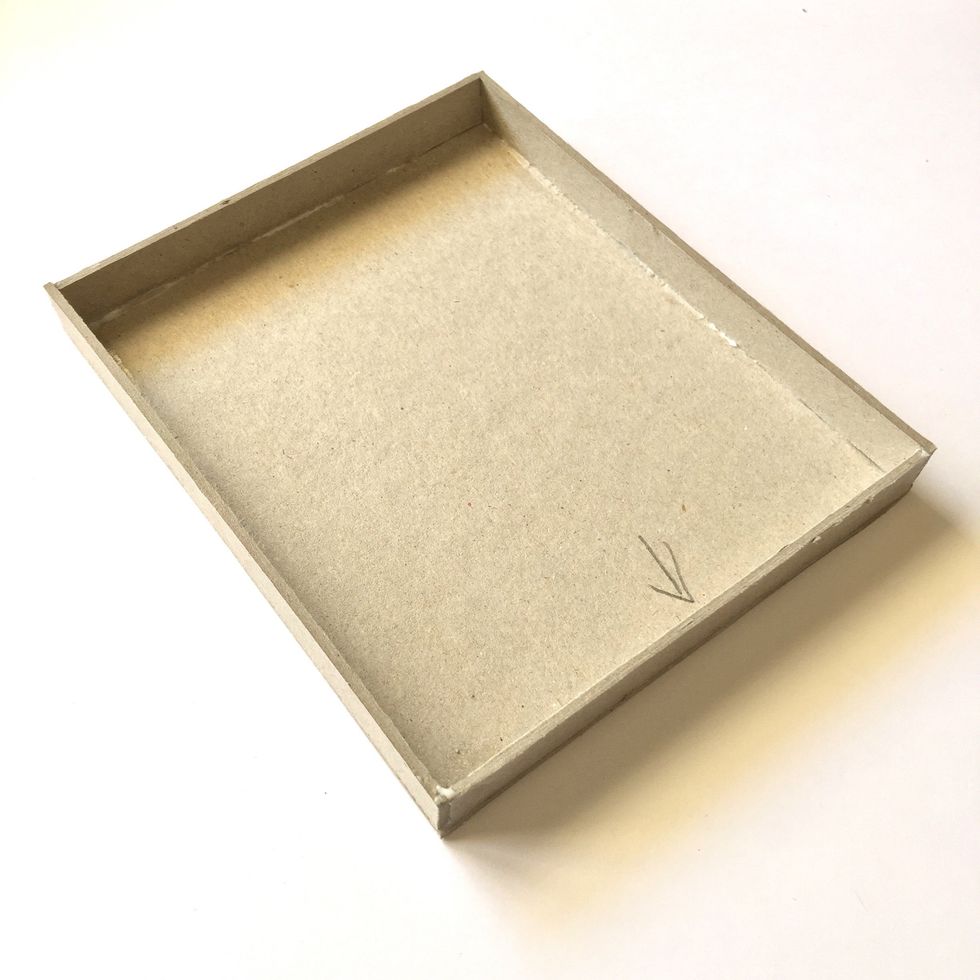
Glue with a strong glue.
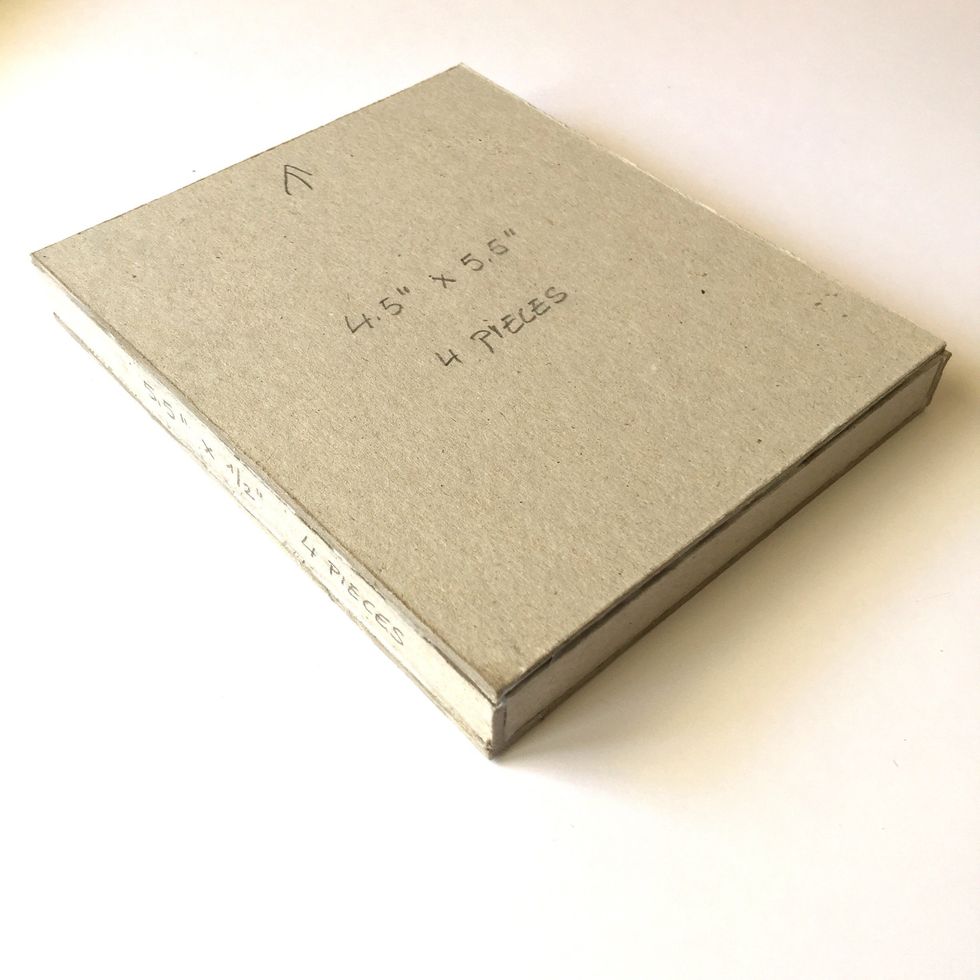
Form a closed base.
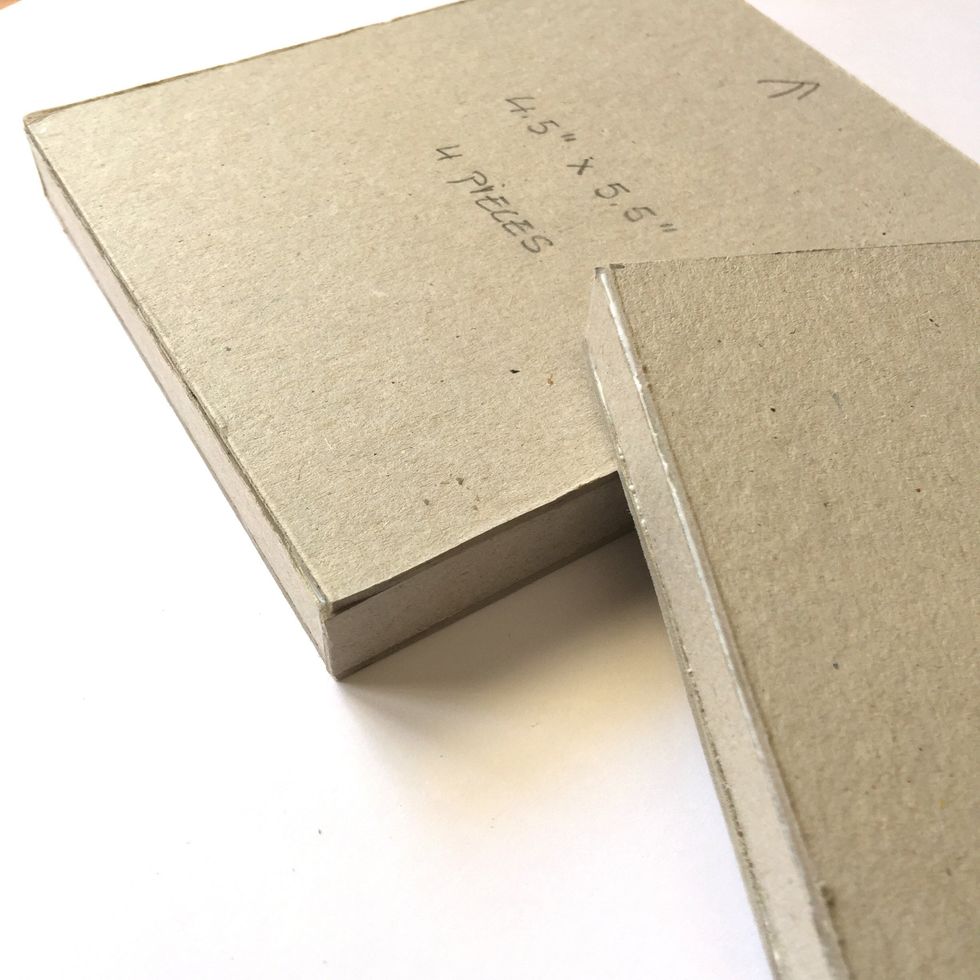
You need two bases by bookend.
Use double-sided tape to stick the paper.
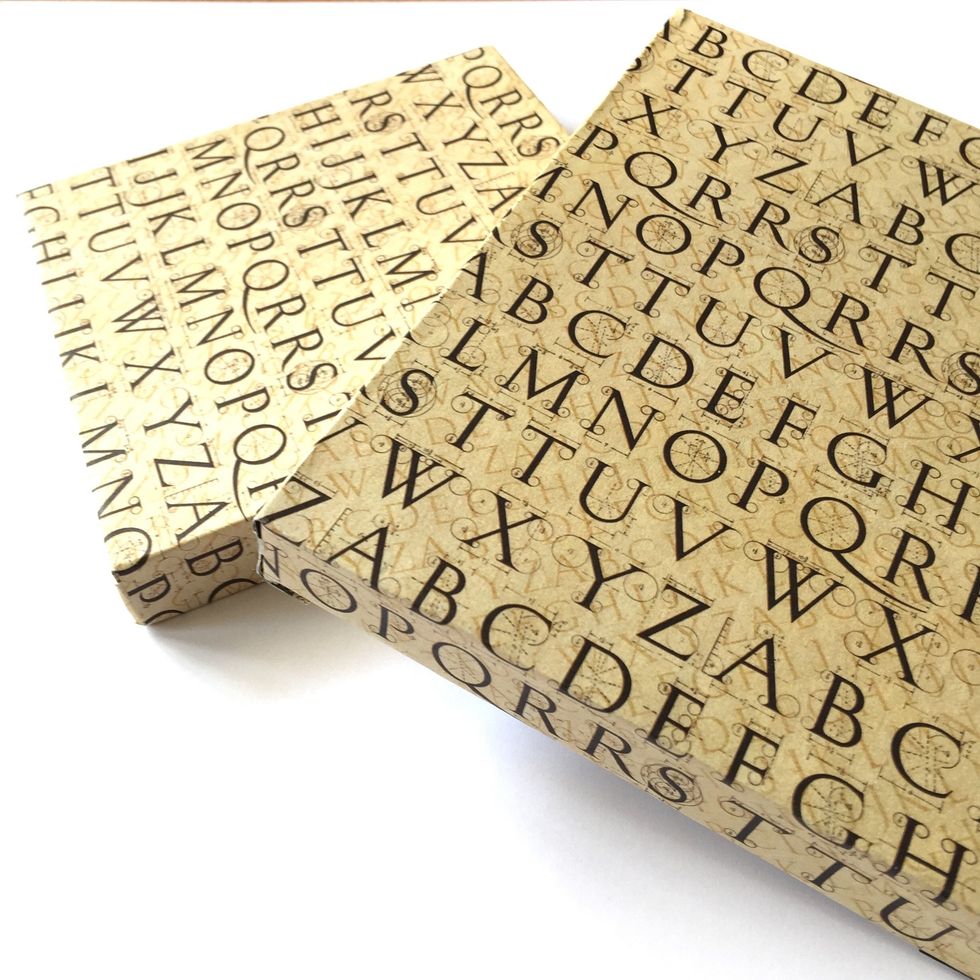
Cover totally with Graphic 45 DIY Craft Paper as if you wrap a gift.
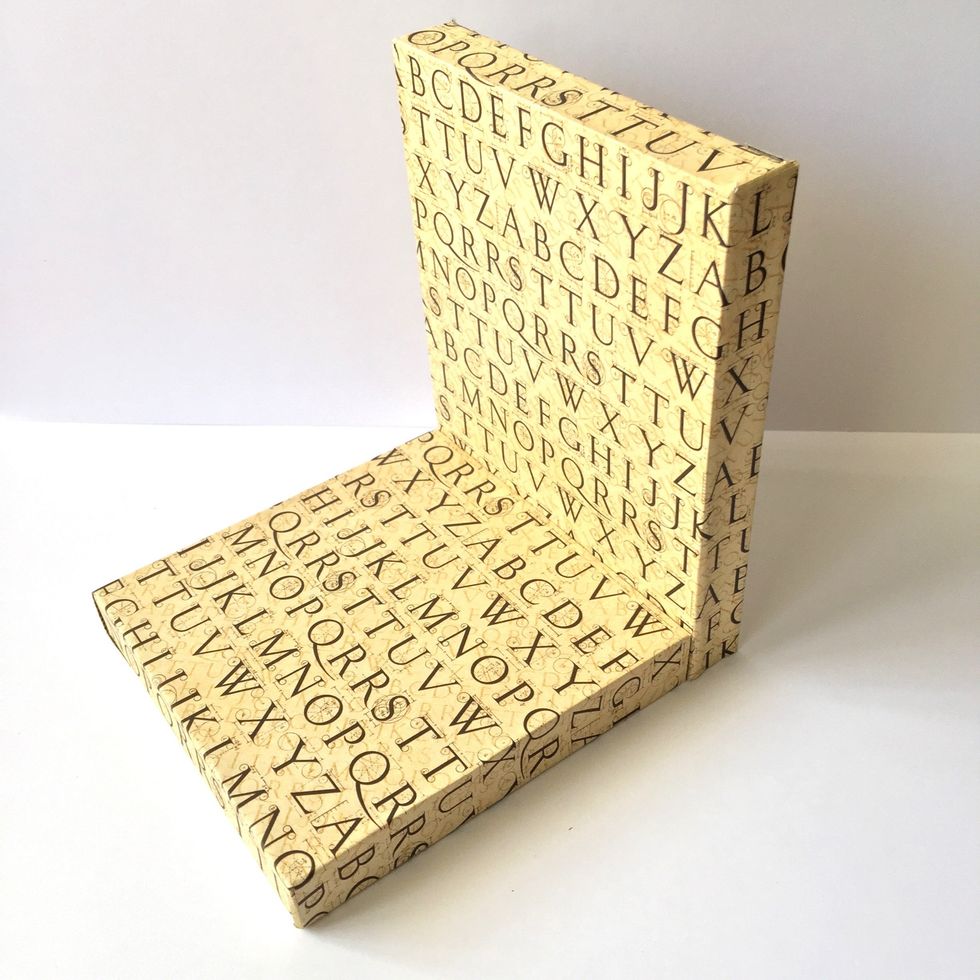
Glue them as shown with strong glue or double-sided tape.
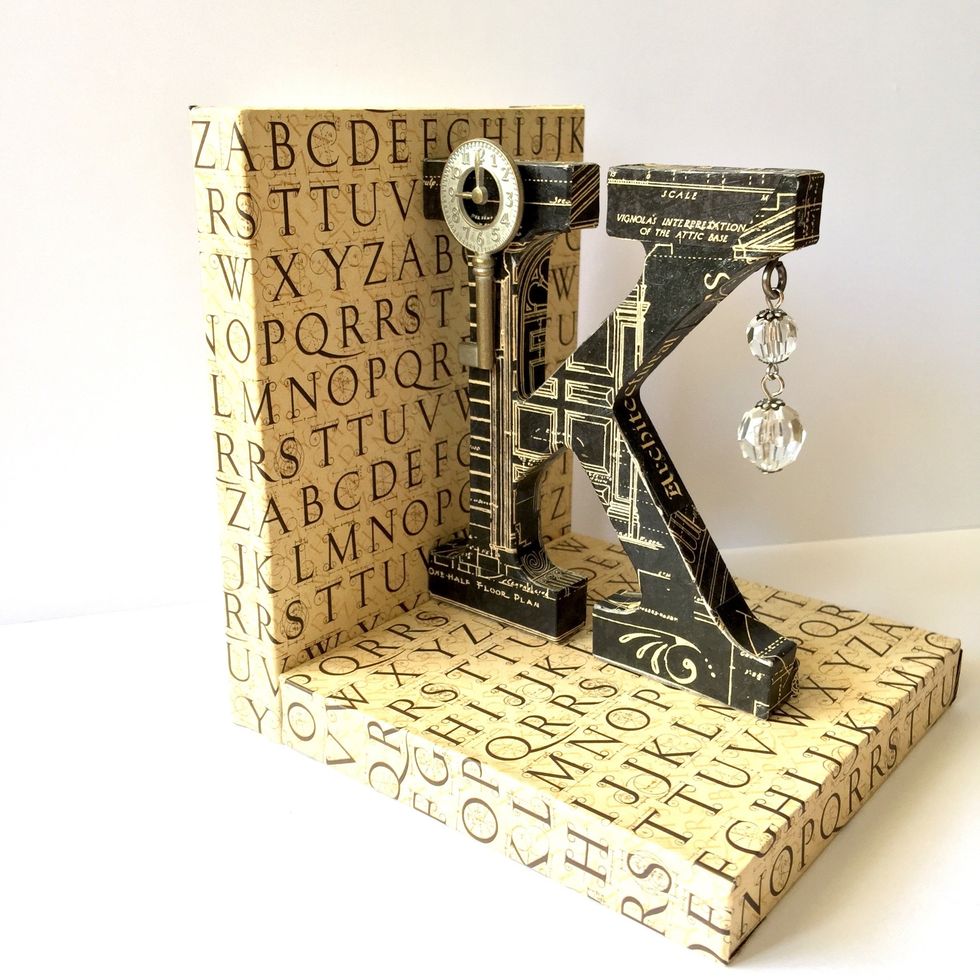
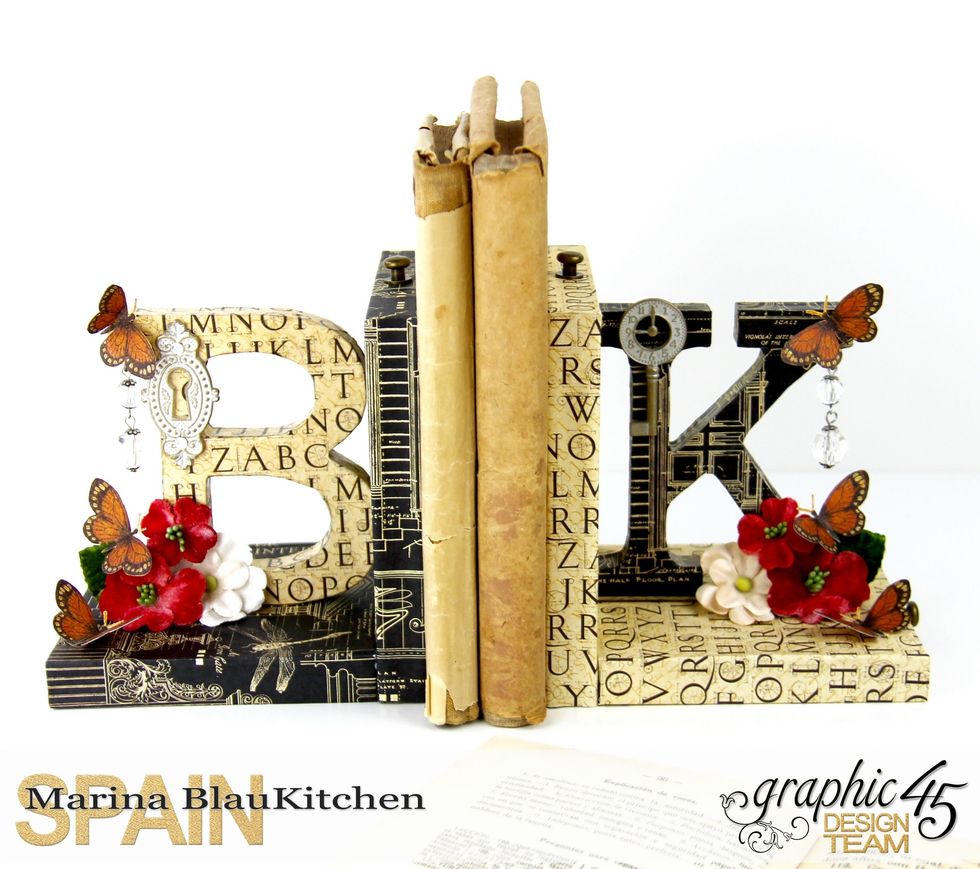
Glue the letter and decorate as you like.
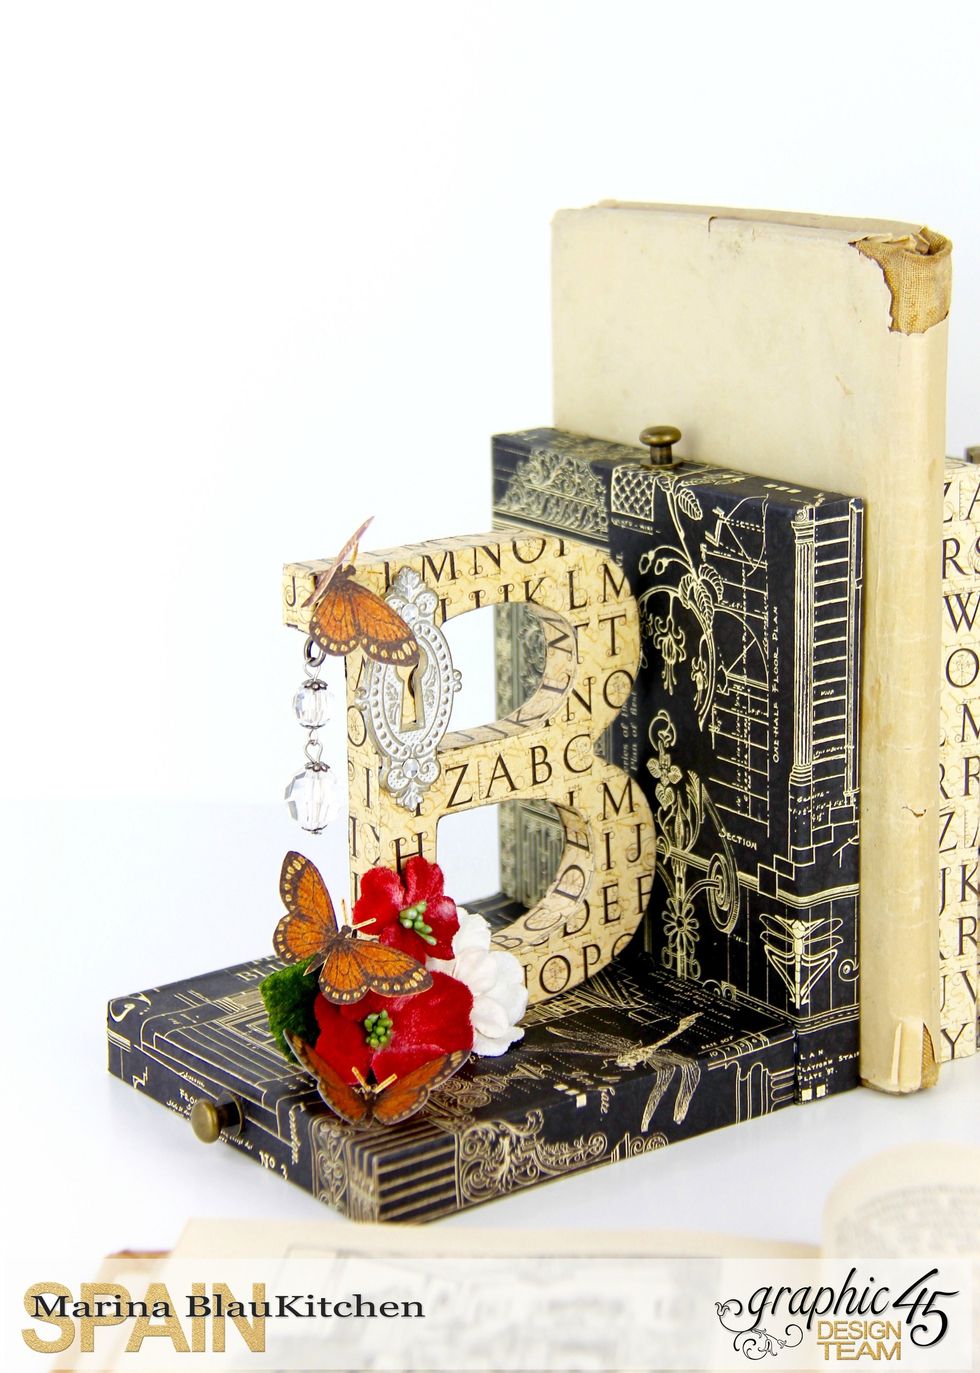
Bookend "B"
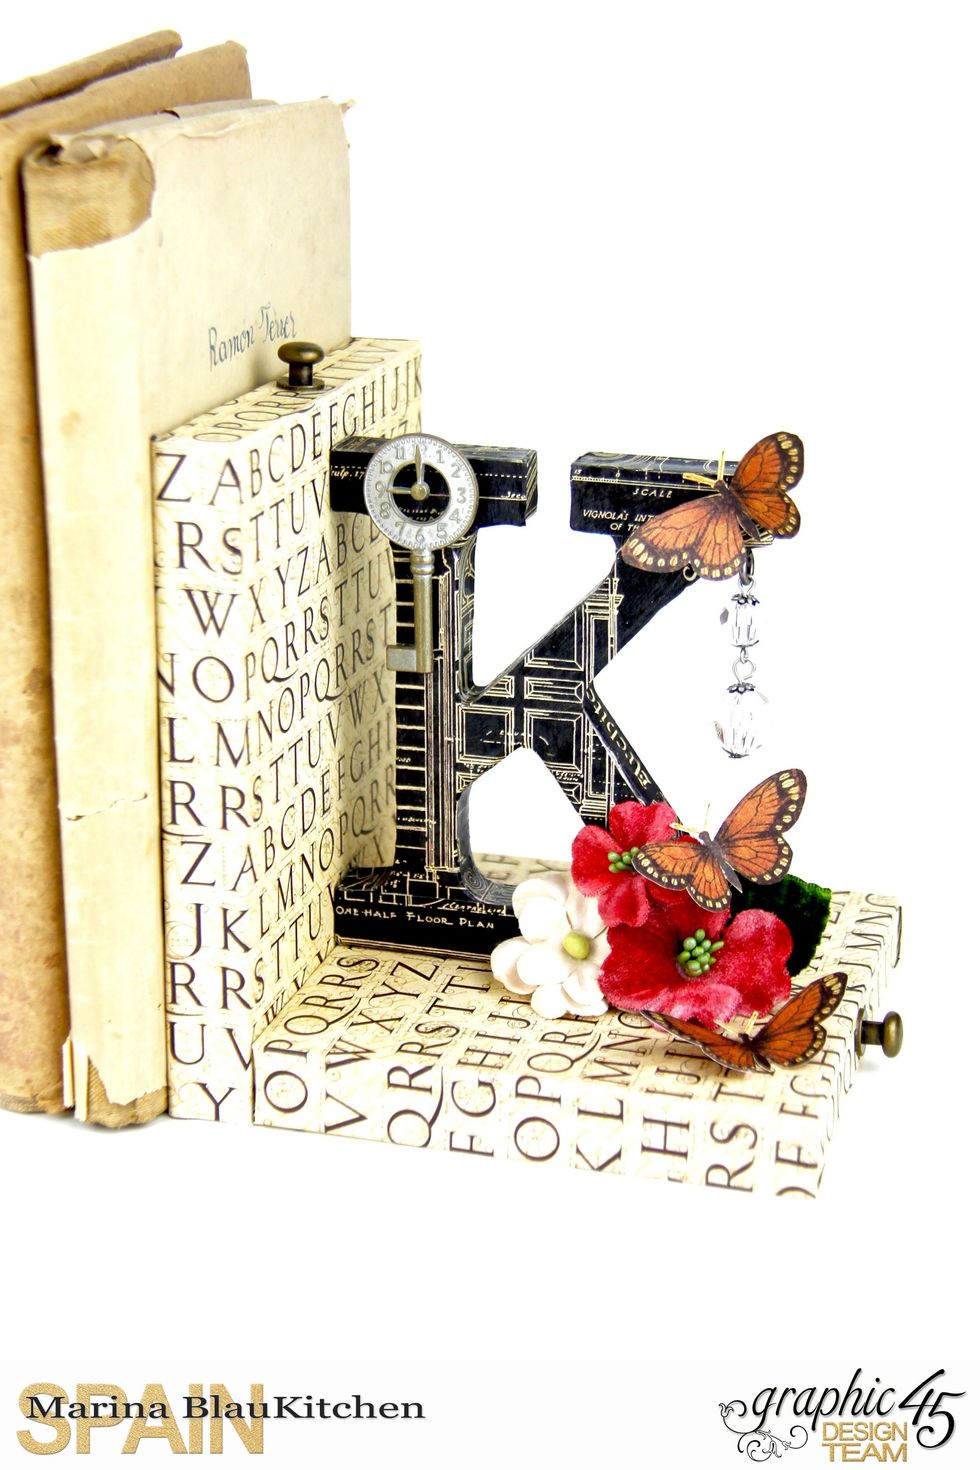
Bookend "K"
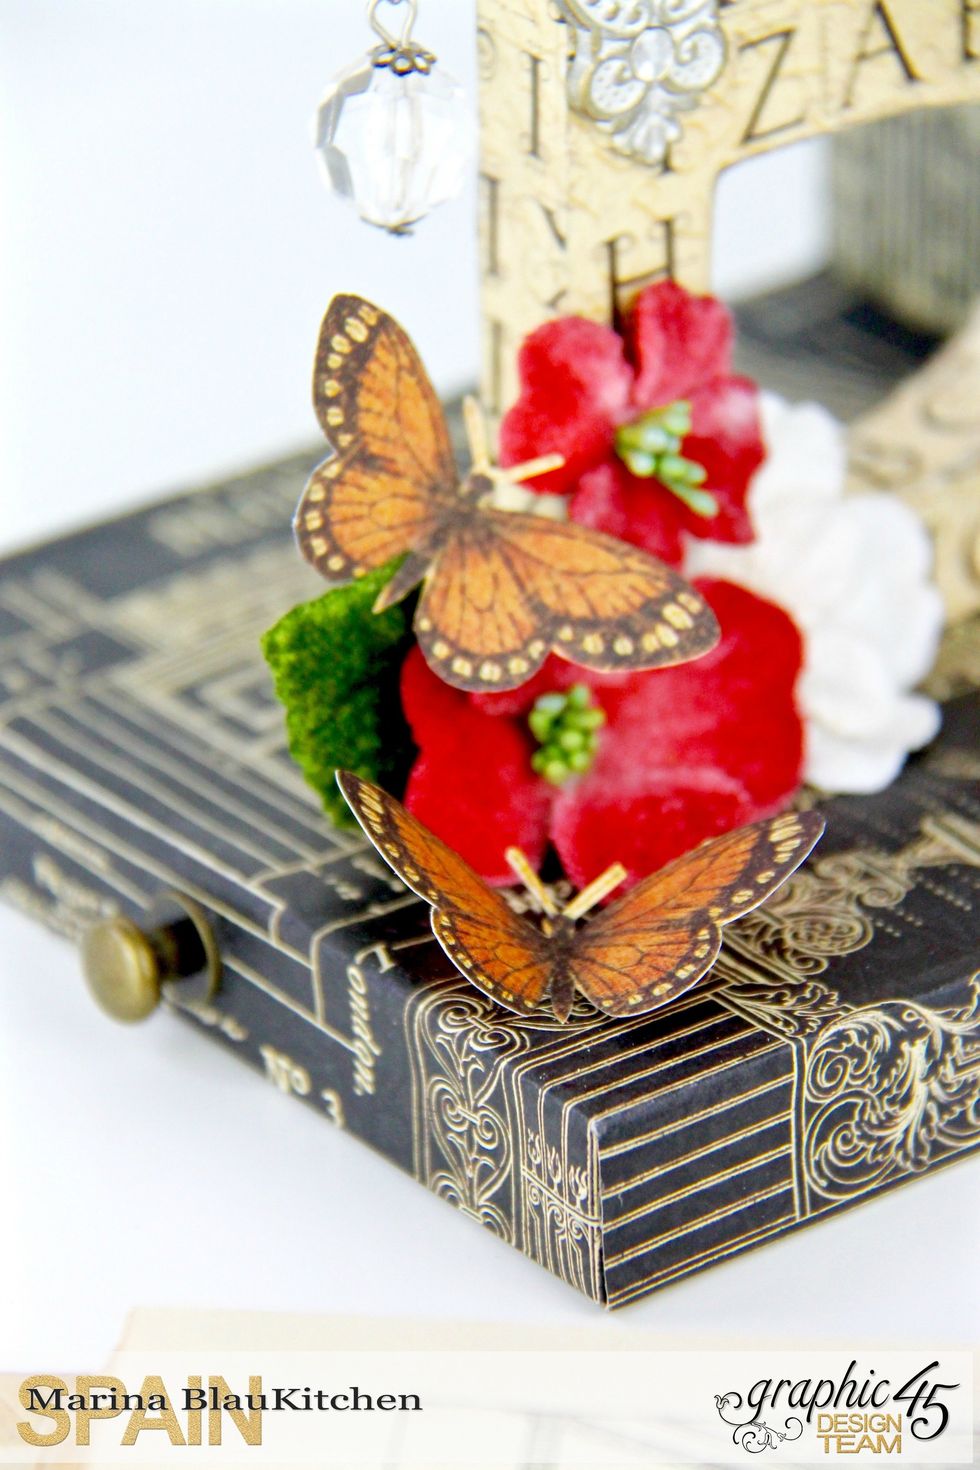
I added some metal embellisments, some flowers and fussy cut these lovely buterflies from Graphic 45 Botanica Bella Deluxe Collection.