The Conversation (0)
Sign Up
Download the PAGES app by APPLE from the App Store. Price :($10)
Download the IBooks app by APPLE from the App Store. (Free.)

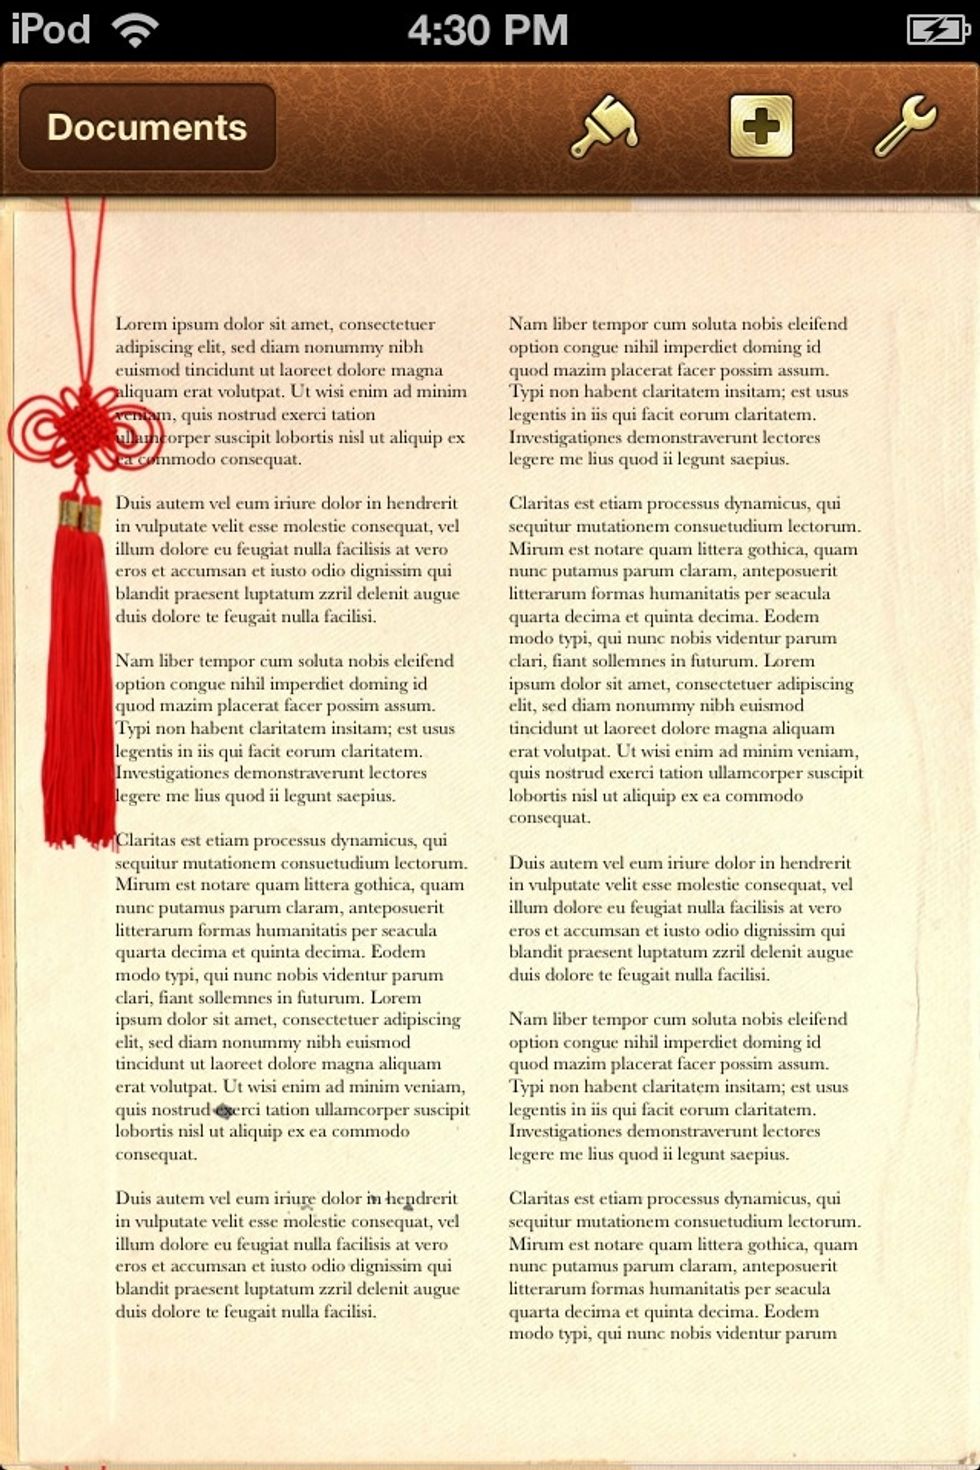
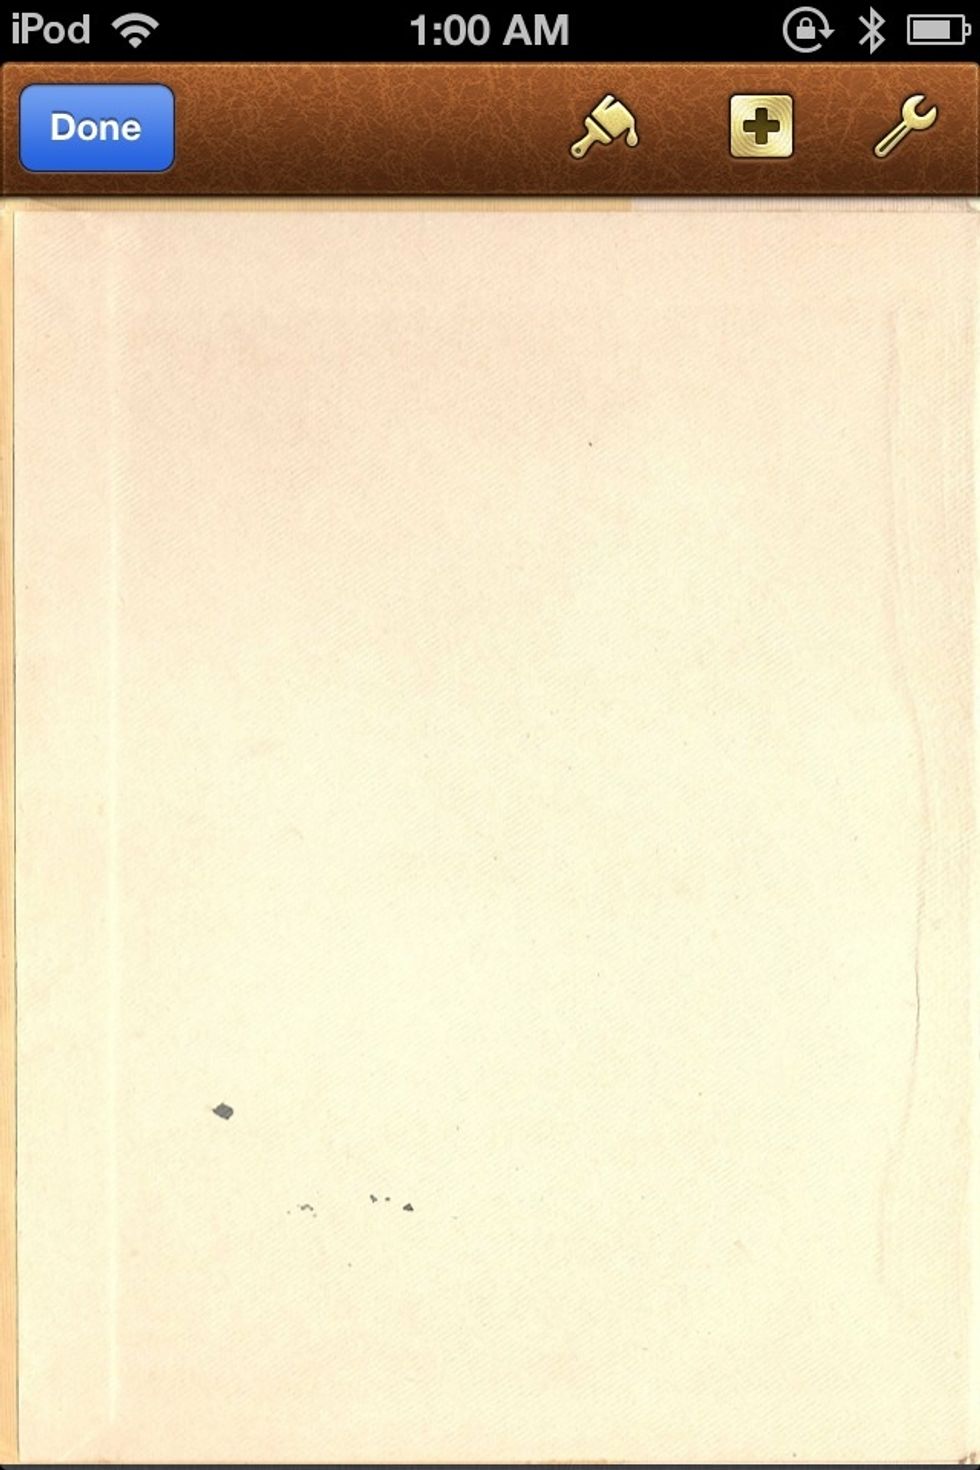
Open PAGES and create a blank document. Tap in the white space and type your story.
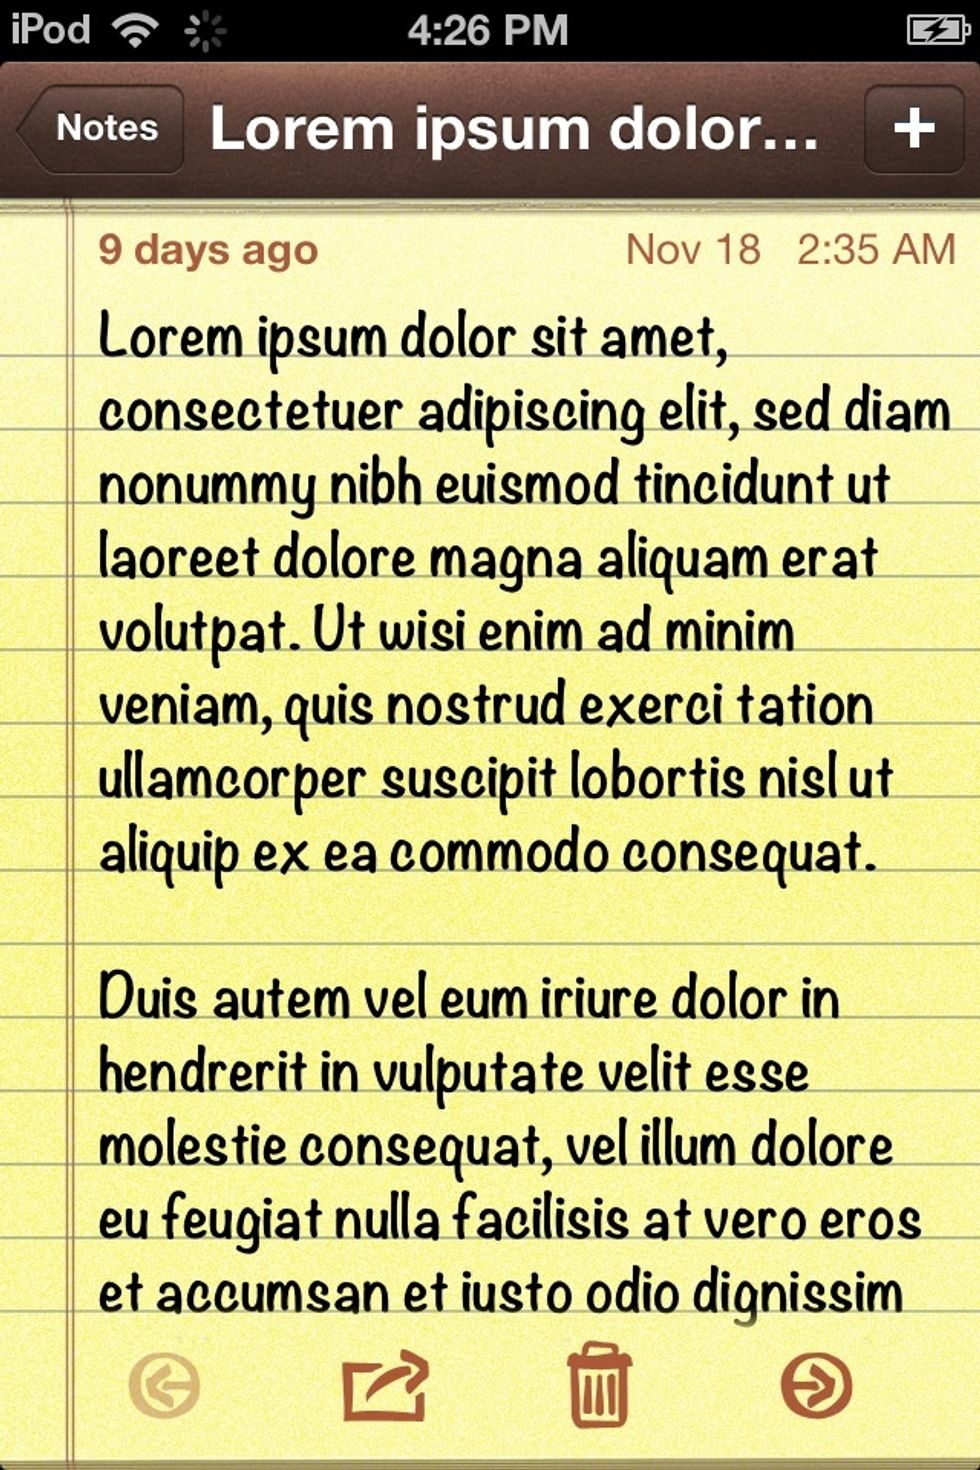
I am using FILLER TEXT for this example.
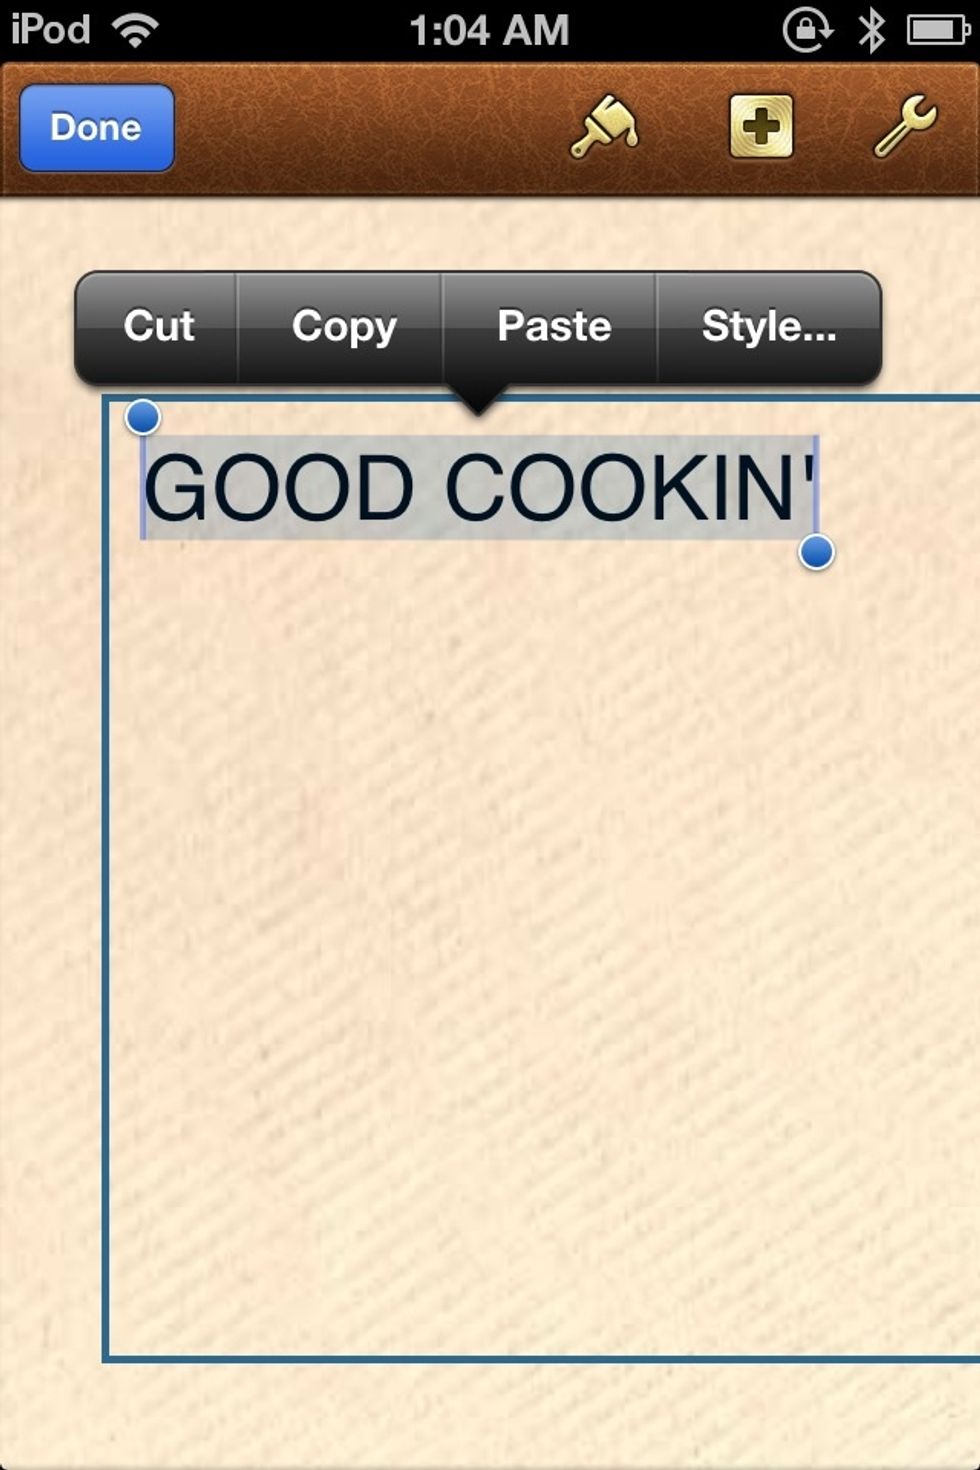
Tap and hold somewhere in the text until a menu comes up.
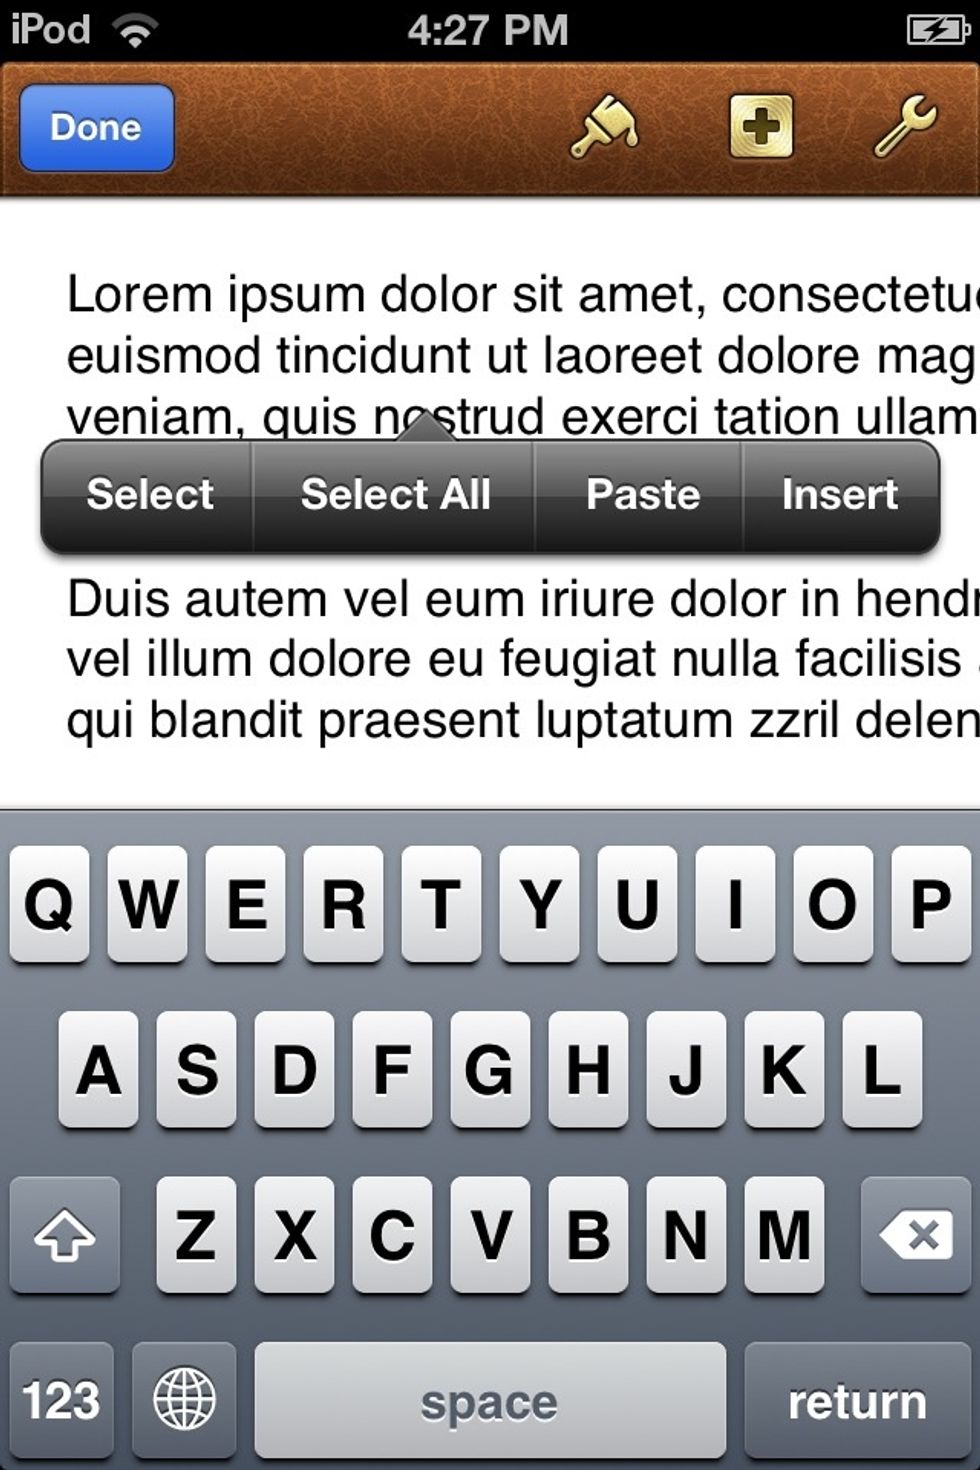
Tap SELECT ALL.
Now tap on the GOLDEN PAINTBRUSH icon at the top right of the screen.
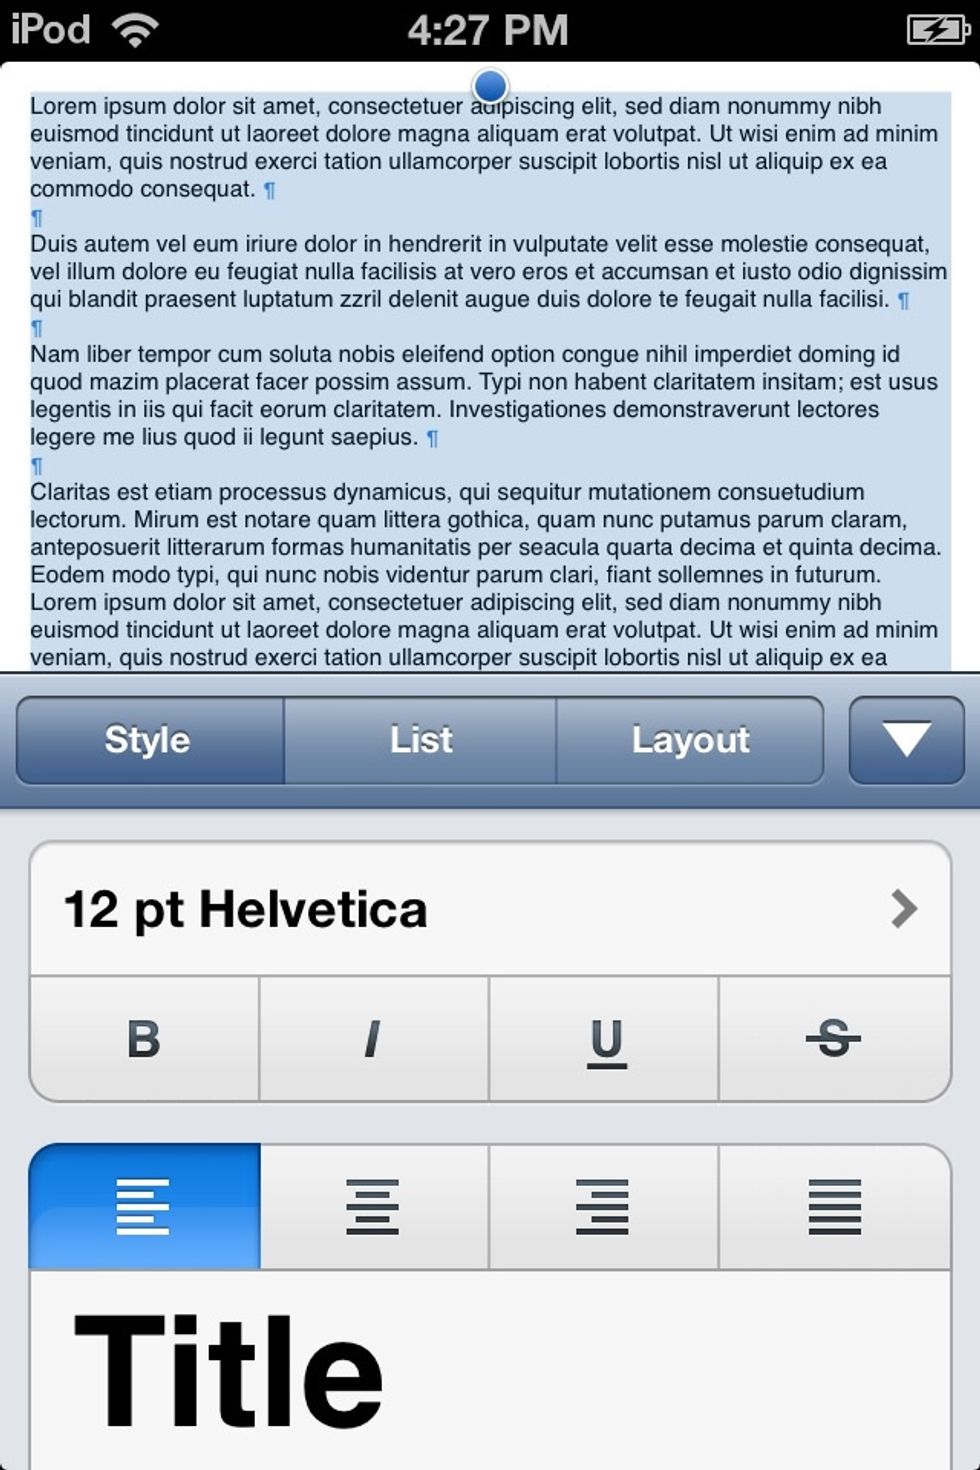
This will come up. Tap the STYLE tab and tap where it says 12PT HELVETICA to change the FONT of the text.
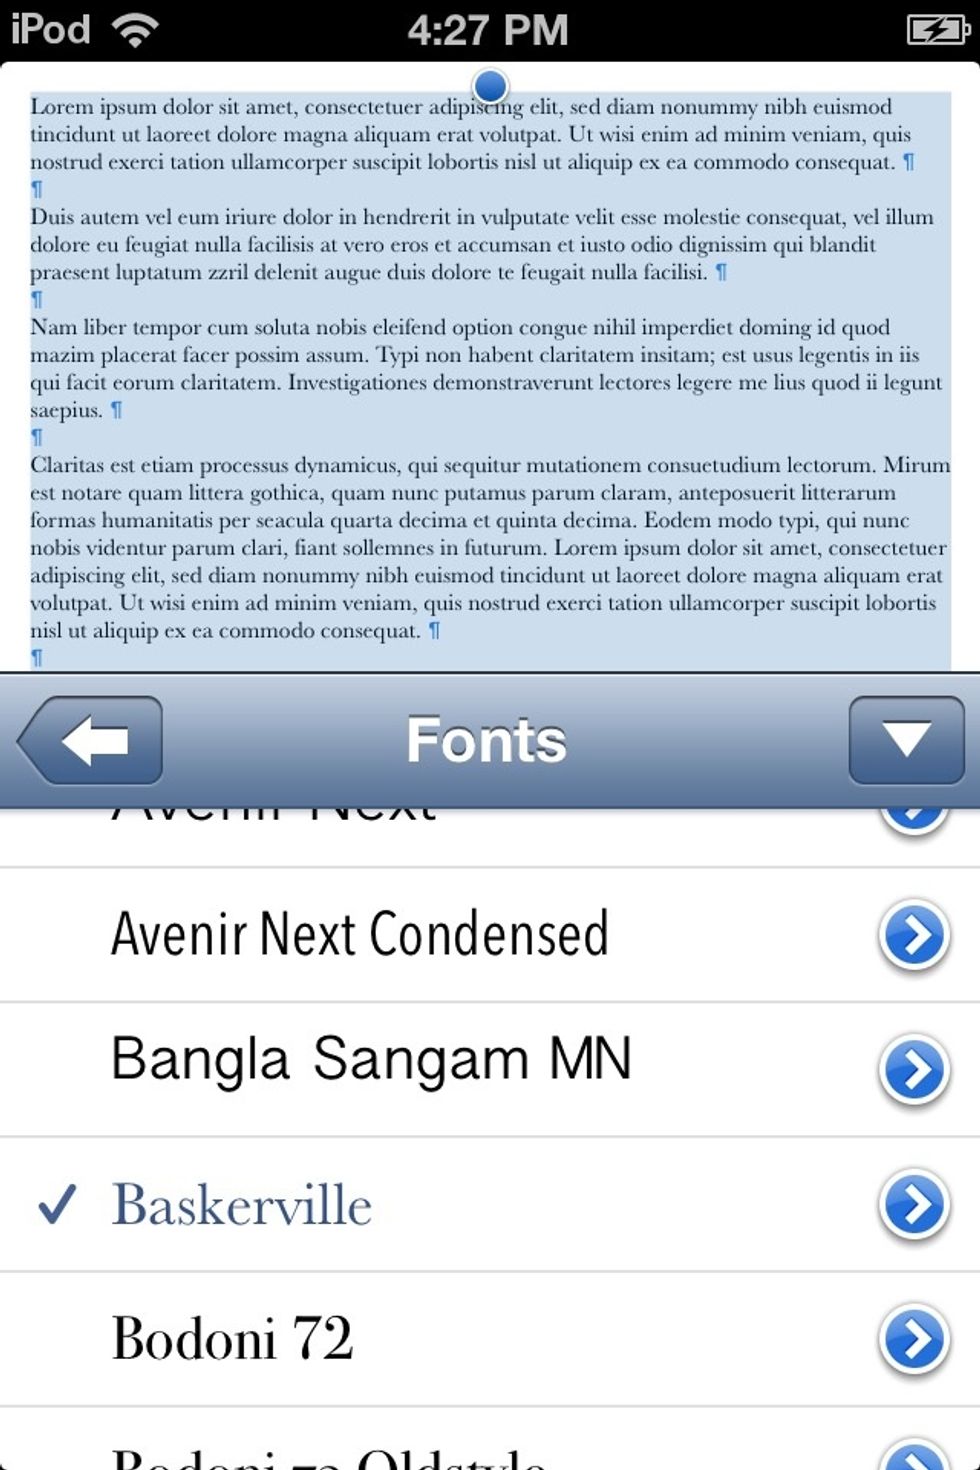
I like the BASKERVILLE font.
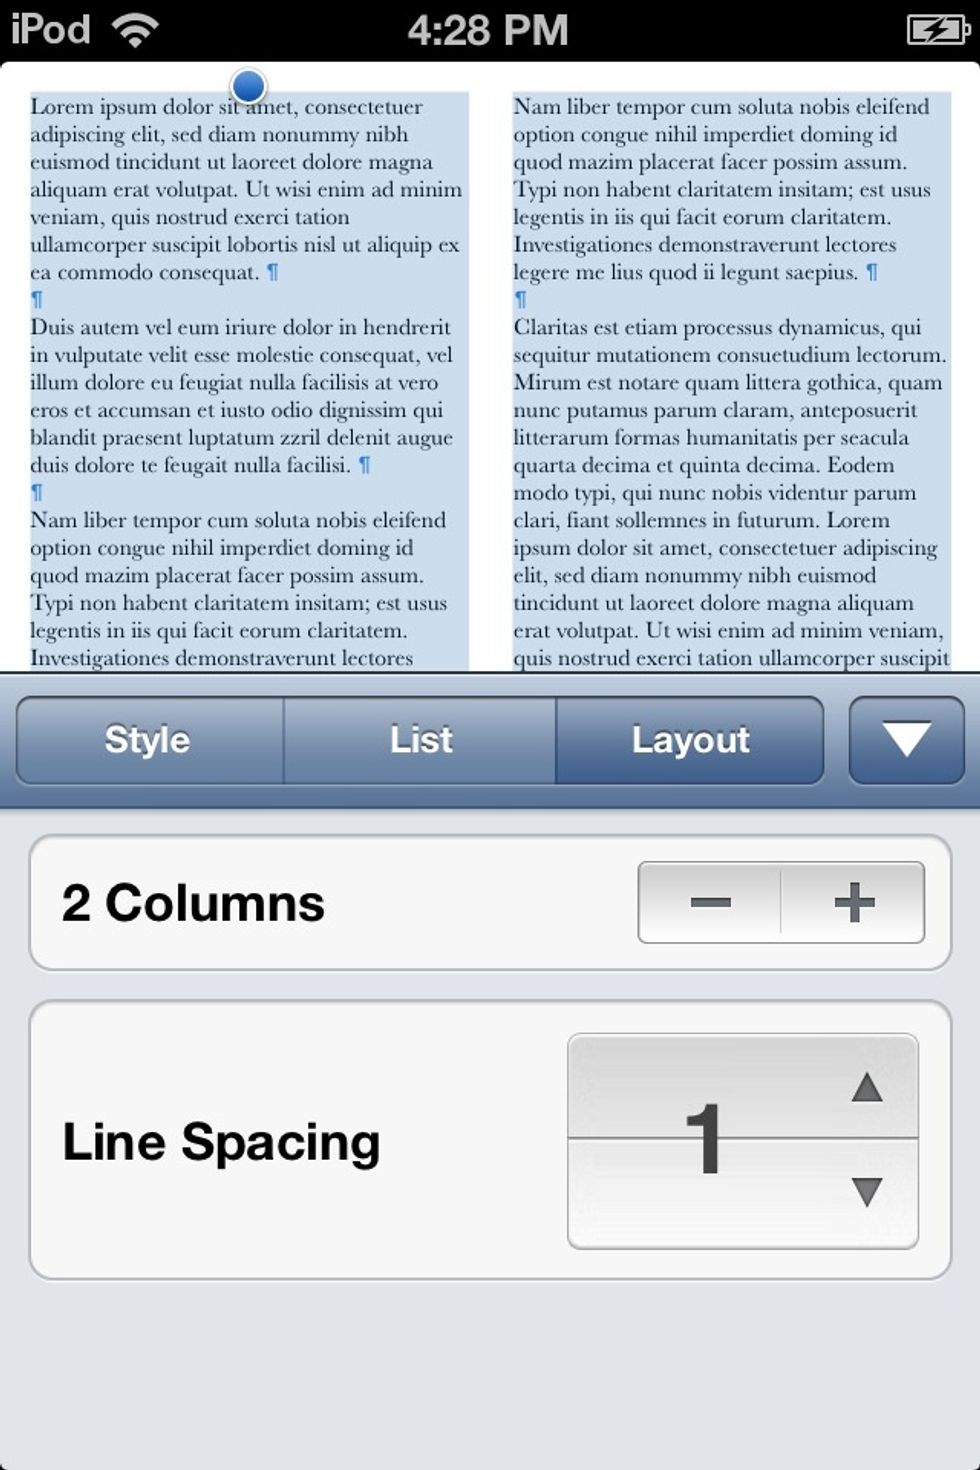
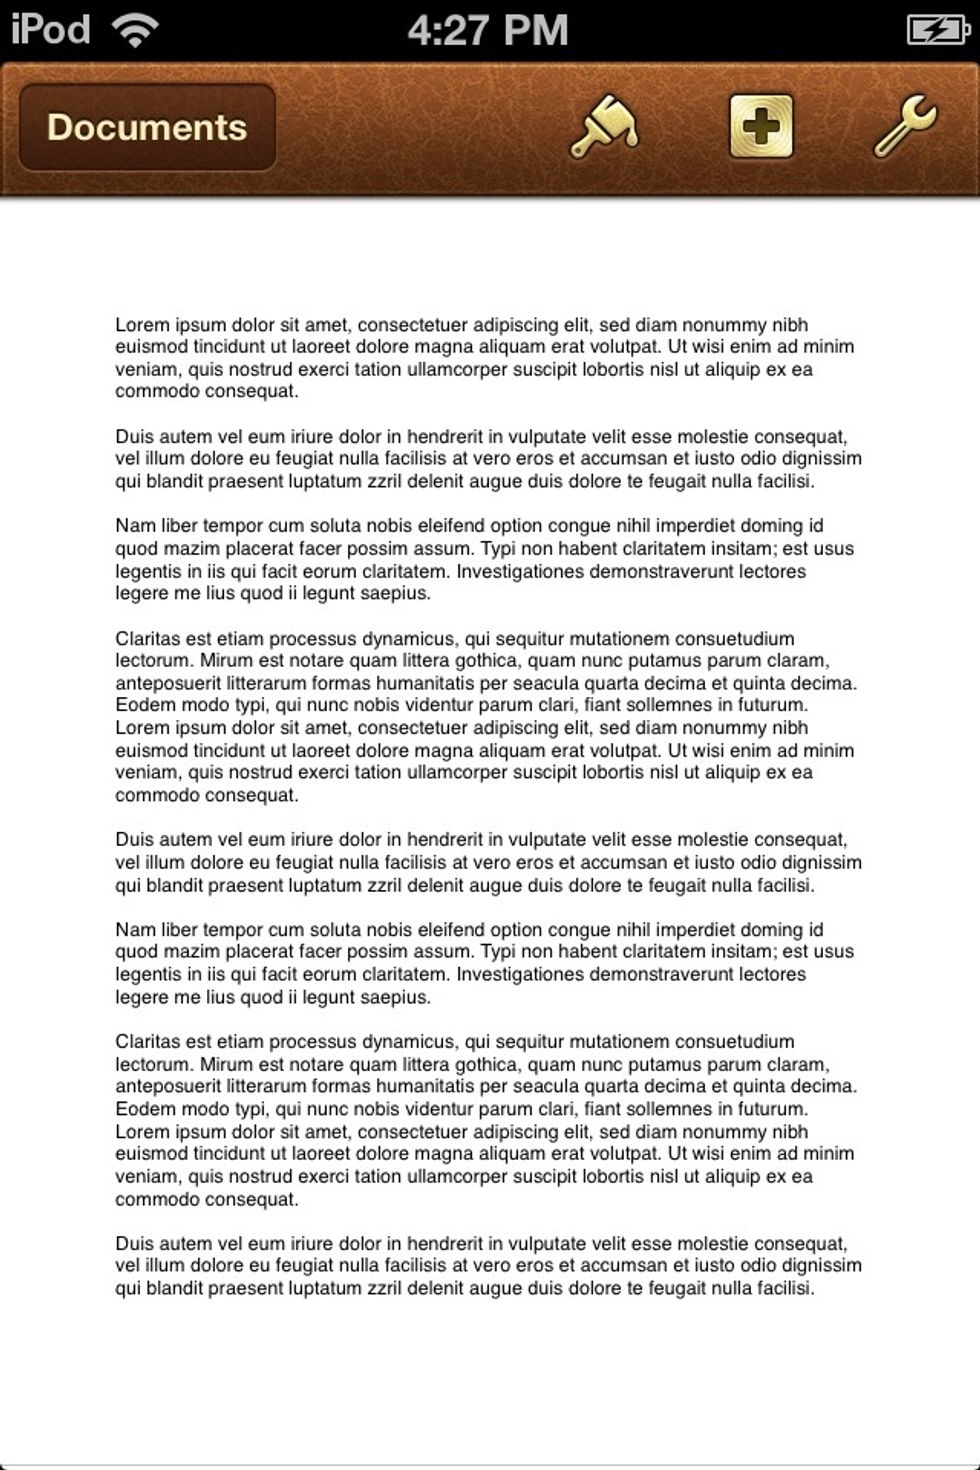
Make sure the text is still selected and go to the LAYOUT tab. Change the COLUMNS to 2. You don't have to do this step.

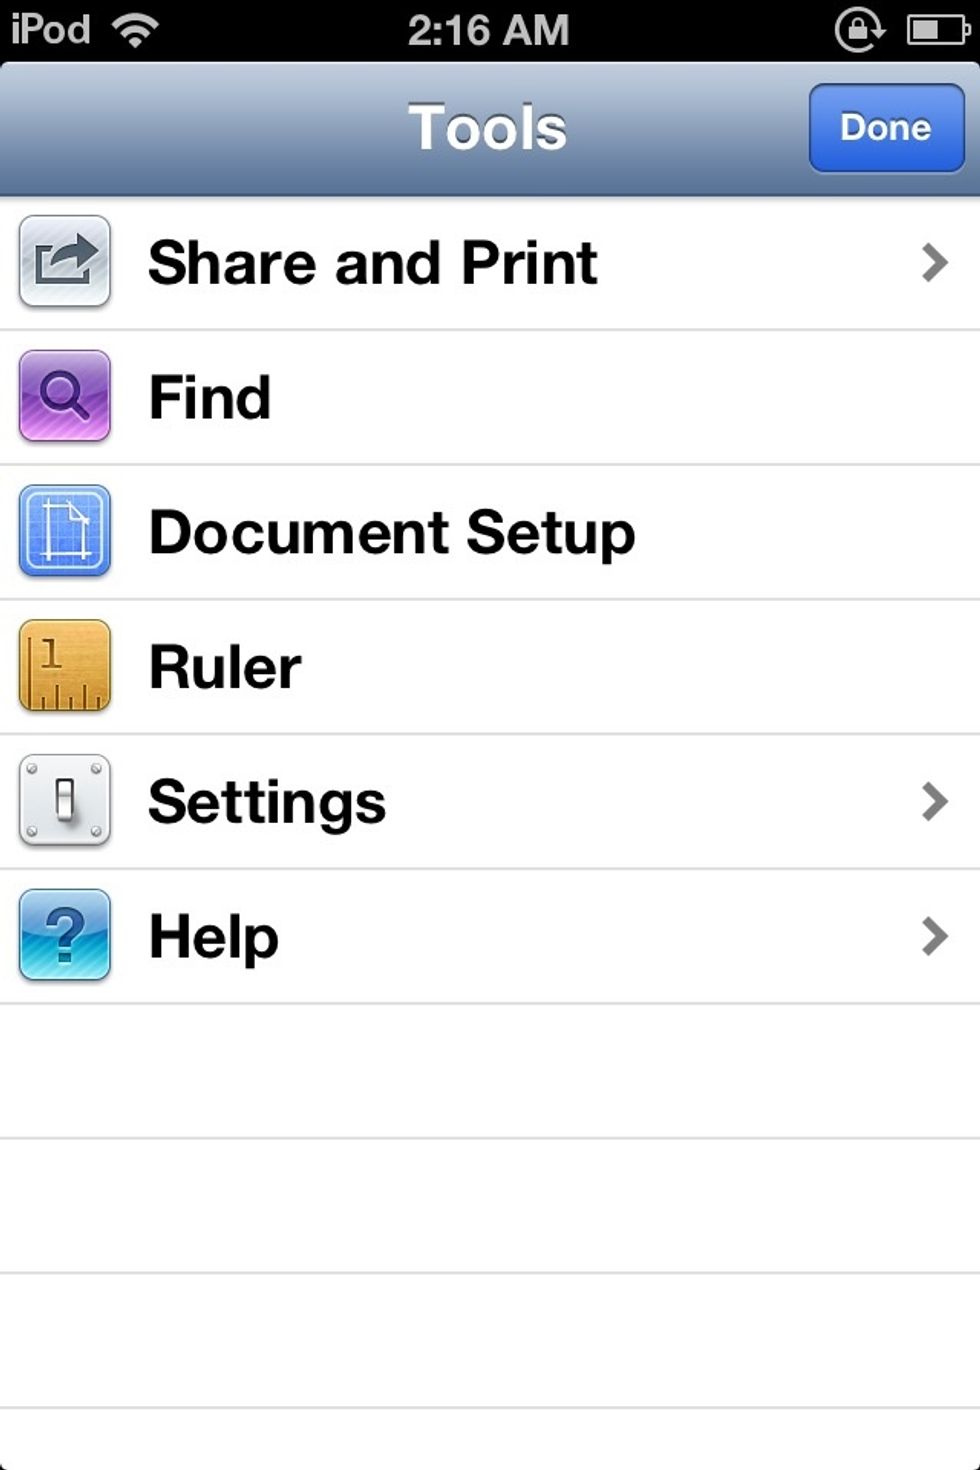
This is how it should look. Tap the GOLDEN WRENCH.
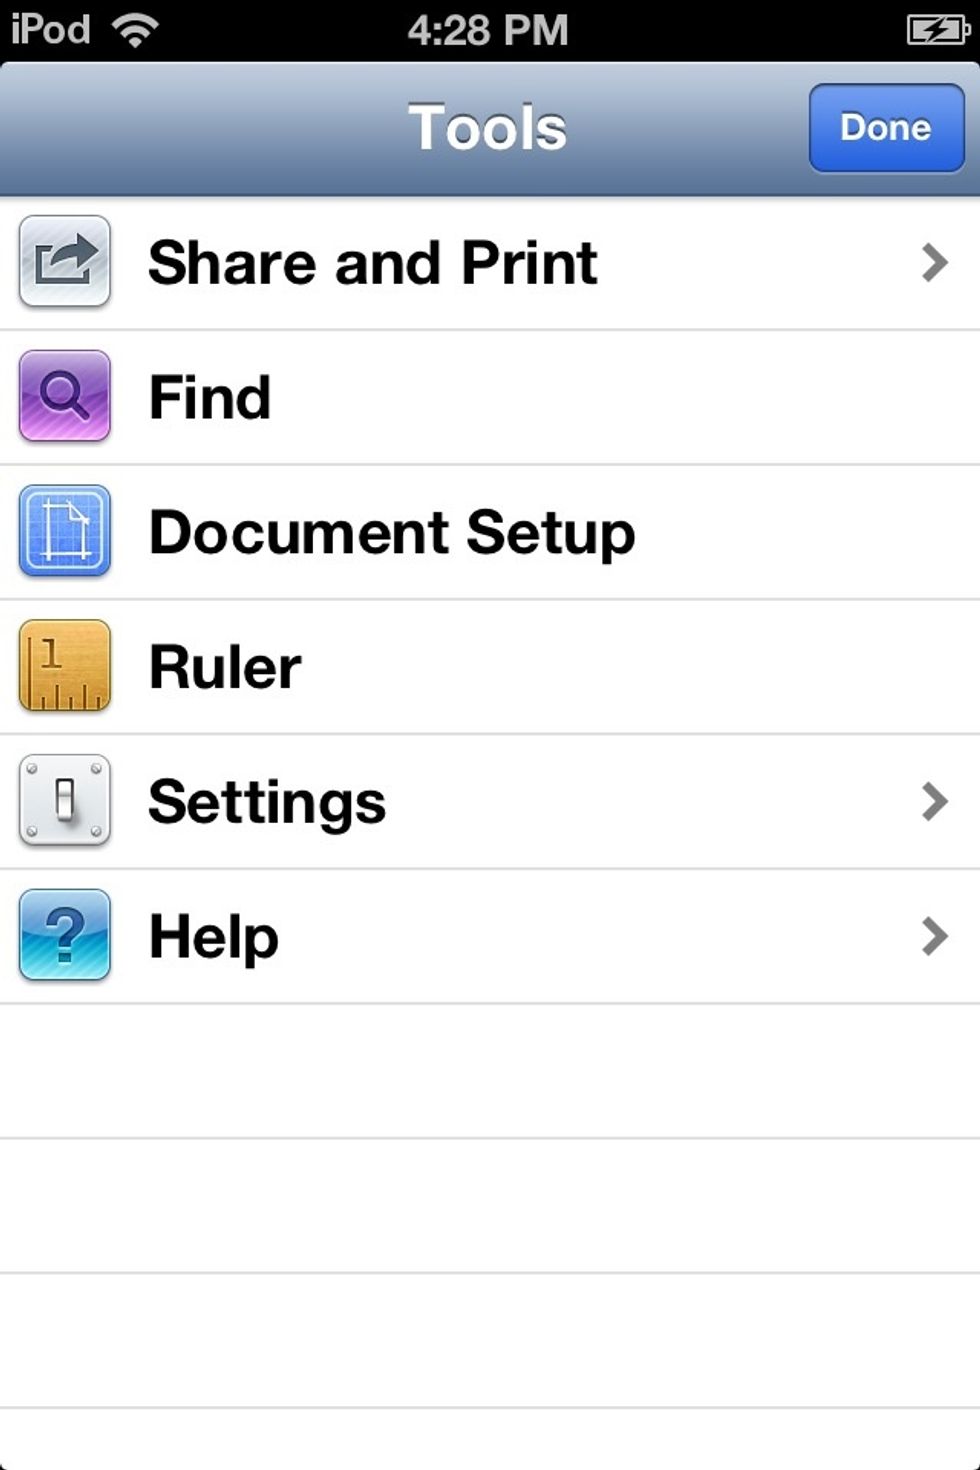
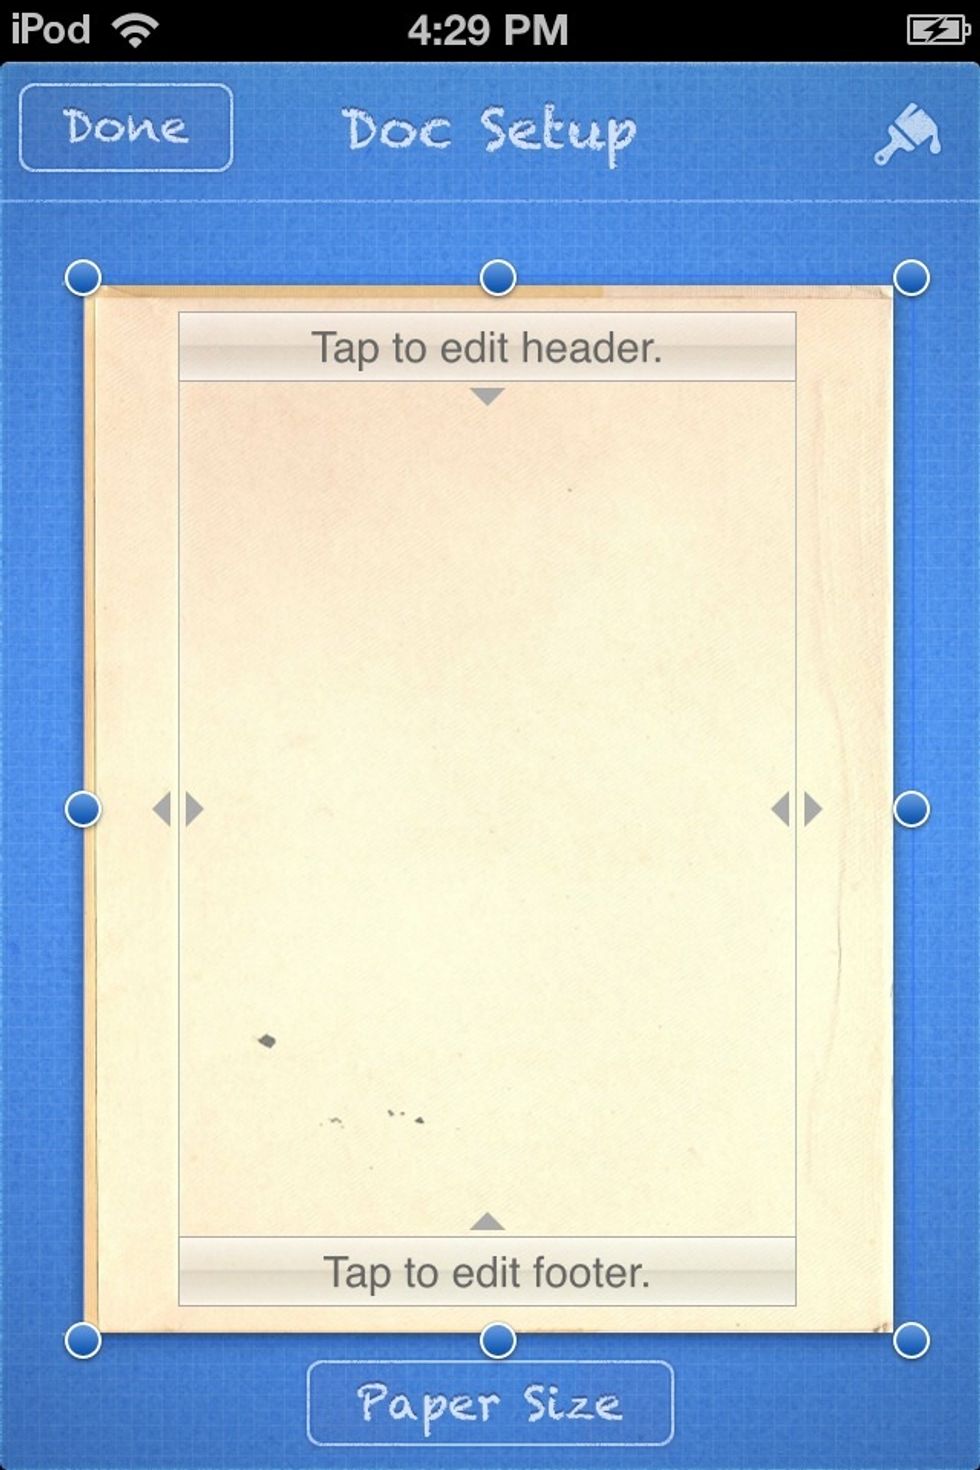
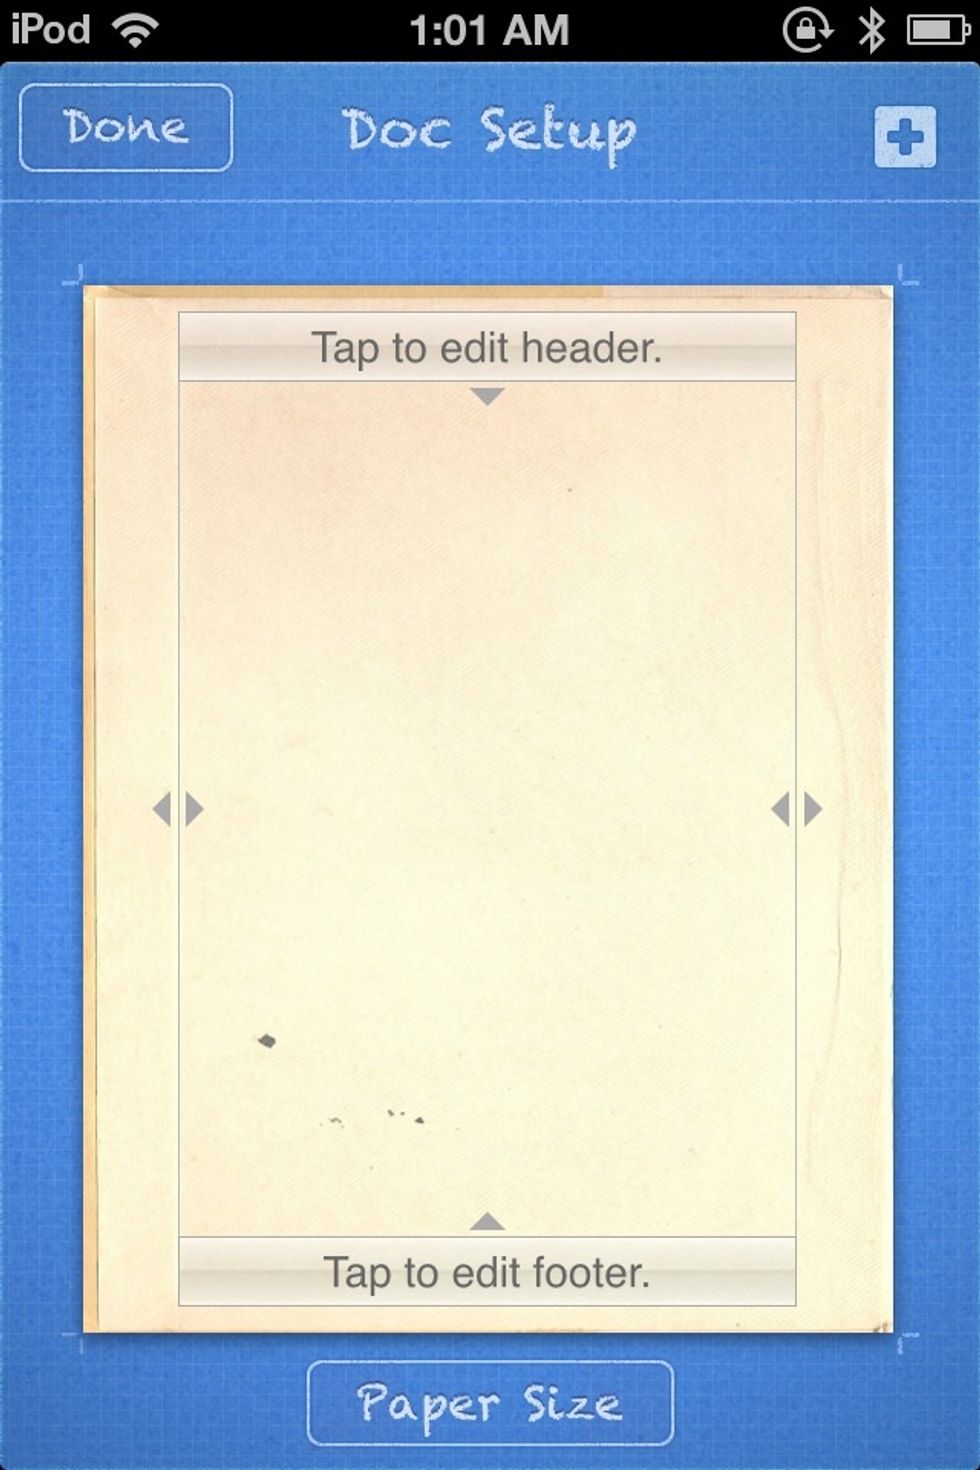
This screen comes up. Tap DOCUMENT SETUP. (As you might know from my other guides on PAGES, I like to embed certain elements into the sheet so that they don't interfere with the text.)
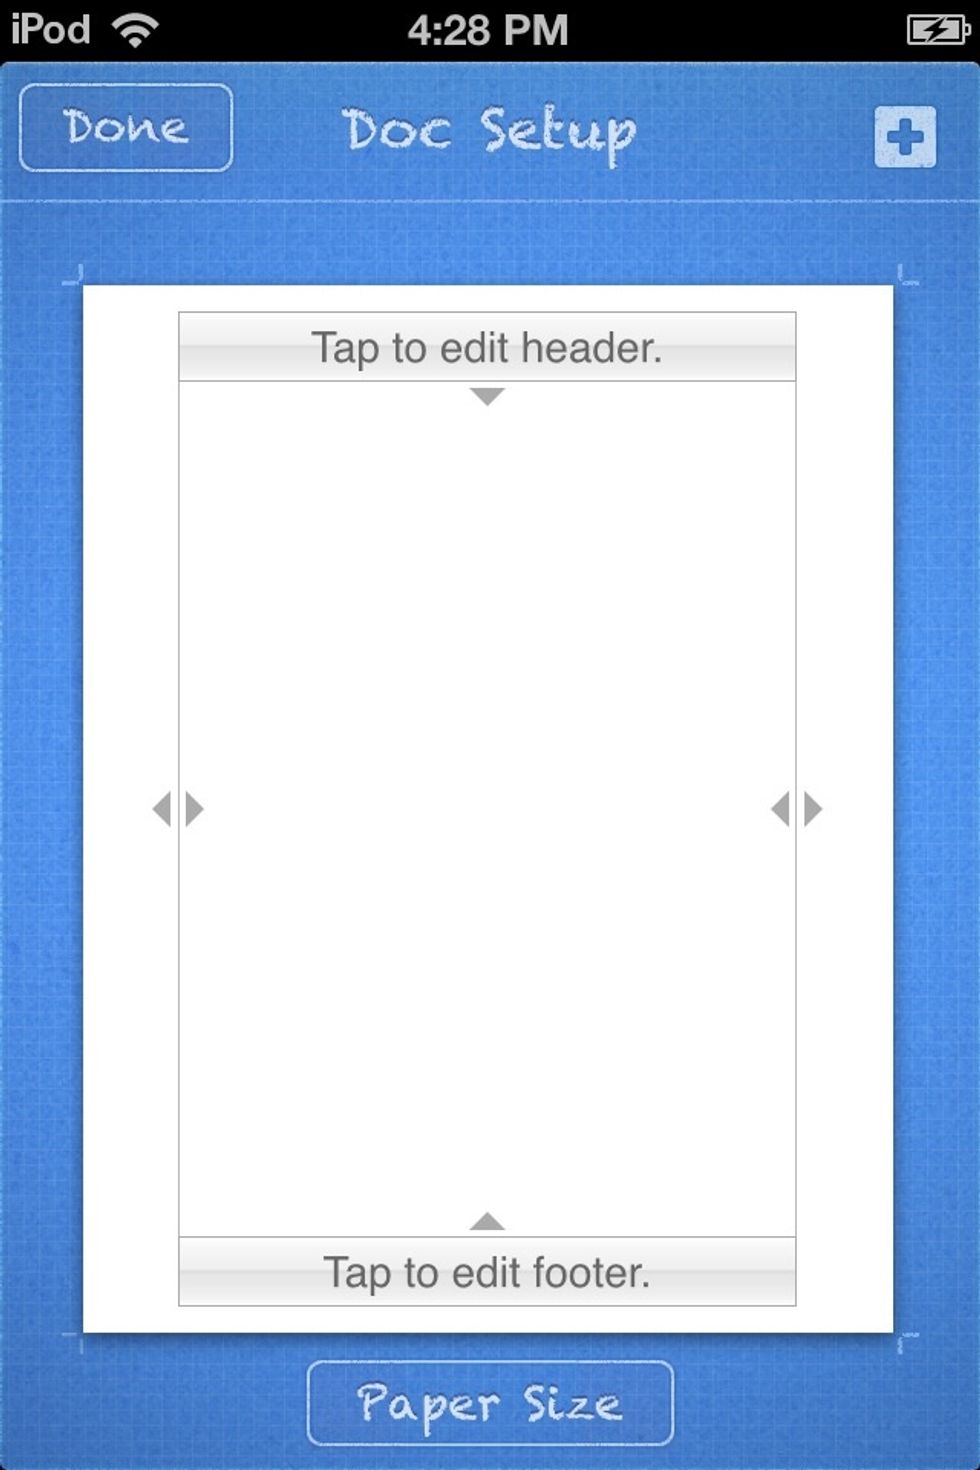
I want to add a BACKGROUND. Tap the BLUE +.
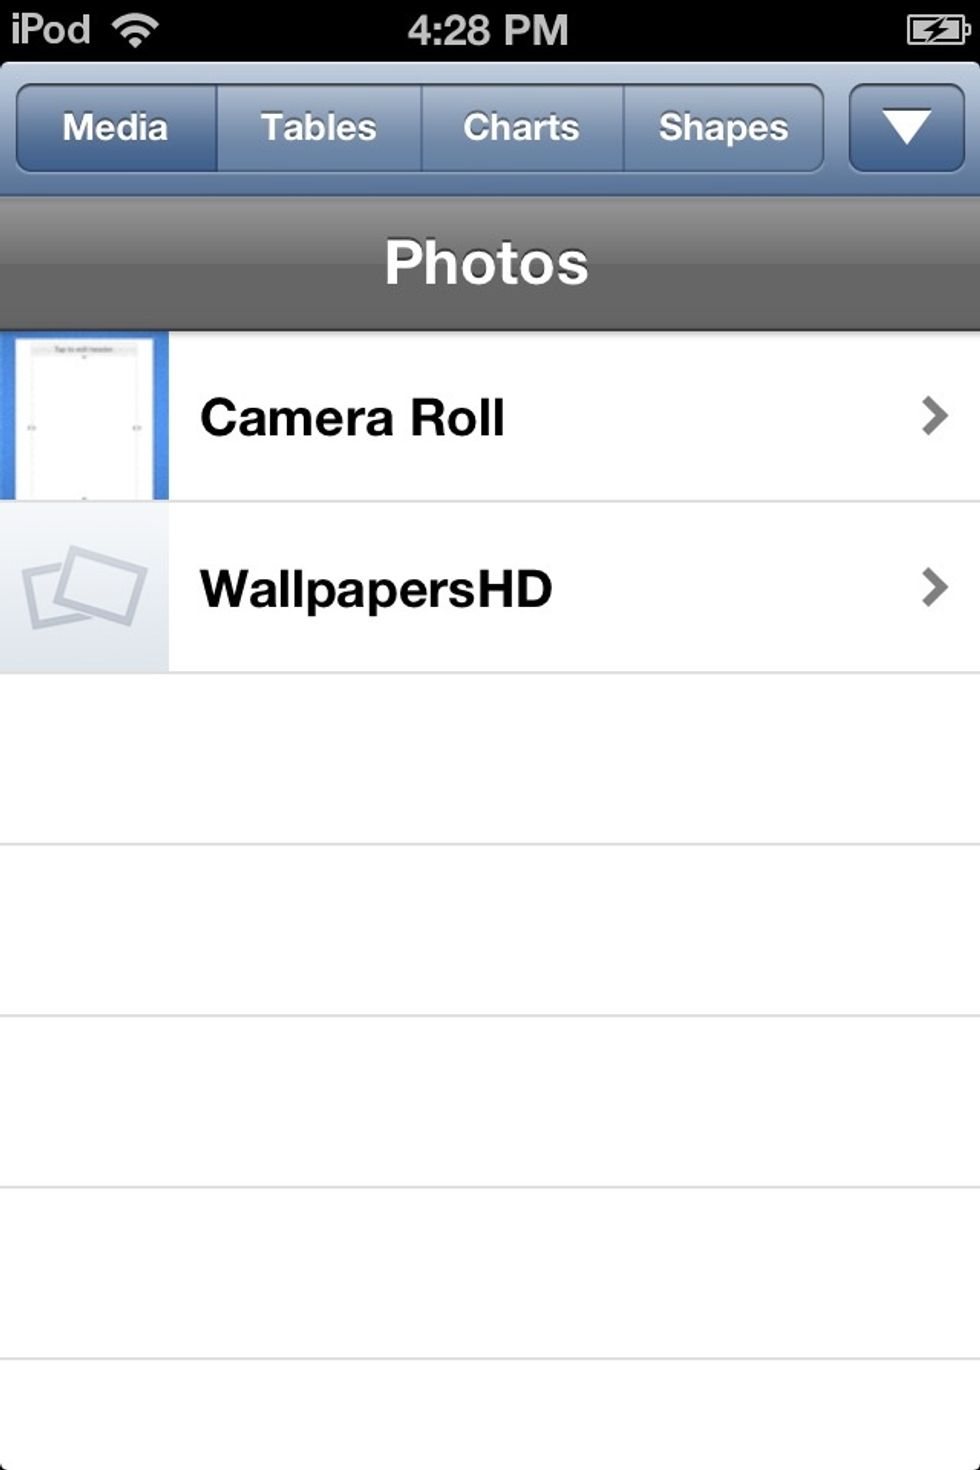
Tap the MEDIA tab and choose your background from you CAMERA ROLL.
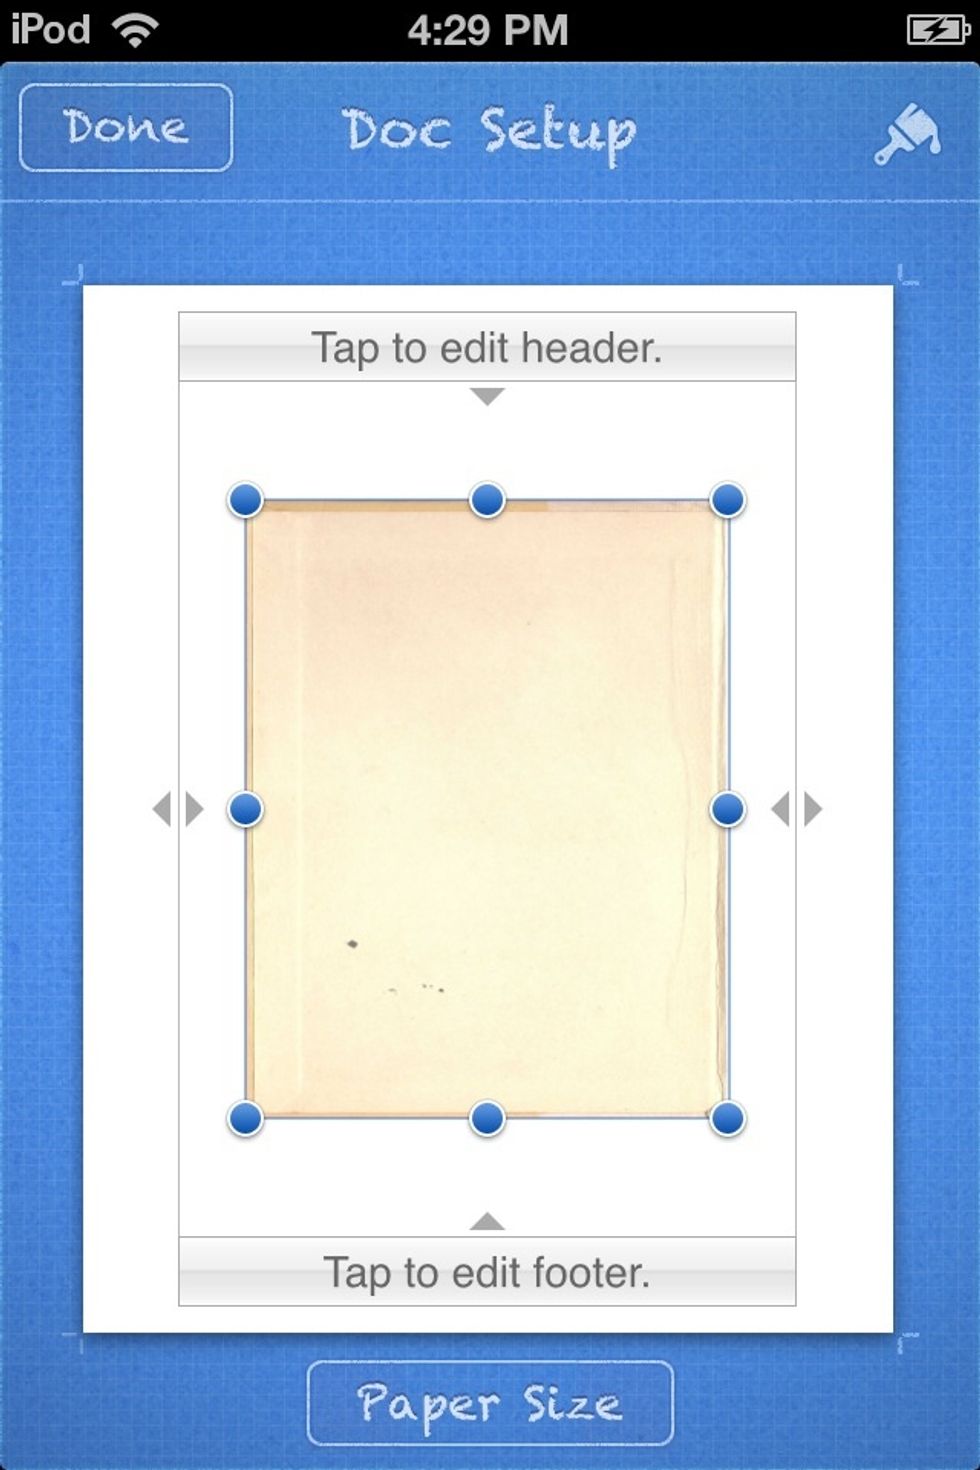
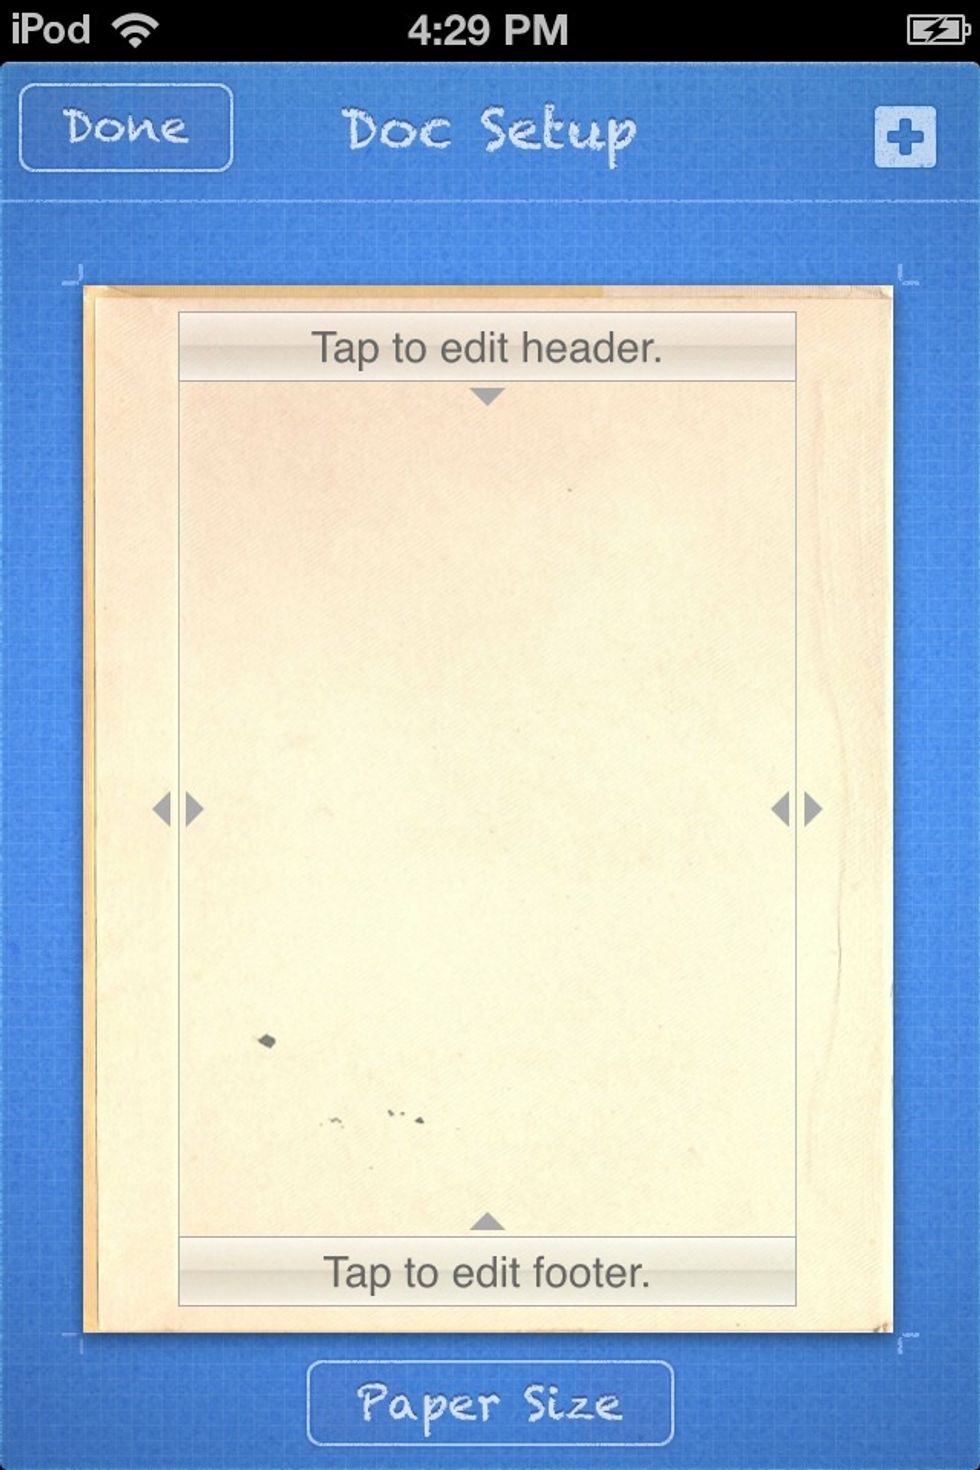
I have a picture of an EMPTY BOOK PAGE. Resize it.
Fill the entire white area.
Now I want to add a TASSEL. Tap the BLUE + and go to MEDIA again and get an image of a tassel from your CAMERA ROLL.
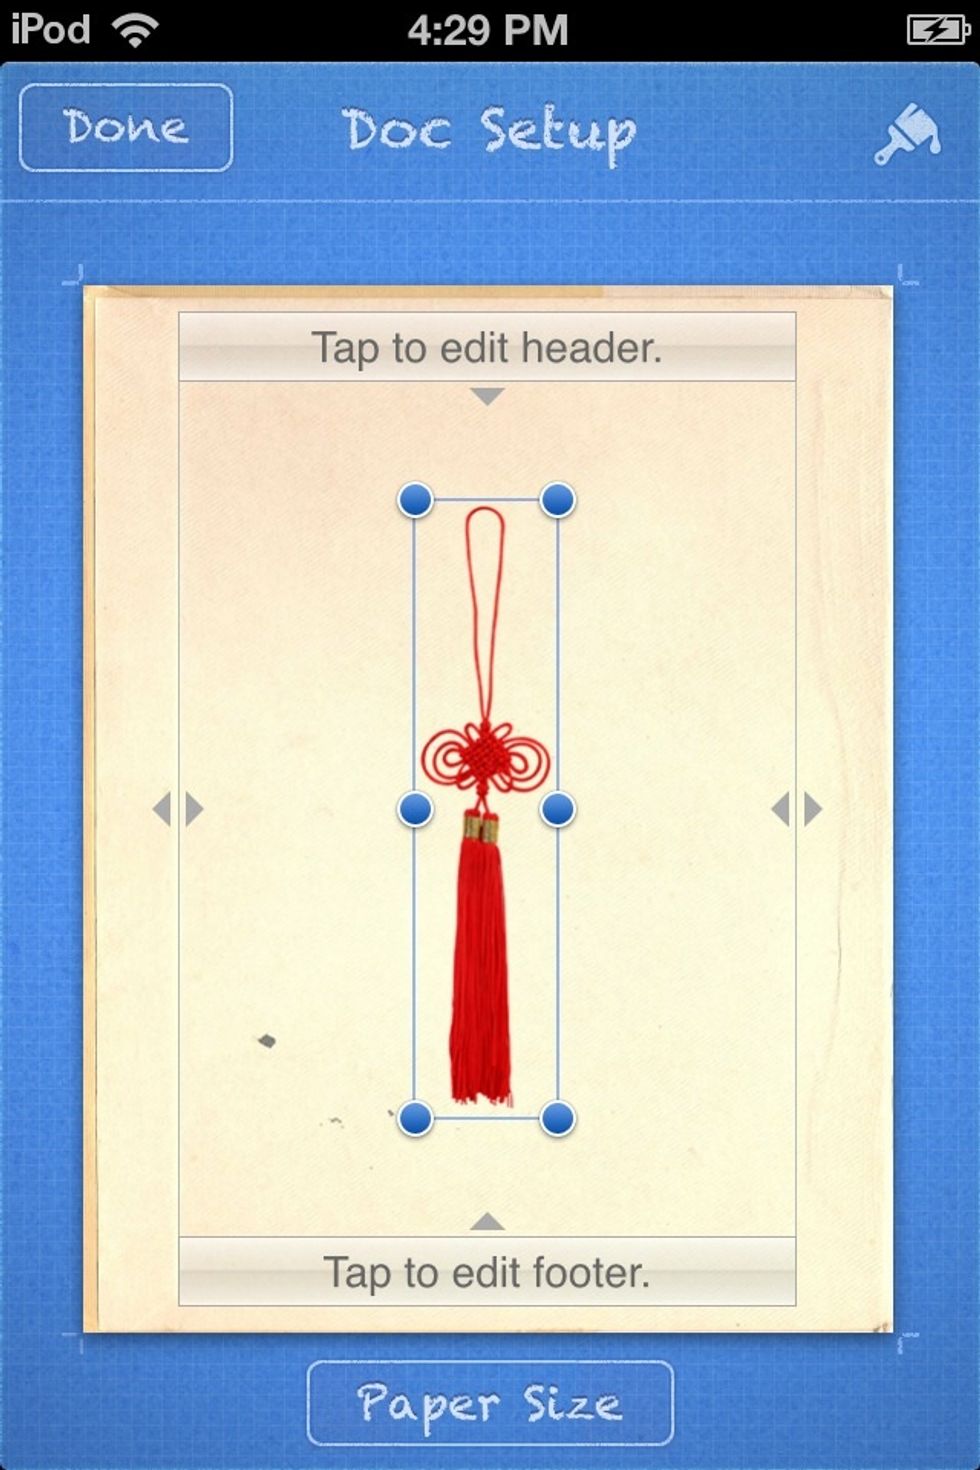
This tassel originally had a white background but I used an app called BACKGROUND ERASER FOR IPHONE by HANDYCLOSET INC to erase it.
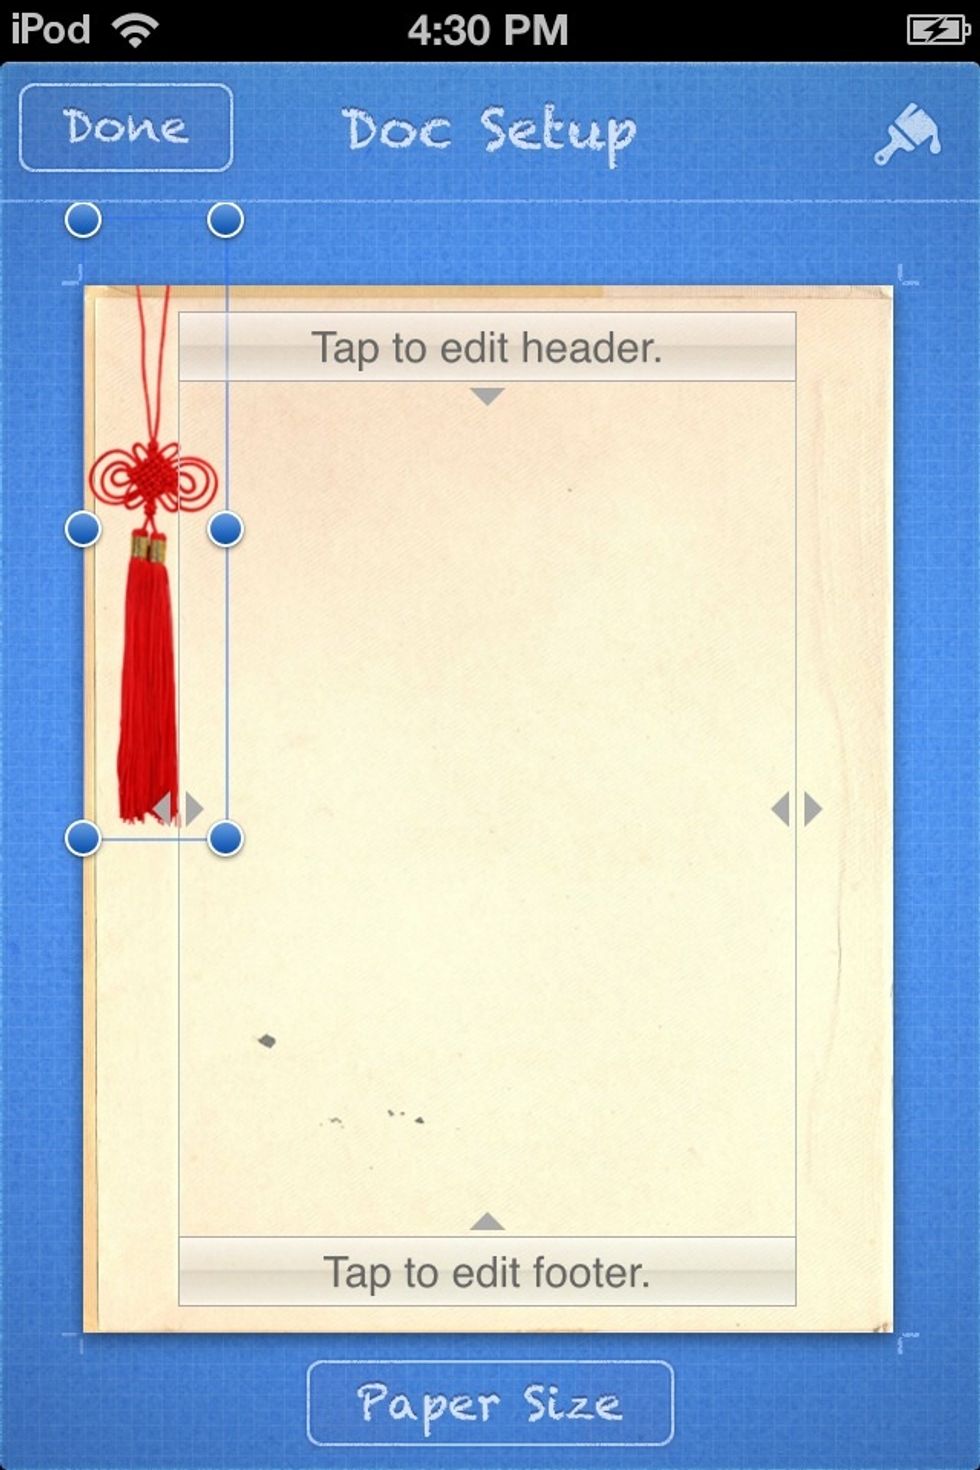
Reposition the tassel. Tap DONE to get back to the MAIN SCREEN.
Lets add a TITLE. Tap the BROWN +
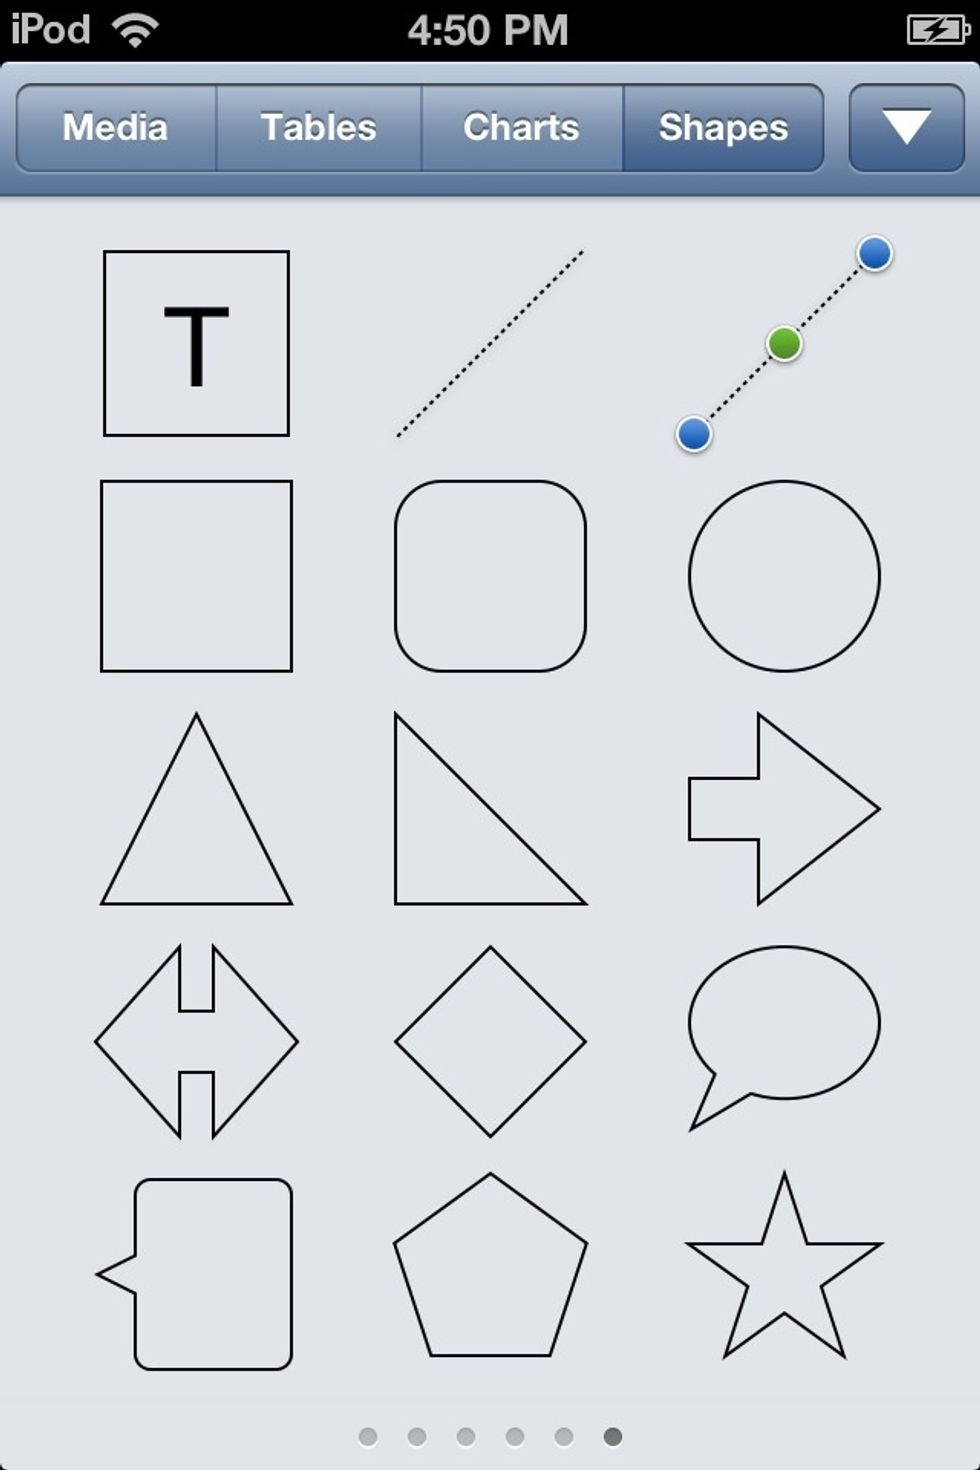
Tap the SHAPES tab and choose the TEXT shape (the square with the "T" in it.)
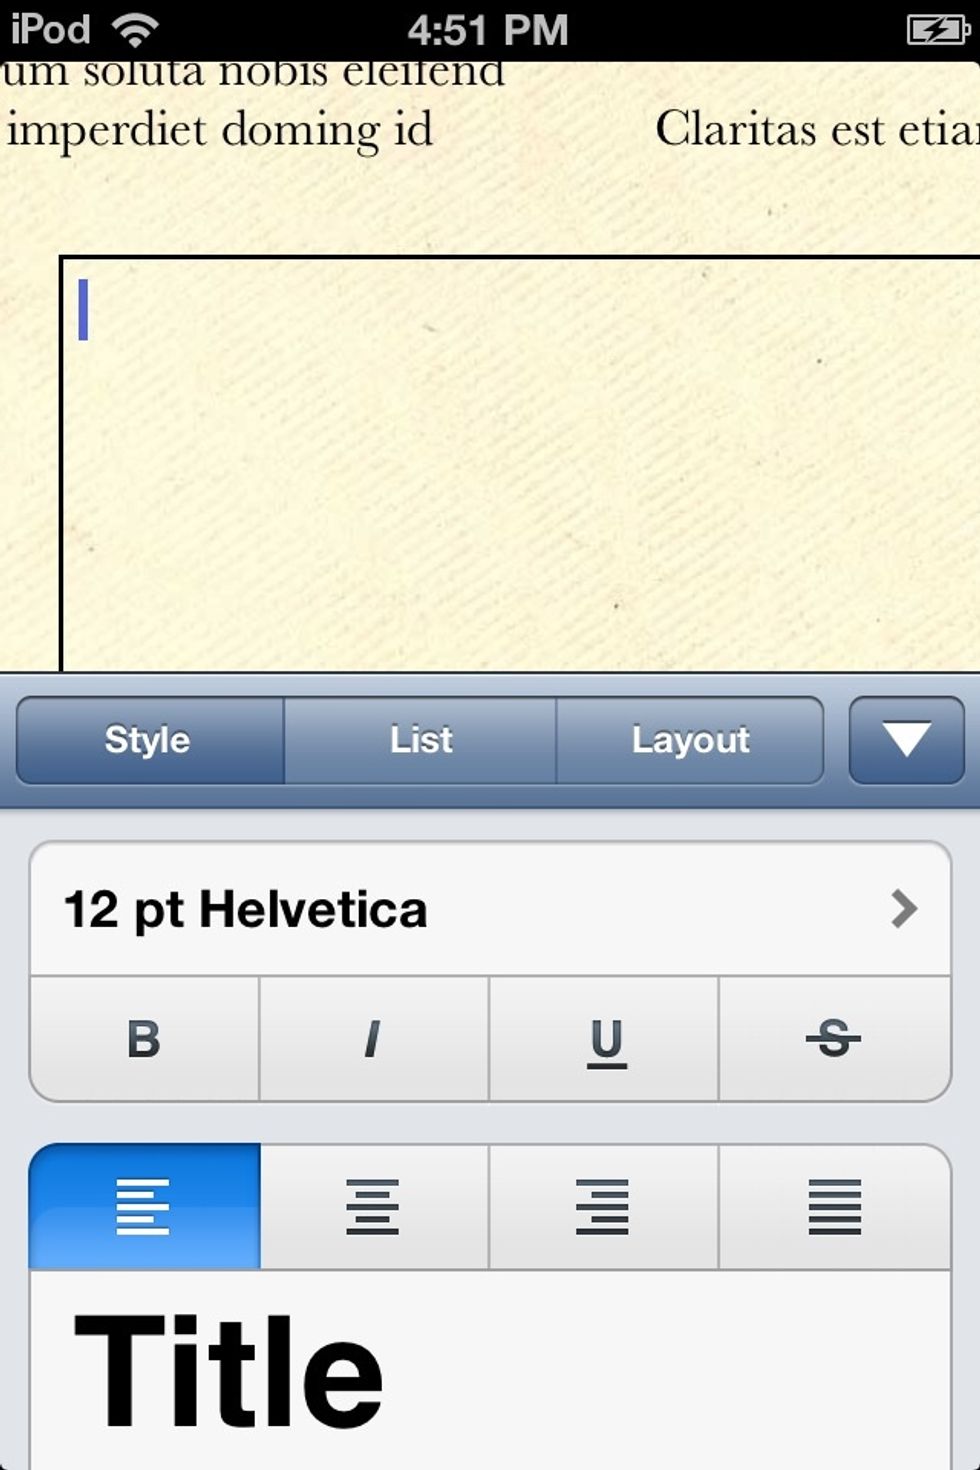
It isn't selected in the example, but make sure under the STYLE tab you choose the TITLE format first. Choose a font also. Type CHAPTER 1
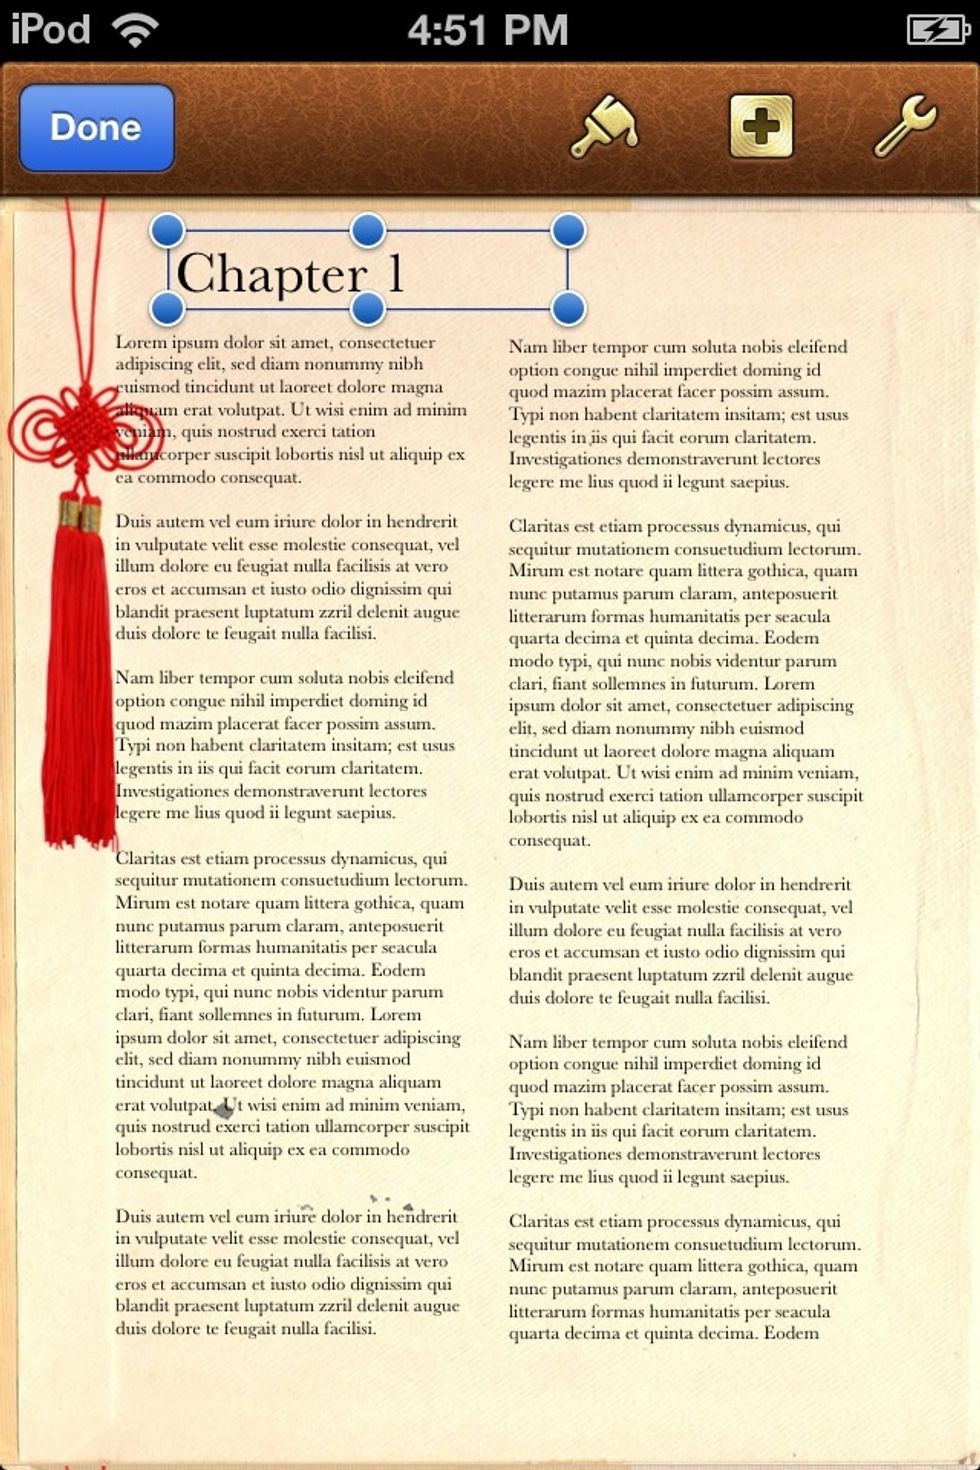
Adjust the title. Now we will add a HORIZONTAL RULE. Tap the BROWN + again.
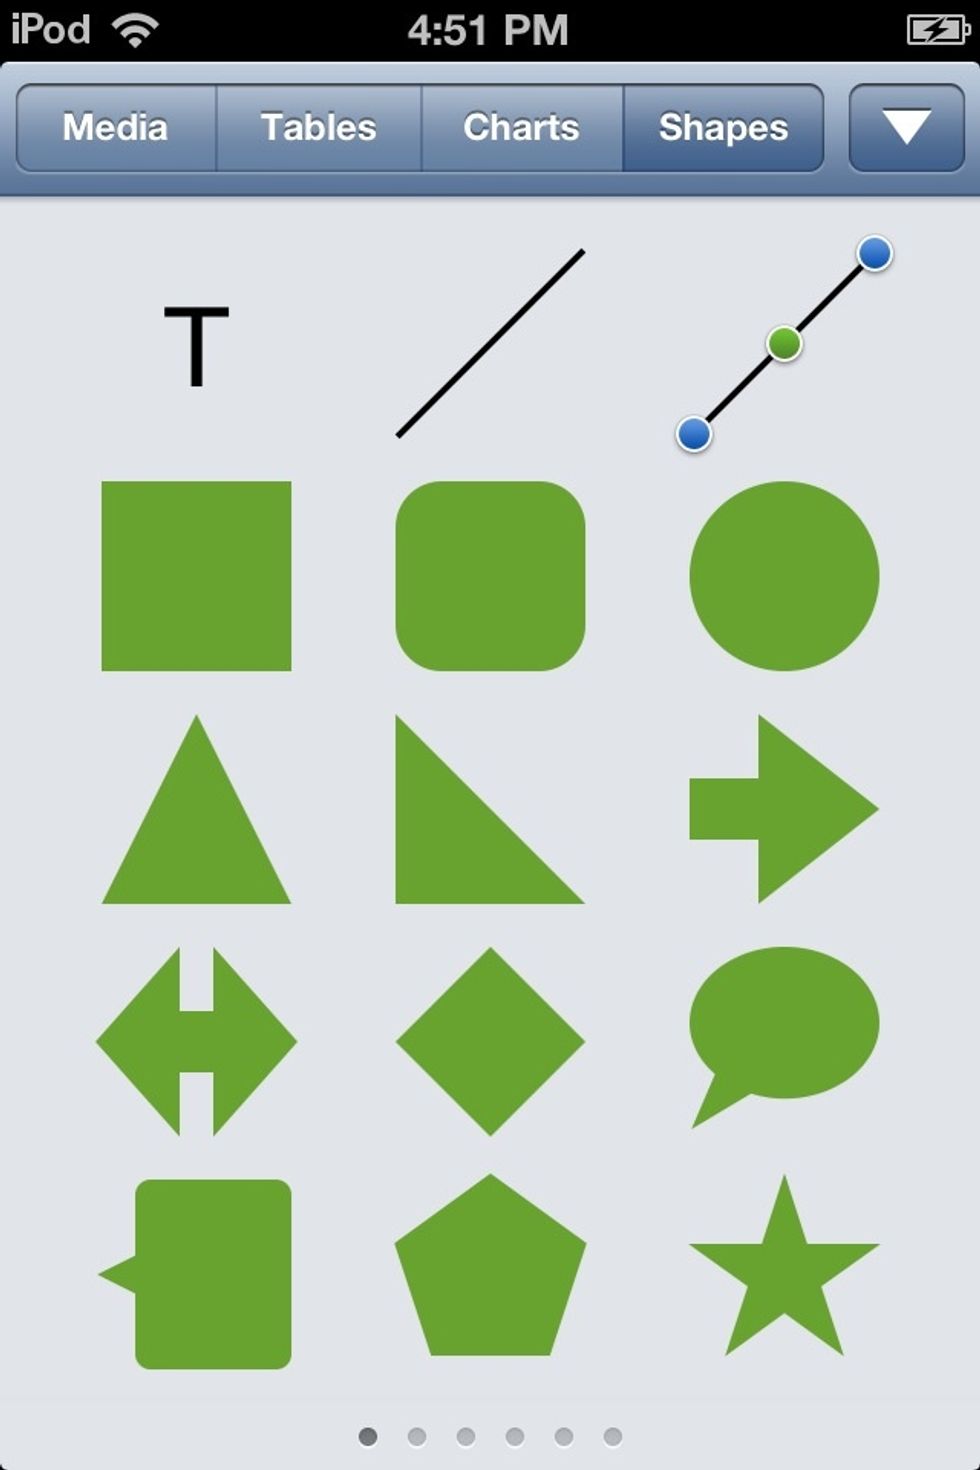
Go to SHAPES and choose the SOLID LINE shape (the one to the right of the TEXT shape above)
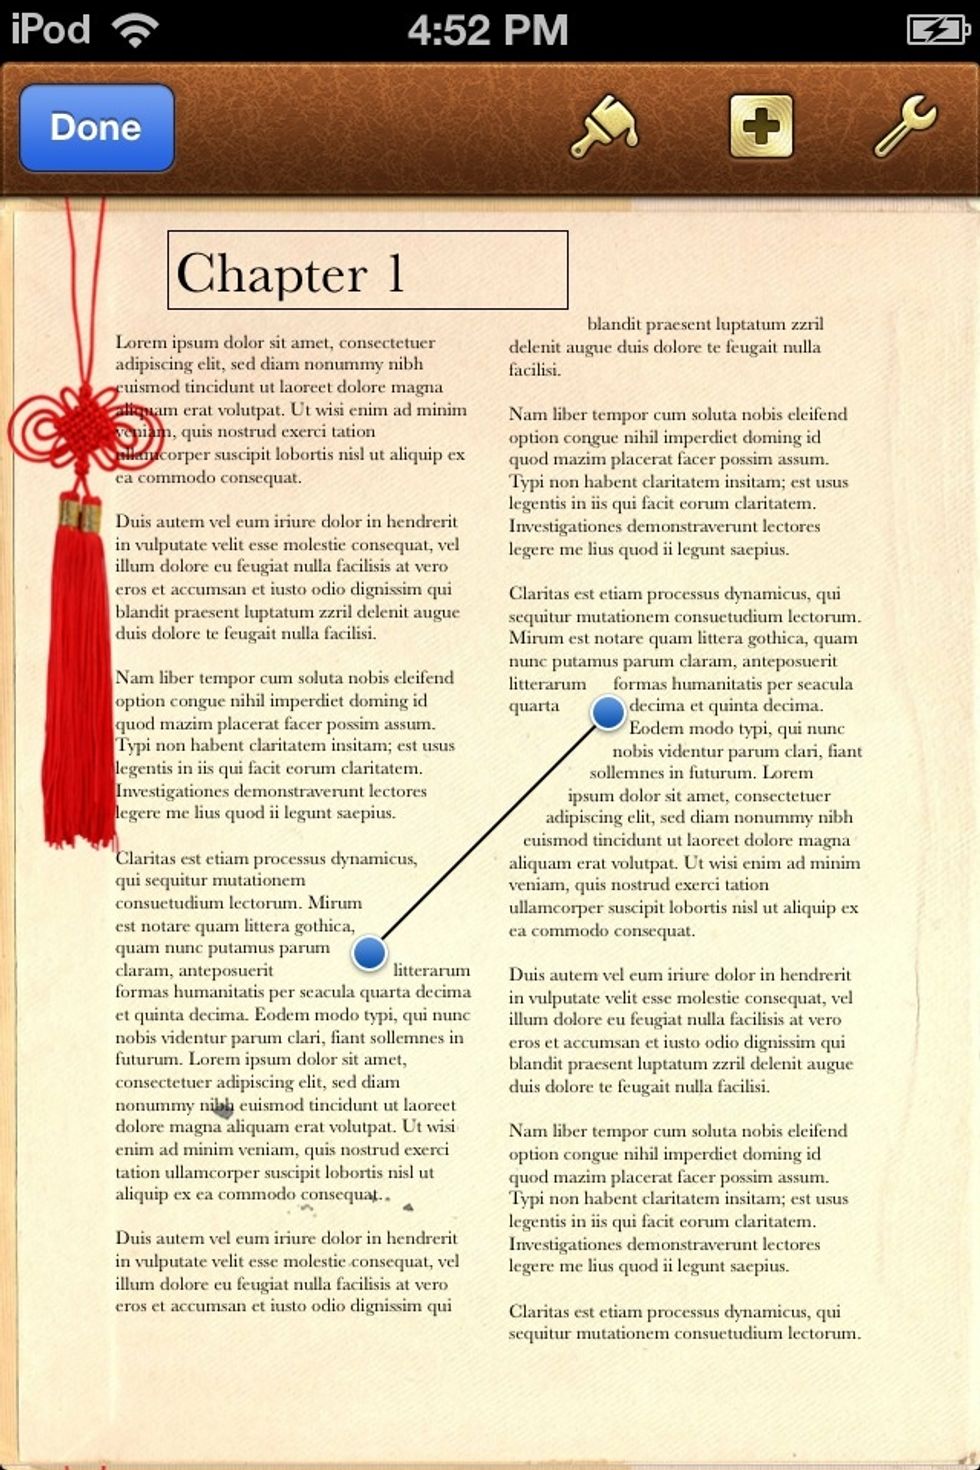
It pops in. Position it under the title horizontally.

Like this. In the MAKE A NEWSPAPER guide I made, I put this HORIZONTAL RULE on the DOCUMENT SETUP page, but I put it on the main page here to keep the text from going above a certain point.
Time to SAVE the book. Tap the GOLDEN WRENCH icon at the top right of the screen.
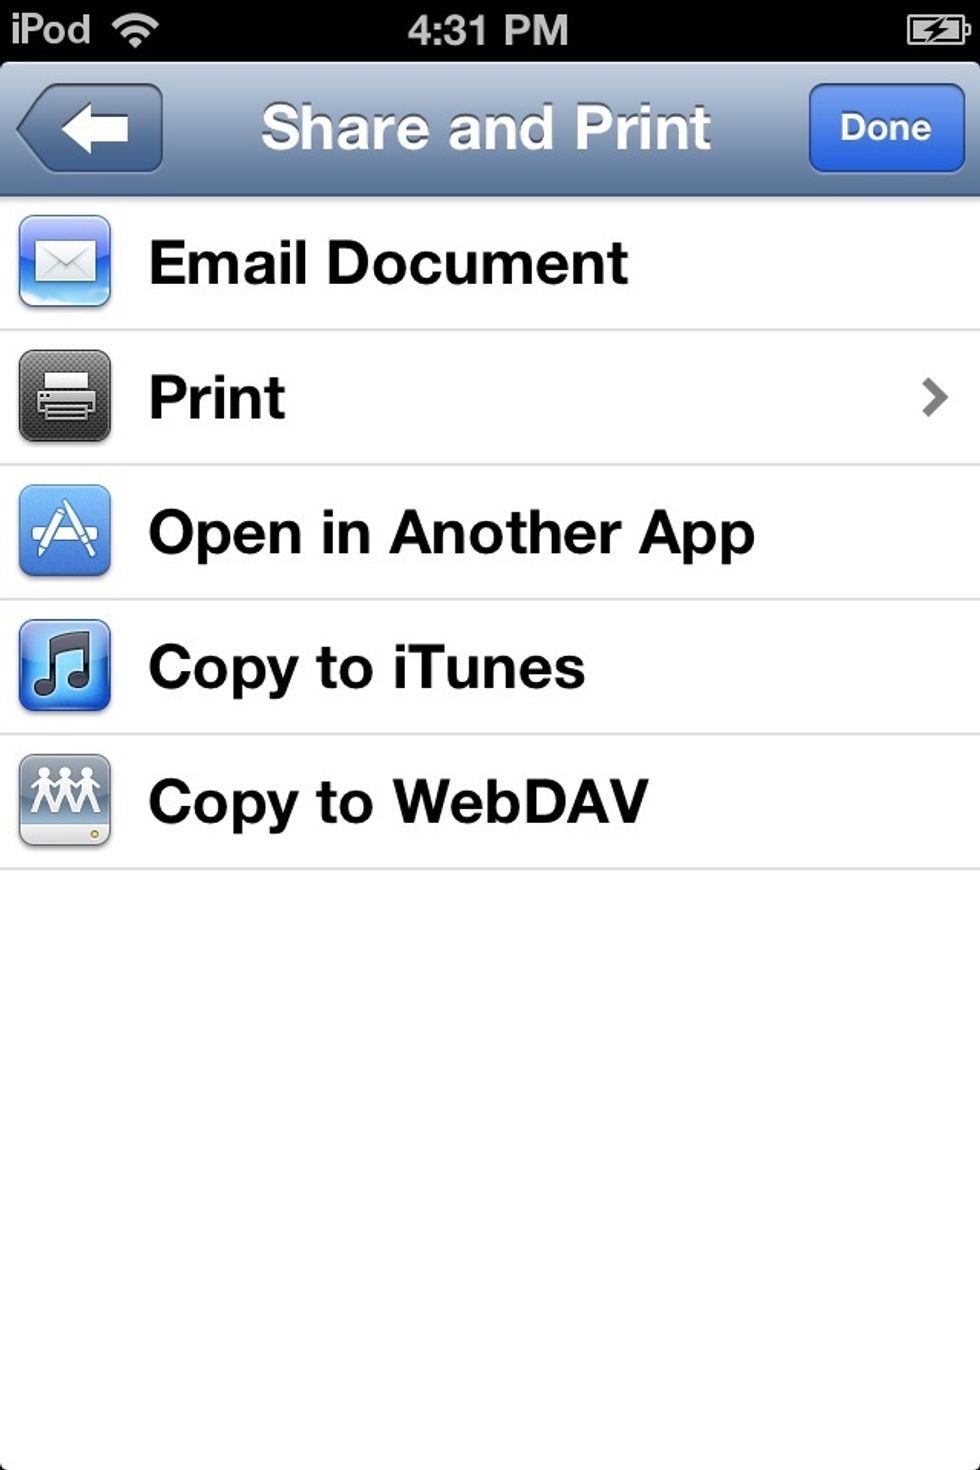
Tap OPEN IN ANOTHER APP.
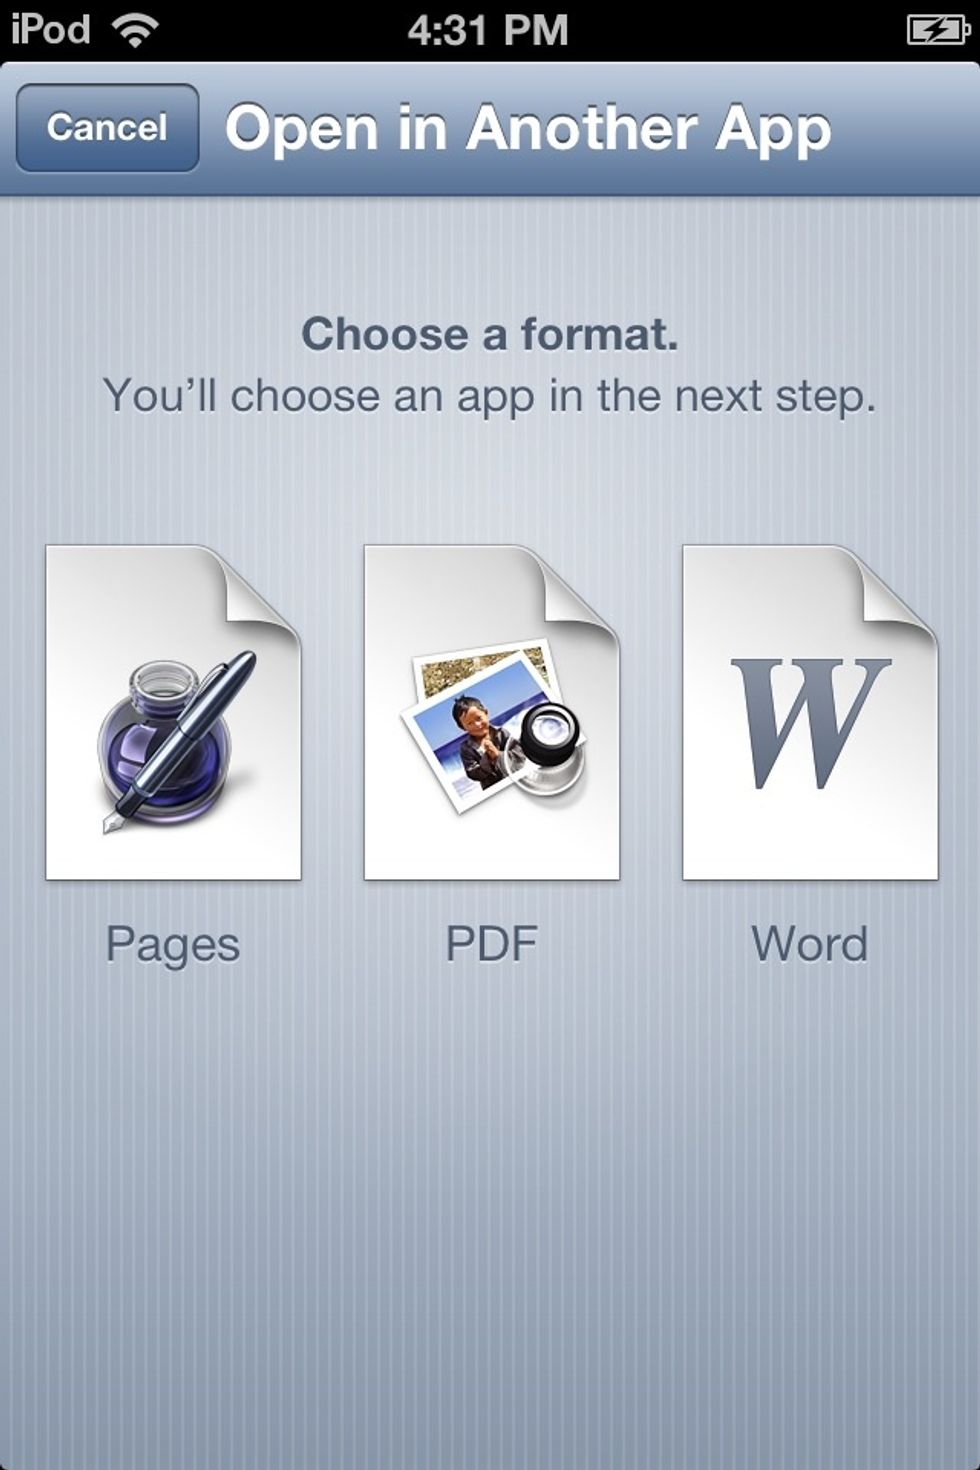
Tap the PDF format.

After it makes the PDF You will be asked what app you want to open it in. (IN IOS 6.0 this is how it looks.) Choose OPEN IN IBOOKS.
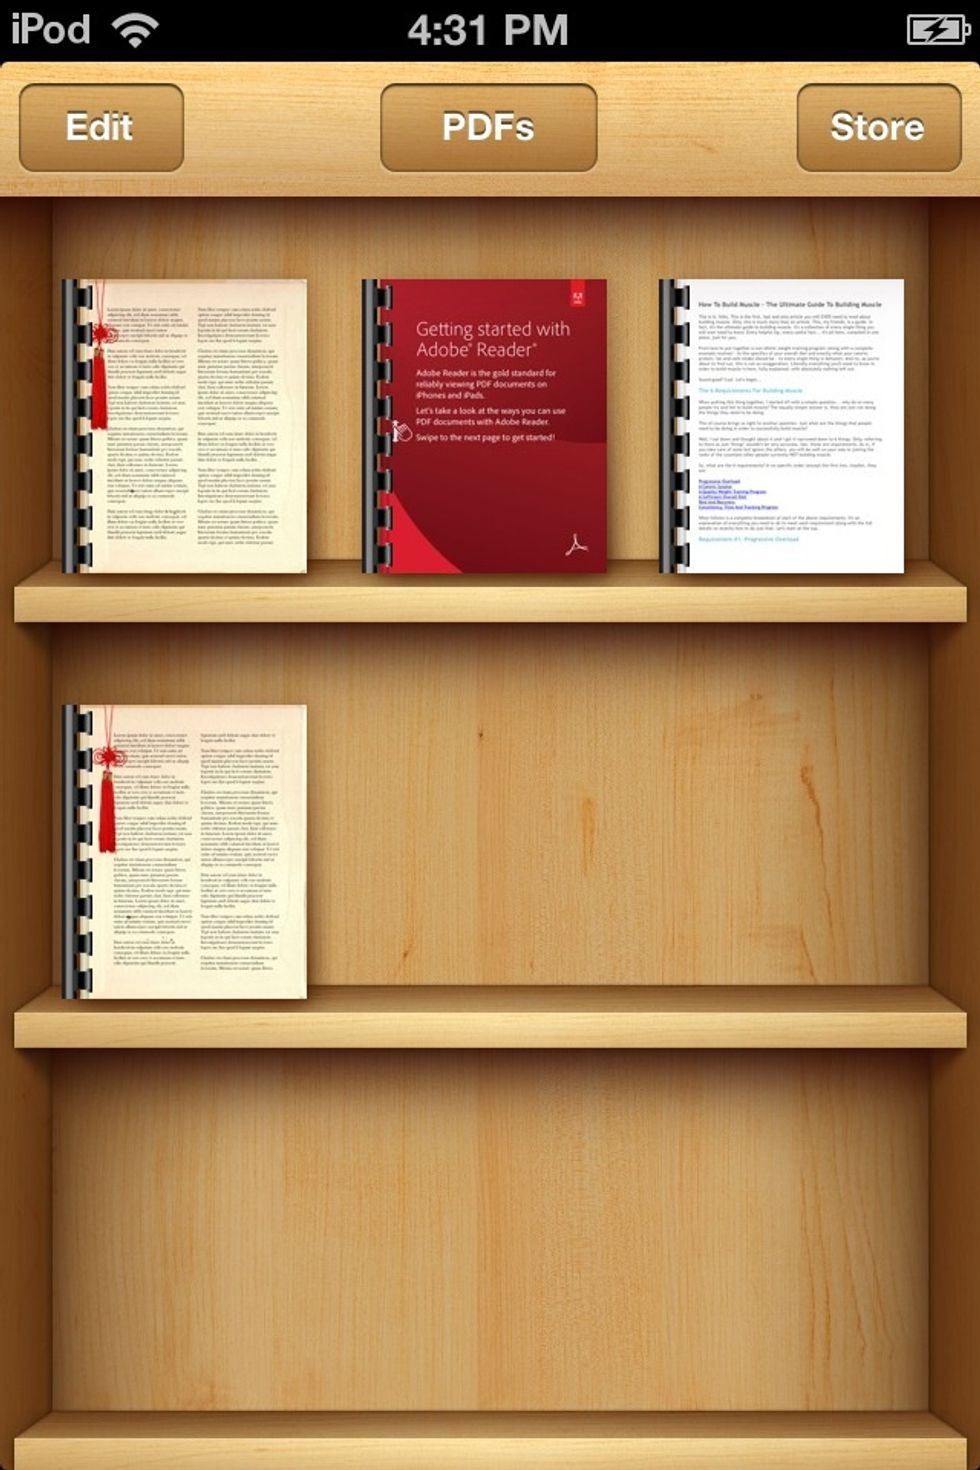
iBooks will open, and your book will be put on the bookshelf. Tap your book.
This is iBooks. I like the new IBooks. I had reinstalled it for this guide only, but I see it is much faster now. You could use Adobe Reader also.
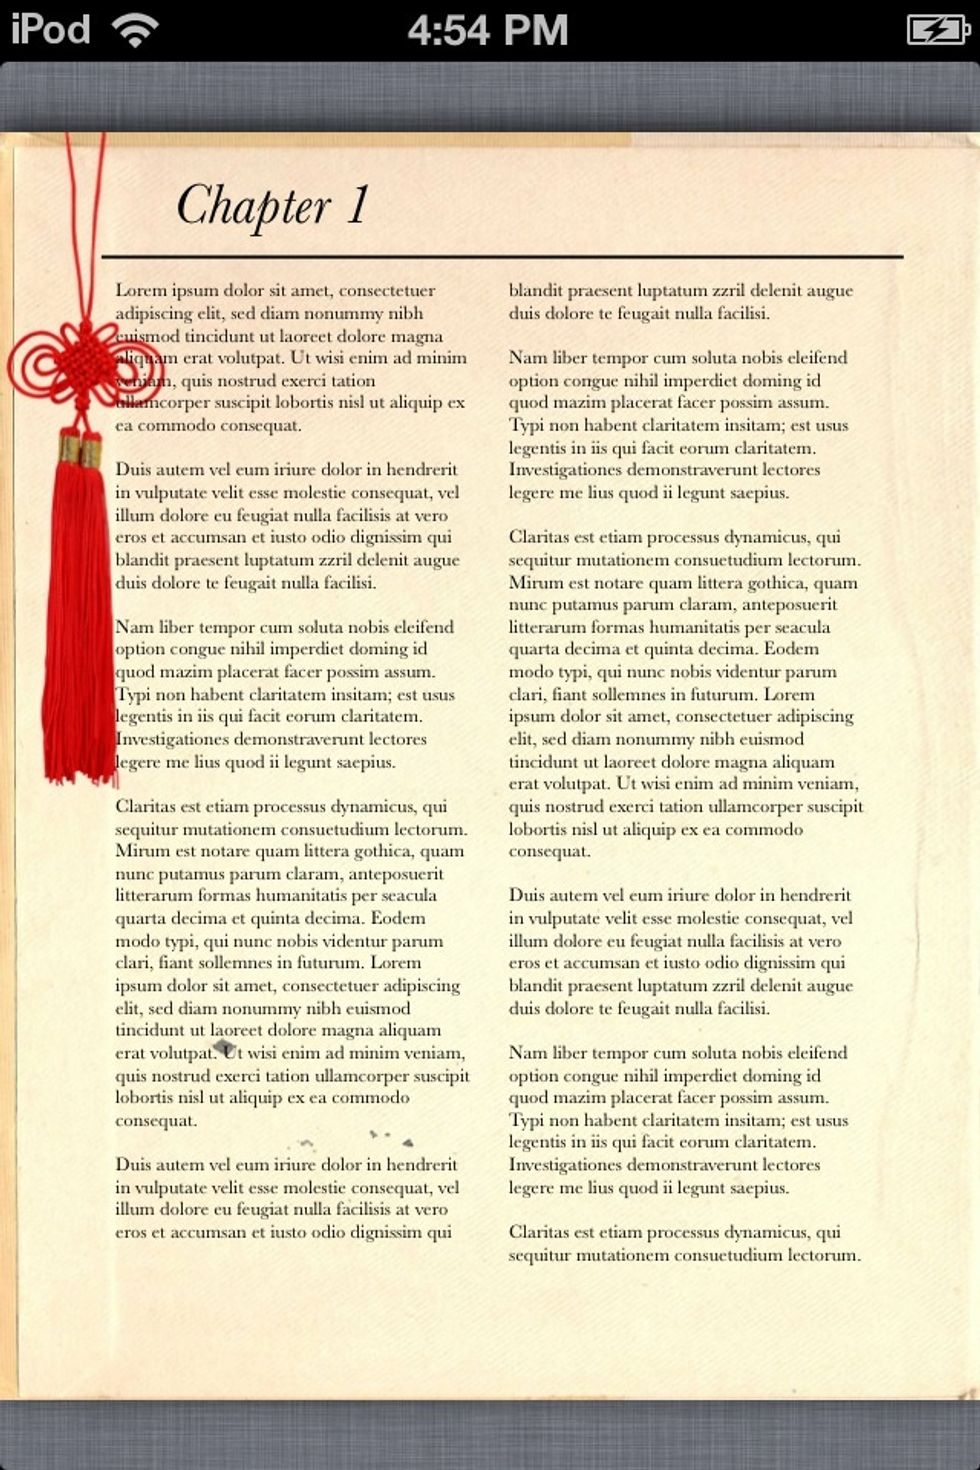
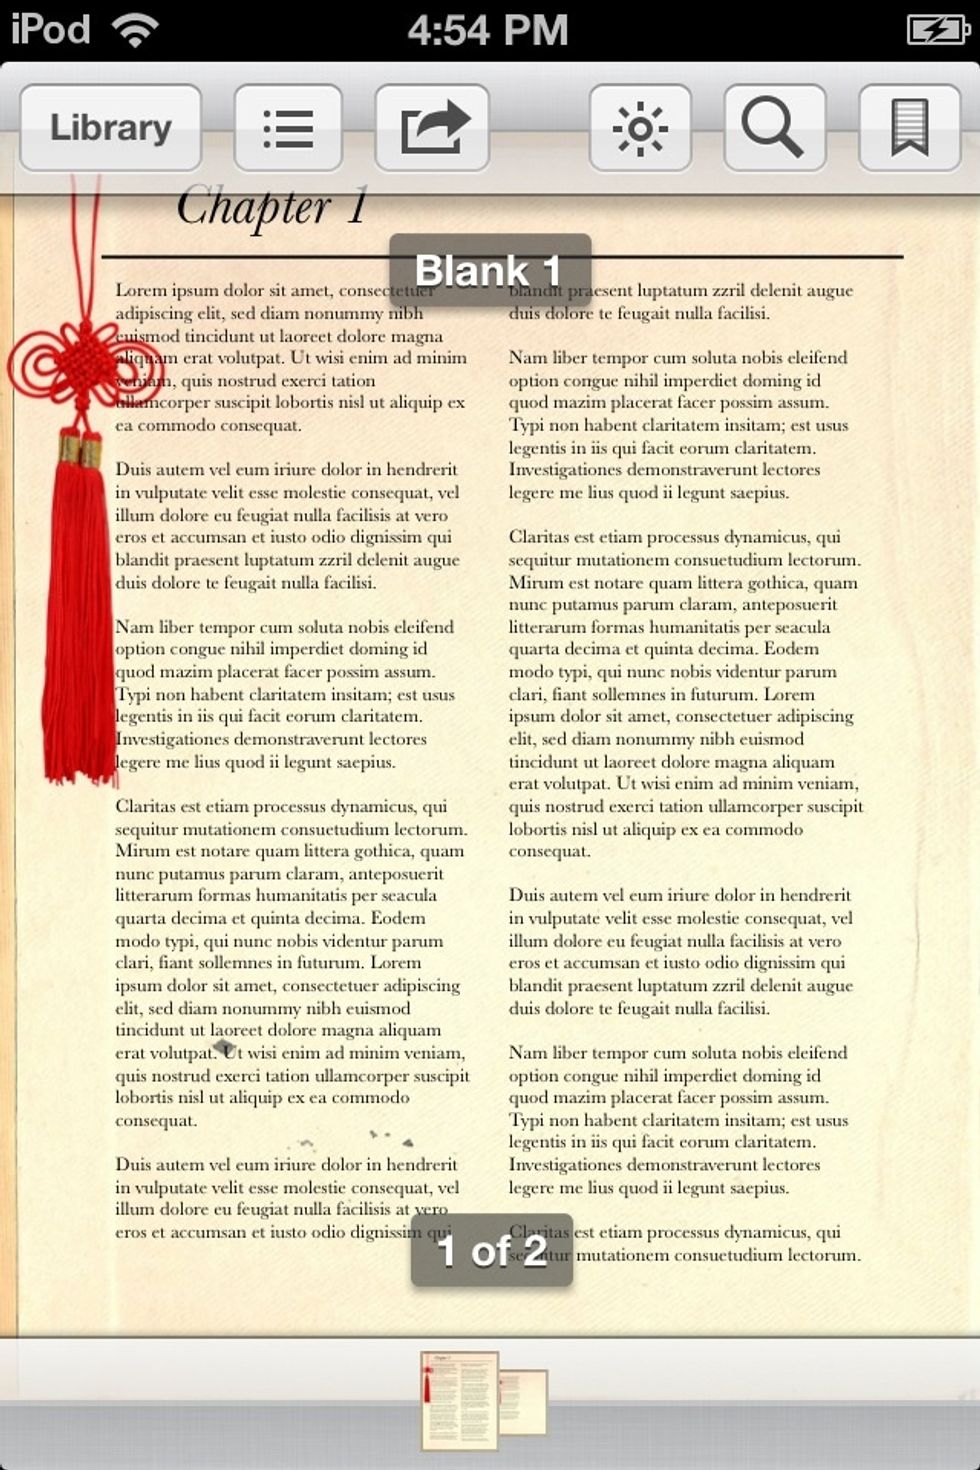
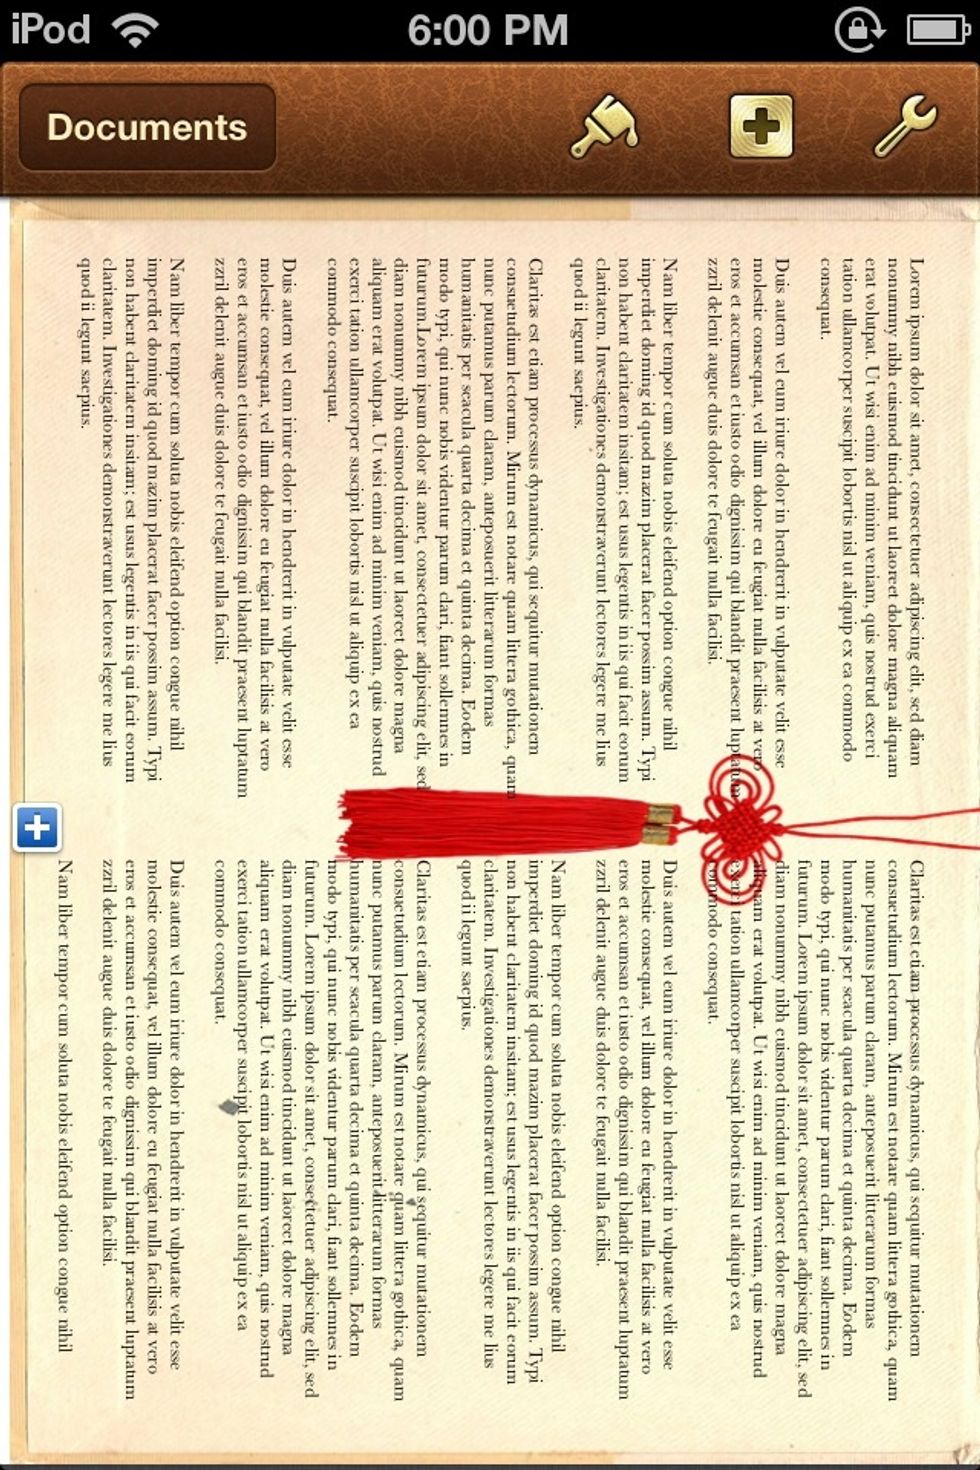
This is Page 1
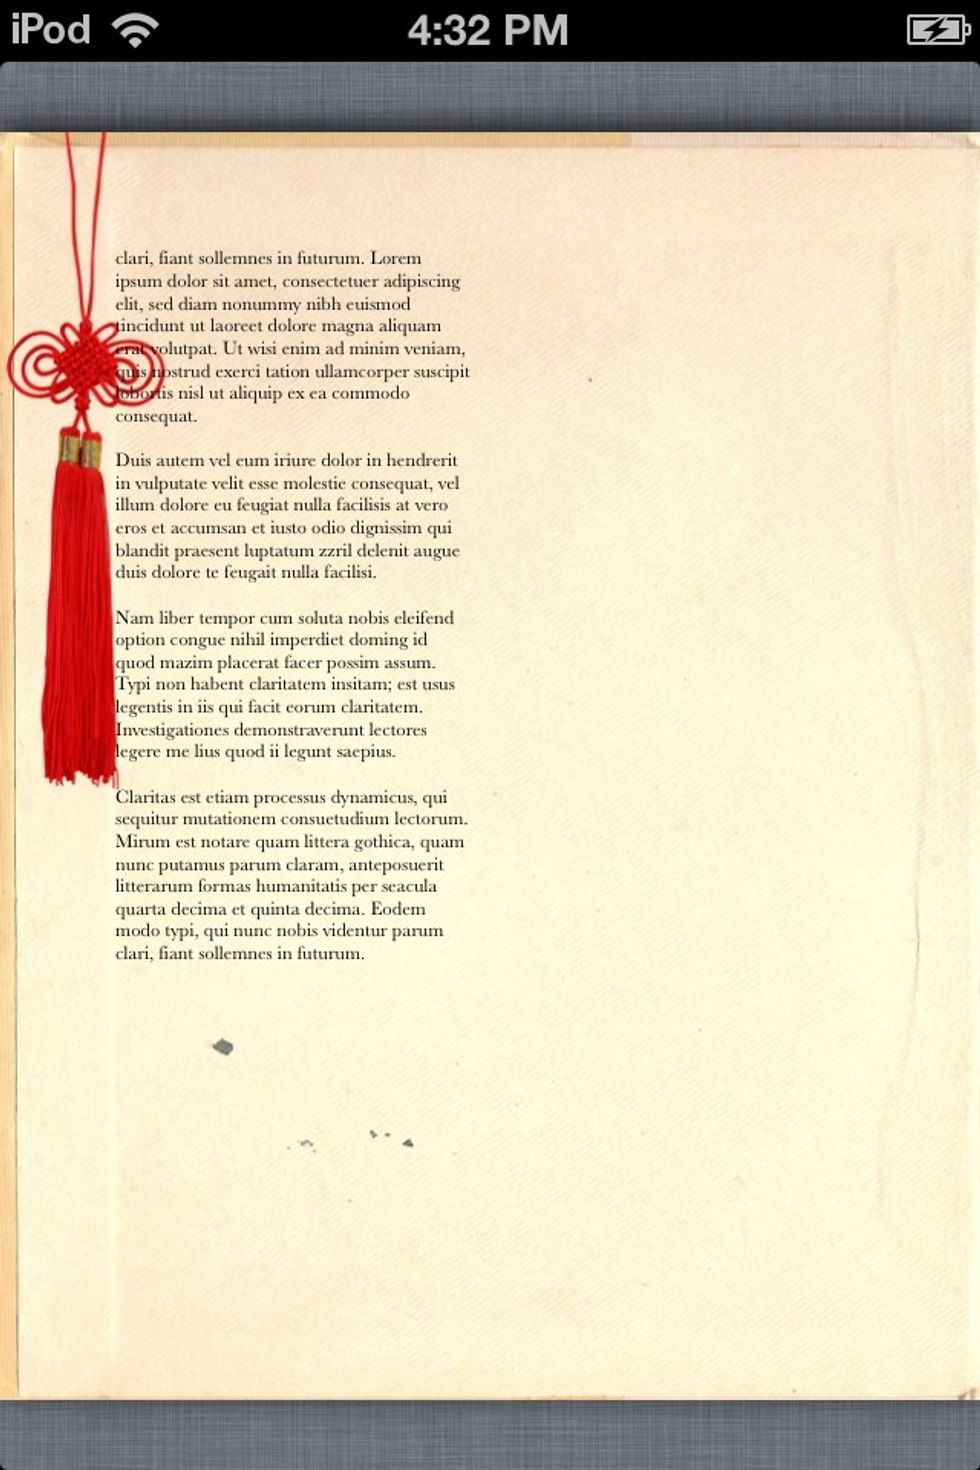
Since we embedded the tassel and background into the sheet, it appears on every page.
NOW MAKE A # 1 BEST SELLER!
EXAMPLES:
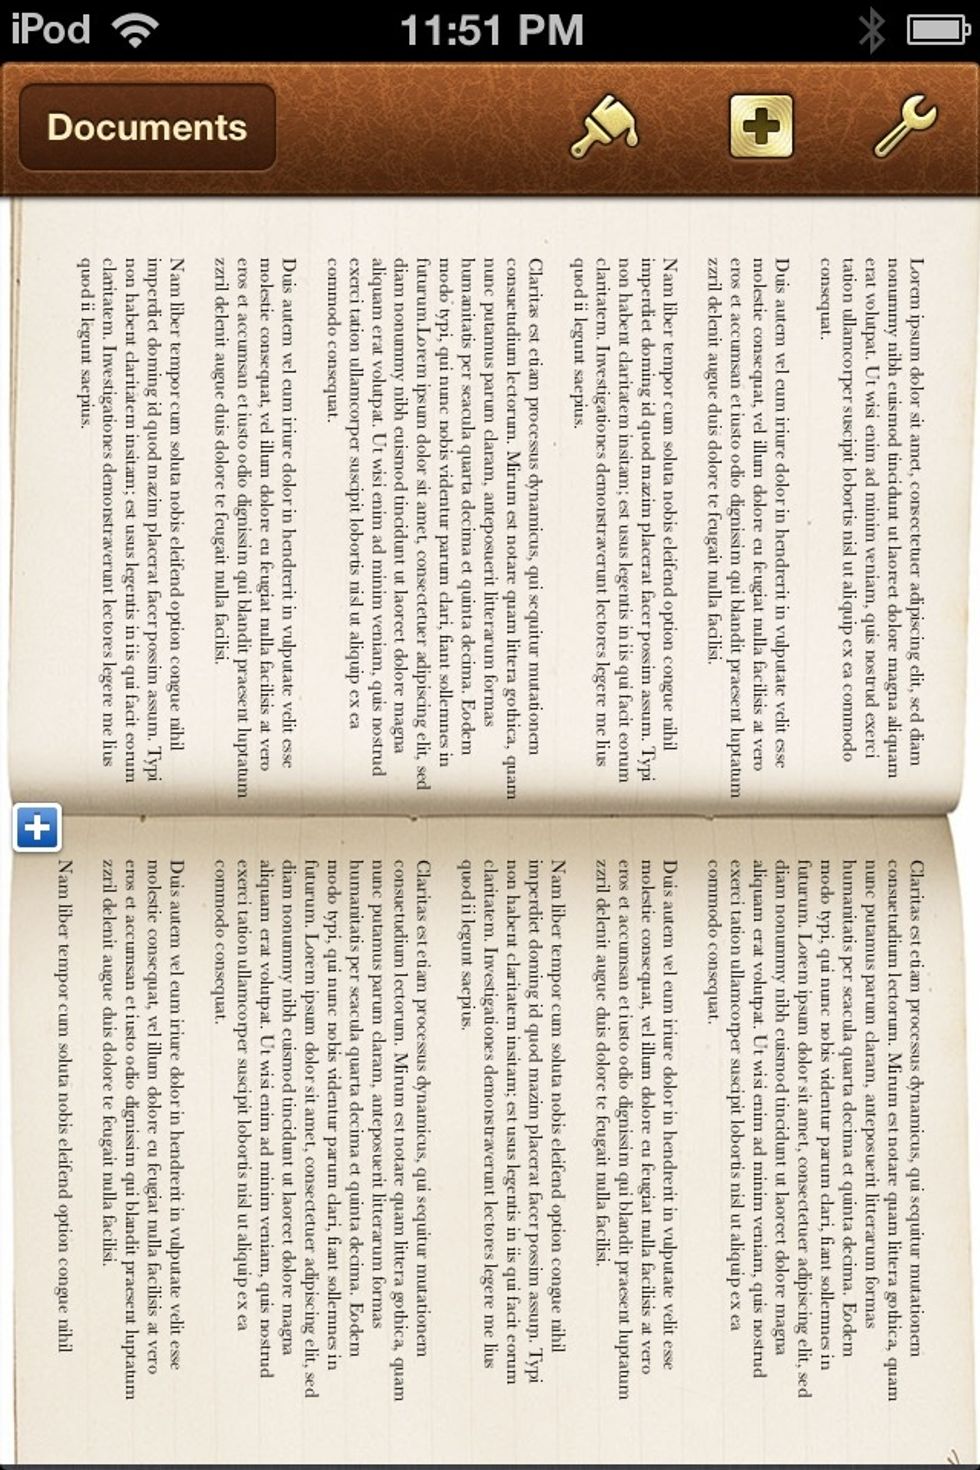
I was able to fake LANDSCAPE mode by creating a TEXT SHAPE on the main page and rotating it 90 degrees to the right. I then locked my screen rotation so that PAGES does not rotate the sheet. Nifty!

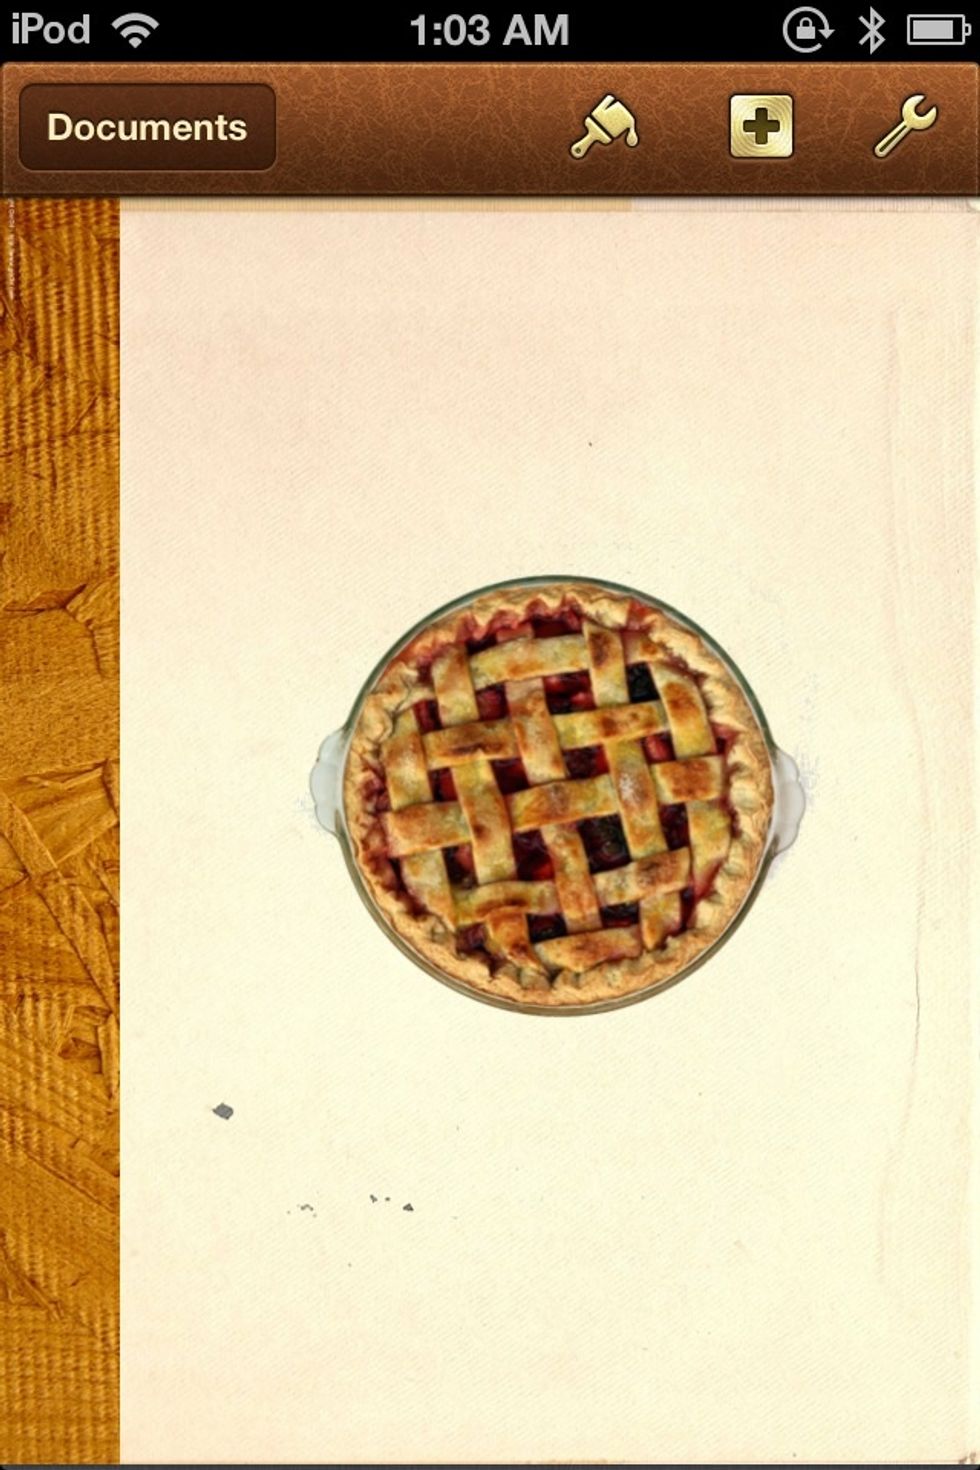
Recipe Book?

Getting good at this.
Nice!!
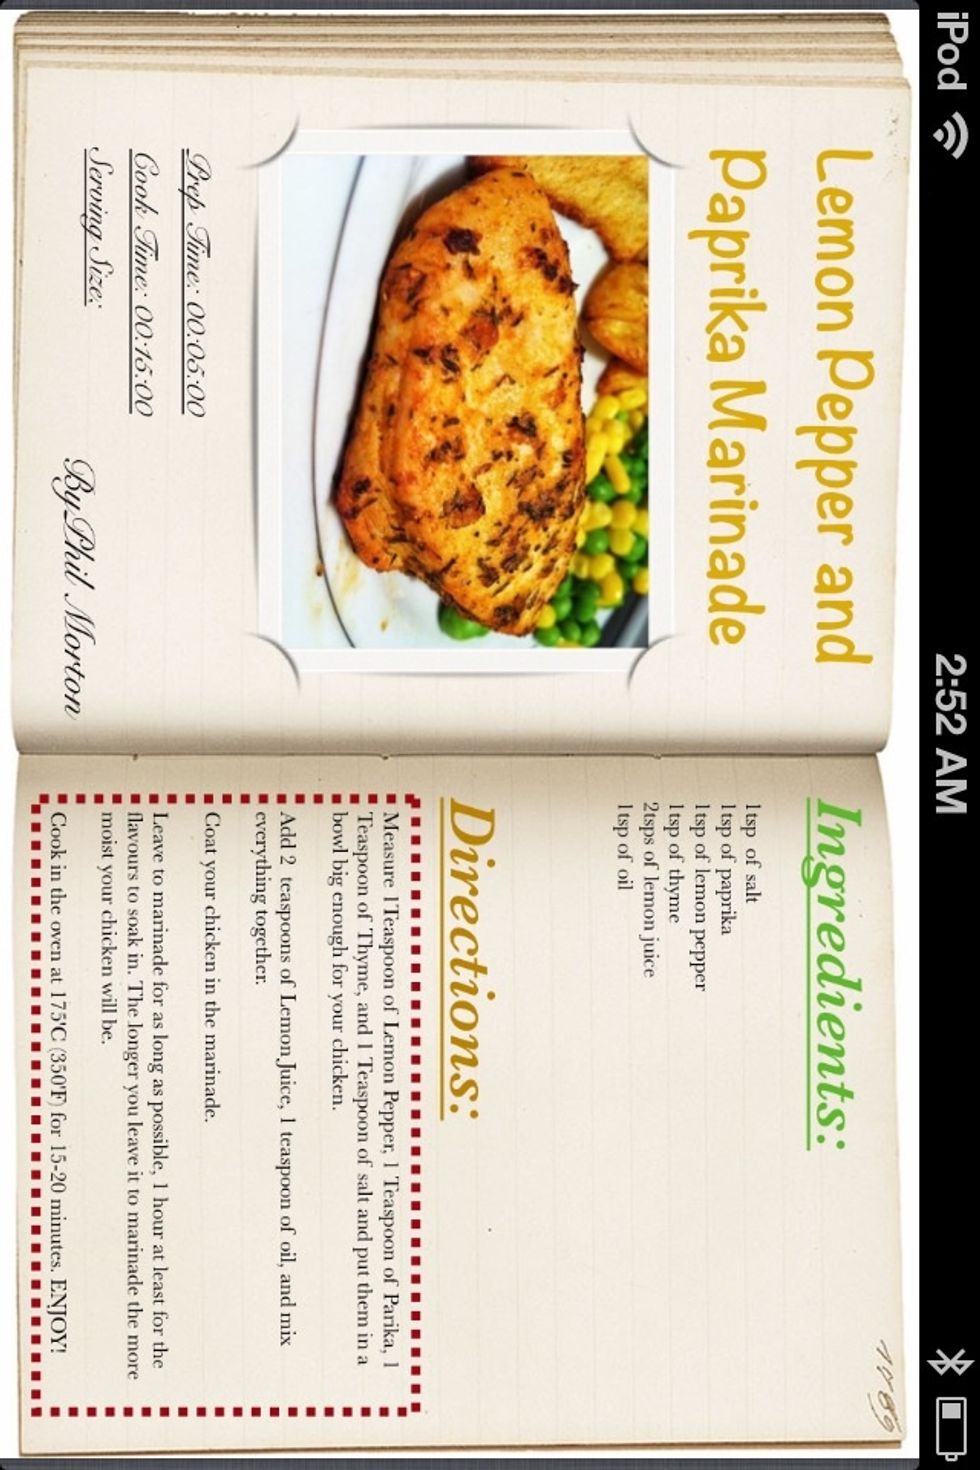
This Recipe is by PHIL MORTON. He has a guide on Snapguide.
END OF (PART 1)
(PART 2) MAKING THE BOOK COVER:
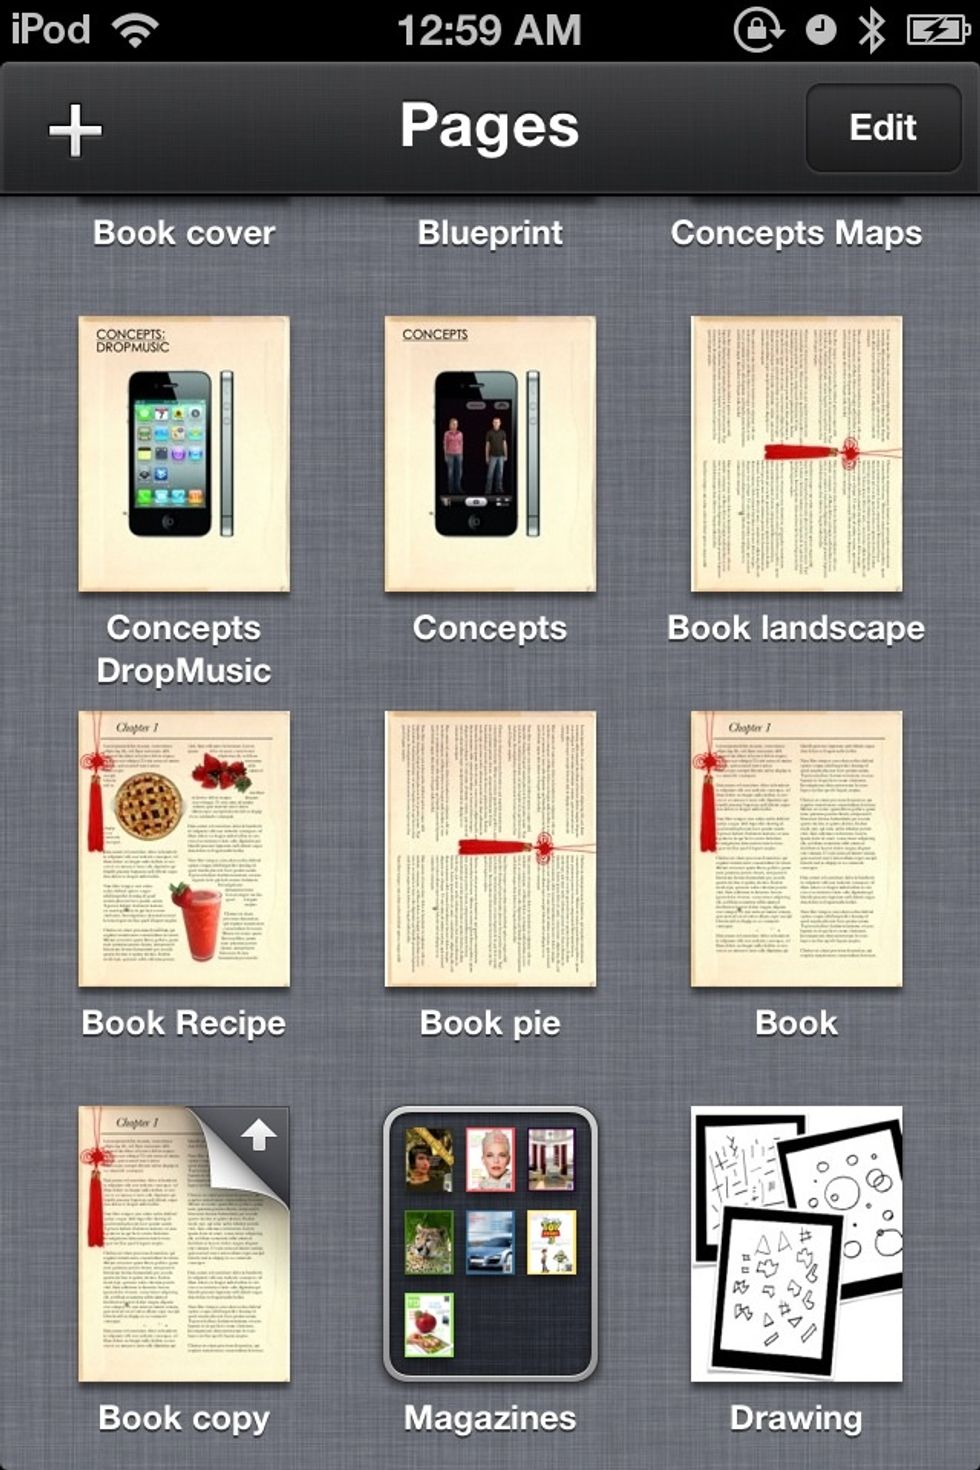
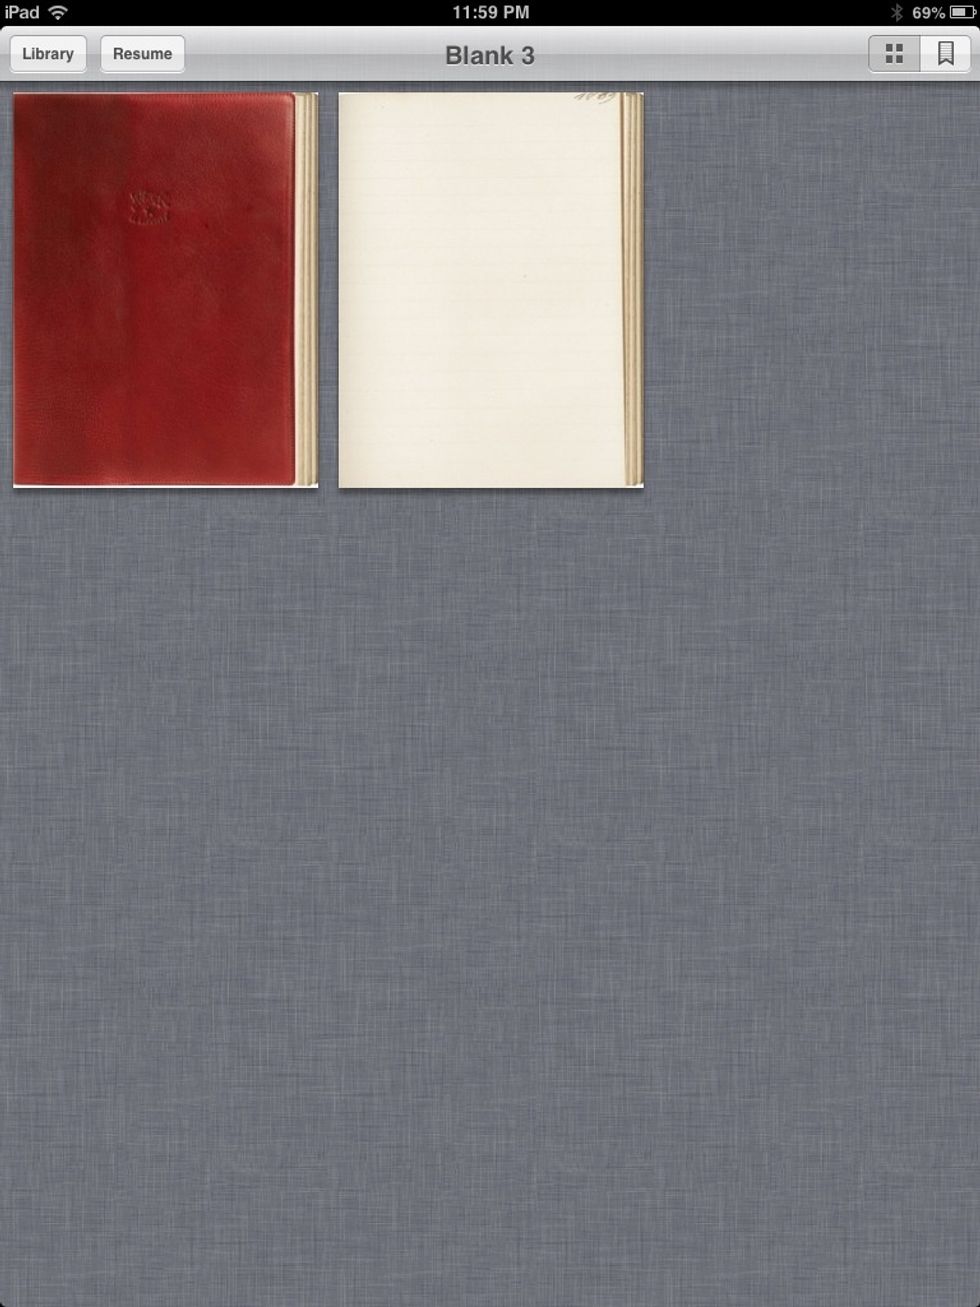
First, we make a COPY of the book: Tap EDIT.

The documents start to wiggle. Tap the book you made.
The book will have a golden highlight around it and three icons at the top will turn white. Tap the icon in the middle (the one that looks like a rectangle with a + on it. )
You just made a copy. Open the copy. My copy is called BOOK COPY (You can rename the copy by tapping the words under the document.)
Tap and hold somewhere in your text to bring up a menu. You might have to tap the white arrow on the menu to get the the DELETE option. Tap DELETE.
I also deleted the tassel from the DOCUMENT SETUP page. I will put the BOOK EDGE on the document setup page however, so that it will not be in the way. Tap the GODLEN WRENCH.
Tap DOCUMENT SETUP.
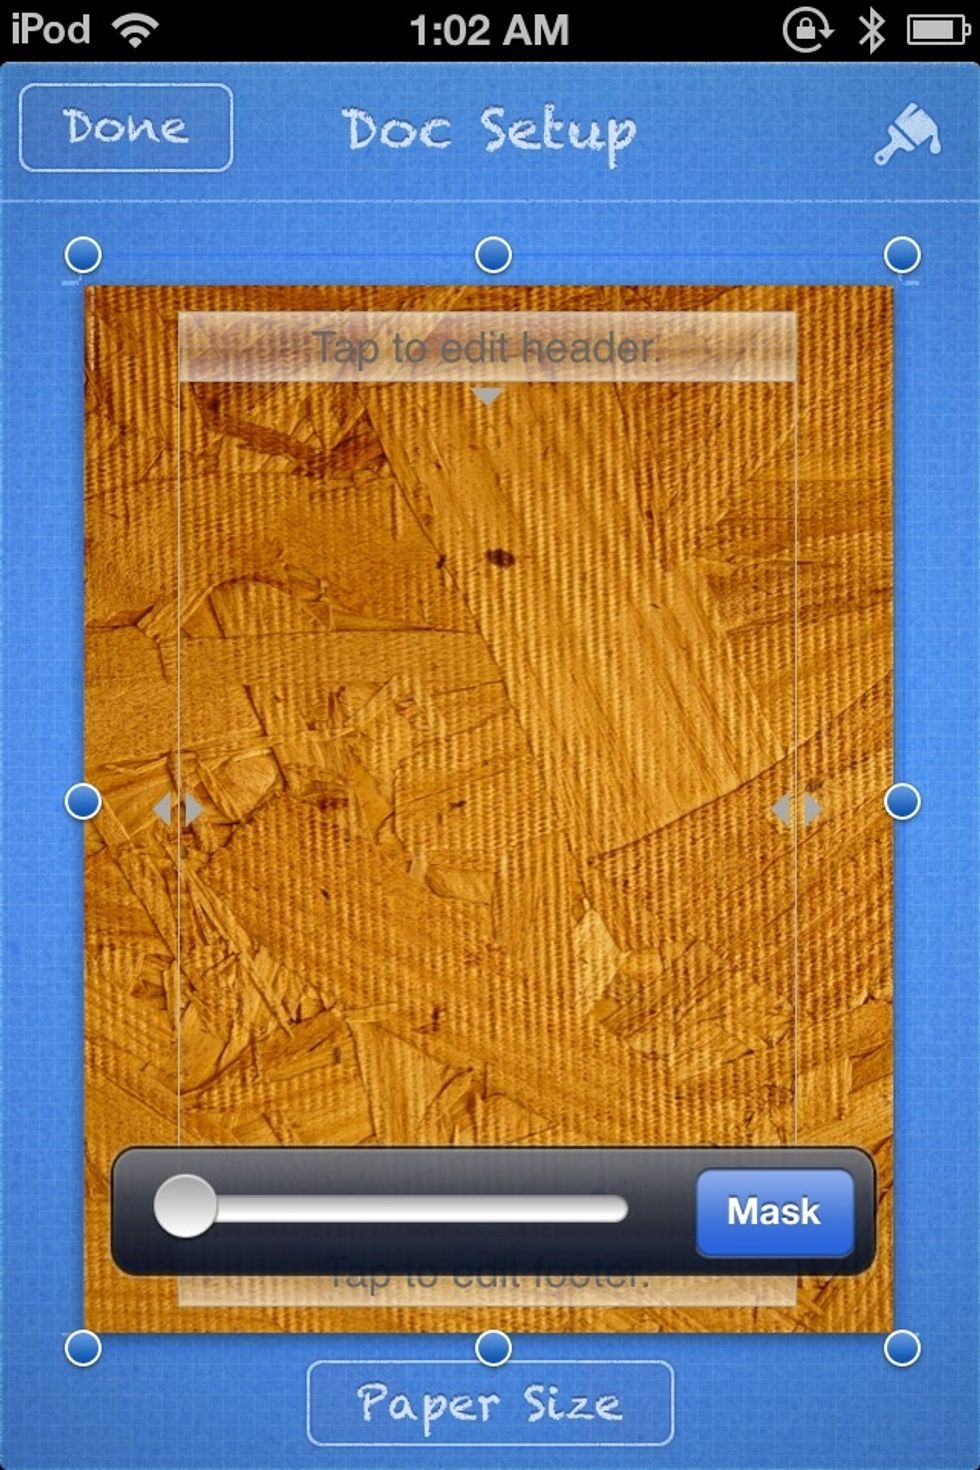
Tap the BLUE +, and as you might gather, select the MEDIA TAB and get a picture of a nice TEXTURE to use for your book edge.
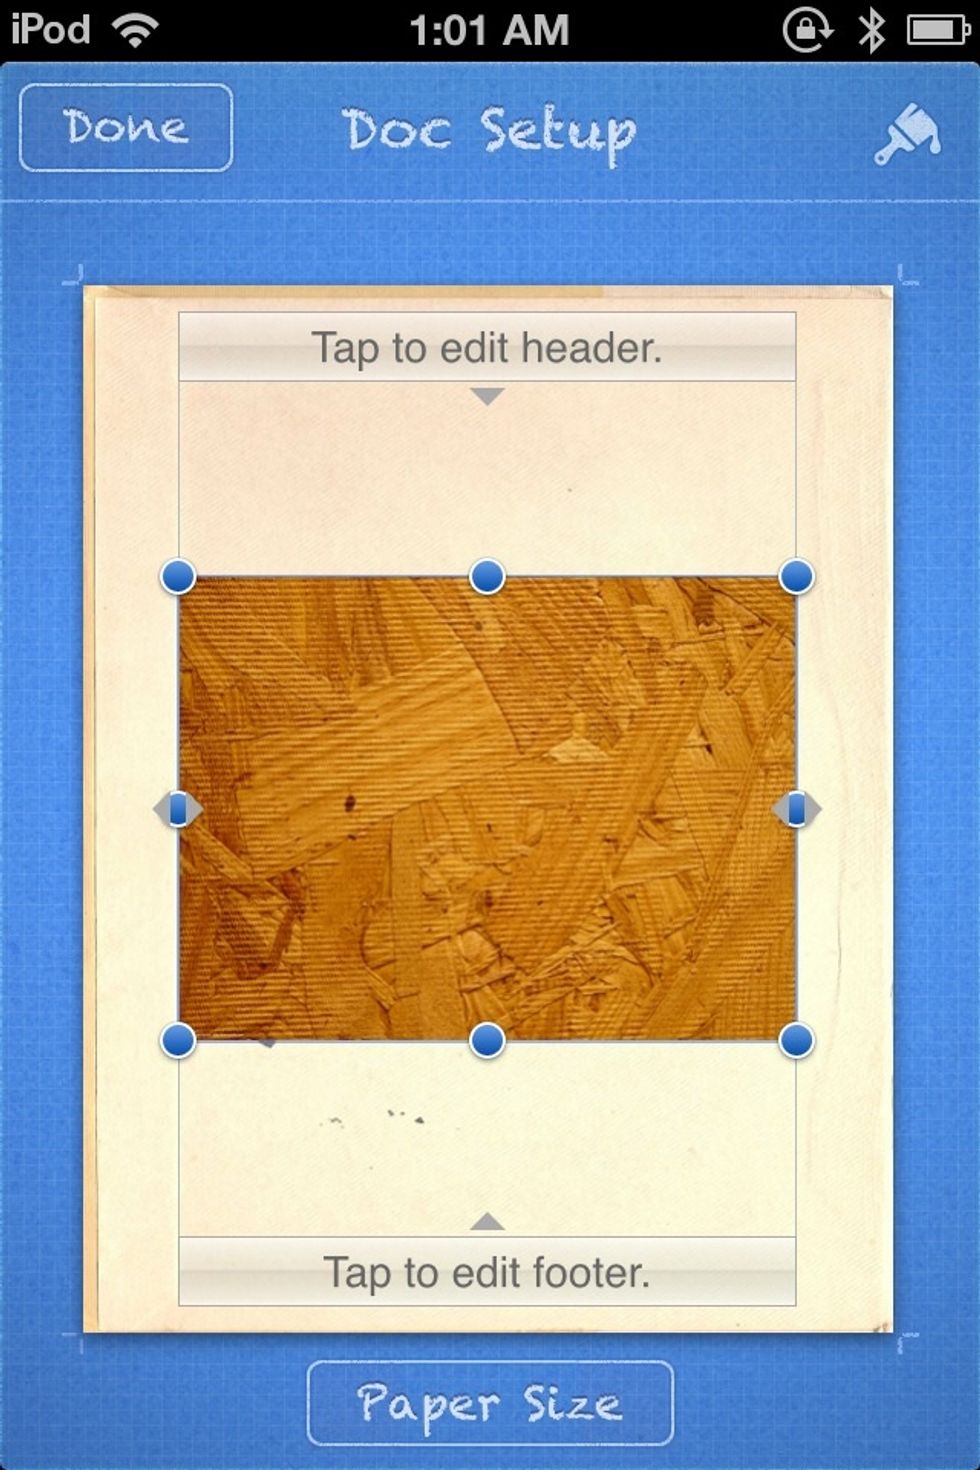
I got this strangely appealing one.
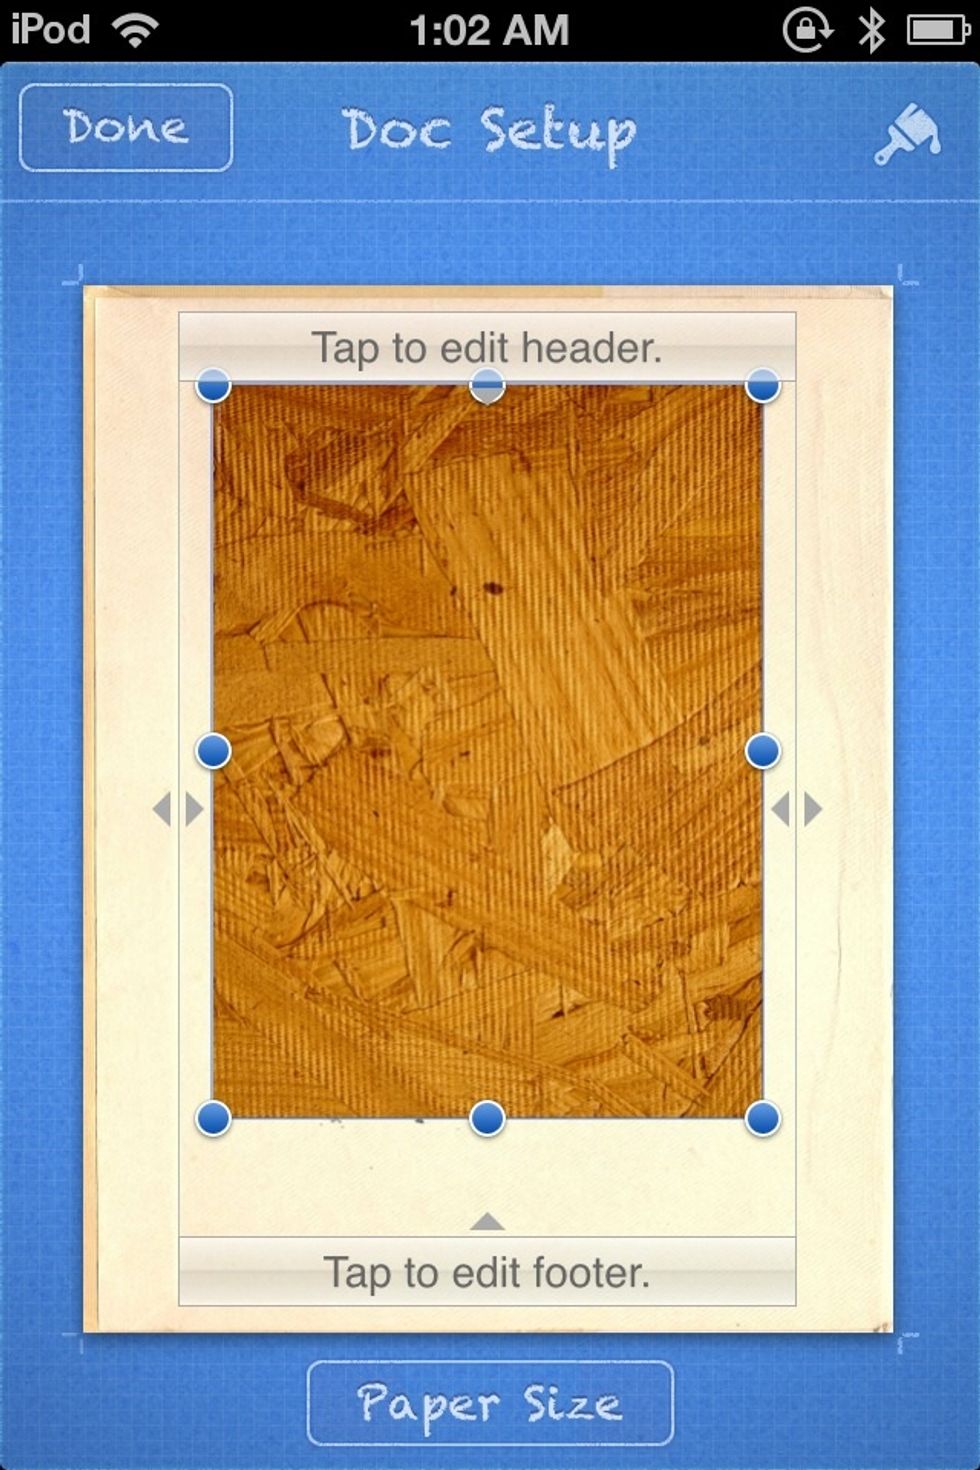
I had to rotate my image so that it can fill the whole page.
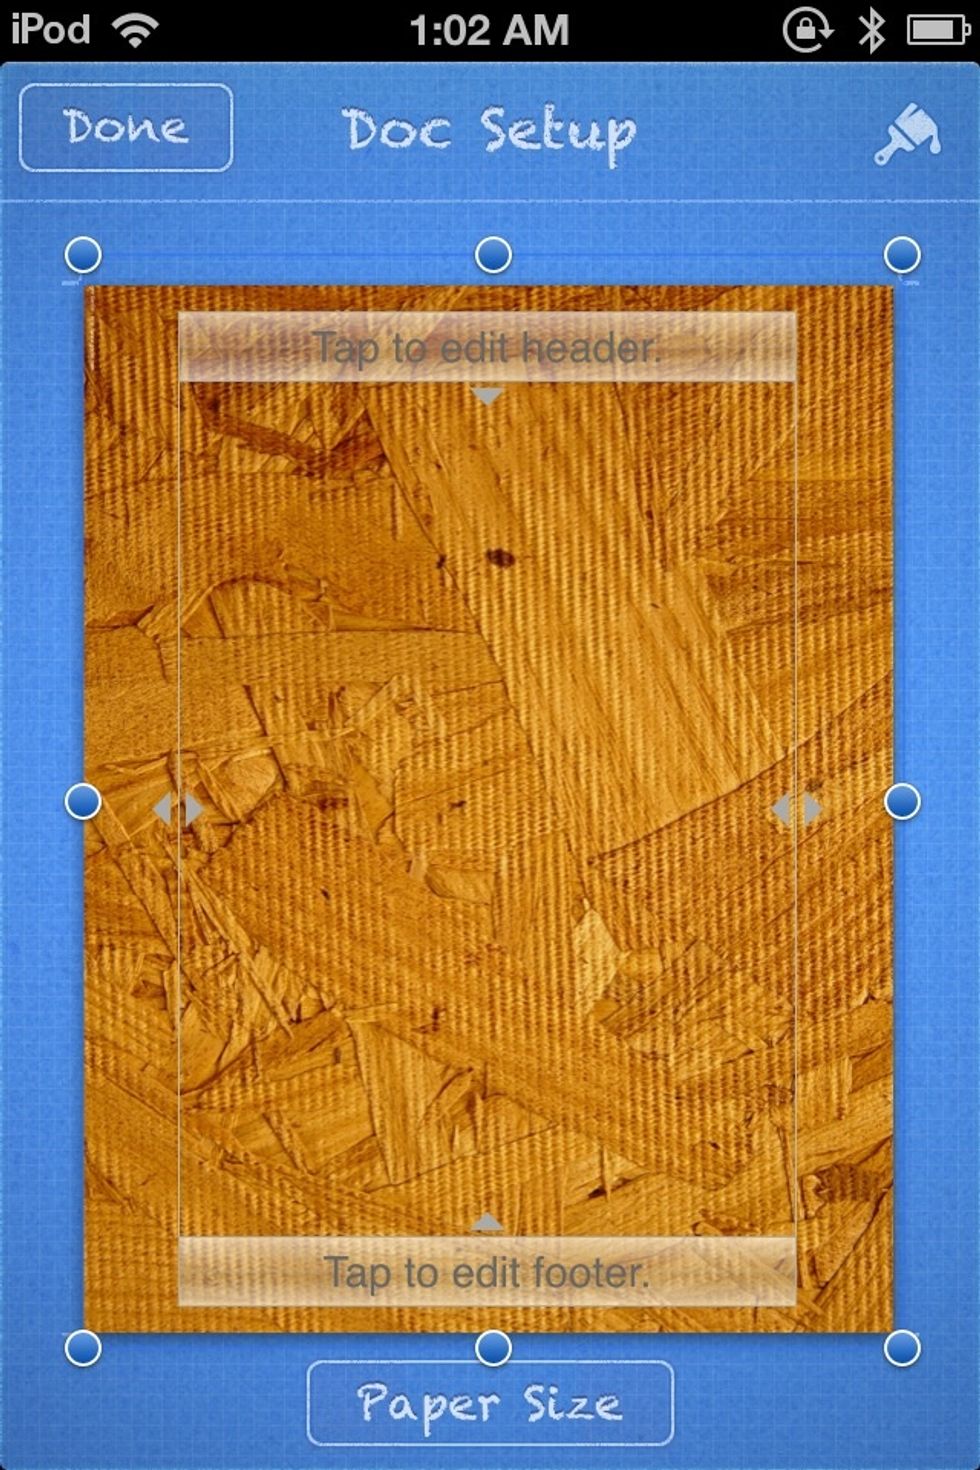
Resize it to fit the whole page, then tap the BLUE PAINTBRUSH.
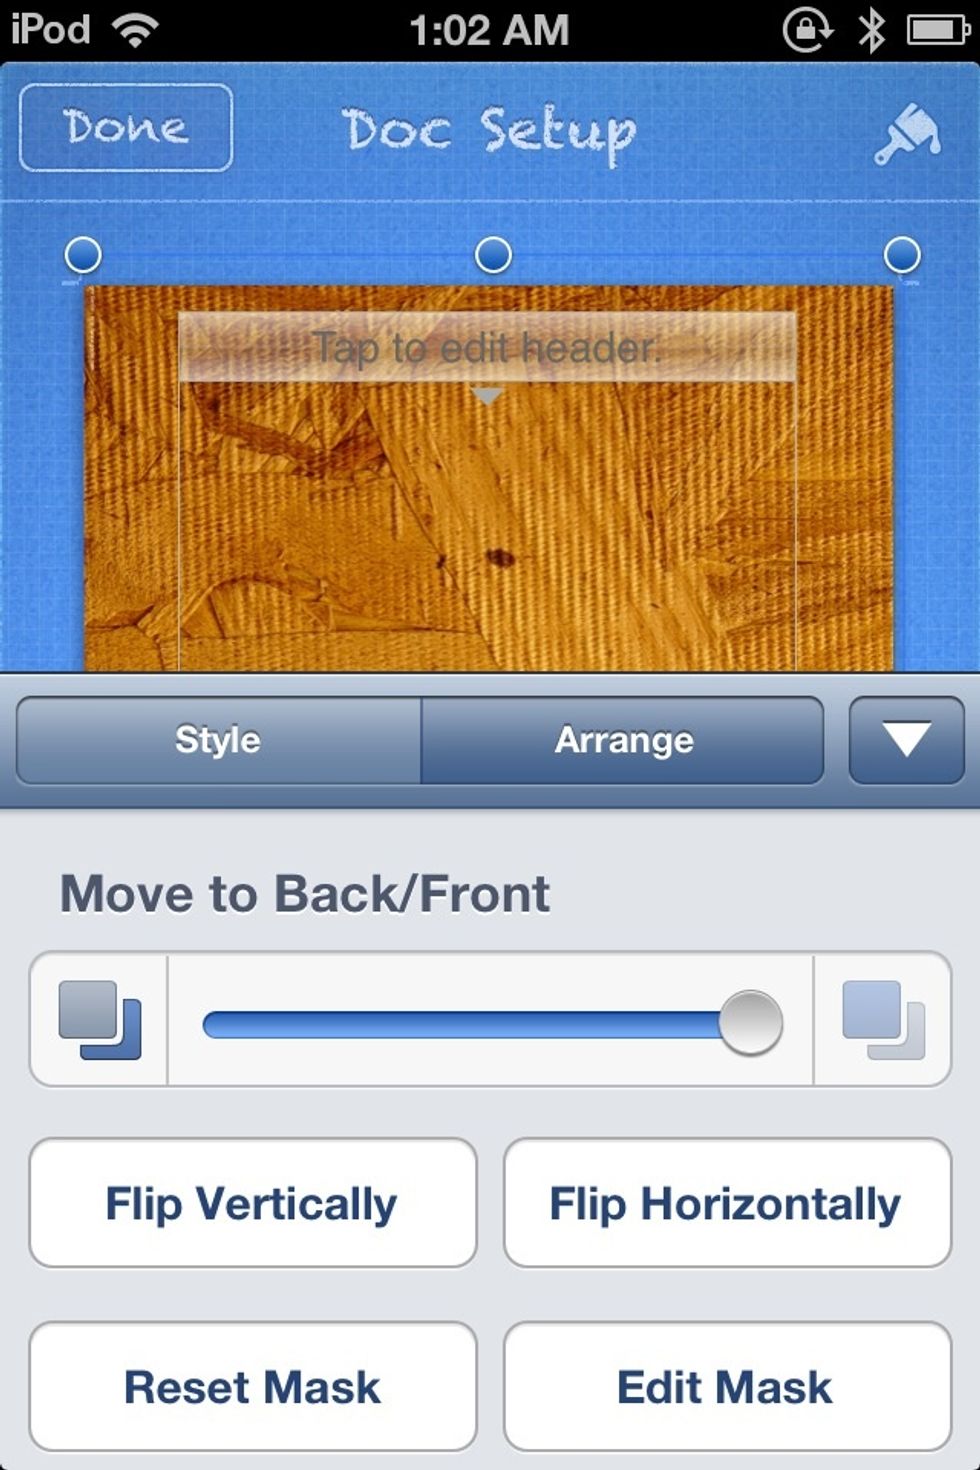
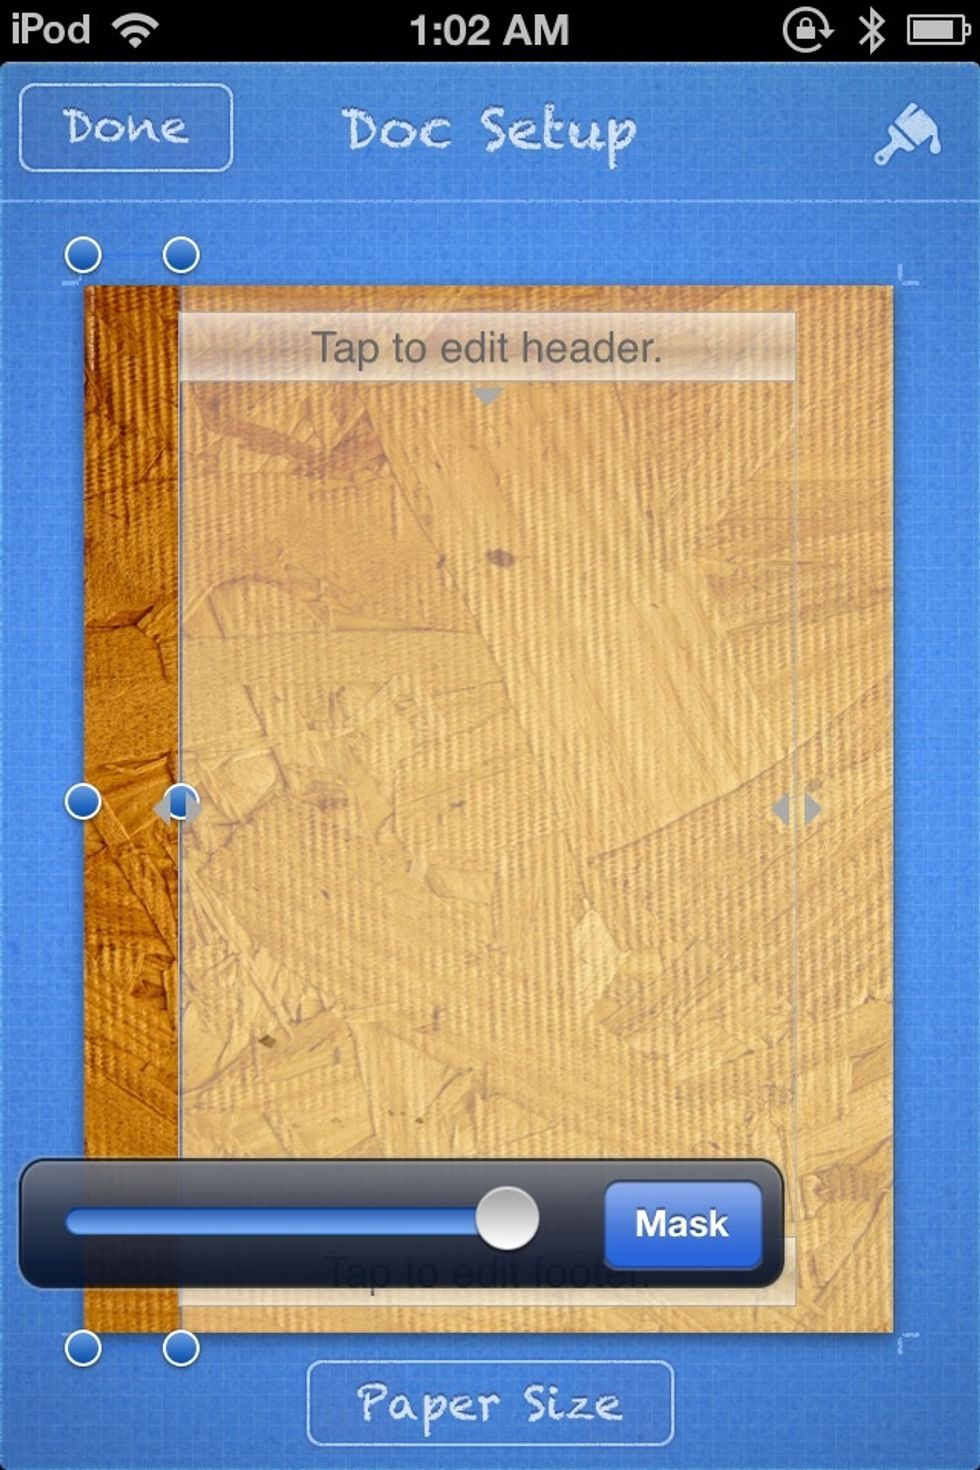
Tap the ARRANGE tab and then tap EDIT MASK.
A bar will come up.. We will now MASK (COVER UP) part of the image so that only some of the image shows. Drag the middle BLUE DOT on the right of the image to the left (not the grey dot in the menu.)
Like this. Tap DONE.
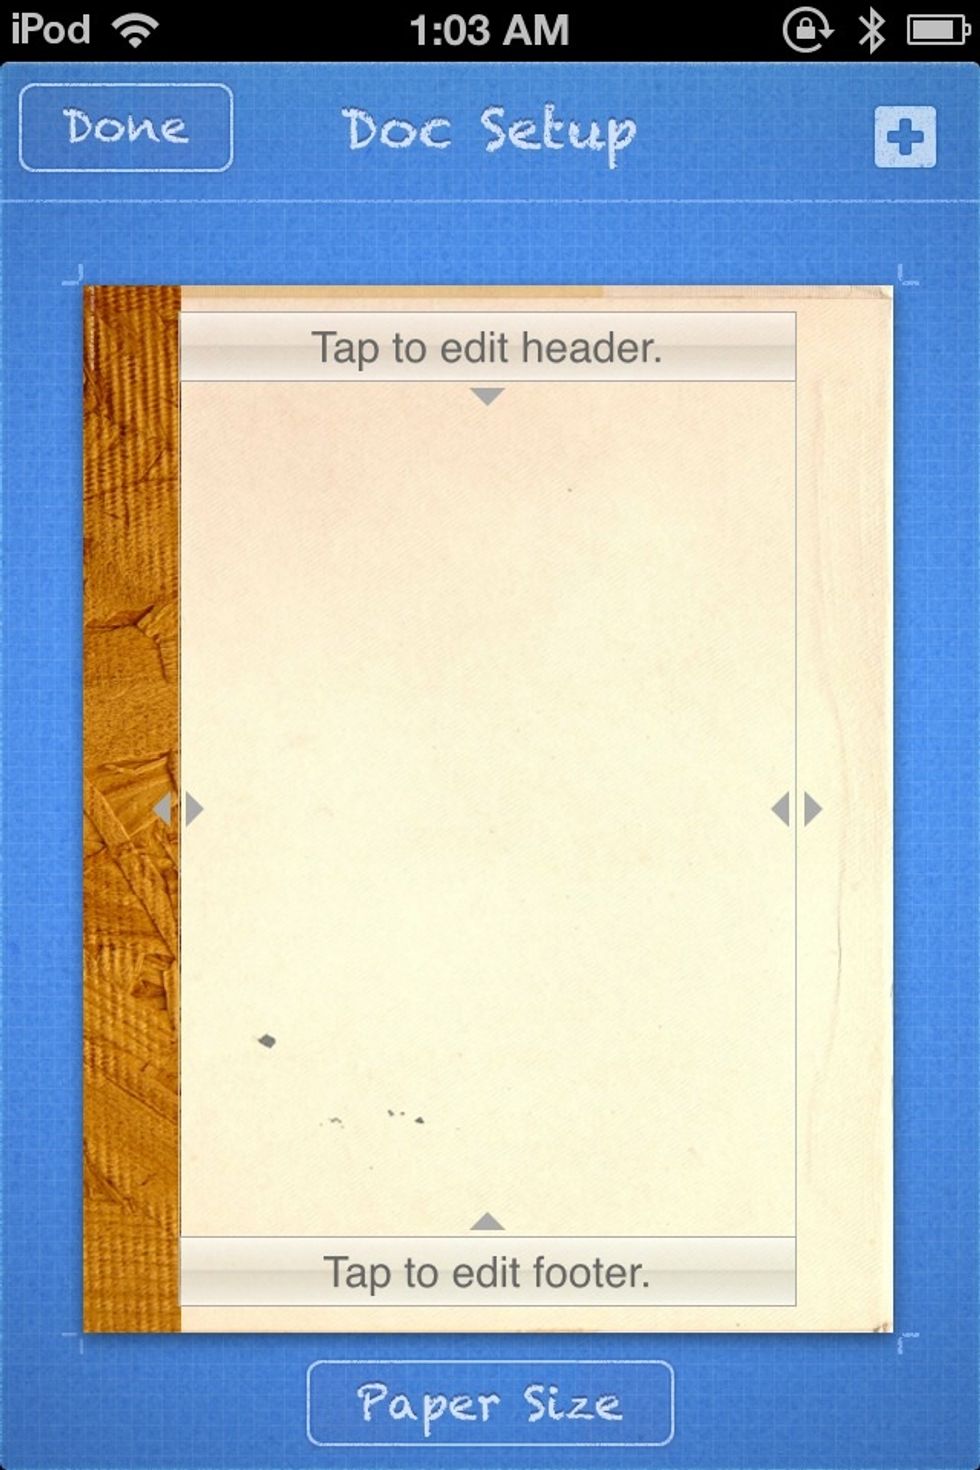
There is our BOOK EDGE.
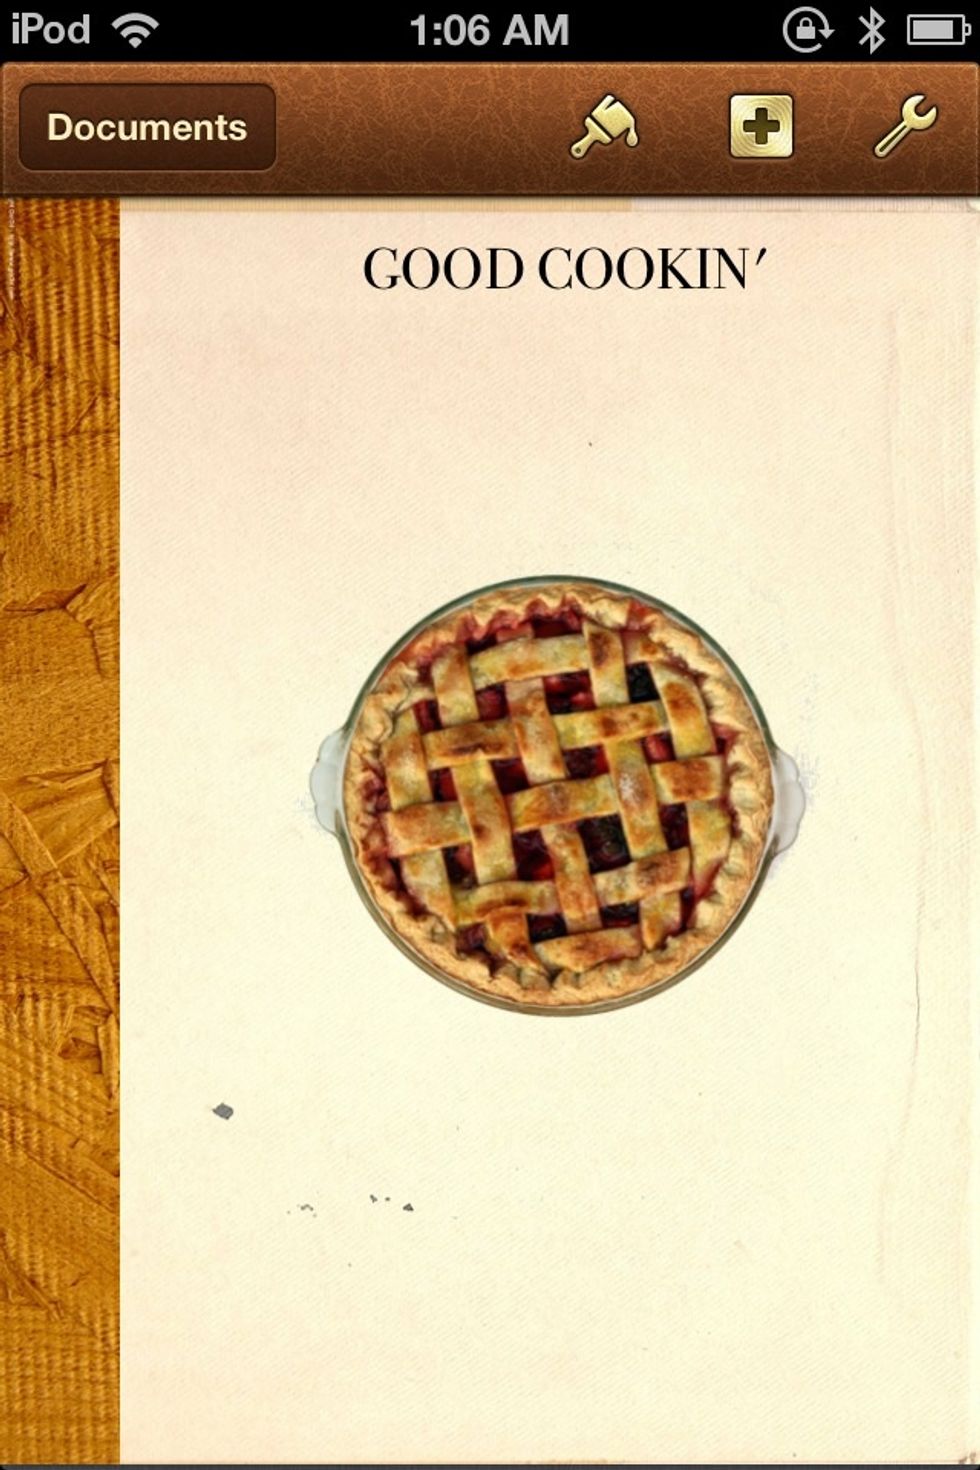
Go back to the MAIN SCREEN, tap the BROWN + and go the MEDIA TAB to get an image for the cover of your book.

Then Tap the BROWN + again, go to the SHAPES tab and get a TEXT SHAPE for your title.
Type in a title, then tap the GOLDEN PAINTBRUSH.
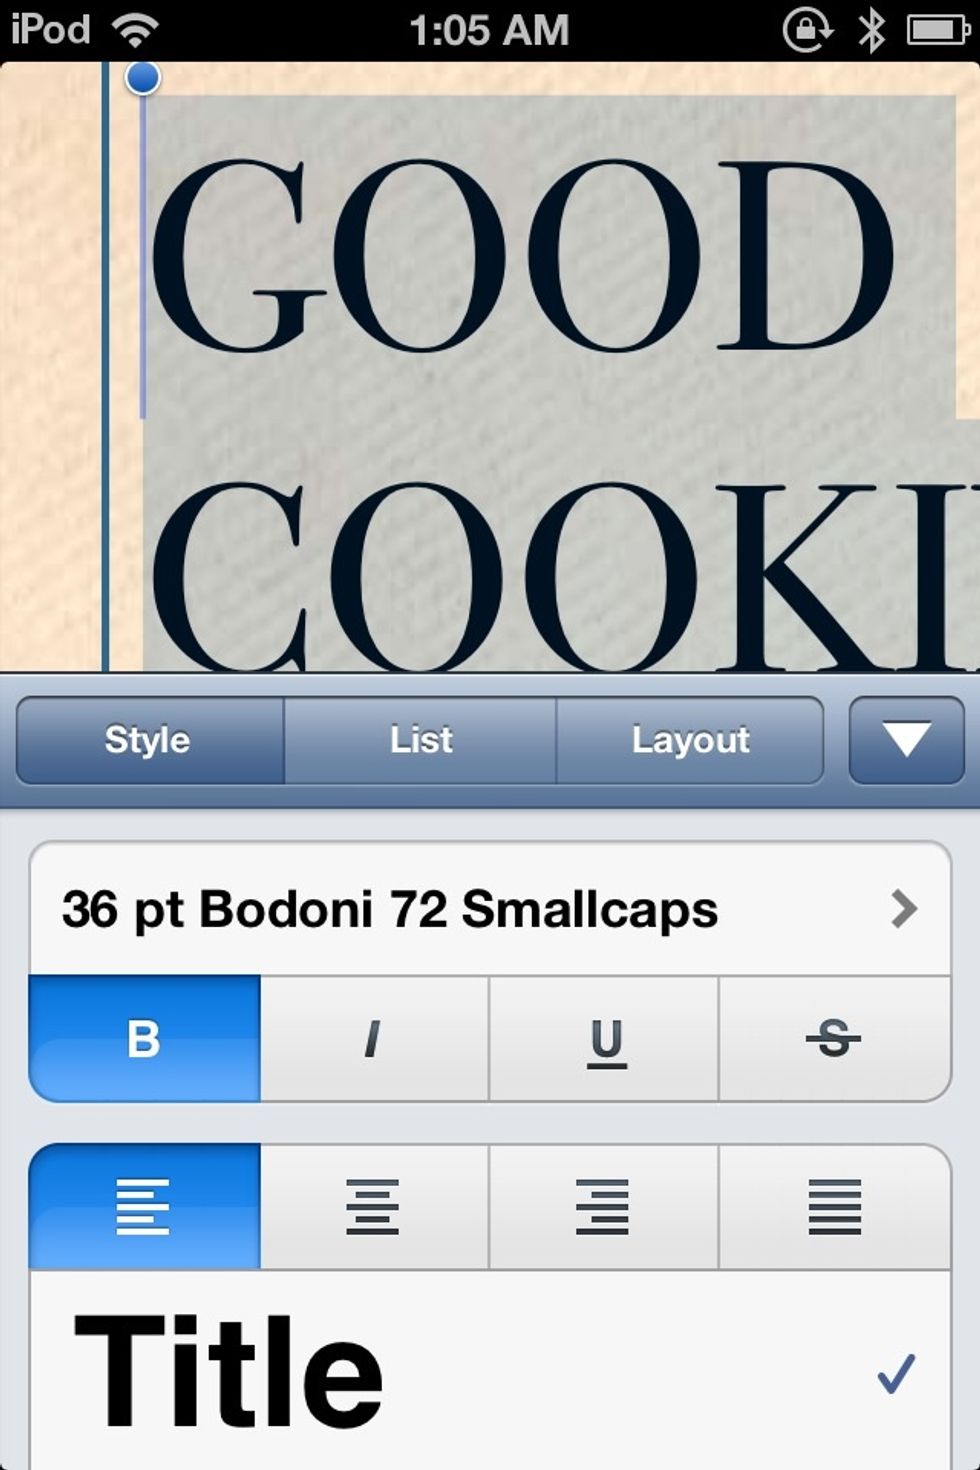
Tap the STYLE tab, and make sure the TITLE style is selected. You can also make your text BOLD by selecting the ''B'' I changed my FONT also.
Almost done. One more thing. Add another TEXT SHAPE.
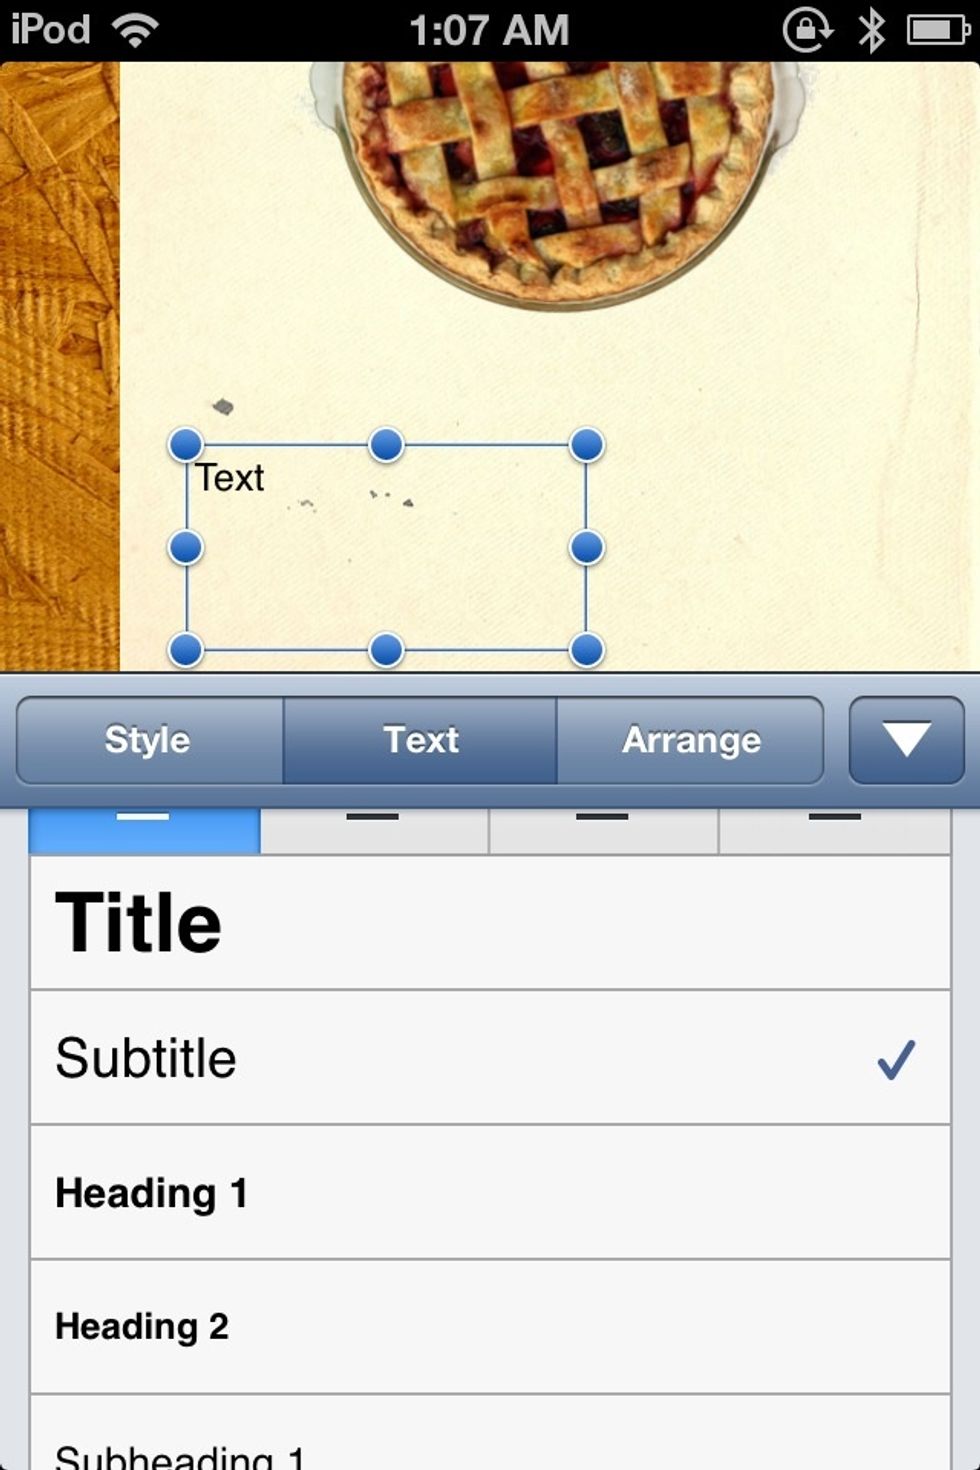
Make it a SUBTITLE style.
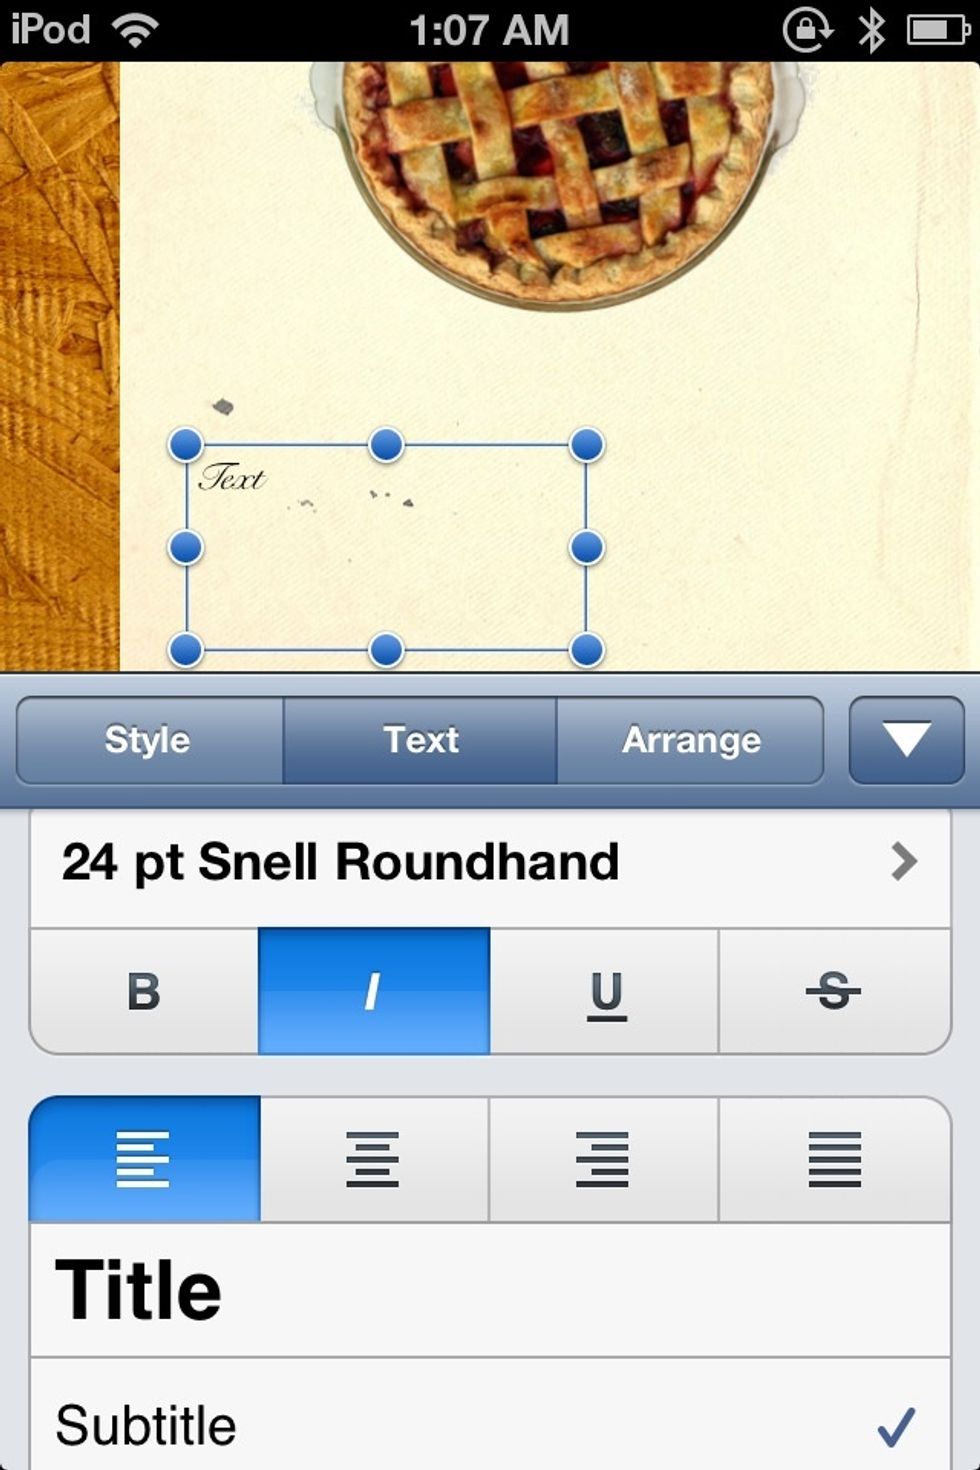
Change the FONT, and you can make it ITALIC.
Can't forget the credits!! hehe.
This Cover Page would have to go on the FIRST PAGE of your document, so you might not want to put it in the DOCUMENT SETUP page, because that will embed it into every page.
END OF (PART 2)
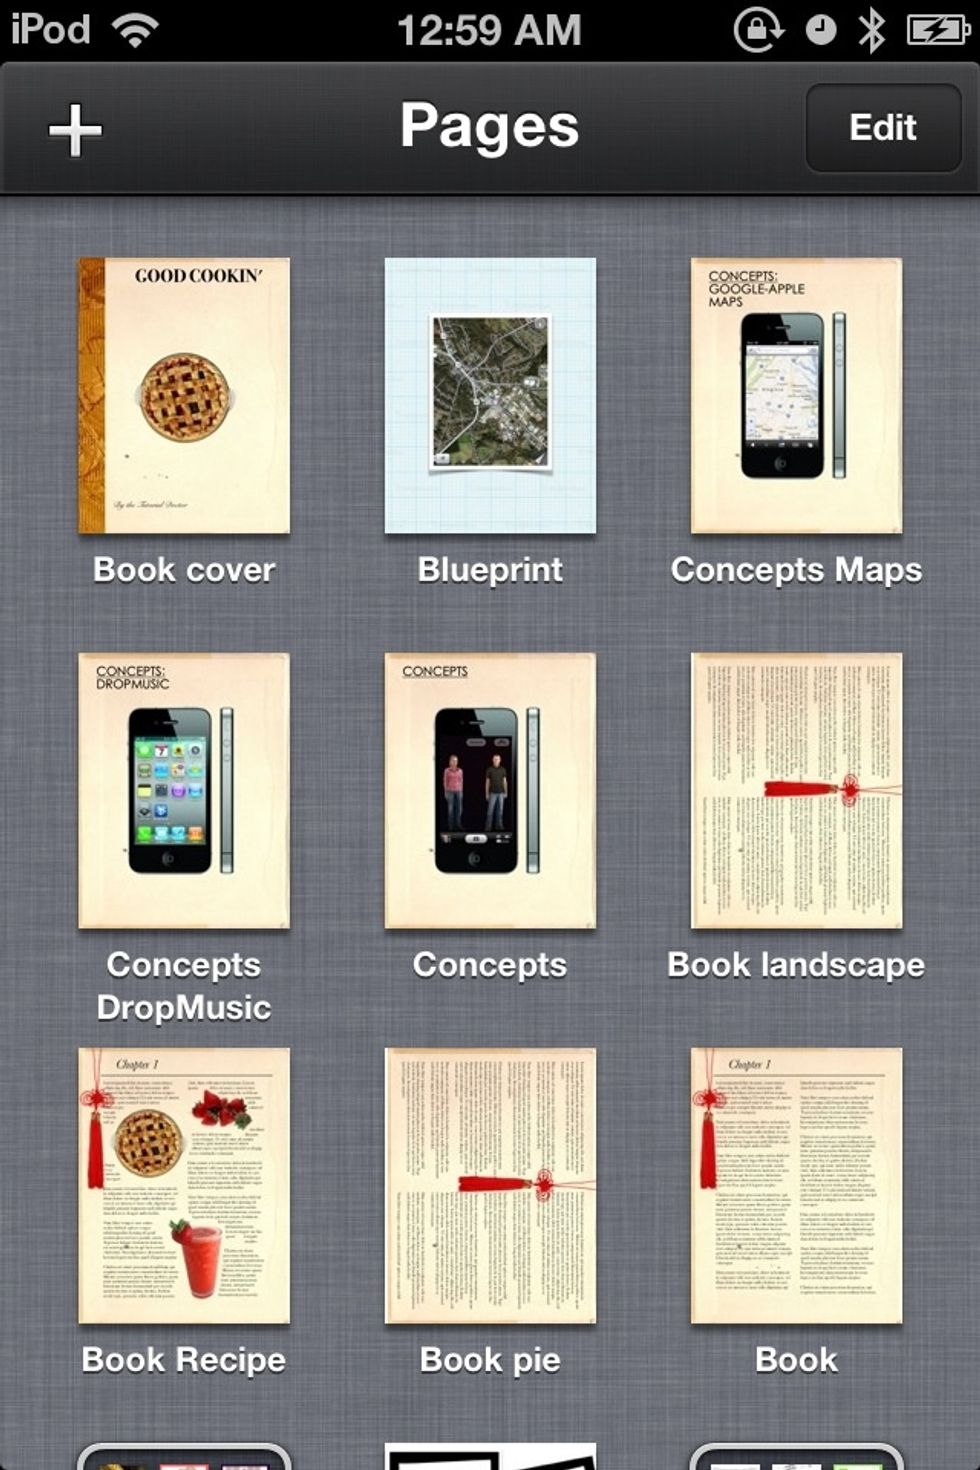
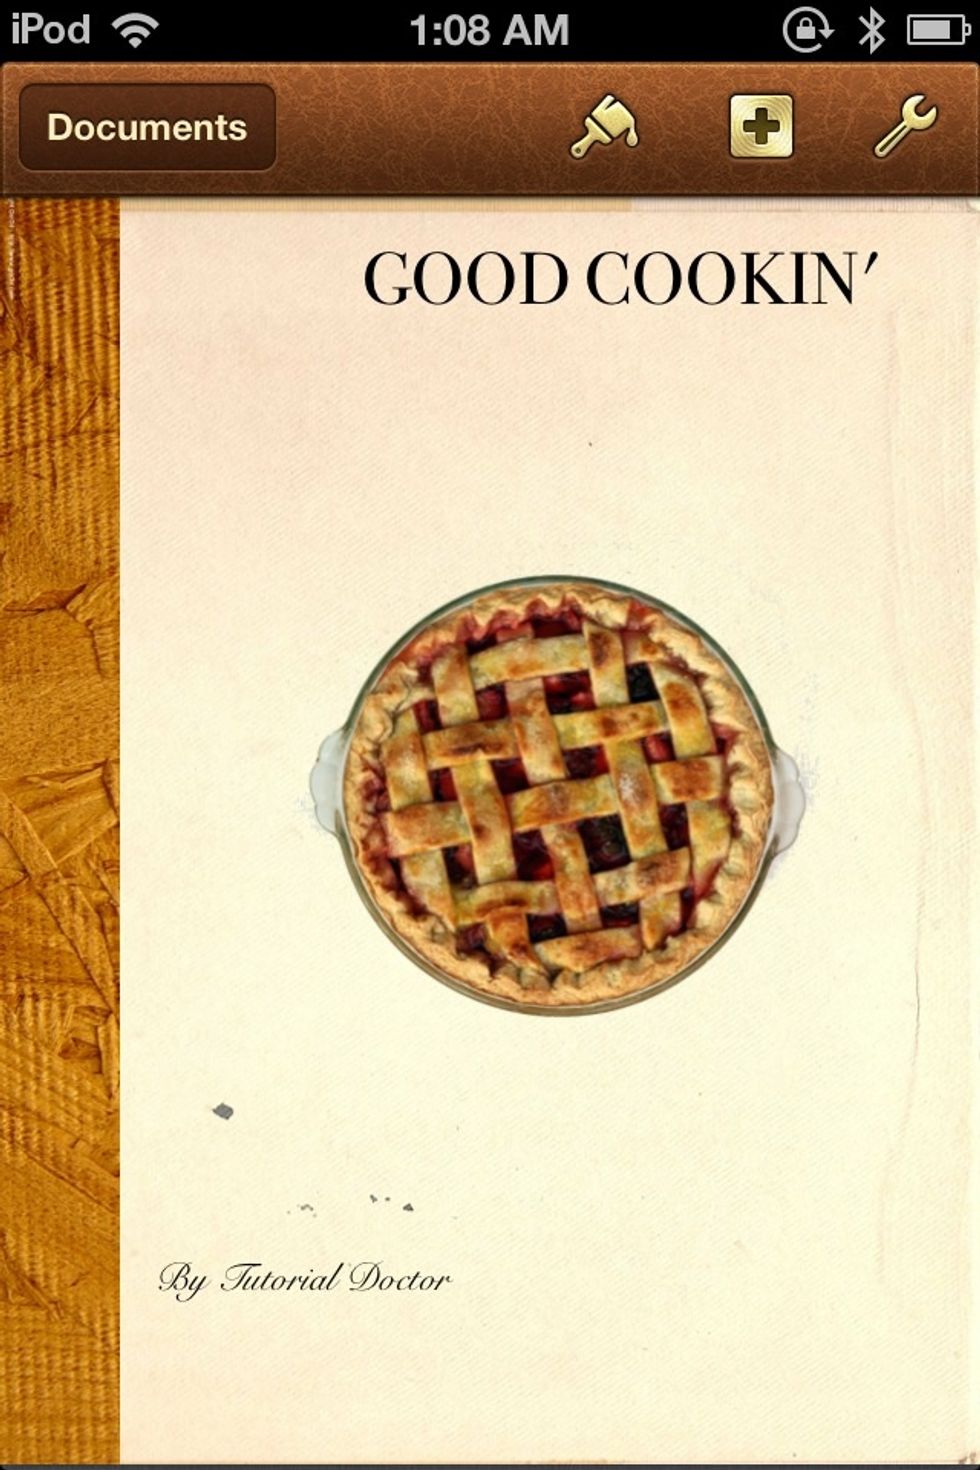
COVER EXAMPLES:
Link to pages book is in comments of this step.
Extras
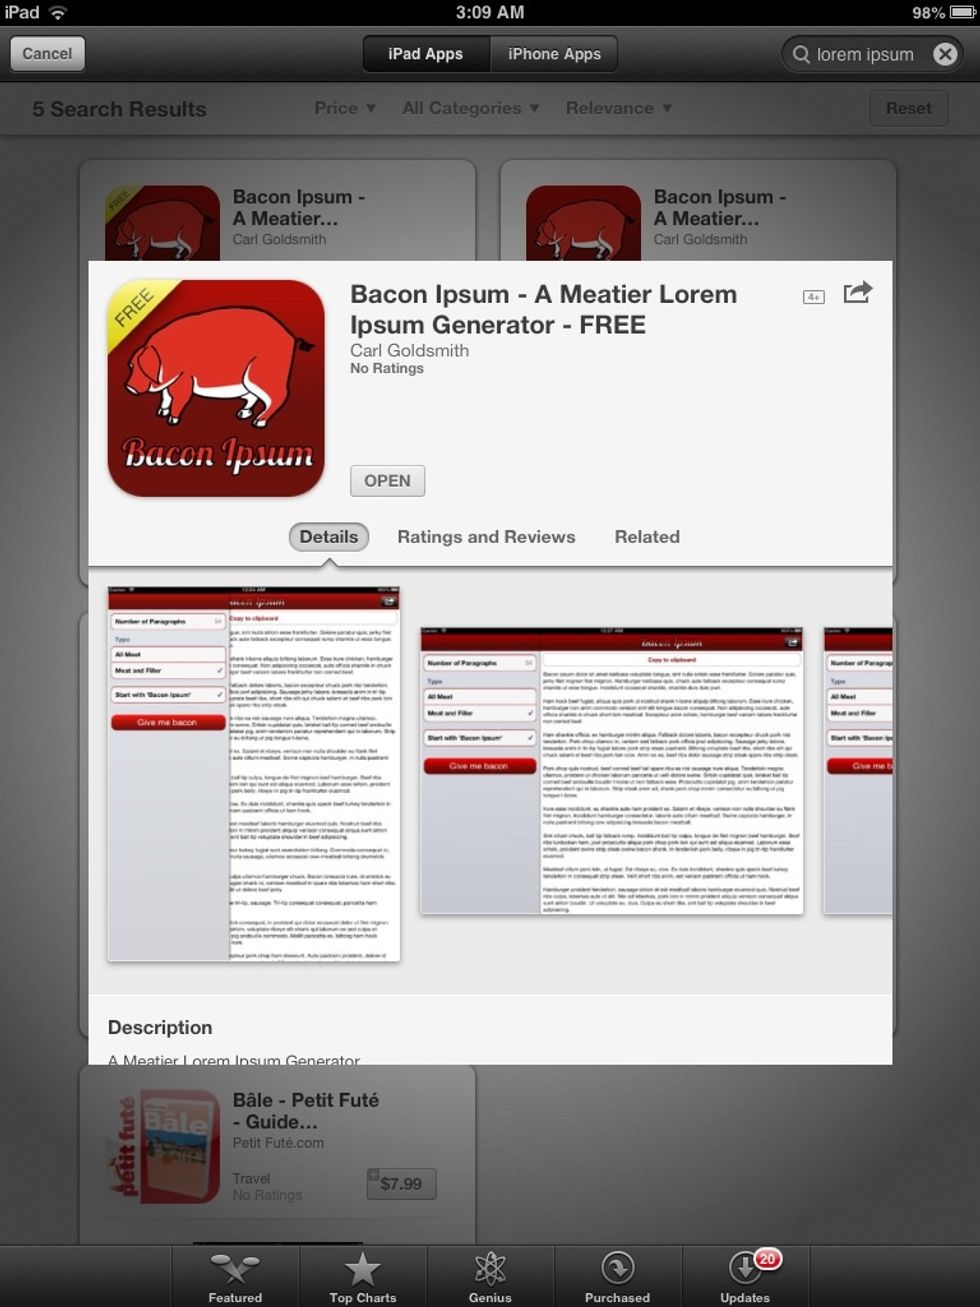
Fond a Lorem Ipsum generator (sorta)