How to make a bleached t-shirt
How to harness the color destroying powers of bleach to make cool shirts.
1062
STEPS
TOOLS
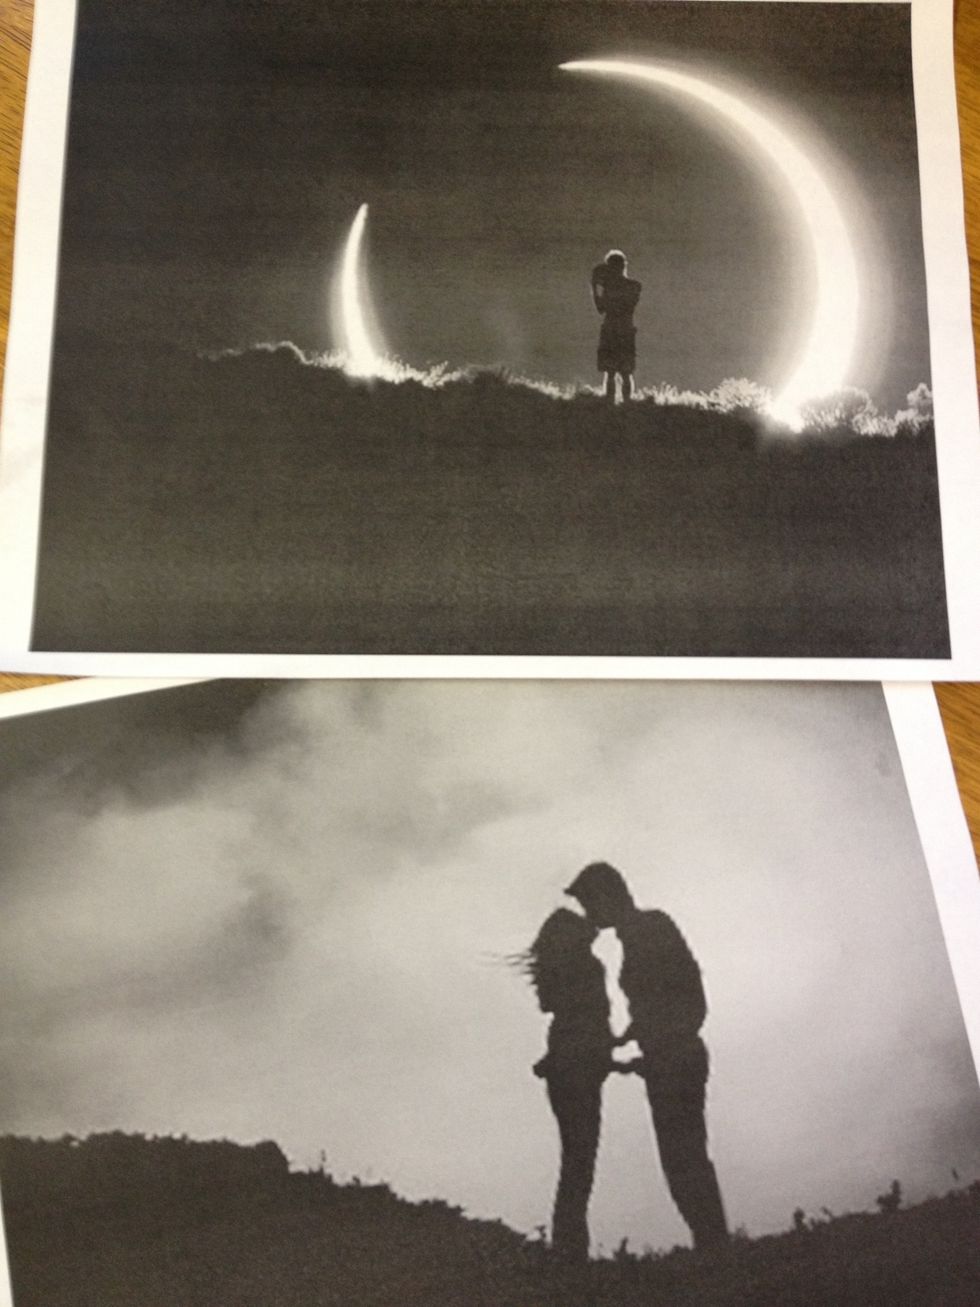
I'm using two stencils for this project. Ideally you want black and white images but for this one I went greyscale.
Trace the stencil on the freezer paper. Make sure the wax side is down and you are sketching on the paper side
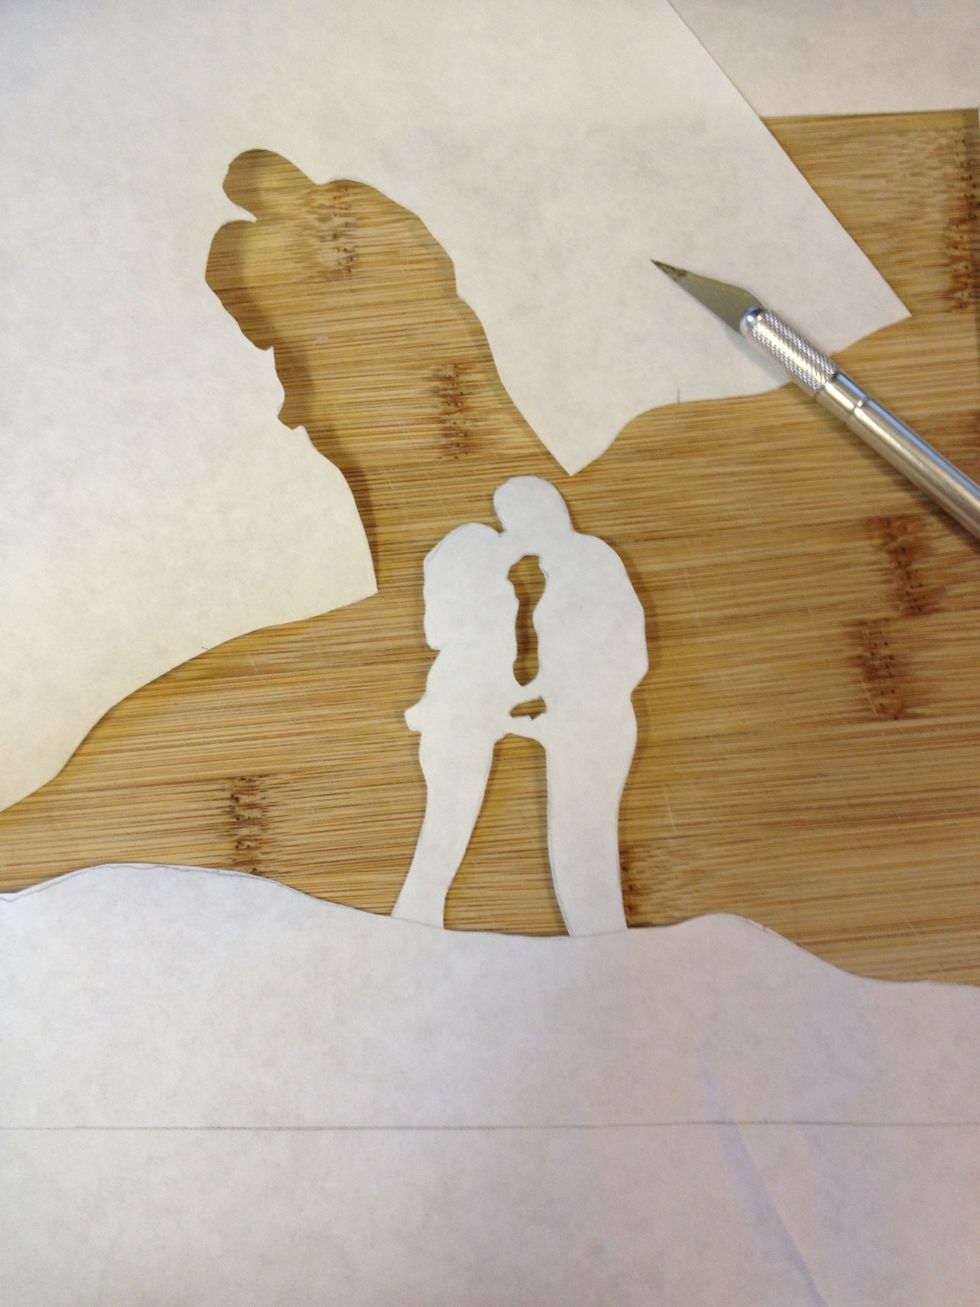
Use an X-Acto knife to cut out the stencil. Keep in mind that the paper will be the color of the shirt, the rest will get bleached. In this case the couple will be the color of the t-shirt.

Measure out your bleach. This is 100ml for a 50/50 mix.
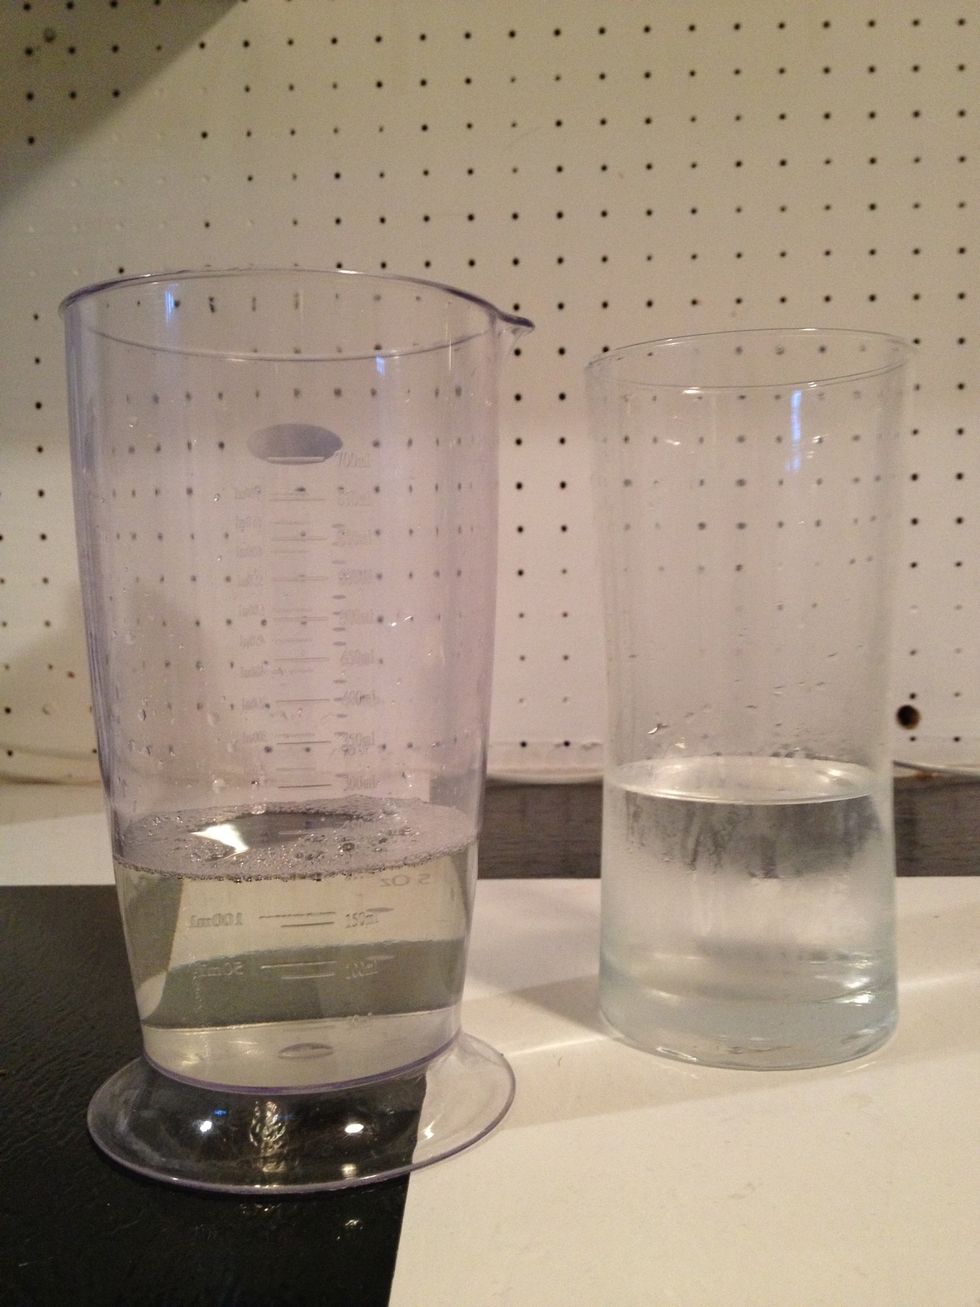
Add water. You can play around with how much bleach to water you have. The result is different shades. I'll be adding more bleach for my second stencil on this shirt.
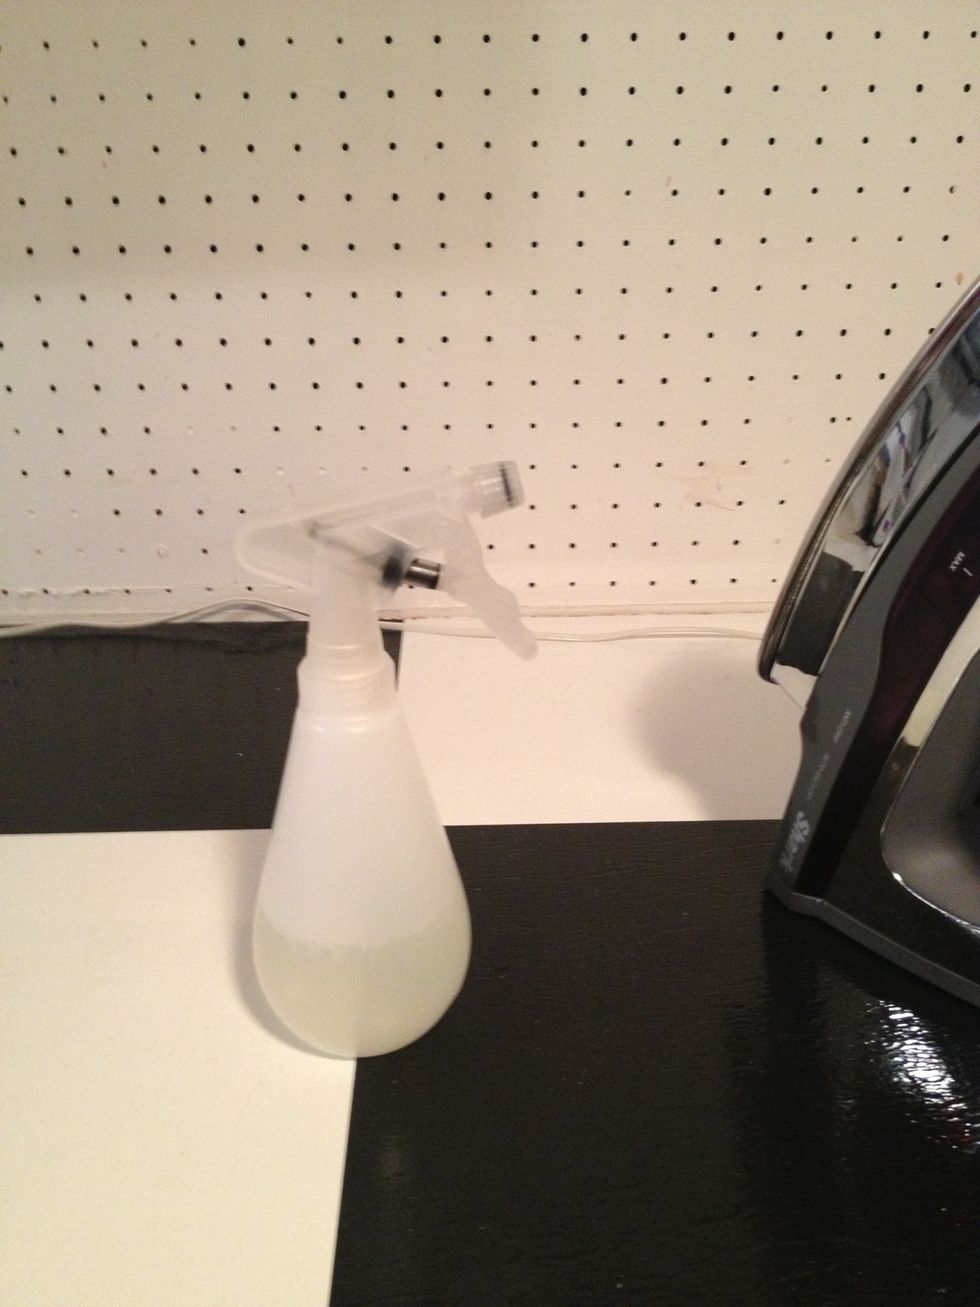
Add mixture into spray bottle.
At this point you want to make sure the shirt you are bleaching is washed at least once. Also get your iron hot and a container of cold water to stop the bleach reaction.
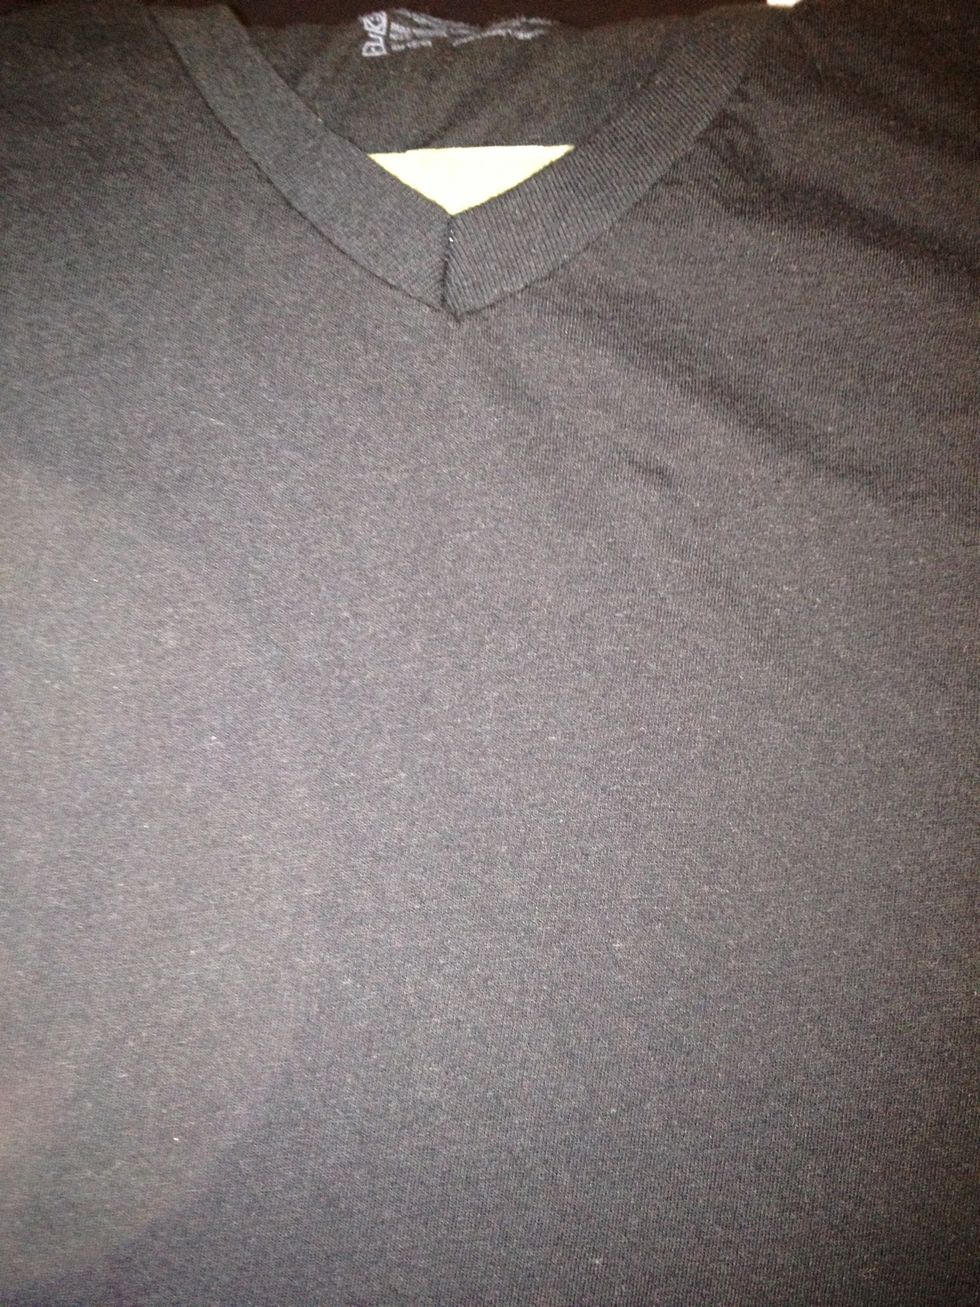
Put a piece of cardboard in the shirt to prevent the bleach from bleeding through to the back. Iron the spot where the stencil will go.

Iron on the stencil wax side down.
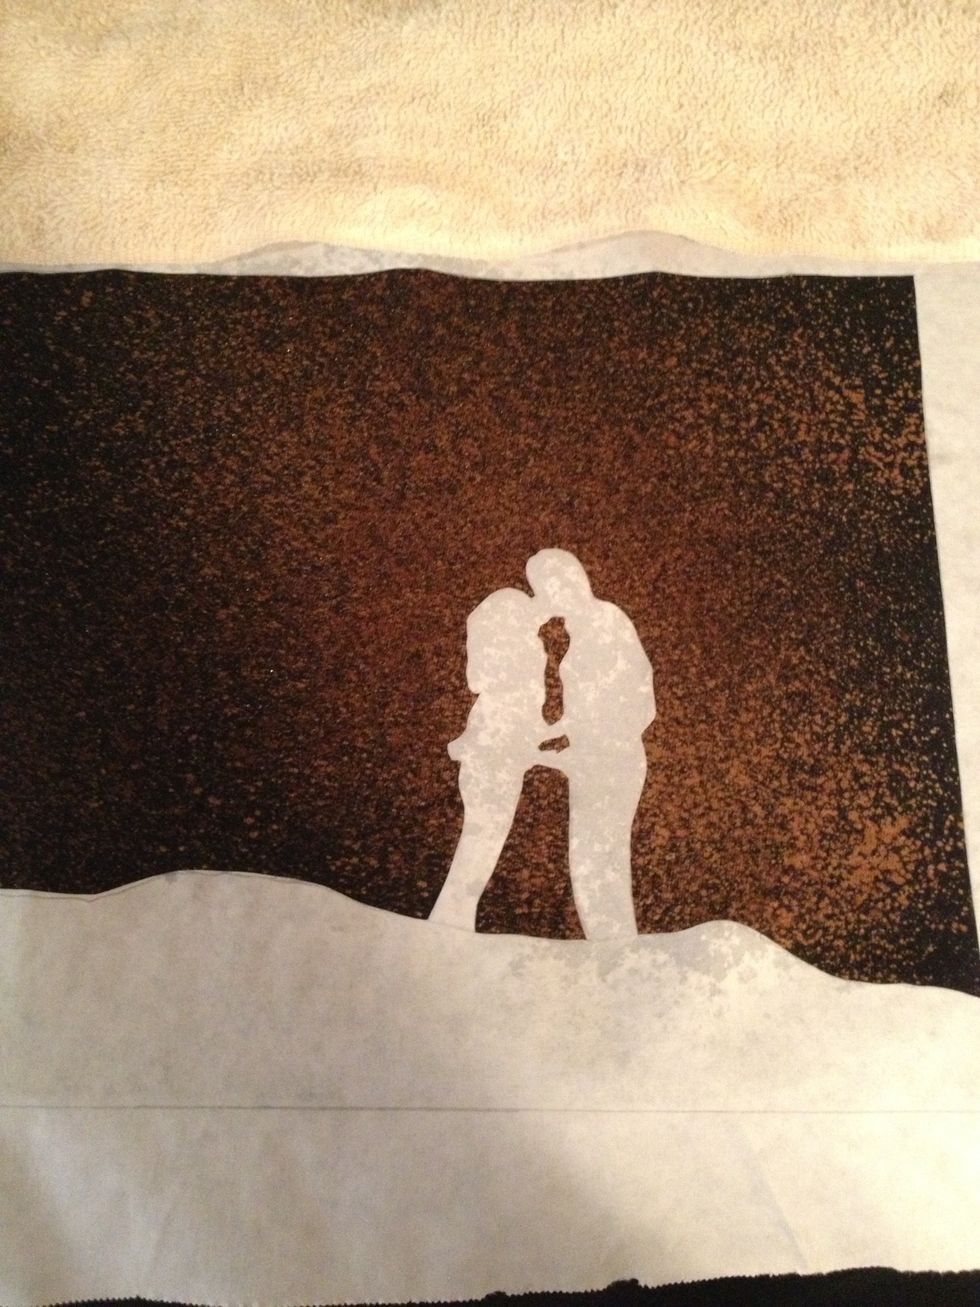
Spray the bleach on the shirt however you like. Immediately dab the freezer paper with paper towel. This prevents the bleach from bleeding through the paper. Spray it again after dabbing and wait.
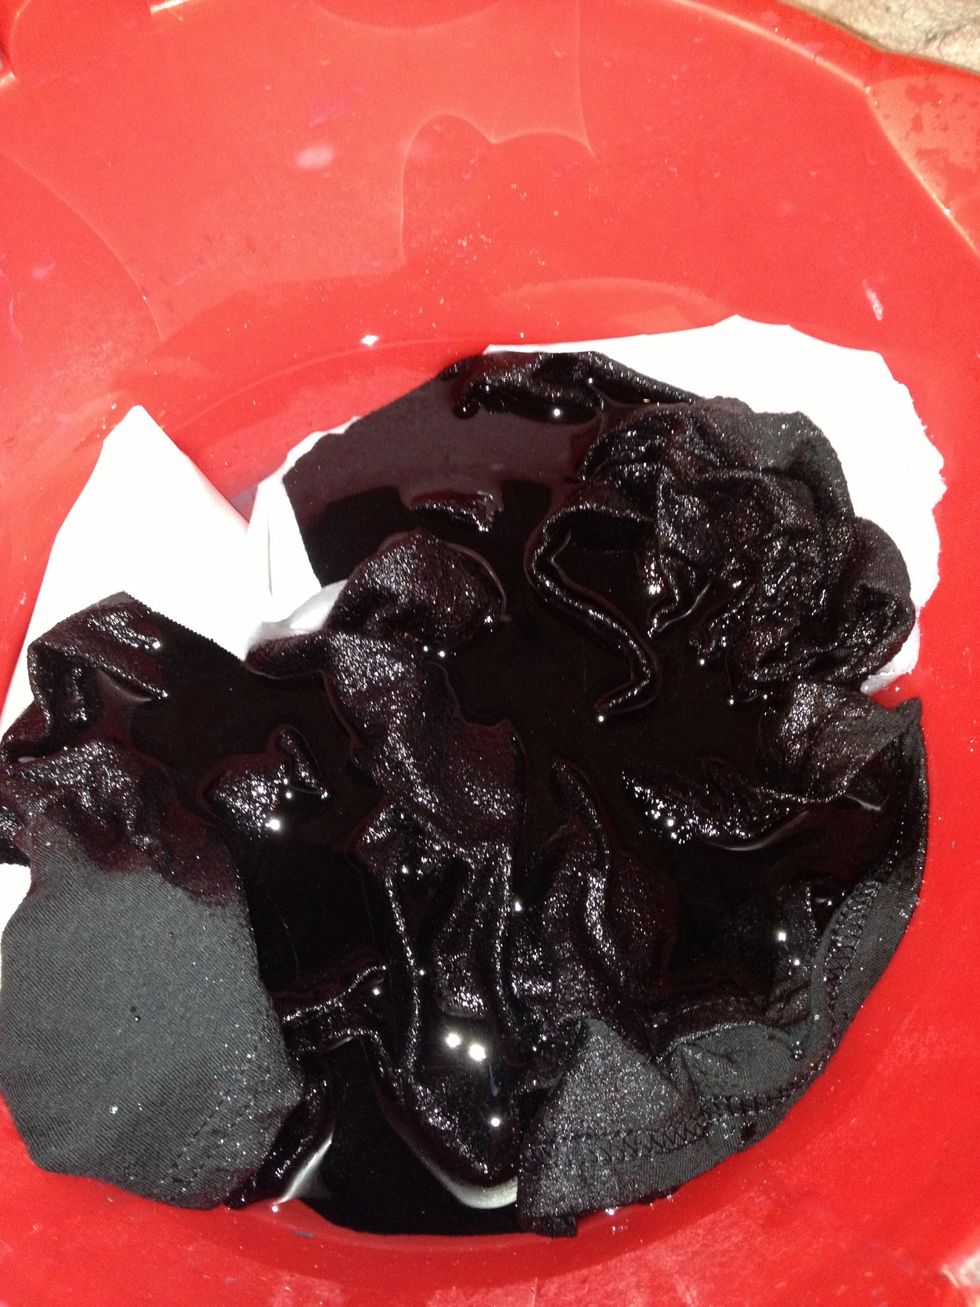
Once you've let the bleach sit for your desired results, anywhere from 3-8 minutes, dunk everything, paper included into the cold water to stop the reaction.
If you are only doing one stencil, you are done at this point, dry and enjoy. Since I'm doing another stencil I'm going to dry the shirt and start again.
Once the shirt is totally dry repeat steps 8 thru 11 with your other stencil. I added a touch more bleach to my mix to give the final stencil a lighter shade.
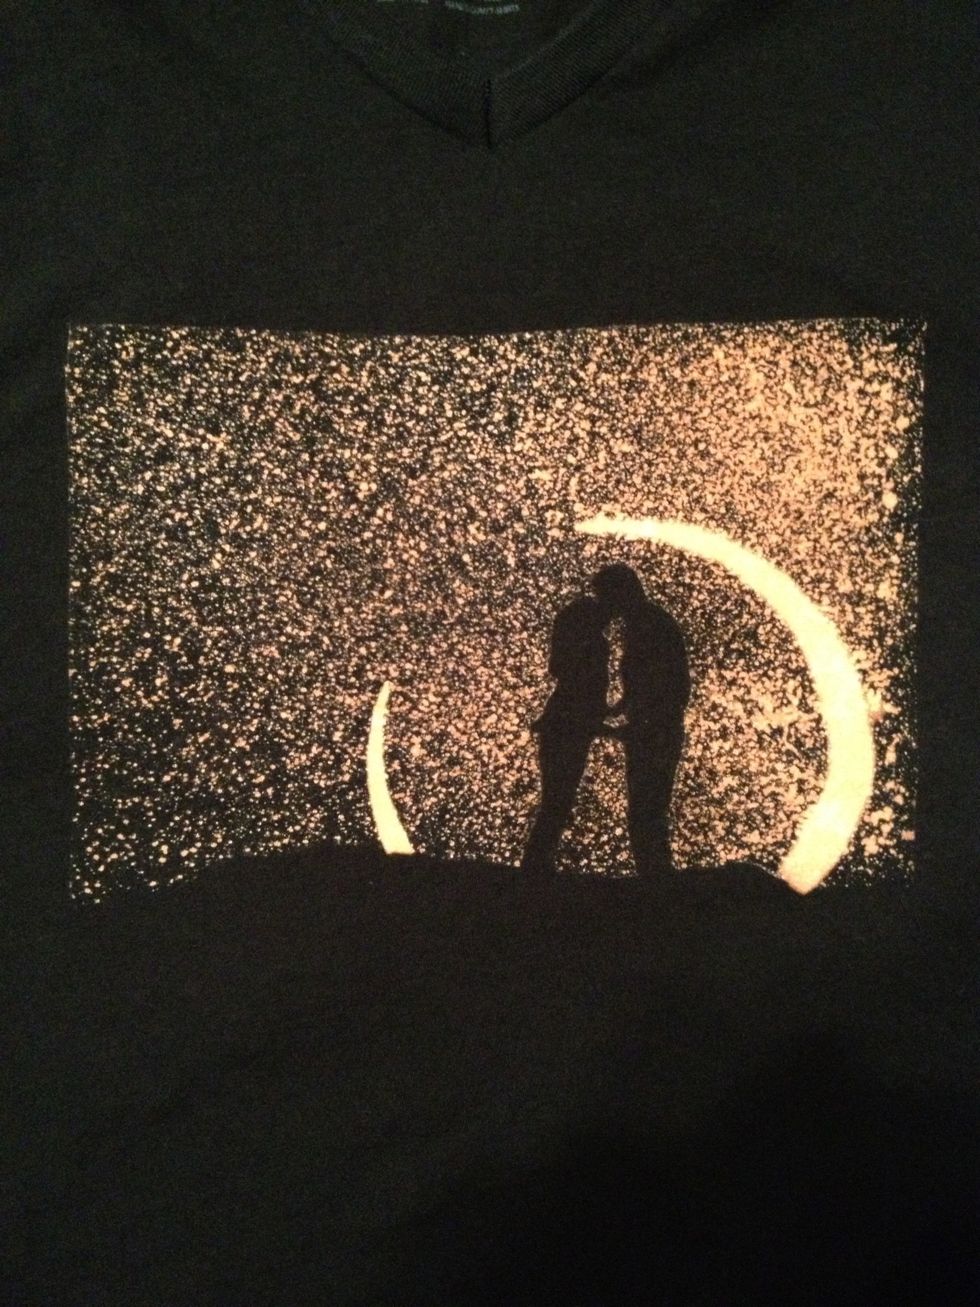
Finished product
- 1.0 X-Acto Knife
- 1.0 Roll of Freezer Paper
- 1.0 Iron
- 1.0 Bottle of Bleach
- 1.0 T-Shirt
- Various sizes of cardboard
- Paper Towel
- 1.0 Spray Bottle
- Water
- 1.0 Pair of Gloves
The Conversation (0)
Sign Up