How to make a bleach printed shirt
This method is adapted from the subreddit bleach shirts. I take no credit for the details of the process. The design used, however, is definitely/geekily mine.
434
STEPS
TOOLS
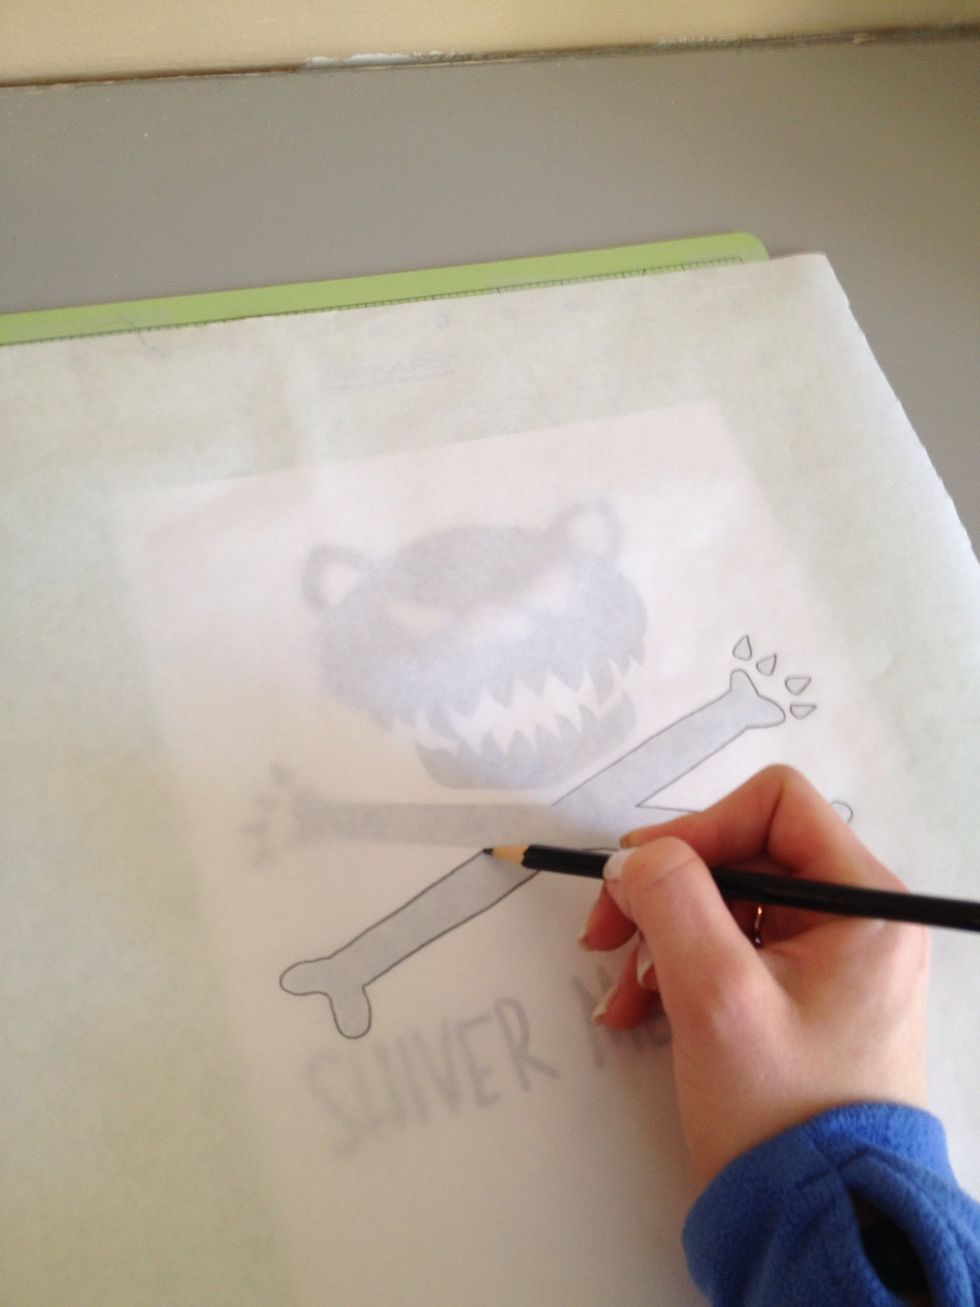
Tape down freezer paper (wax side down) over your design on the cutting mat.
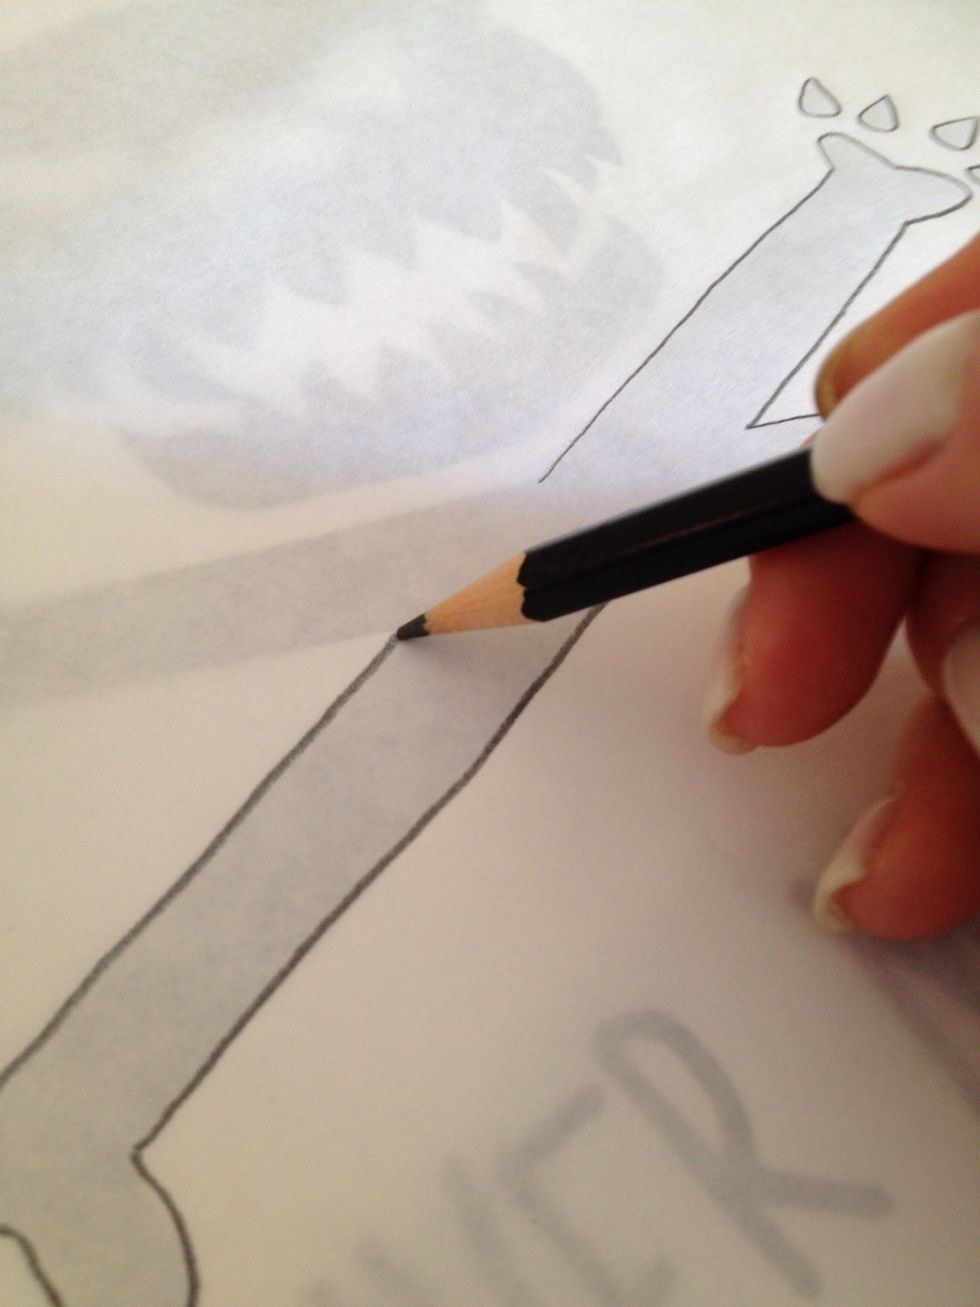
Trace with a slightly dull pencil. Use pressure to create a groove for cutting.
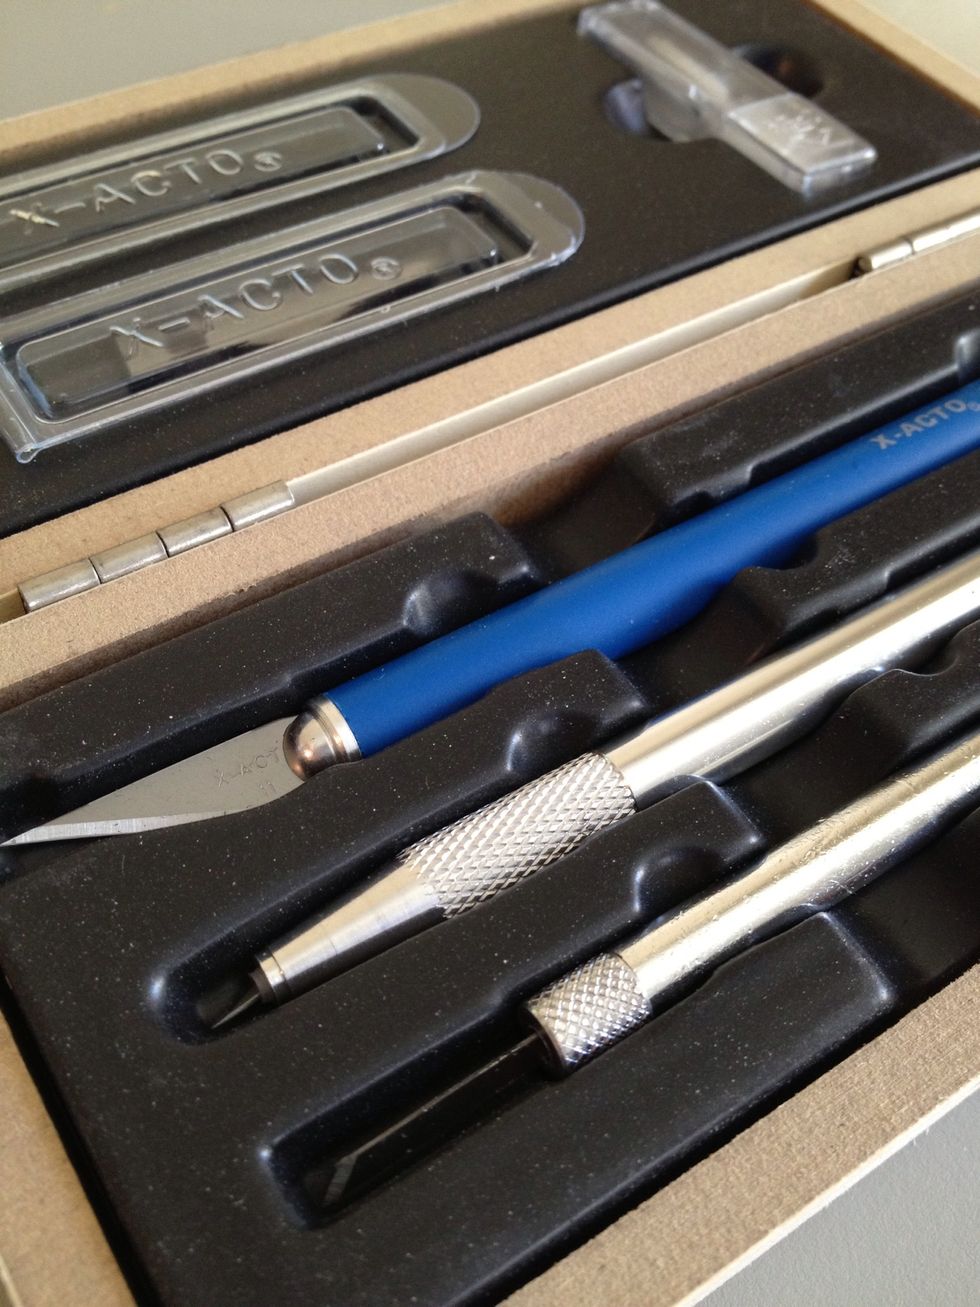
Choose your hobby knife. I used the middle (Swivel blade) because it cuts curves well.
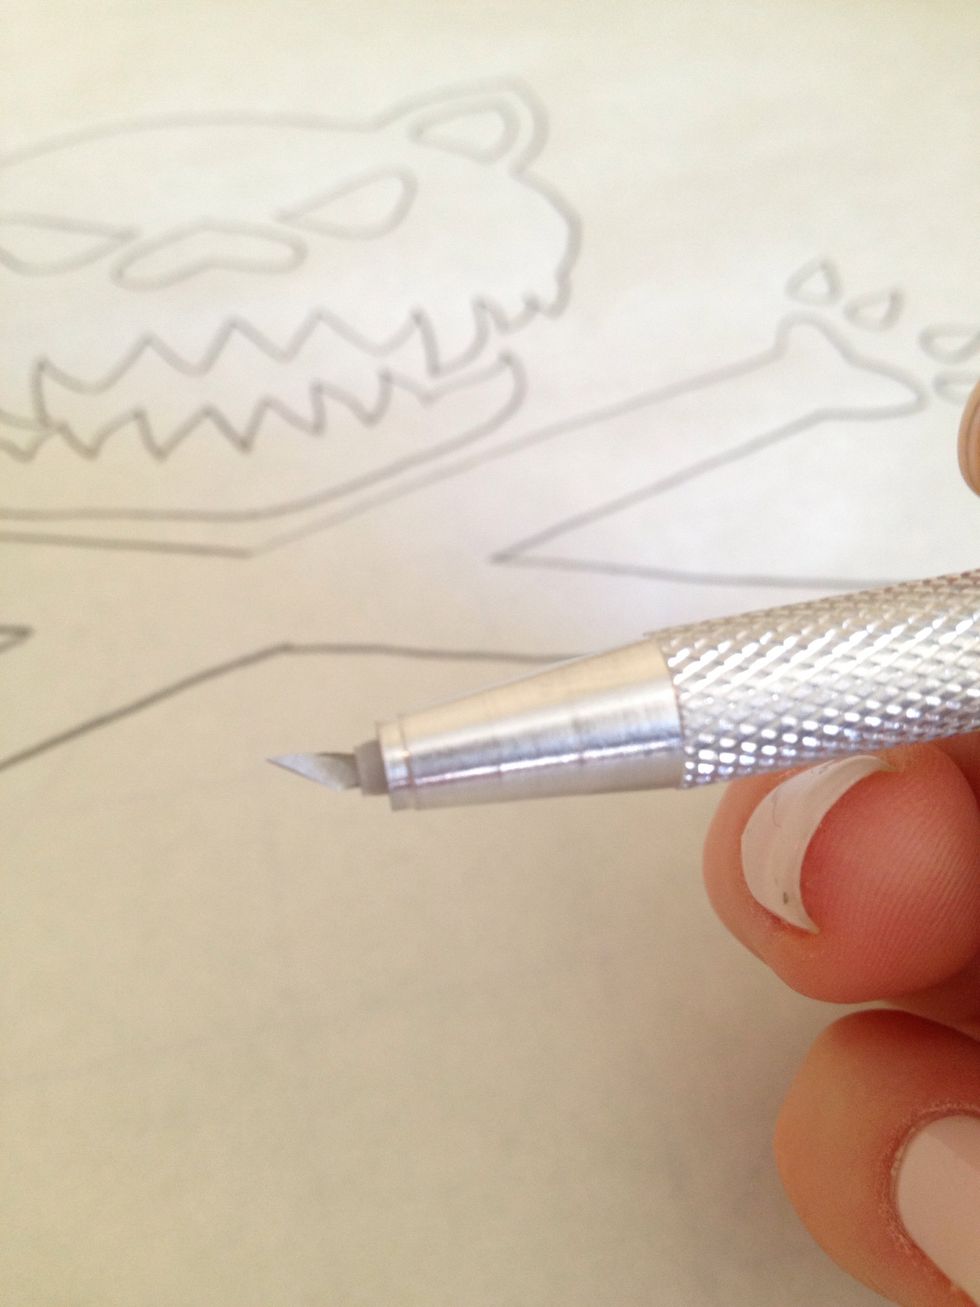
Super teensy blade action.
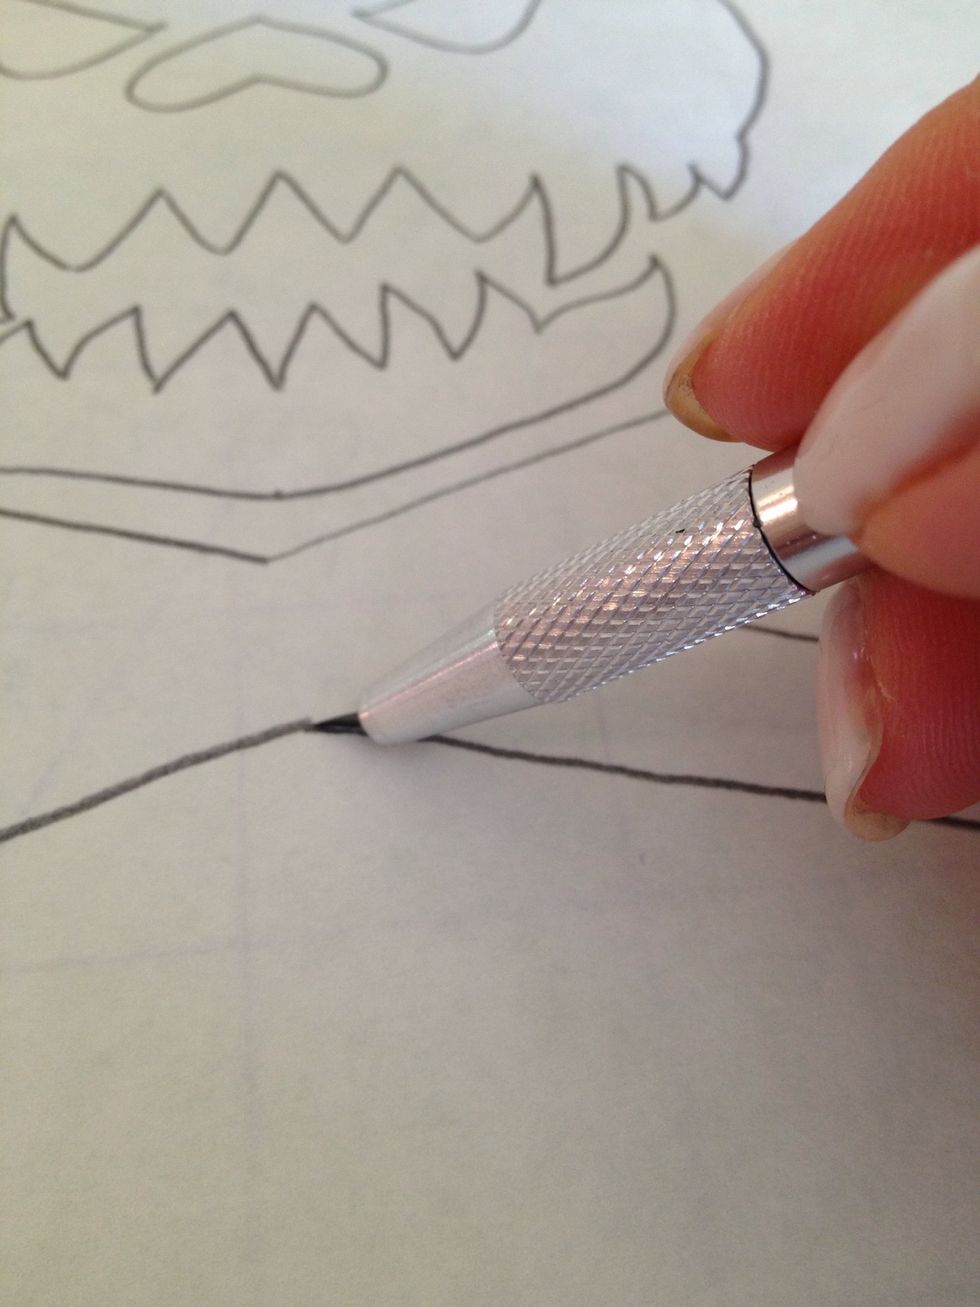
Cut carefully. This part takes the longest, but diligence and patience will be rewarded. In t-shirt awesomeness.
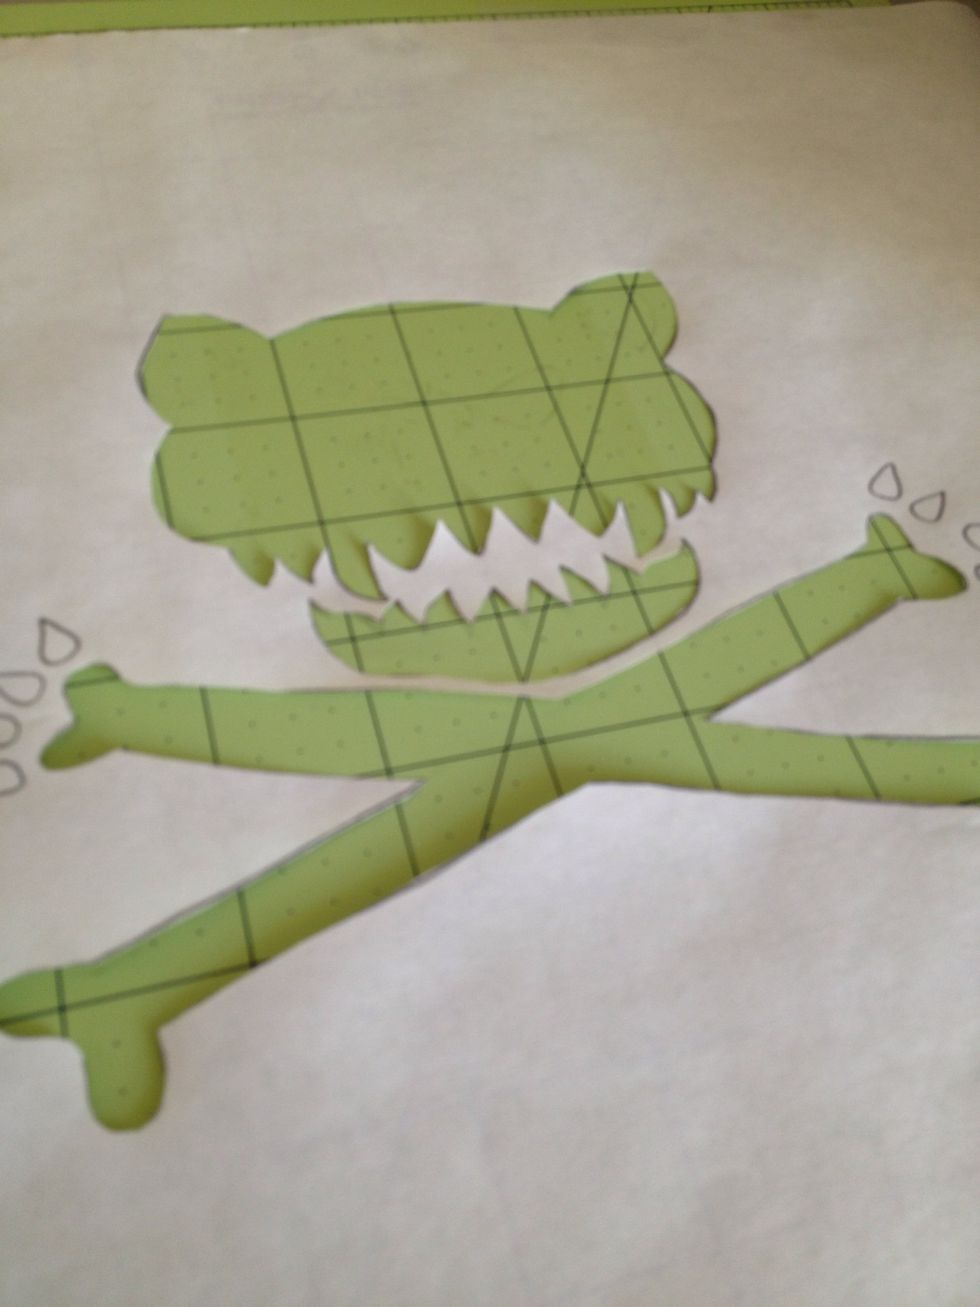
Nice. Don't forget the inner pieces if you cut them out. On this design, the eyes, ears and nose are kept to be ironed on in the next step.
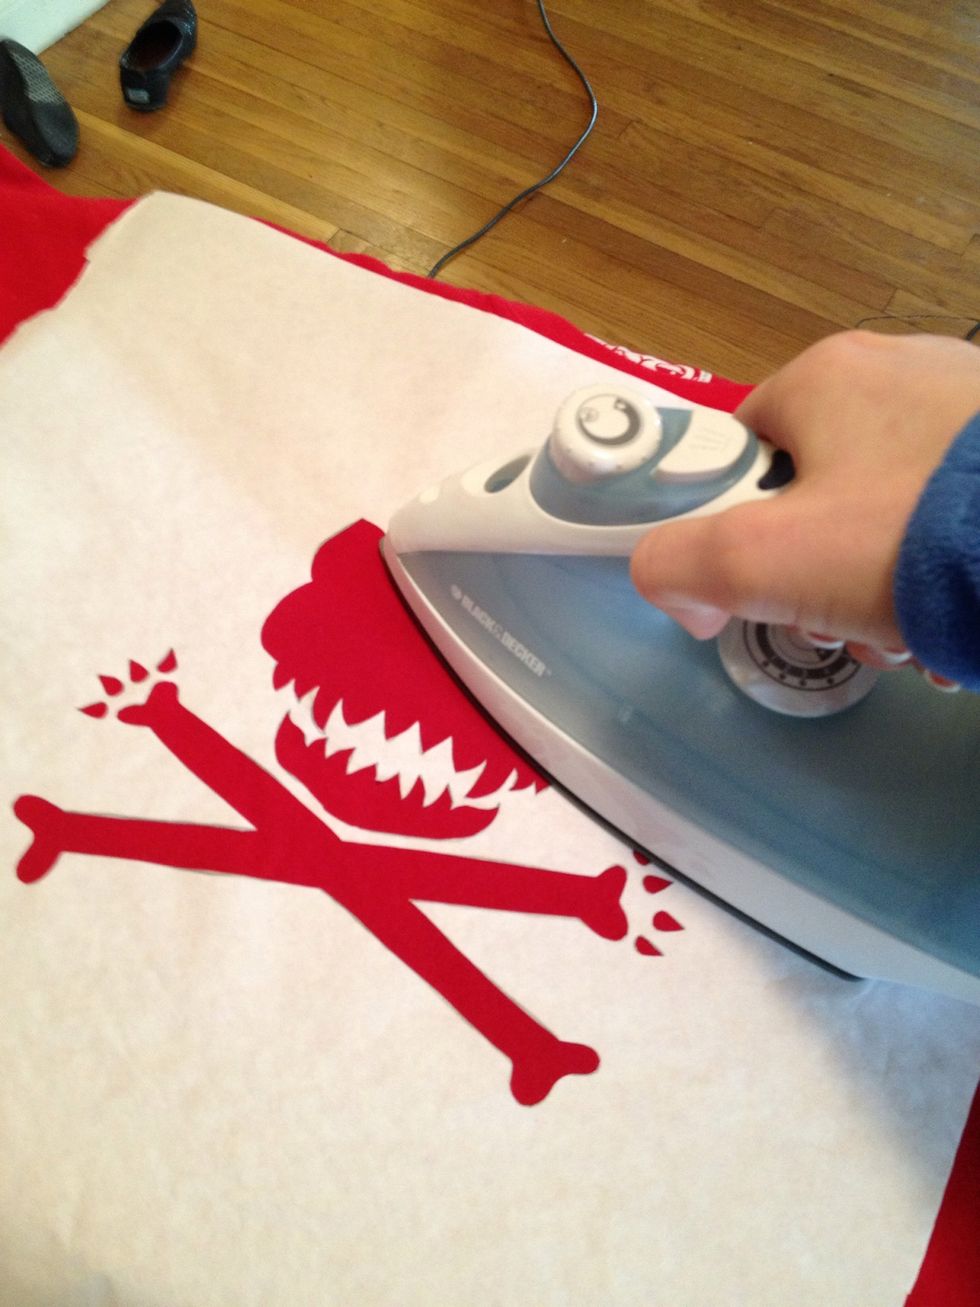
Iron out your shirt to get rid of wrinkles. Then position your stencil (wax side down) on the shirt and iron it flat.
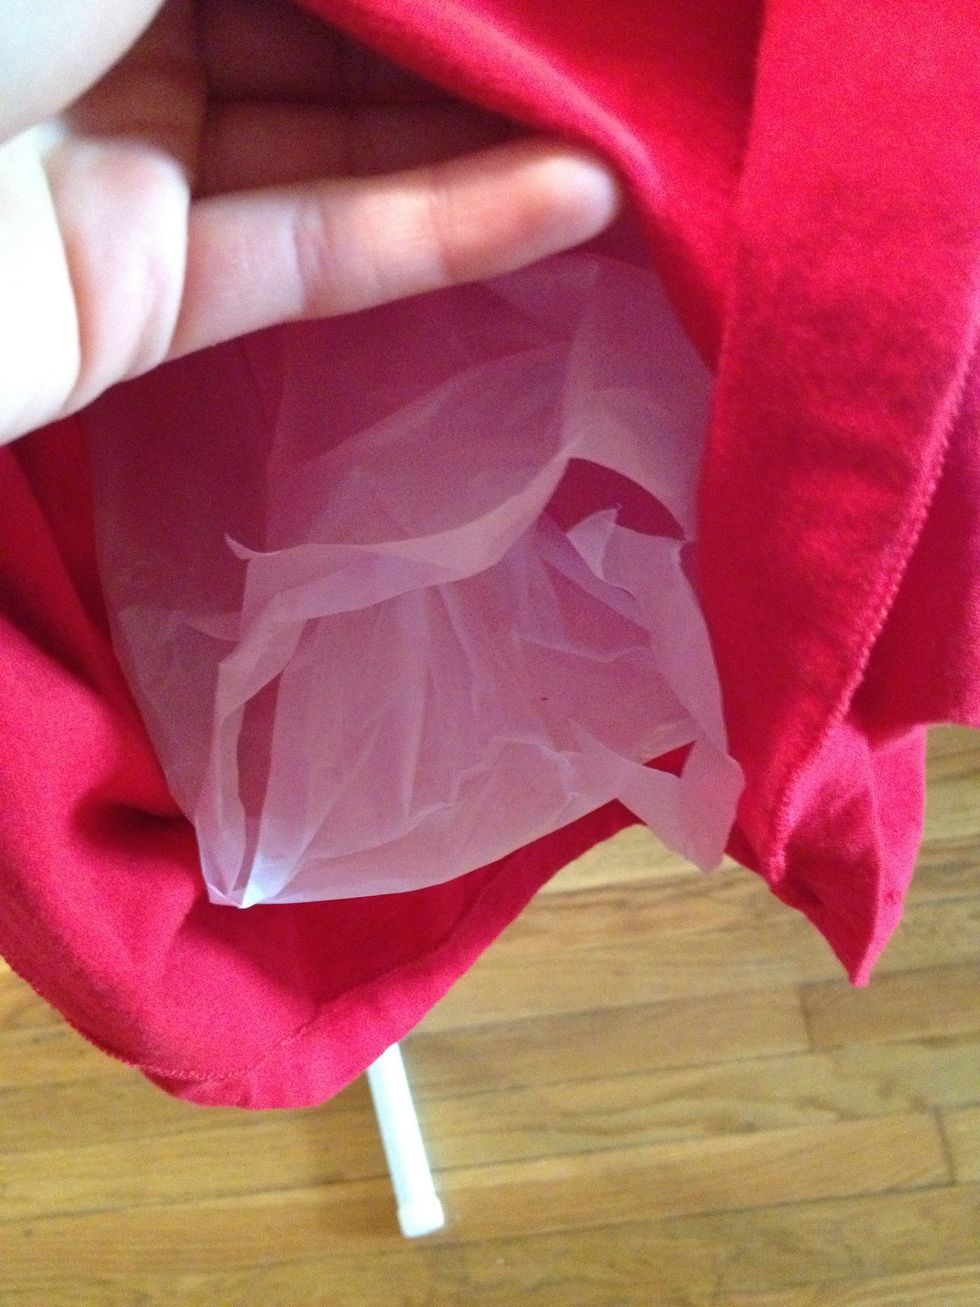
Add a plastic bag, piece of cardboard or other barrier inside the shirt to prevent bleaching on the other side.
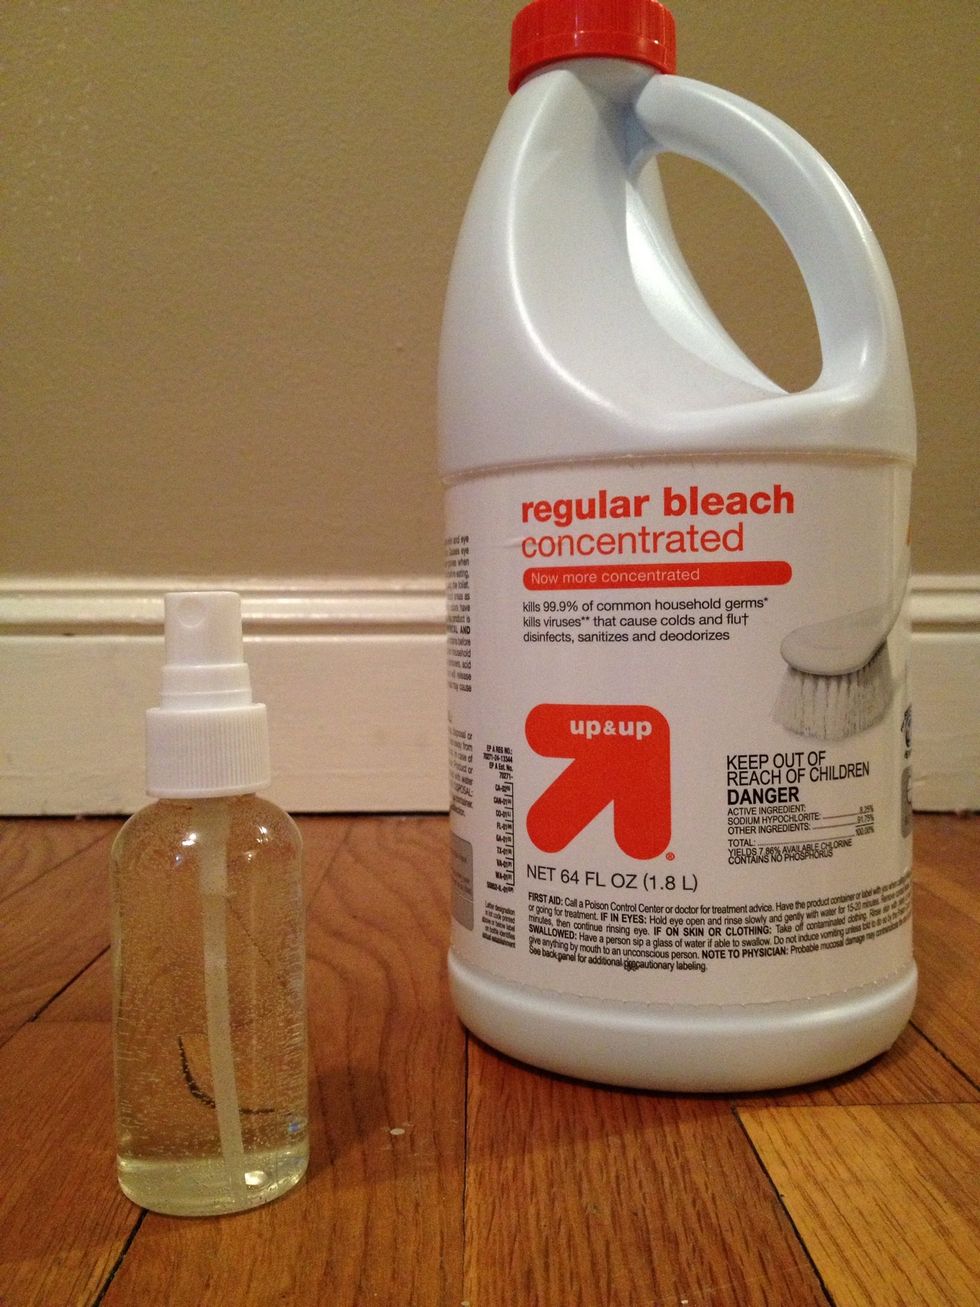
Mix 50/50 bleach and water in pump spray bottle. A funnel will help, wash your hands. Note: concentrated bleach is incredibly potent. Try not to inhale too much of it.
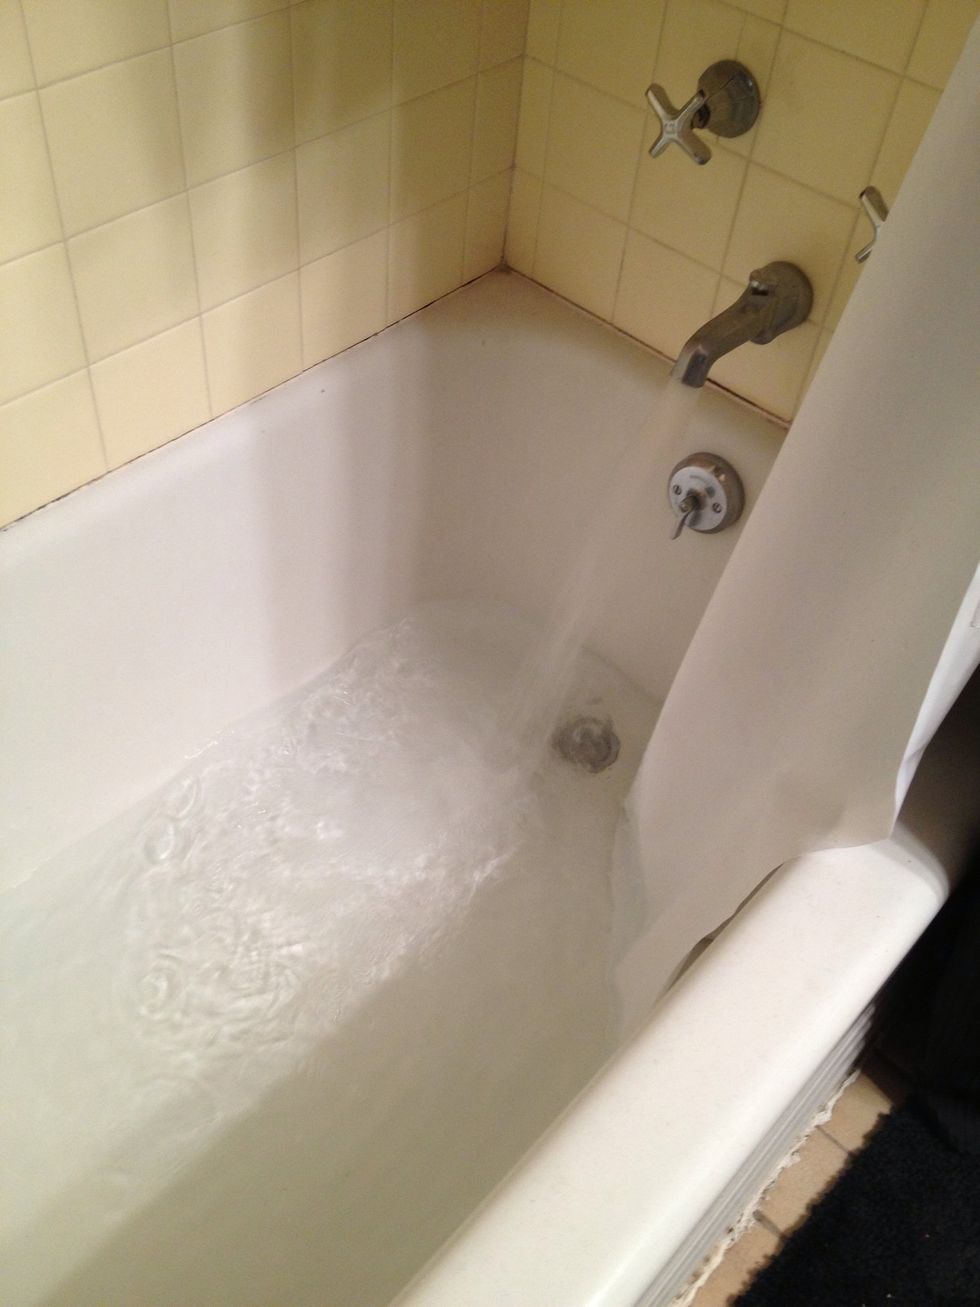
Fill a bucket, deep sink or bath with cold water.
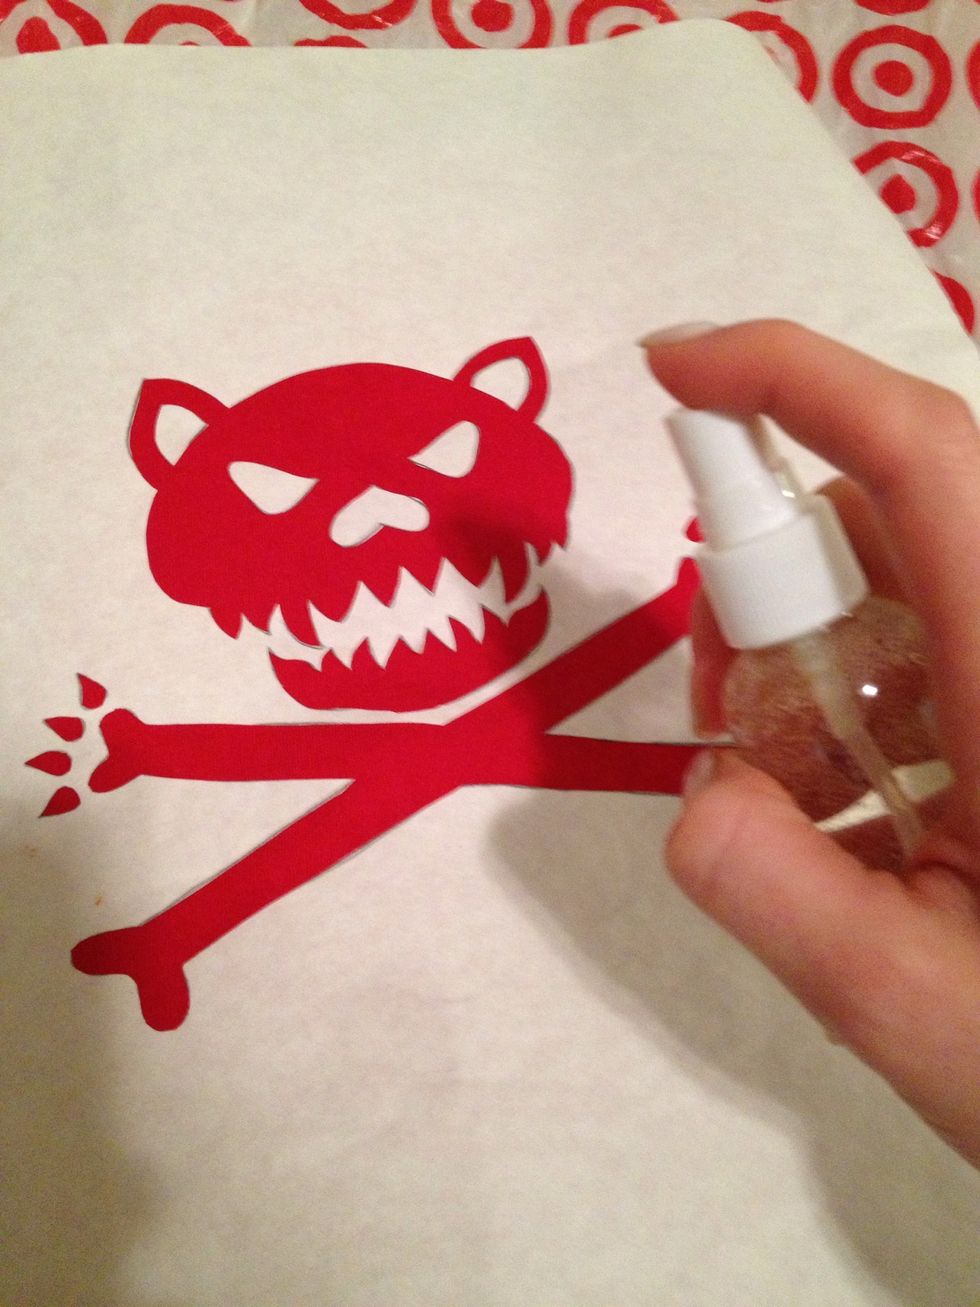
Spray the area in the stencil from about 6" away.
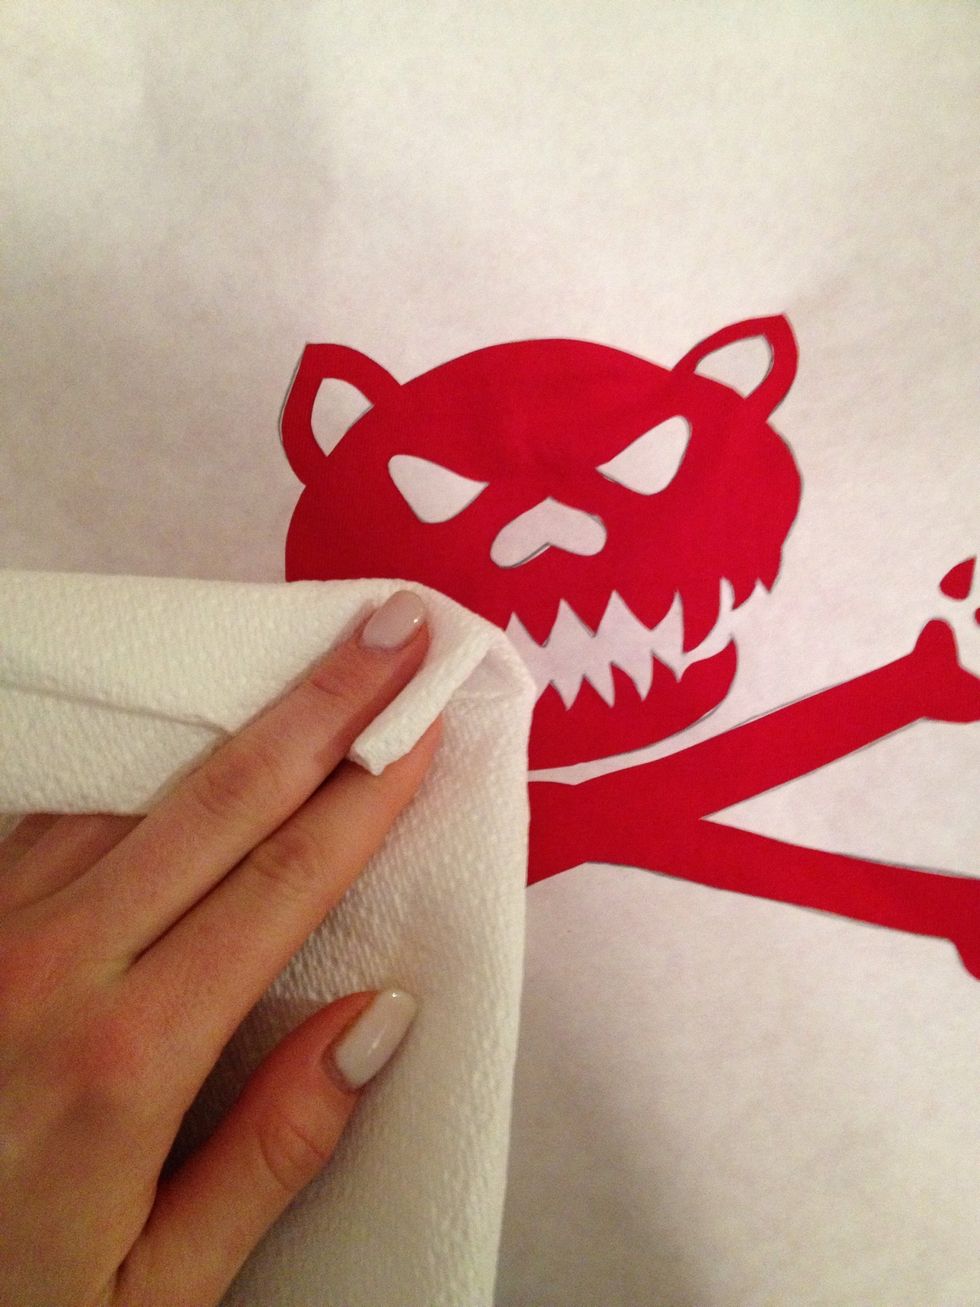
Blot the bleached spot immediately as well as the wet areas on the freezer paper. Repeat two more times if necessary. Let it develop for up to 8 minutes.
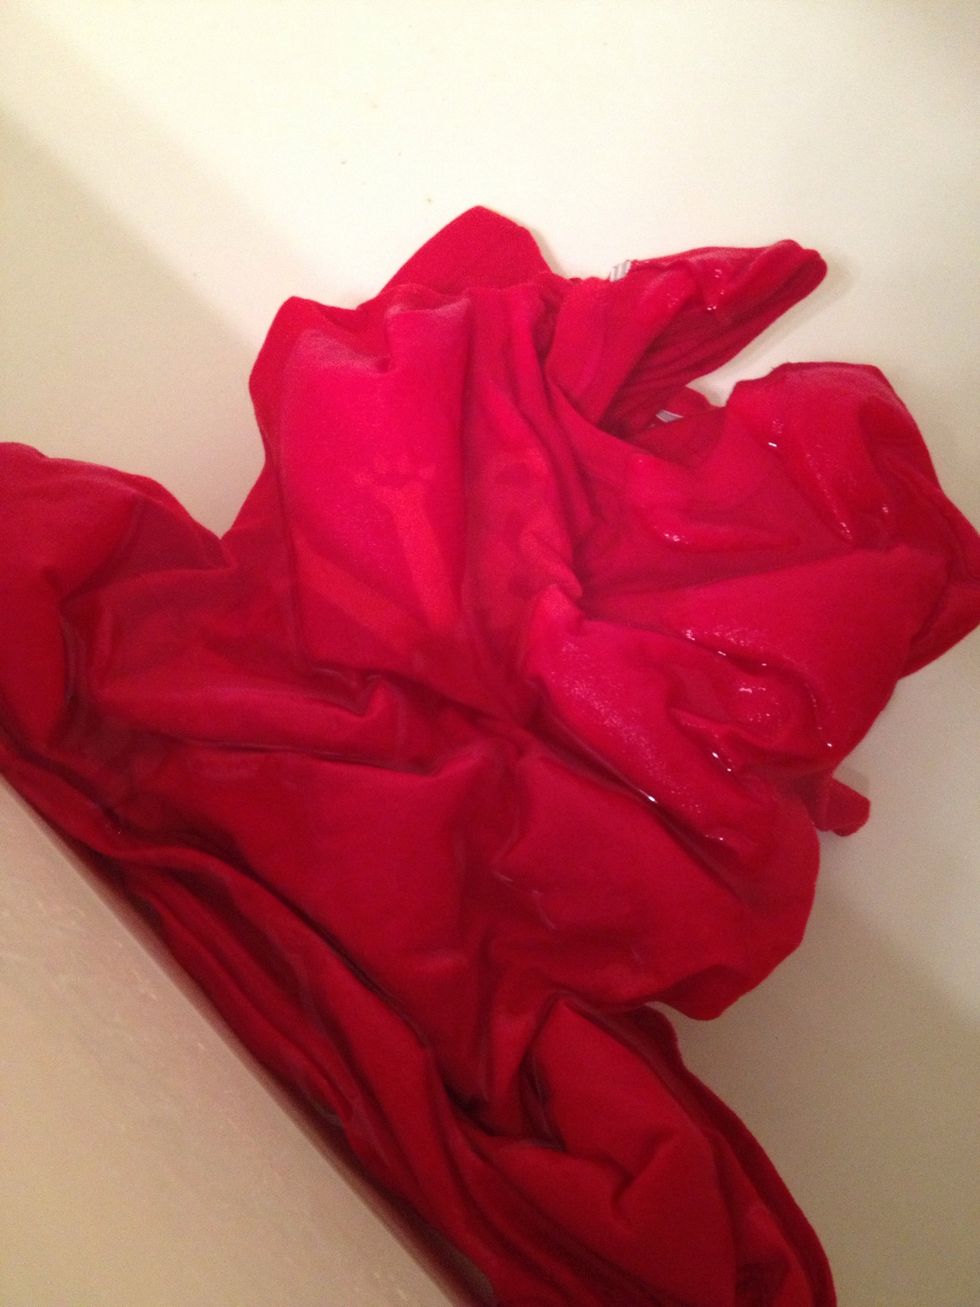
When it's reached your liking, throw it immediately in your prepared cold water—stencil and all. Wring it out after it's thoroughly soaked.
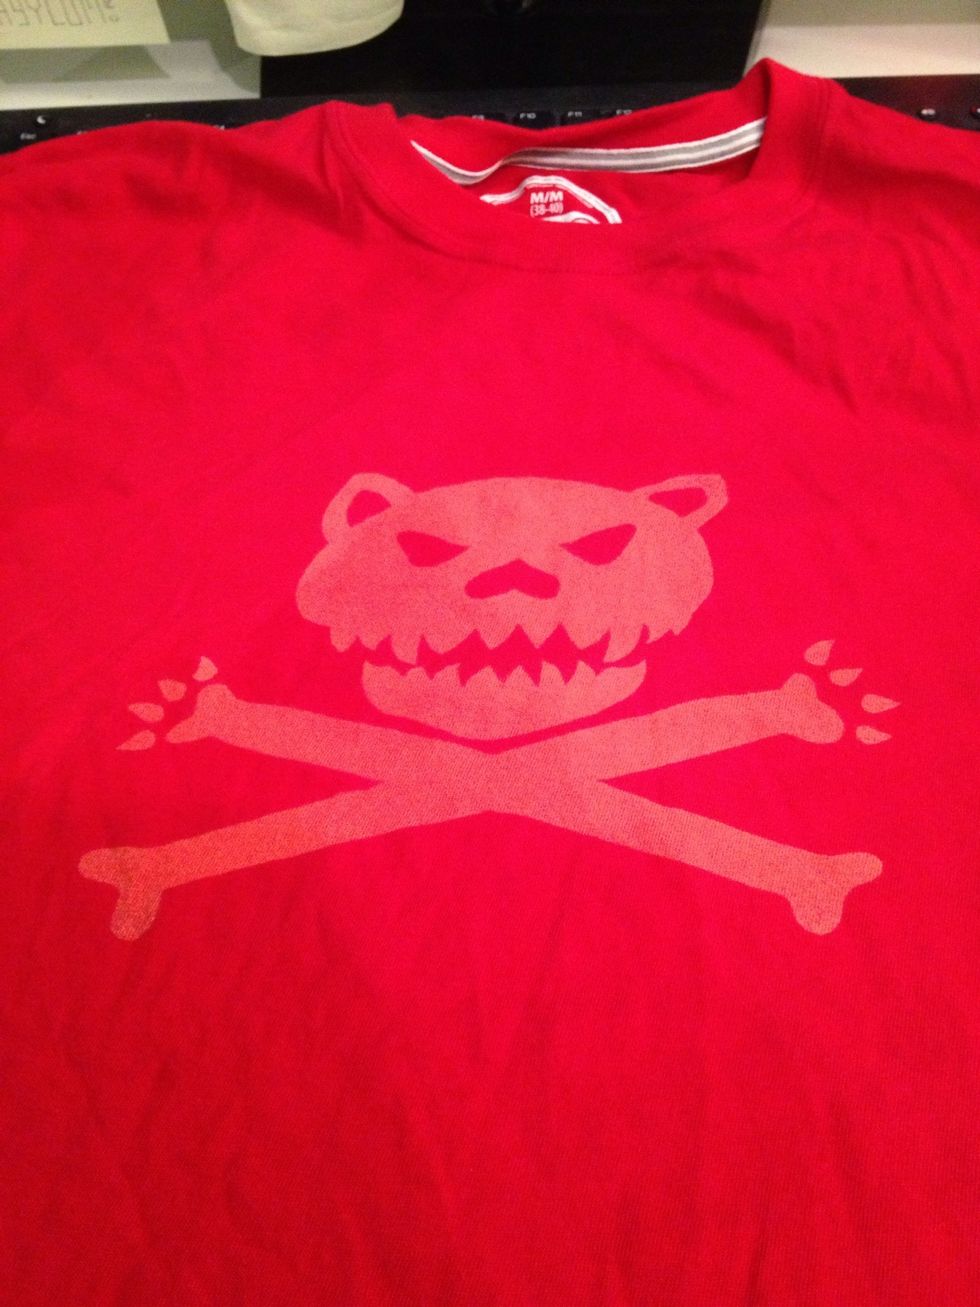
Wash it alone with some detergent and dry it. Wear it.
- Freezer paper
- Bleach
- Water
- X-ACTO swivel knife
- Cutting mat
- Printed design
- Pencil
- Iron & board
- Cold water
- 2 oz spray bottle ($1 at michael's)