The Conversation (0)
Sign Up
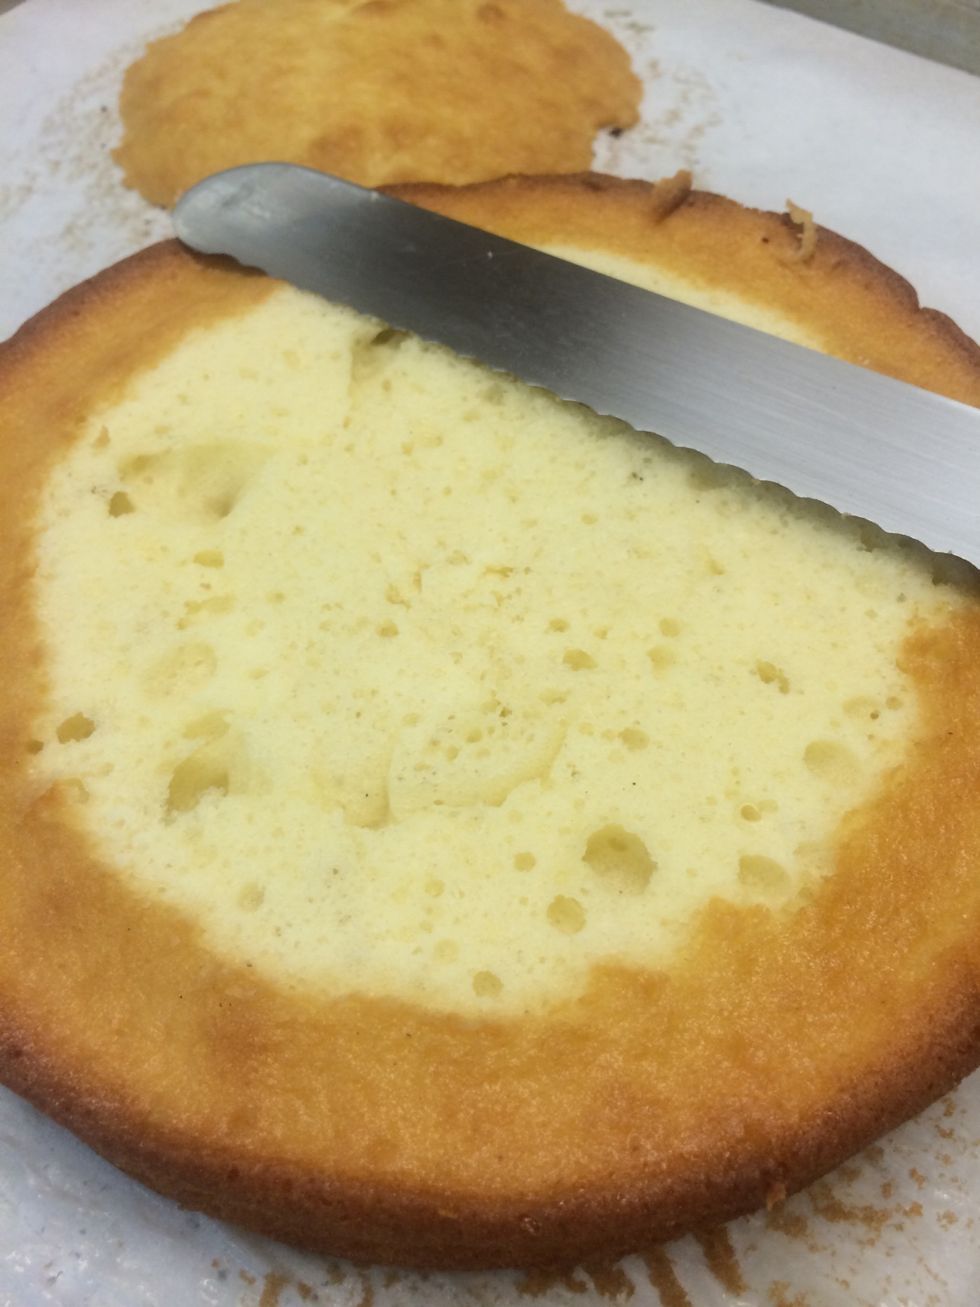
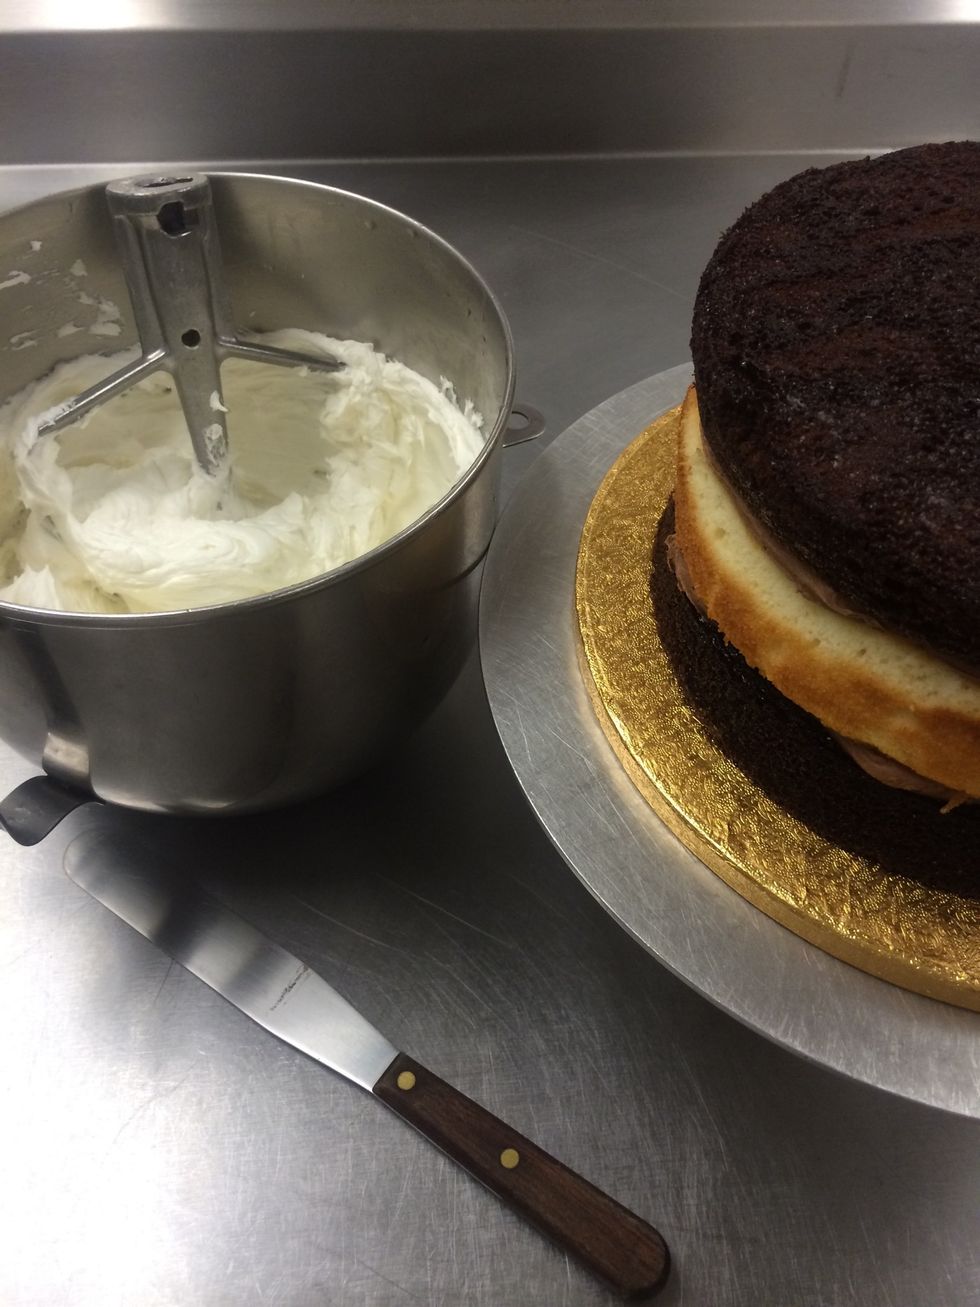
I like to slice the tops off of the cakes to flatten them out a bit. It also serves as a snack while your decorating the cake.
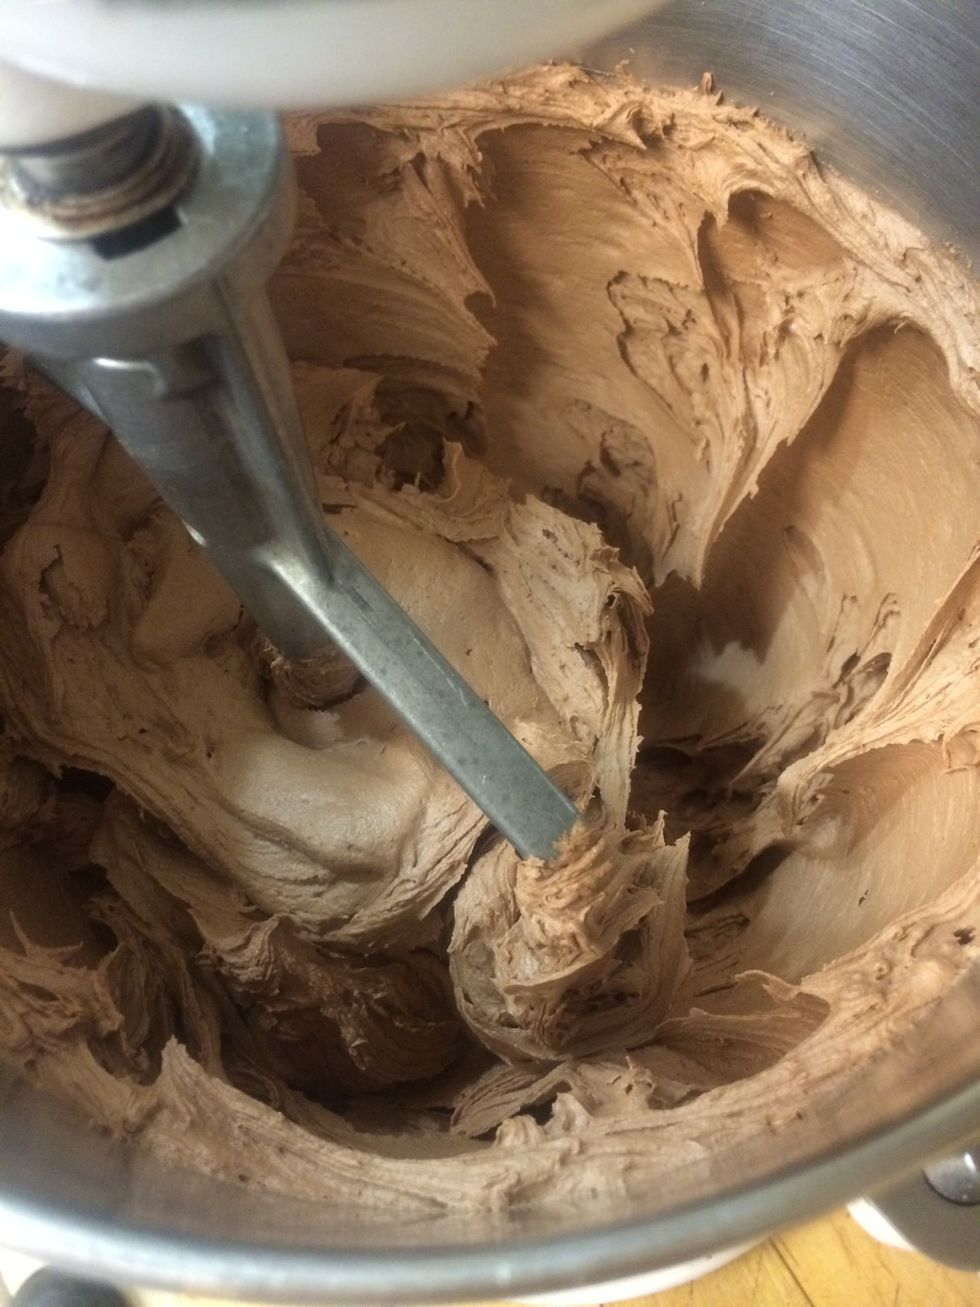
The chocolate butter cream frosting is the same recipe as the vanilla butter cream recipe with the addition of 1 cup of cocoa and 2 tbls of brewed coffee to help melt the cocoa.
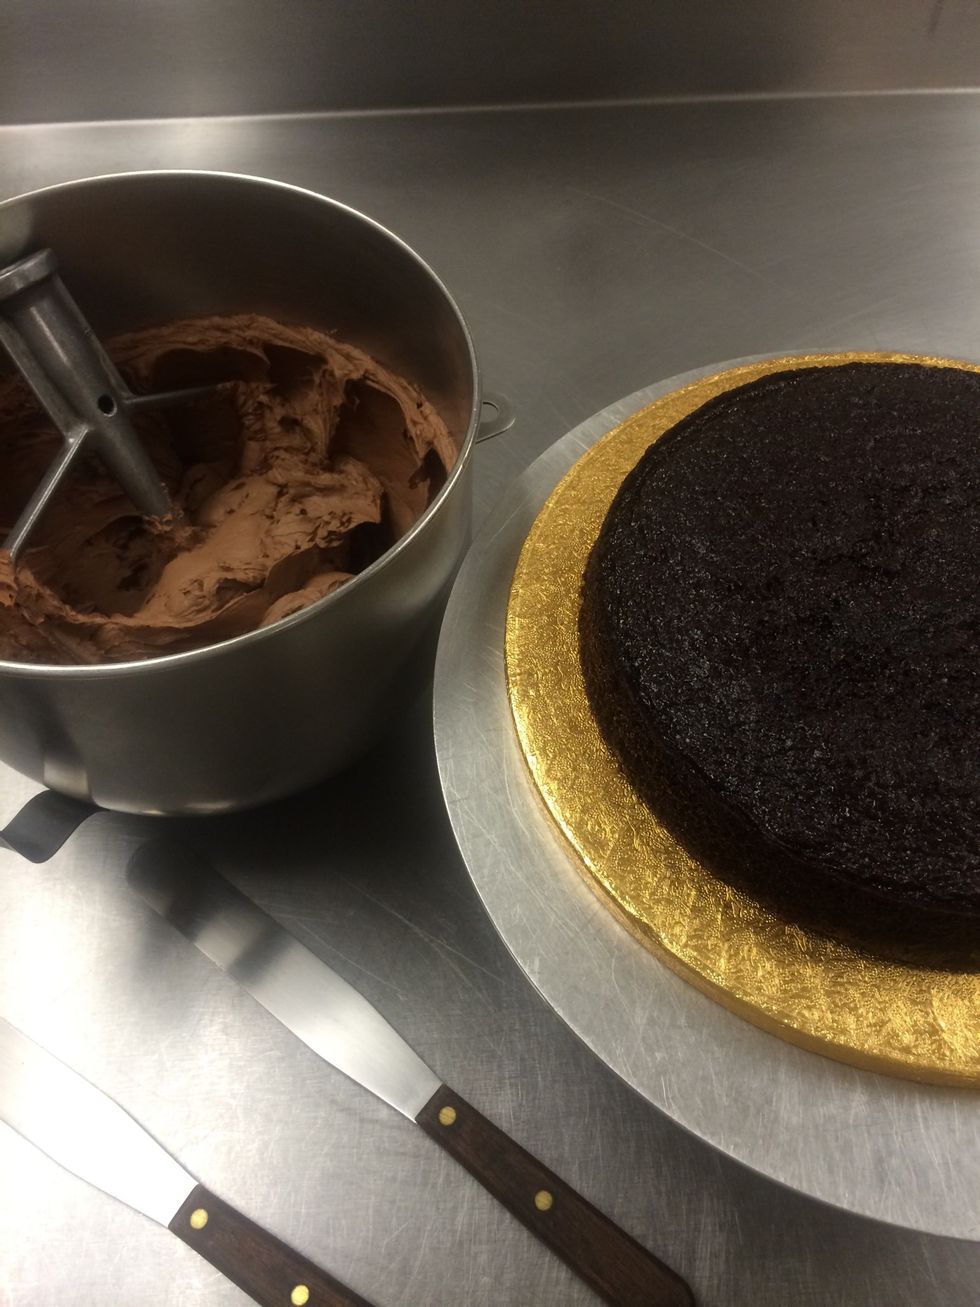
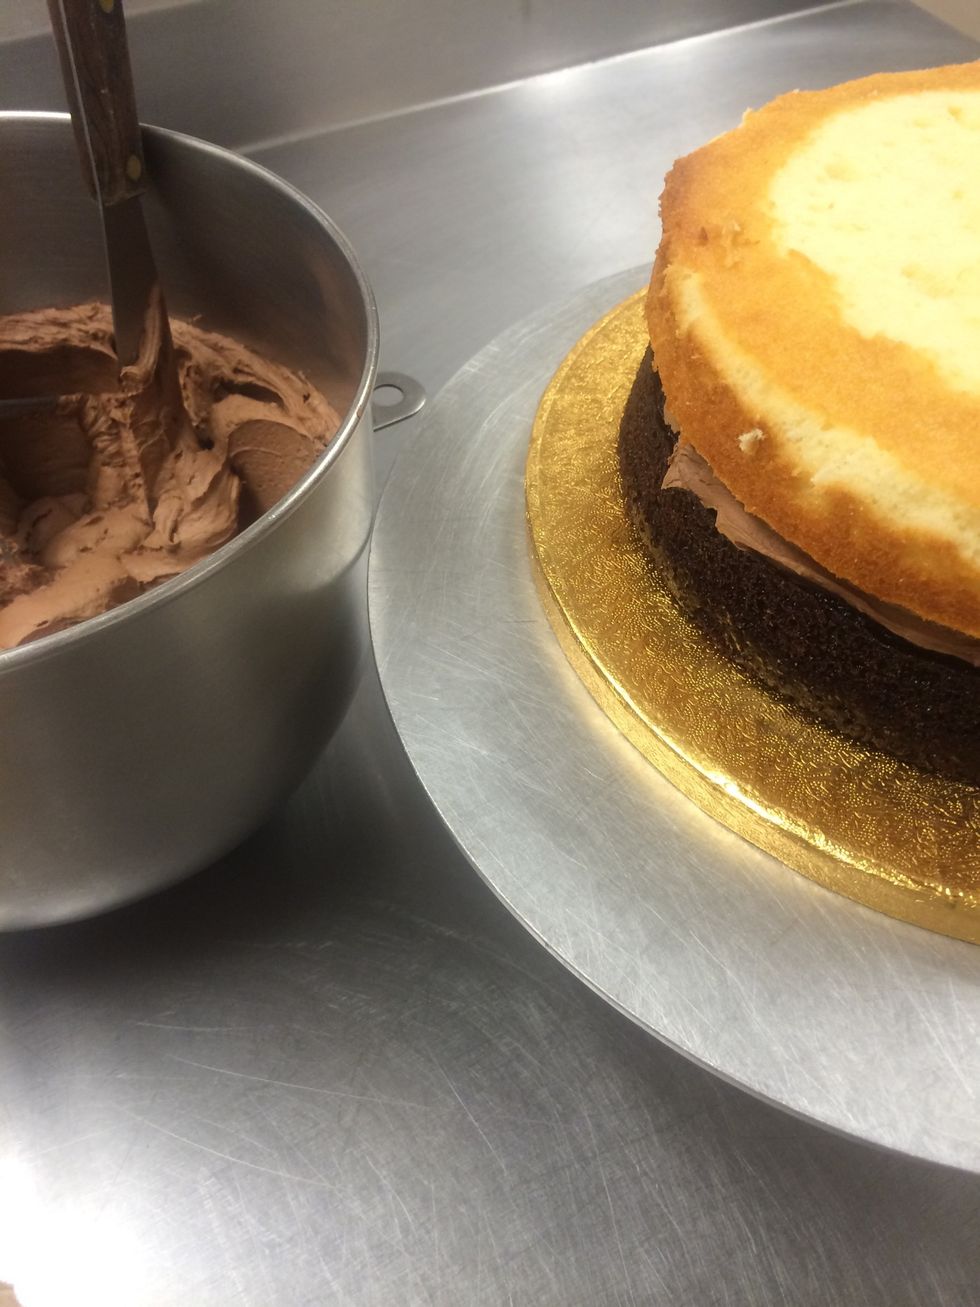
Board, 3 layers of cake ( baked at an earlier time ) filling and frostings are ready.
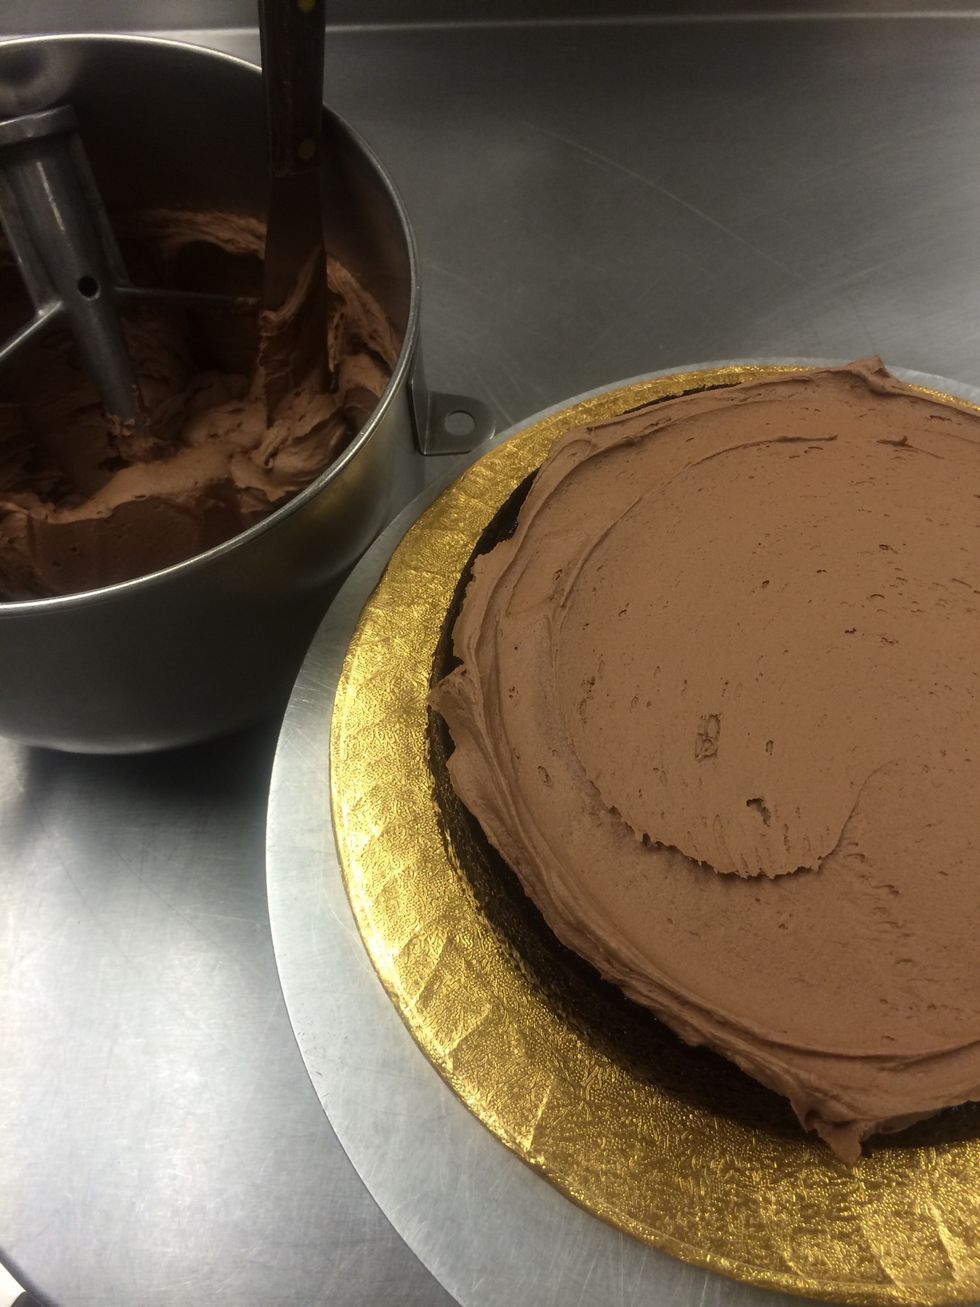
First layer of frosting is on between the first layers.
I put the second layer of cake on top, cut side up.
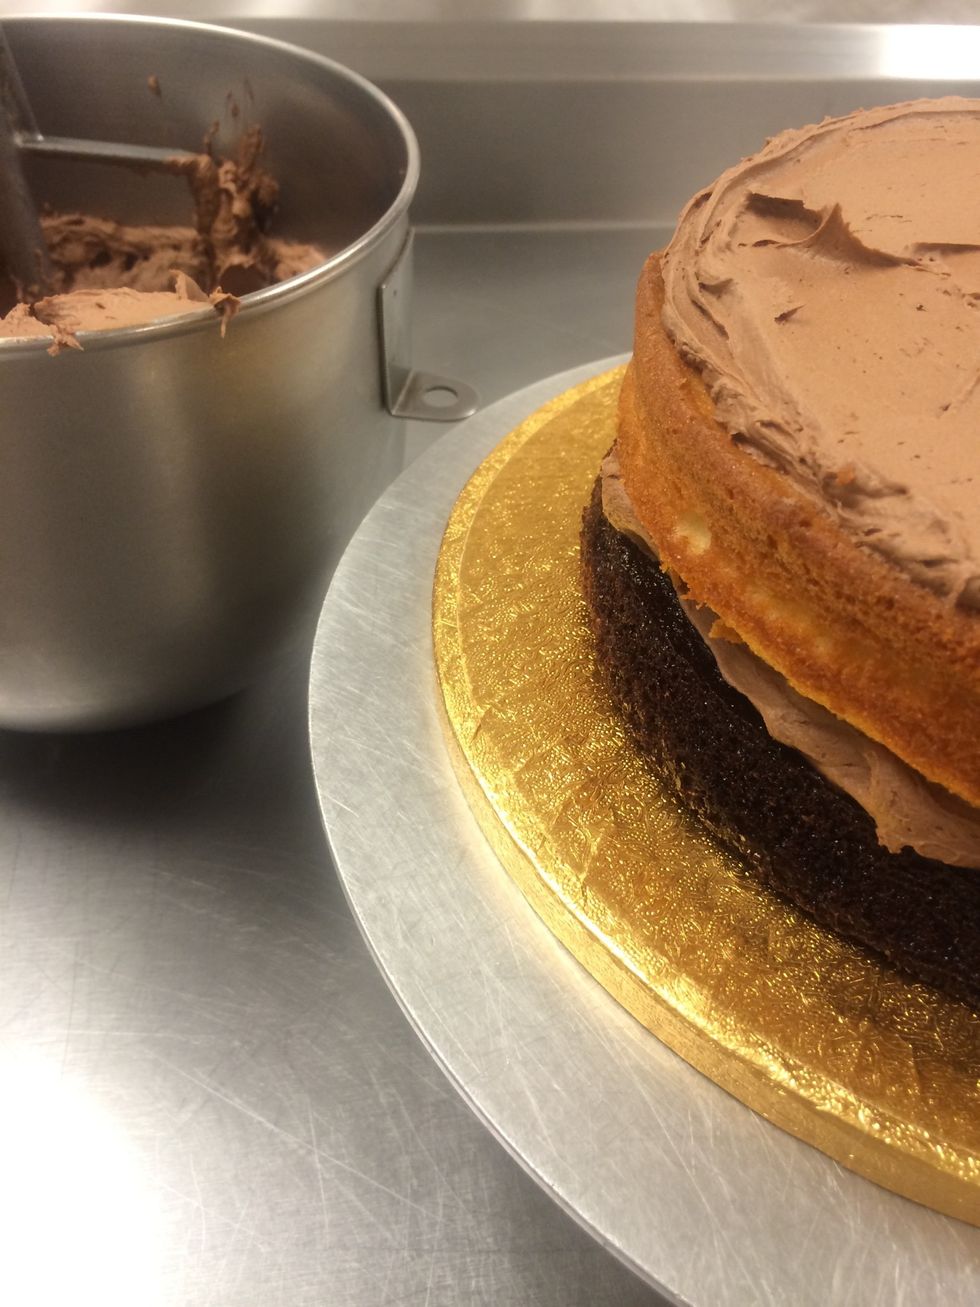
Frosting on the second layer of cake.
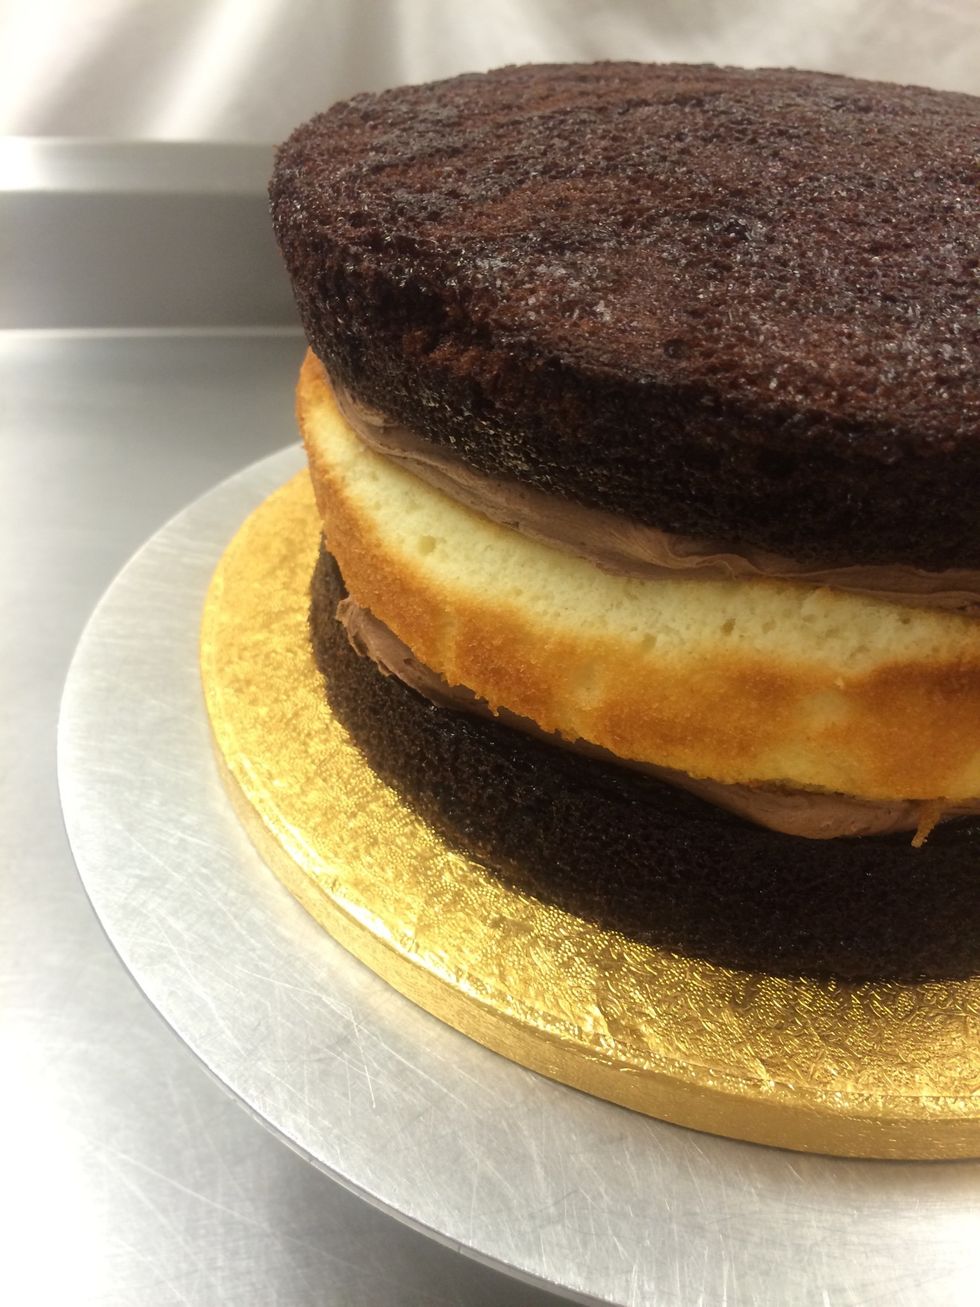
Now the third layer is paced on top
Butter cream frosting; 3/4 cup butter, 3/4 cup shortening, 6 cups powdered sugar, 1 tsp. Vanilla extract, approx 2 tbls water. Cream butter and shortening. Stir in powdered sugar slowly.
Blend on low until all the powdered sugar is absorbed by the butter and shortening. Mix on medium for a minute. Add vanilla. Mix on low and stir in water, mix until smooth and almost no air bubbles
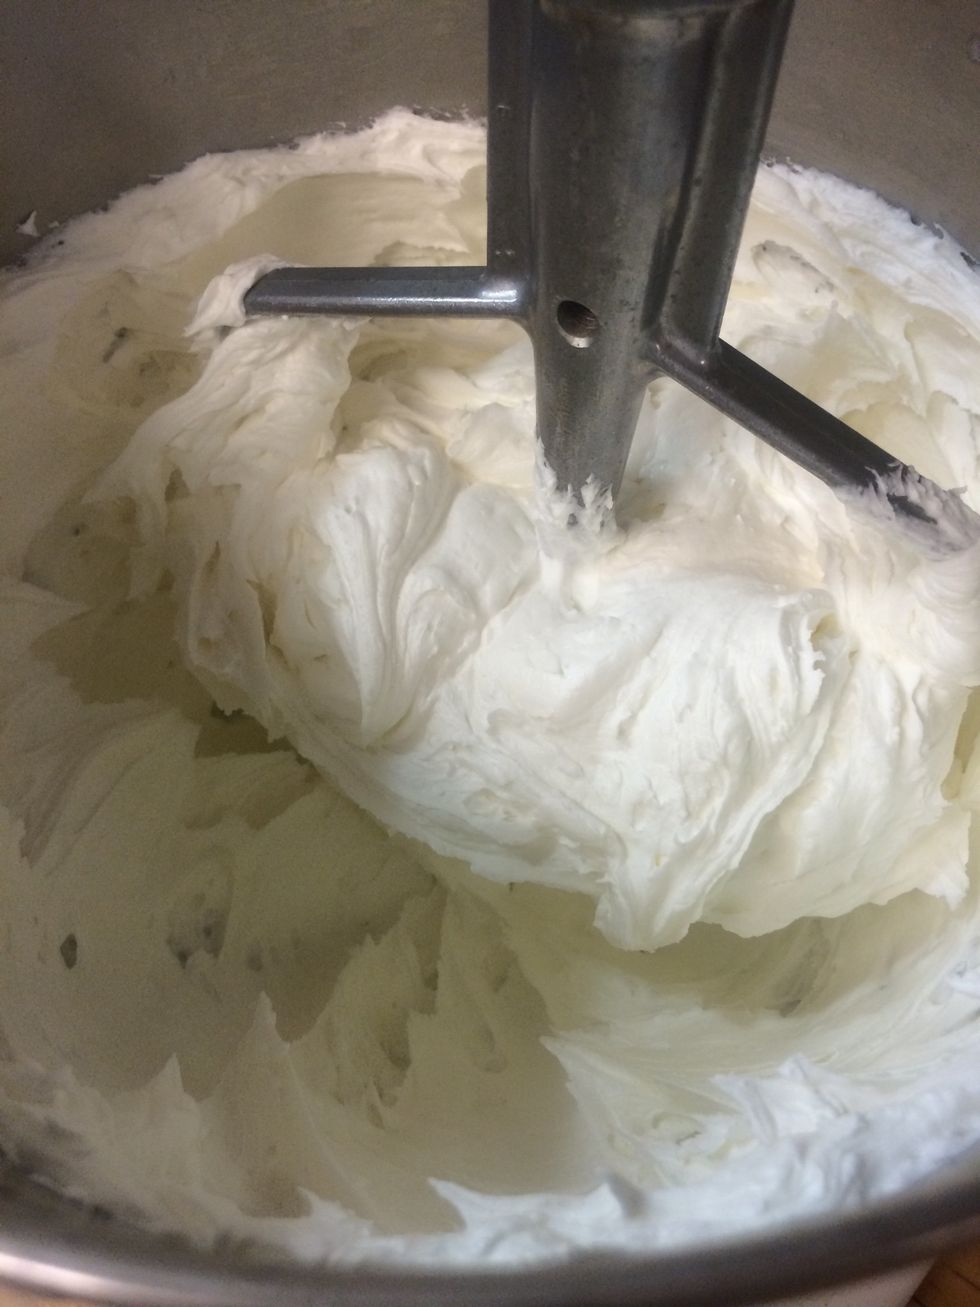
Preparing the vanilla butter cream frosting for the crumb coat and for the layer of frosting under the rolled fondant.
First, we're going to crumb coat the cake. Crumb coat is a very thin coating of frosting to hide seams in the cake and to cover and have all the crumbs stick so they can not be seen in the fondant.

This layer of the frosting is very thin and it's ok to see the cake through the frosting. This is is just the crumb coat, we are going to refrost the cake and then cover it with rolled fondant.
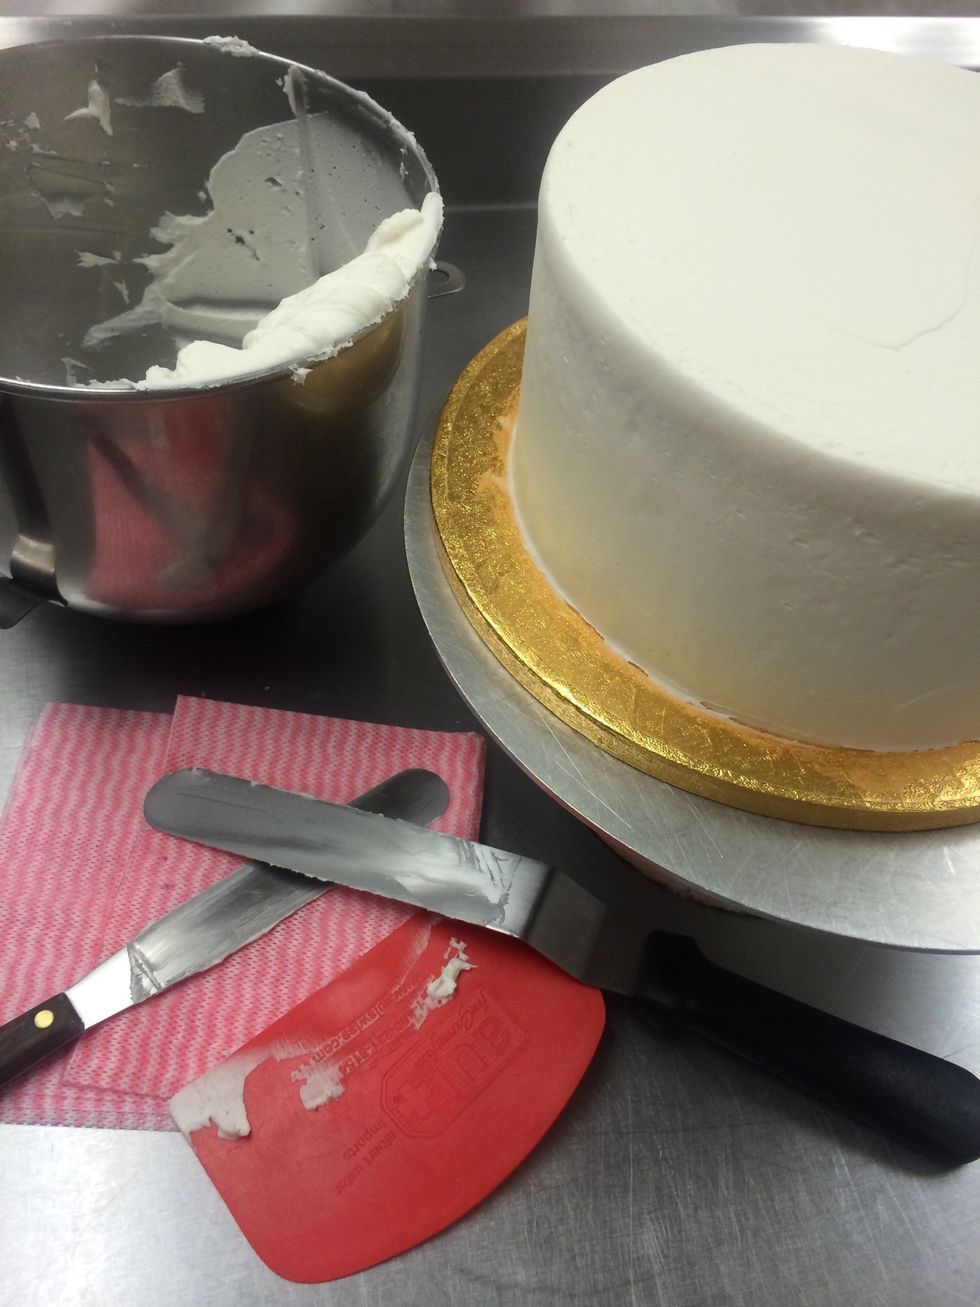
Second coat of frosting is applied. Making it smooth and crumb free. Set aside, let's work on the fondant.
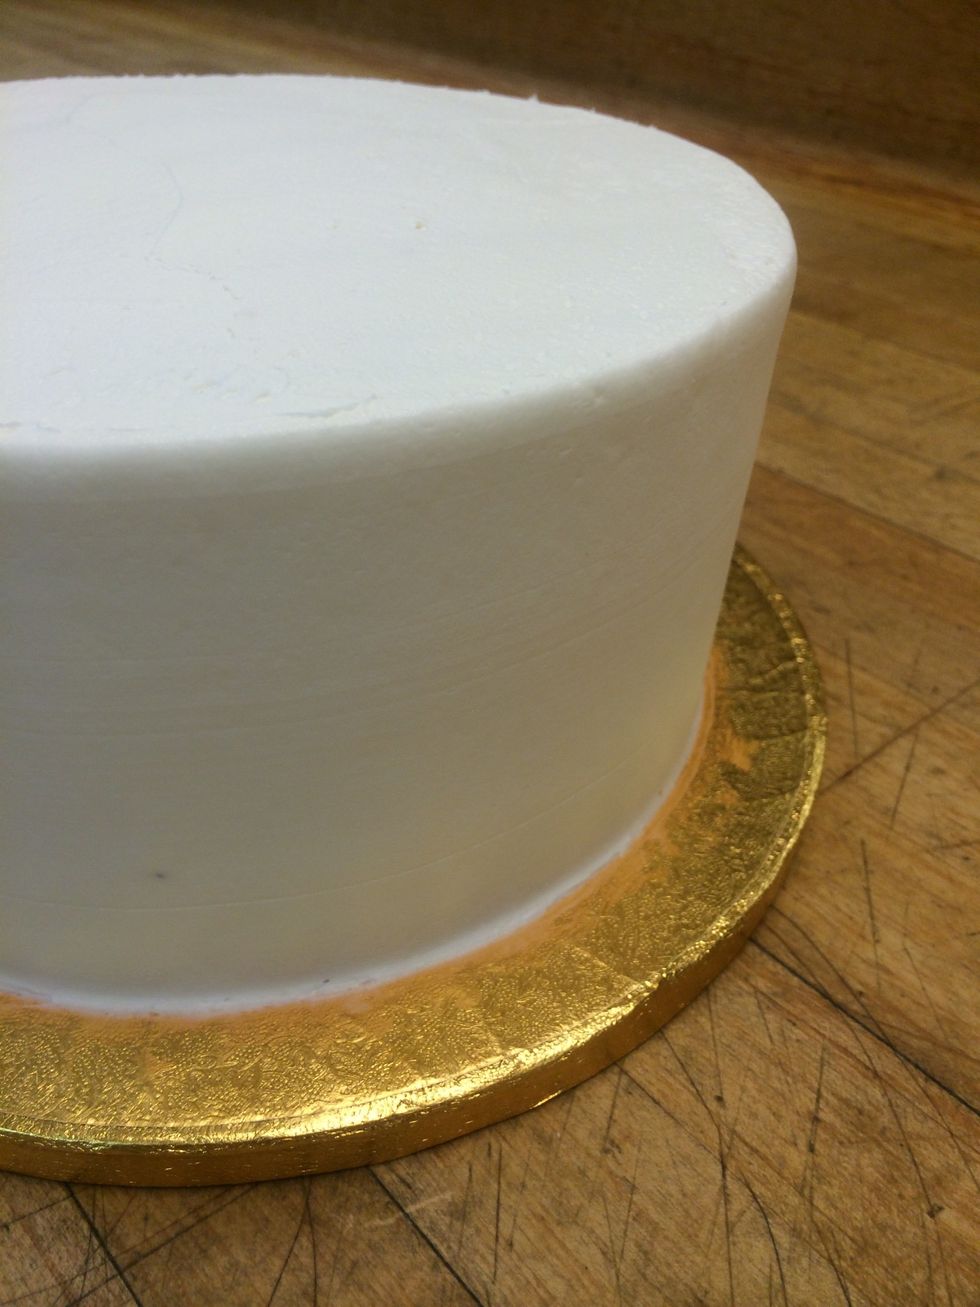
Set aside.
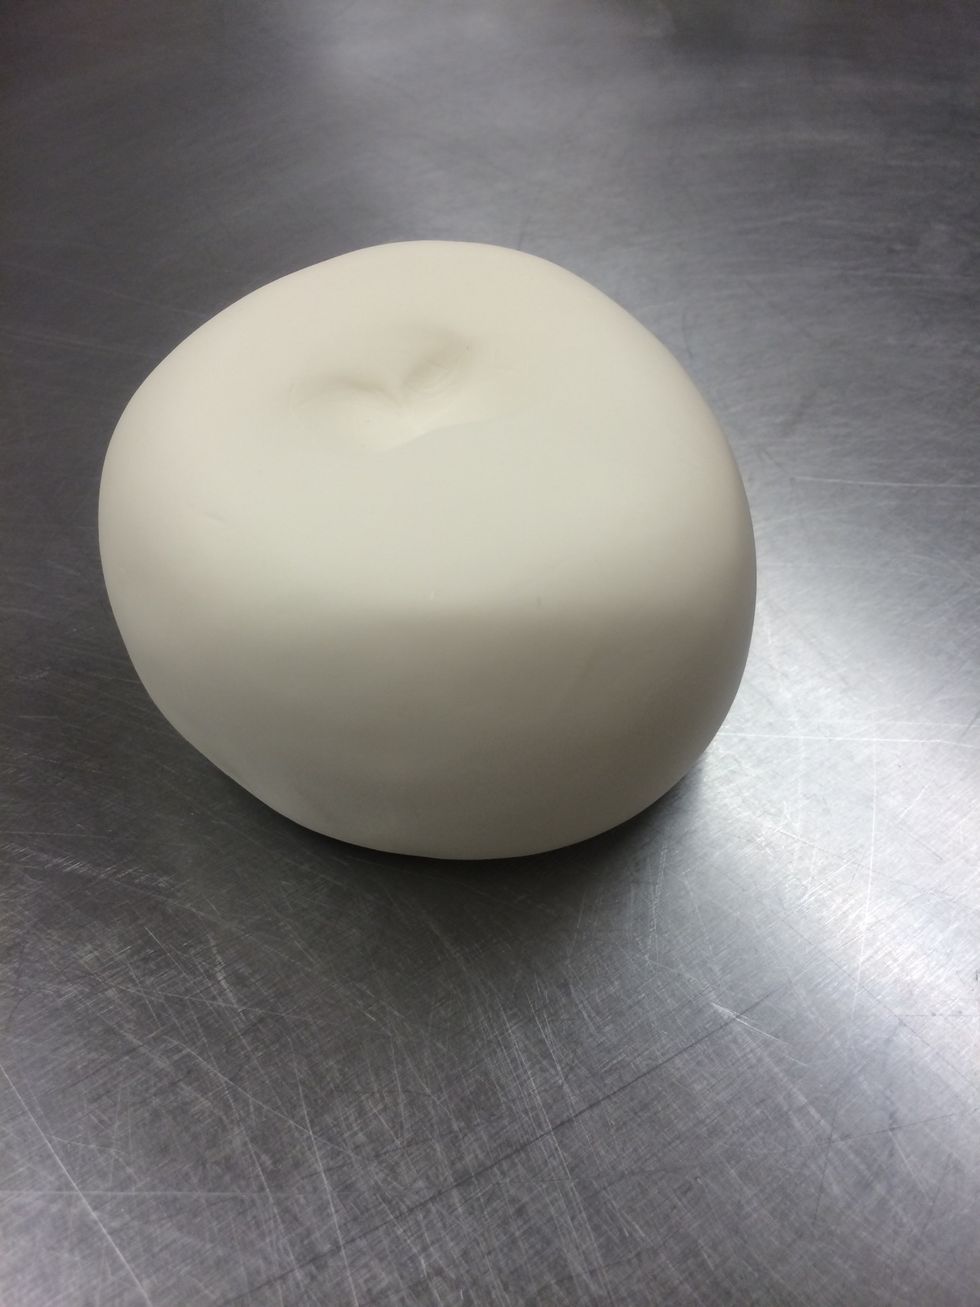
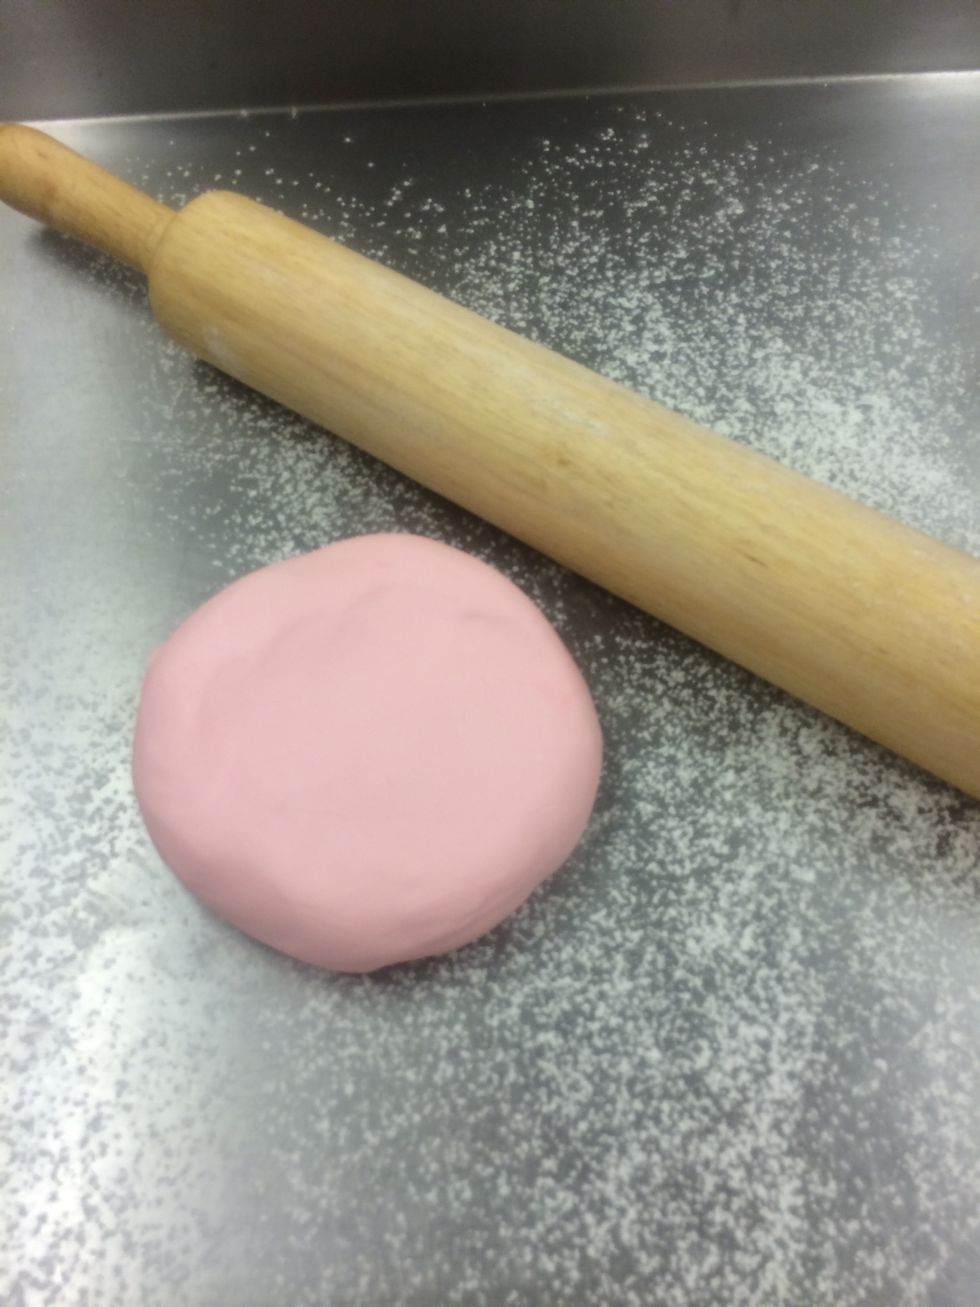
One piece of purchased fondant from my local specialty cake and candy shop. About 1 1/2 lbs. removed from container the fondant needs to be worked soft and pliable. Make sure work surface is clean!
I like to use purchased fondant because of its consistency, it saves time from making it, and it's perfect all the time.
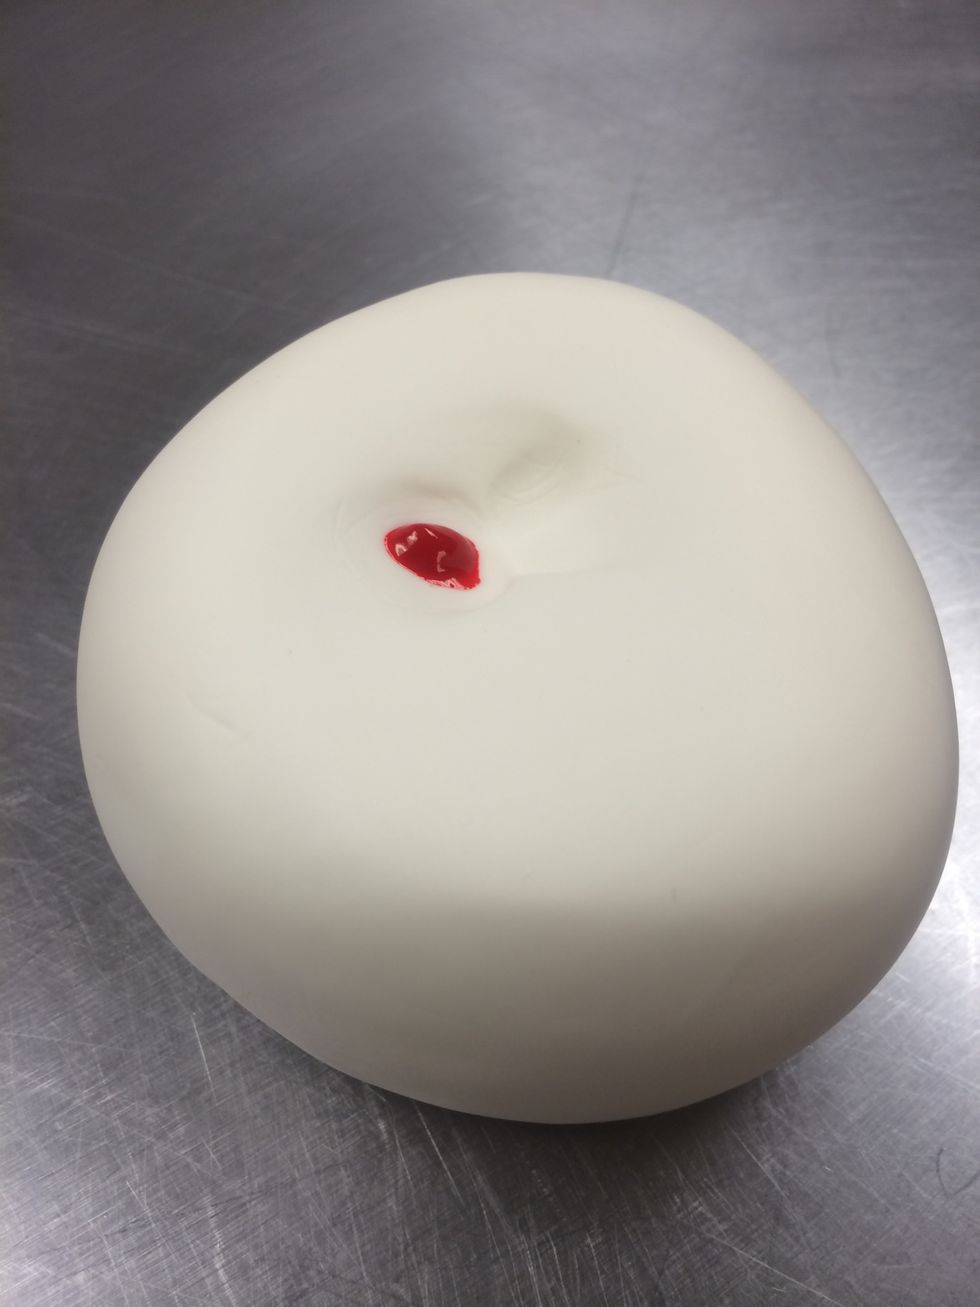
1 or 2 drops of coloring will be enough to color this piece of fondant. Kneed the coloring in with both hands, work the fondant on a surface dusted lightly with powdered sugar to prevent sticking.
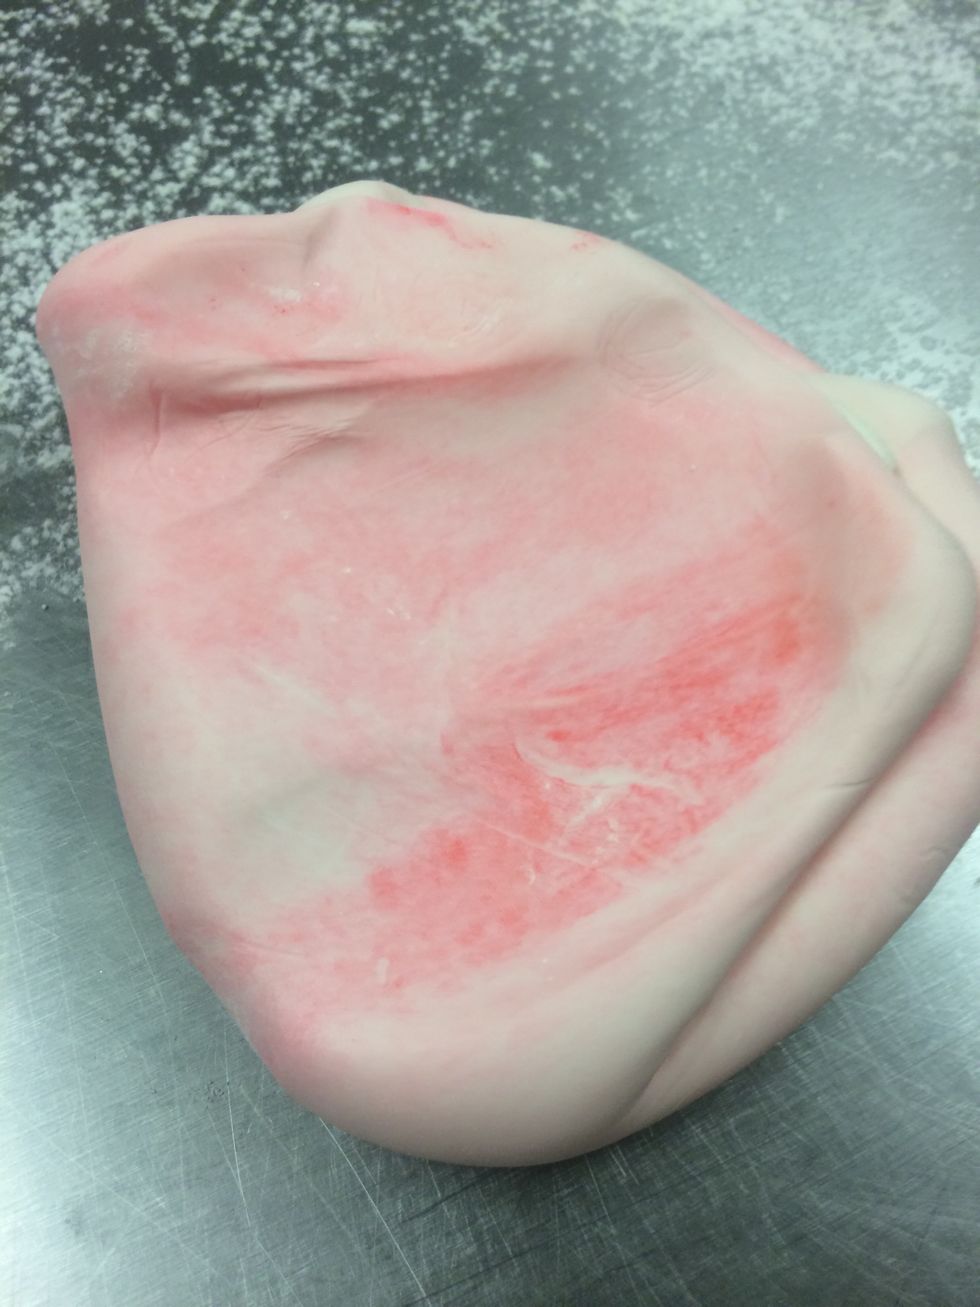
It takes a few minutes to kneed the color into the fondant.
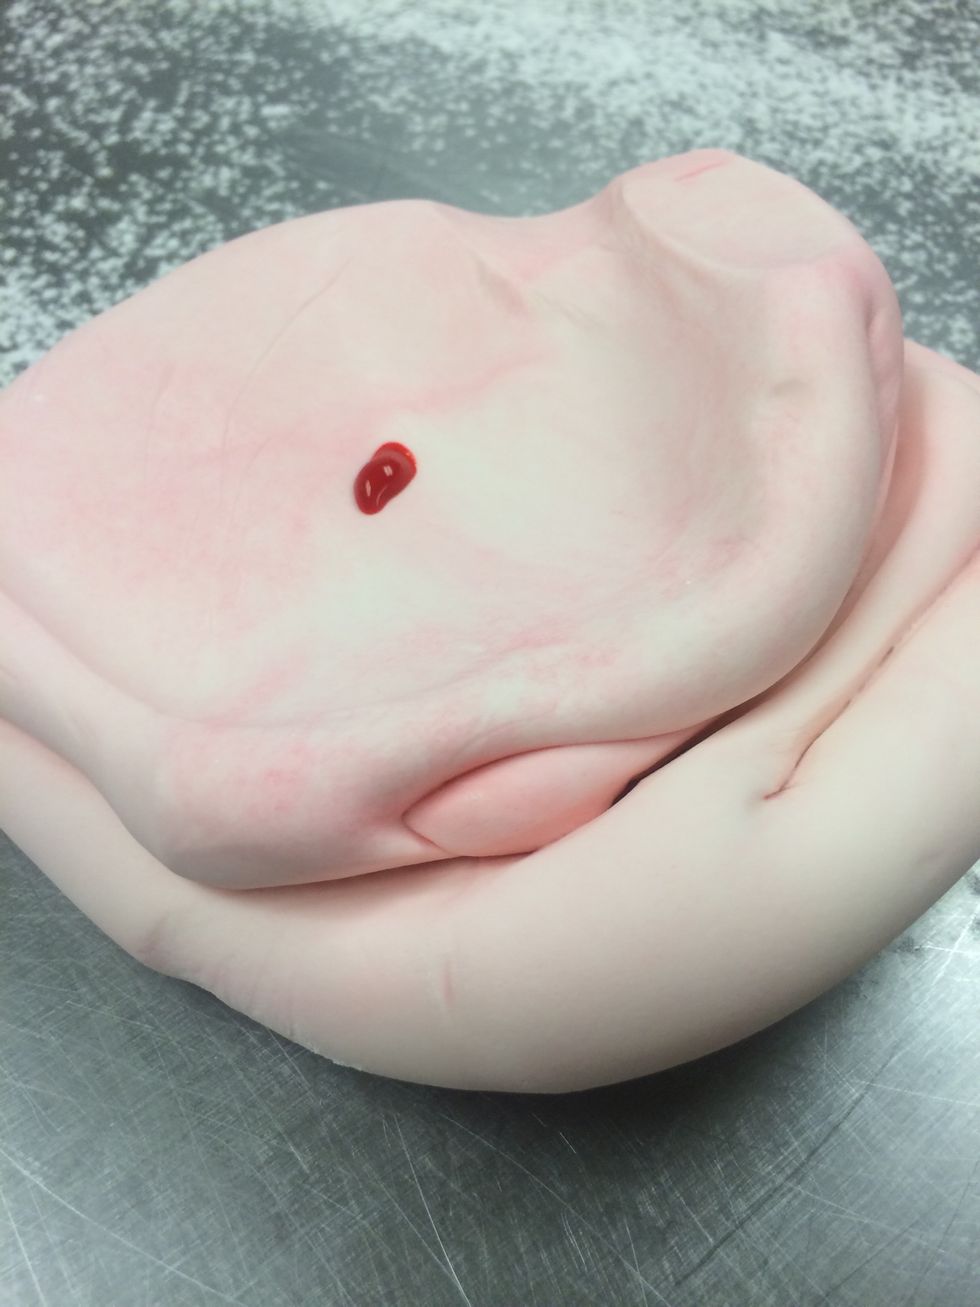
Drop number 2. I also like to wear rubber or latex gloves to keep my hands from turning colors.
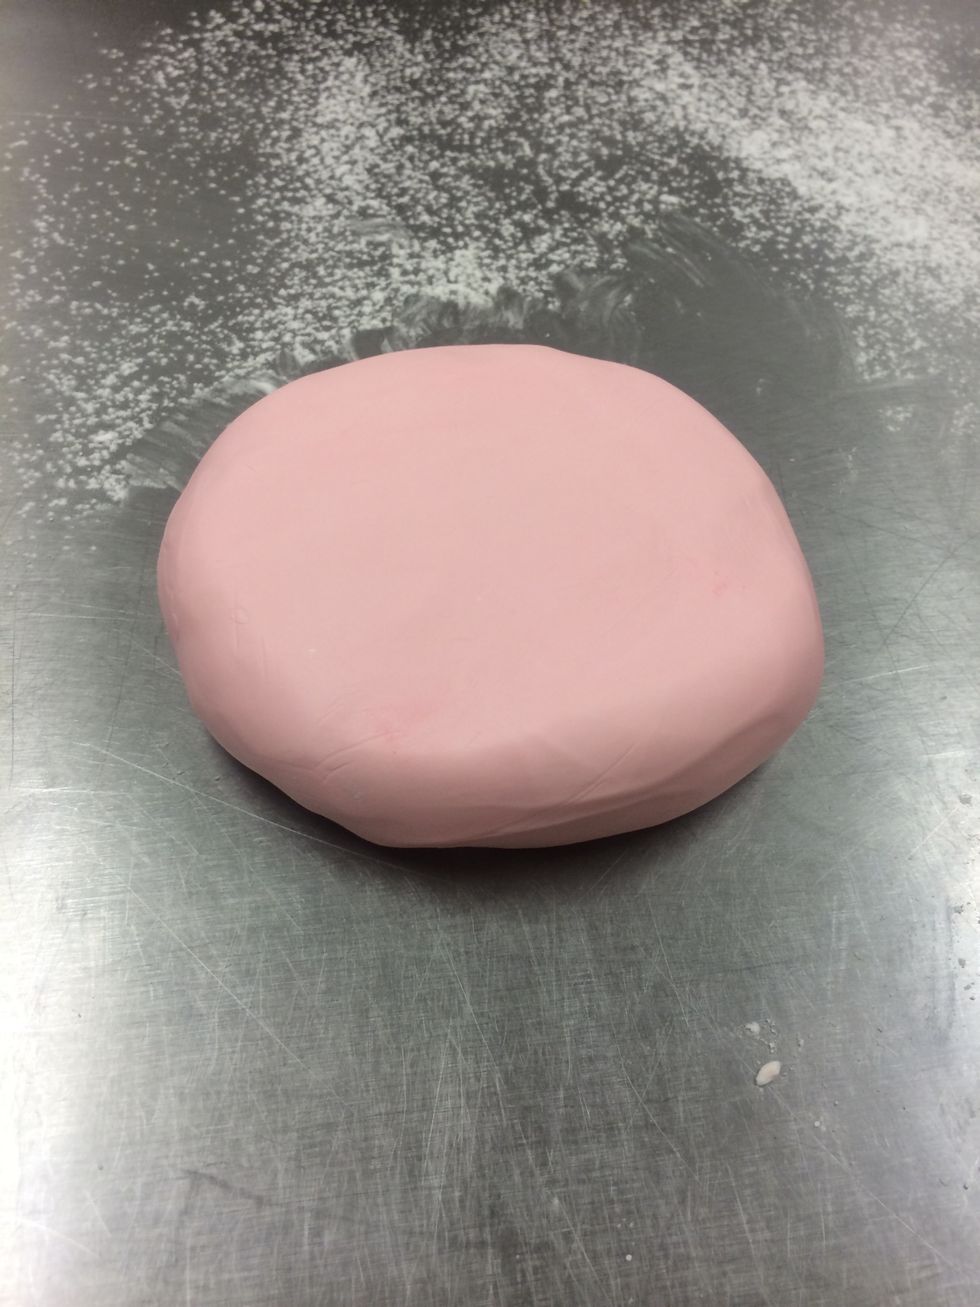
Color is now all blended in.
Prepare the area for rolling. Make sure the surface is very clean! If not, the fondant will pick up anything left behind on the work surface.
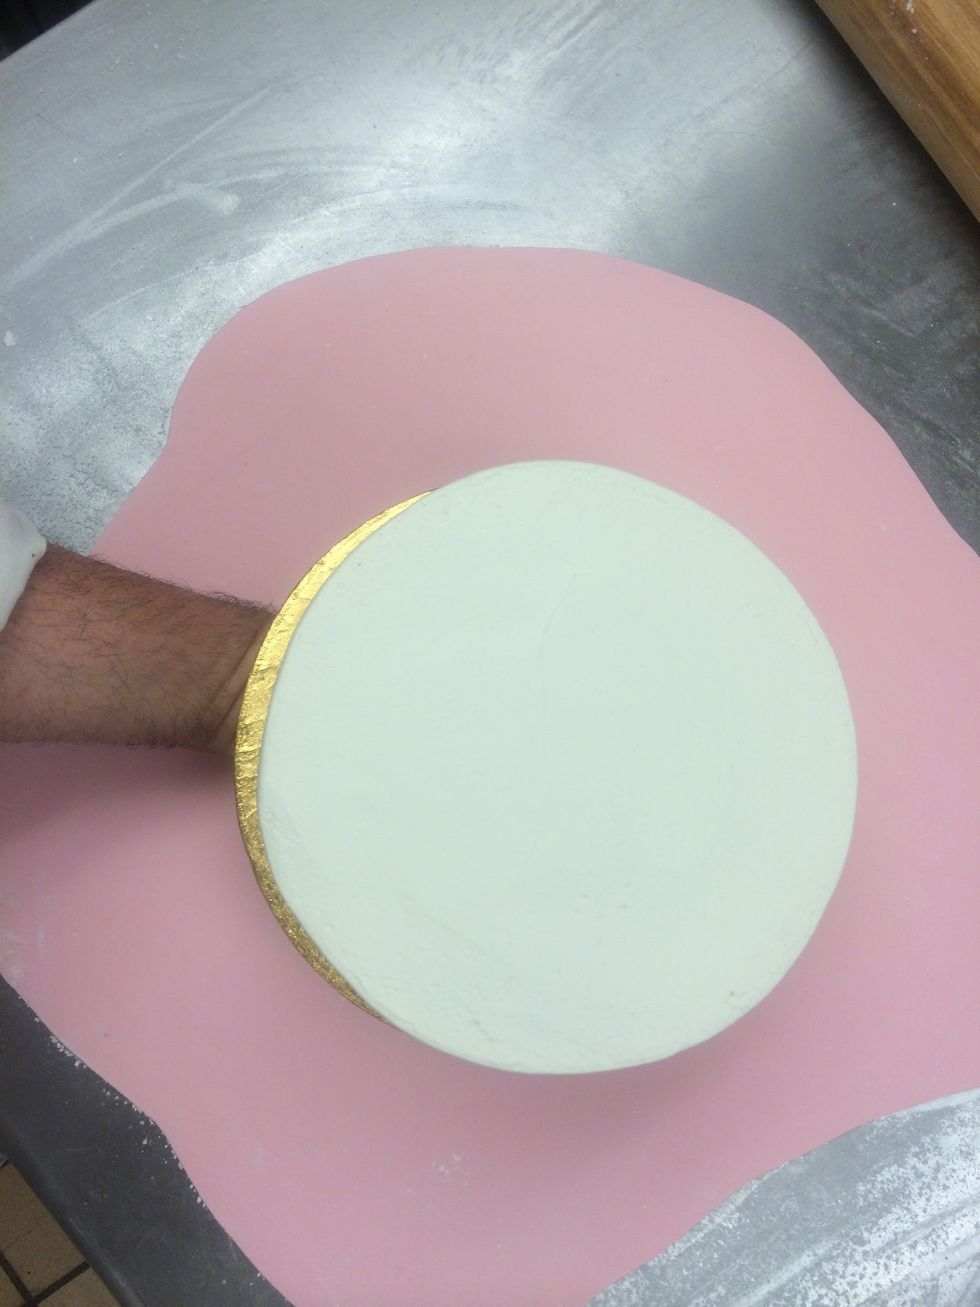
Roll out the fondant large enough to cover the cake and the board.
Rolling the fondant is like rolling out pie dough. You need to lightly dust the surface with powdered sugar between rolling and flip it over, carefully to roll the other side. Roll to 1/8 inch thick
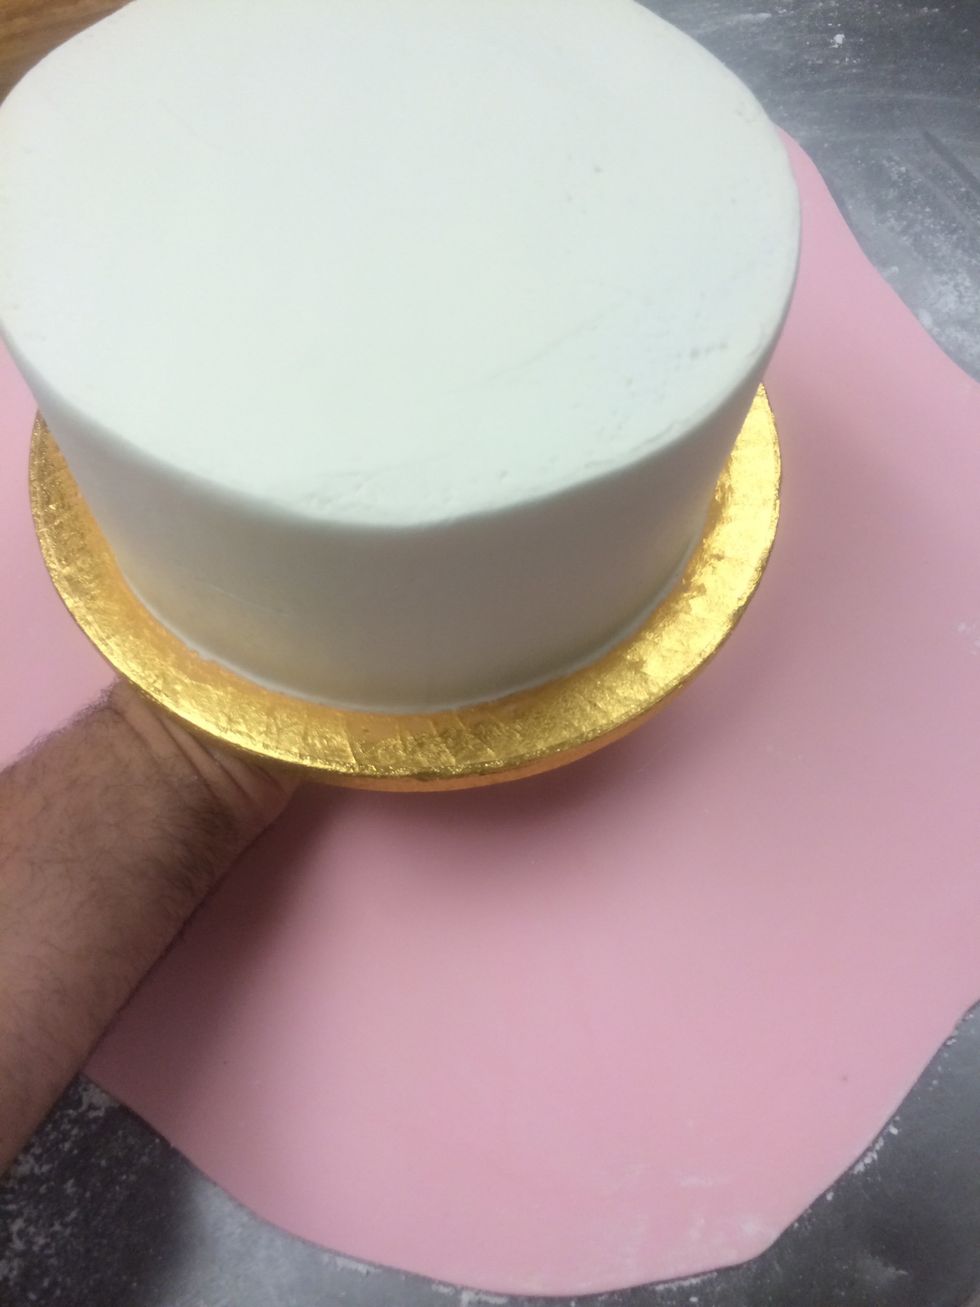
I use a large cardboard tube to roll up and lift the fondant off the work surface and unroll it over the cake.
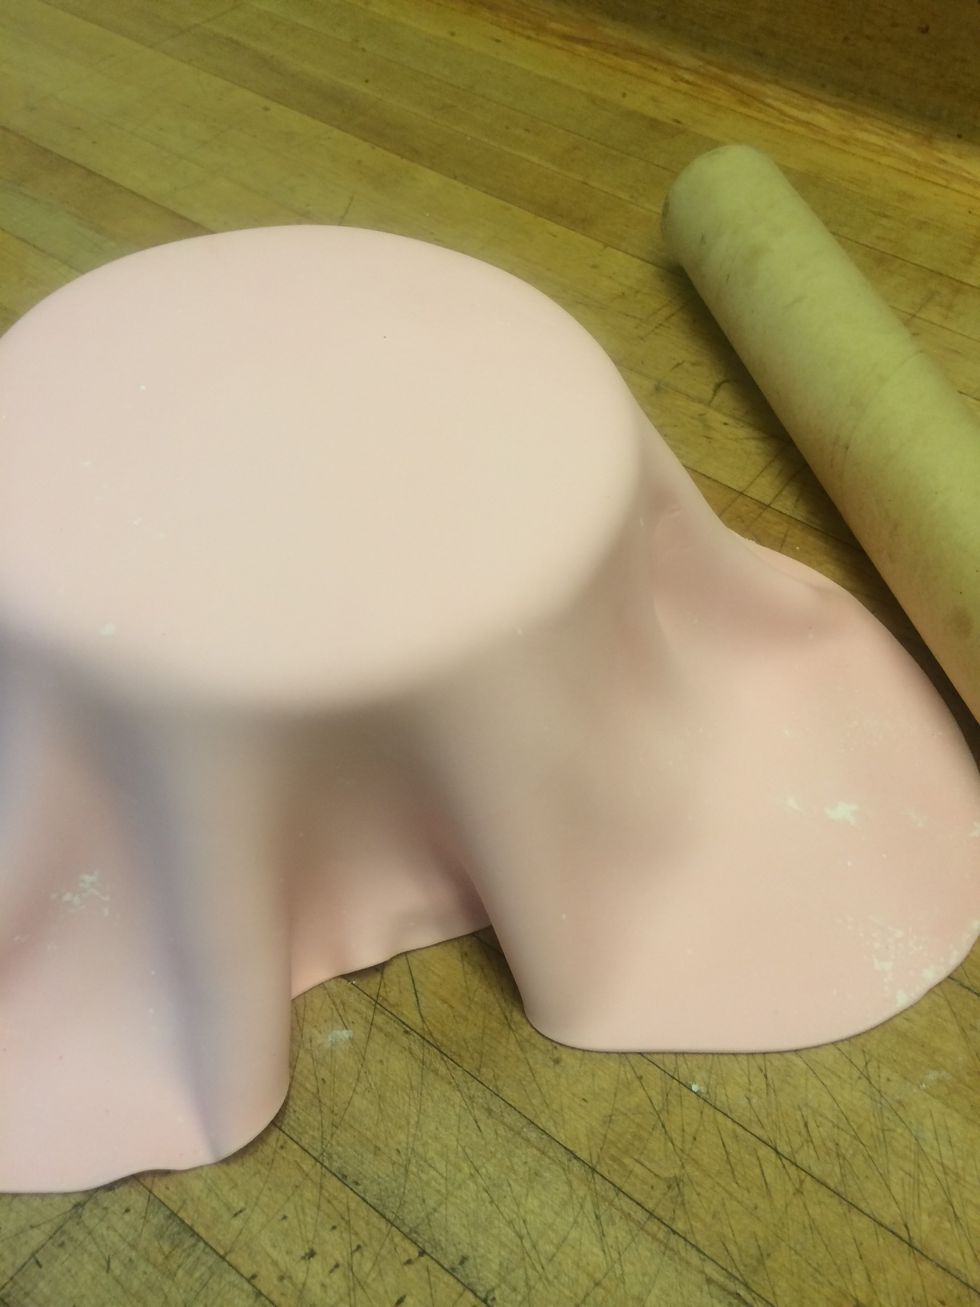
The delicate part is to stretch and pull the fondant over the side of the cake creating no gaps, folds or seams making it one uniform piece.
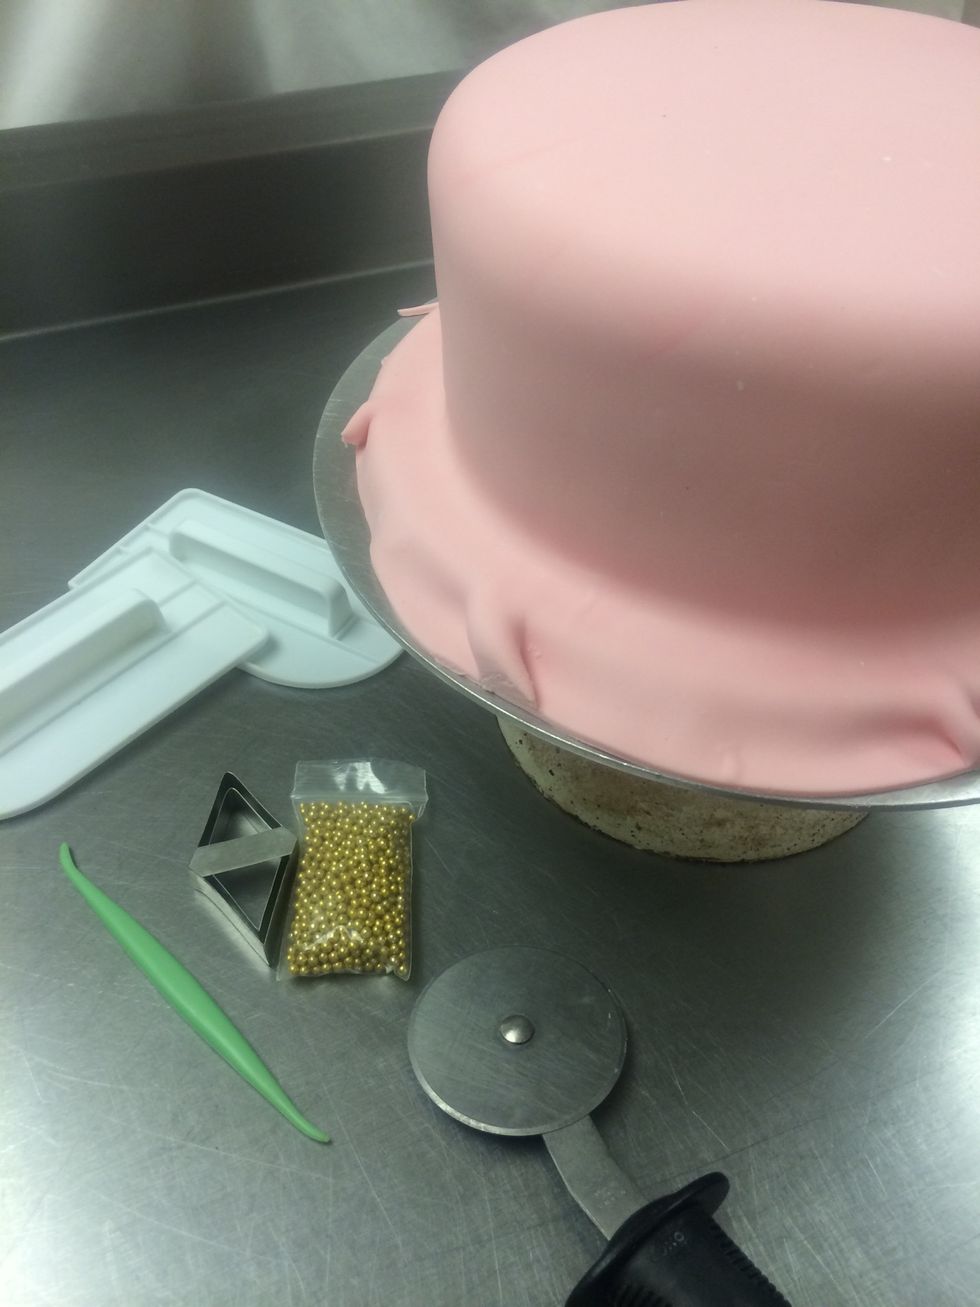
Once the fondant has been applied to the cake we can trim off some extra fondant using a pizza wheel. Use fondant smoothers or paddles to smooth out the fondant and to remove air pockets.
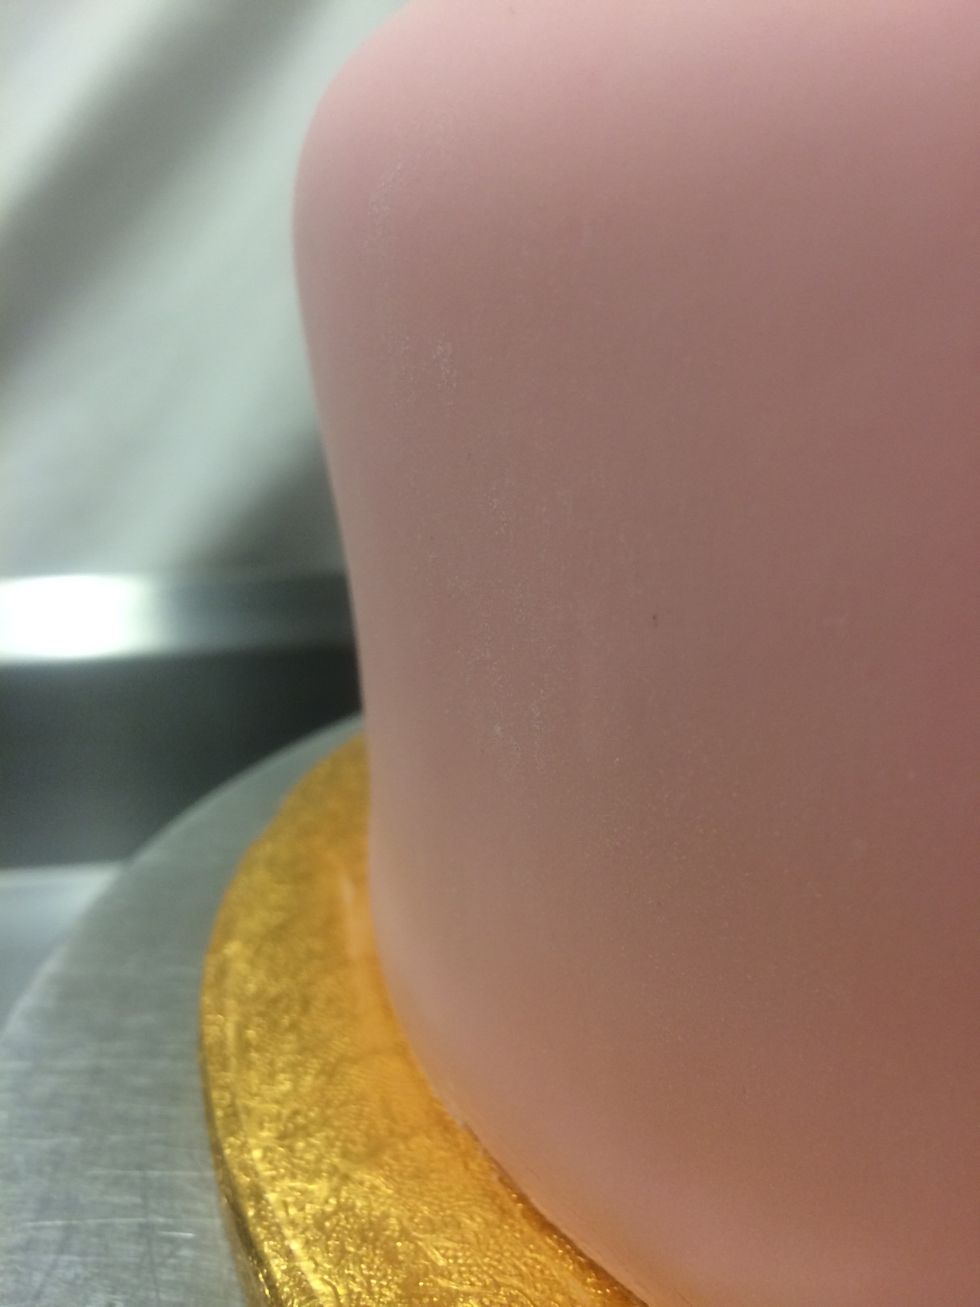
Now that the fondant is totally smooth we can cut off the extra fondant up to the edge of the cake with a pizza wheel. You are ready to start decorating your princess cake.
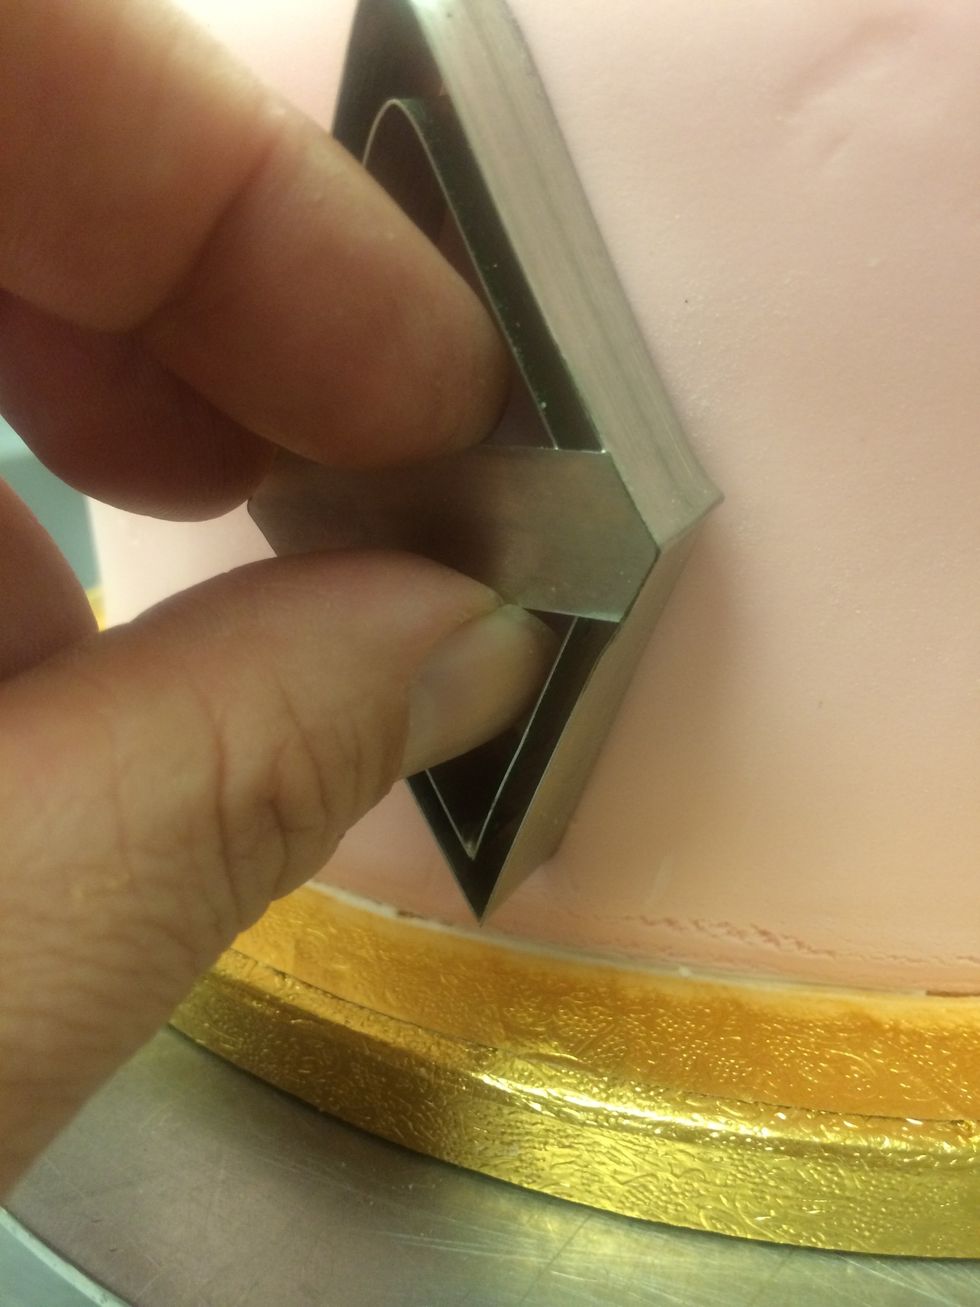
This is a a fondant quilting die. It gets pressed into the side of the cake leaving an imprint into the fondant.
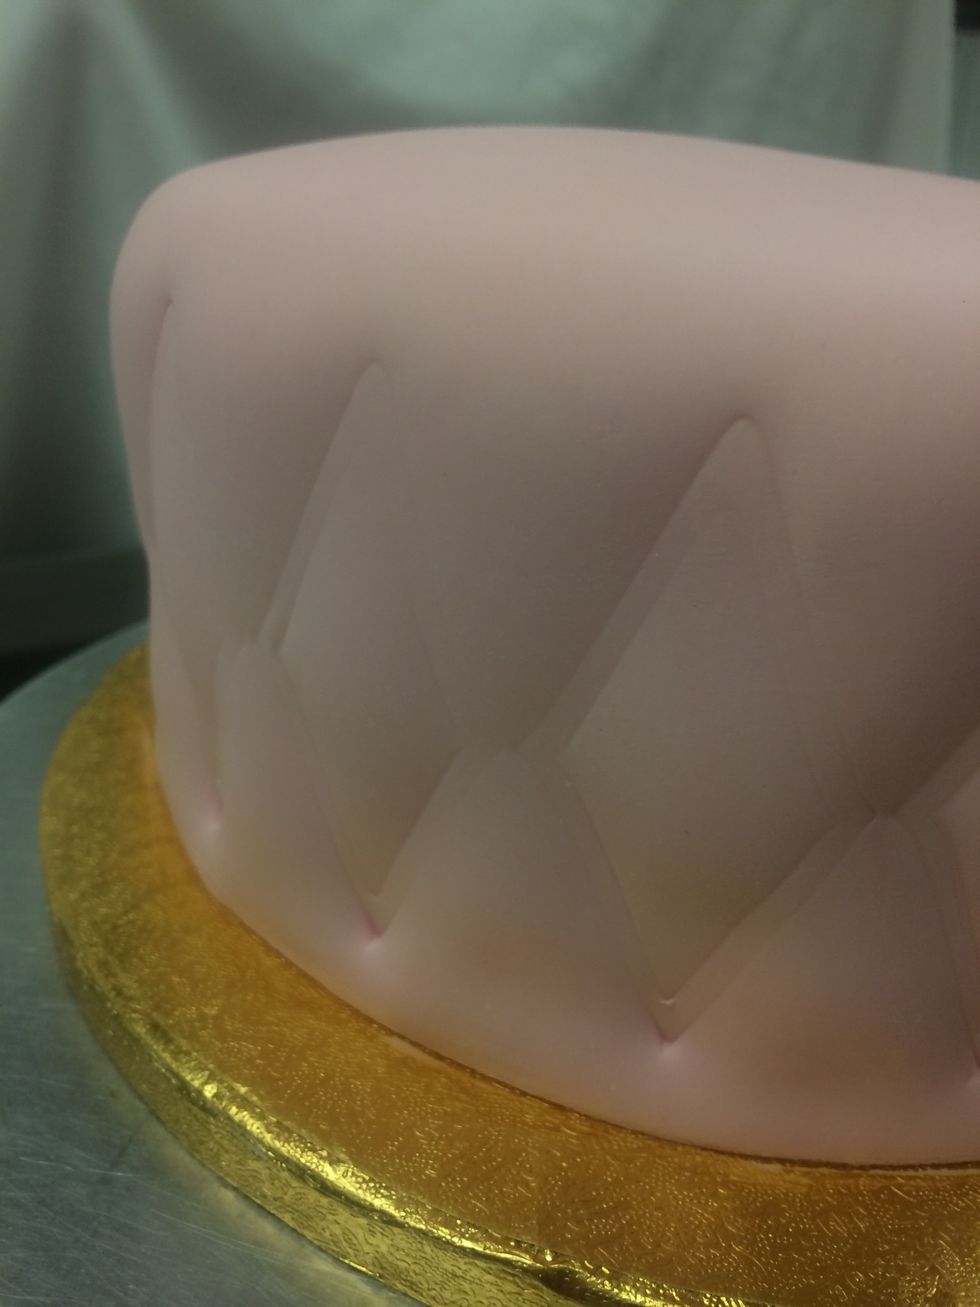
This step is repeated all around the cake to create the quilted affect.
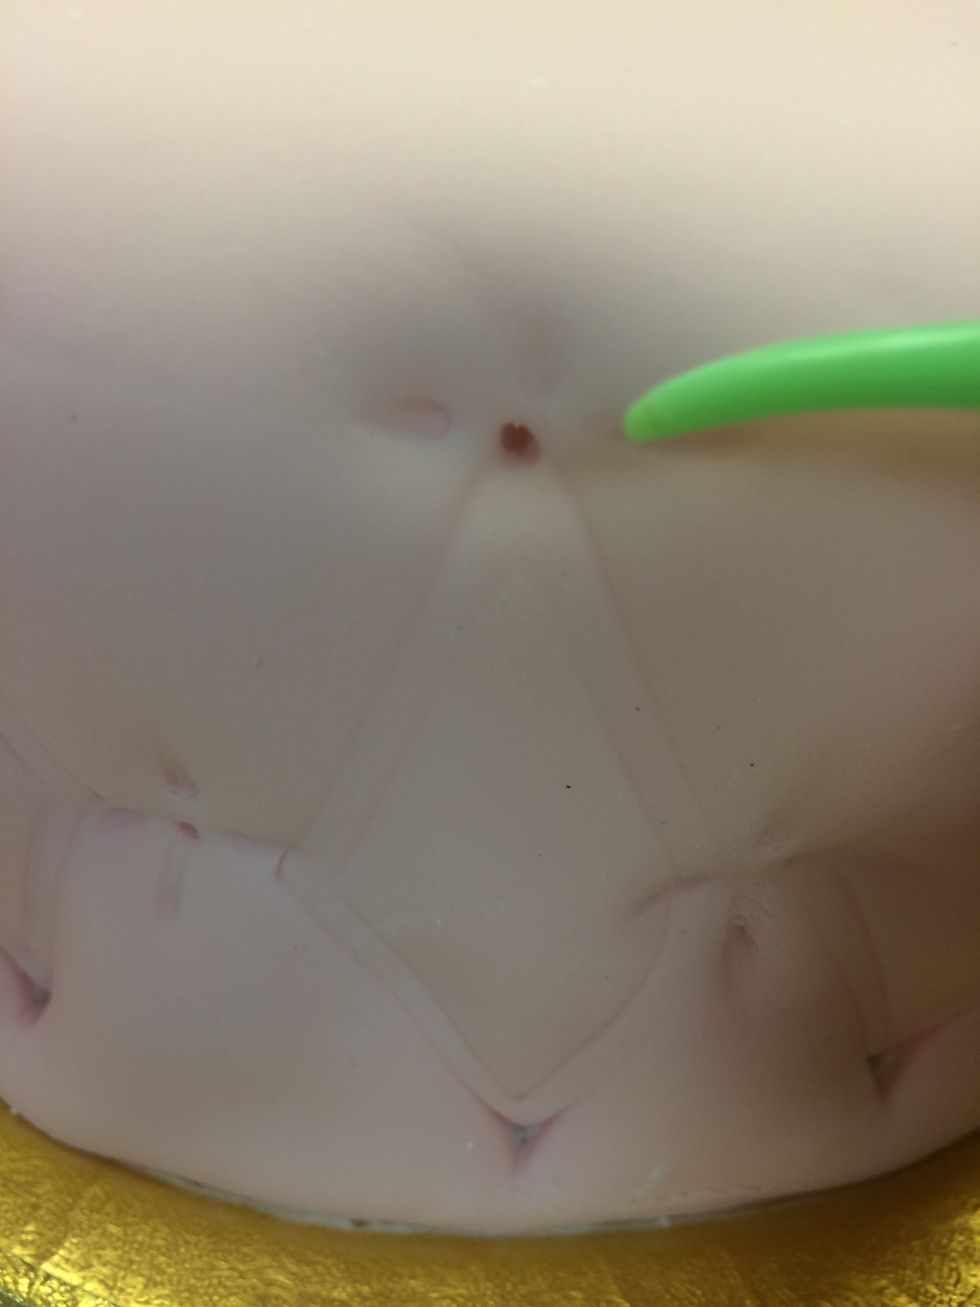
Using a fondant decorating tool to create the "stitch" at each corner of the quilted diamond.
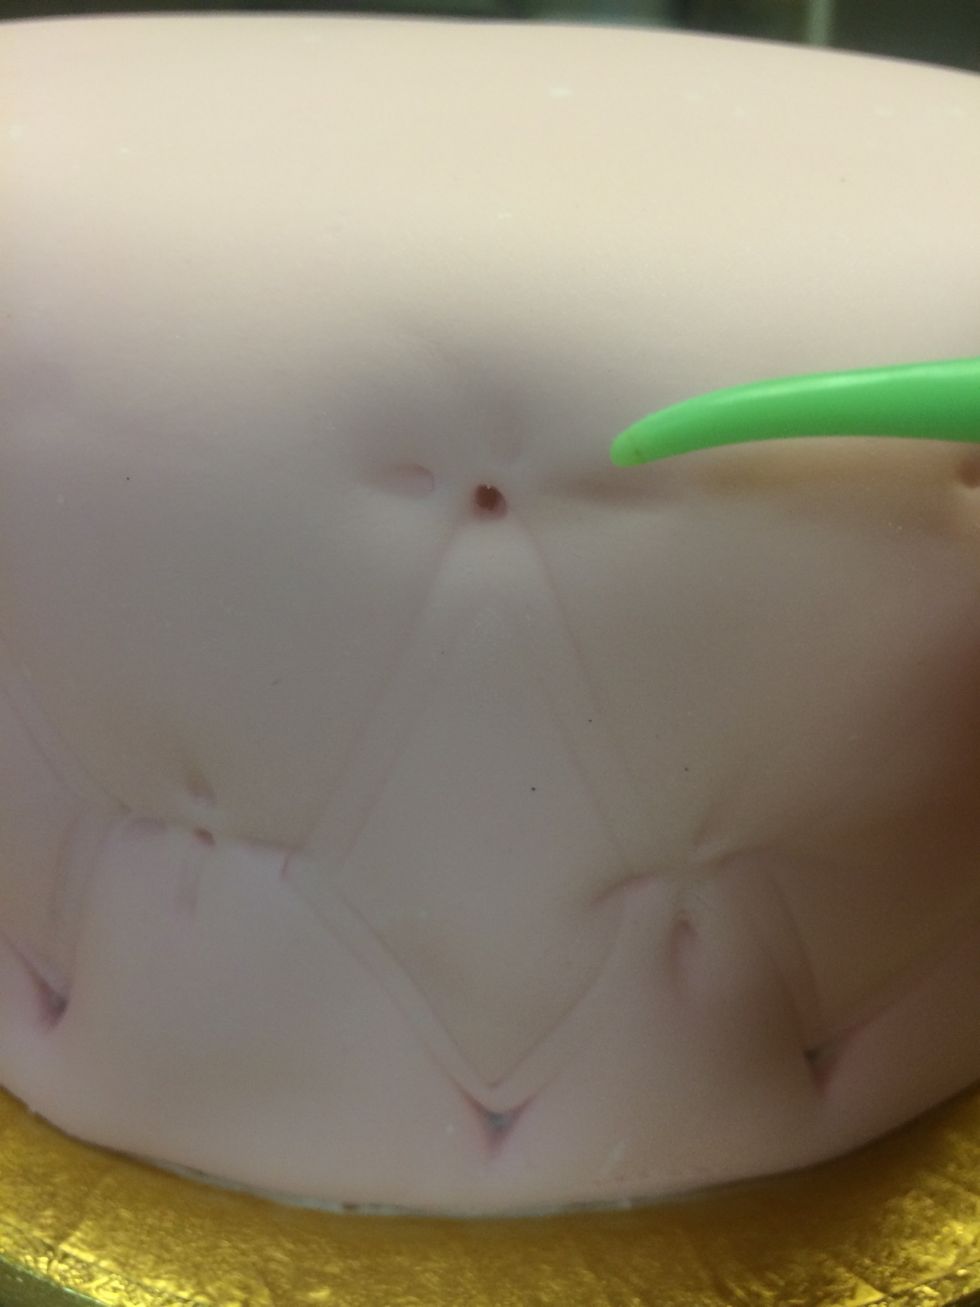
The same tool is used to create the "dimple stitch" where the bead will sit.
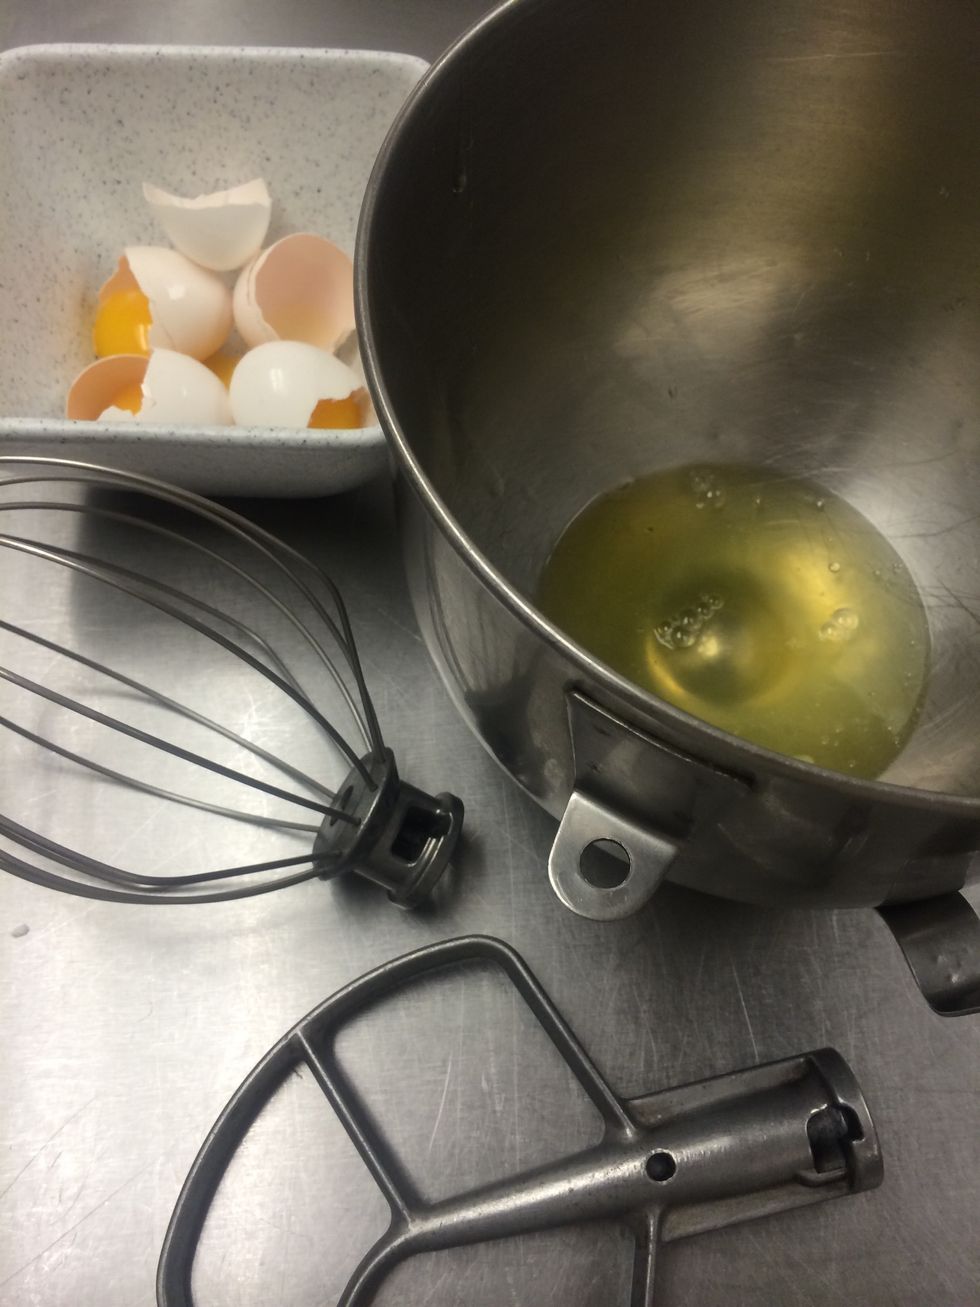
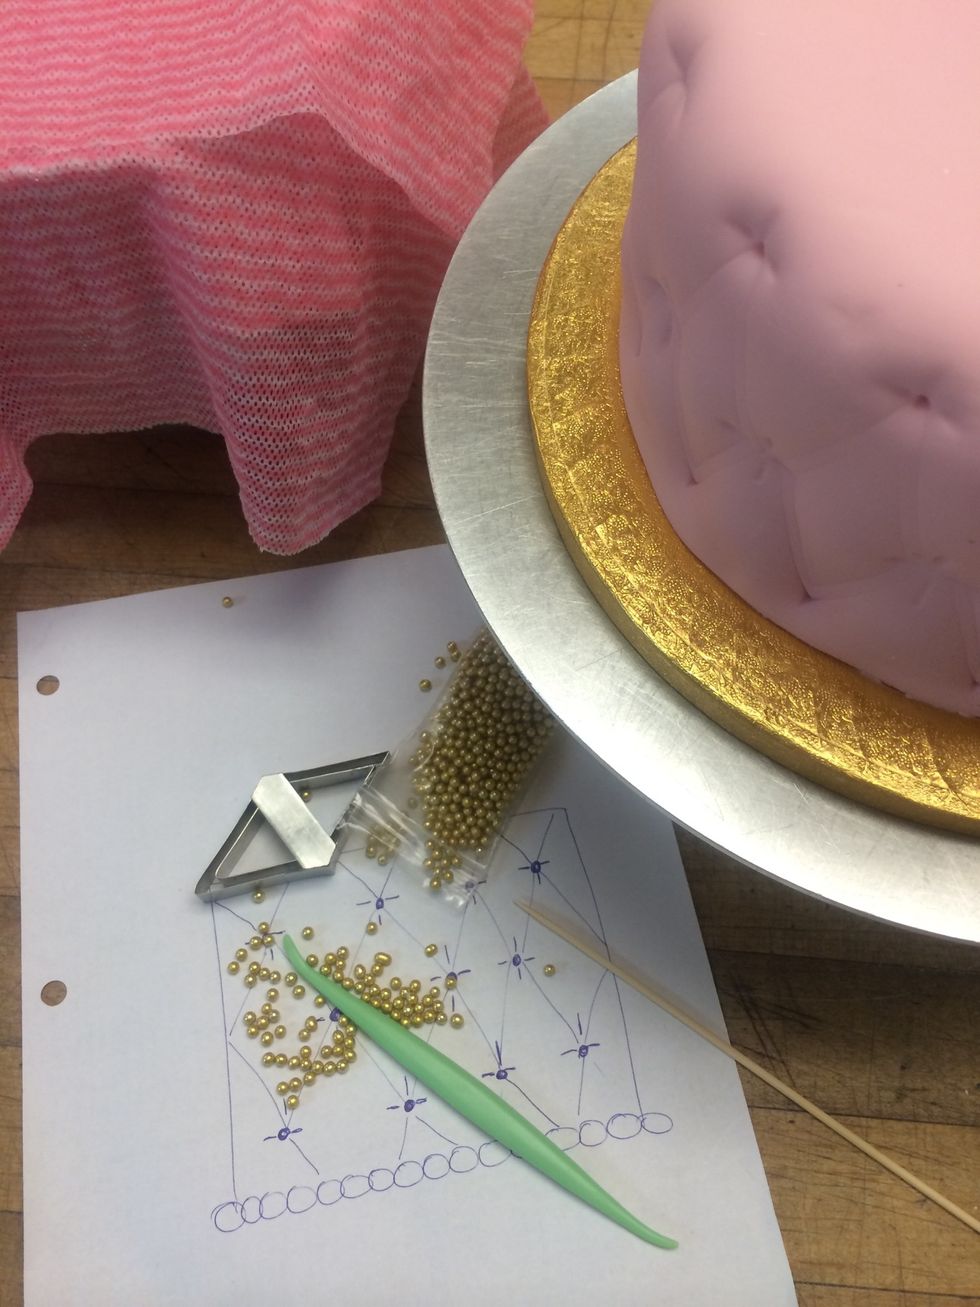
Royal Icing recipe; 2 egg whites, 2-3 cups sifted powdered sugar, 1/2 tsp cream of tartar.
Royal icing is used like "glue" to hold the gold beads in place.
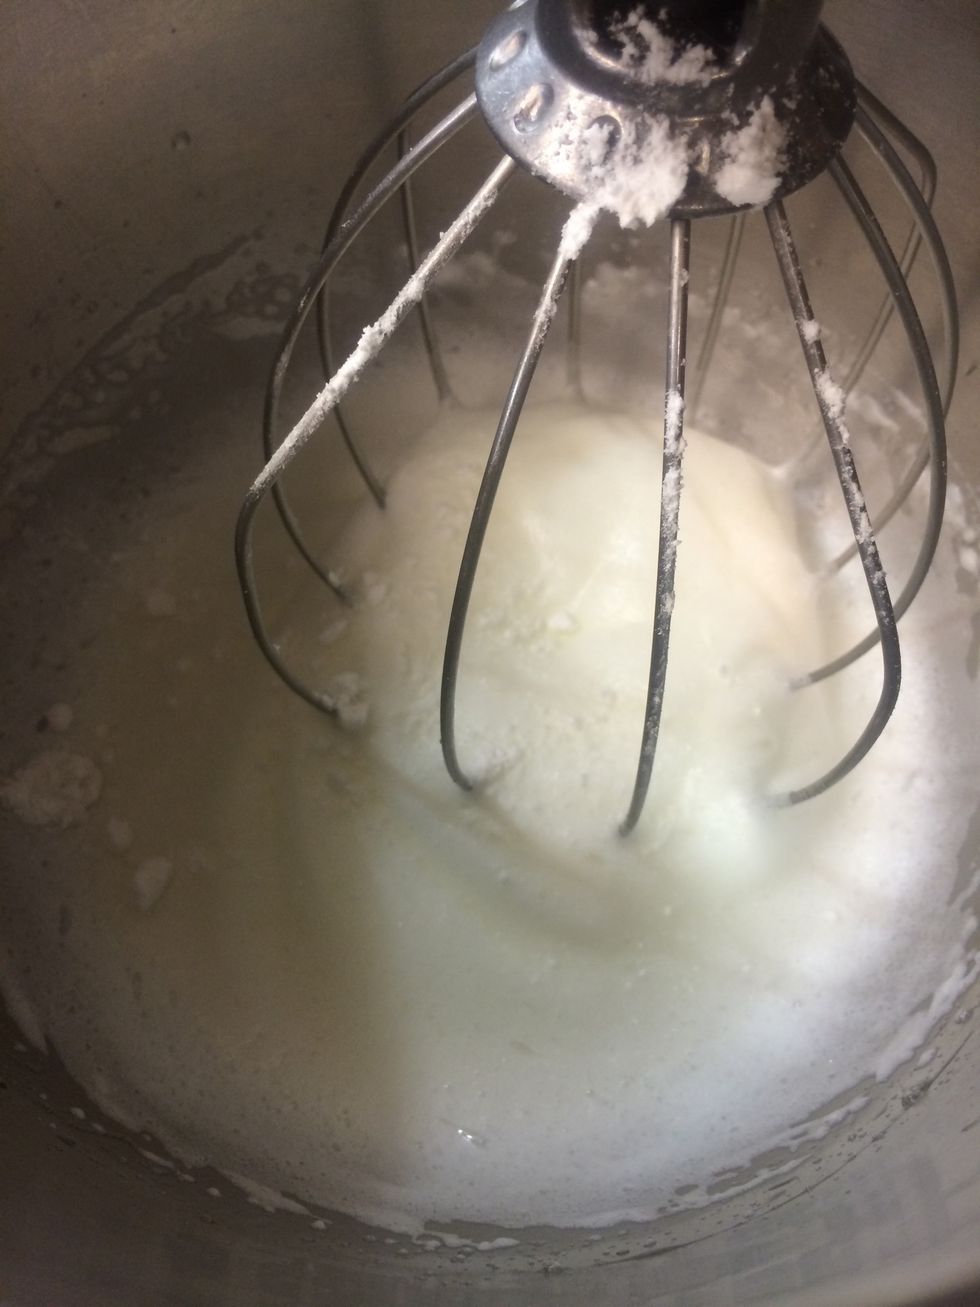
Egg whites and cream of tartar are whipped into soft peaks.
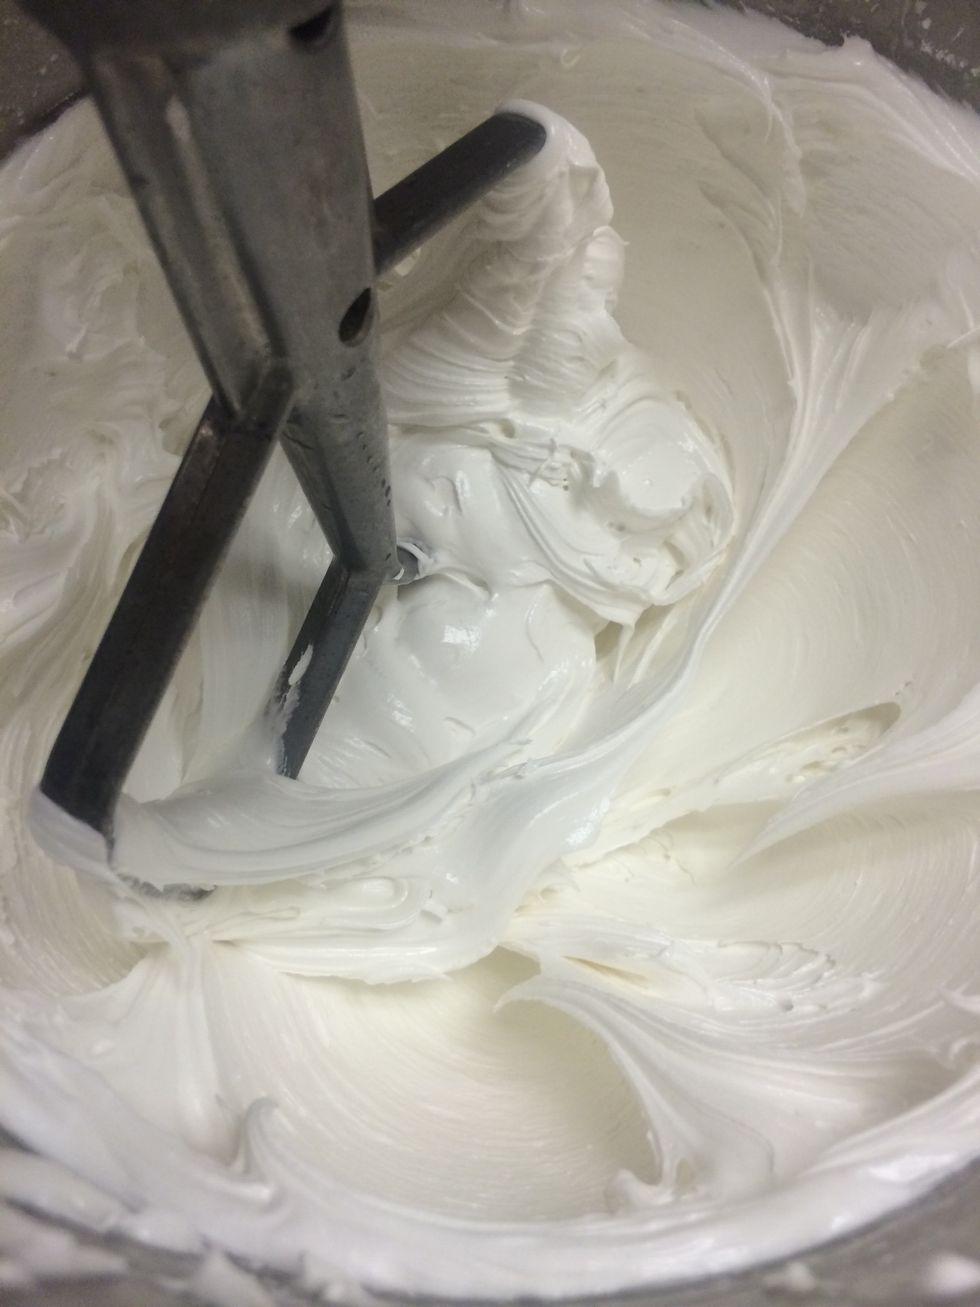
Powdered sugar is added and whipped with a paddle until thick and firm and the consistency of butter cream frosting. Whip for about 5 minutes.
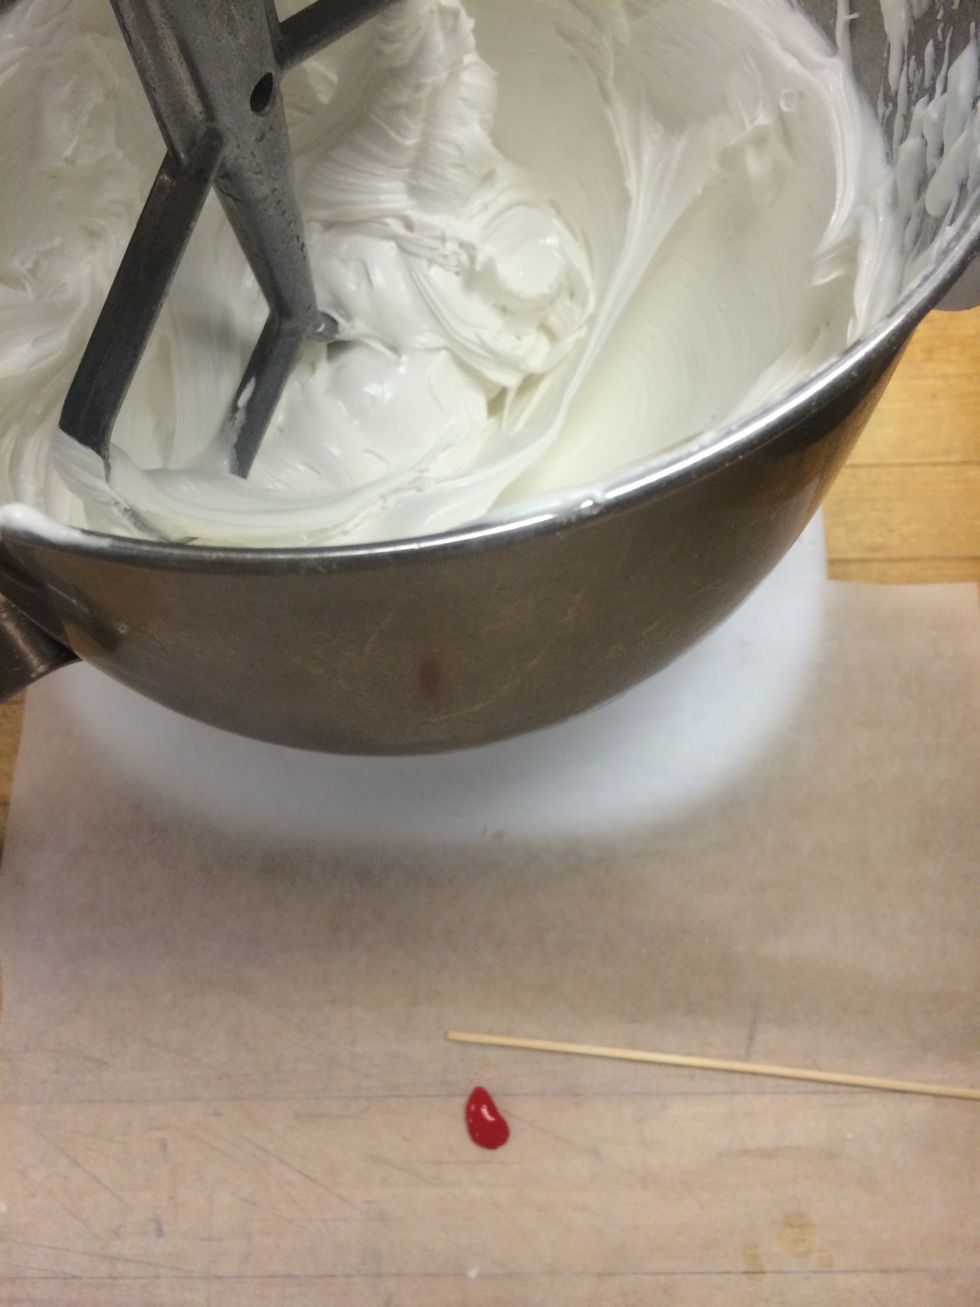
It's ready for some color...
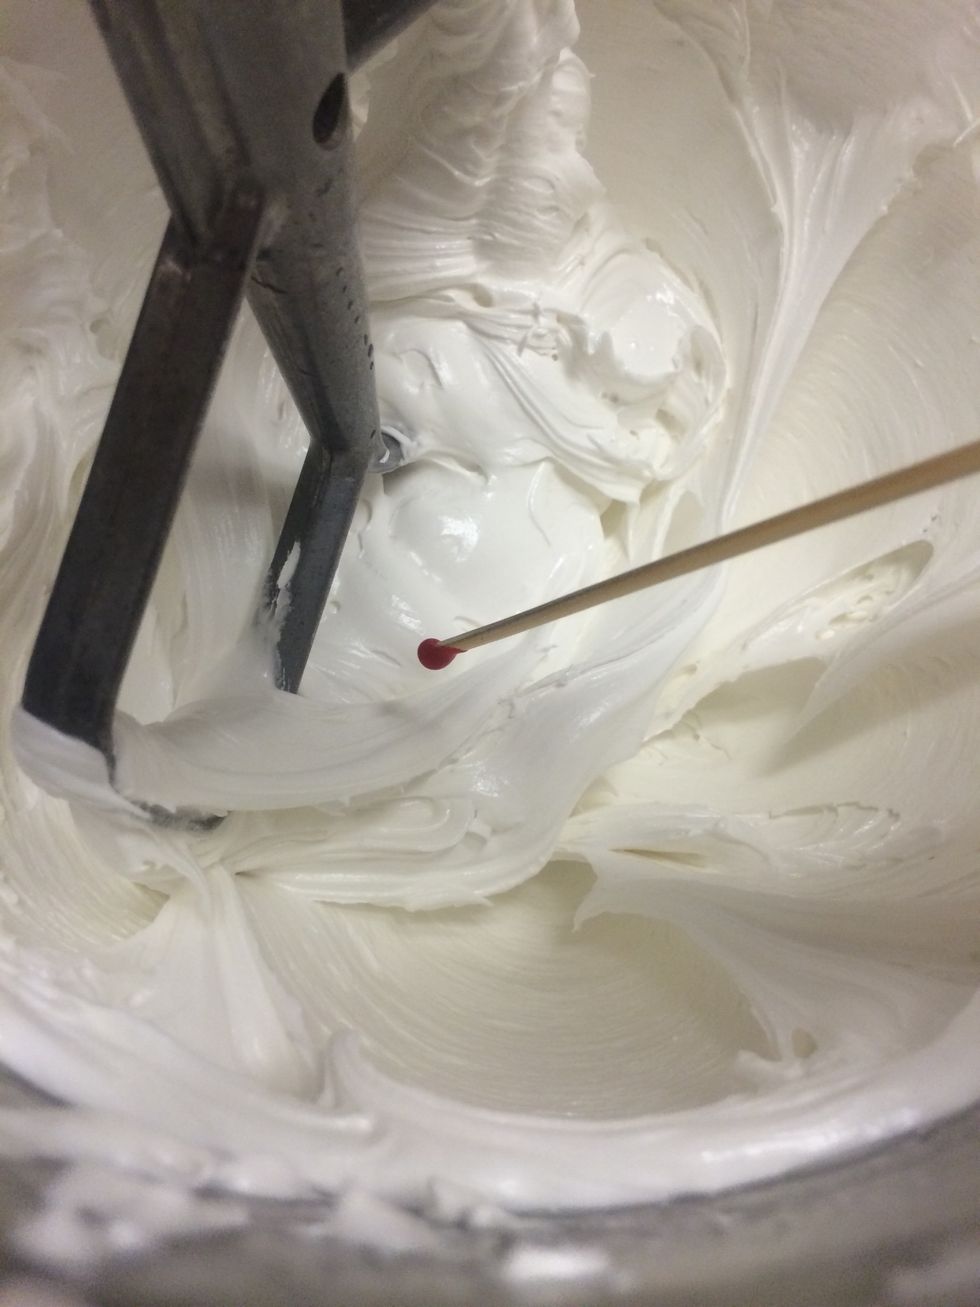
It takes very little coloring to make this pink. Just a drop.
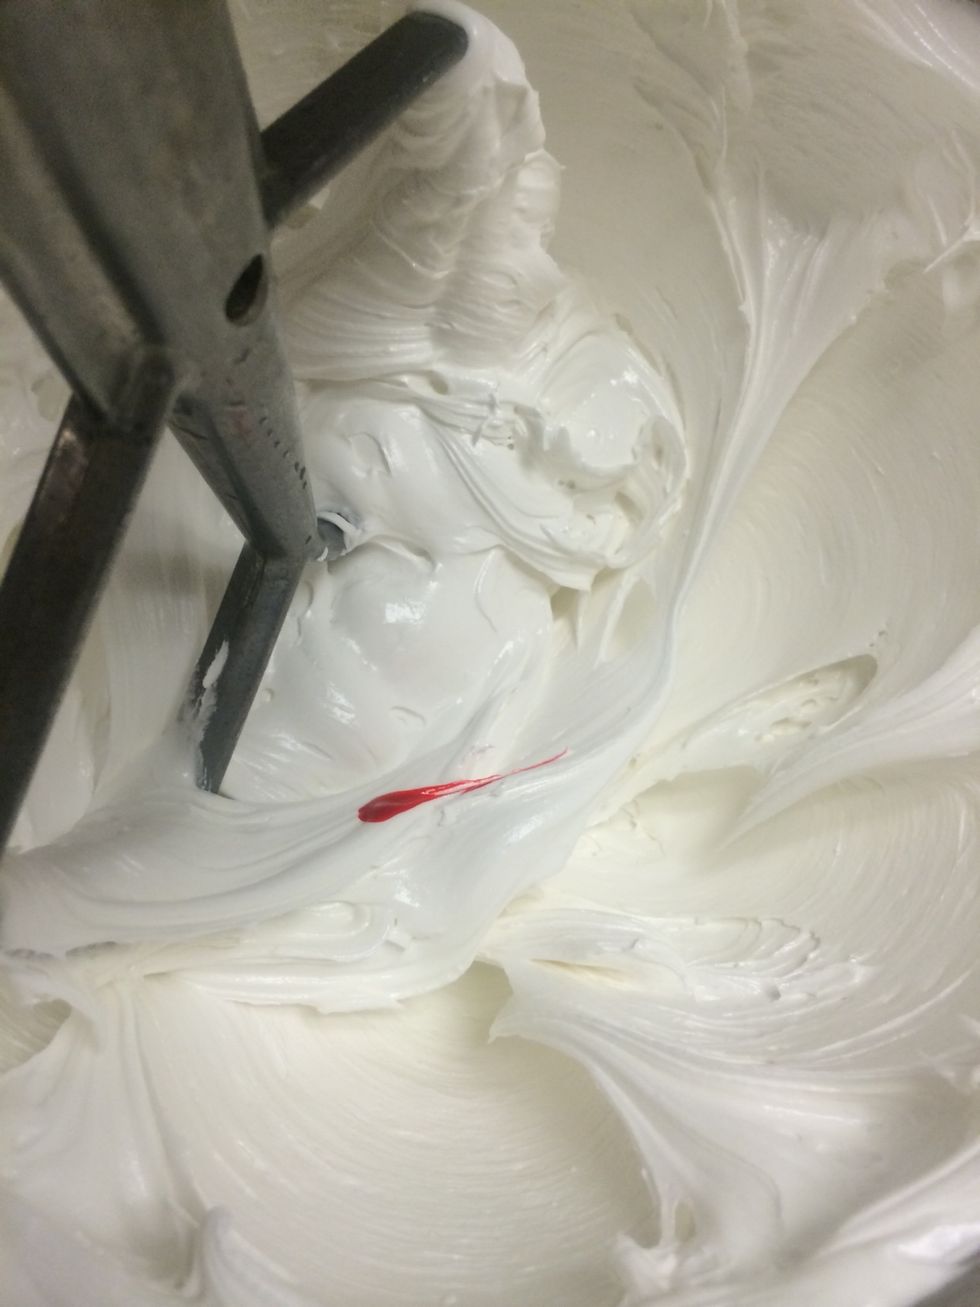
Mix until the color is fully blended.
It's a perfect match!
Keep the royal icing covered with a damp towel. It dries quickly.
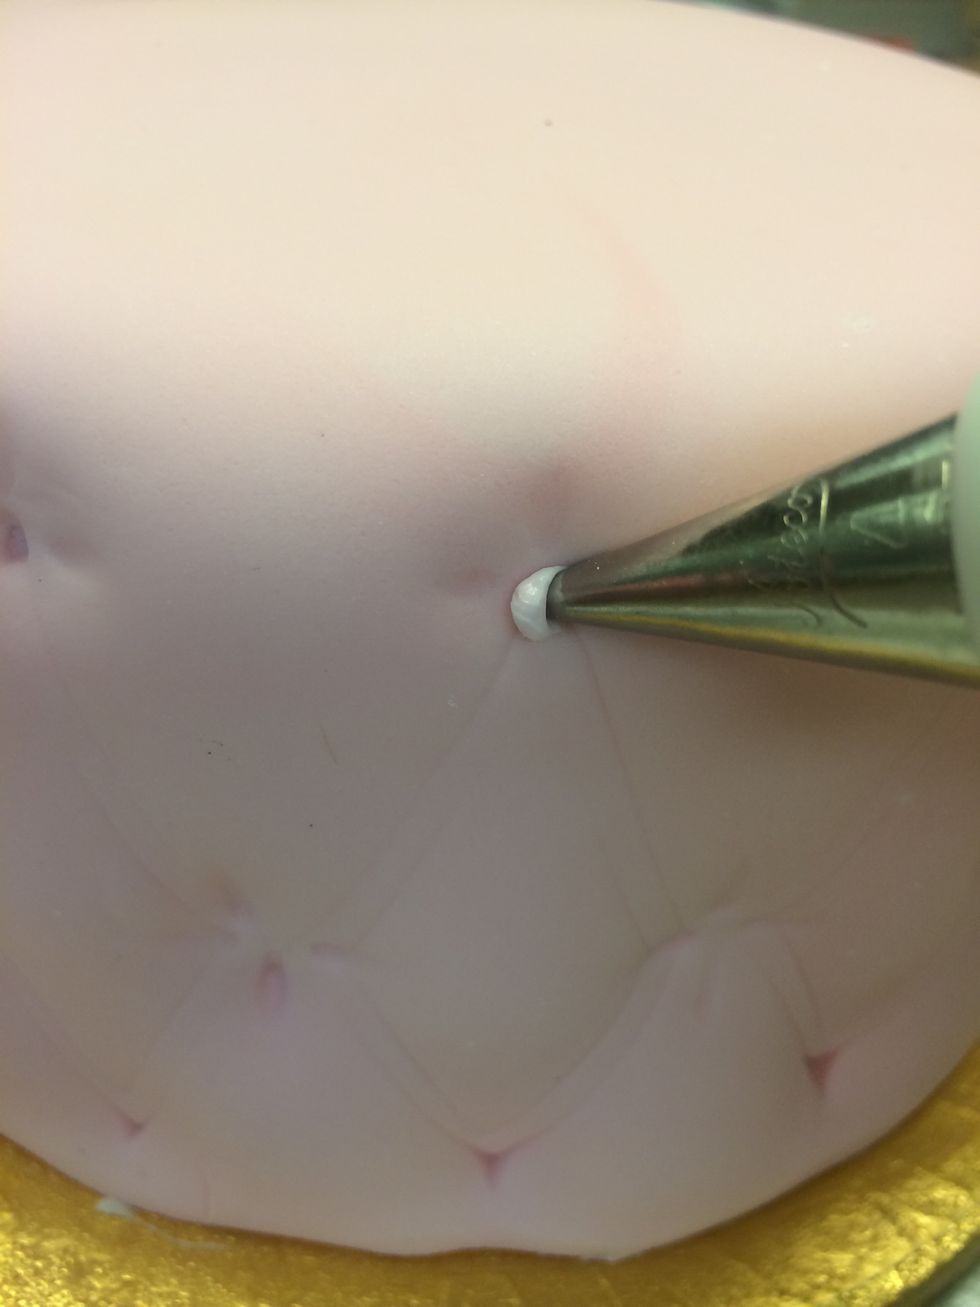
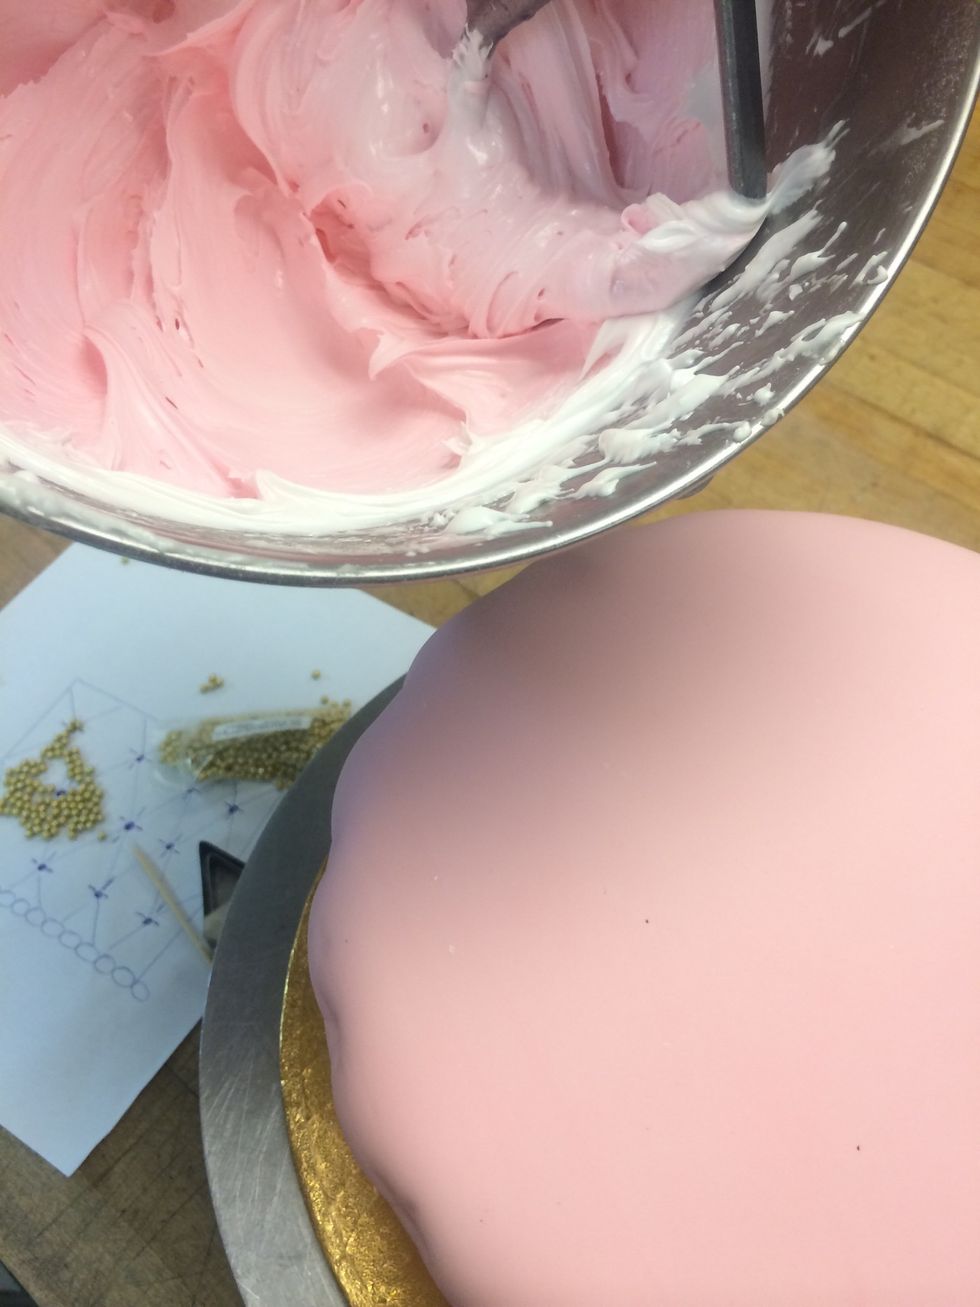
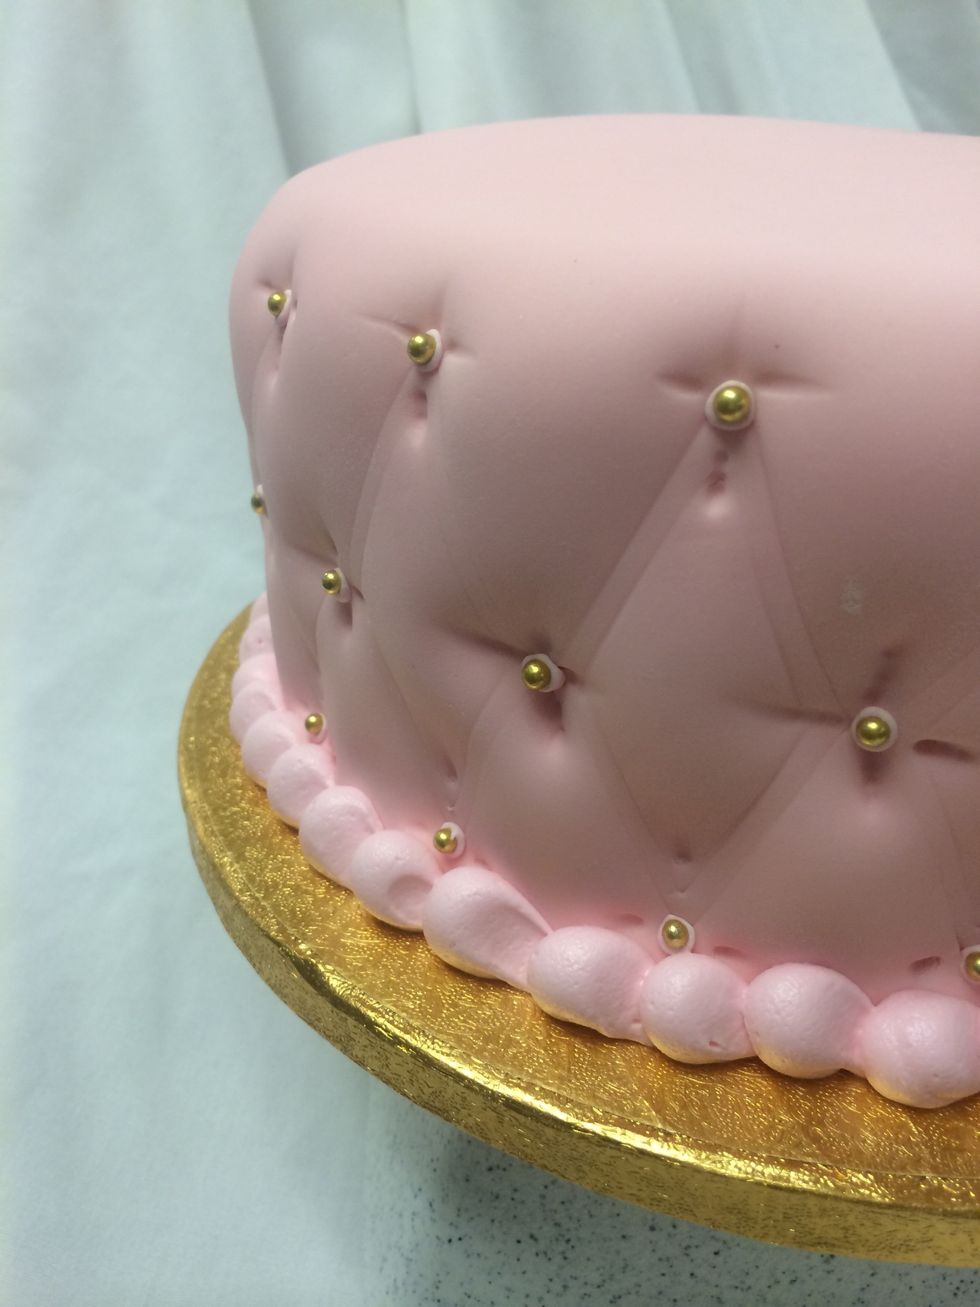
Prepare a pastry bag fitted with a round tip. Put your royal icing in the bag. Pipe a tiny amount into the round small center stitch. Then place a gold bead onto each piped pink dot.
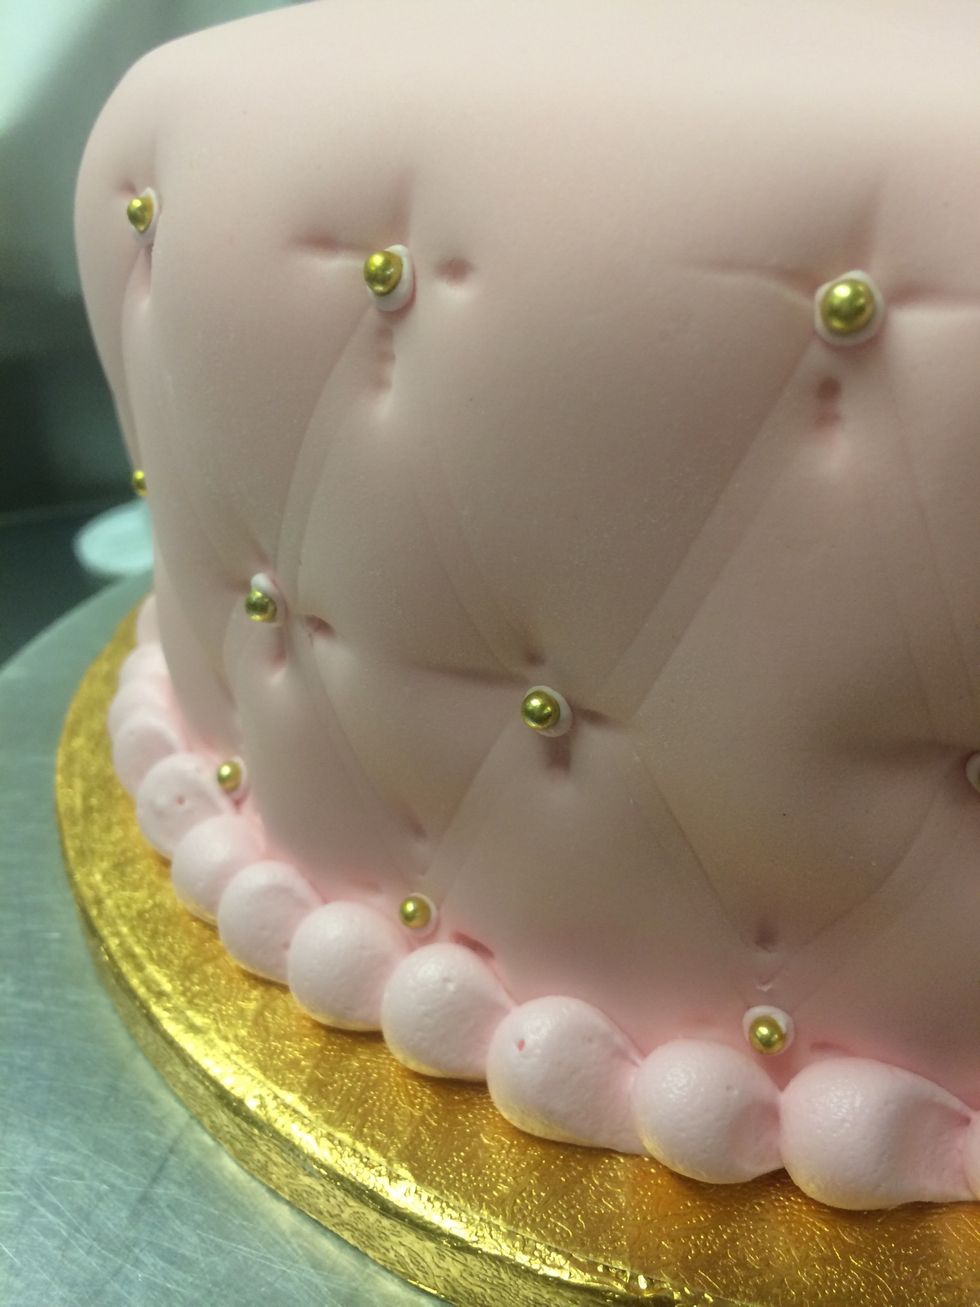
Continue to fill each center stitch with a tiny pink dot of royal icing and gold bead. Using a larger round tip, pipe a boarder around the bottom and board of the cake.
Almost done ... it needs a tiara!
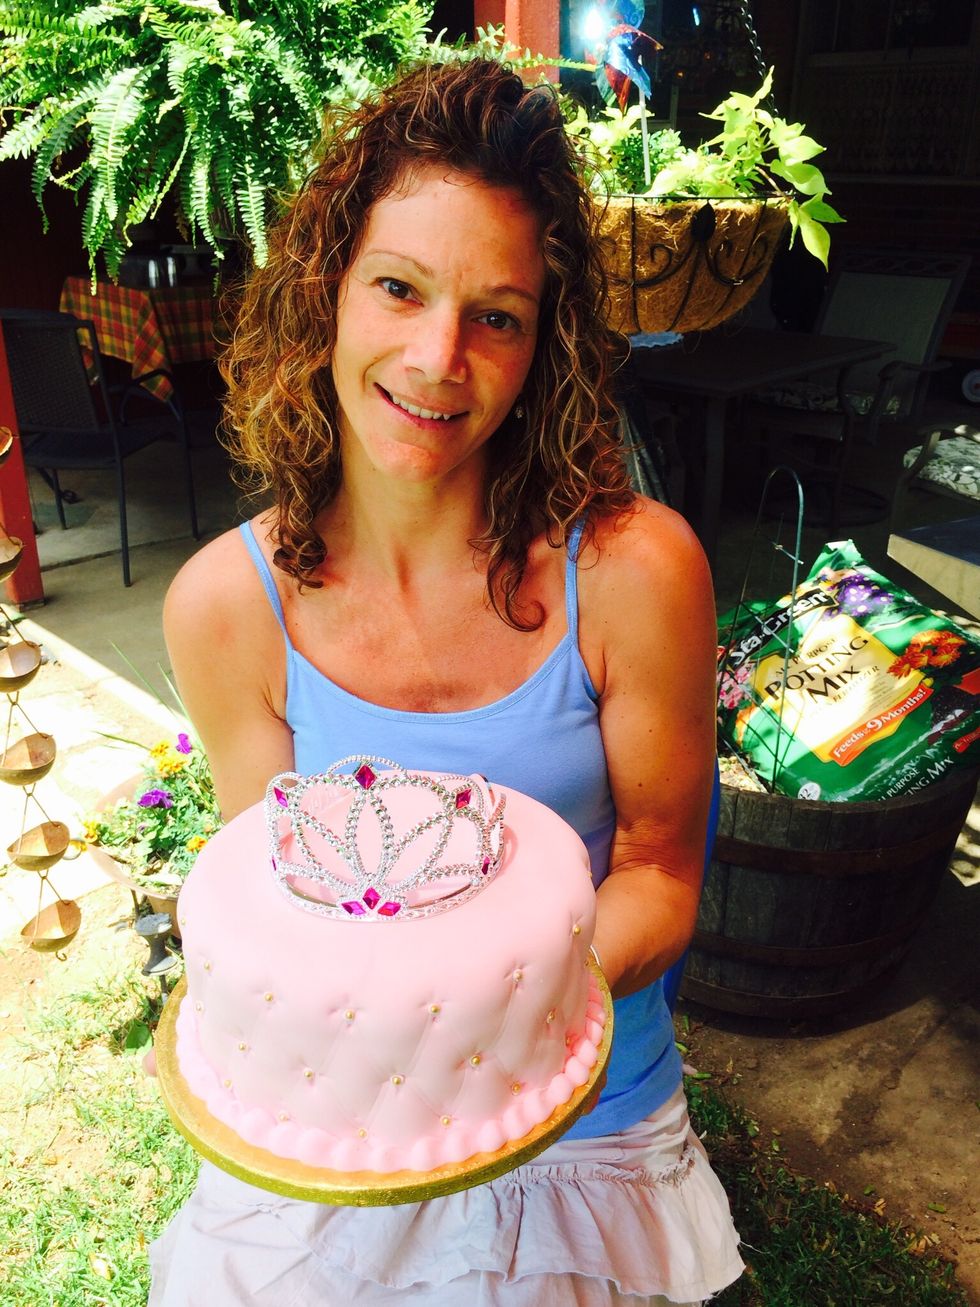
Princess for a day! Happy Birthday Sis!
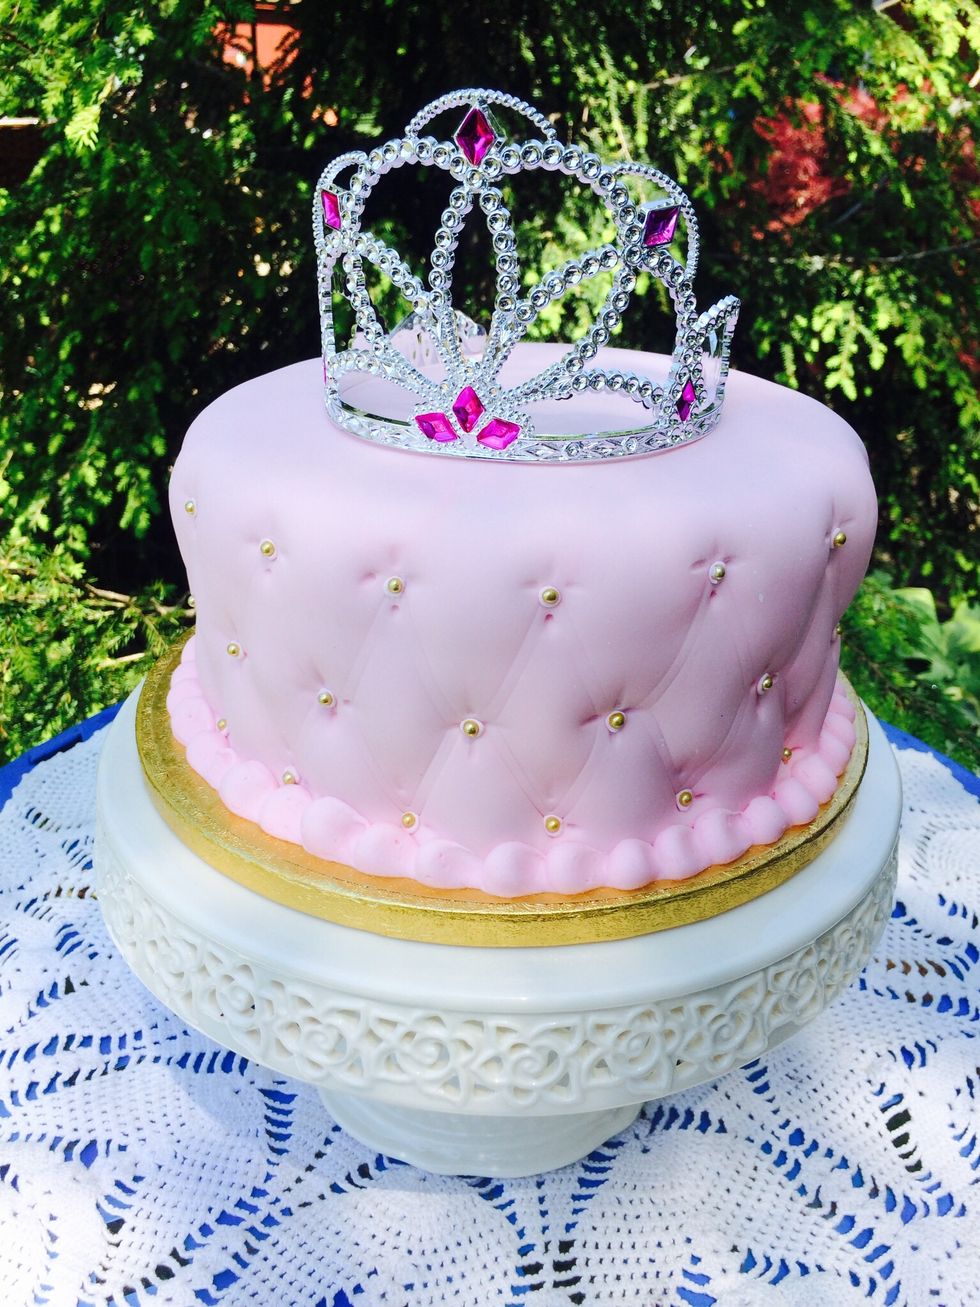
Pretty Princess Birthday Cake!
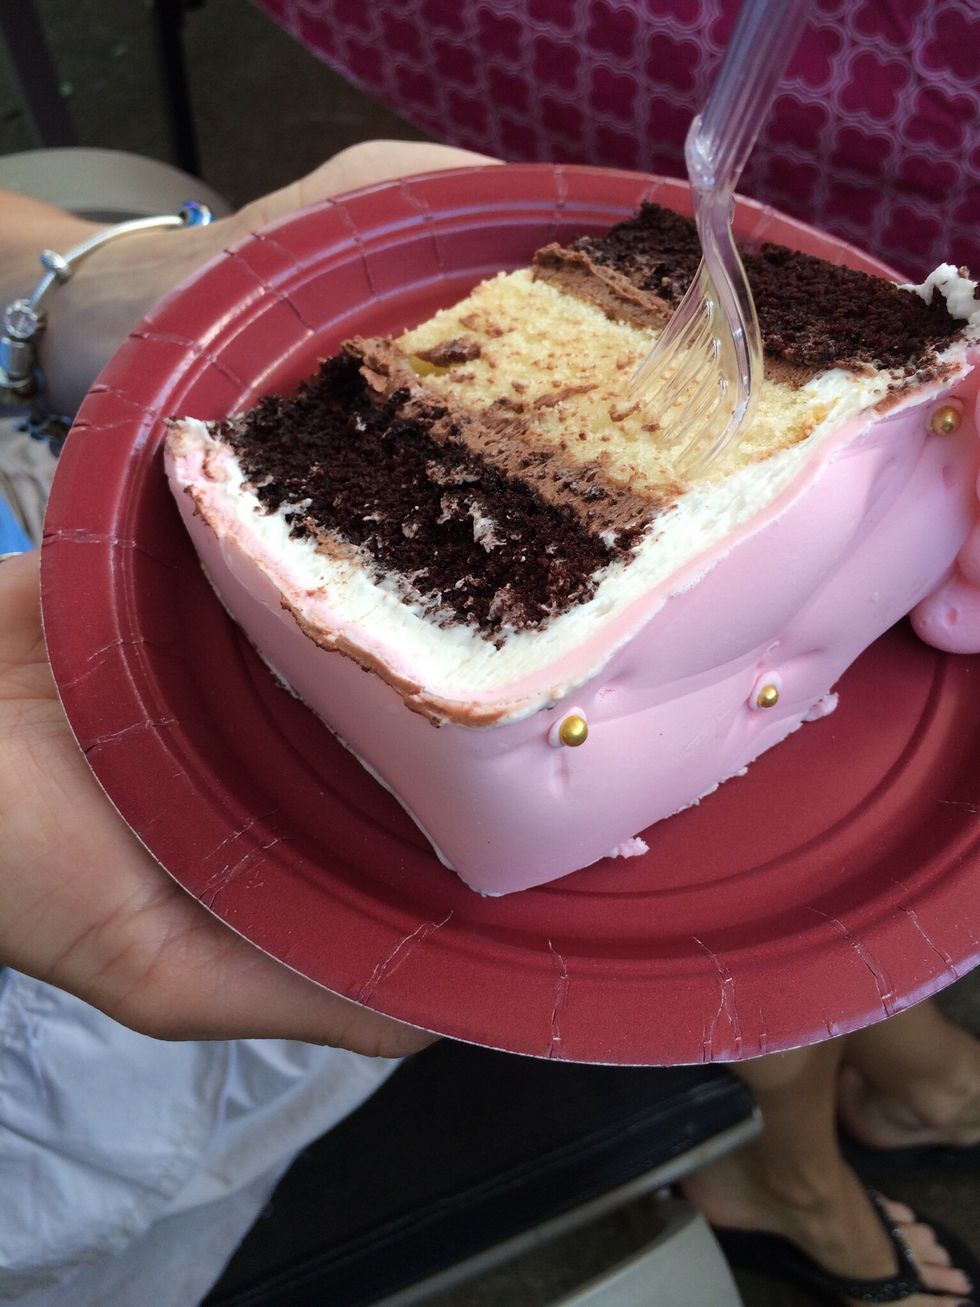
Yummy!
Thank you for viewing my guide. Please check out many of my other great dessert guides. Enjoy!