The Conversation (0)
Sign Up
Now that it's berry season here, I've found some faults with my netting design that I wanted to share.
chipmunks can eat through the netting in some cases
Leaving one side secured with only two twistie ties is much to easy for chipmunks to break into.
Unless your plants are very small, or you make the net much larger, you stand a chance of disturbing new plant growth.
So take these potential downfalls in mind, but hopefully there's something of use in this snapguide anyway. Cheers.
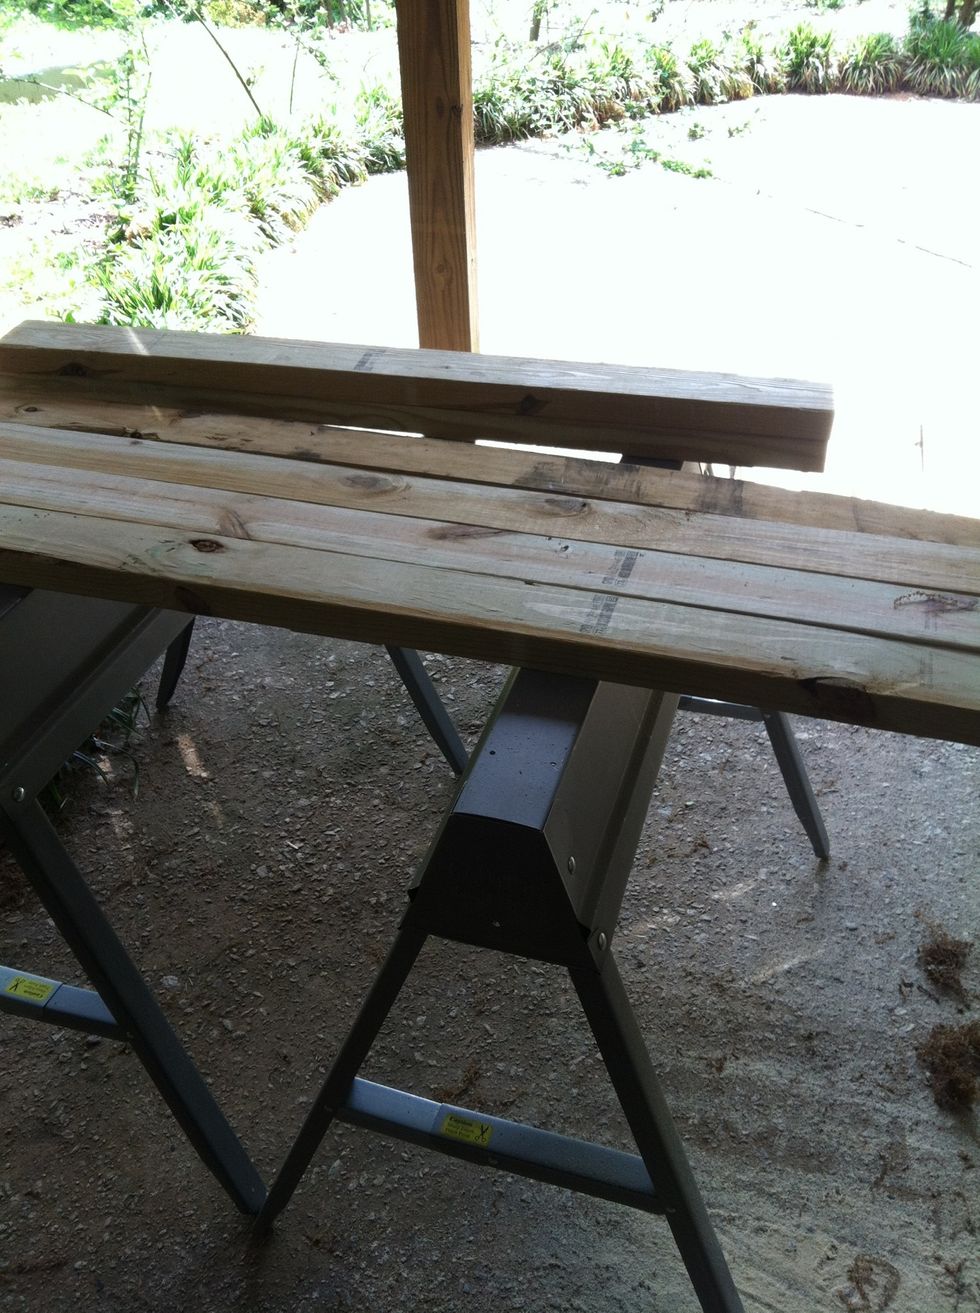
Cut your board to size that fits plant. Make 2 sides shorter by twice the thickness of the board if you want a perfect square.
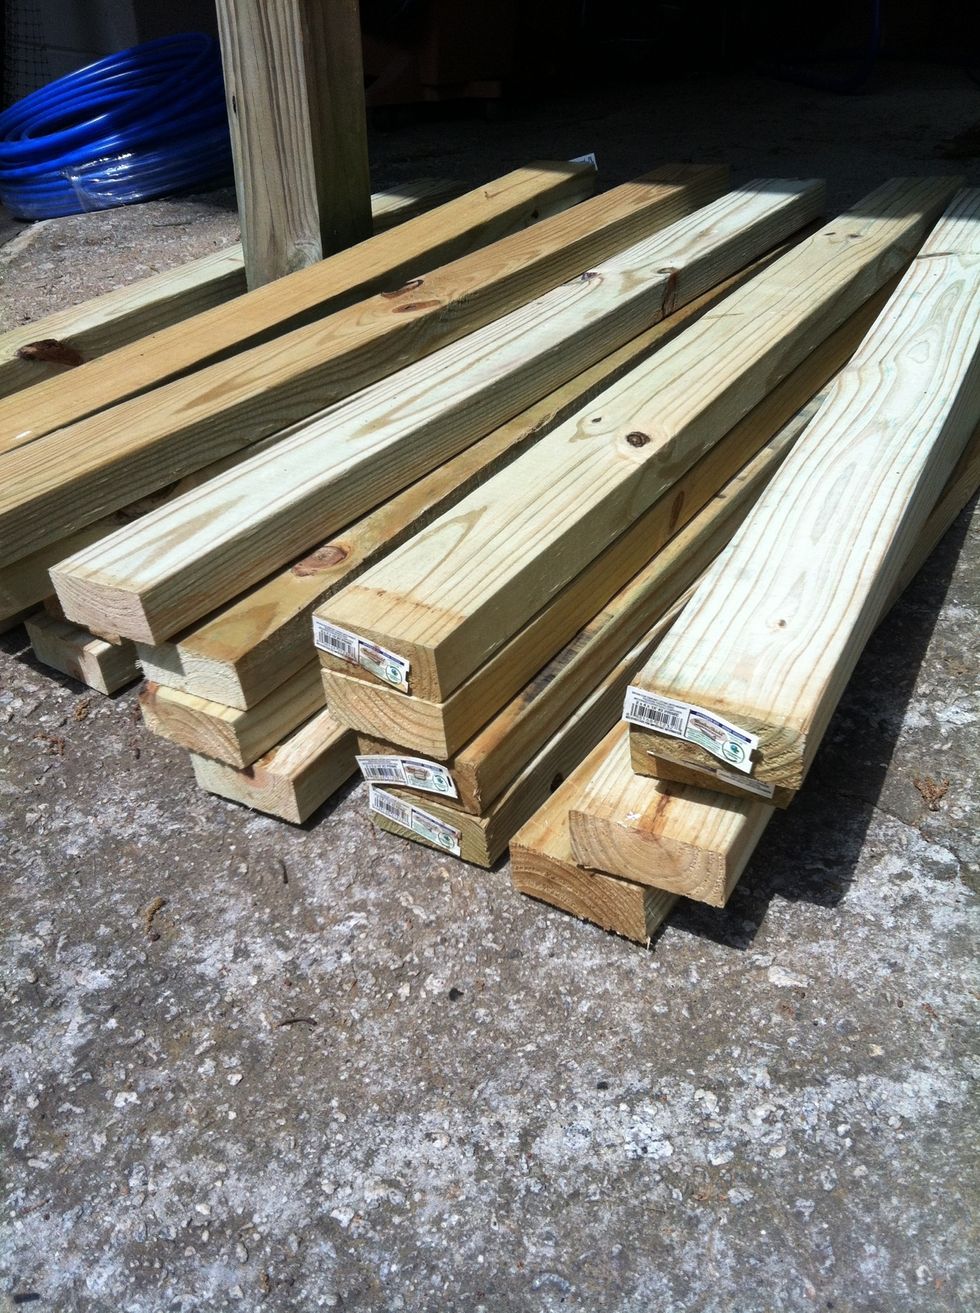
If you're doing more than one, best to do each step to all materials, factory style.
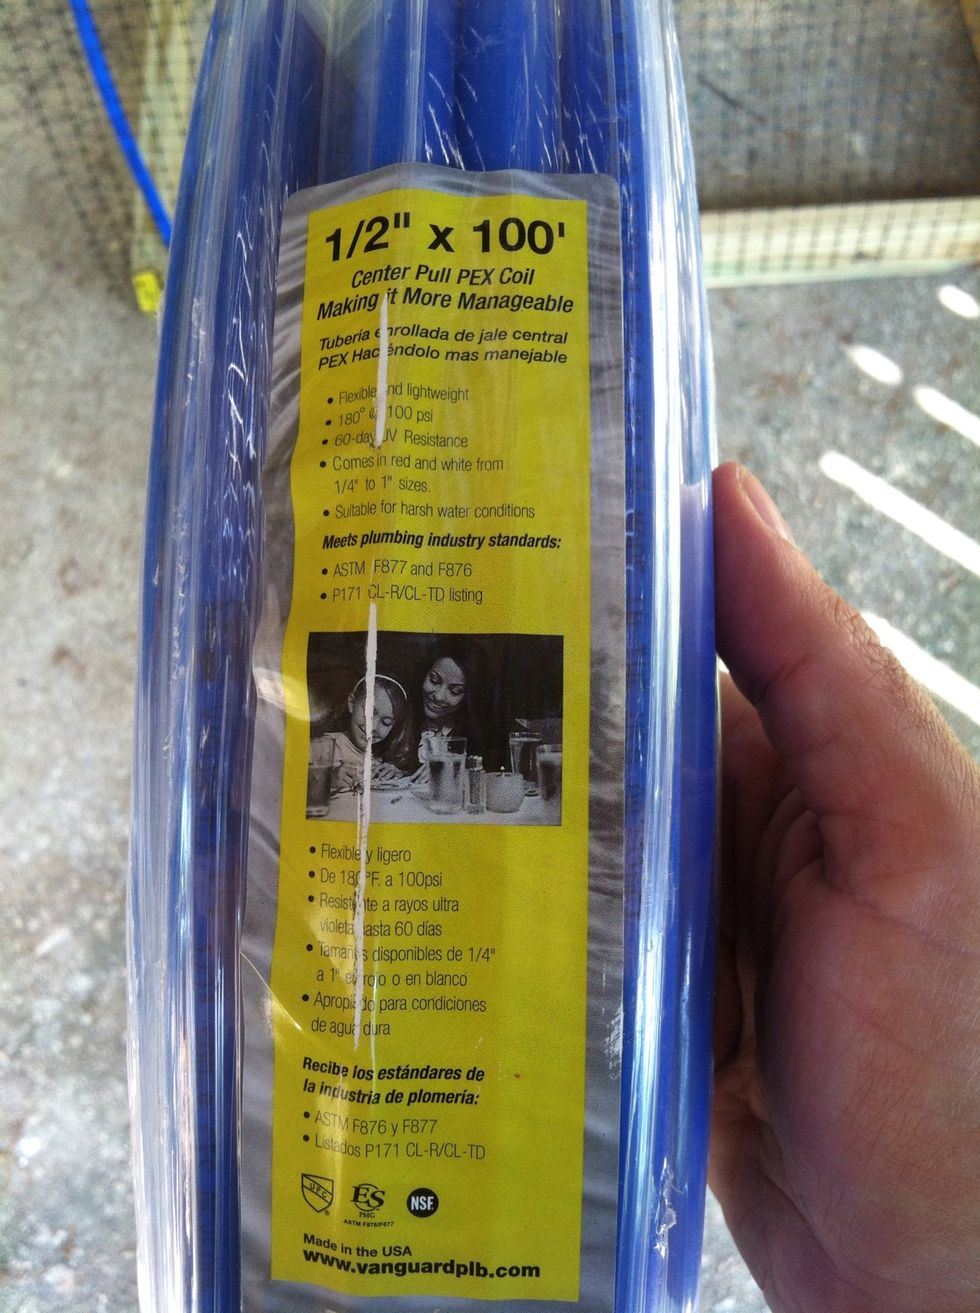
Here's the kind of tubing I picked up from the plumbing section of a home supply store
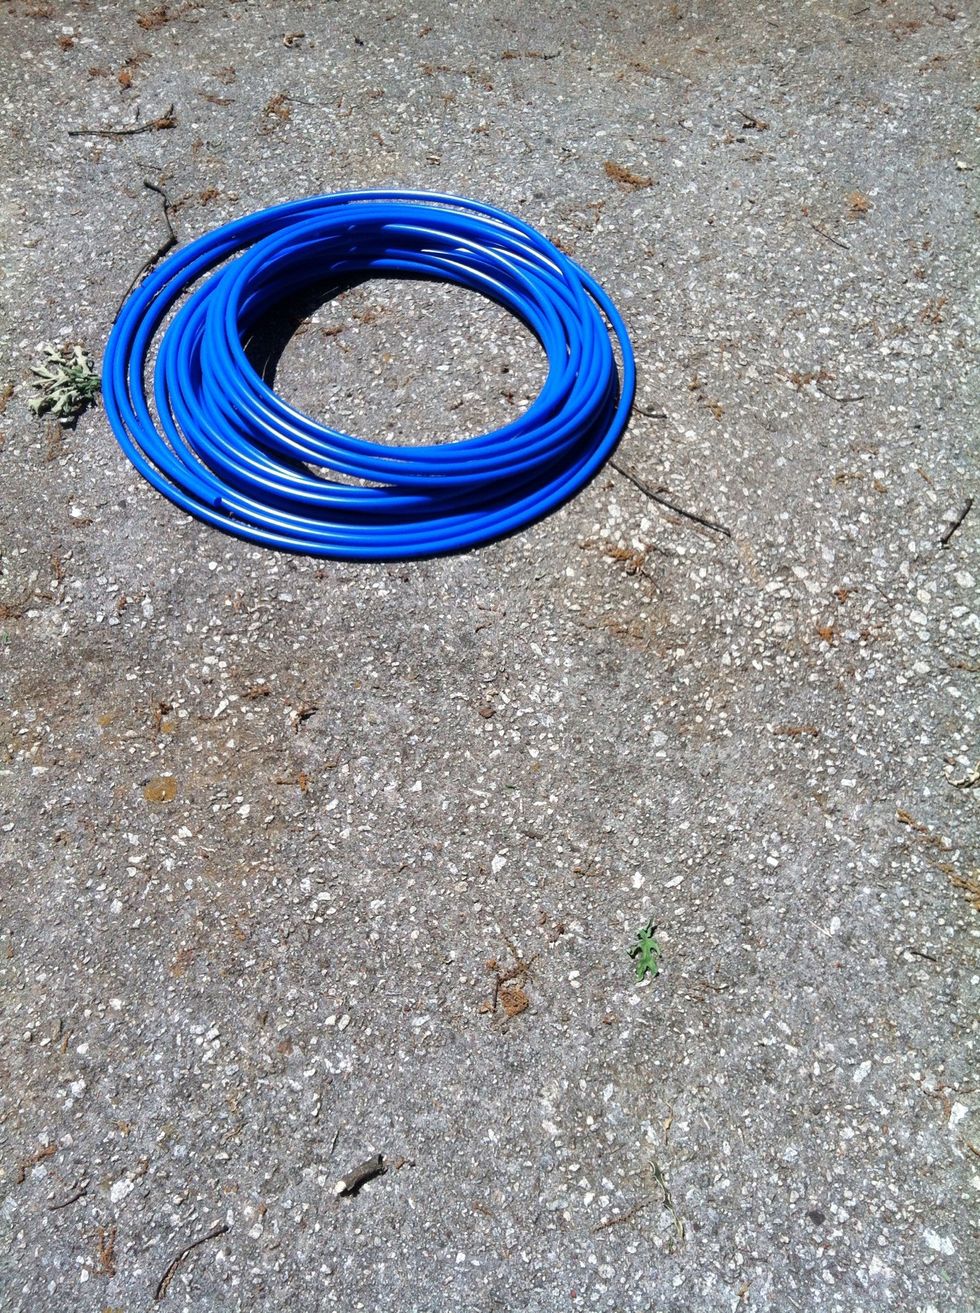
Leave the tubing in the sun for easier bending.
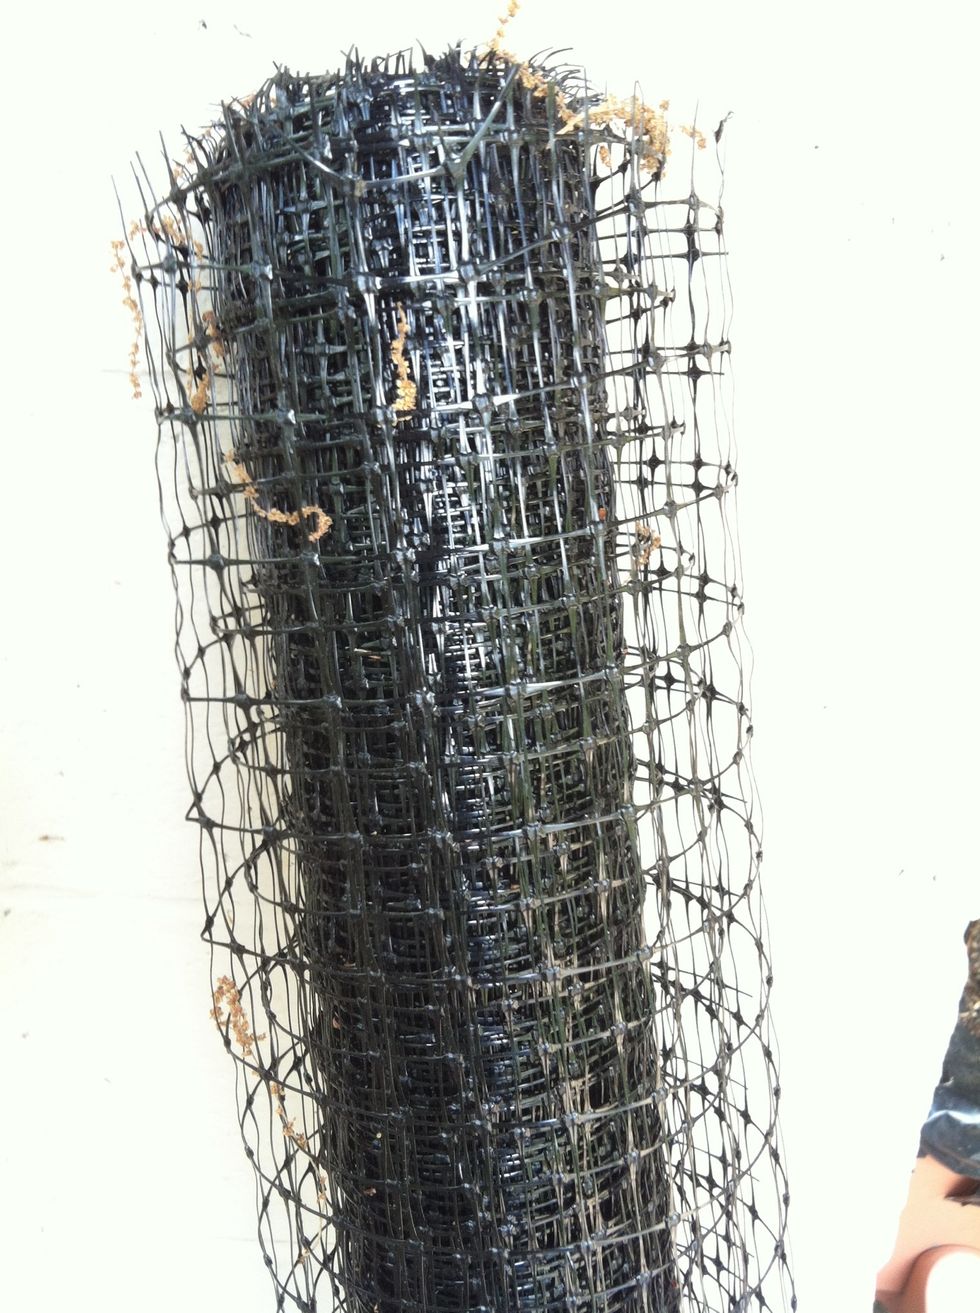
This is the kind of netting I chose. Thicker than deer netting, but not by much.
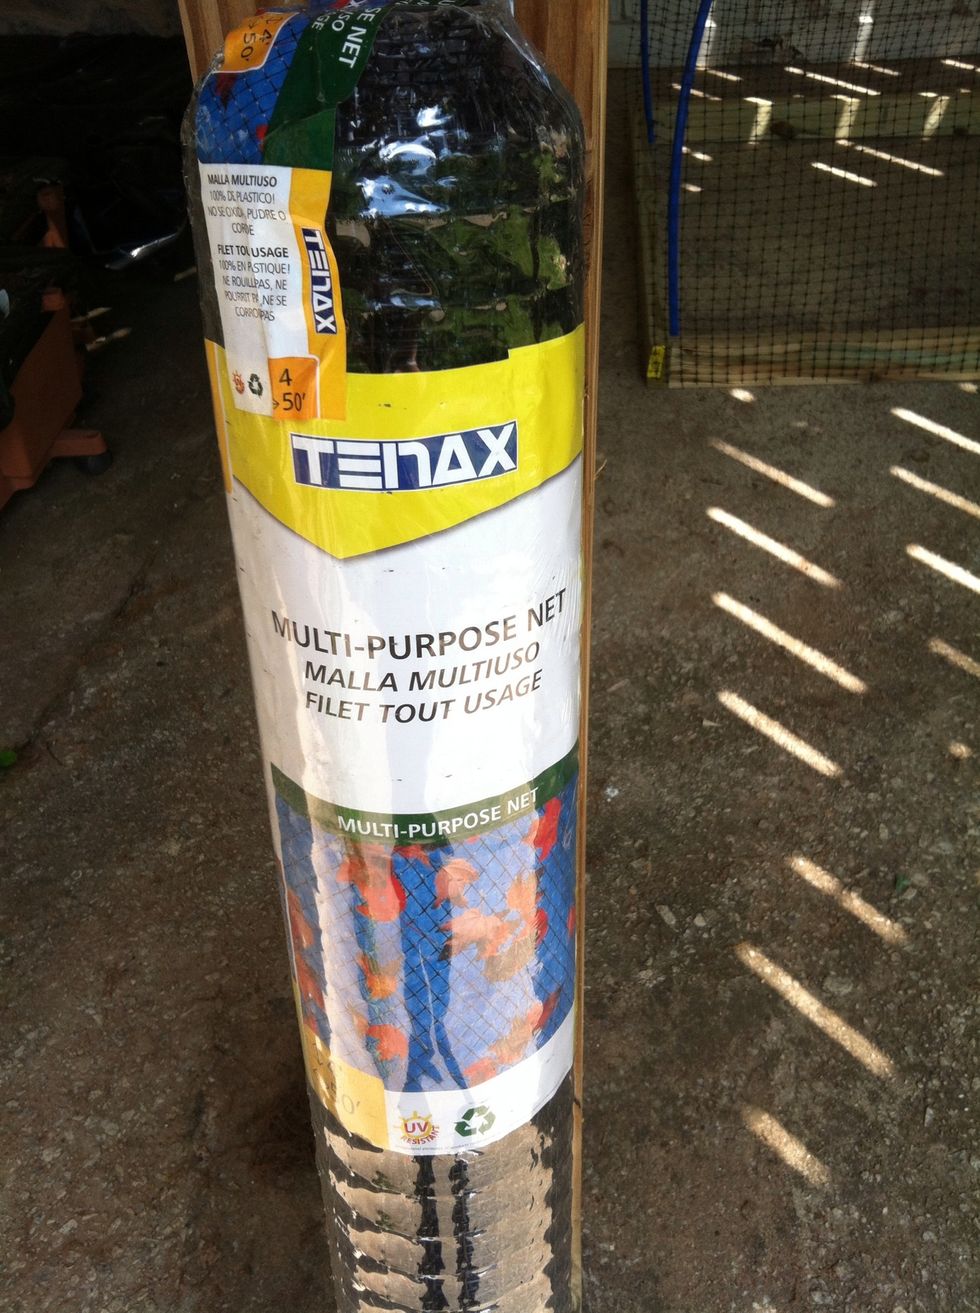
Netting label
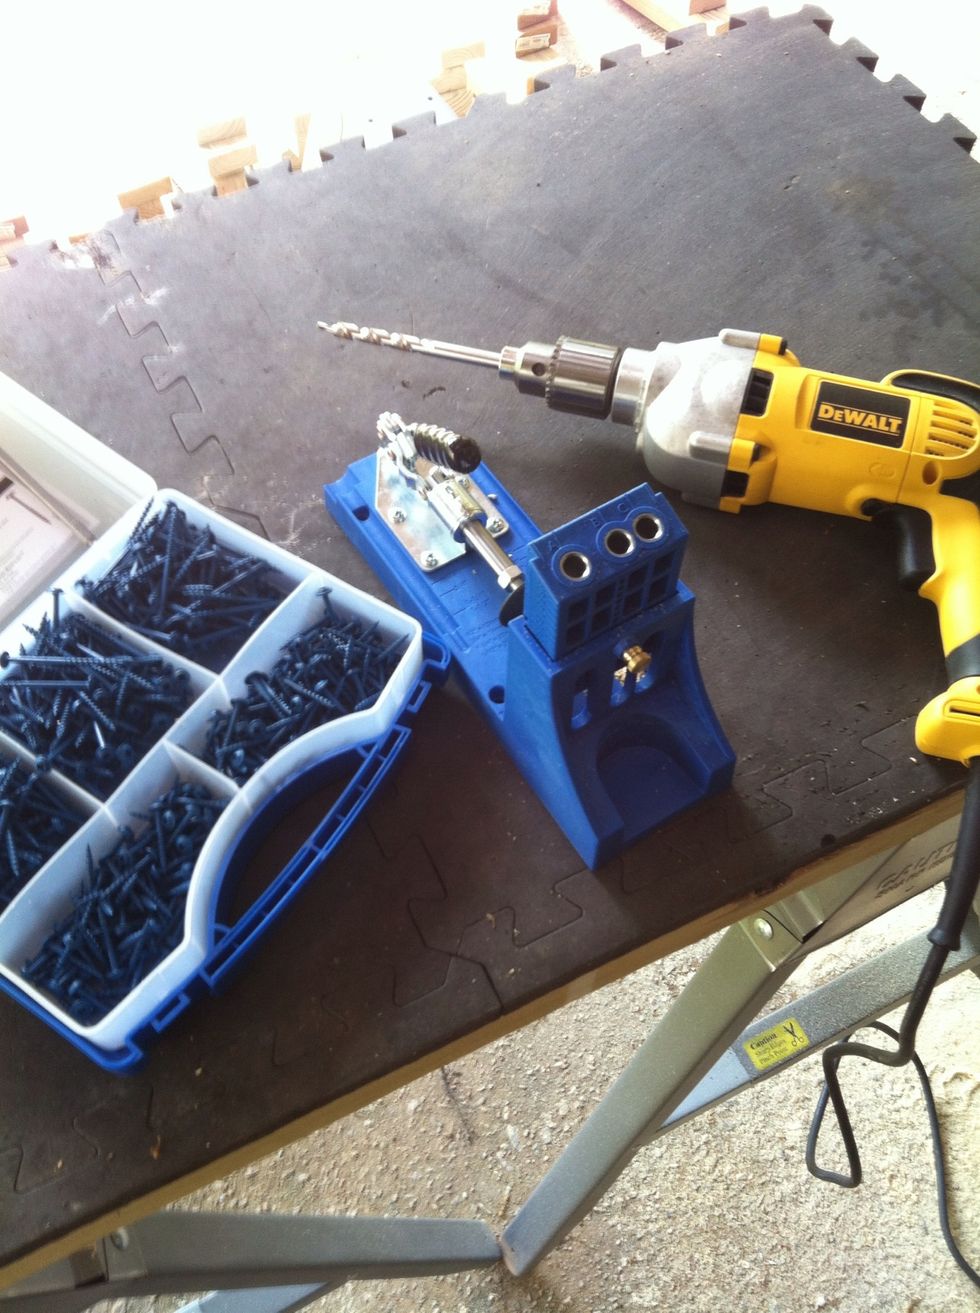
I used a jig to drill holes for the screws. Not strictly necessary, but looks a little nicer.
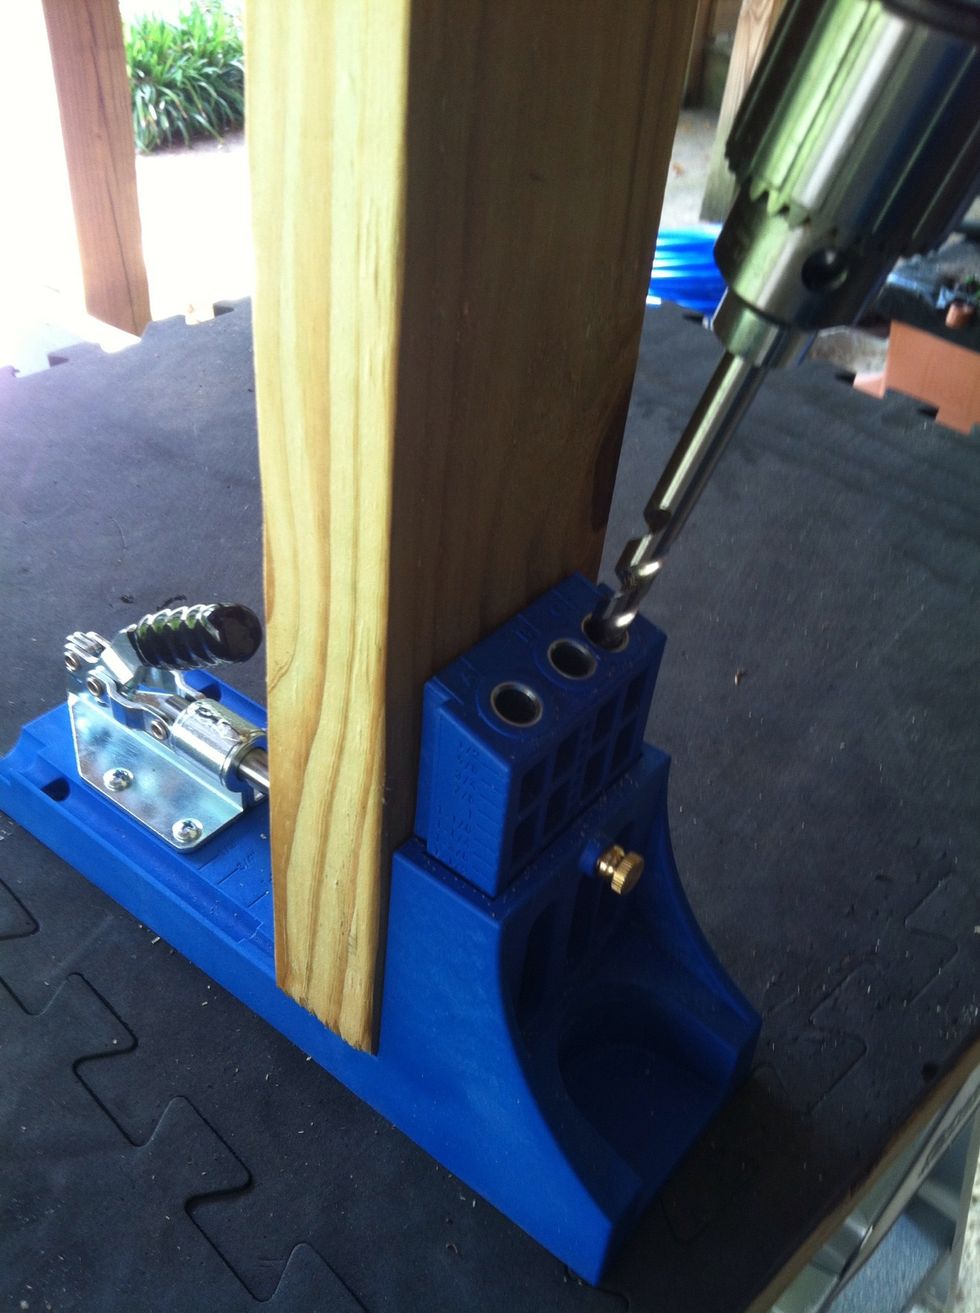
Drill two holes per side (4 total) on the two smaller boards. These will be facing the inside.
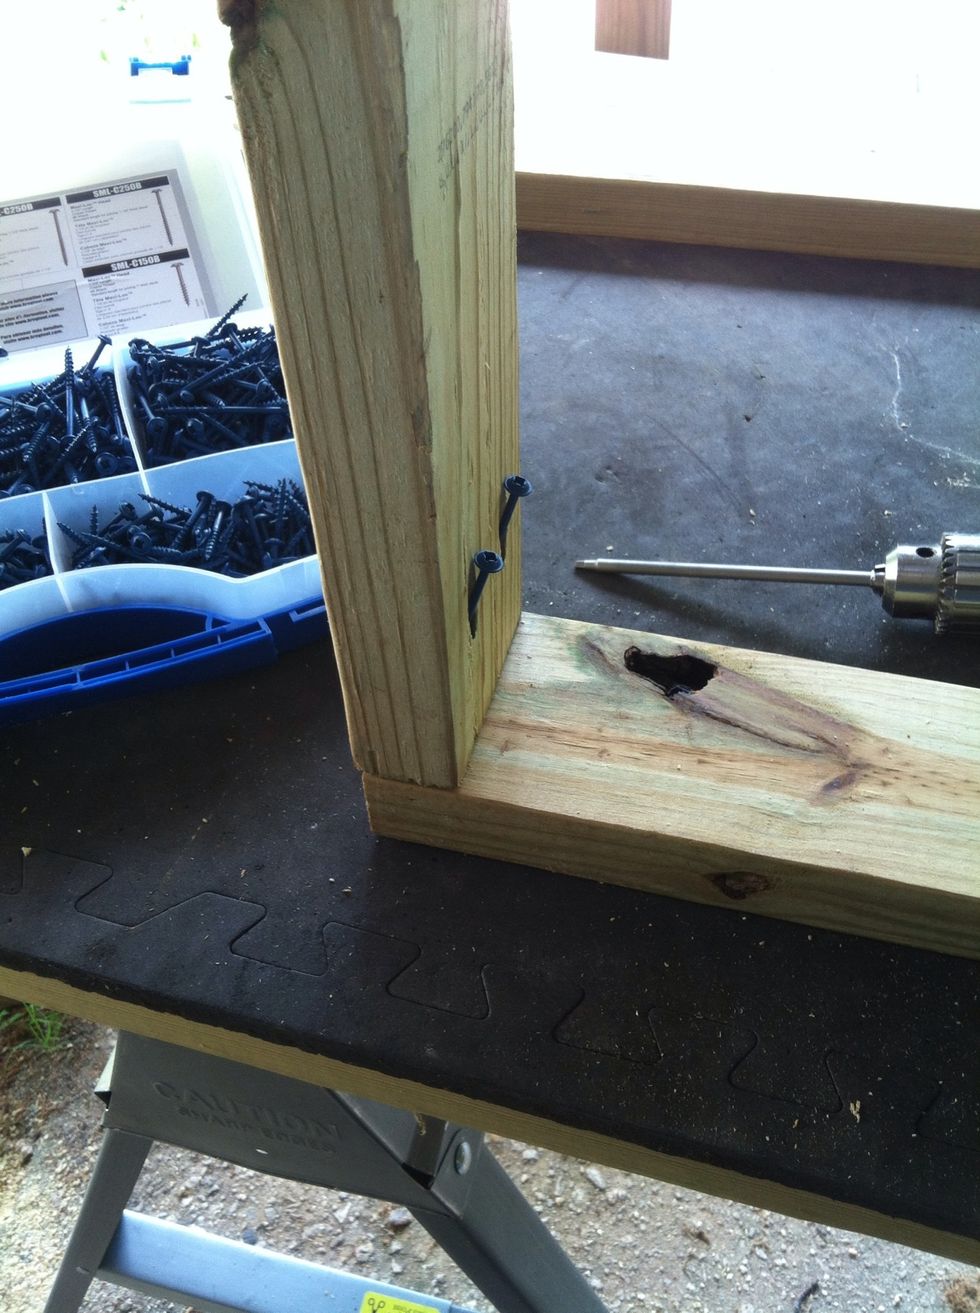
Drill in the decking screws.

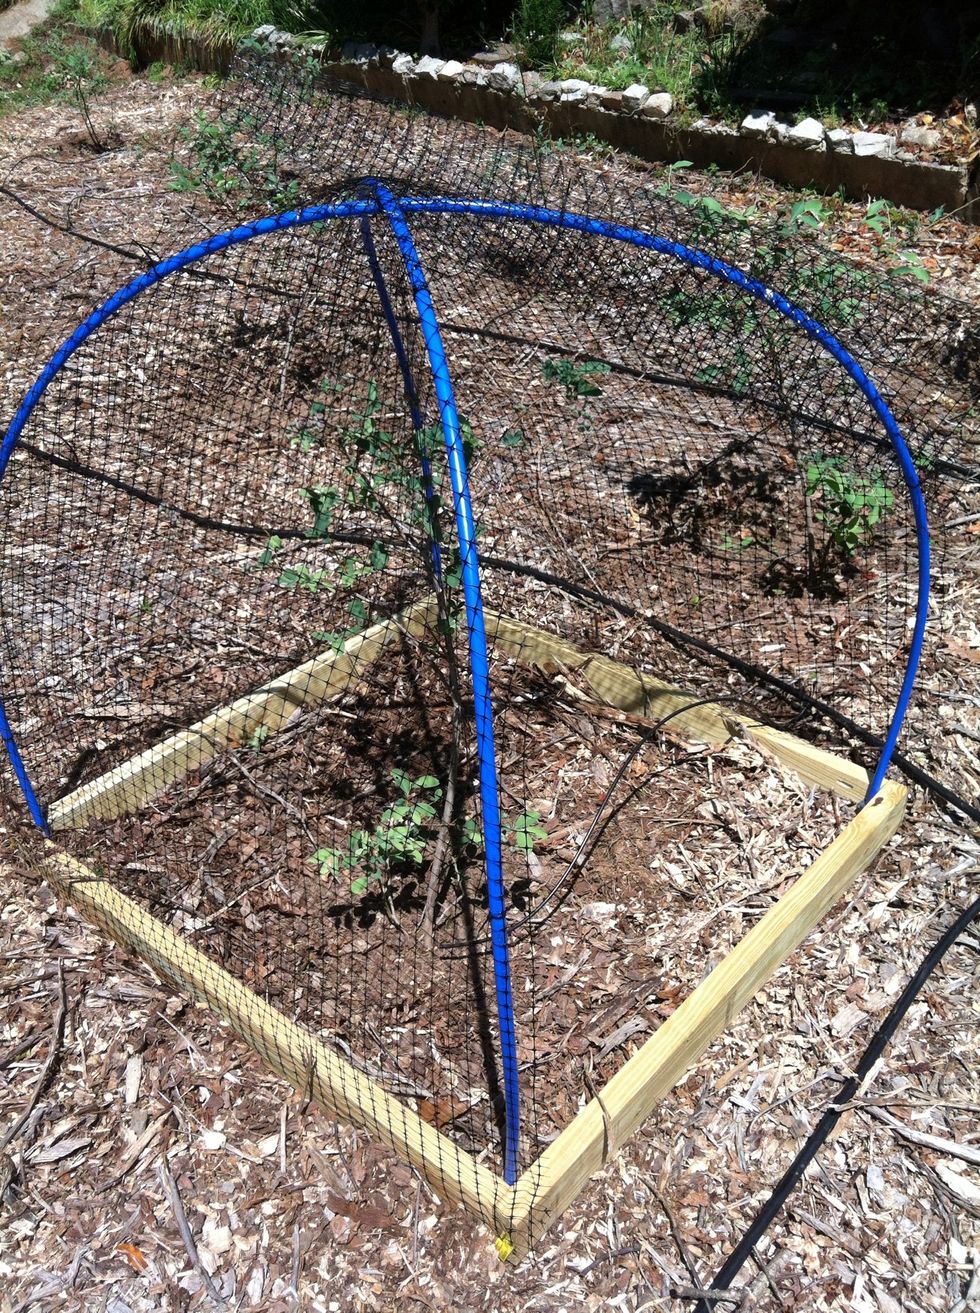
Frame complete.
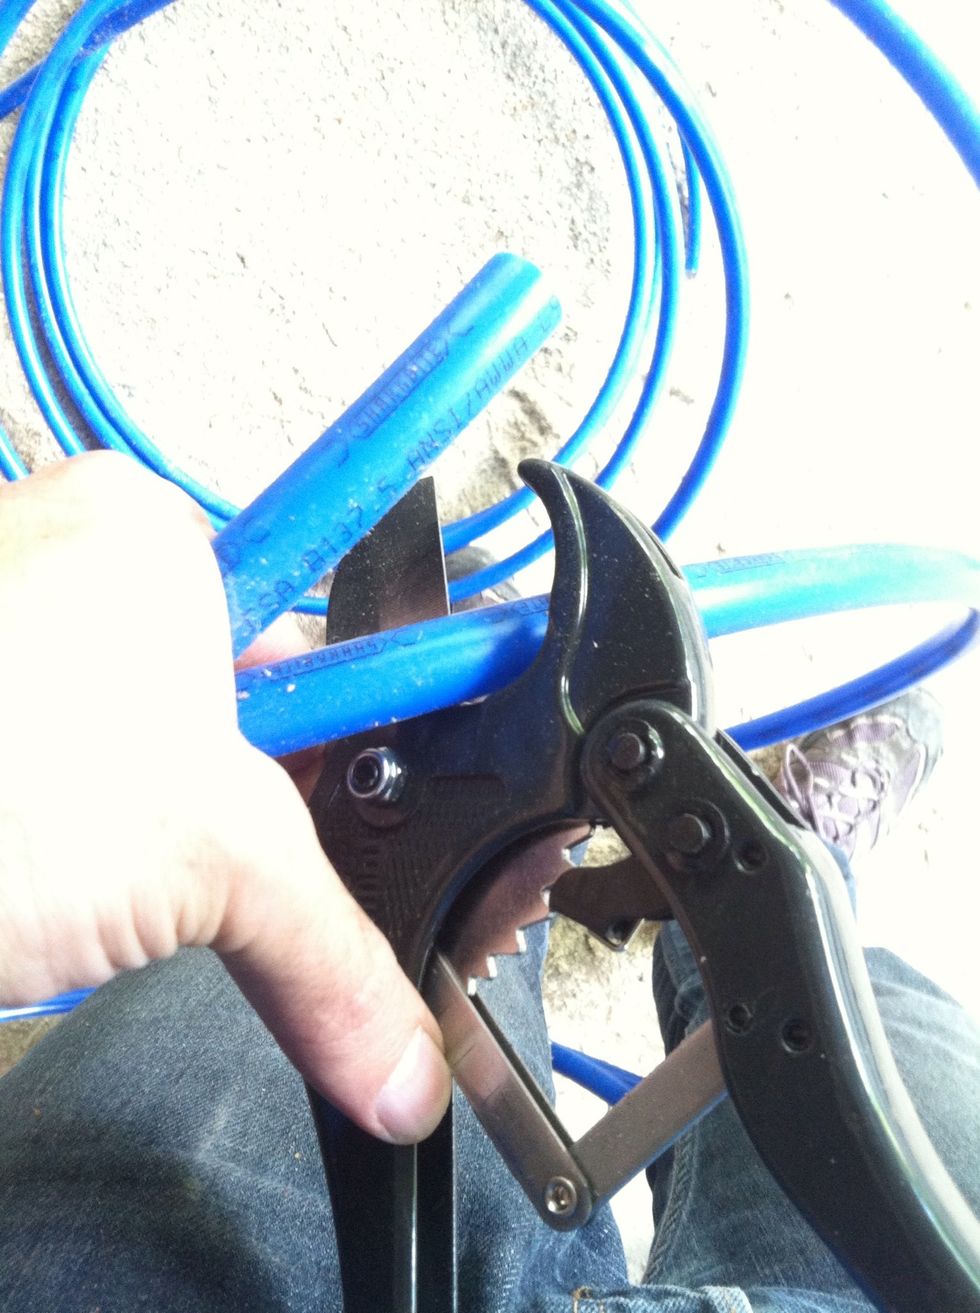
Cut your tubing to length. You'll want to visually measure to get the right height and arc.
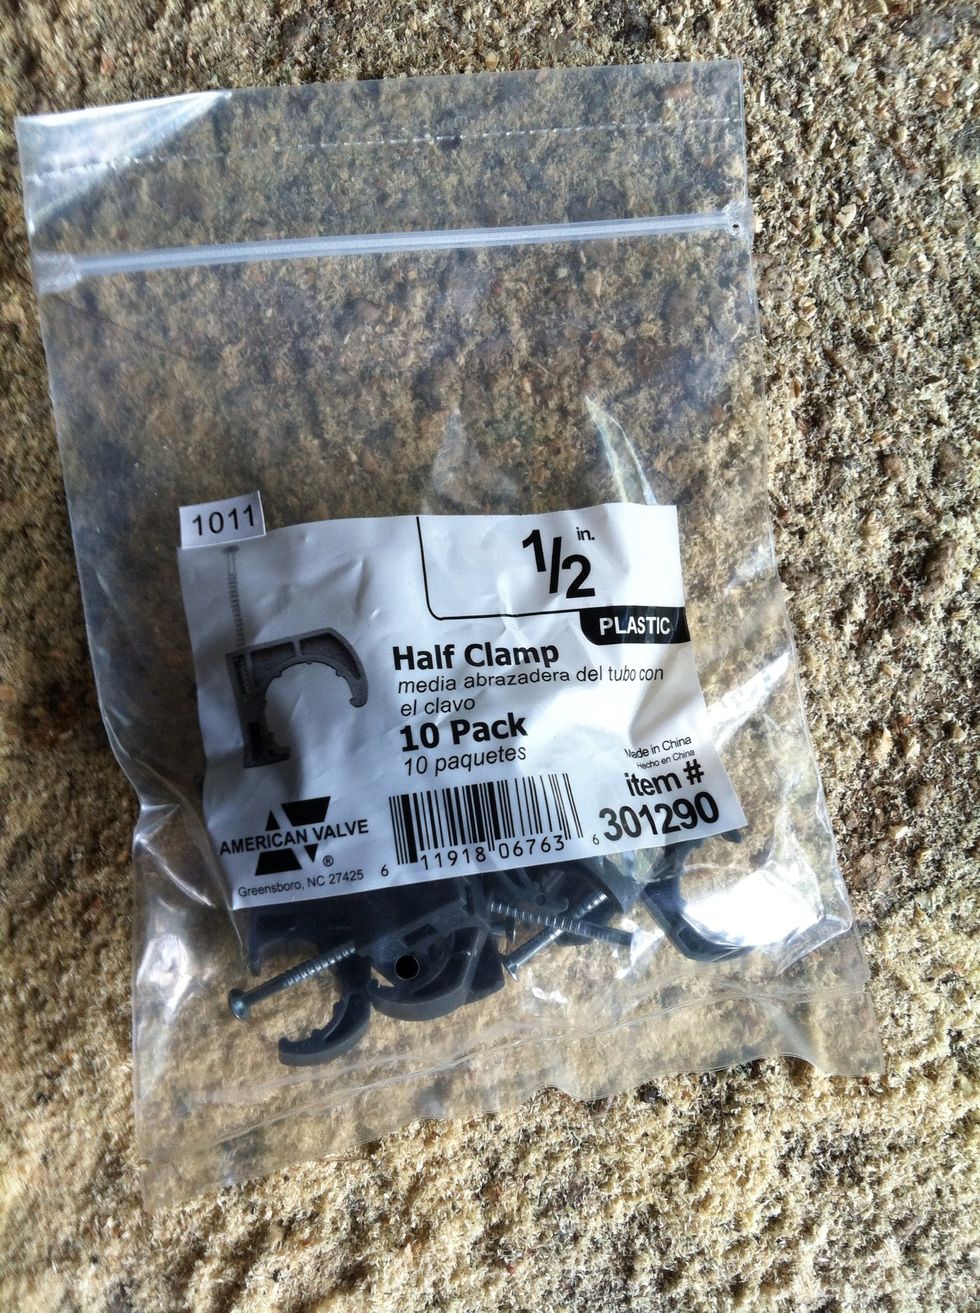
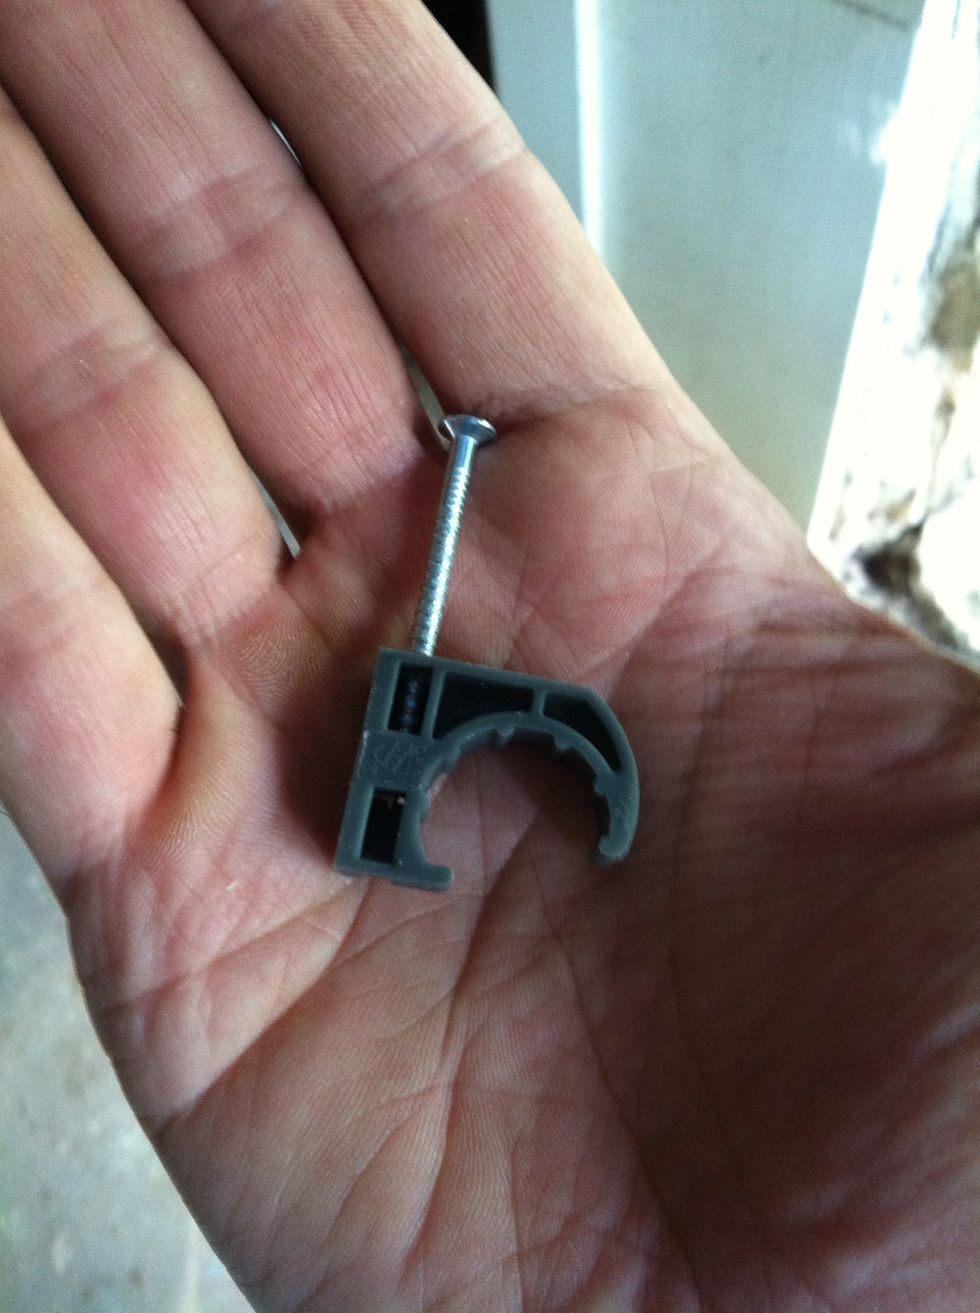
Get these clamps to attach the tube to the frame. I found them by the tubing, they are normally for plumbing.
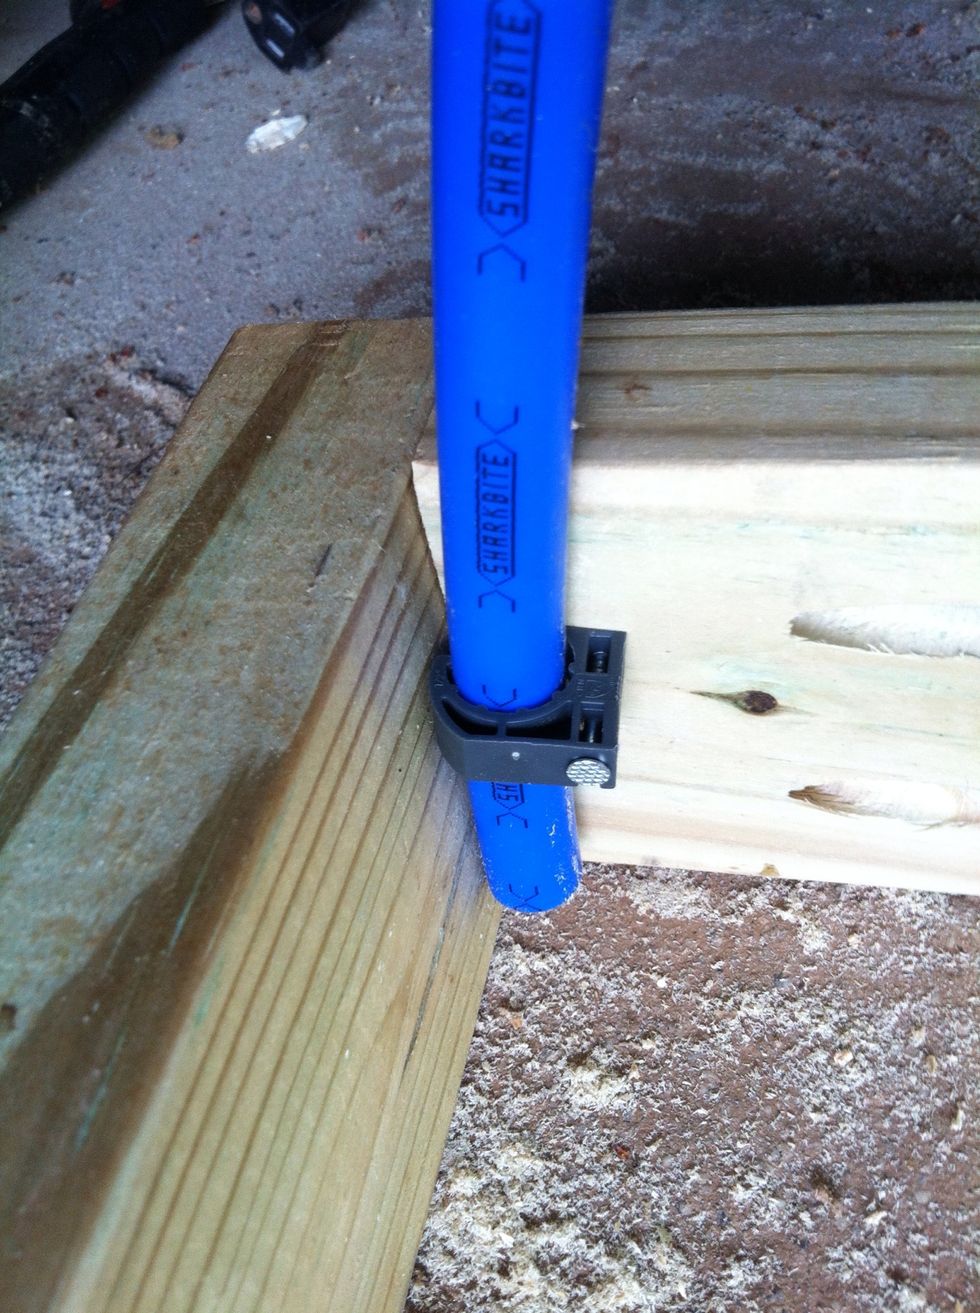
Installed
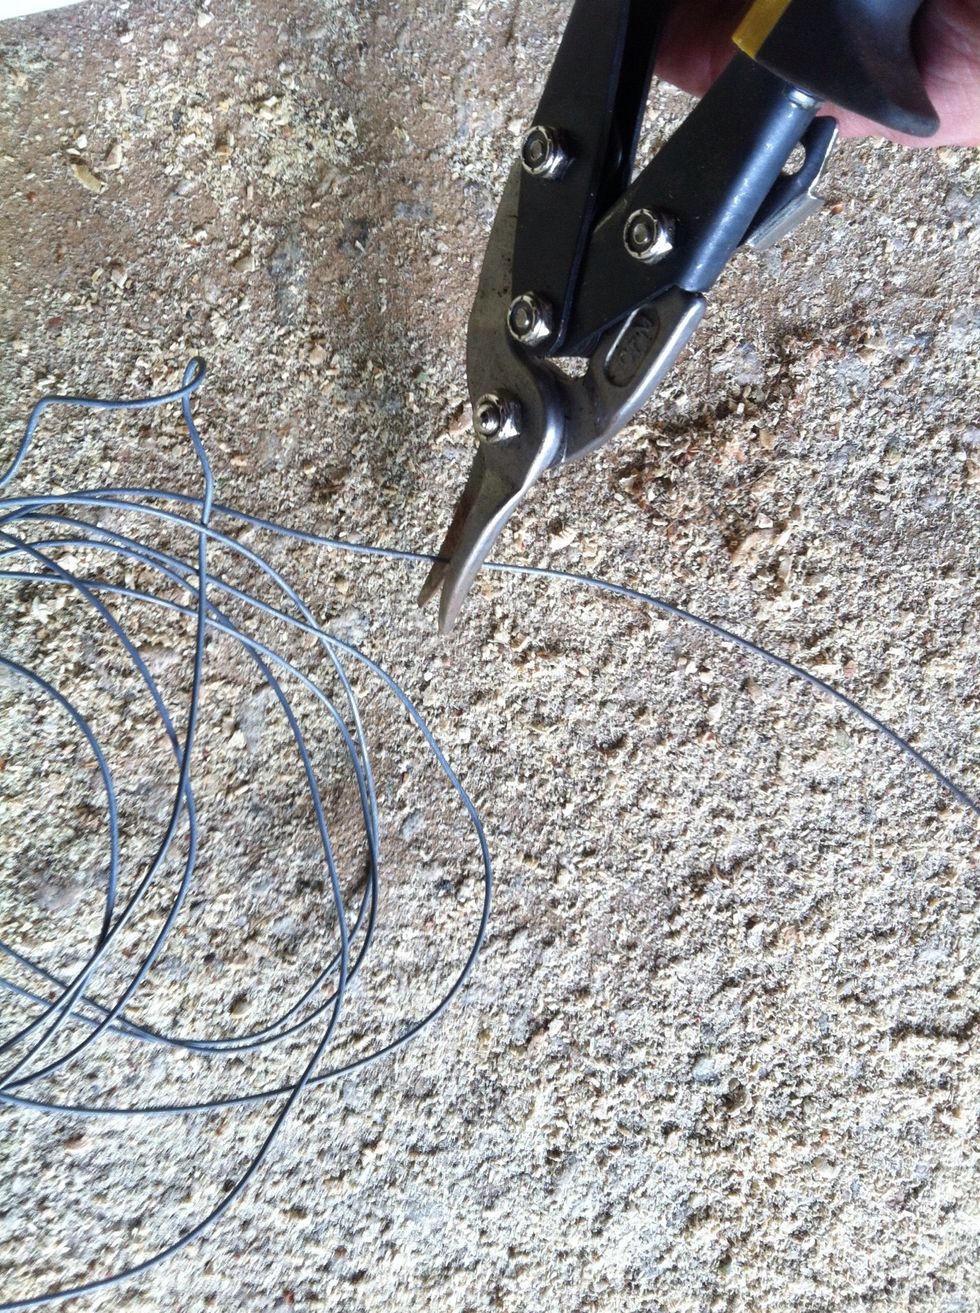
Cut some wire to secure the tubes together at the top of the arc.

Simple twists will work if the wire is firm.
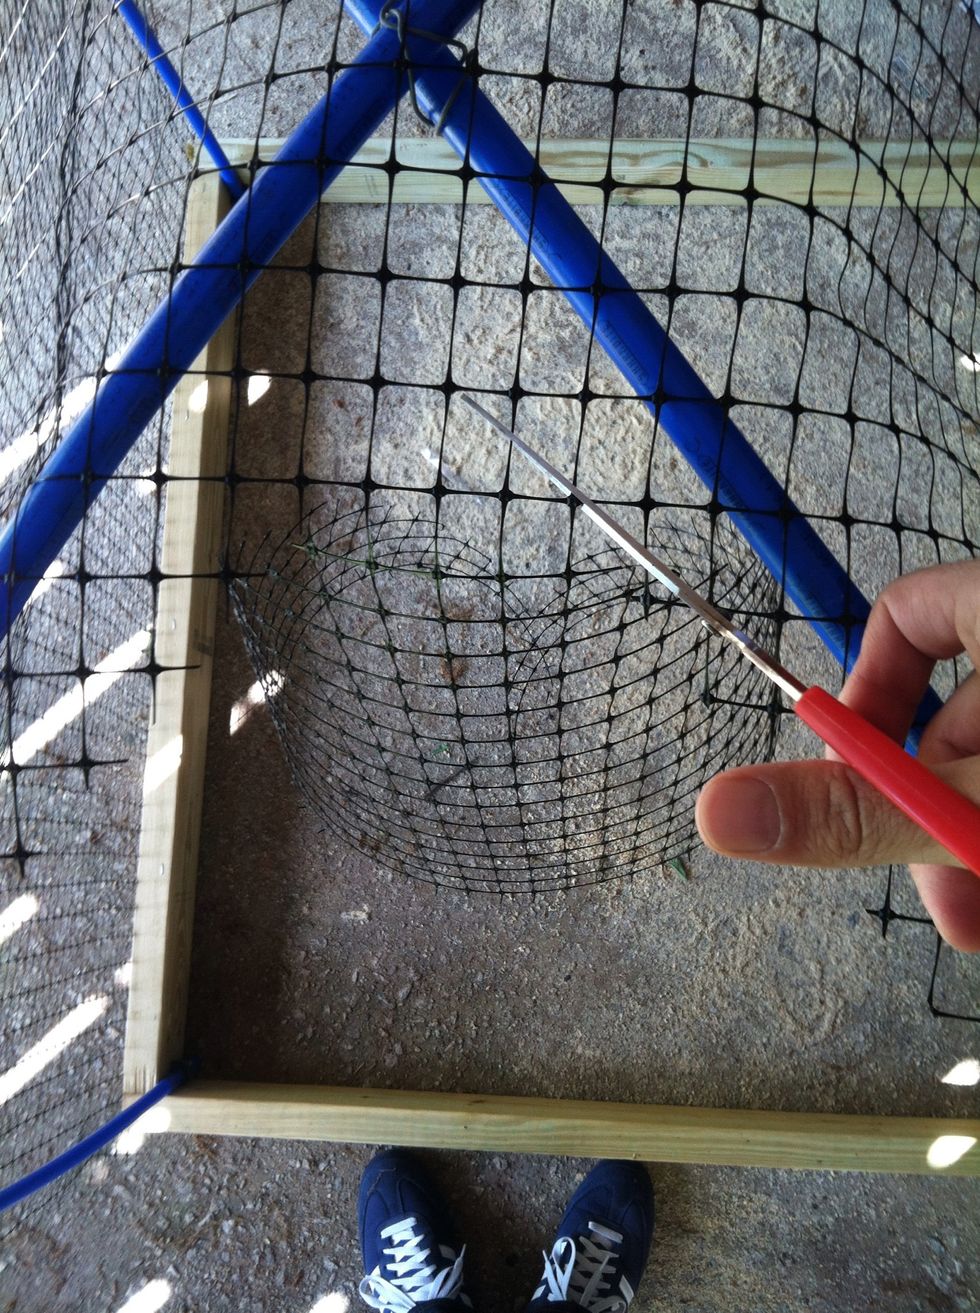
Wrap netting one direction, tie it to tubing with zip ties and staple to wood. Trim out the triangles that overlap as in photo.
Repeat going the other way, but don't zip tie or staple the last side. Use just two twist ties to secure it so you can access the plant later.
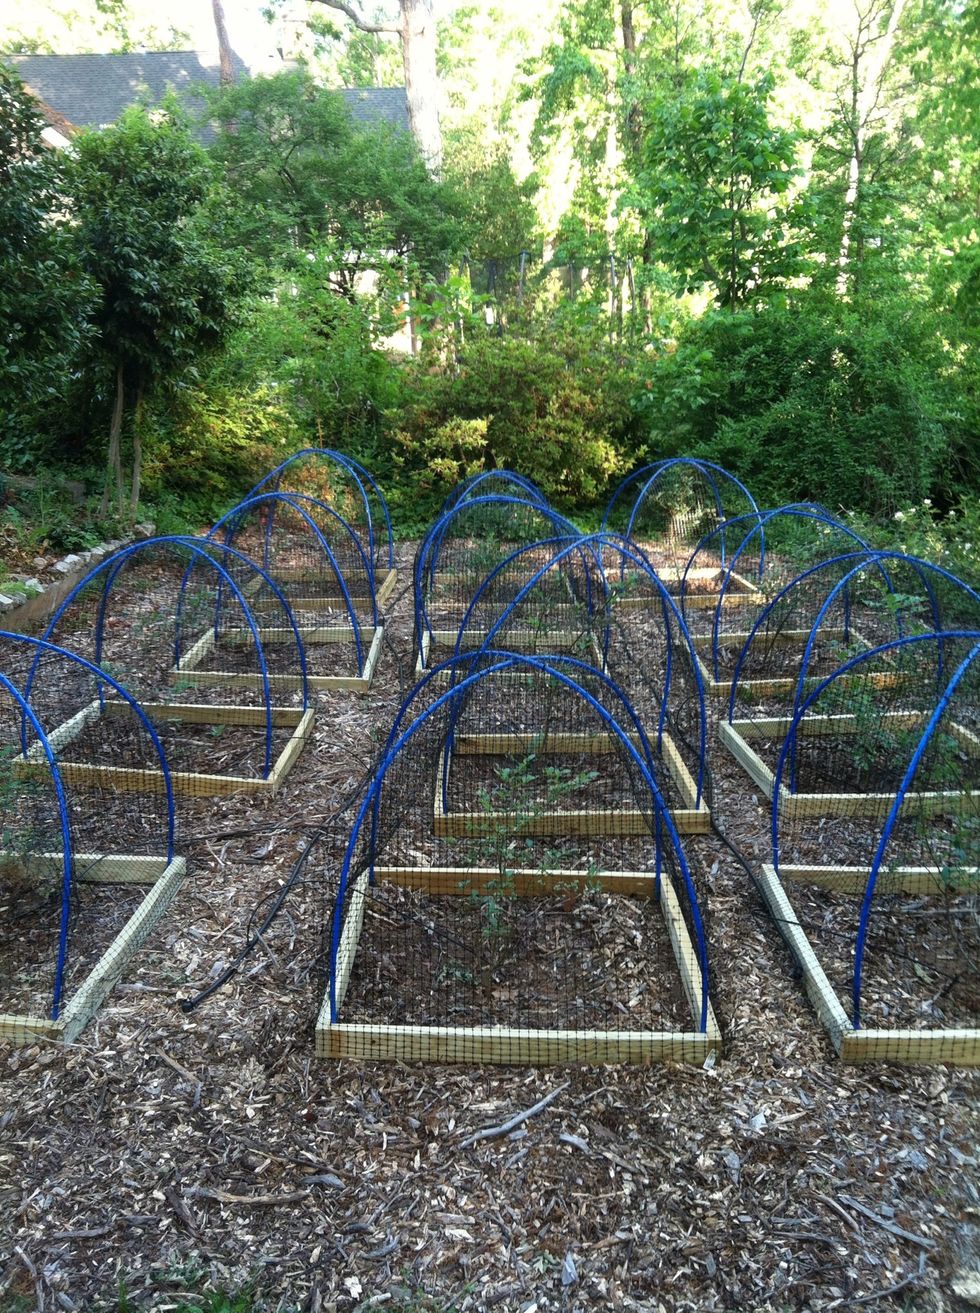
I made 12 this spring, so far so good!