The Conversation (0)
Sign Up
More Materials A Hacksaw , A pack of nuts and bolts , 1 Adjustable Wrench, 1 Bottom Bracket Tool and 1 Screw Driver, Washers, Cups, Bearings
1) Grab the bike seat post and the clamp and put the bike frame on the floor. Now put the seat clamp on the around the seat hole and pick a screw and tighten it up. (Step Continued On Next Page)
Now grab some grease and put a lot grease on the post otherwise it will rust. Insert it once it's done, then put the seat on, make sure you tighten the screws, you might need a parent to help you!
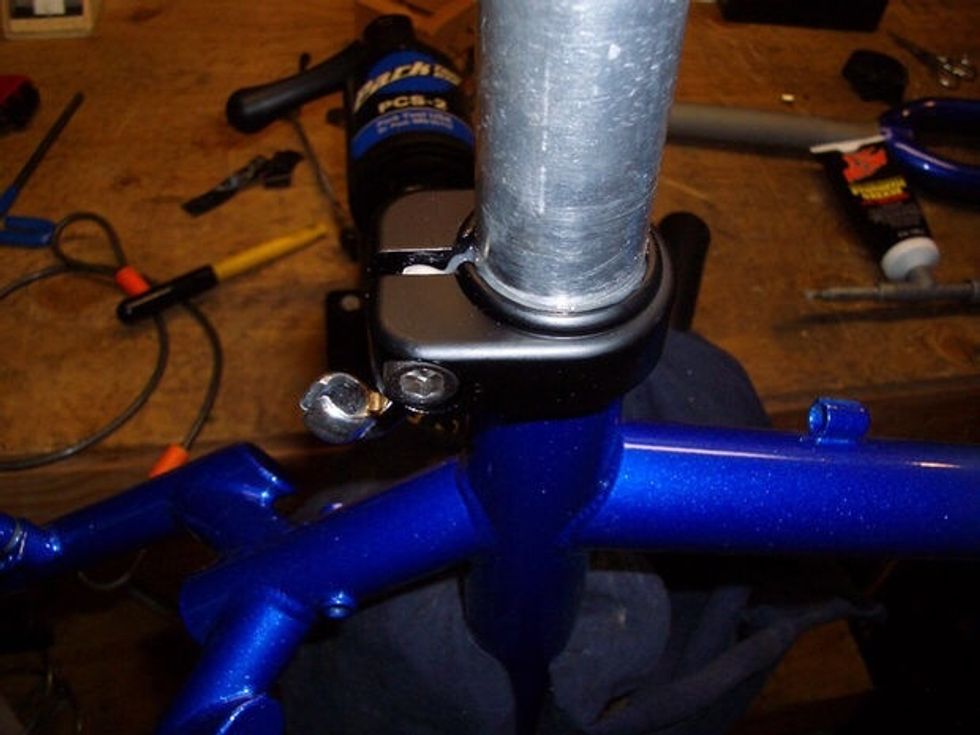
This is the part you add the seat post and clamp on. You can see the seat post and the seat clamp.
2) Now you have to install the race. Put some grease on the fork and slide the race down as far as you can go on the until it hits the bottom. If you start struggling you can use a hammer to hit it.
Ask an adult to help you!
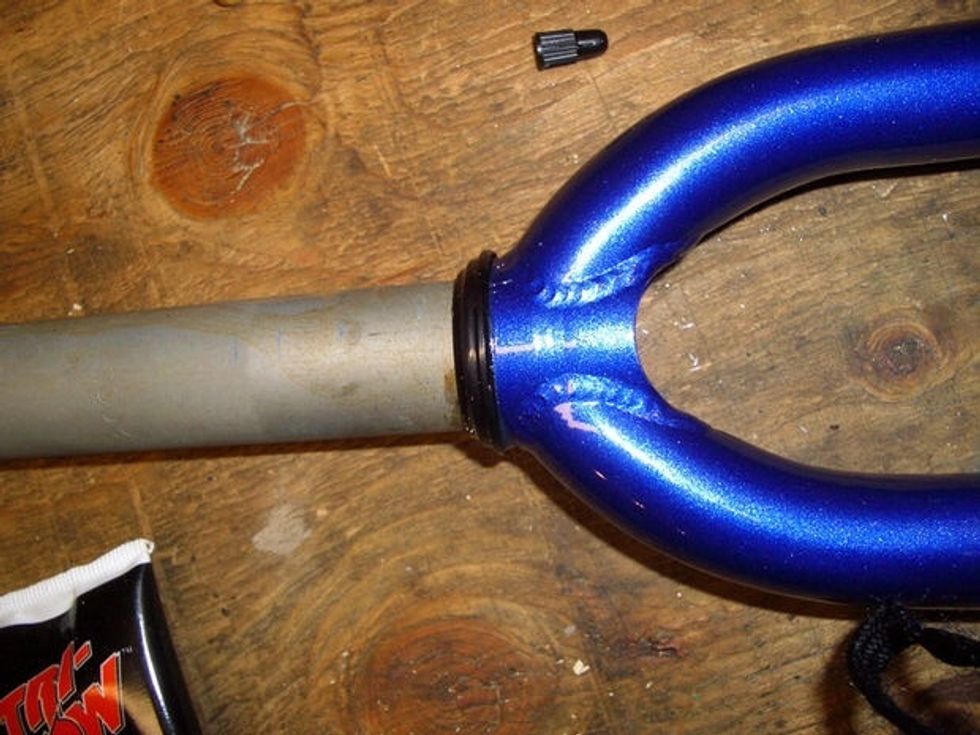
The race or headset is the white pole you have to install it into the blue pole.
3) Now you need to install the cups, get your can of grease and grease them. Grab 8 washers and now slide the cups down the race or headset and tighten the bolts. Now grease the bearings.
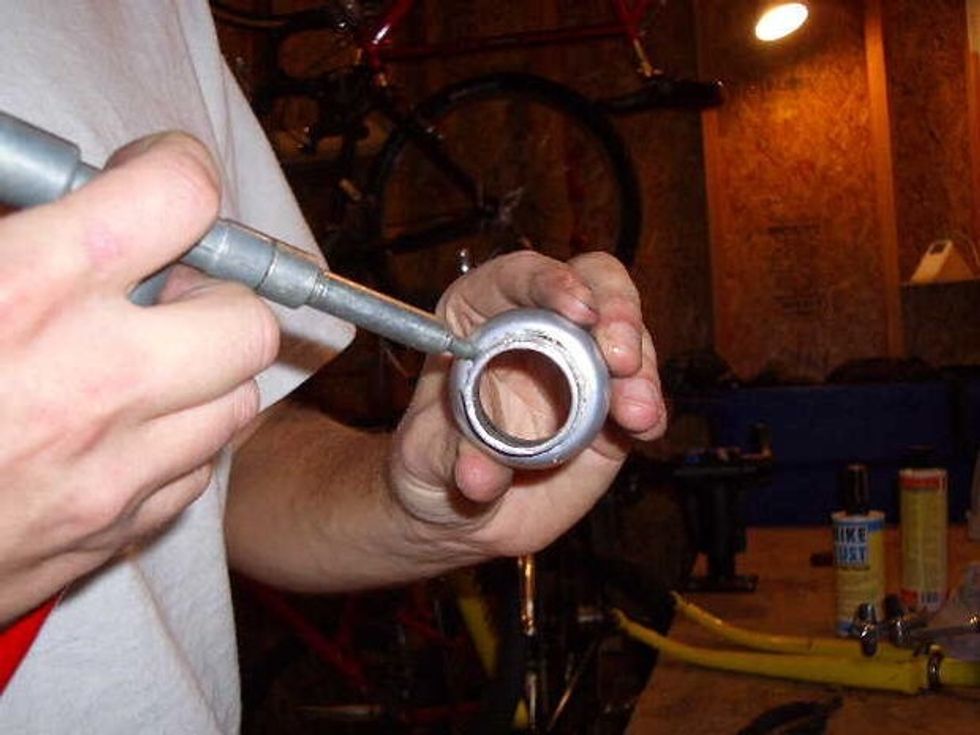
This is a picture of someone greasing the cups.
4) Now the headset is finished and the bearings have been greased grab your stem and spacers and put them on the fork. Make a mark with a maker on your fork. (Continued)
The mark represents where you are going to cut steerere tube. Ask an adult to help you do this!
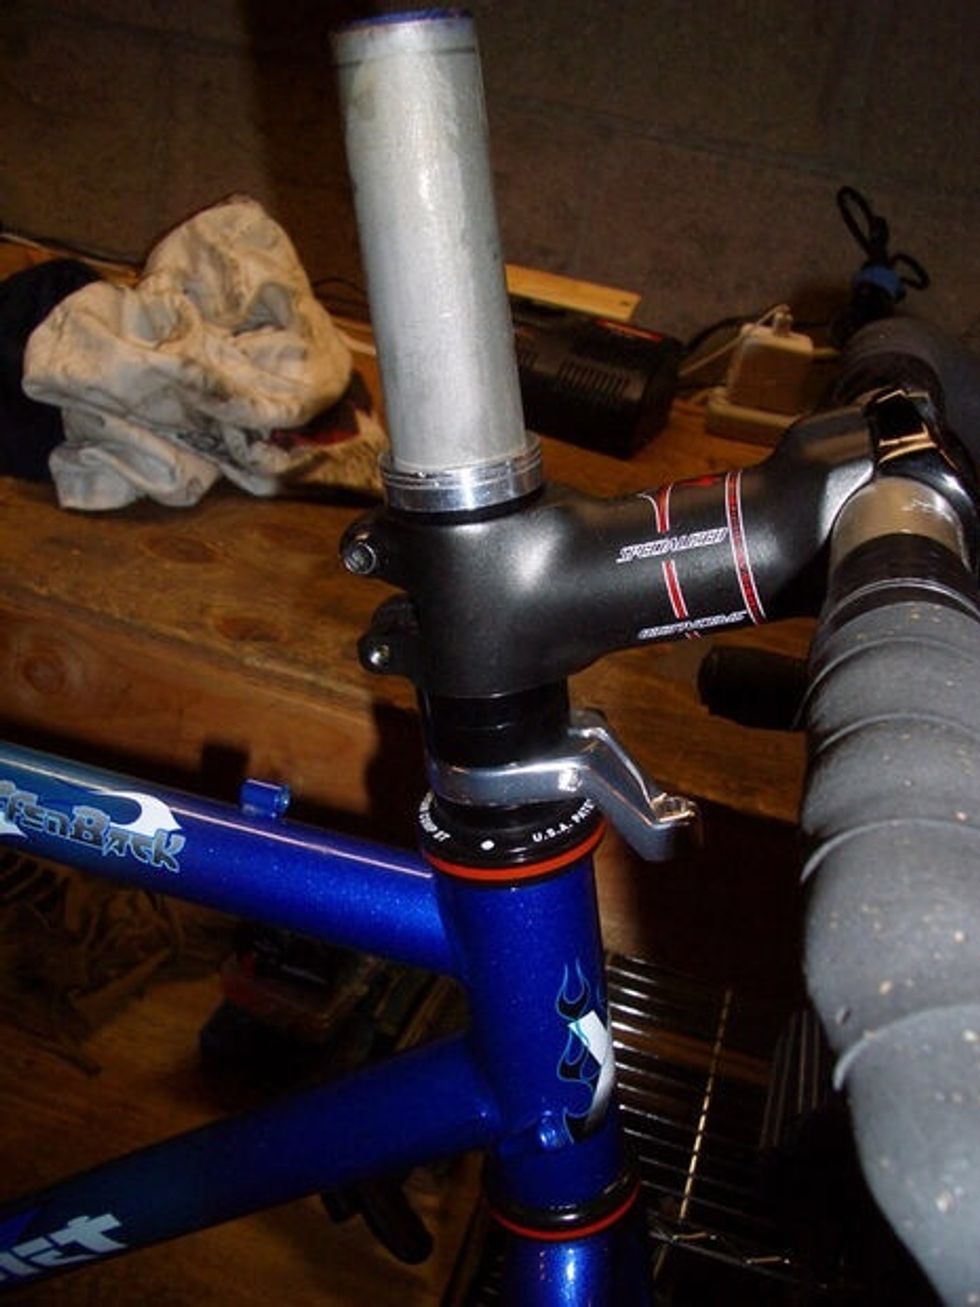
This is a picture of the stem and fork.
5) Now get your hacksaw and cut around 3mm below the mark you just made. You can use something like a zip tie to mark the spot to cut. Make sure you cut it right, Remember ask an adult to help you!
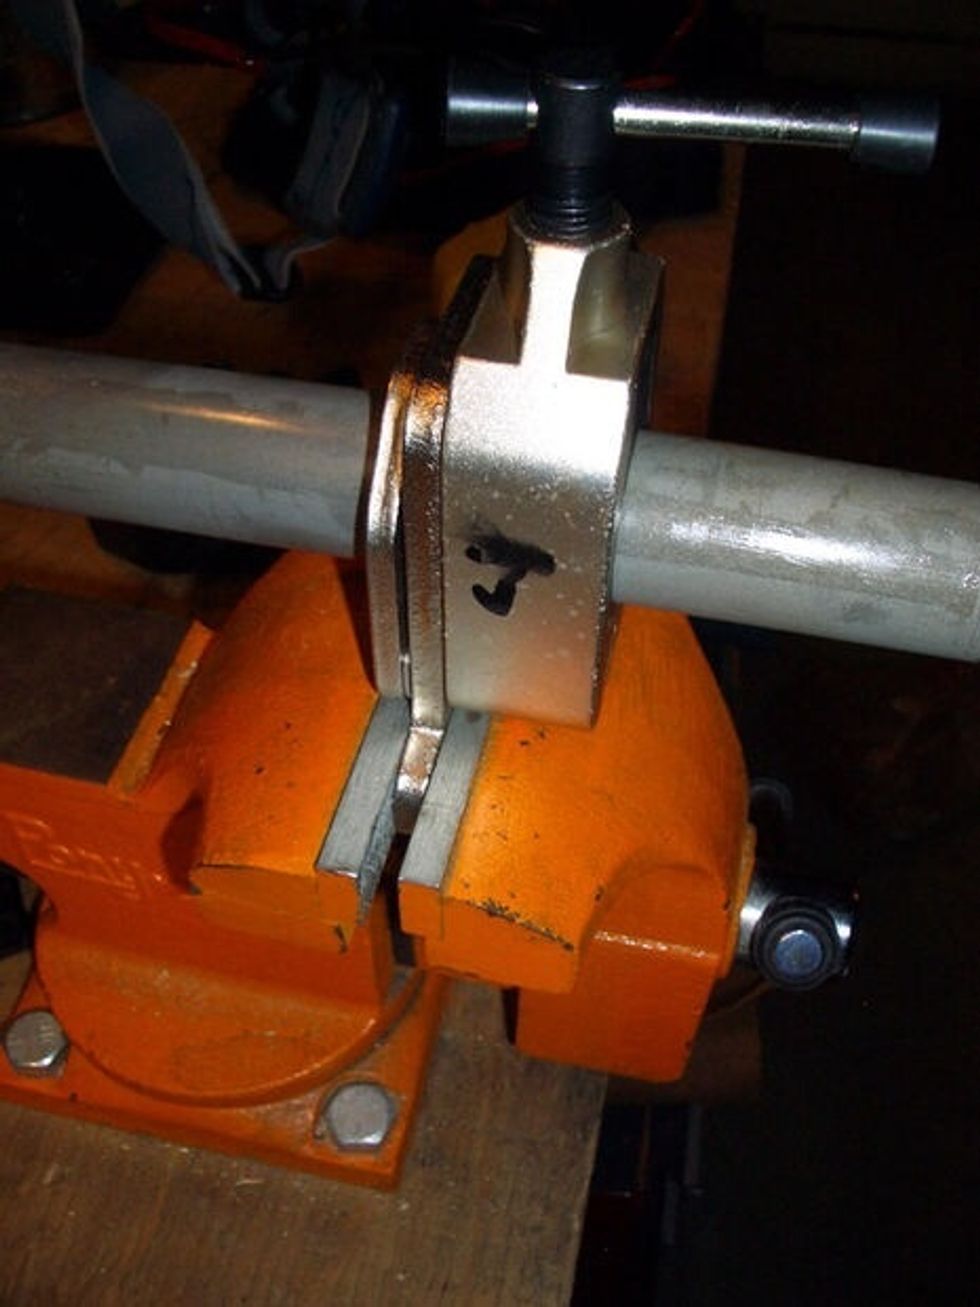
This is the hacksaw cutting the fork.
6) Now put the tires on by pumping up the tubes and slipping them in the tire then in the tire slot put it in and screw it in place with a screw driver, you may need help.
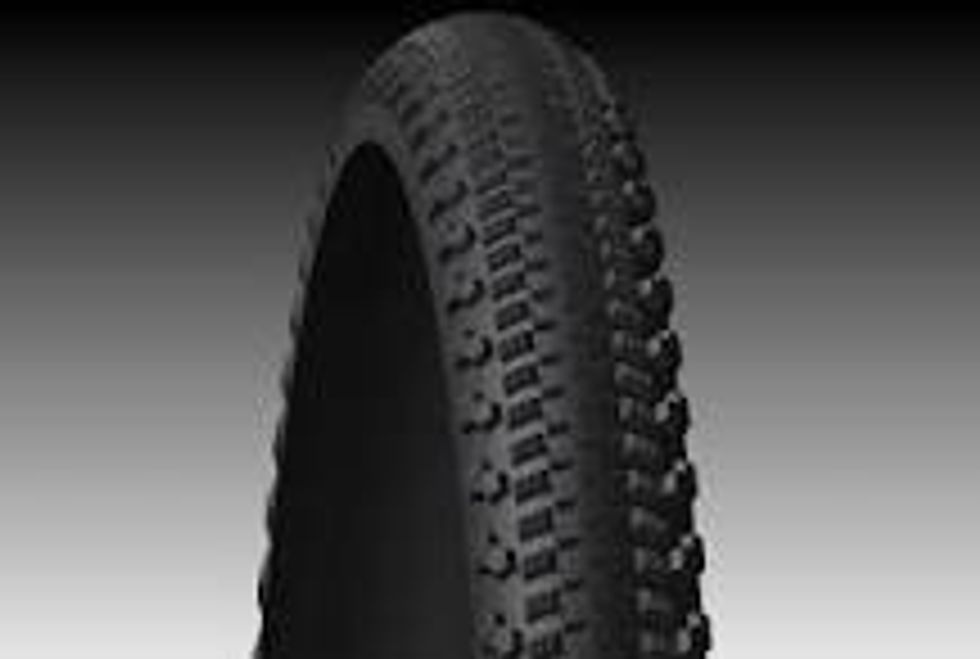
This is a picture of a tire.
7) Now you have to put on the chain, breaks and cassette on. So put on the cassette on the slot on the frame where the back tire is with the provided screws. (Continued on Next Page)
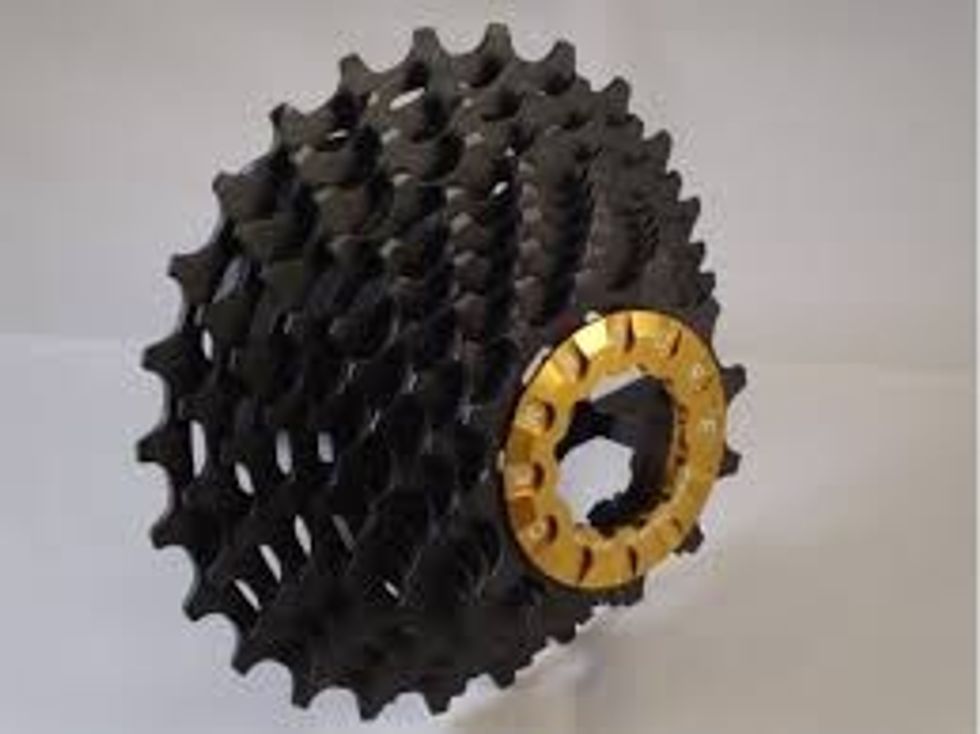
This is a picture of a bike cassette.
Now grab your chain and put it on the cassette Now grab the breaks, connect it on top of the frame on the bottom tire and front and put on the break handle on the handle bars and make sure it works.
8) Now your bike is ready to ride, Enjoy!
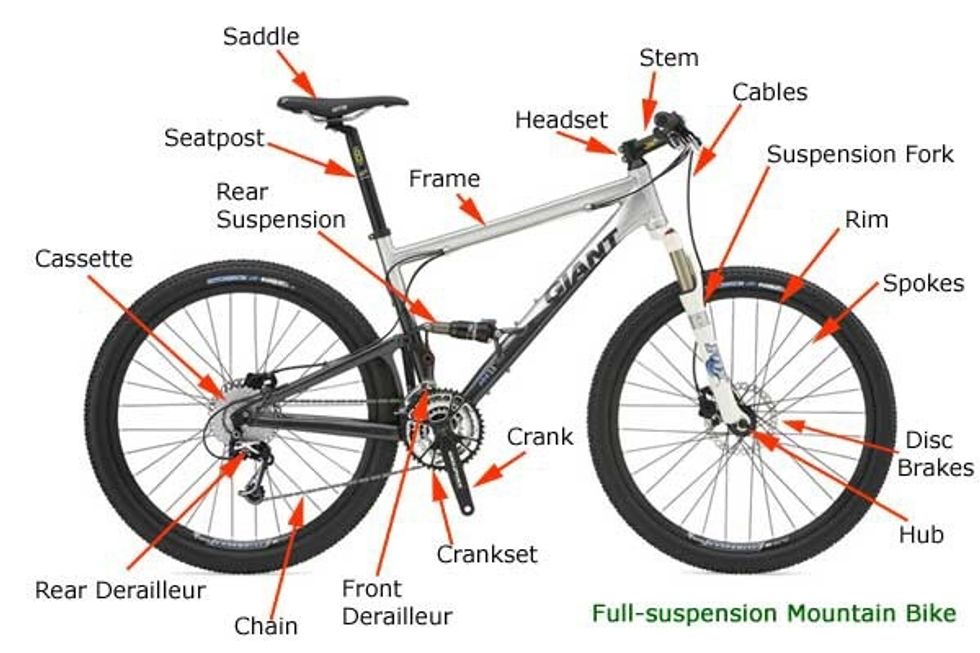
This is a diagram of a bike and the parts all labelled! Enjoy your new bike.