How to make a bendi card with g45 kaleidoscope
Make a Bendi Card With G45 Kaleidoscope
96
STEPS
TOOLS
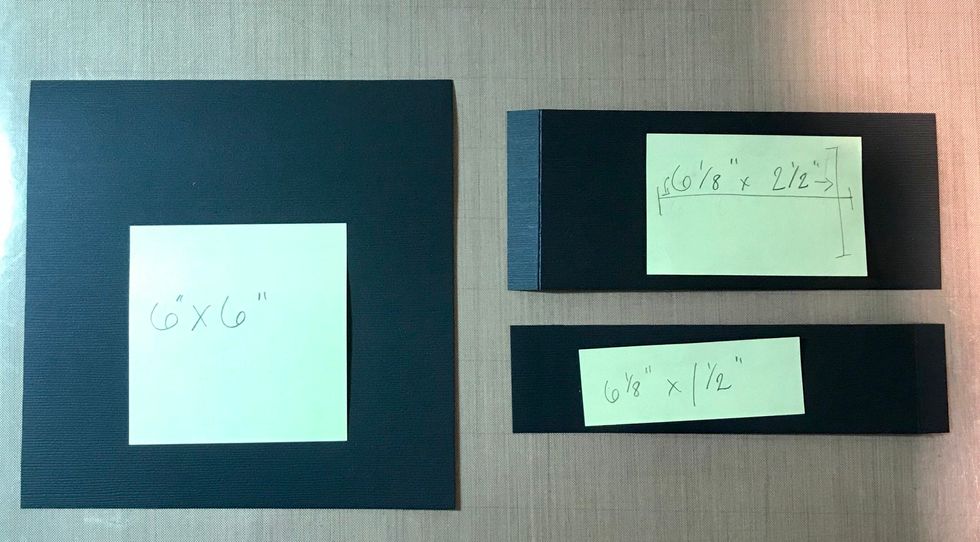
Cut solid cardstock as above.
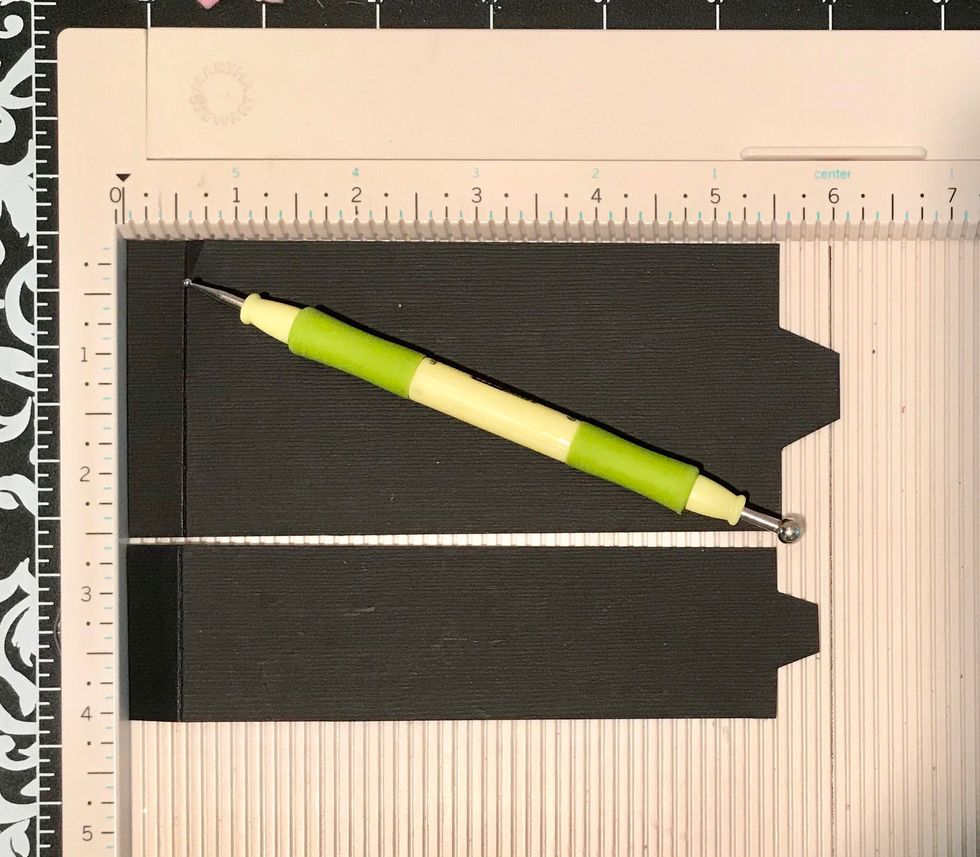
Score both the smaller pieces 1/2” on one of the small ends as shown. In pencil, draw a line on the opposite end 1/2” in. Draw and cut tabs. Cut a little bit of the tab end off the smaller piece.
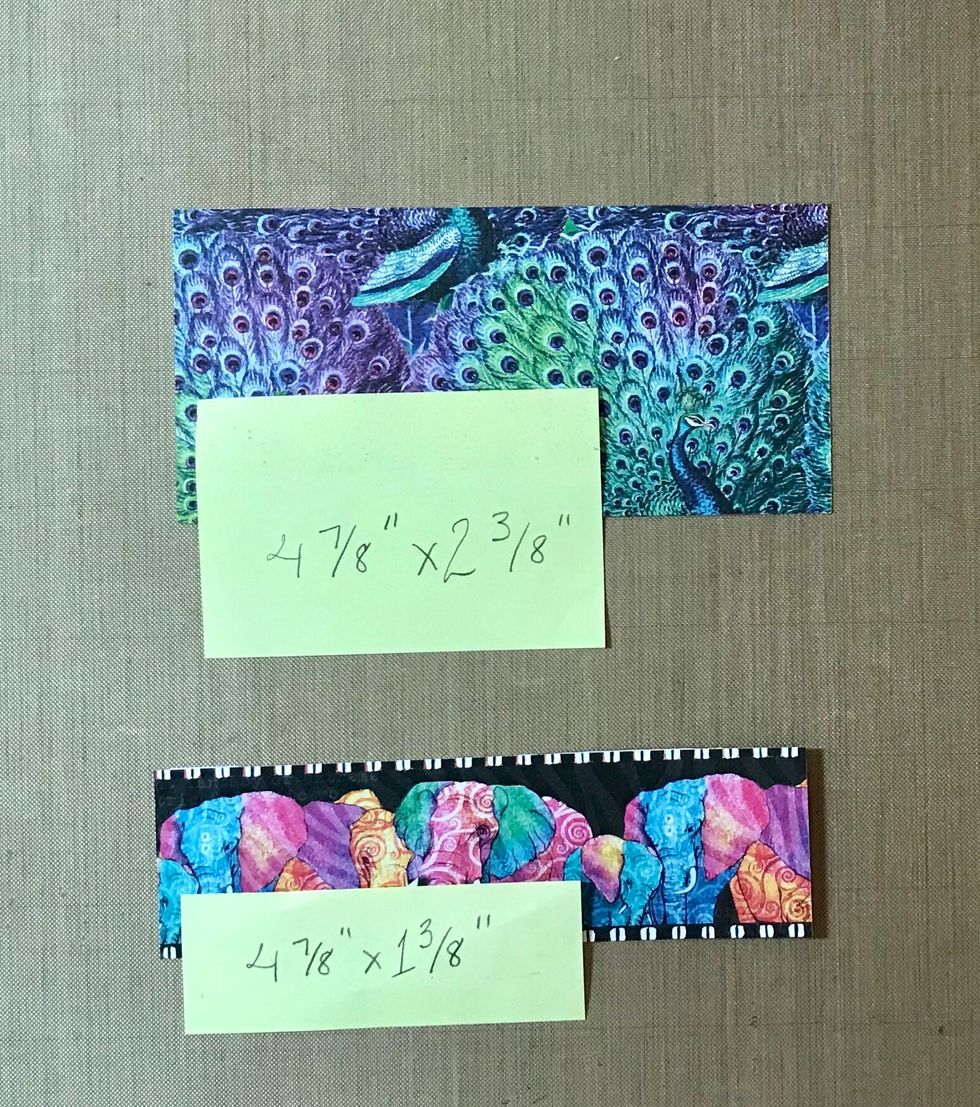
Cut Joy in the Journey to 4 7/8”x2 3/8”. From Rainbow of Color cut piece 4 7/8”x 2 3/8” of the larger elephant strip.
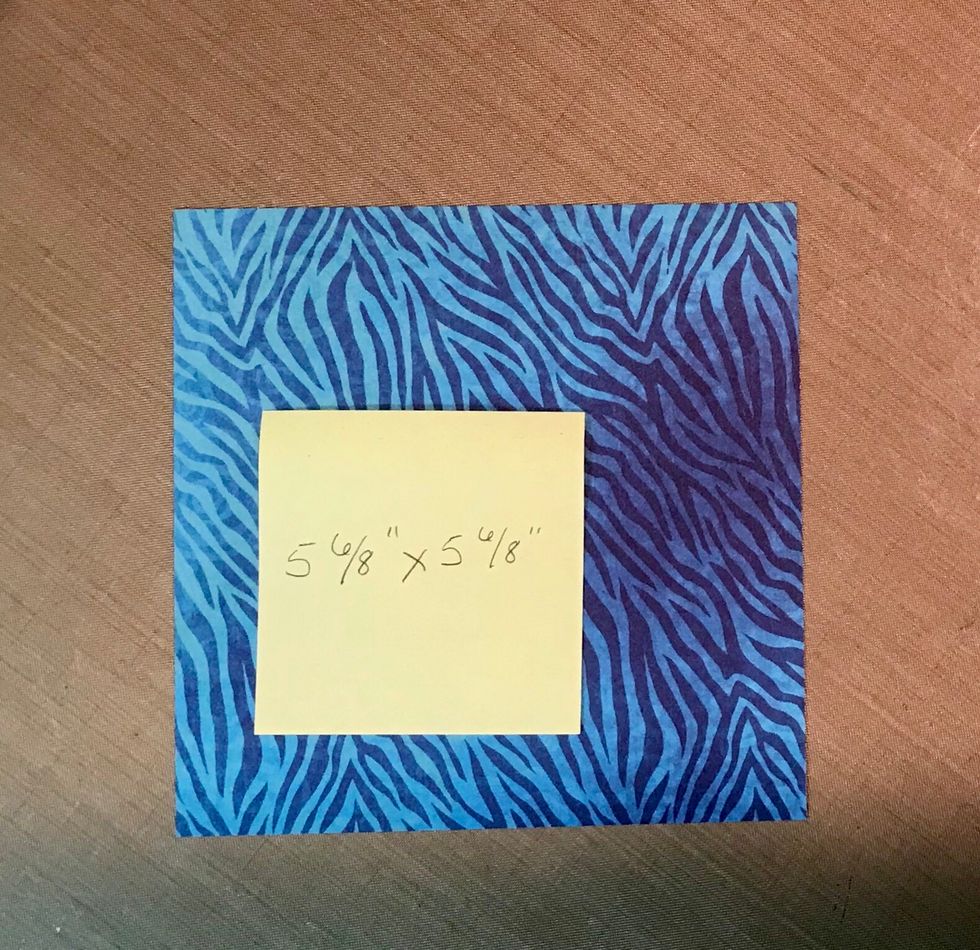
From the patterns & solids paper pack, cut blue zebra piece 5 6/8” x 5 6/8”. Cut two.
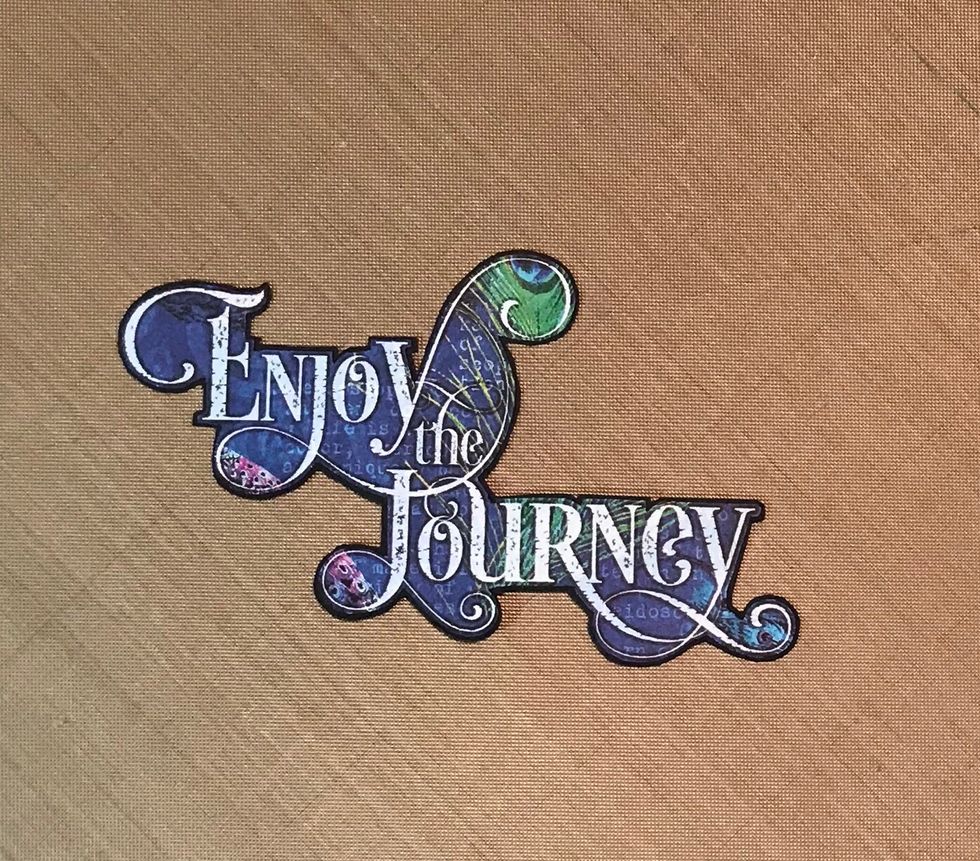
Fussy cut “Enjoy the Journey” from Joy in the Journey leaving a small border beyond the words. Glue that to black cardstock and fussy cut leaving a small black border.
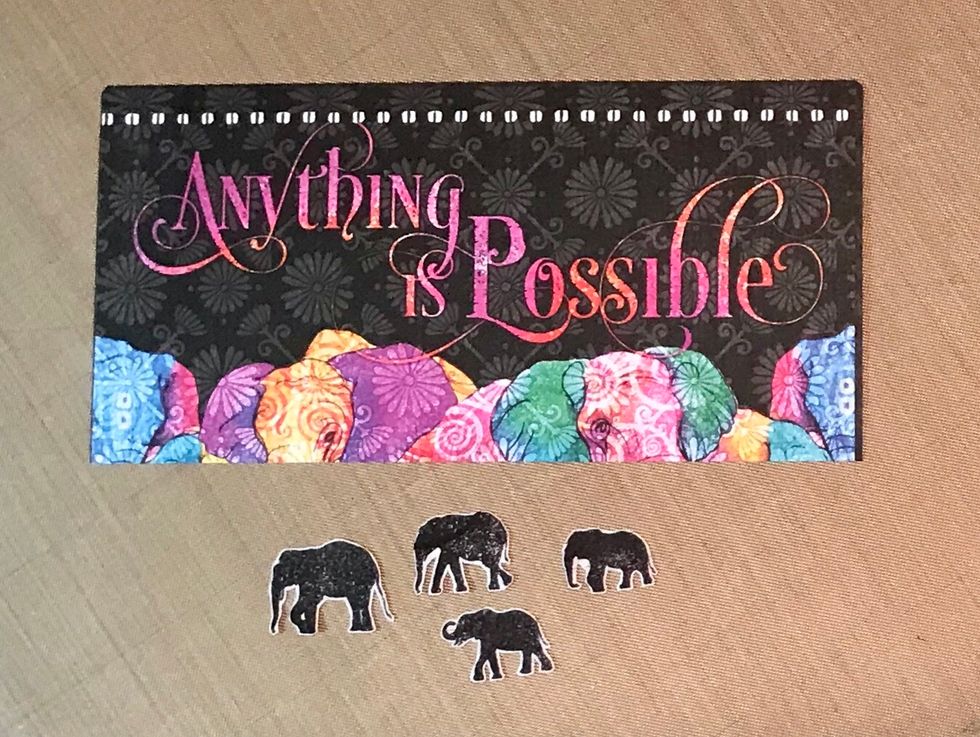
Loosely fussy cut elephants from the back of “Anything is Possible” ephemera card. I used 4, leave a bit of white border around each elephant.
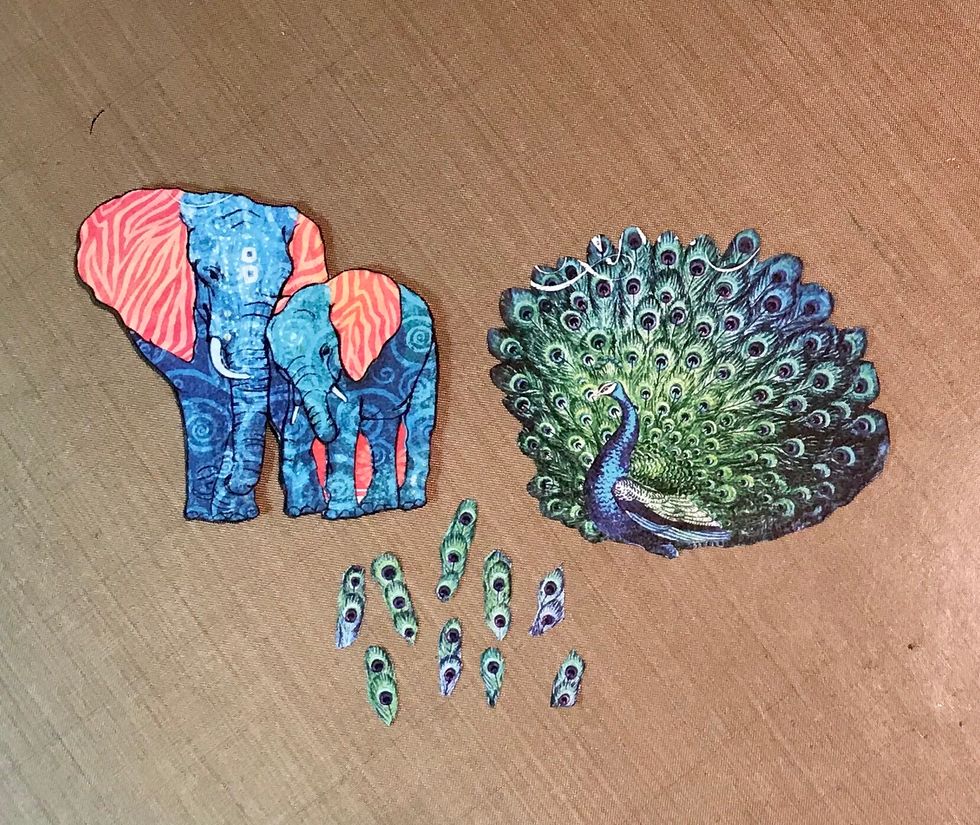
Fussy cut the 2 elephants from Awaken the Adventure that match the ephemera card. I fussy cut the peacock and feathers but didn’t use them!
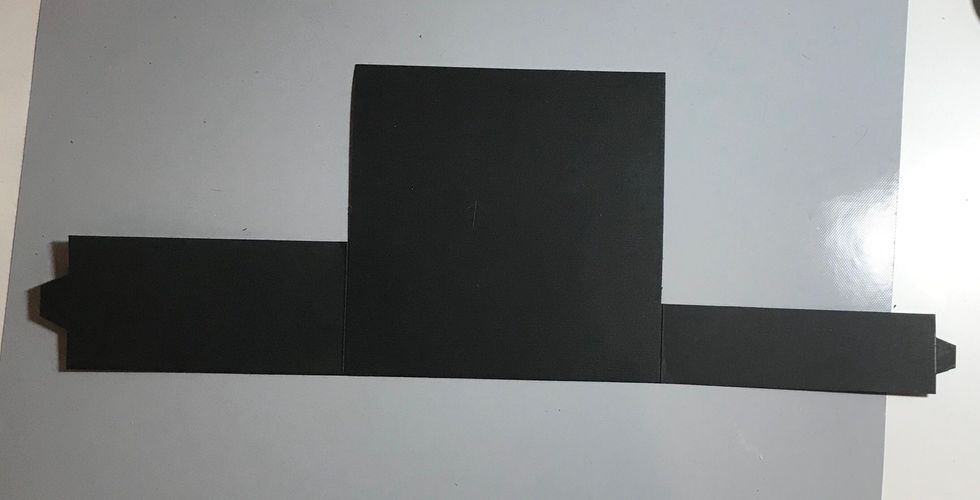
Using strong double sided adhesive like scor-tape, attach the right hand side and left hand side pieces to the 6x6 cardstock base. Making sure the bottom edges line up.
Optional: adhere the extra blue zebra piece to the back of the card base. This will give it a bit more stability and cover up the scored pieces.

Adhere the patterns & solids blue piece to the inside card base. Add dimensional foam tape to Better Together ephemera card and attach to inside card base. Mind the top of the ephemera card.
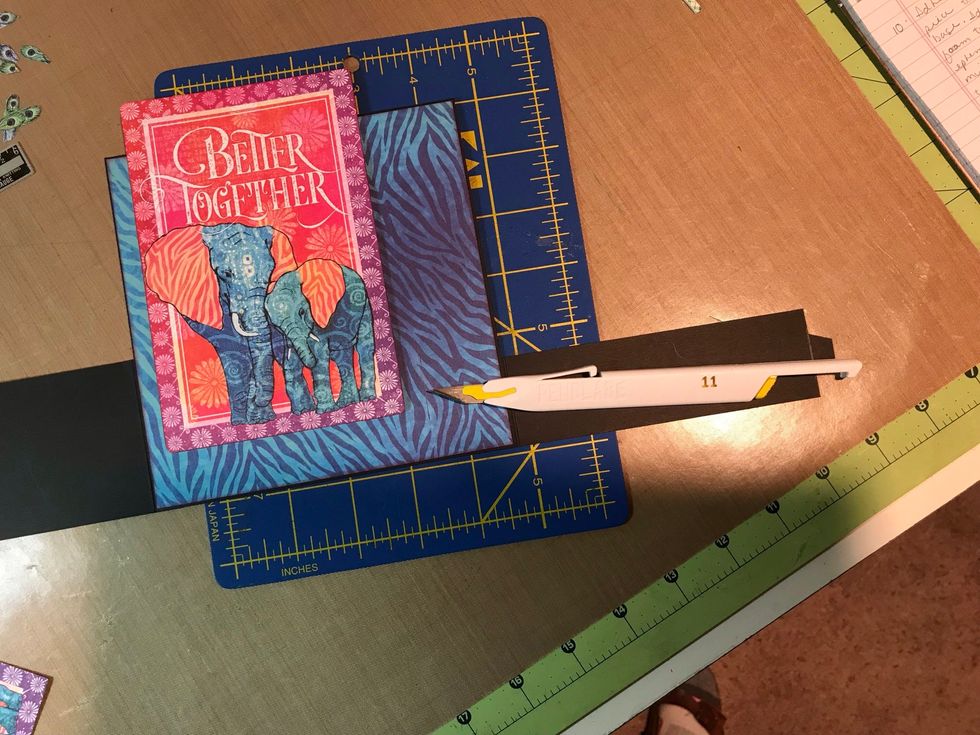
With pencil, draw faint line where you need to cut slit where the left hand side tab will go.
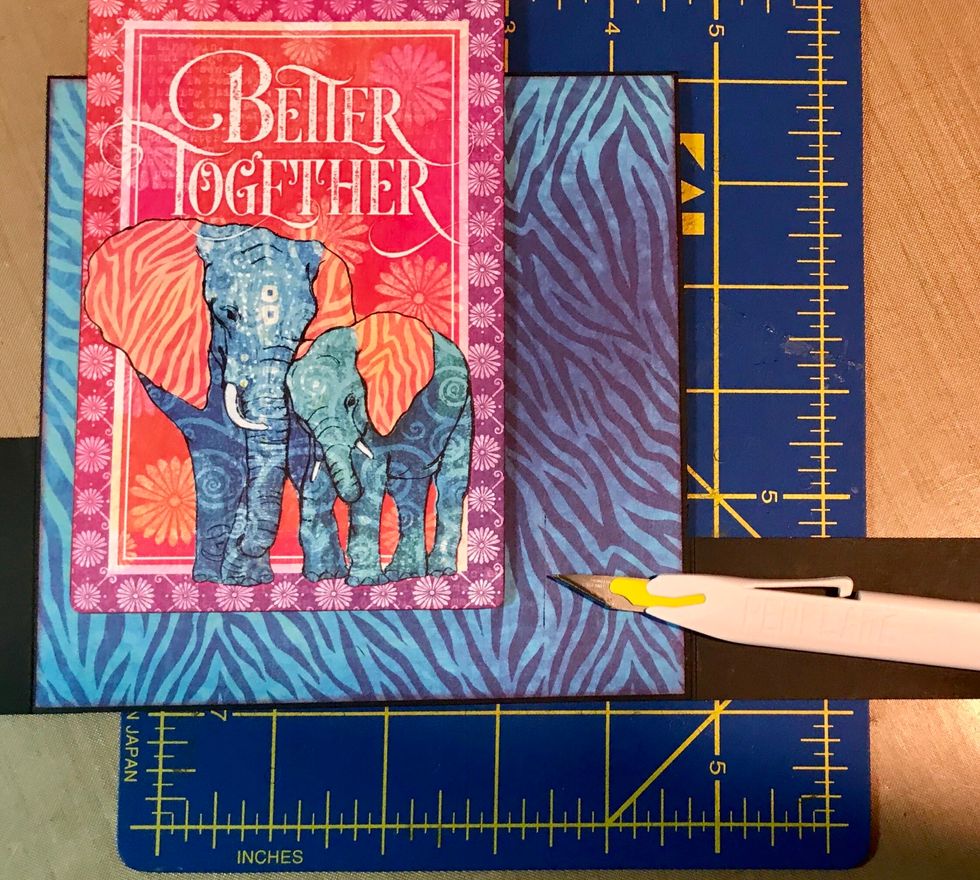
Cut along pencil line with sharp craft knife, then erase pencil line. Test to make sure the tab fits completely through the slit.

Adhere decorative paper to left hand side solid cardstock. Test to make sure the tab goes through the slit.
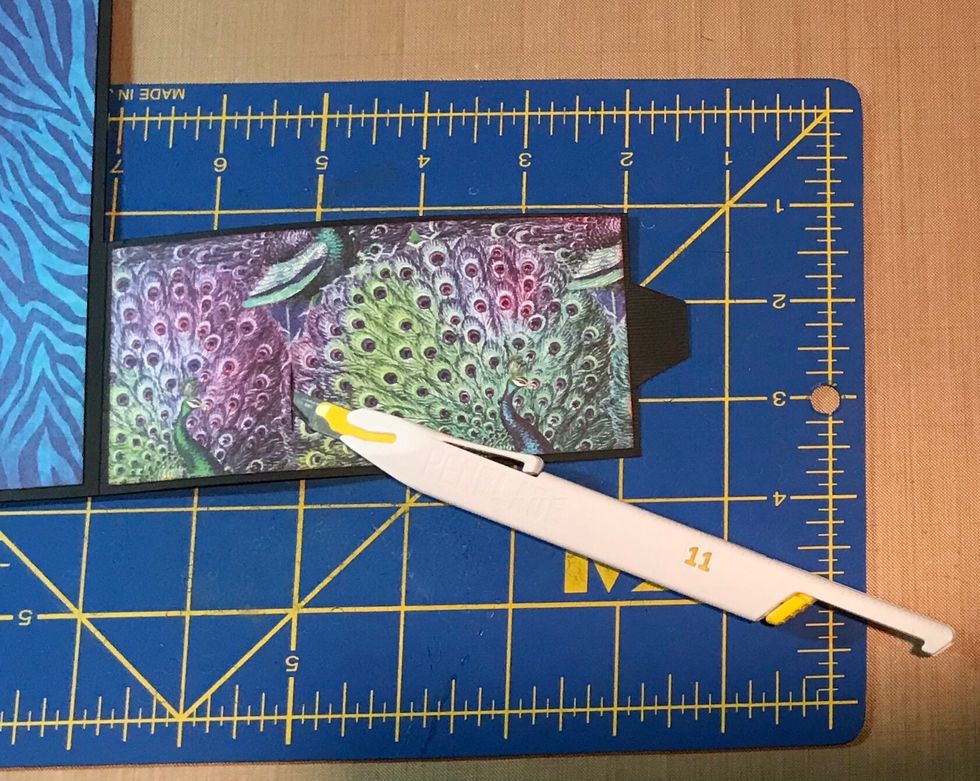
Adhere decorative paper to front of right flap. Mark with pencil where to cut slit. Cut with craft knife, then erase pencil line. Pic shows the back of the card.
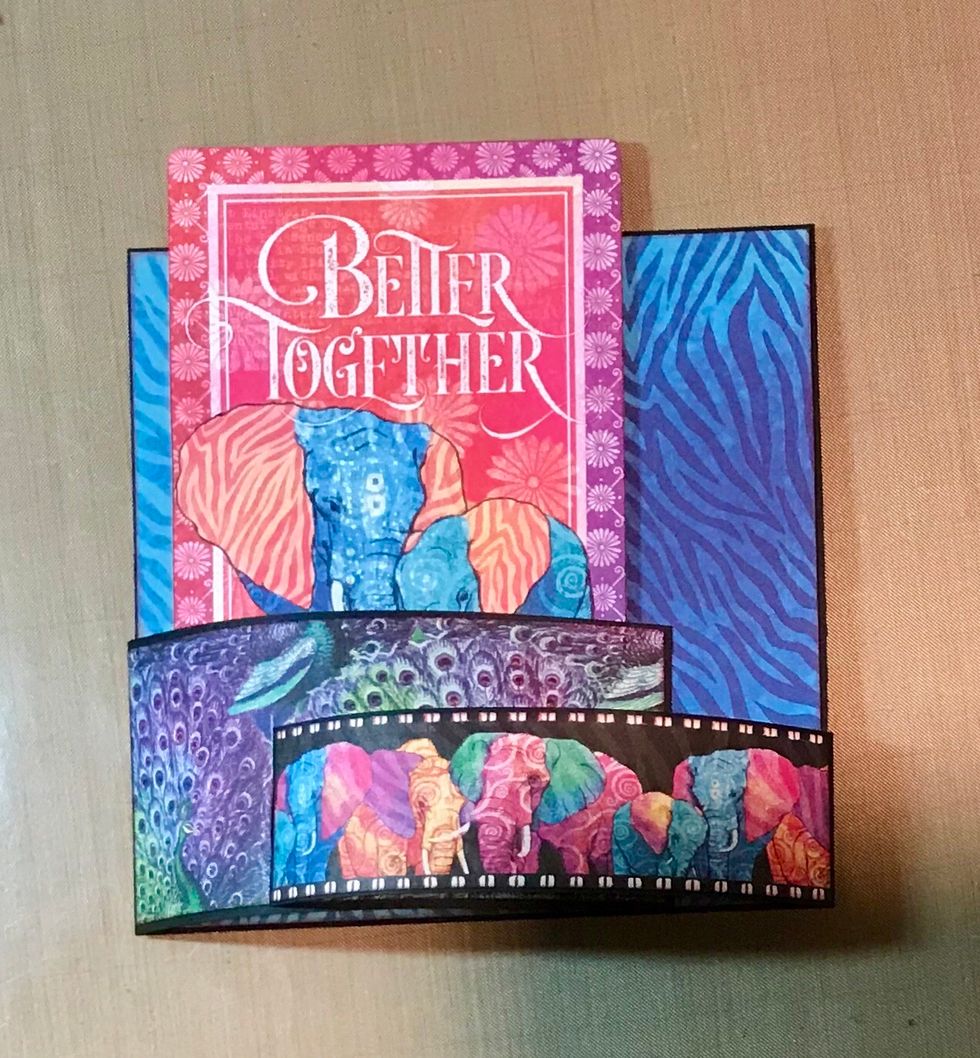
Your card should look like this, both right and left hand side tabs through the slits.
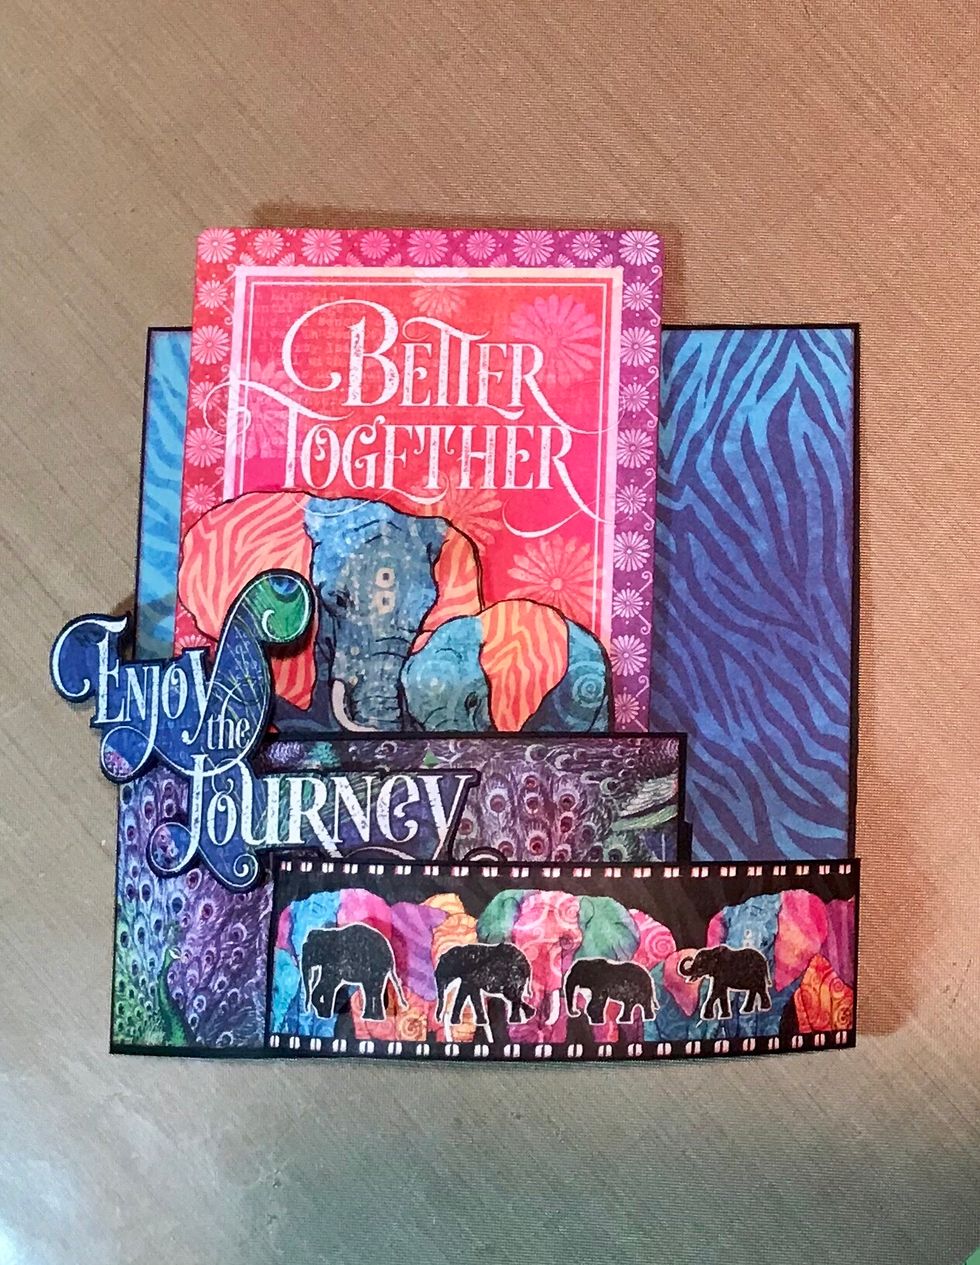
Add dimensional foam to fussy cut elements, adhere to inside and both flaps. Be mindful where right hand side flap attaches to left side flap before adhering fussy cut phrase.
I glued the elephants trunks and tails down so they wouldn’t get torn!
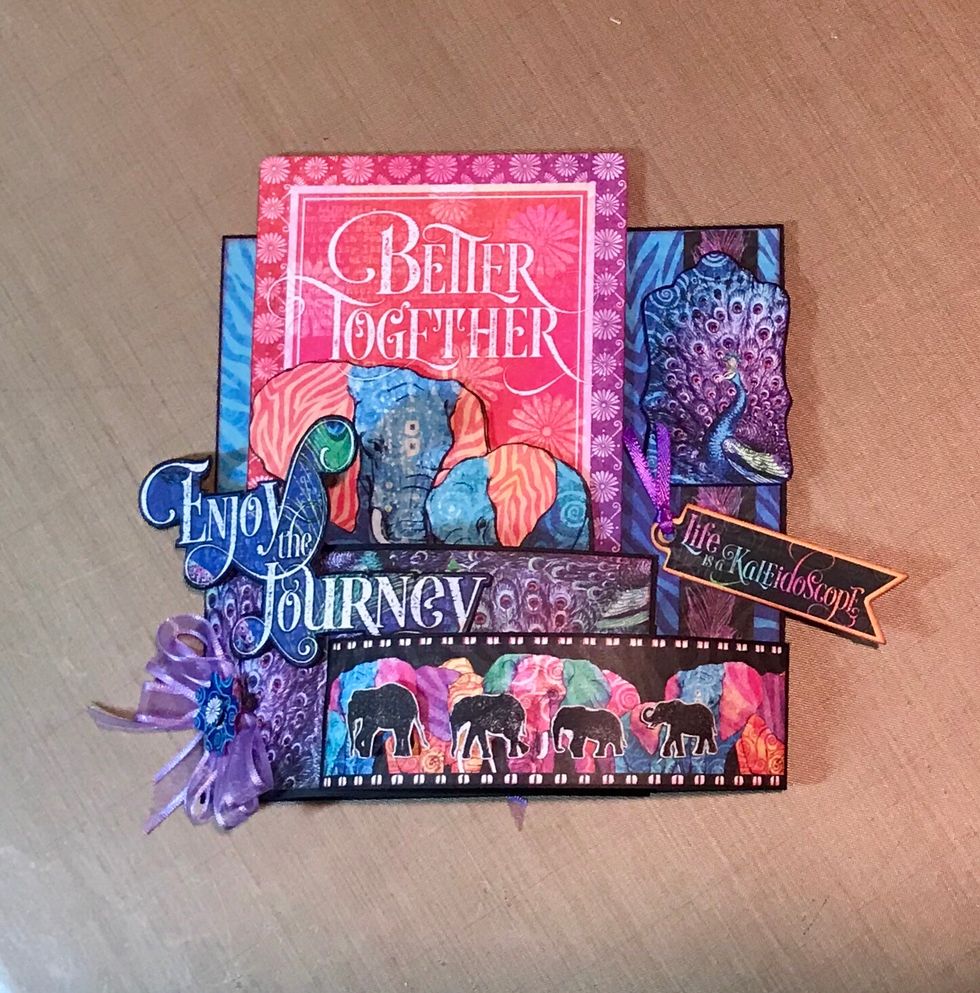
Embellish with chipboard, stickers, tags and pockets pieces and a bow!
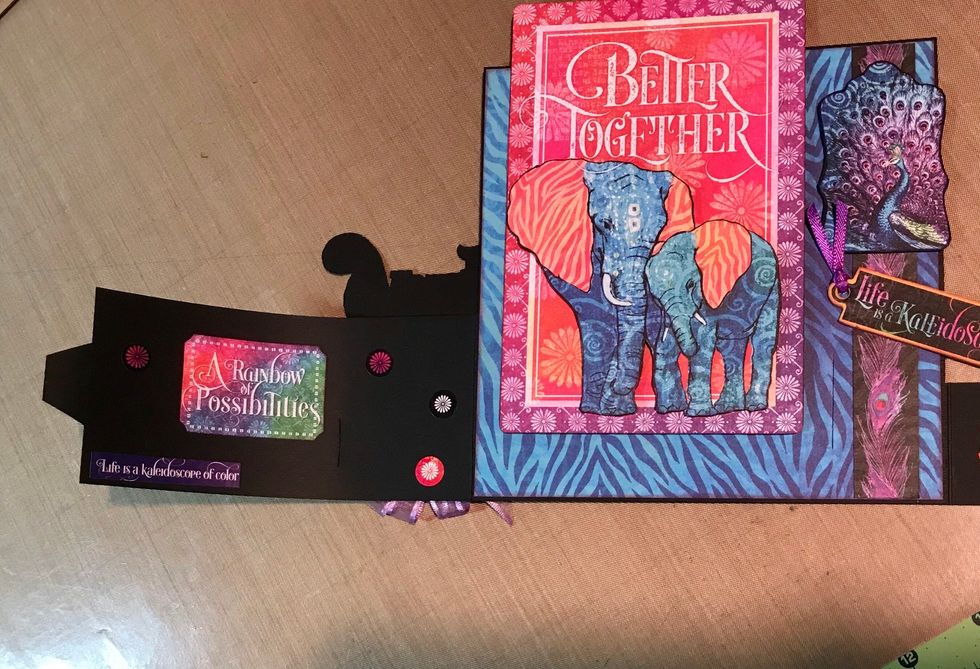
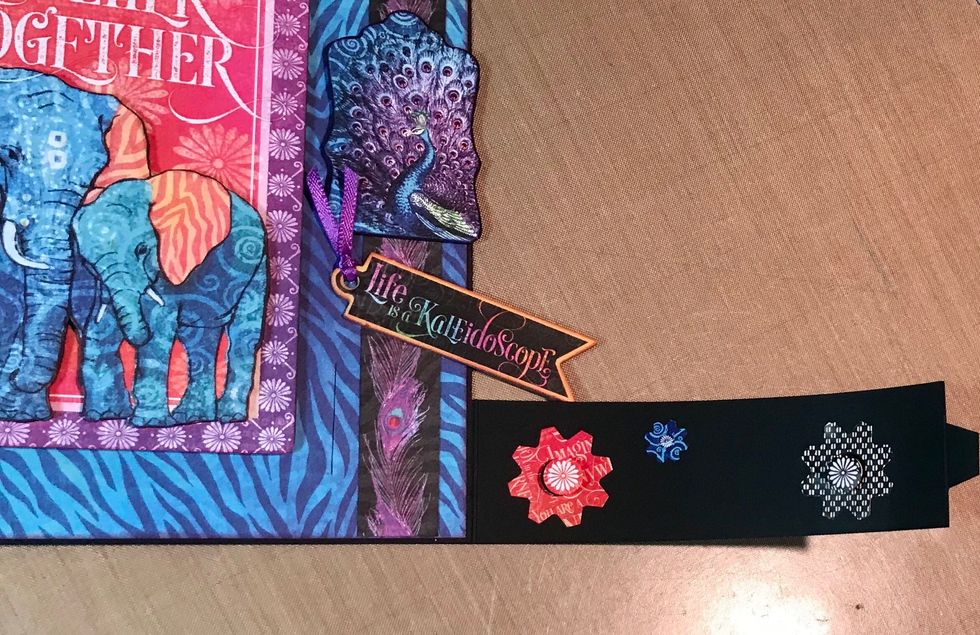
- 12x12 collection
- 12x12 patterns & solids
- Chipboard, stickers, tags & pockets
- 12x12 solid color cardstock
- Paper trimmer, score board, fussy cutting scissors
- Dimensional foam dots & tape
- Wet adhesive, strong double sided adhesive tape,
- Ribbon
The Conversation (0)
Sign Up