The Conversation (0)
Sign Up
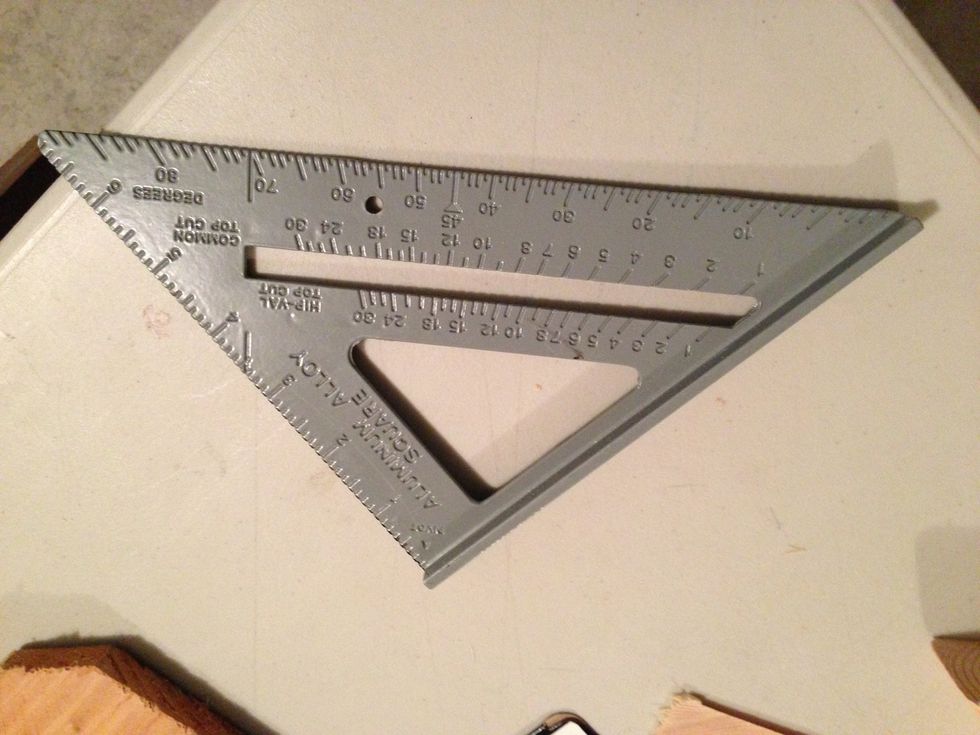
This is a speed square.
Measure your bay window for bench seat. Measure height, length and depth. Take into account lid (seat) thickness. I used three-quarter inch oak plywood. Which gave me an overall height of 21 inches.

You will need to make both miter cuts and beveled cuts. Always ensure to check your measurements twice, cut once. Both my miter and beveled cuts were at a 45 degree angle.
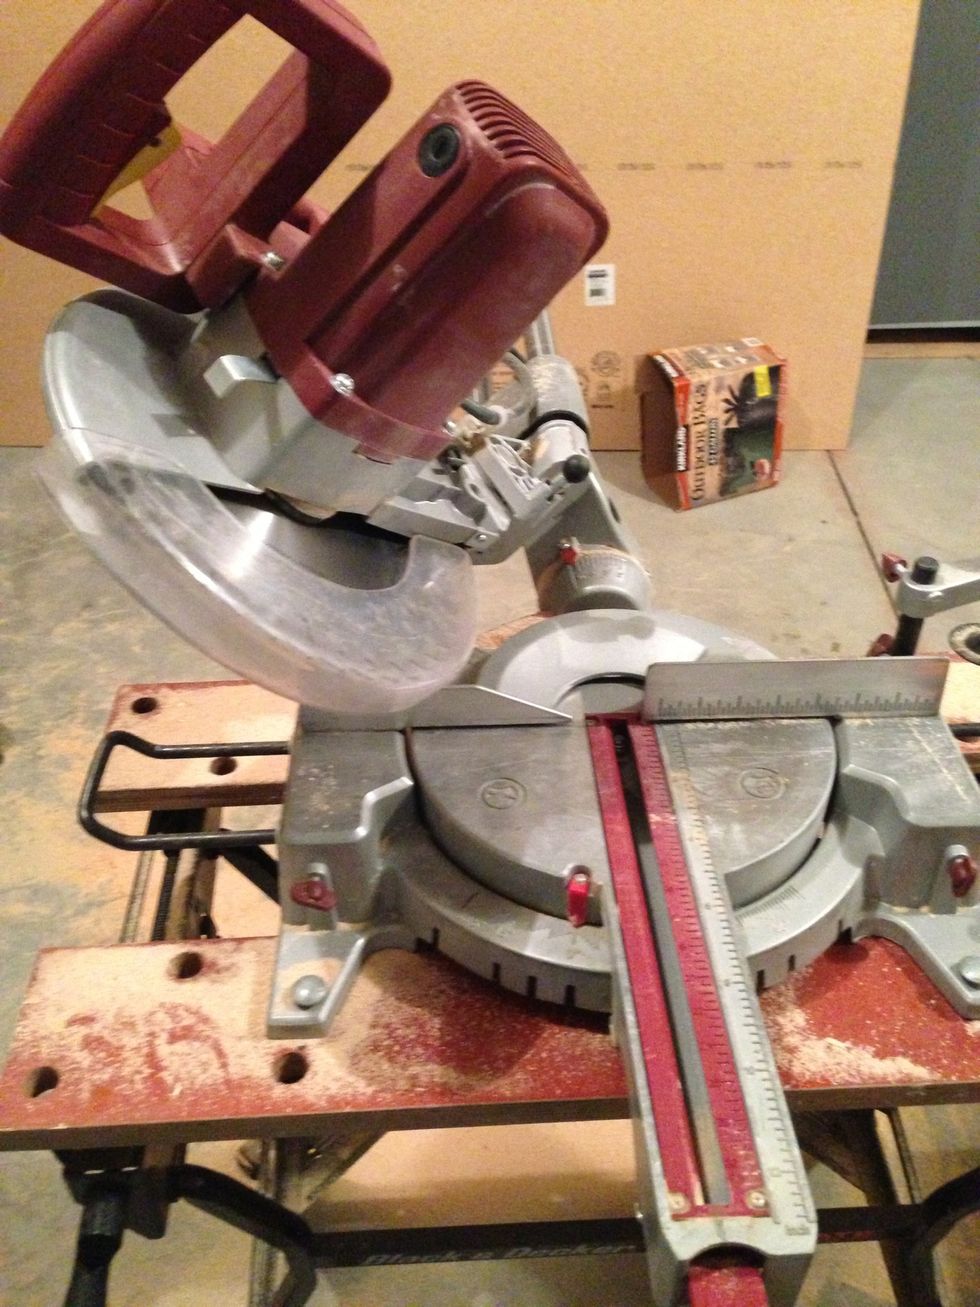
This is setup for a beveled cut
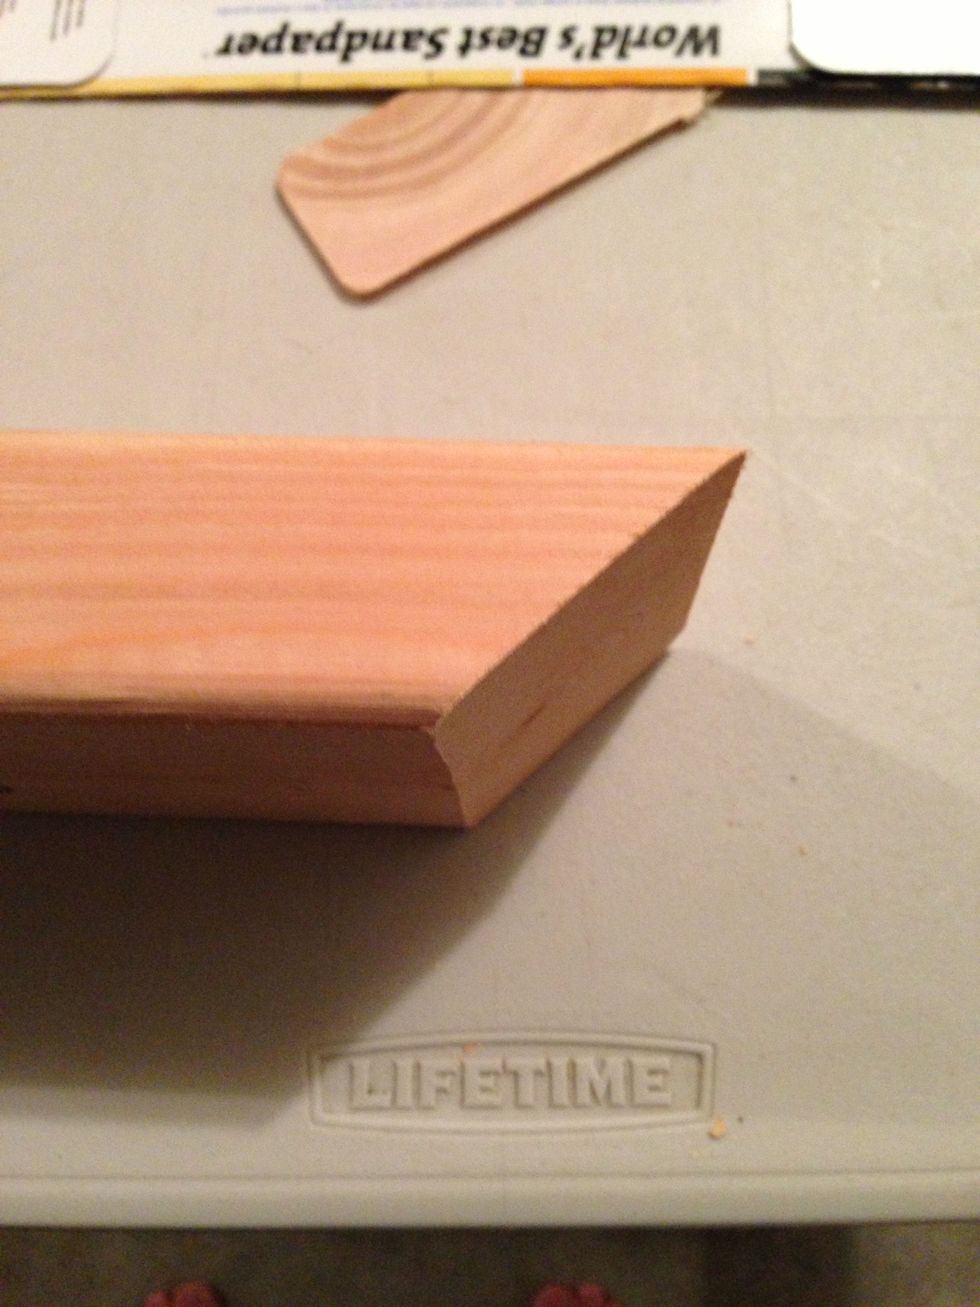
A top down view of a beveled cut.
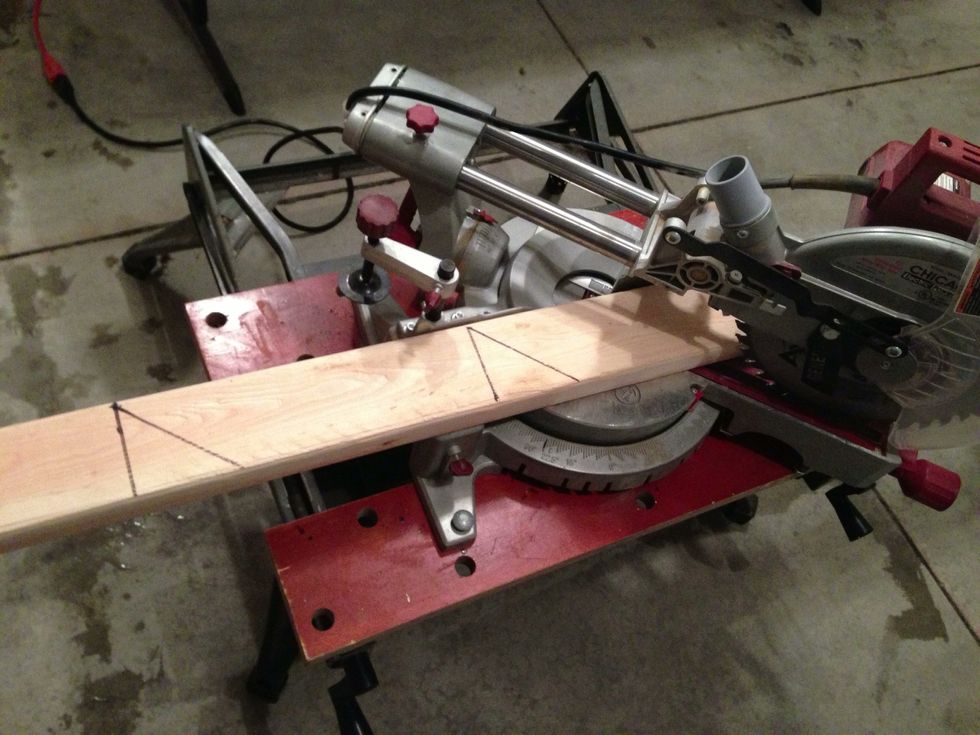
Set for a miter cut
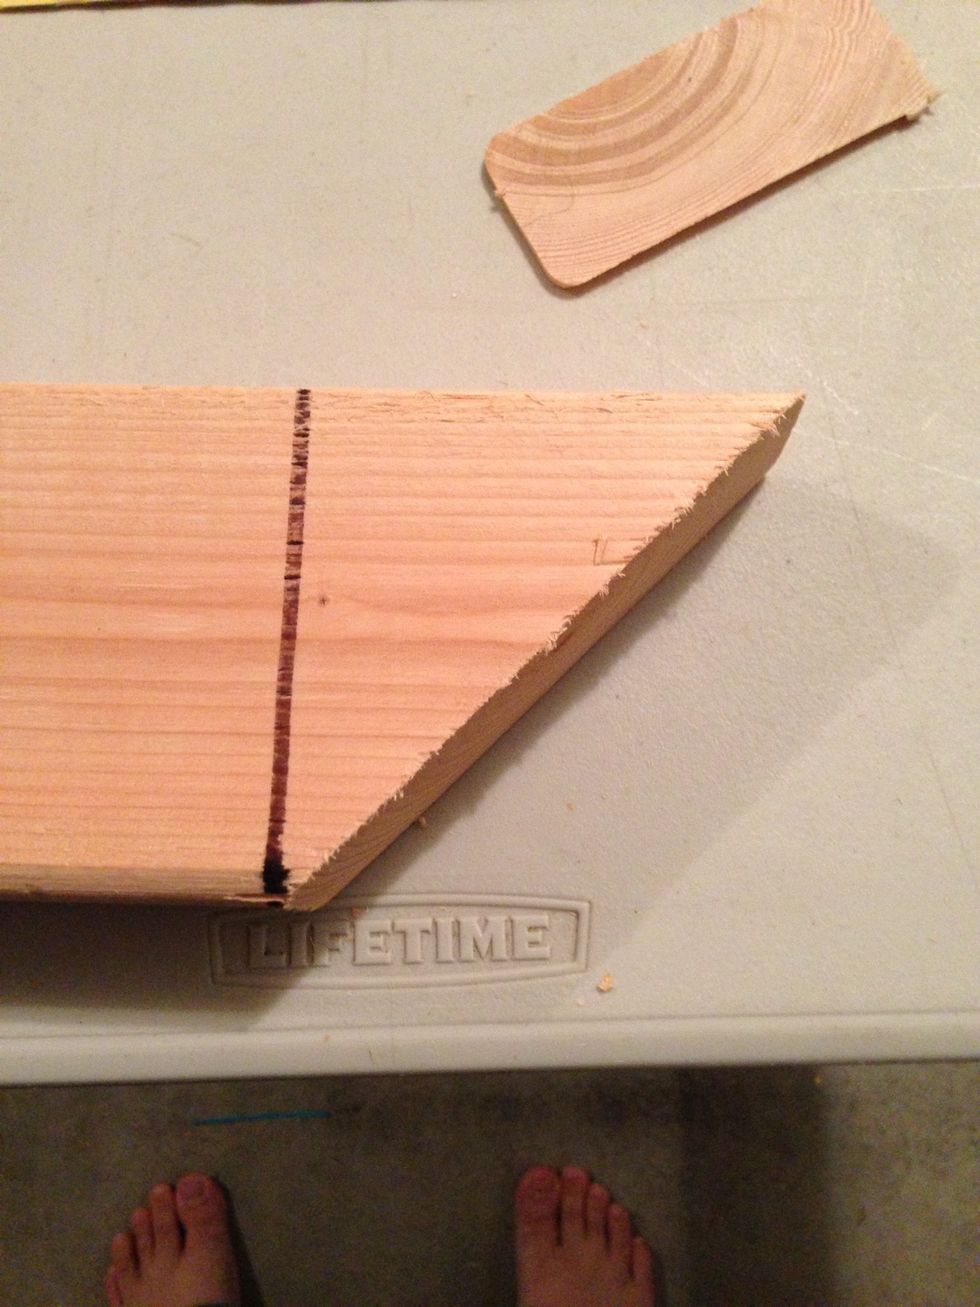
This is a miter cut... And my feet :-)
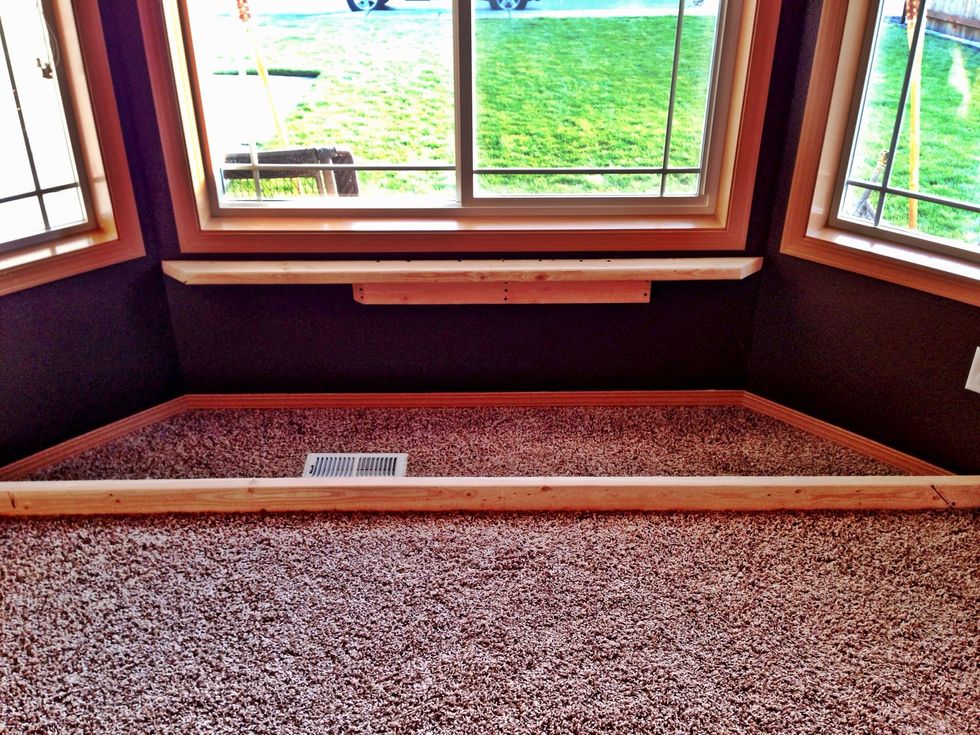
Start with the lower beam closest to you. This will require a beveled edge. When your cuts are complete attached to the floor and to studs in the wall. Ensure your cuts are flush and level
Next attached ledger board to studs in the back wall. Make sure to adjust height for backboard. And then attached backboard to ledger board

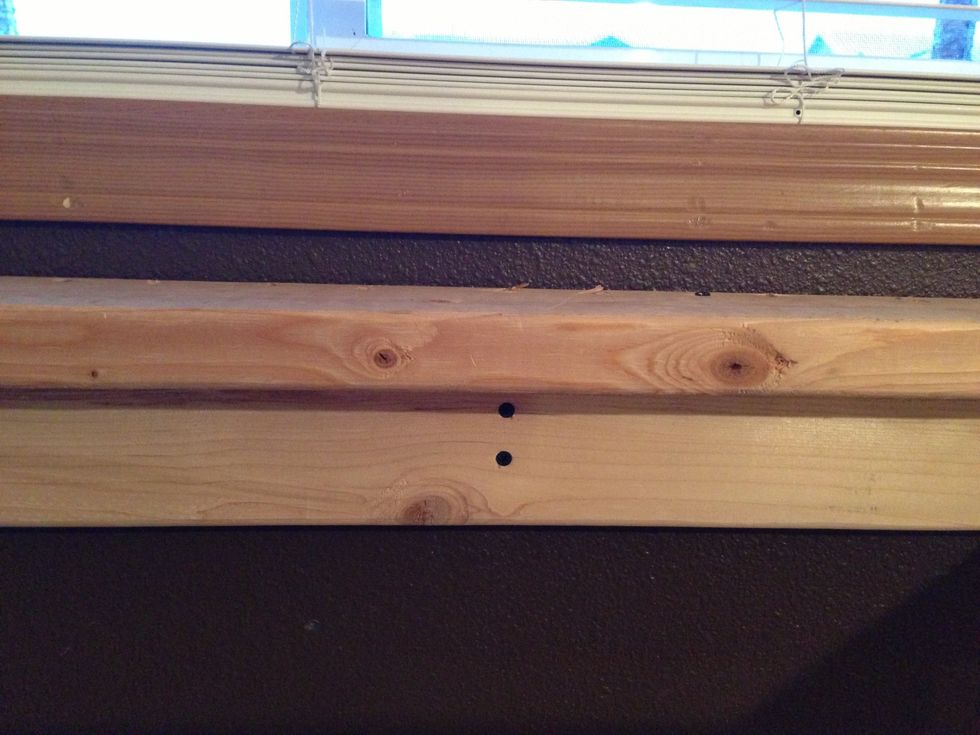
Next make your cuts and attach top 2x4
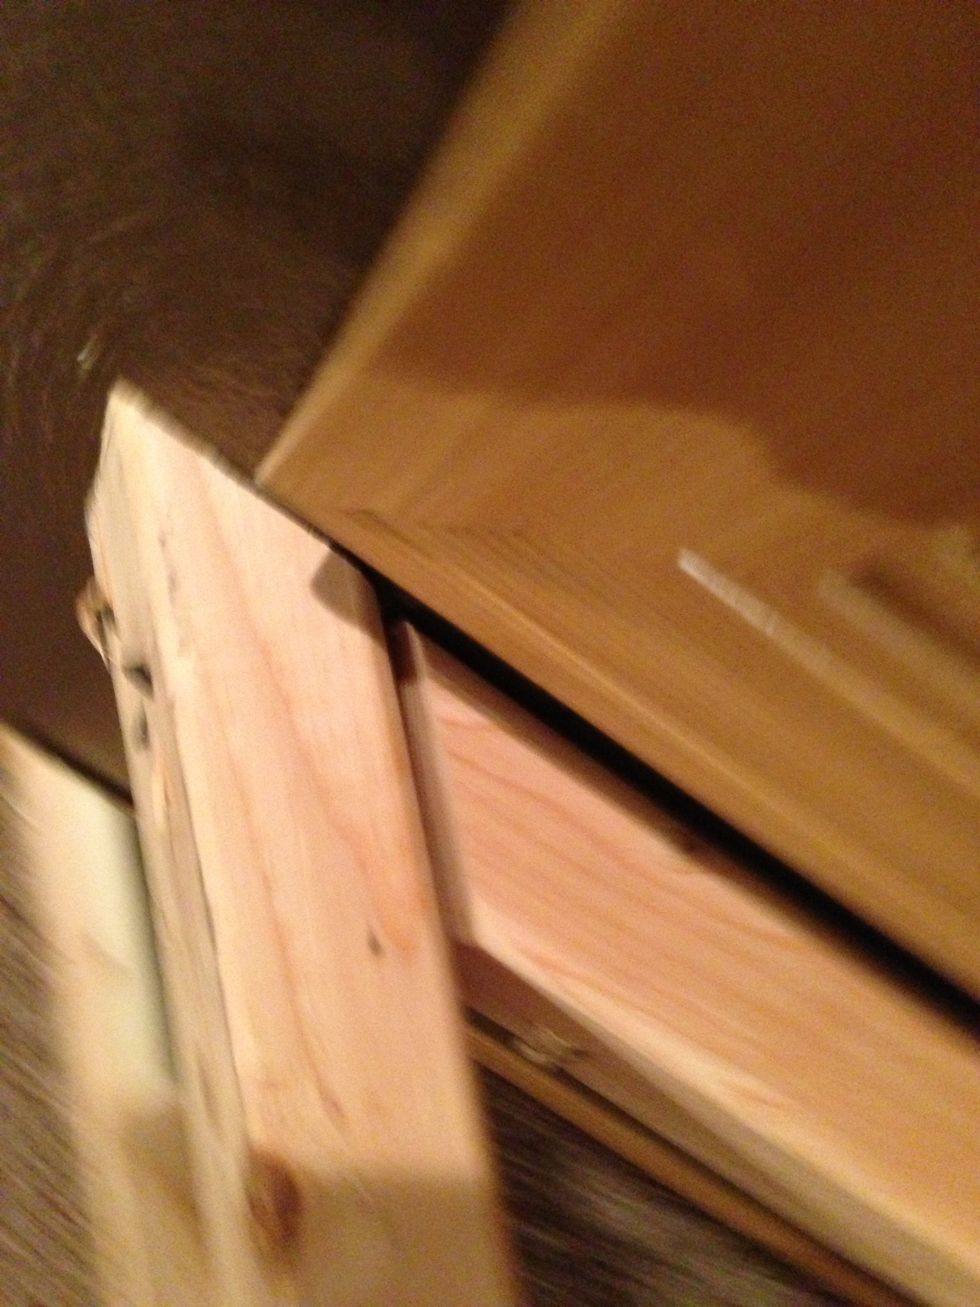
Both miter cuts and beveled cuts shown here
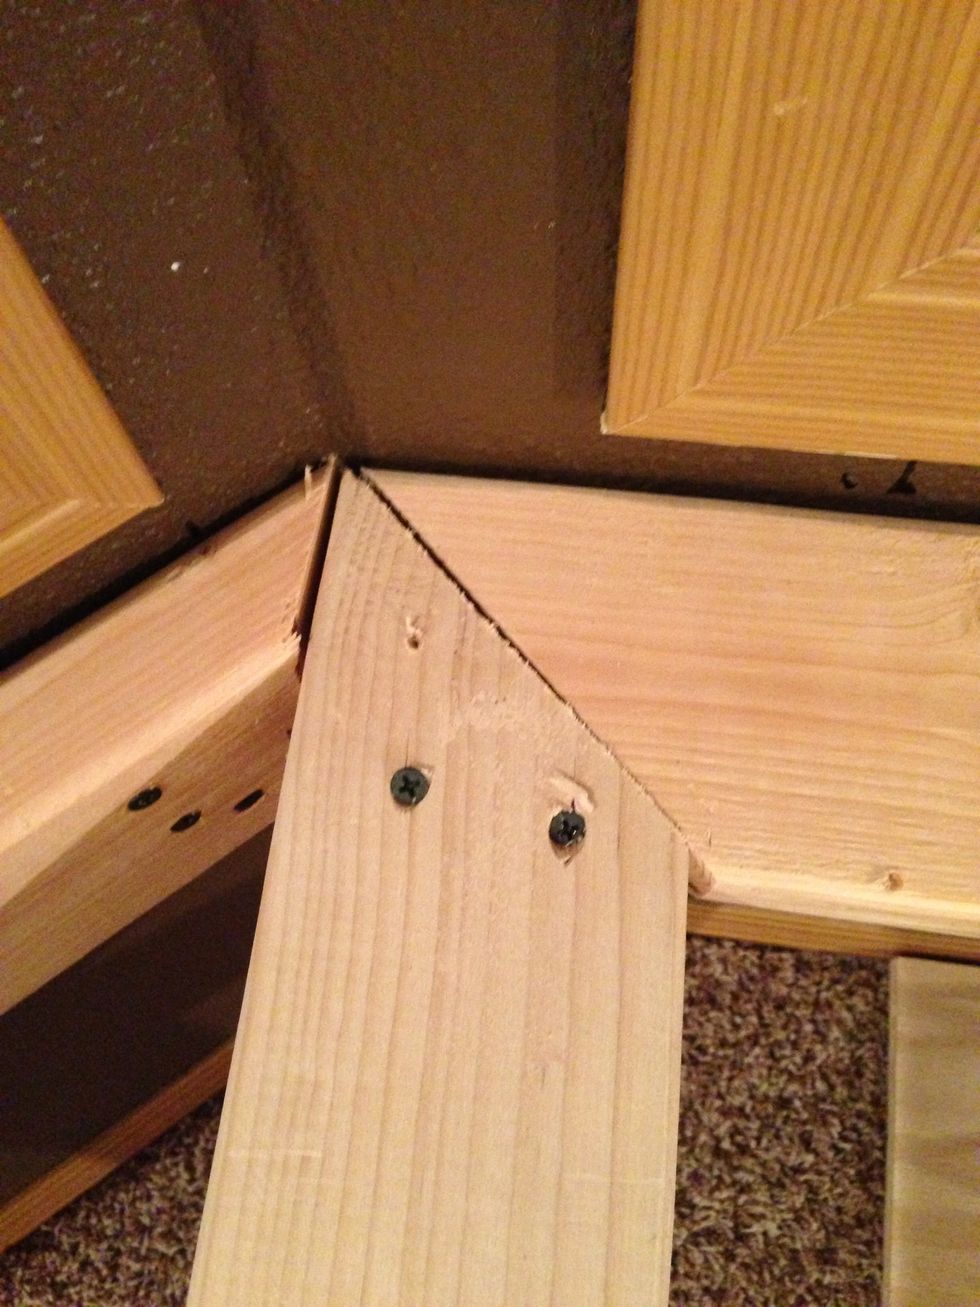
Make sure to attach two by fours to studs

Overhead view
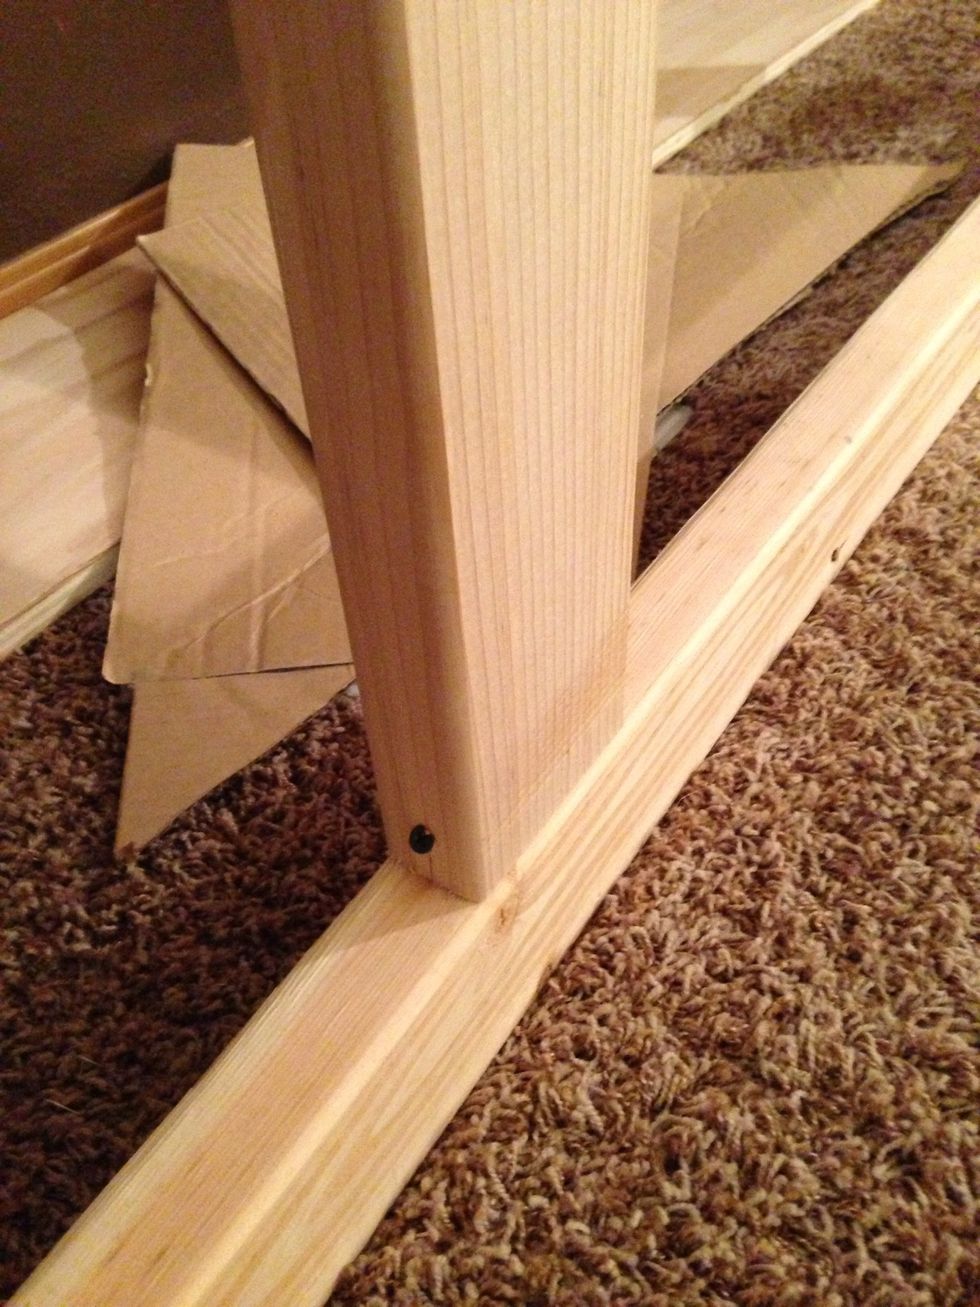
Toe in braces
Add support braces for lid. Make sure it's symmetrical
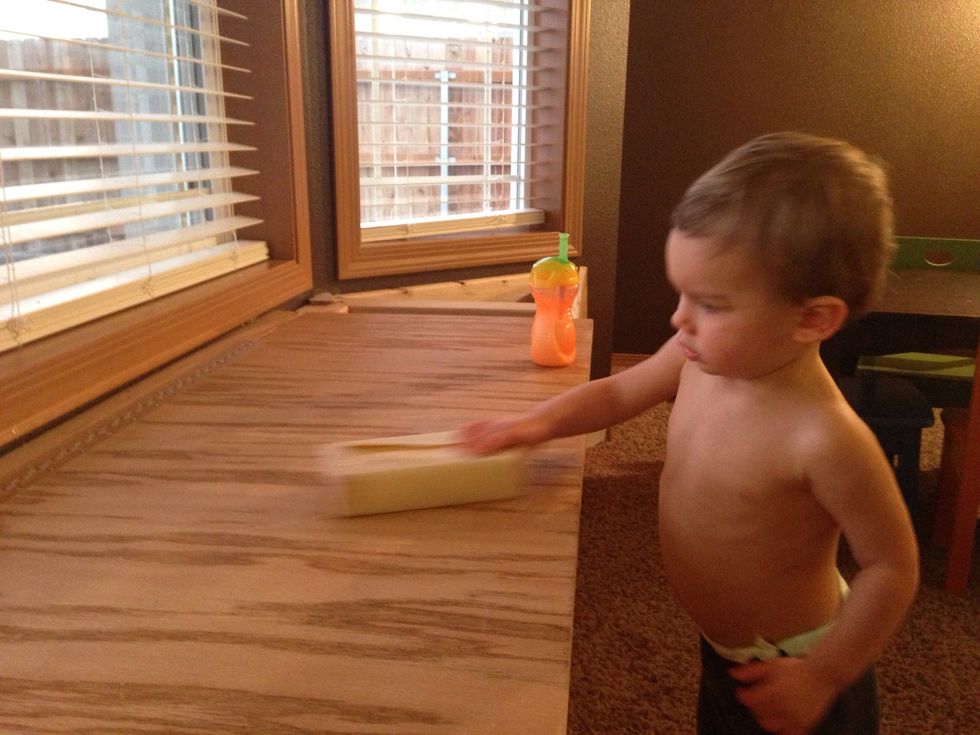
Whenever possible delegate work. :-)
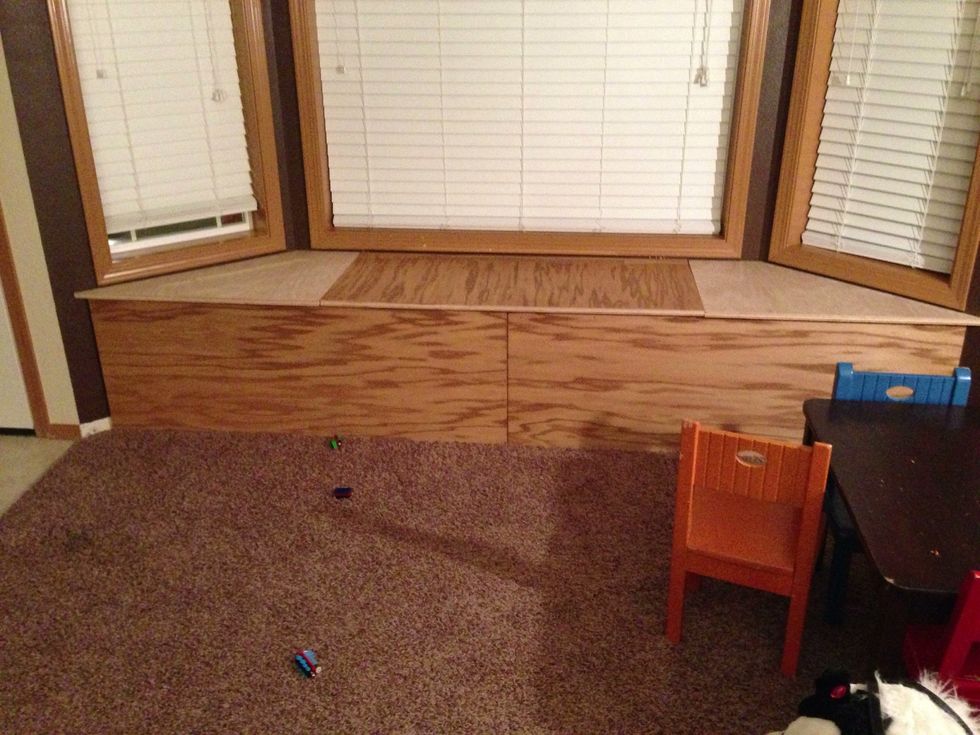
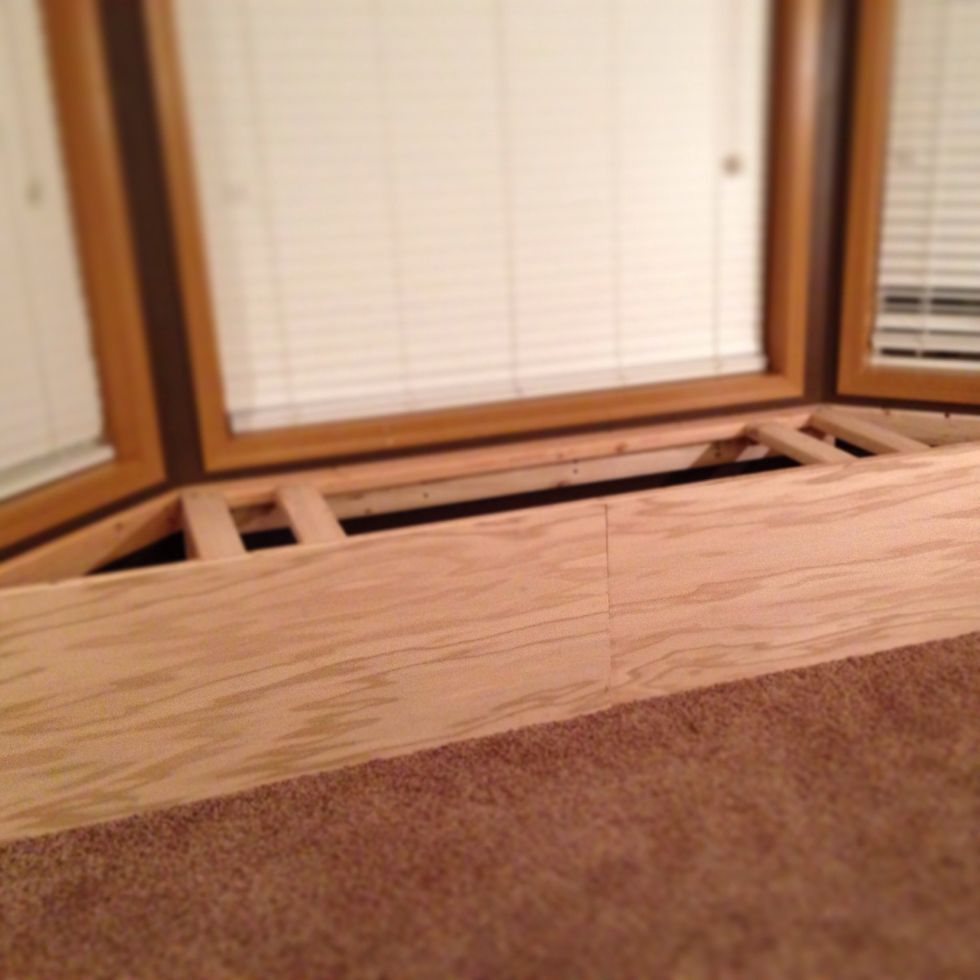
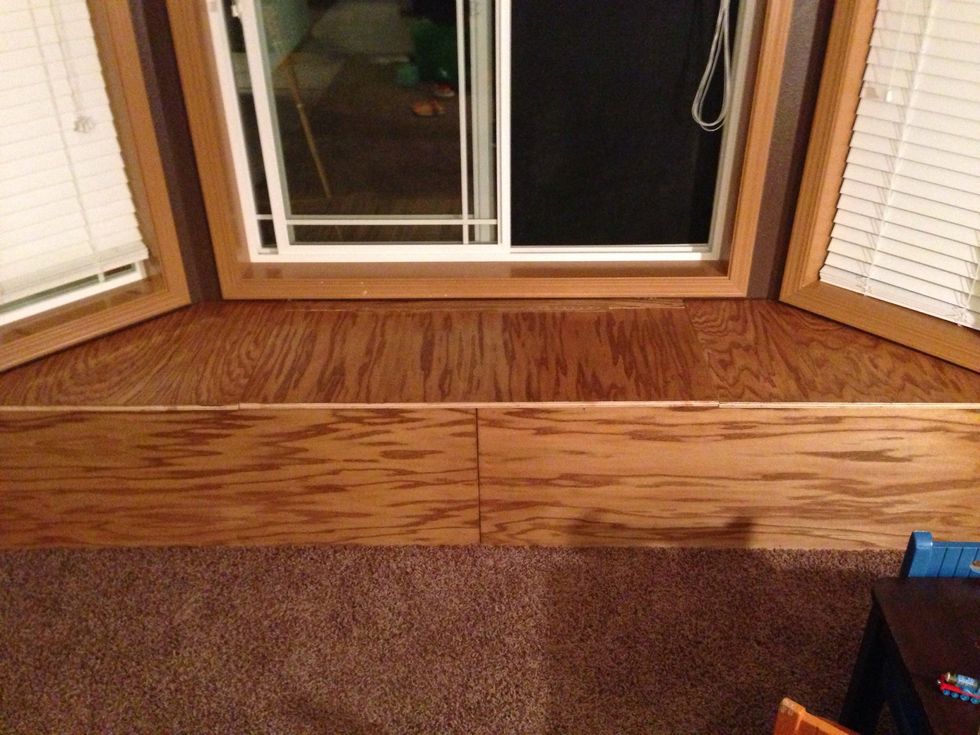
Don't forget to match the grain. I chose horizontal for the front and vertical lines for the top.
Make sure to ventilate properly while staining also sand it.
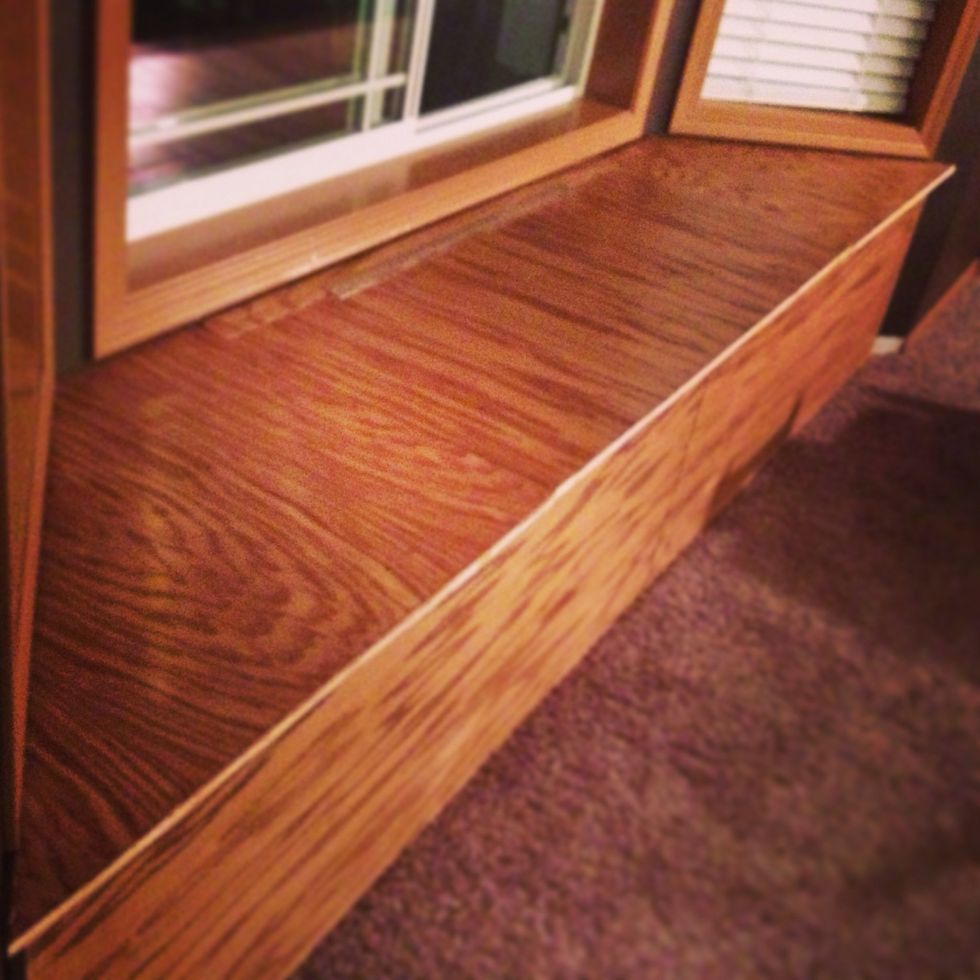
Just about done, now all we need to do is the finishing touches
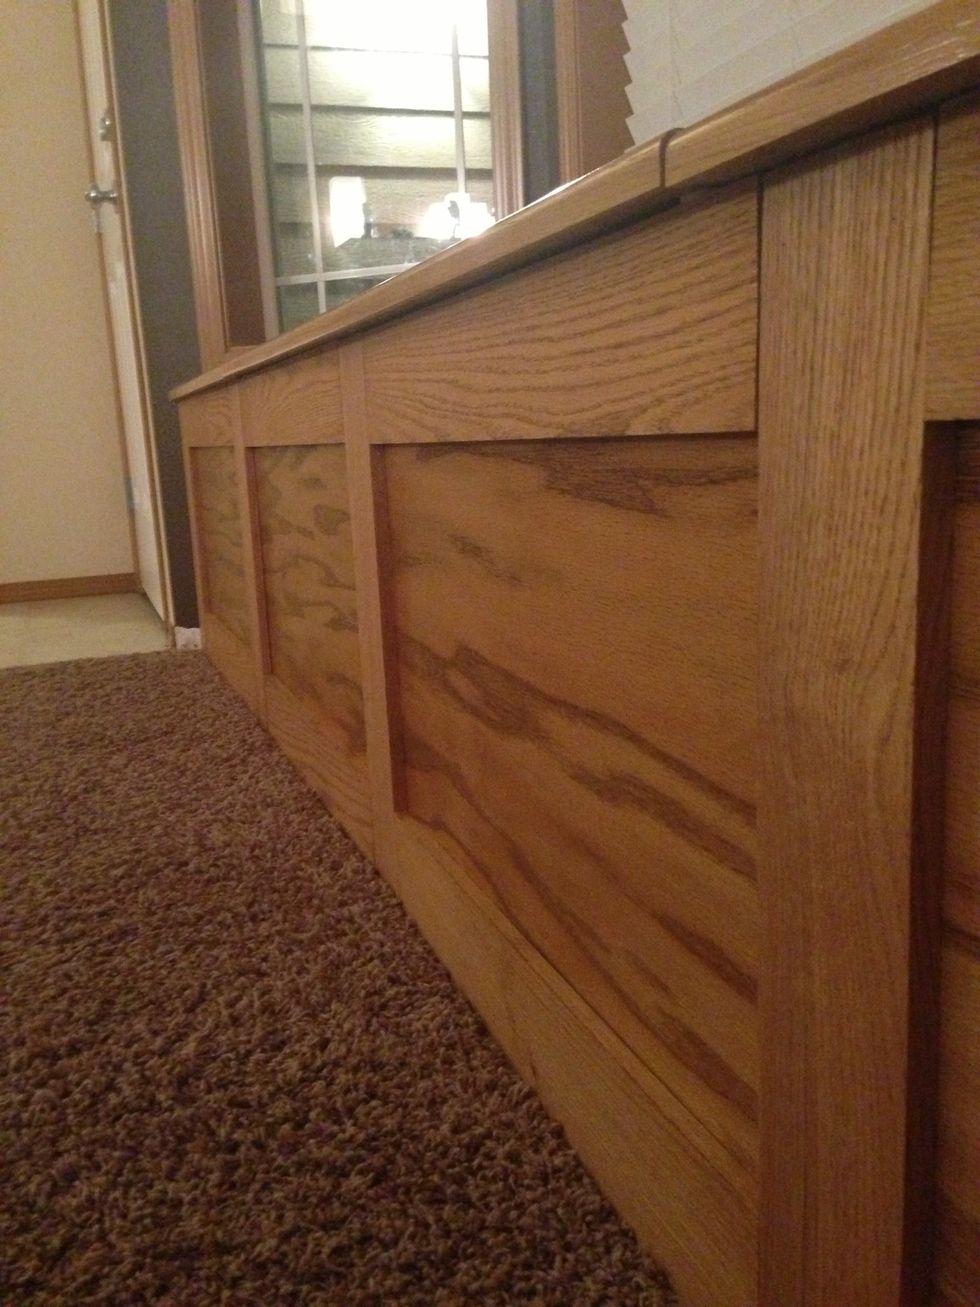
Finished it off with some shaker style facing.