The Conversation (0)
Sign Up
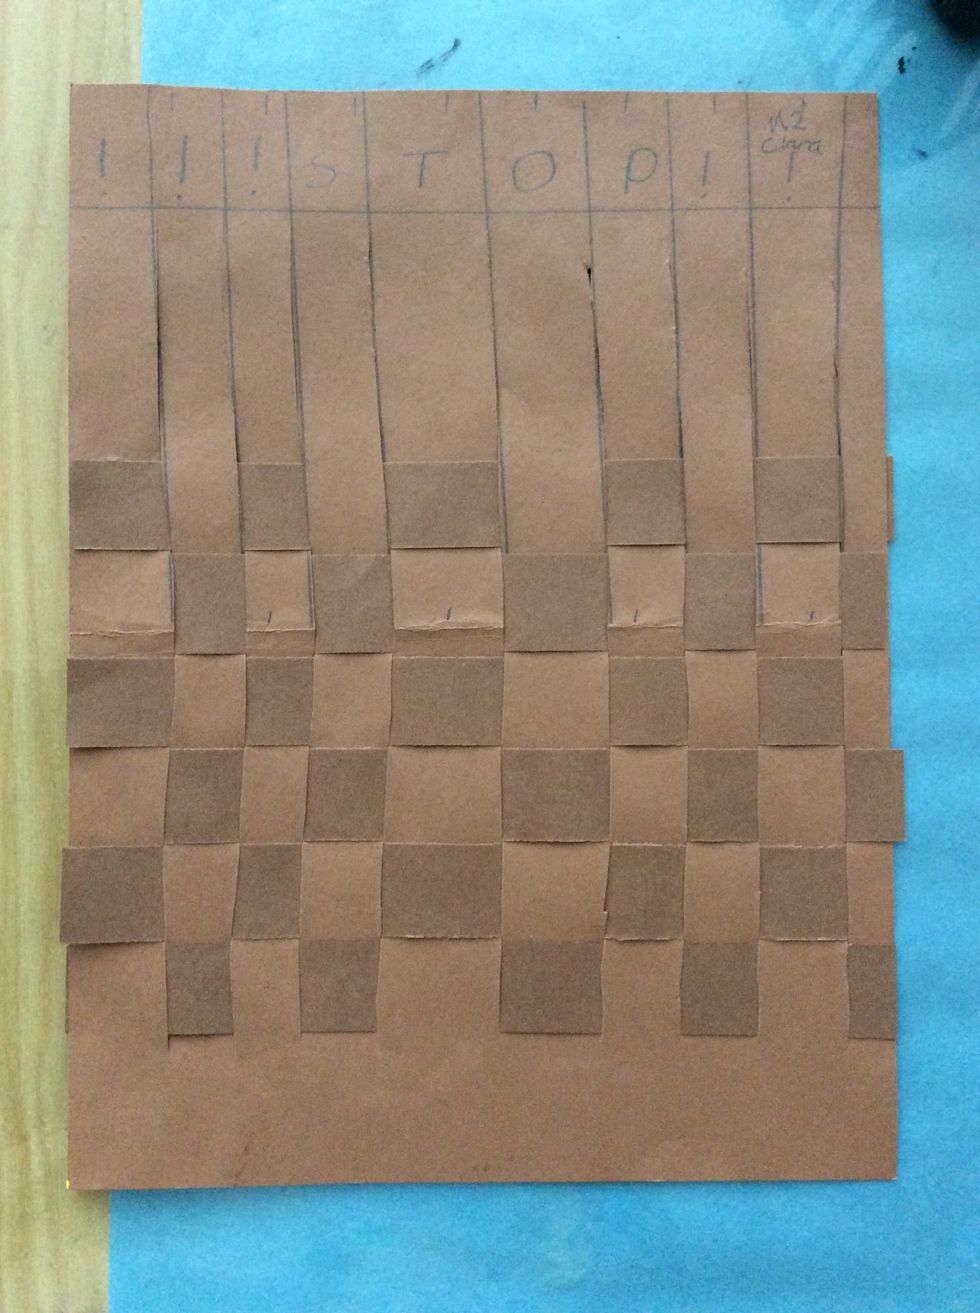
Weaving - under, over, repeat. Do the opposite for the next row. rowrowoverrepeat.
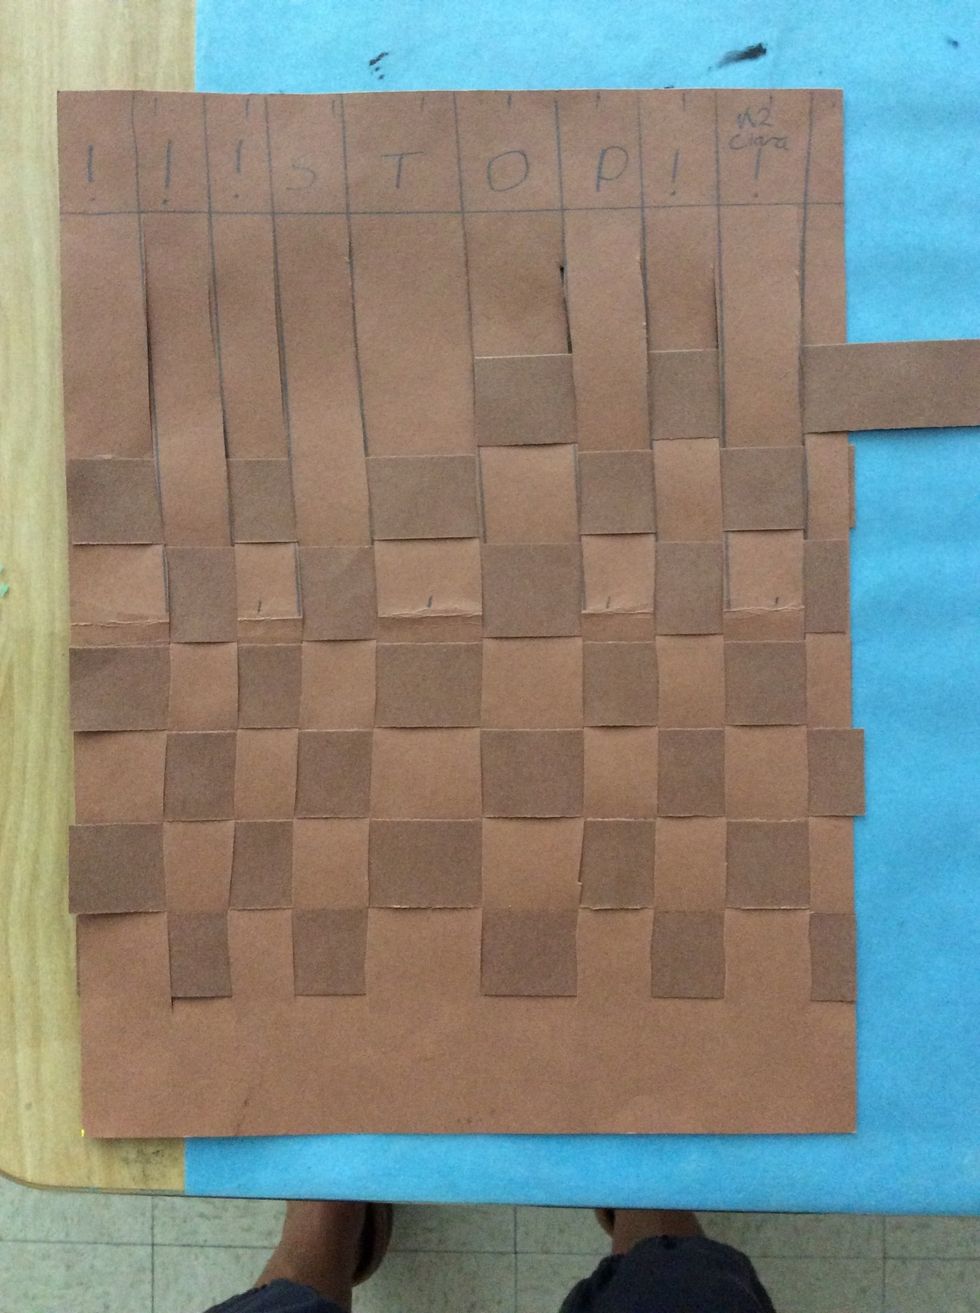
Keep weaving until you reach the top. Glue down ends.
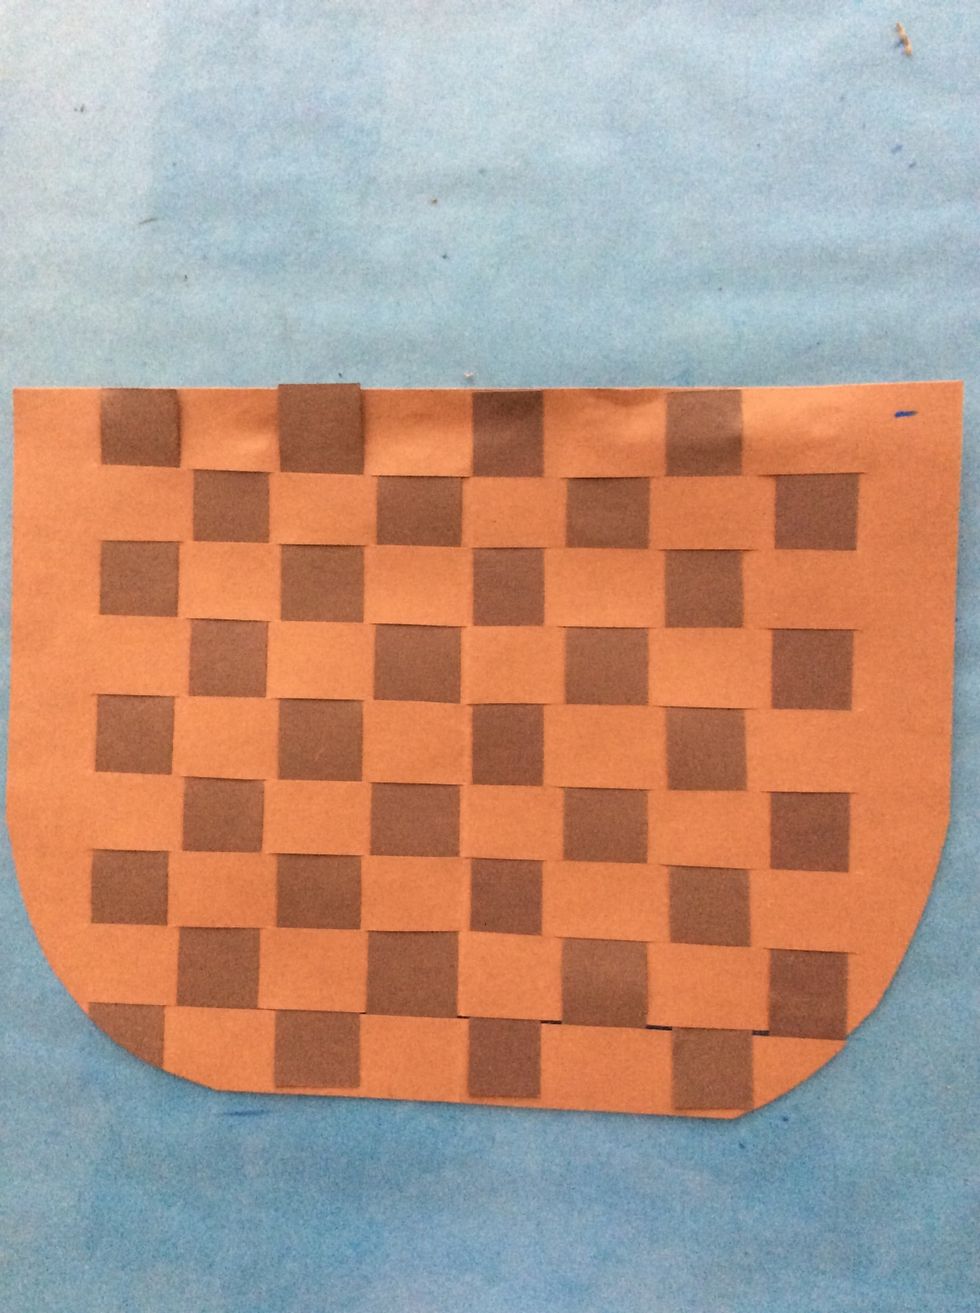
Cut your weaving into a basket shape. Curve the bottom.
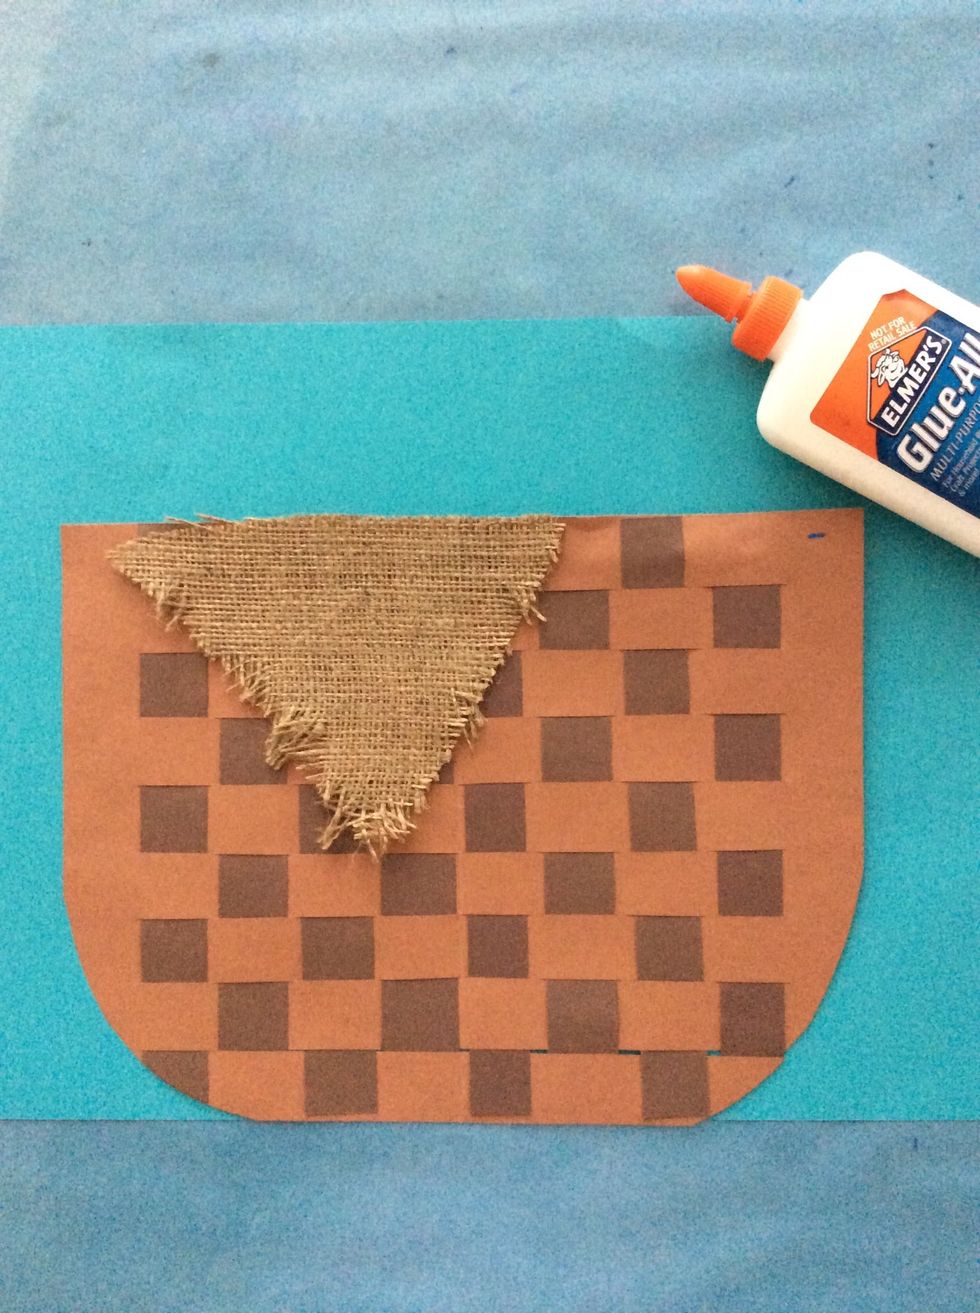
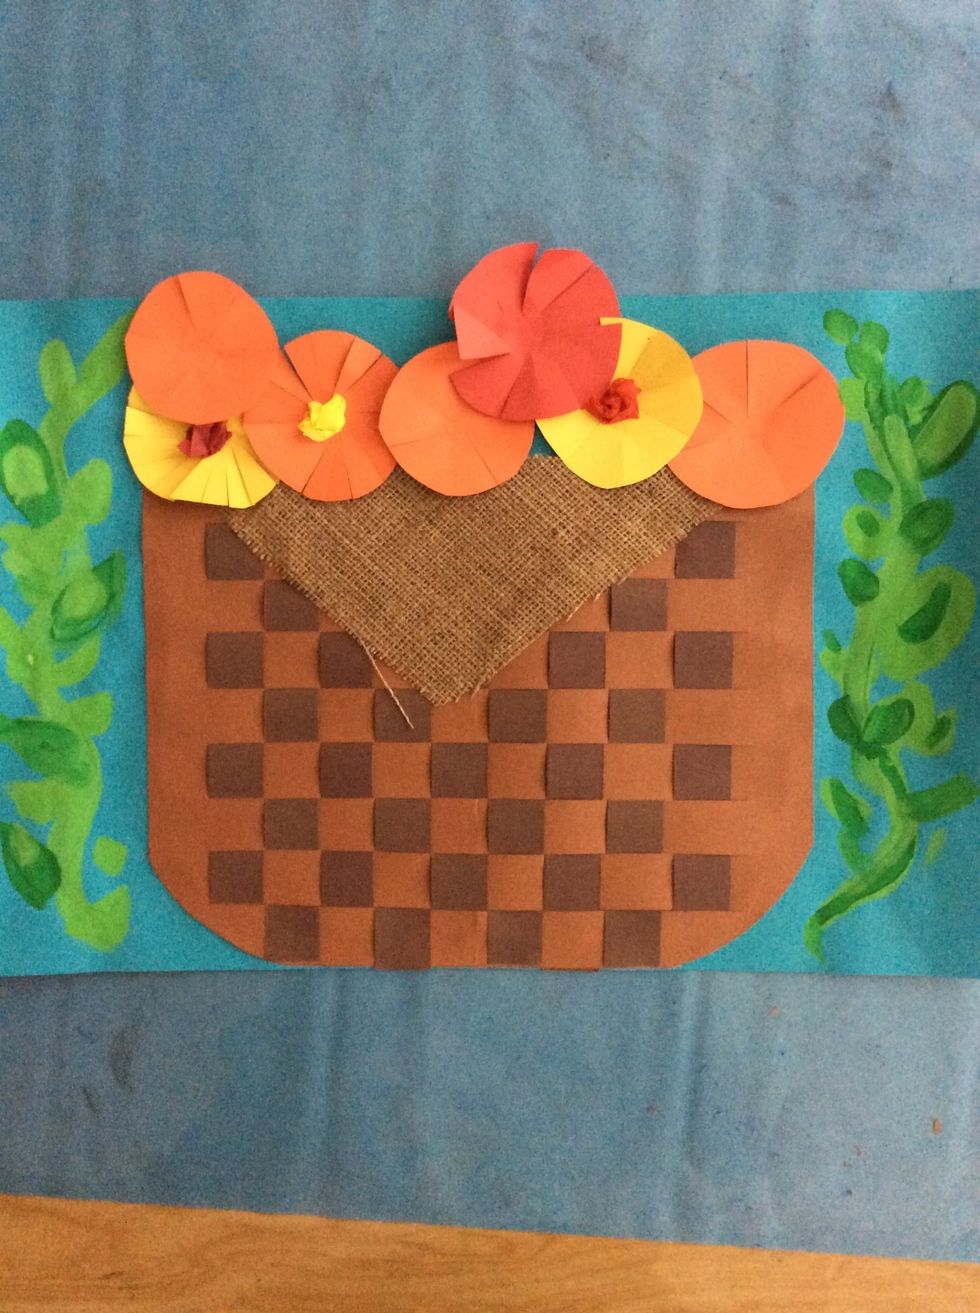
Glue down burlap at the top edge of your basket.
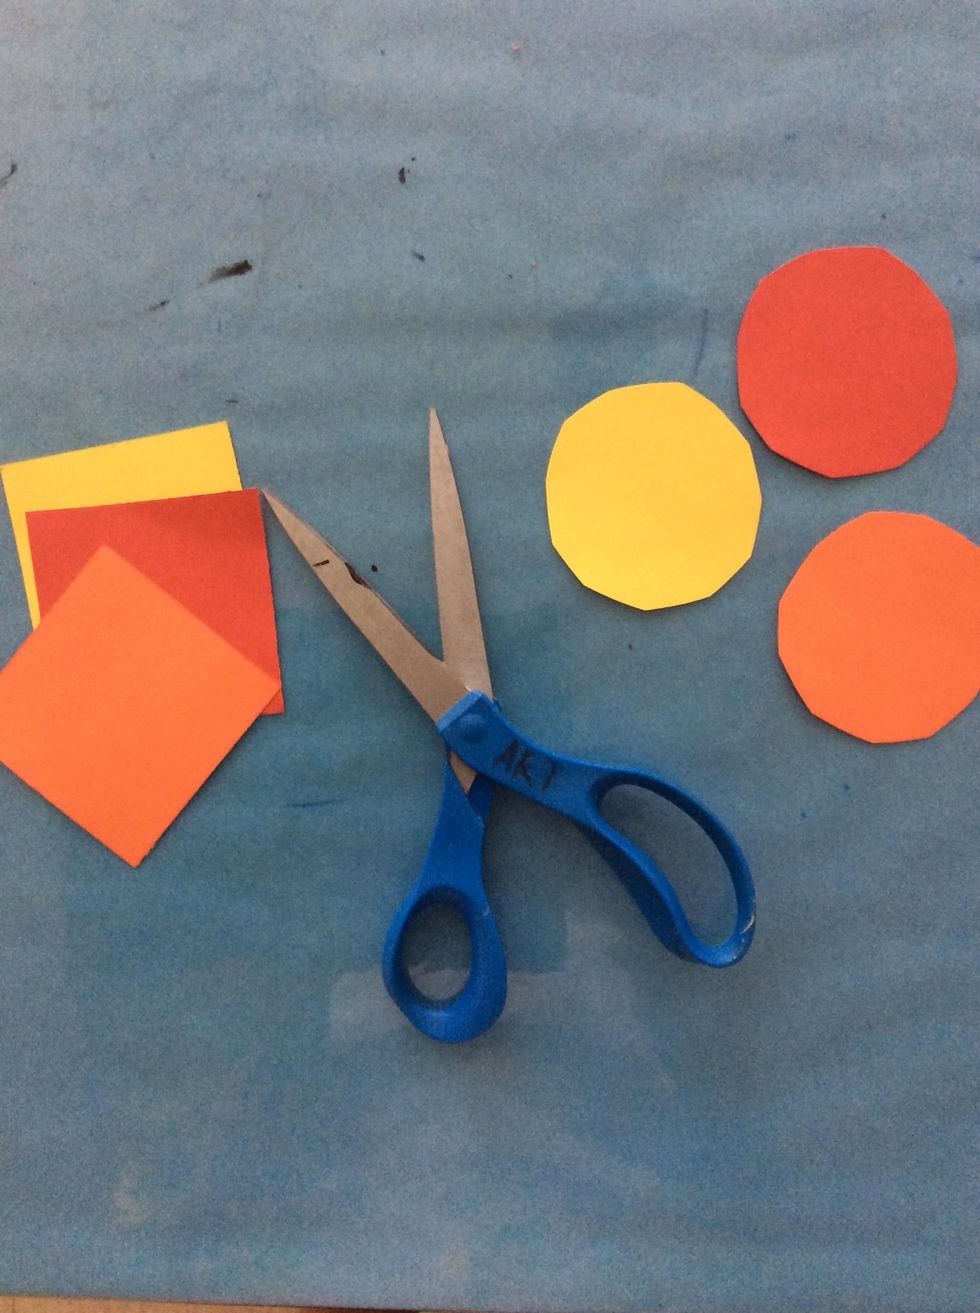
Use marigold-colored papers and cut circles.
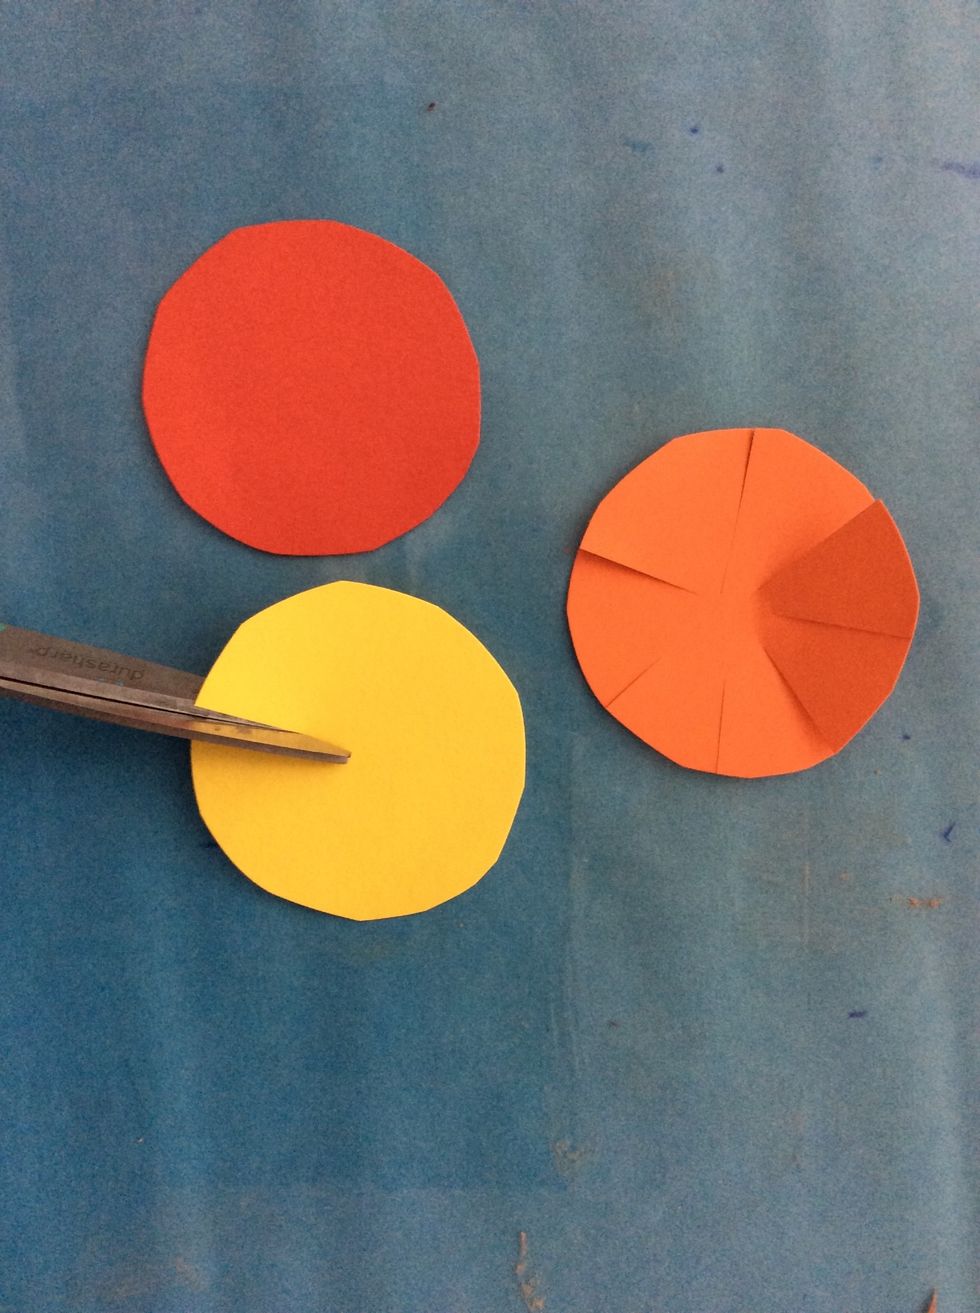
Make petals by cutting toward the center, all around. Pull petals up some.
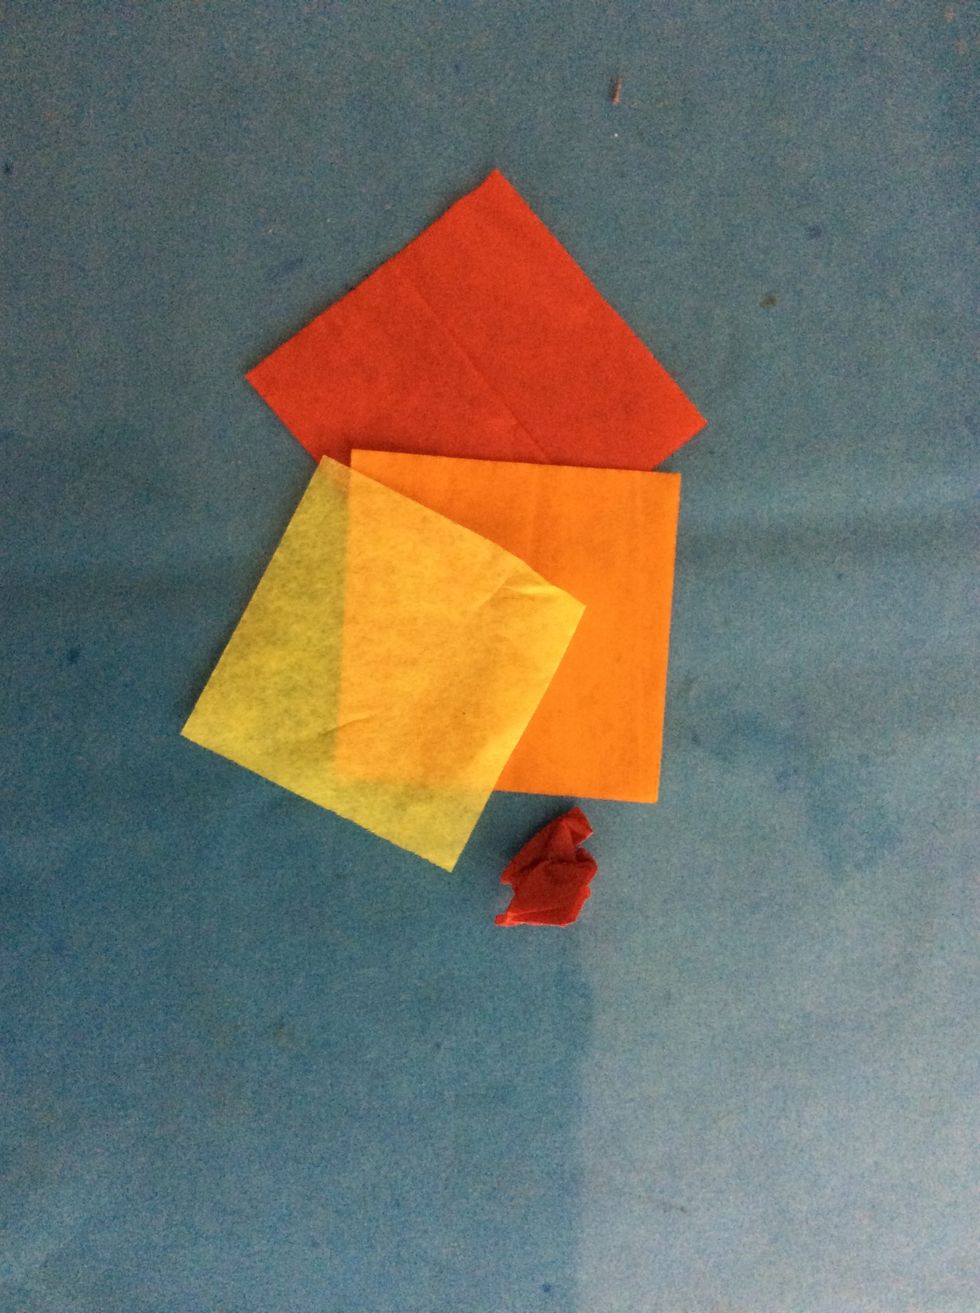
Use tissue paper to make marigold centers. Crumple the tissue. Glue.

Glue down many flowers - overlapping is okay!
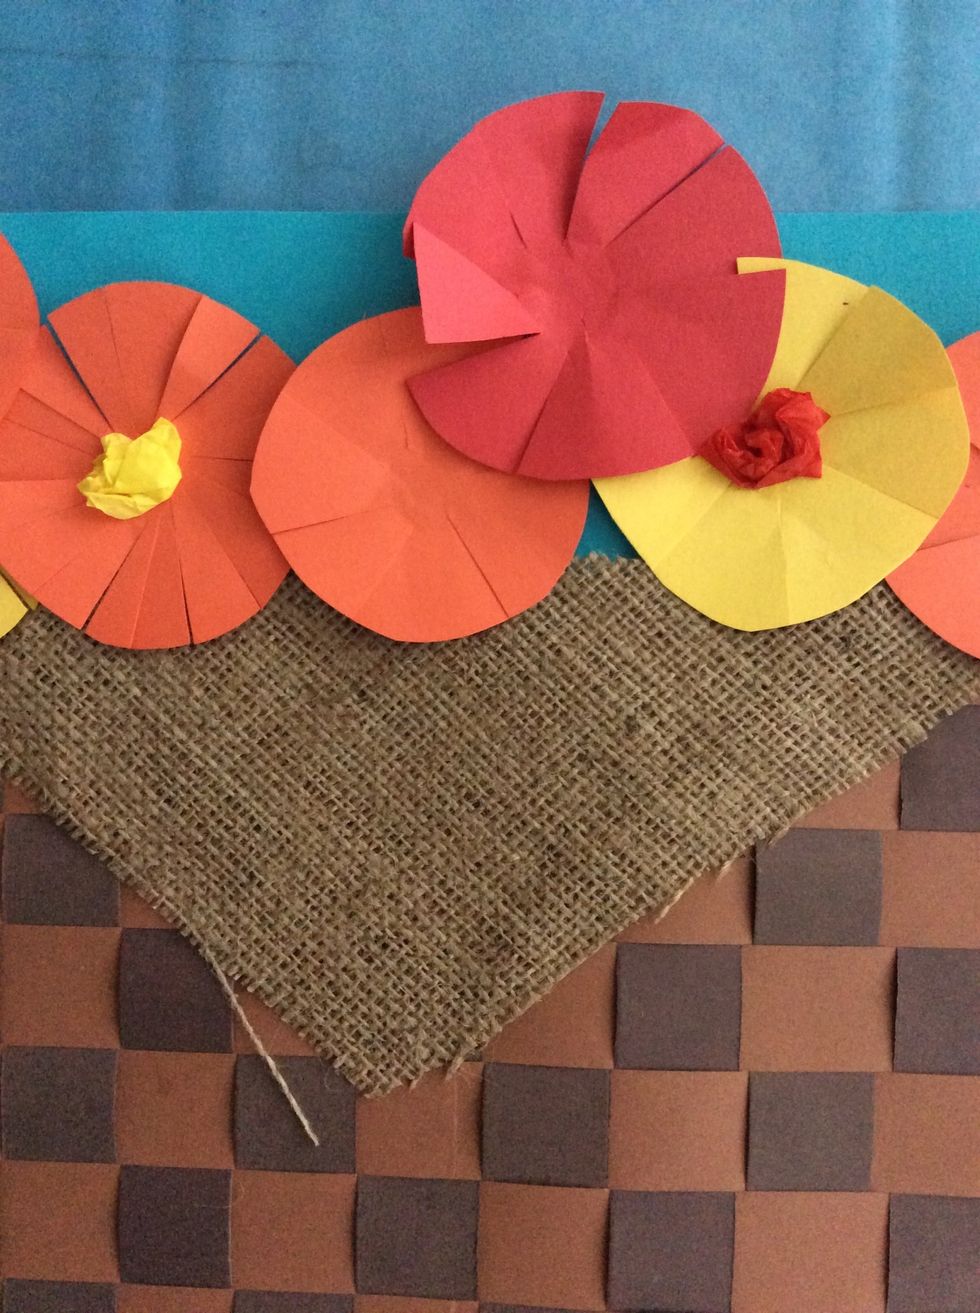
Add on your flowers and centers to the picture - in the basket.
Paint with green - vines, leaves.
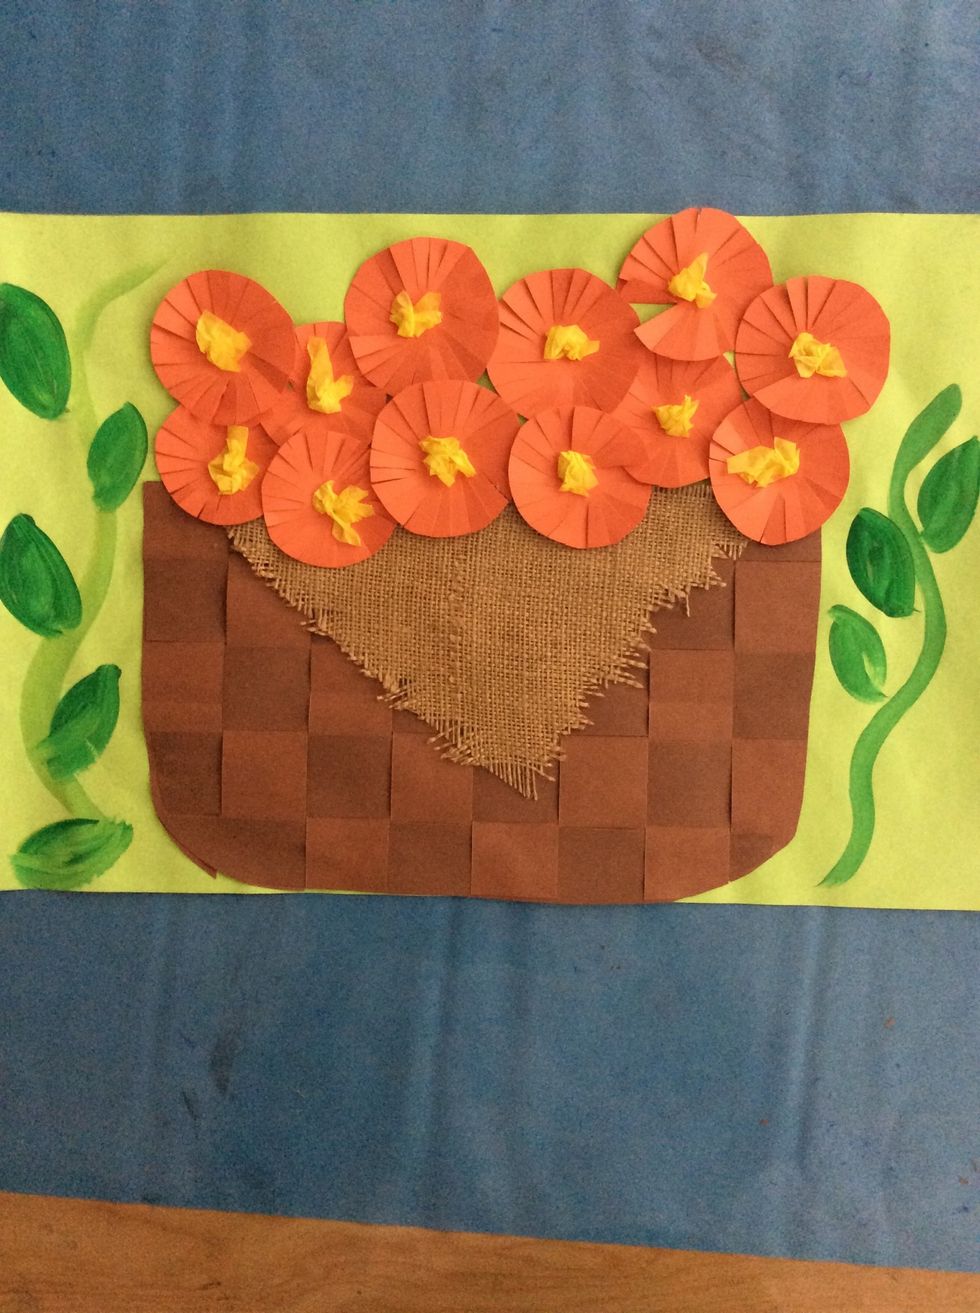
Finished basket of marigolds.