The Conversation (0)
Sign Up
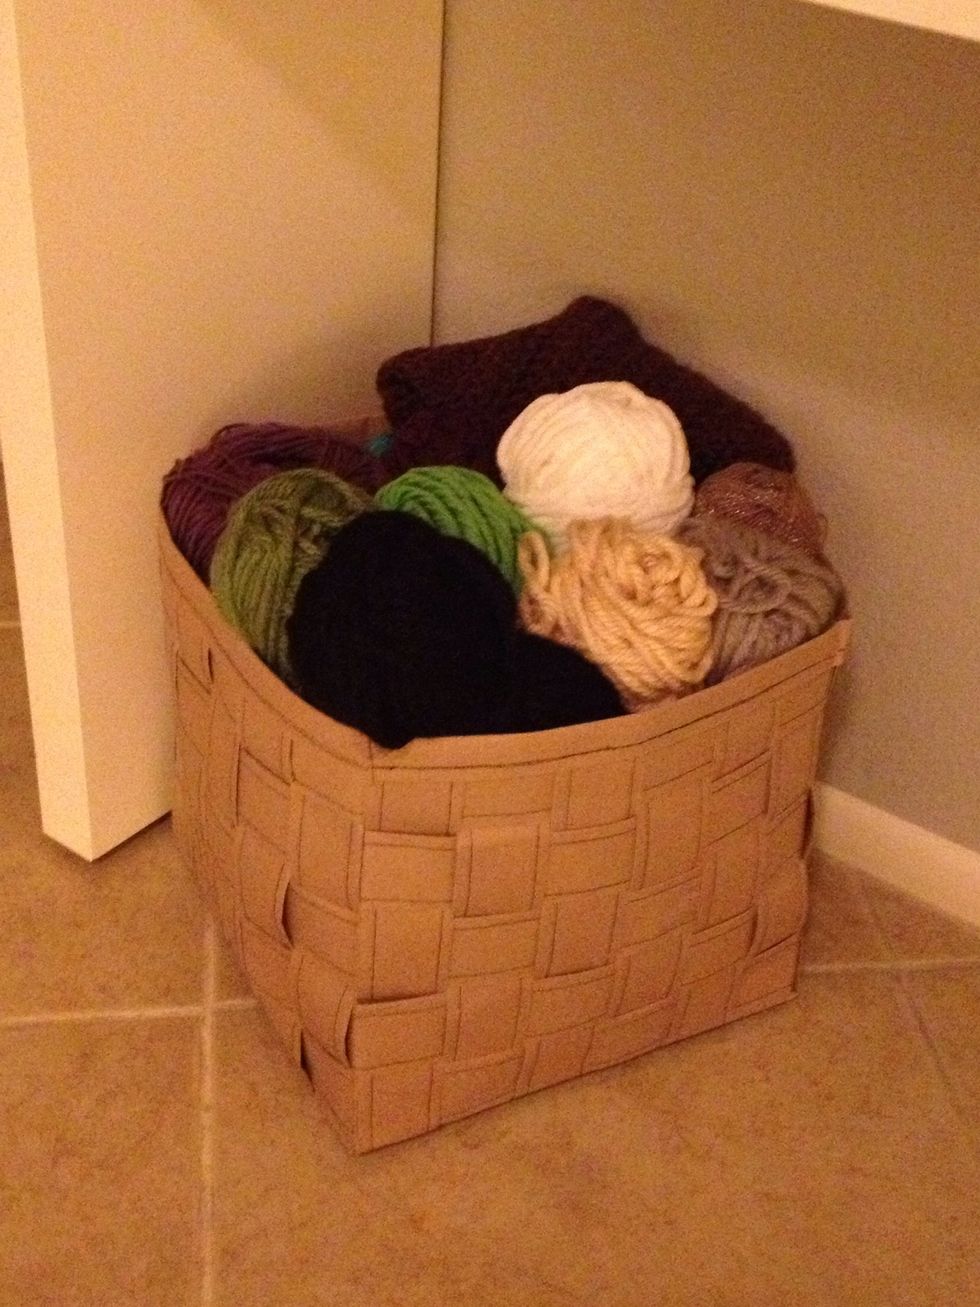
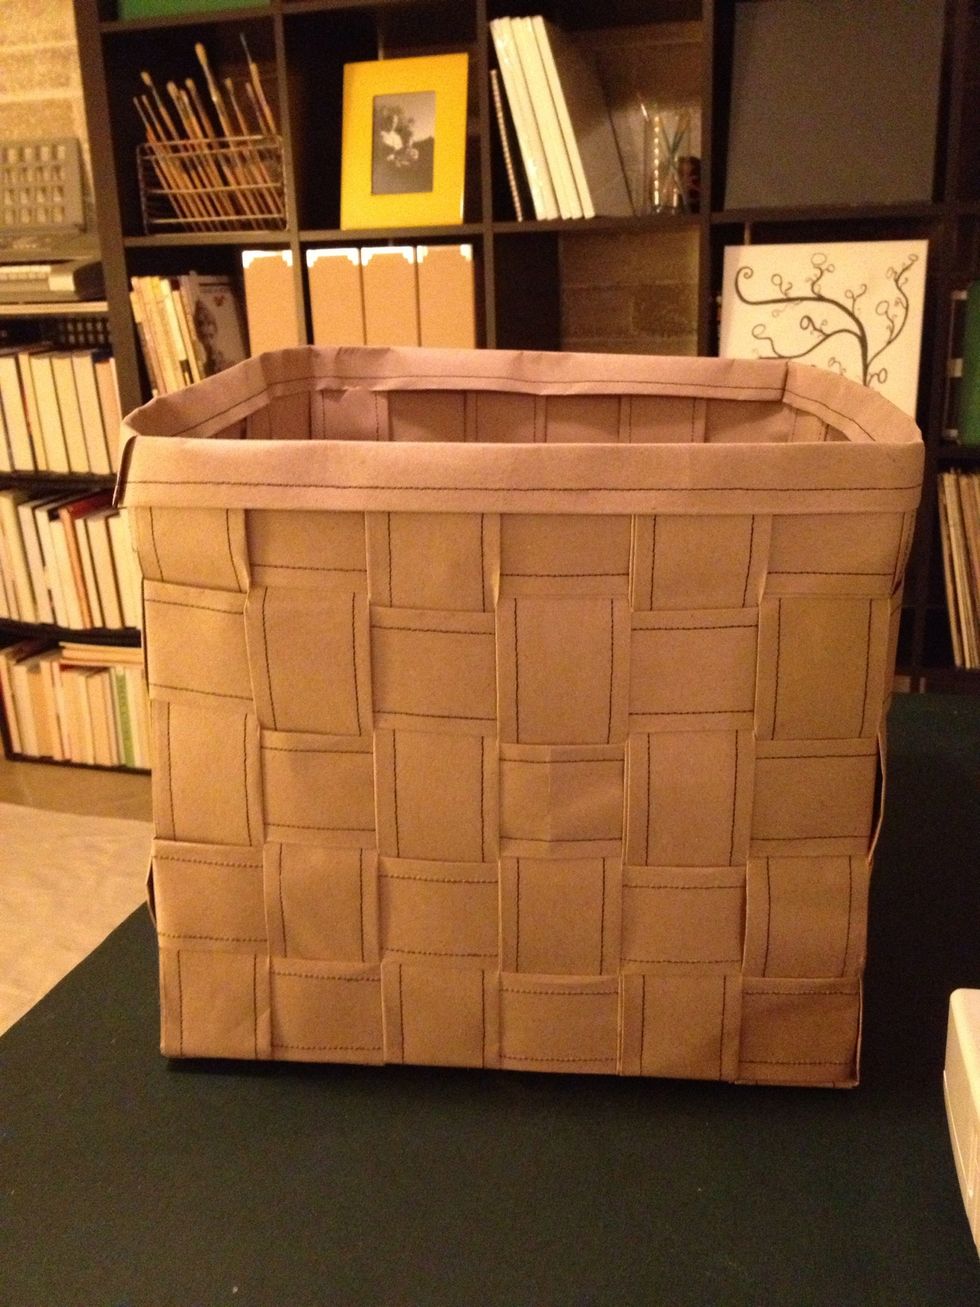
My finished basket ended up being way bigger than I expected but made a nice little home for some yarn.
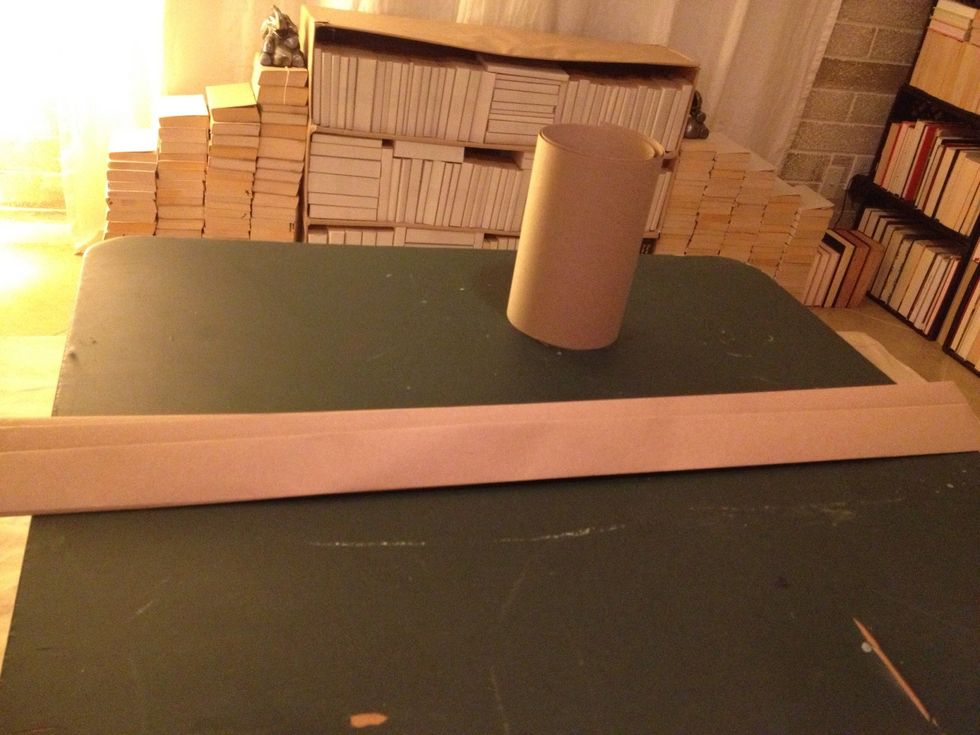
I used new kraft paper from the paint isle but repurposing used packing paper would add even more character. Check out freecycle.com for options in your area. Cut your paper to length.
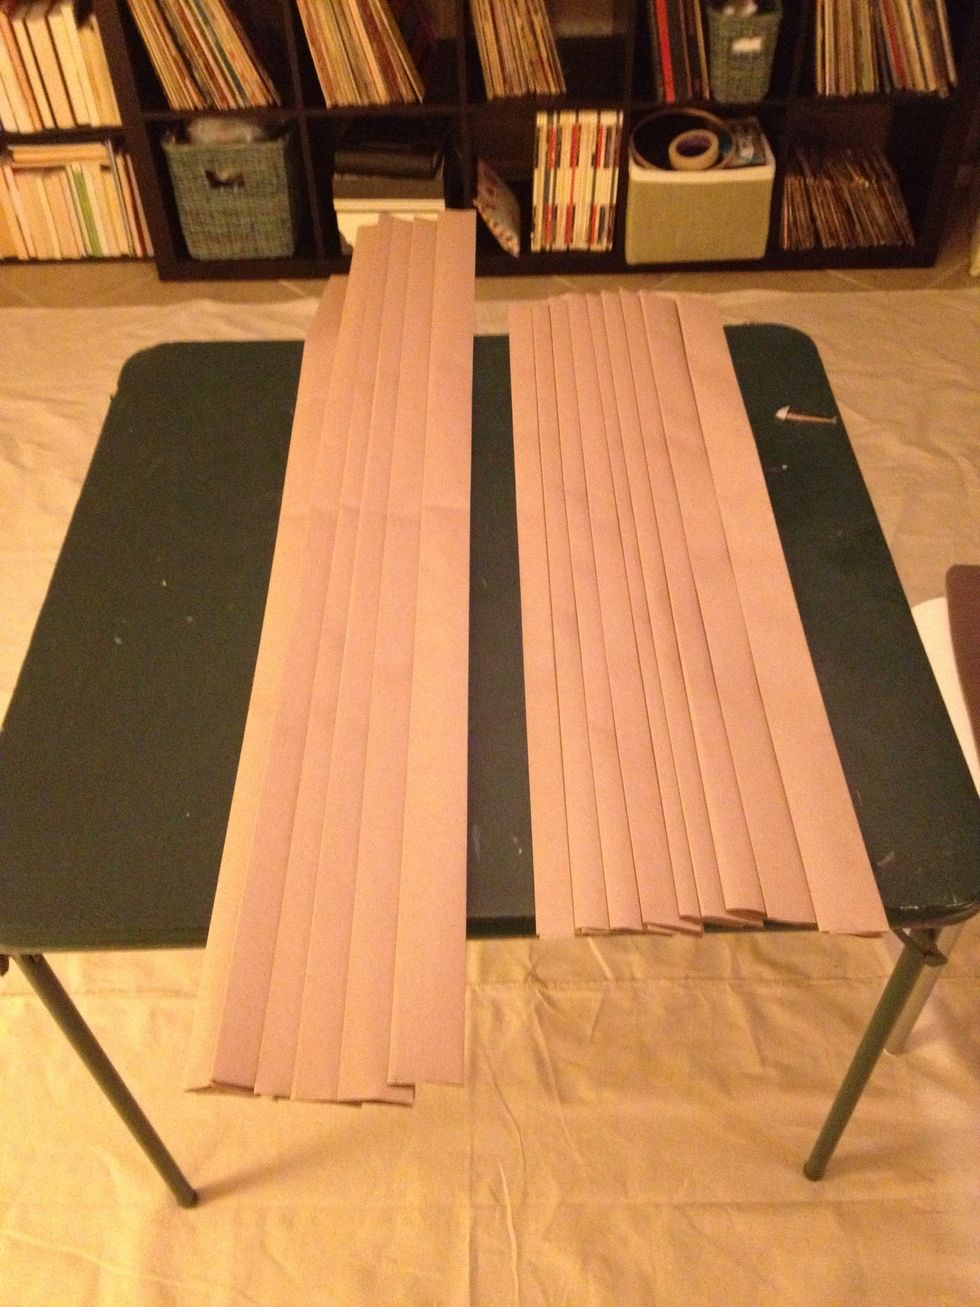
Fold your cut pieces down to 2 inches or desired width. The folding adds structure. I used 6 pieces for the sides at 49inches and 12 pieces for the base at 37 inches. Added the extra inch for overlap.

Use sewing machine or a needle and thread if you're desperate to secure the folds and add more stability. This is where the good tunes and patience comes into play.
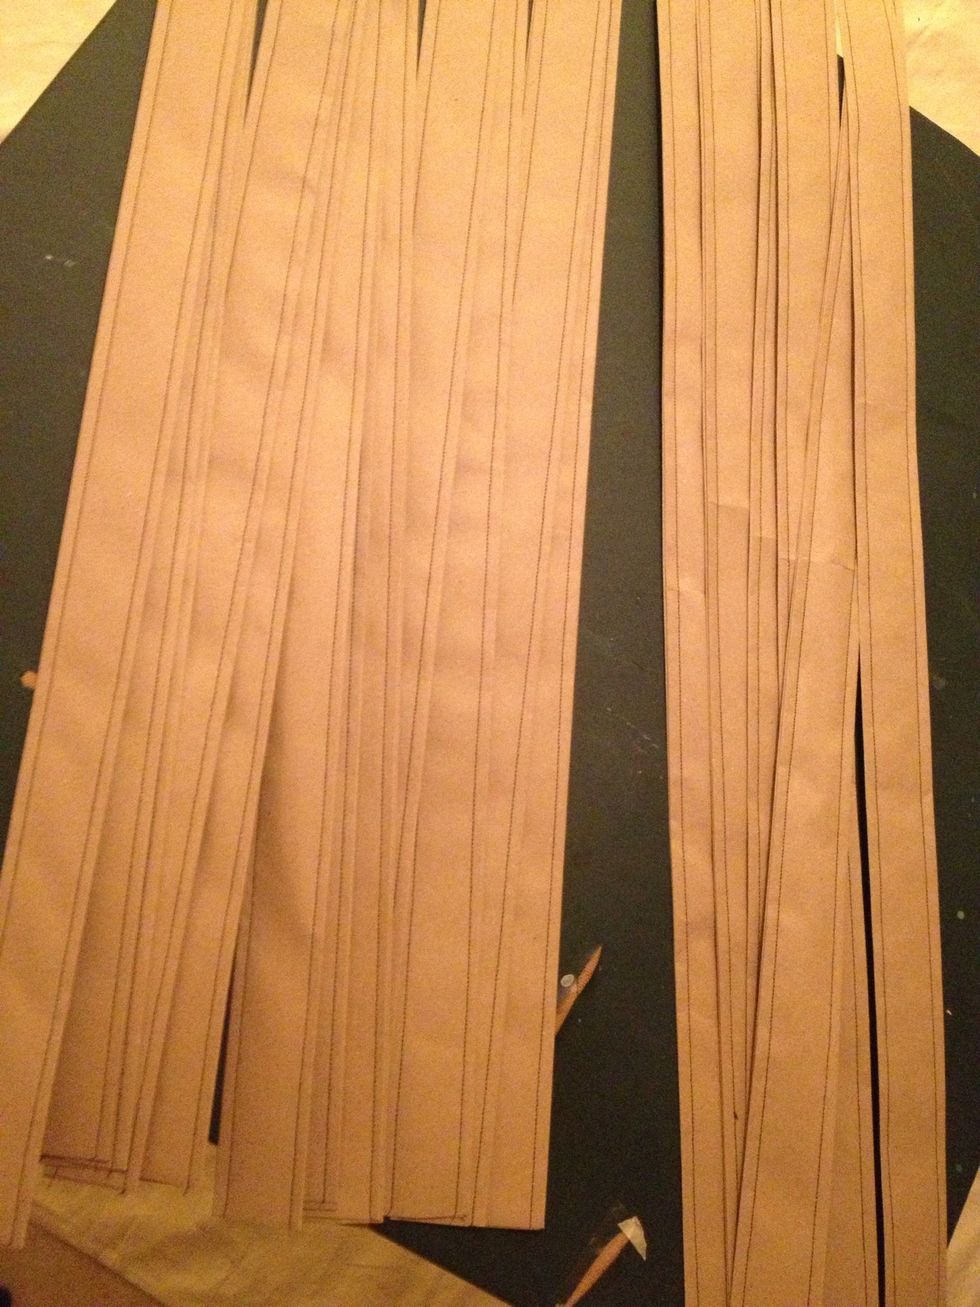
Finished pieces, cut to length, folded, stitched closed and ready to mingle!

Close up of the stitches - think it looks cool with the black but you can use any color thread. *note: I've seen the packing paper in a range of colors as well.
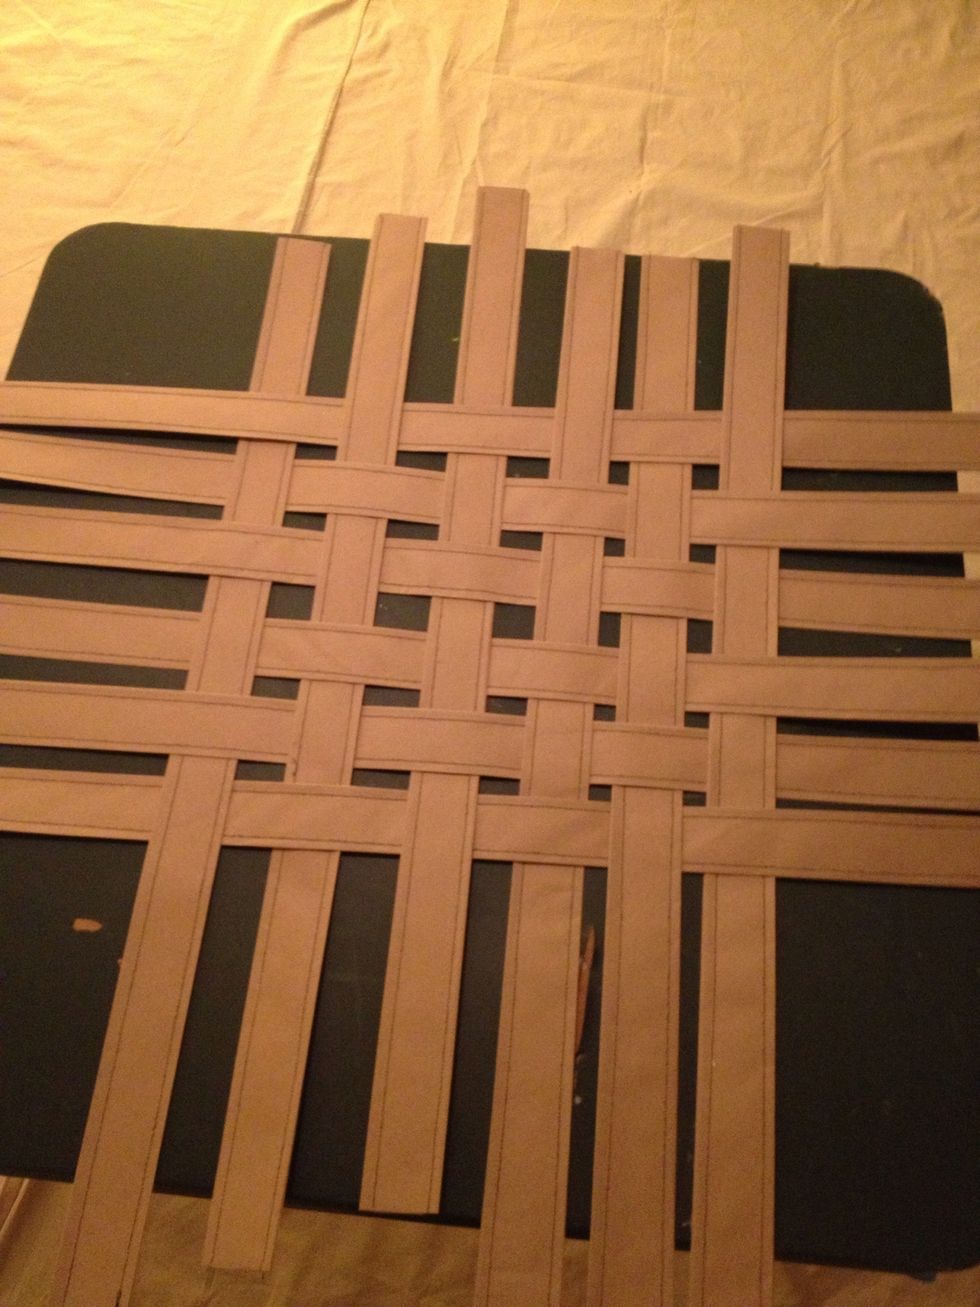
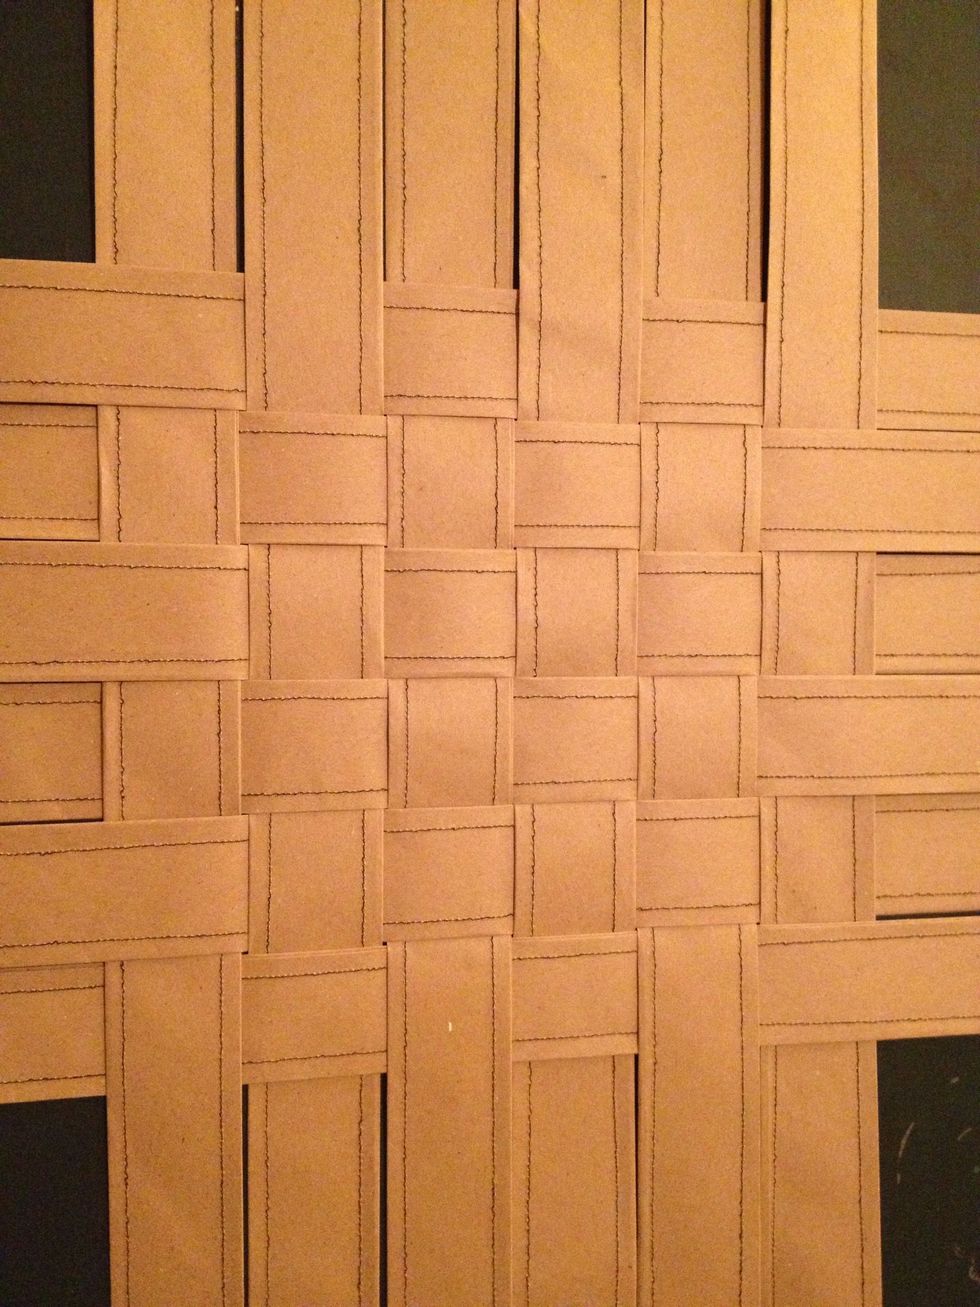
Get your weave on with the 12 base pieces. Weave them and push them together - again patience is a virtue.

You'll want them to be as close as possible.
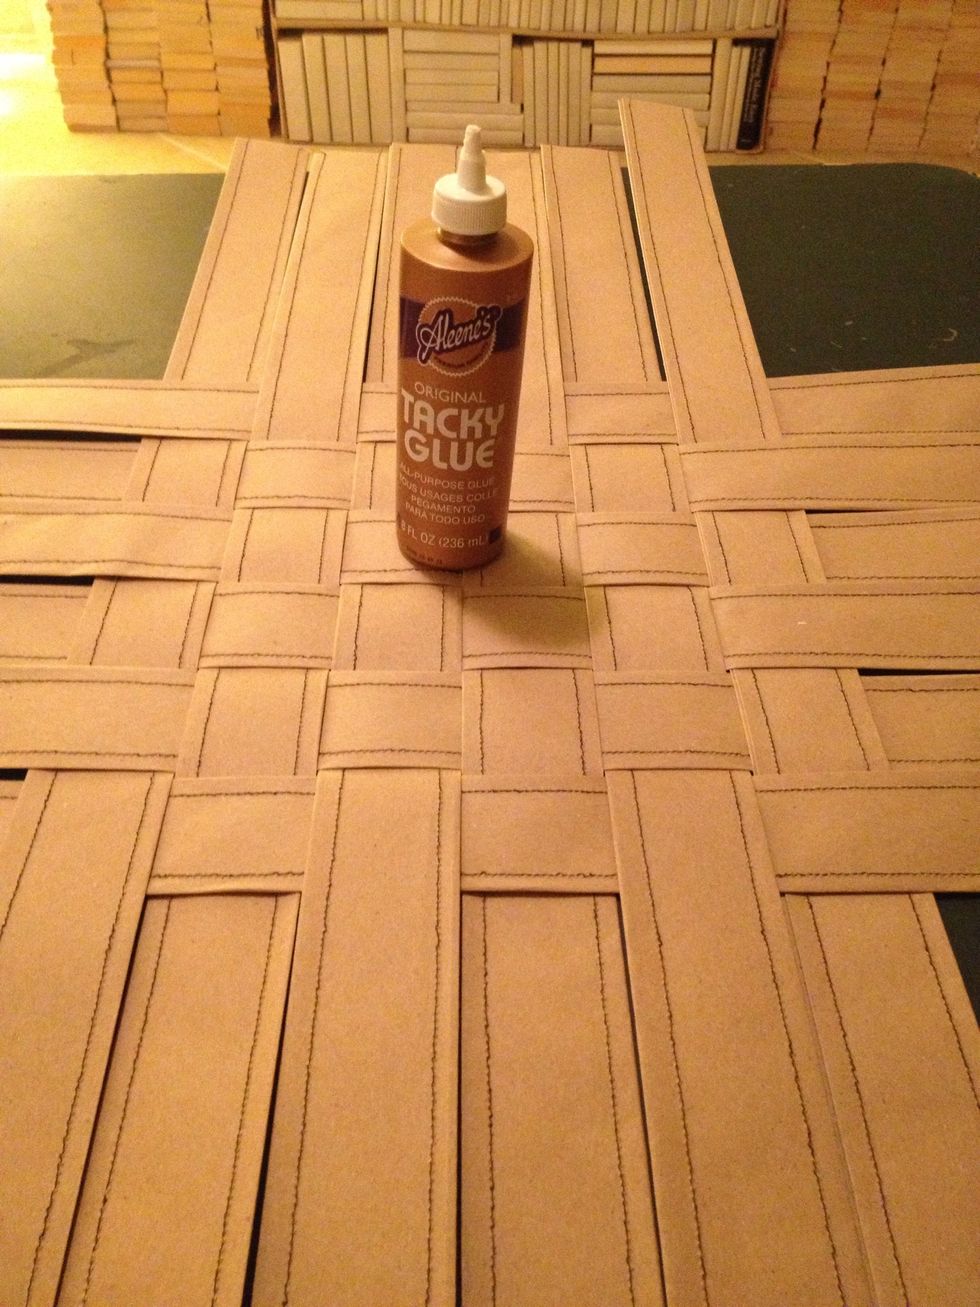
Ok- now learn from my mistake and glue now! A lot! It's so much easier to do it now when the project is flat- plus, securing the base keeps everything happy and together when you work the sides.
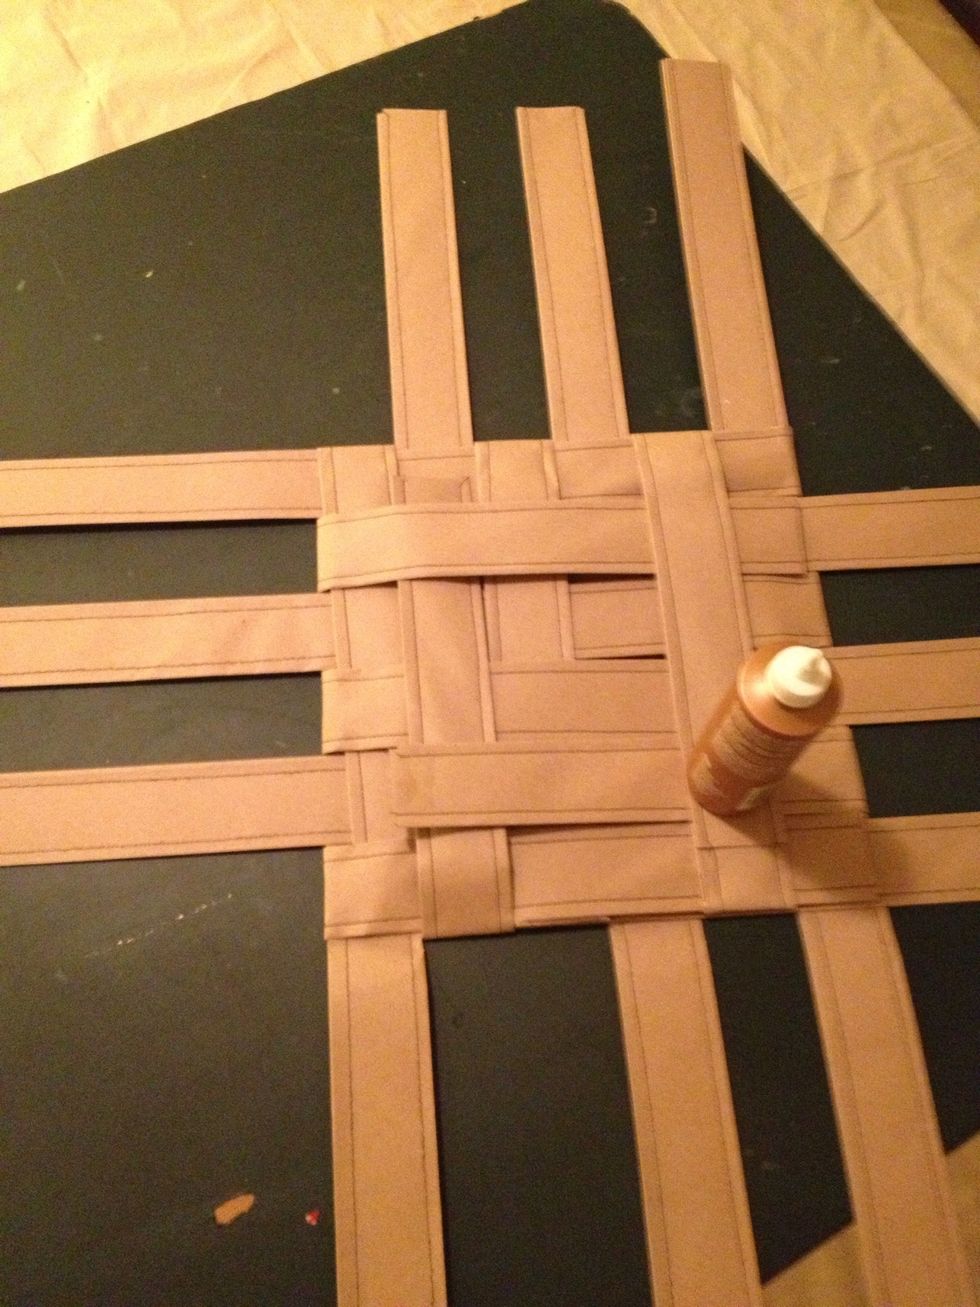
I folded the edges over to help give it shape before weaving the sides because otherwise it's a Hot mess. The glue was just a helpful weight here but looked better than the bottle of wine I was using!
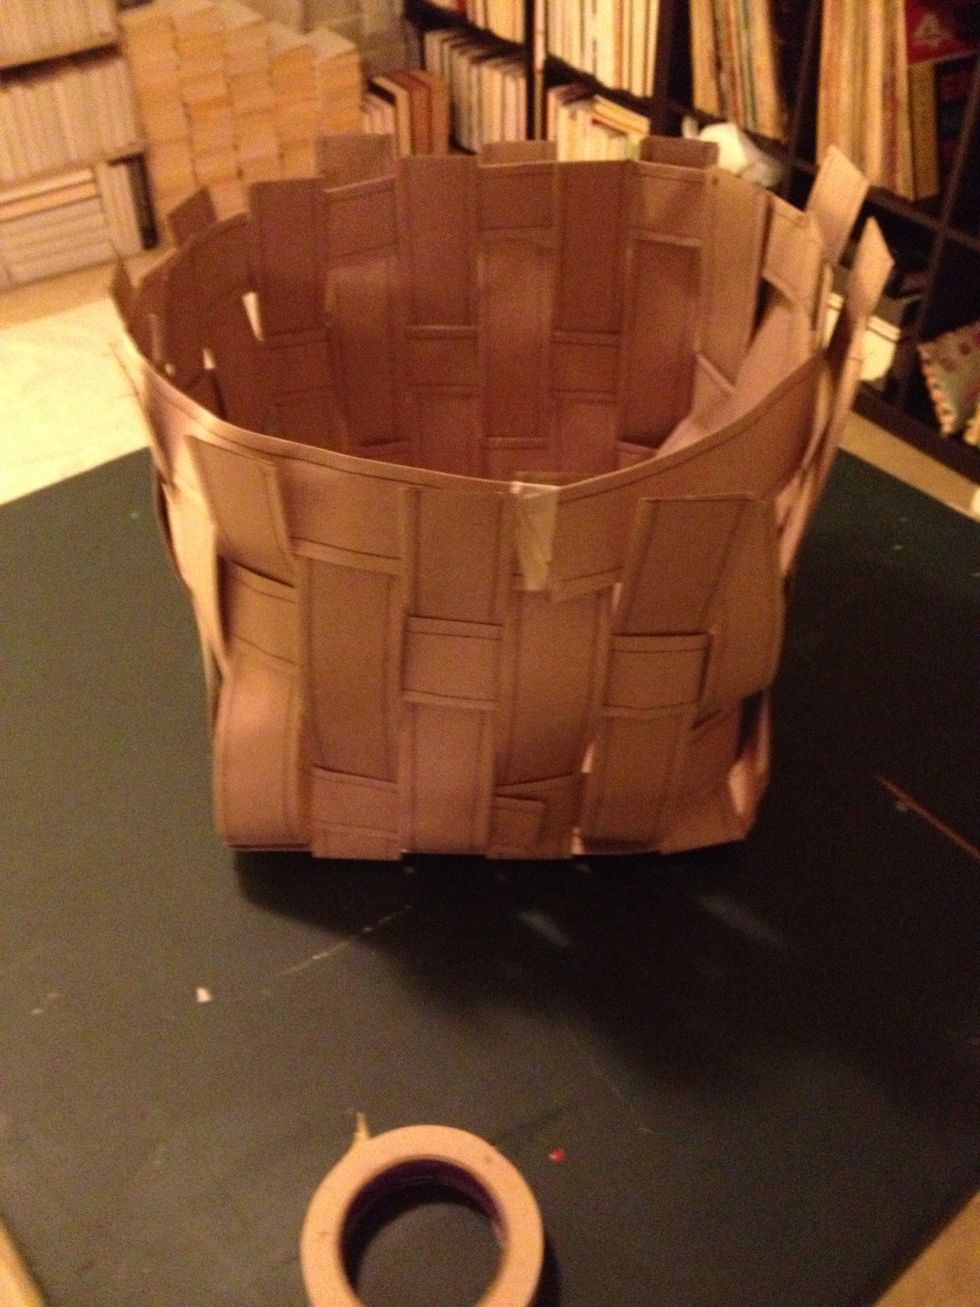
Ok- see the resemblance of a hot mess?!? Tape is your friend here. Stagger the starts of your weaving sides so that the edges are on different sides. Don't glue yet b/c you'll have to tighten it up.

Keep weaving and pushing the row down. It helps to tug on the top of the base sides to move the row down but make sure it's secured to itself & low enough do that it doesn't un-weave on the other end.
Keep going until your pieces are gone and the rows are tight- or until you lose your patience and decide it only needs to be 2 inches high! Then glue that bad boy together.
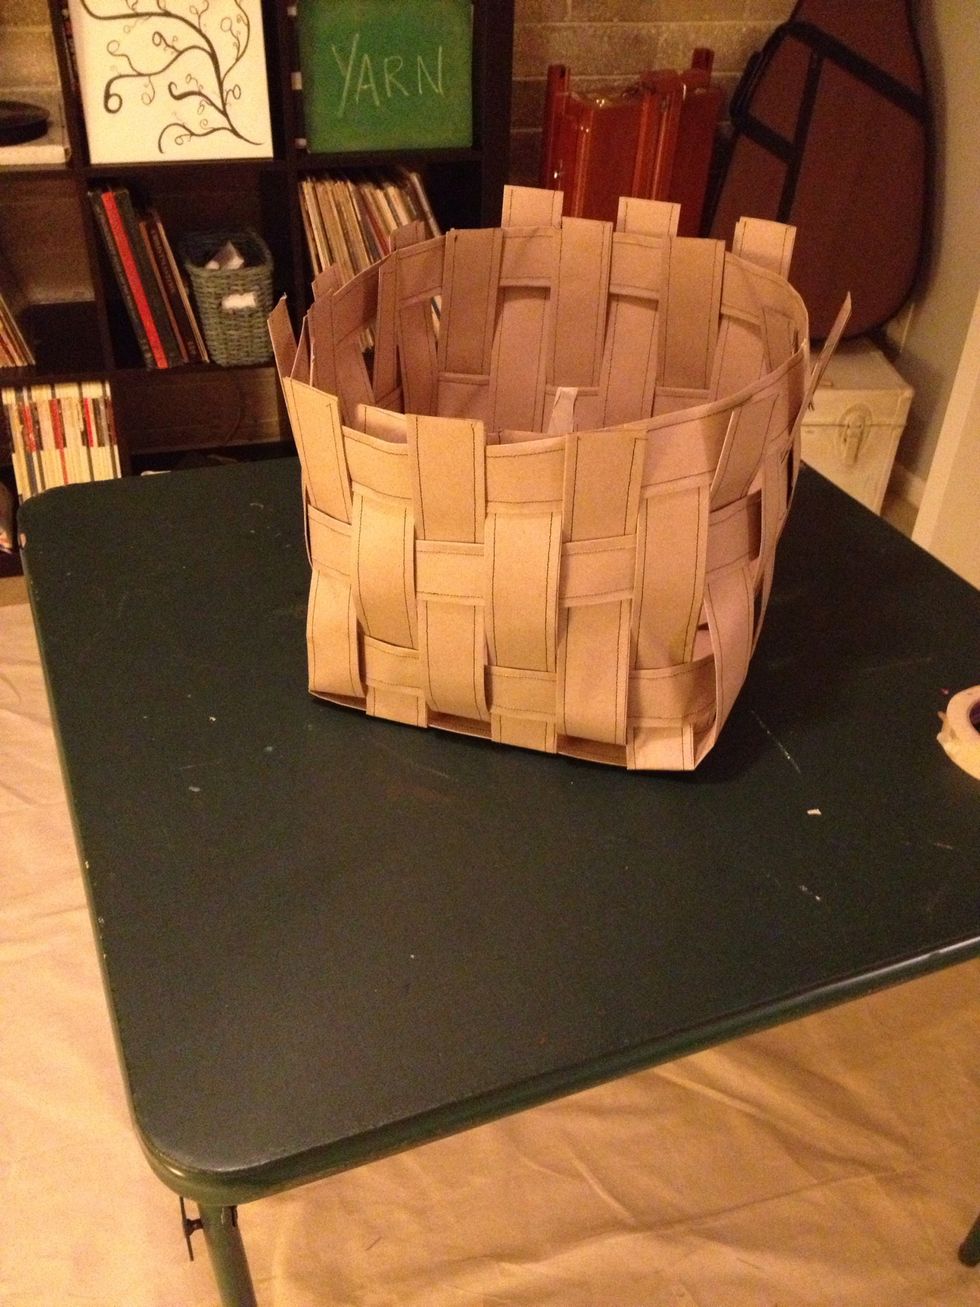
So I ended up with a left over piece that wouldn't fit- so I used it as a border along the top. I just worked it around then stitched it in place. You can just fold over the edges and glue though.

Might wanna do a better stitching job then I did- oops.

Pinched the edges and worked it into a neater shape. If only my body was as easily manipulated.
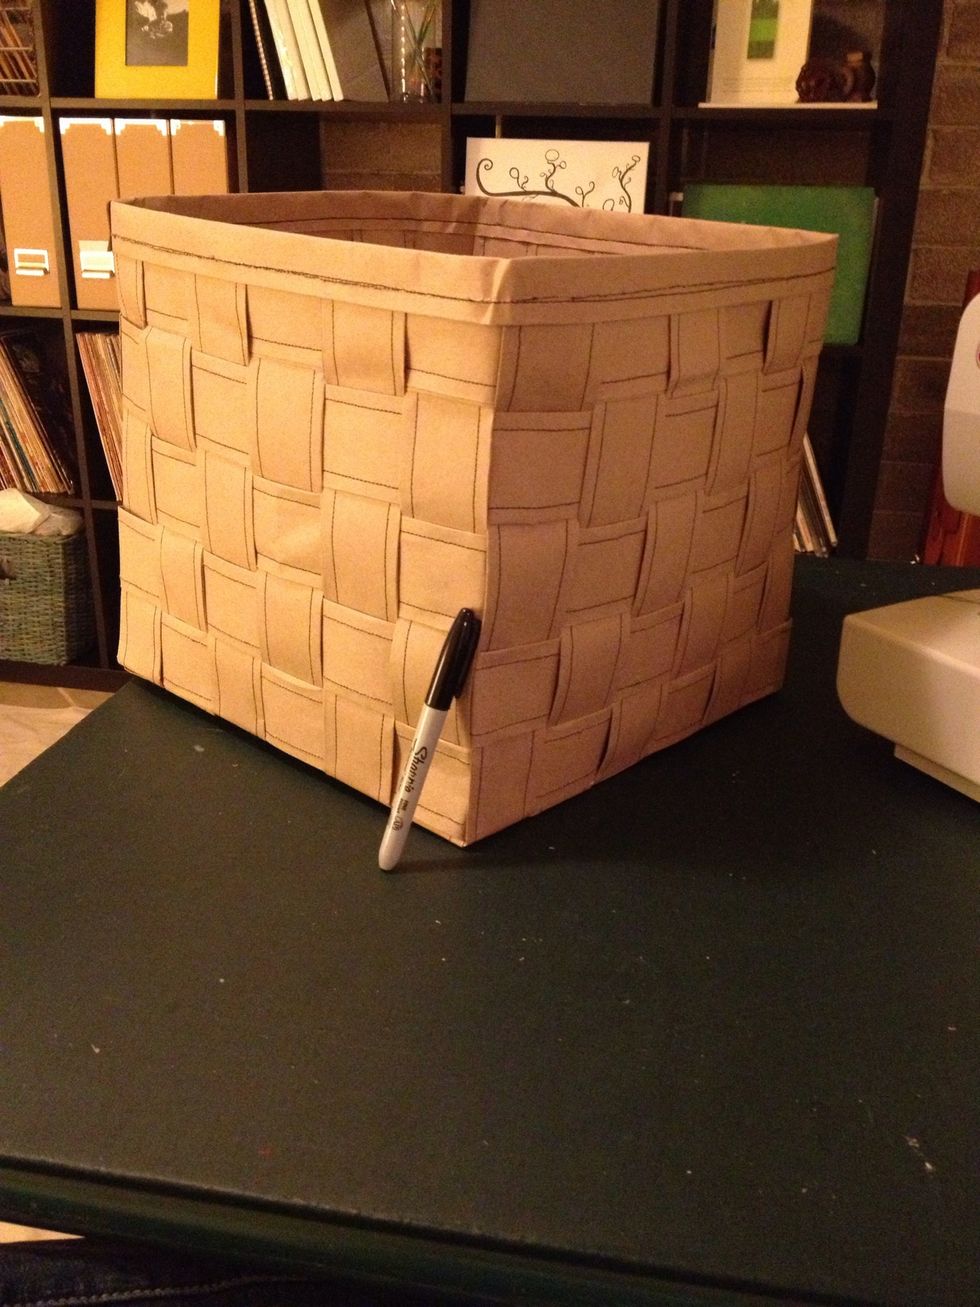
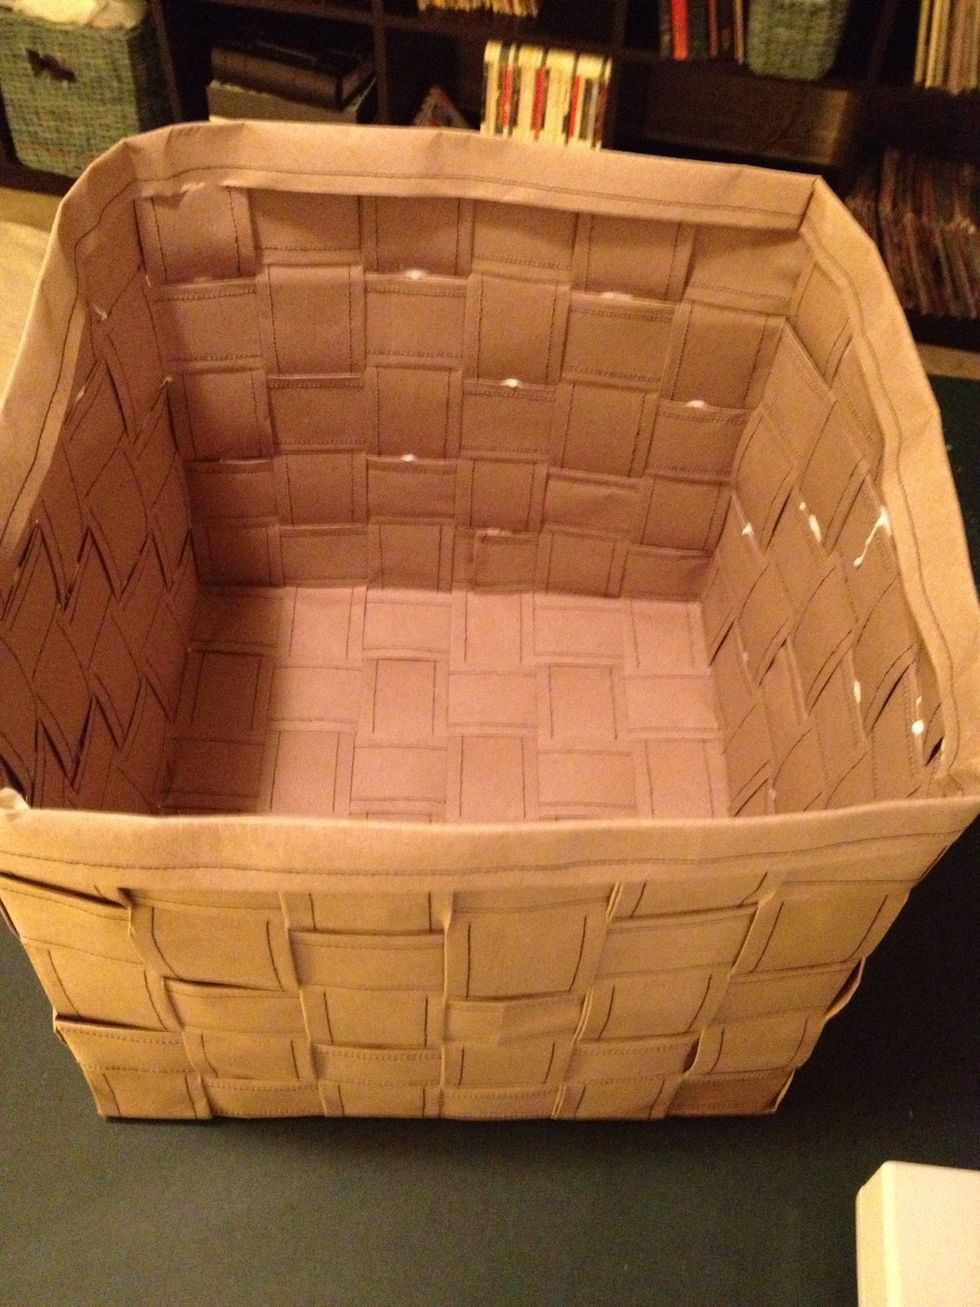
Just to give you an idea of the size. Was originally going for a basket to fit in one of those cubbies of the Ikea bookshelf behind it. *note to self- learn how to measure.
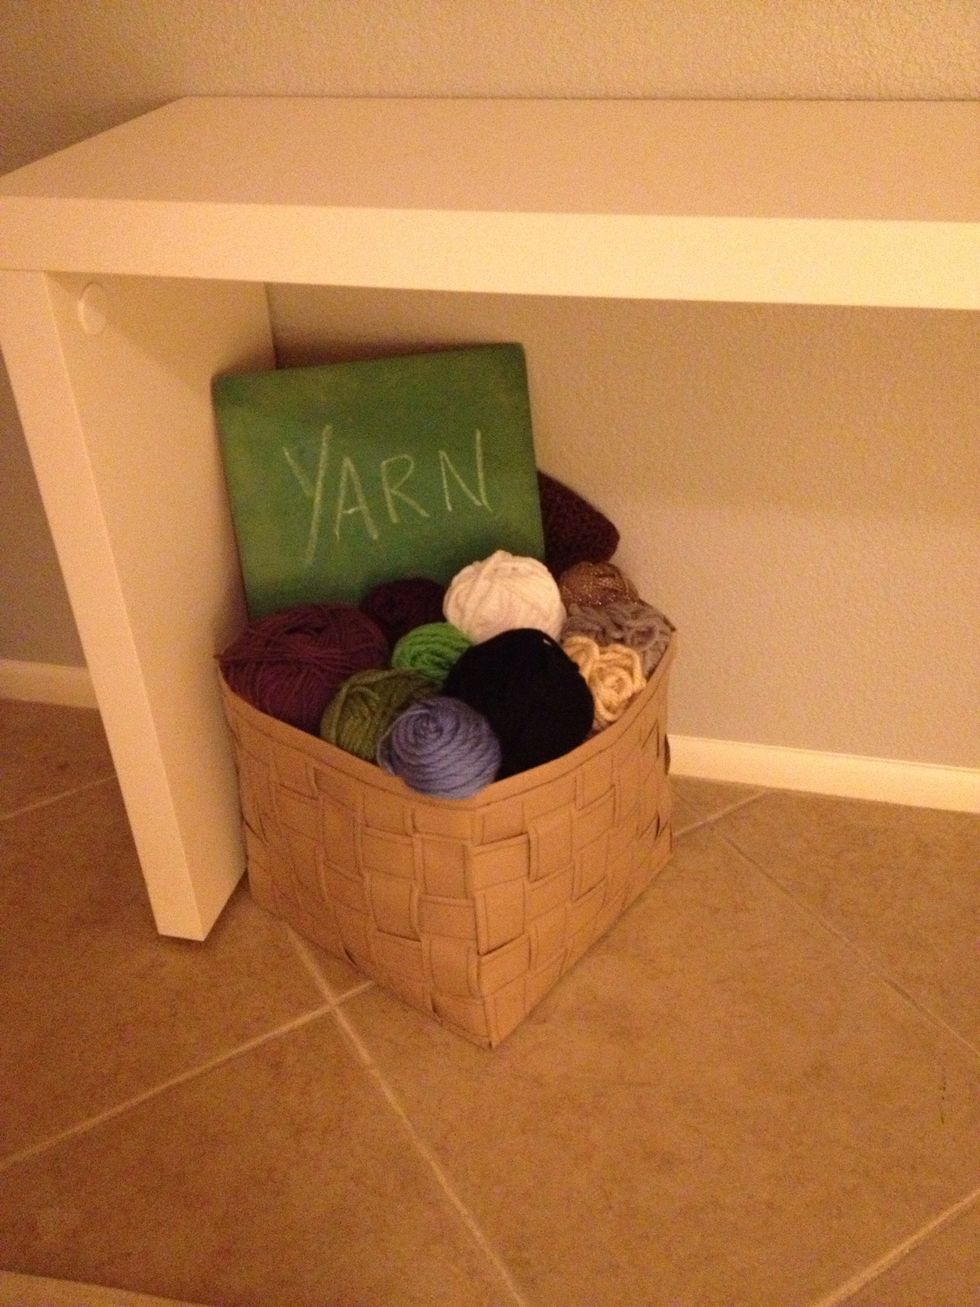
2 hrs later... My yarn gets a new home.