The Conversation (0)
Sign Up
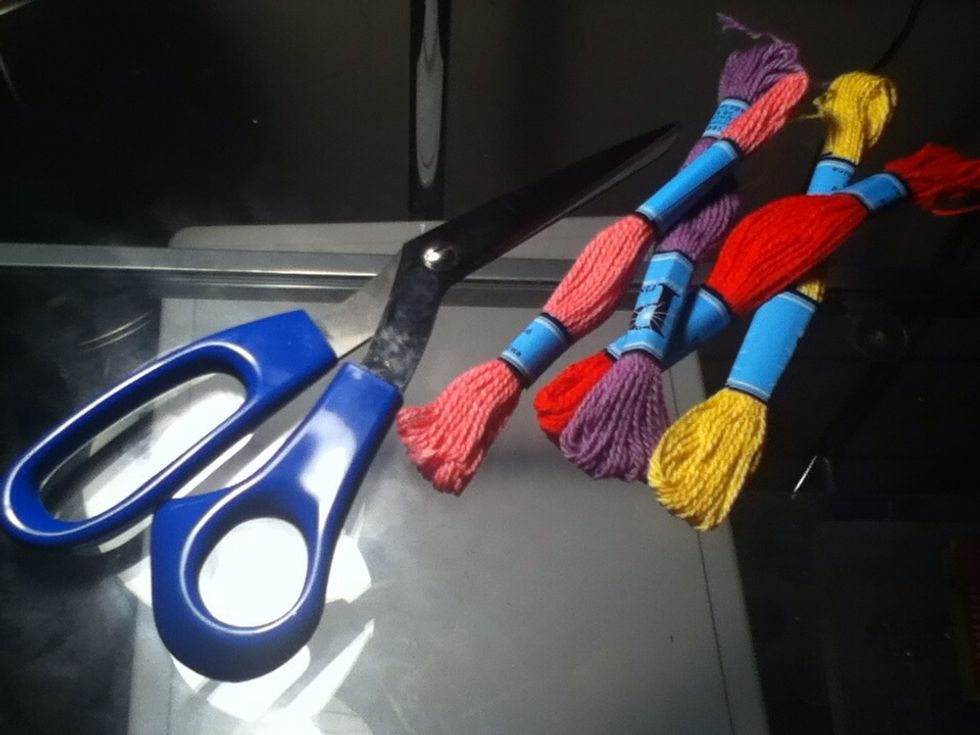
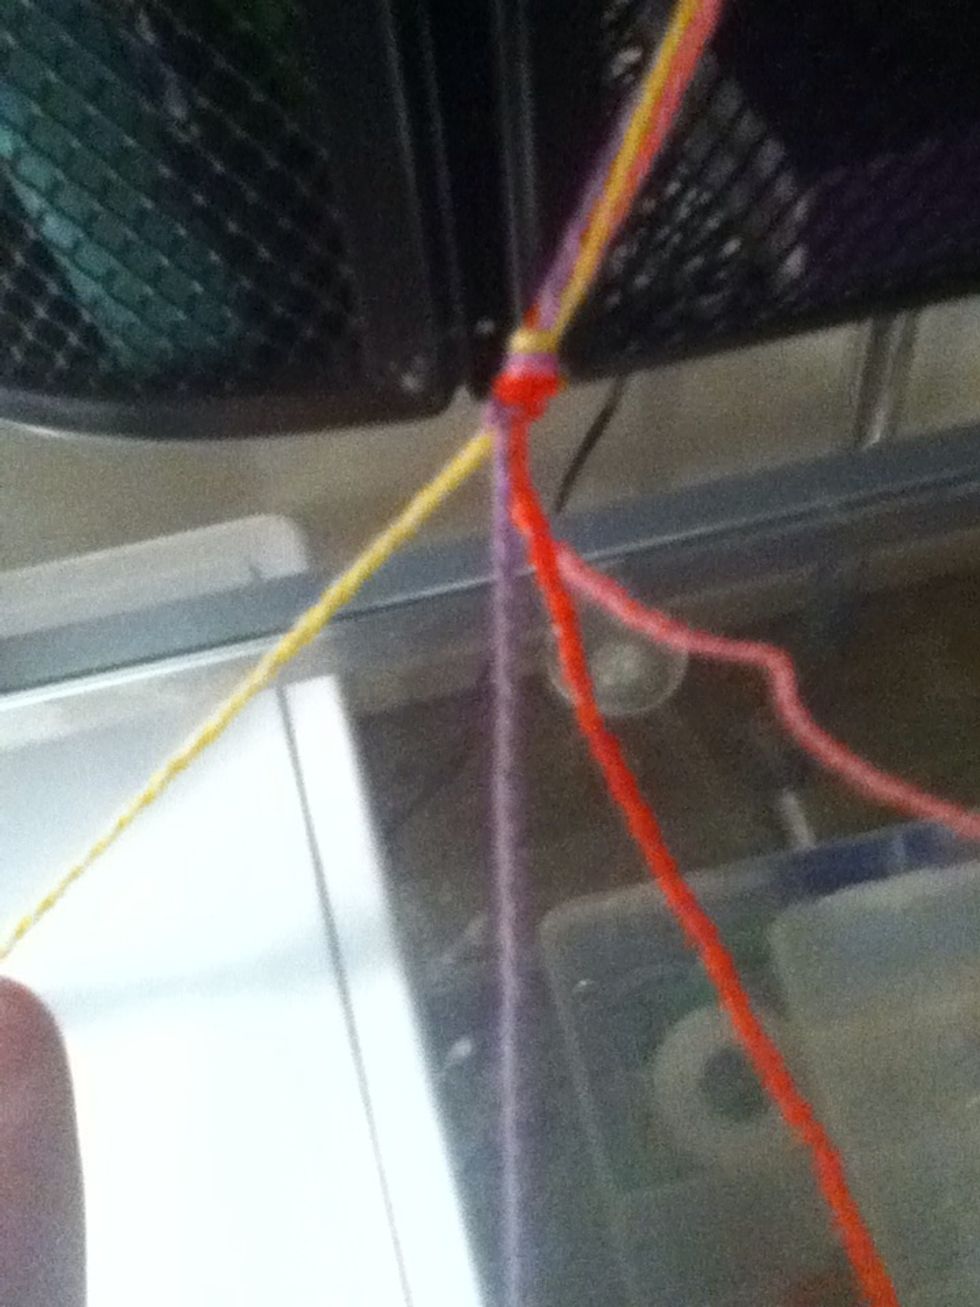
Gather your supplies.
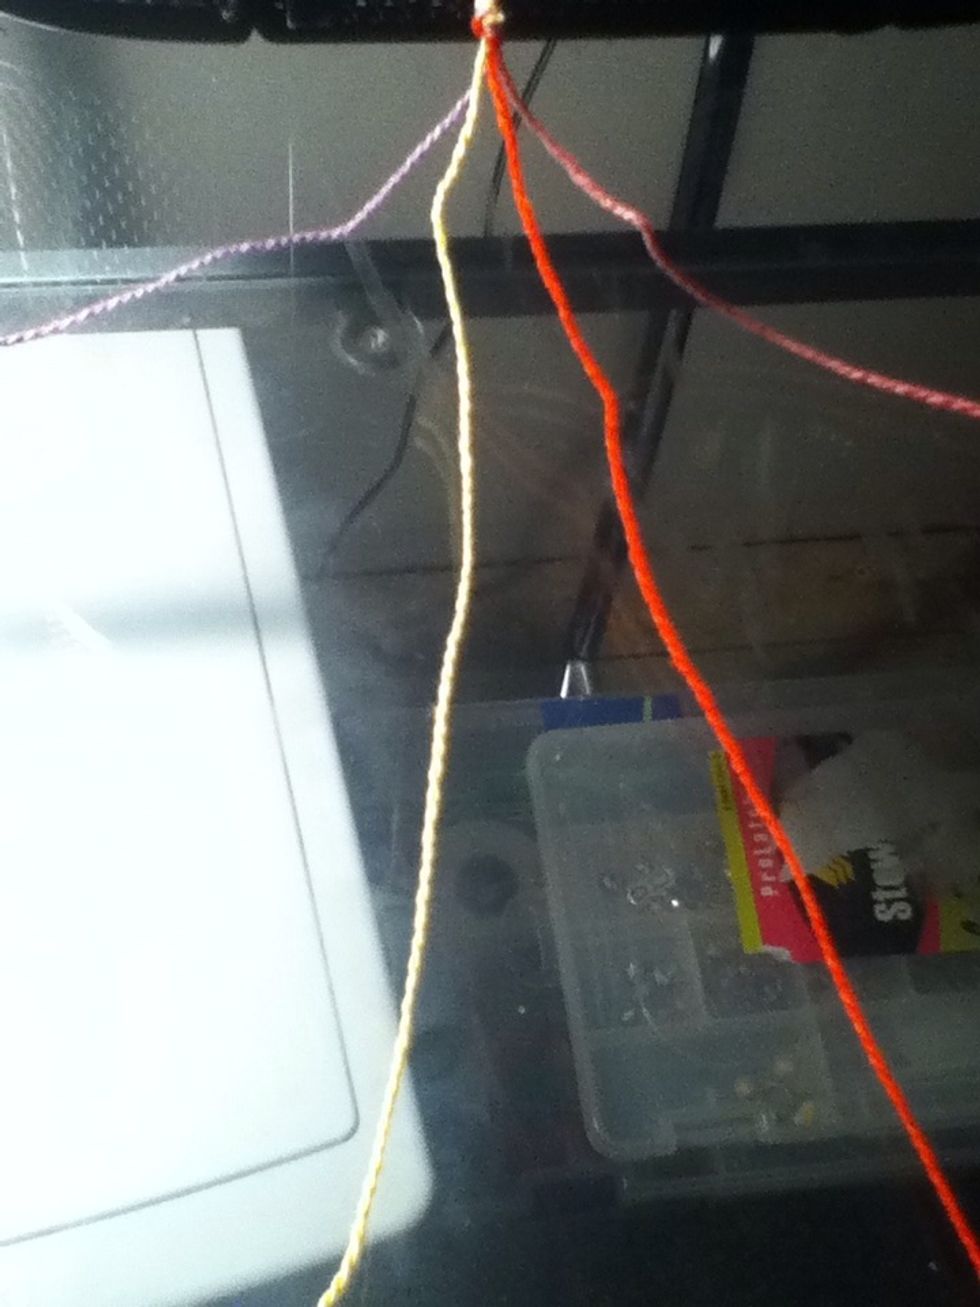
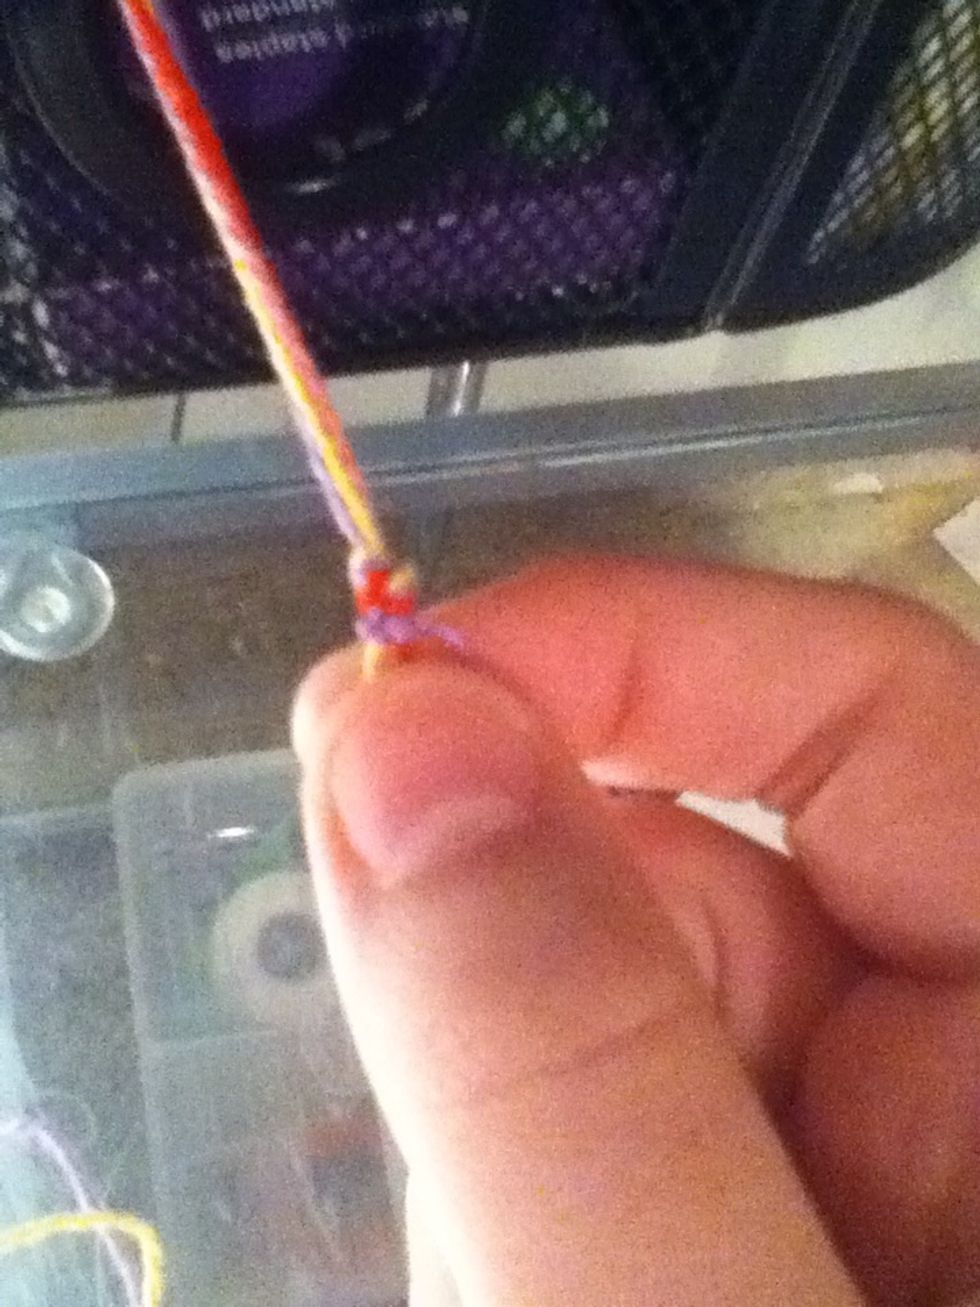
Place your string in the order you want it. I chose purple (1), yellow (2), red (3), and pink (4).
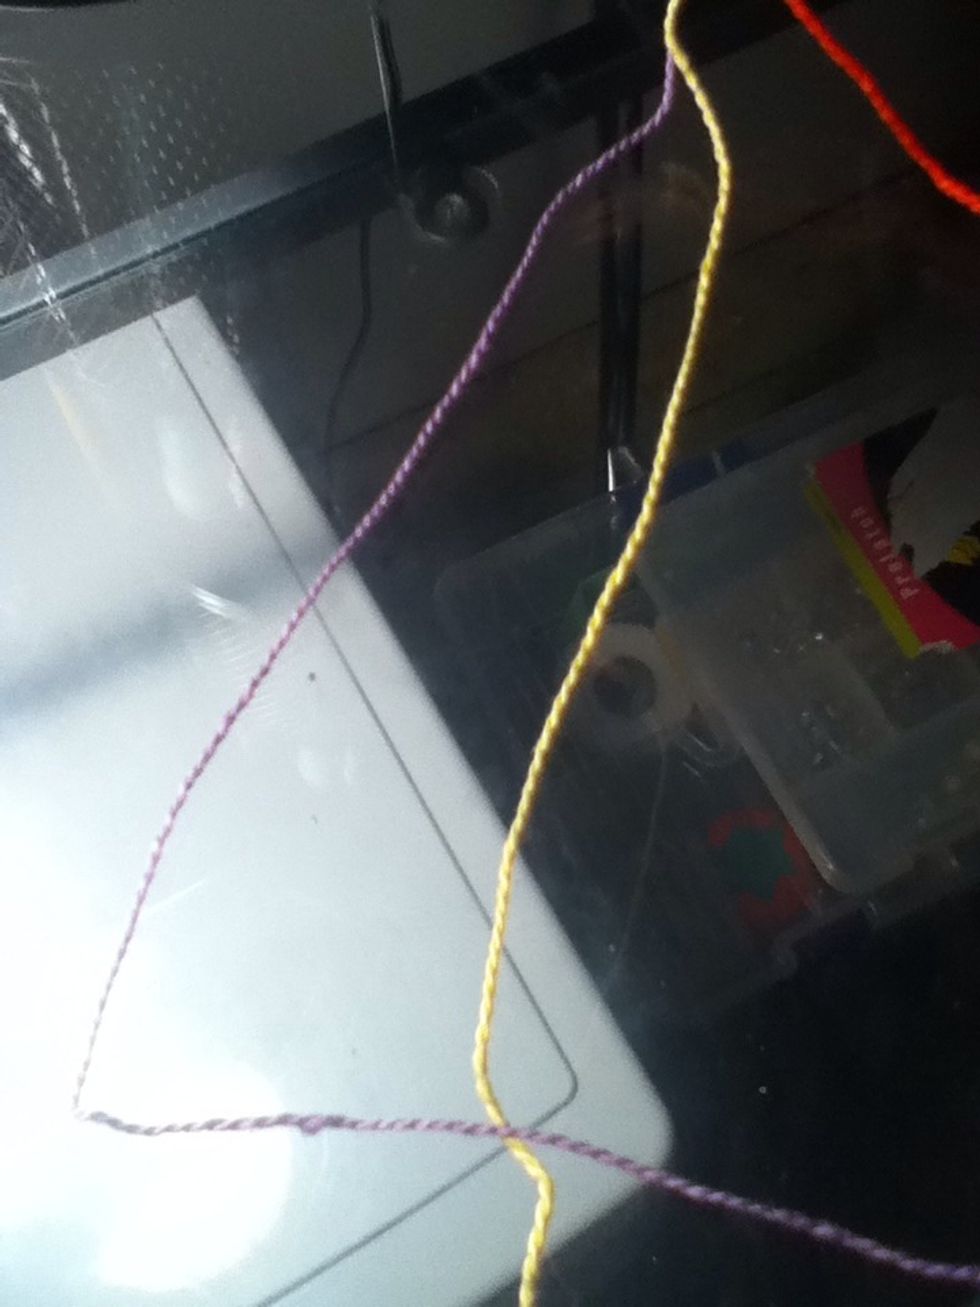
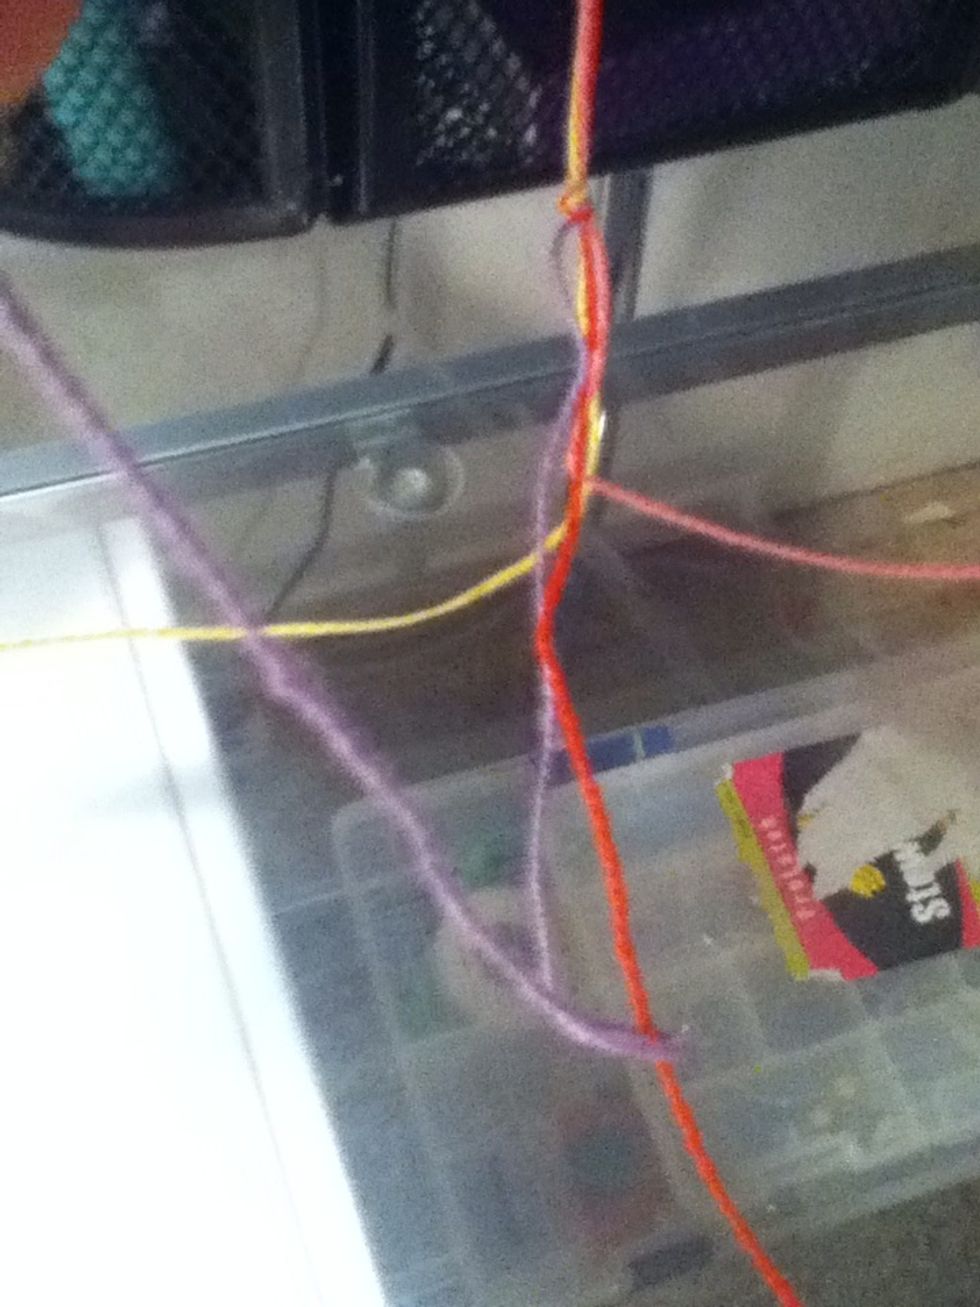
Take the first string, and make a four over the second string.
Loop the first string under the second string.
Pull tight. Repeat (this is necessary. If you don't repeat, your bracelet will twist).

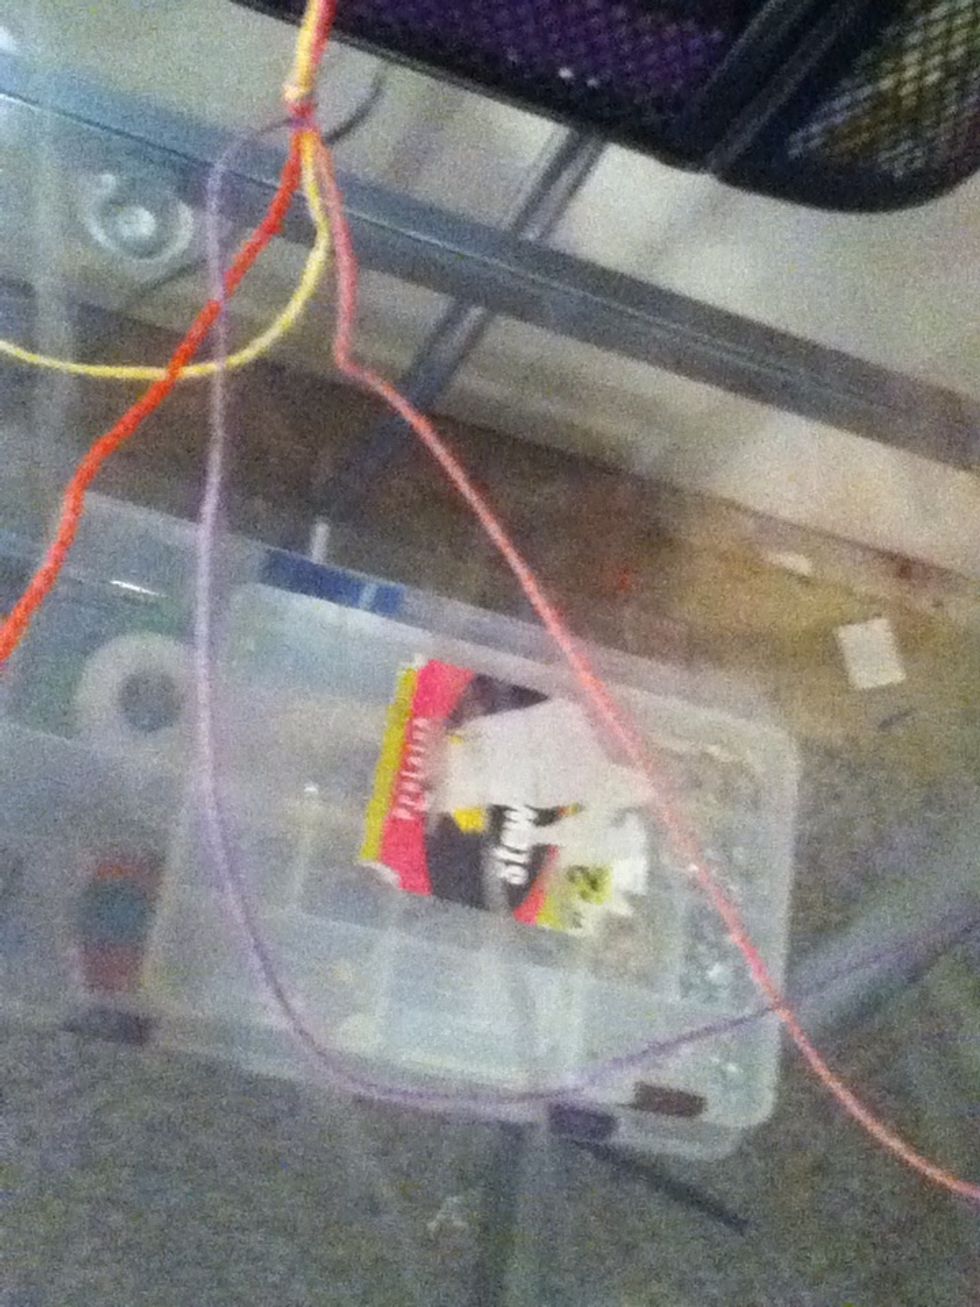
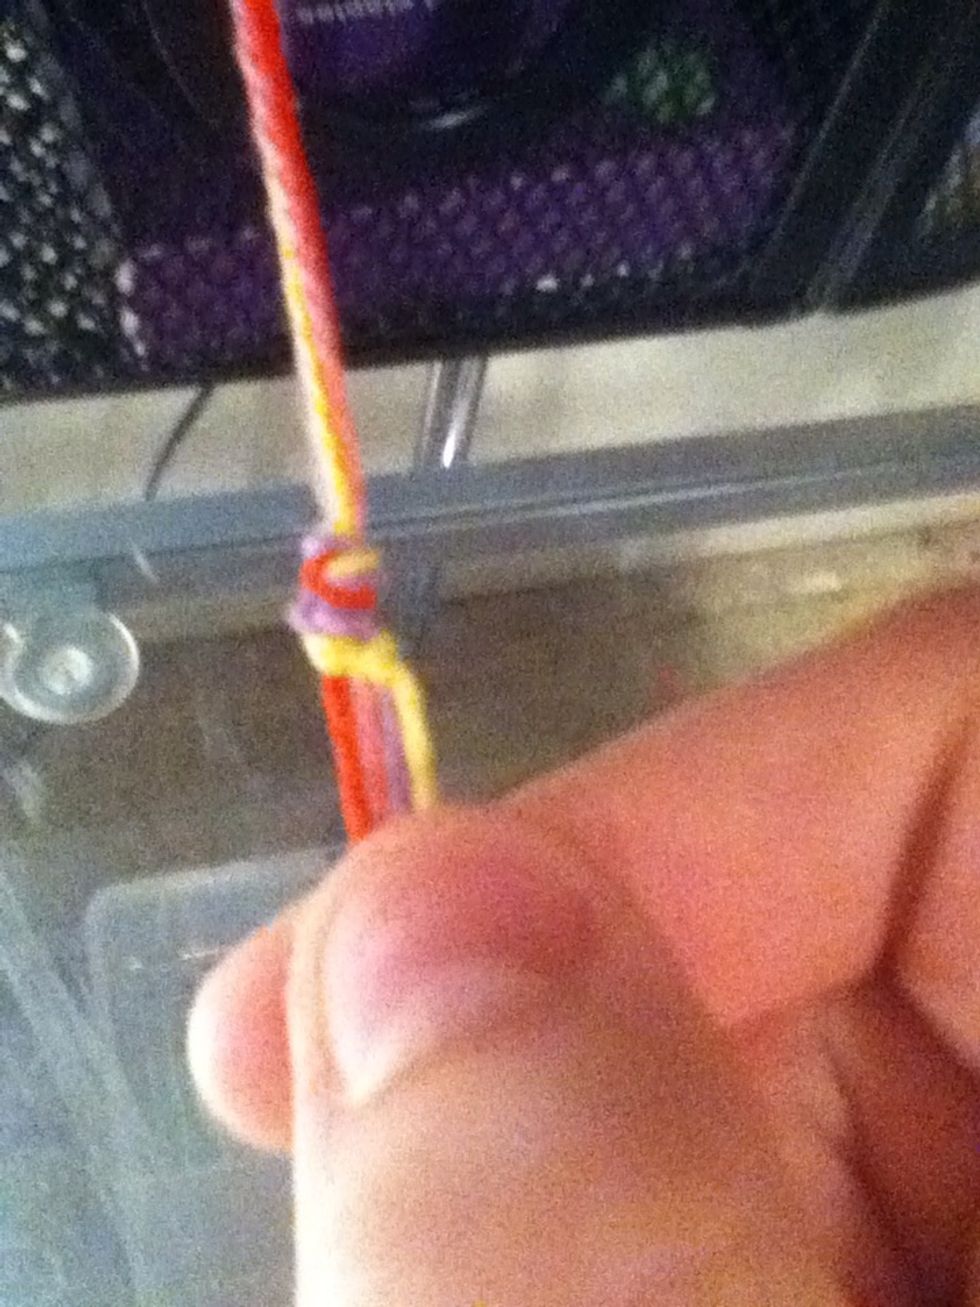
Now, take your first string, and make a four over the third string.
Loop it under and pull it tight. Repeat.
Now, make a four over the third string.
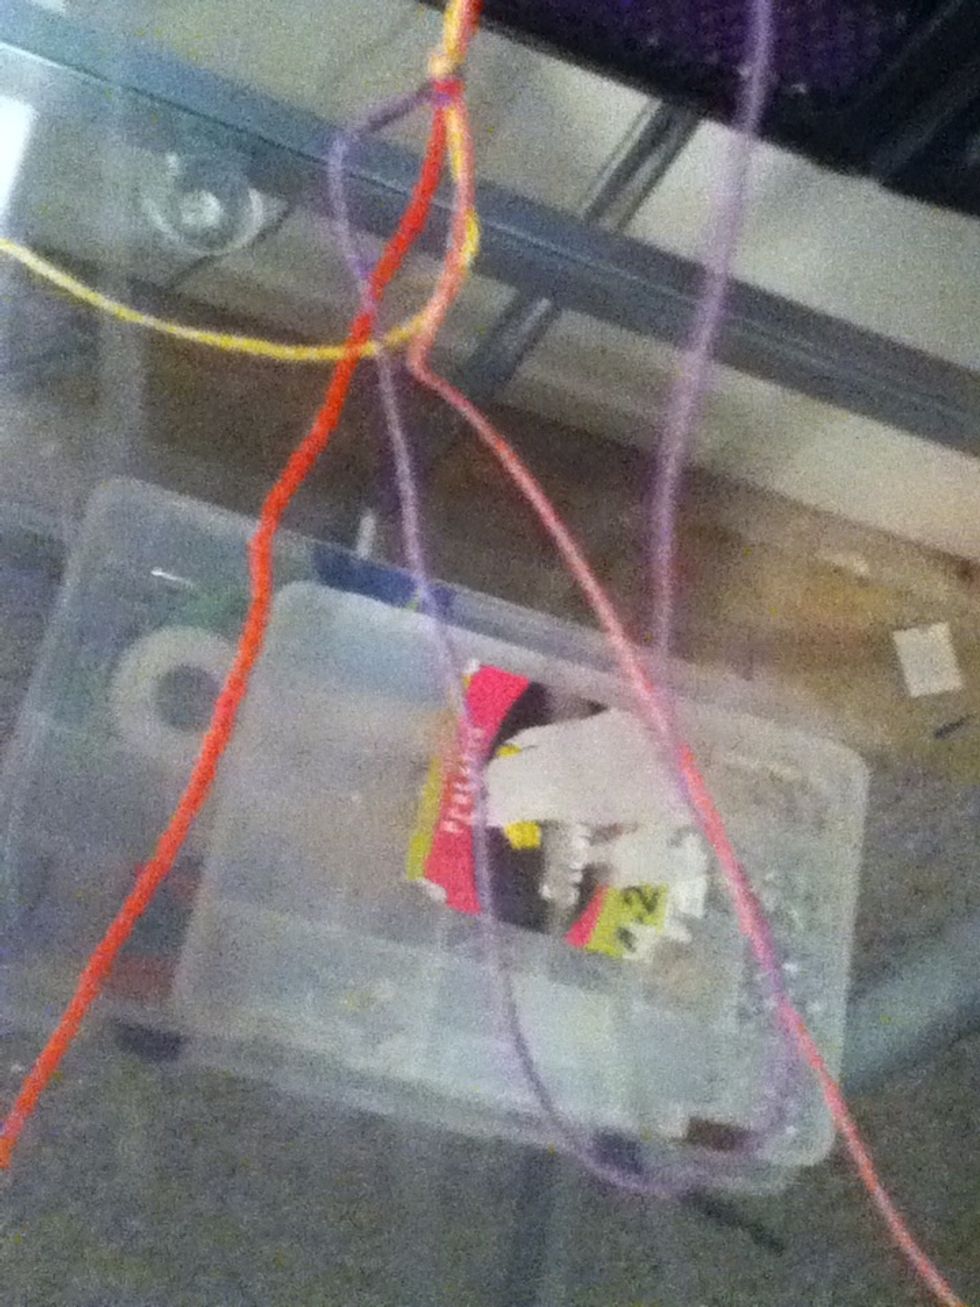
Loop it under, and pull it tight. Repeat.
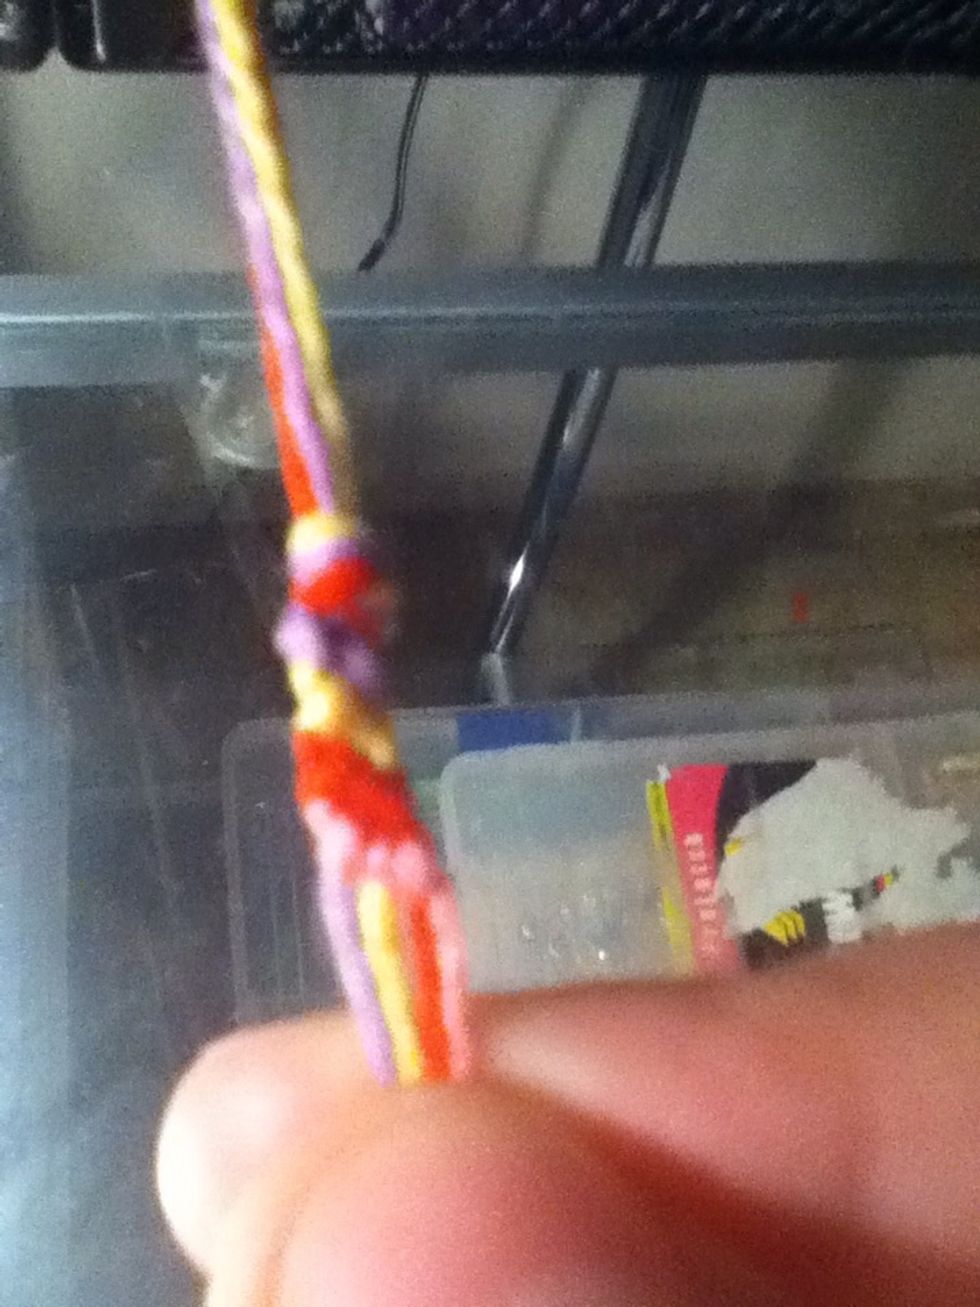
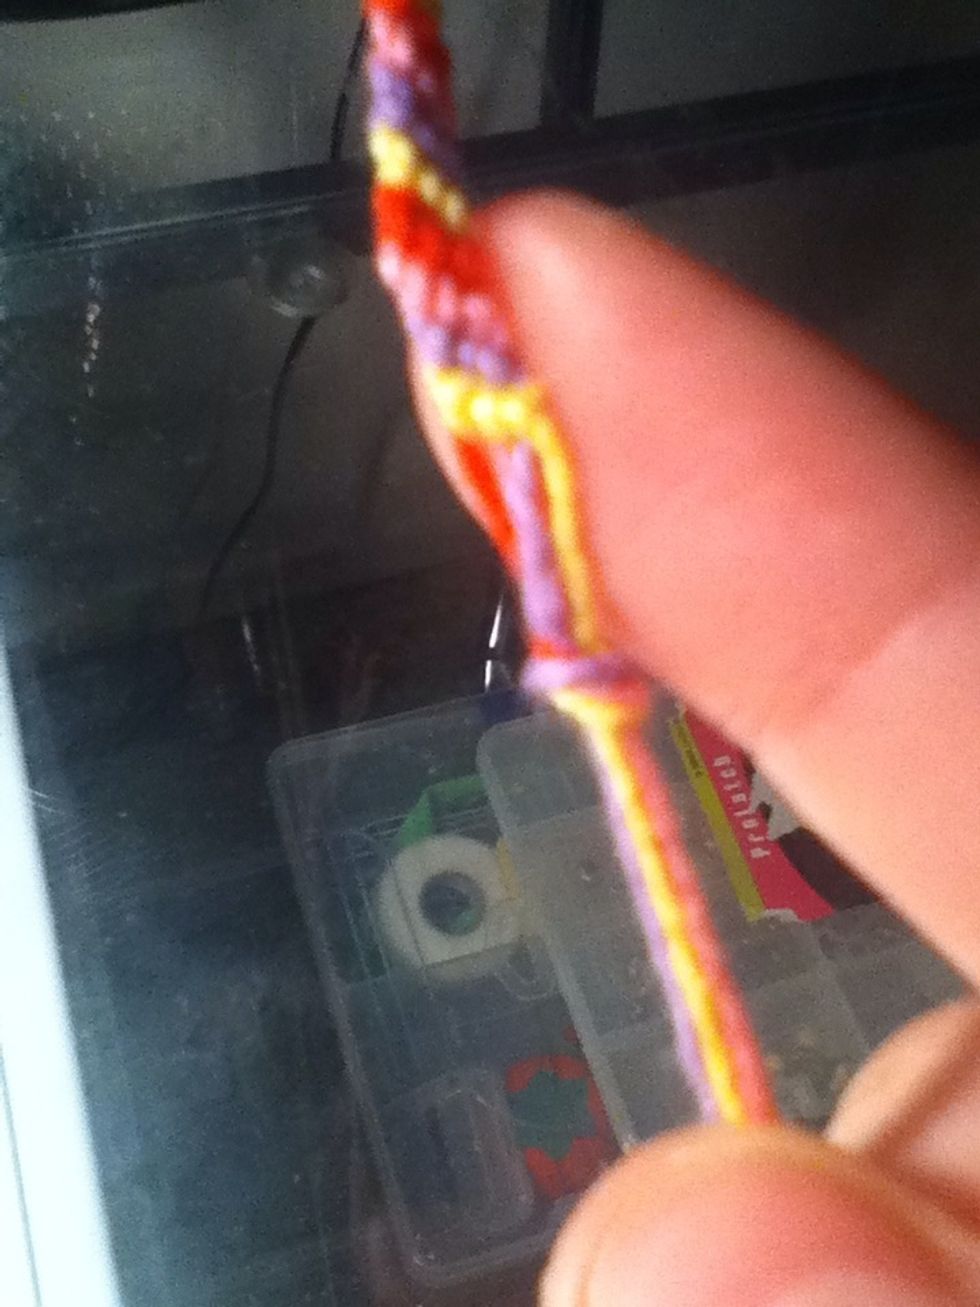
This is what your first finished row should look like.
And your second,

And your third,
And your fourth! :)
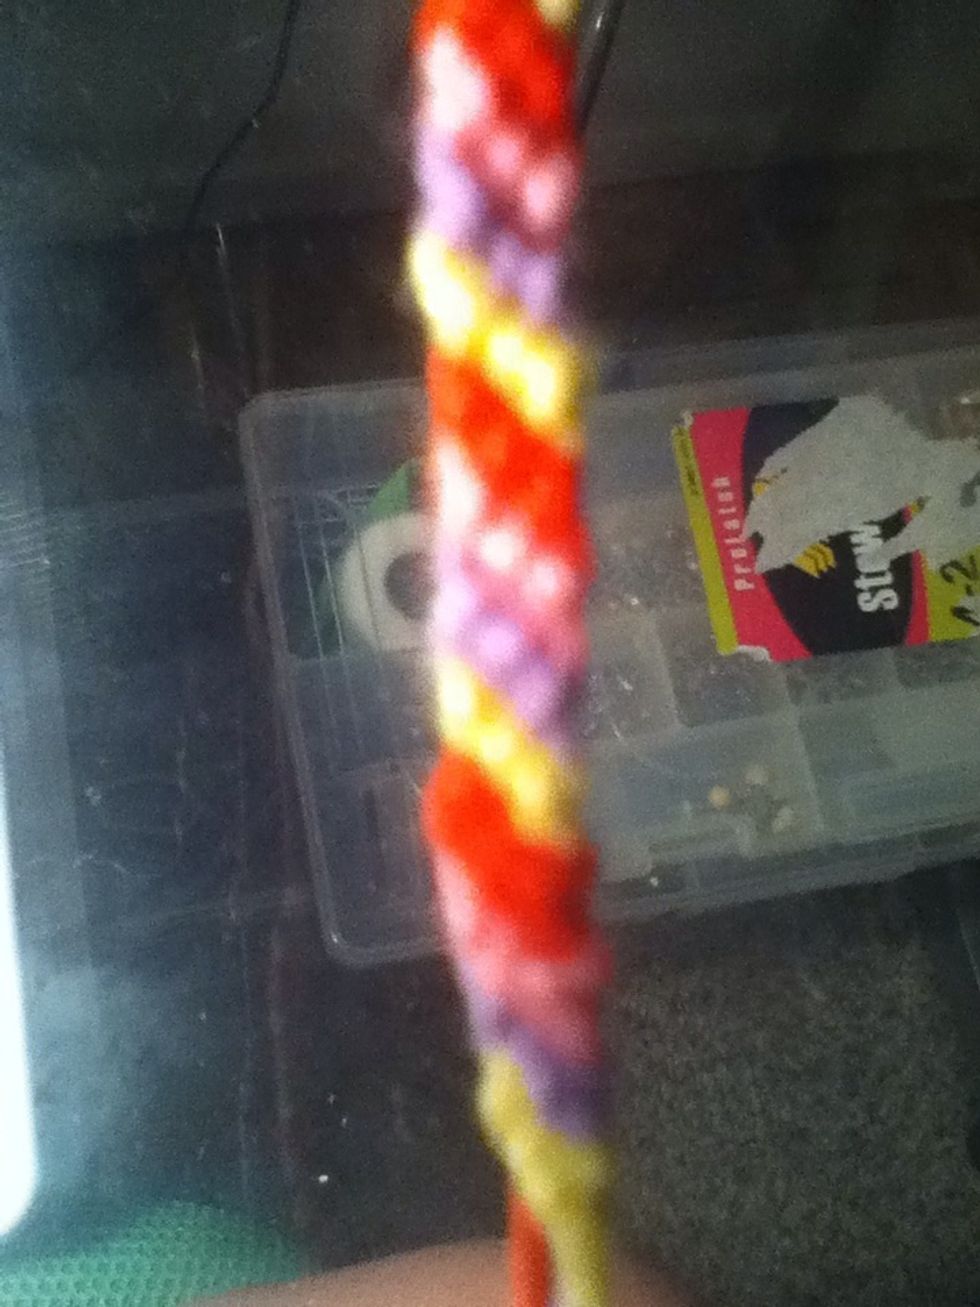
Repeat until desired length.
Tie a knot, and then tie it around your wrist!
Now you're done! Feel free to ask questions, and I will definitely be making more tutorials. It's almost as fun as making the bracelets themselves!