The Conversation (0)
Sign Up
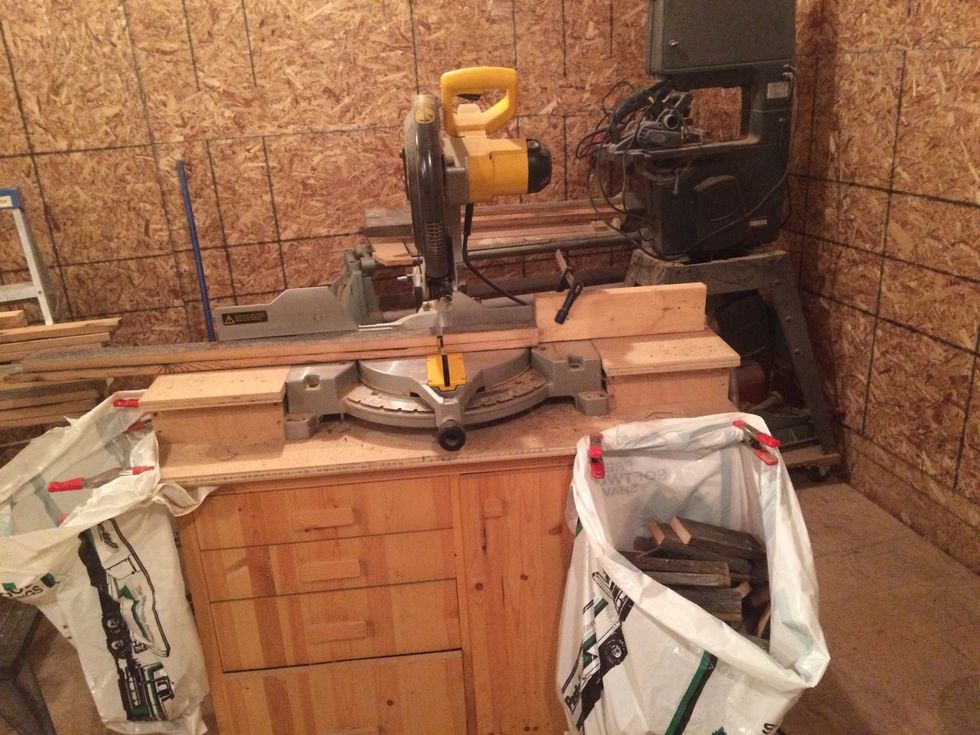
The tools I used: Table saw, Planer, Chop saw, Drill, Tapering jig, Pliers, Wire cutters, Brushes.
I was going to use a router bit to make this bucket but it wasn't going to work well enough. That is where I got this equation to figure out the size of staves needed. 8" top and taper down to 6" base
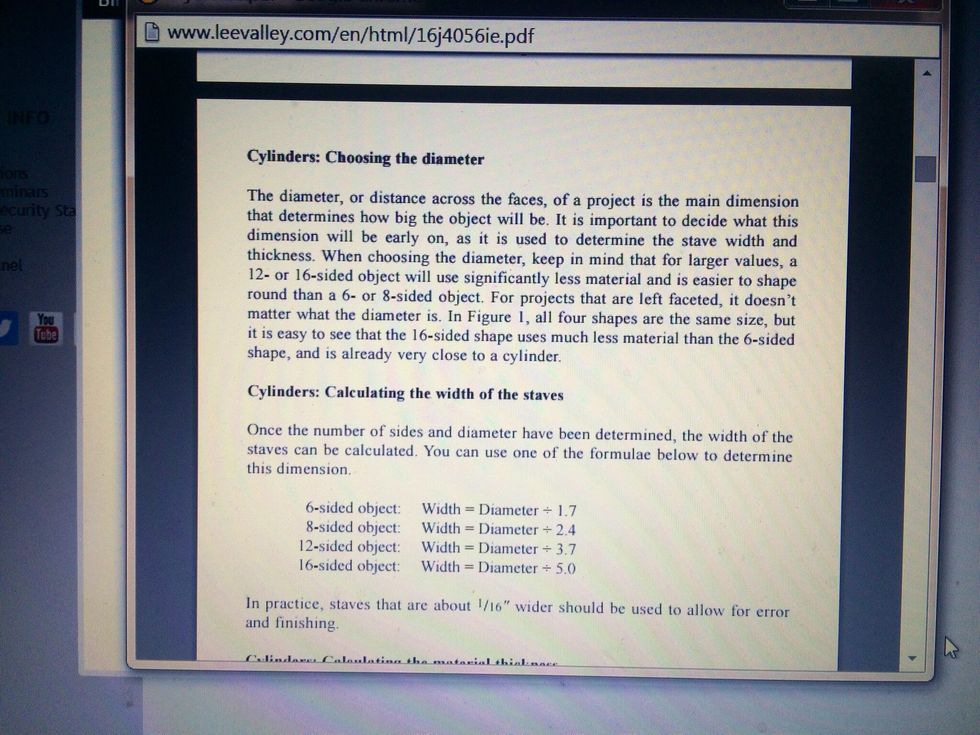
8" top down to a 6" bottom. Width= 8" / 3.7 = 2.16" 2.16 = 2 5/32" (top of stave) Width= 6" / 3.7= 1.62" 1.62= 1 15/64" (bottom of stave)
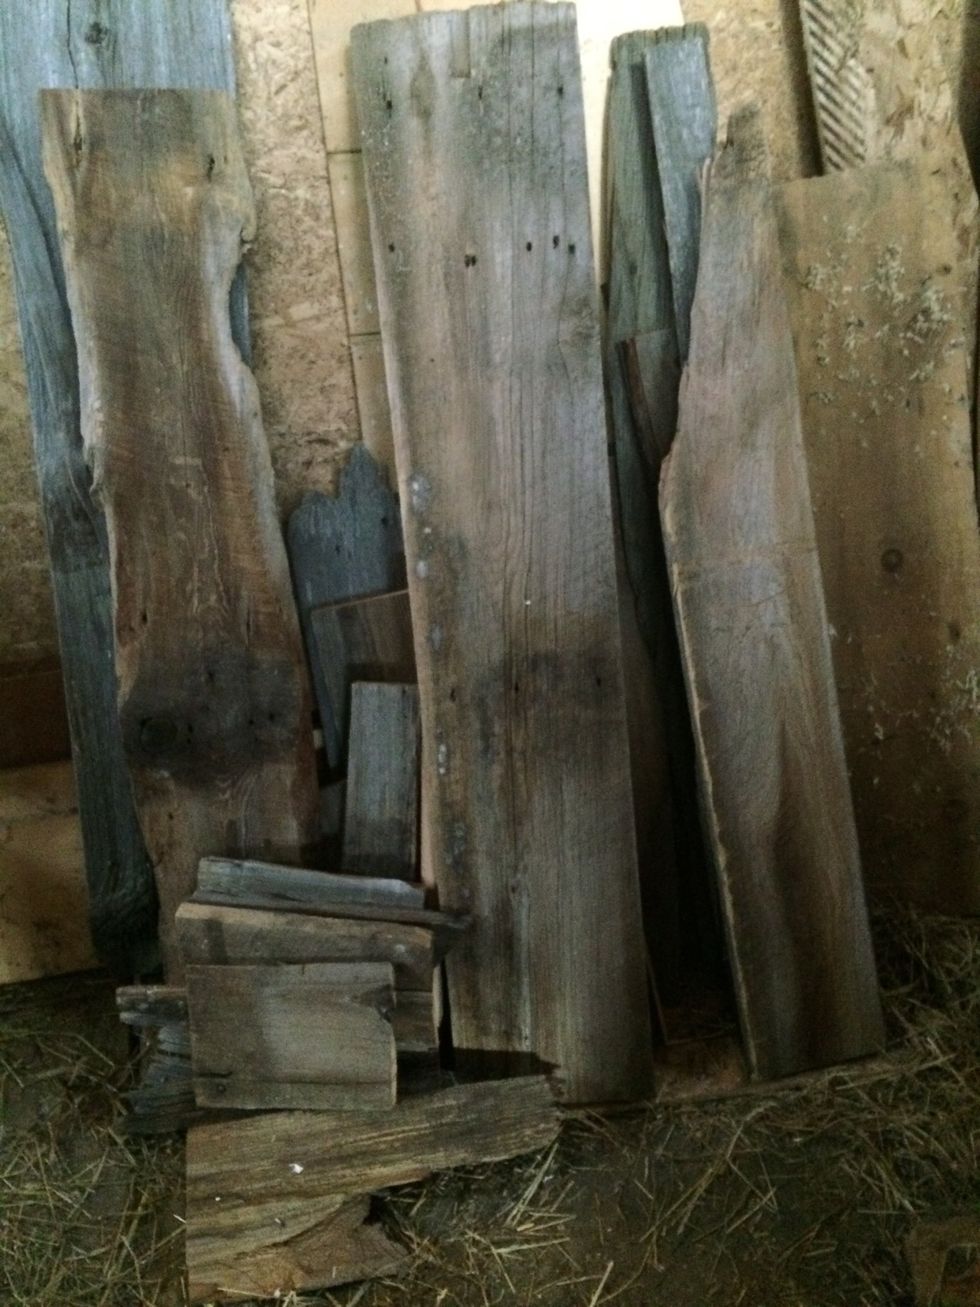
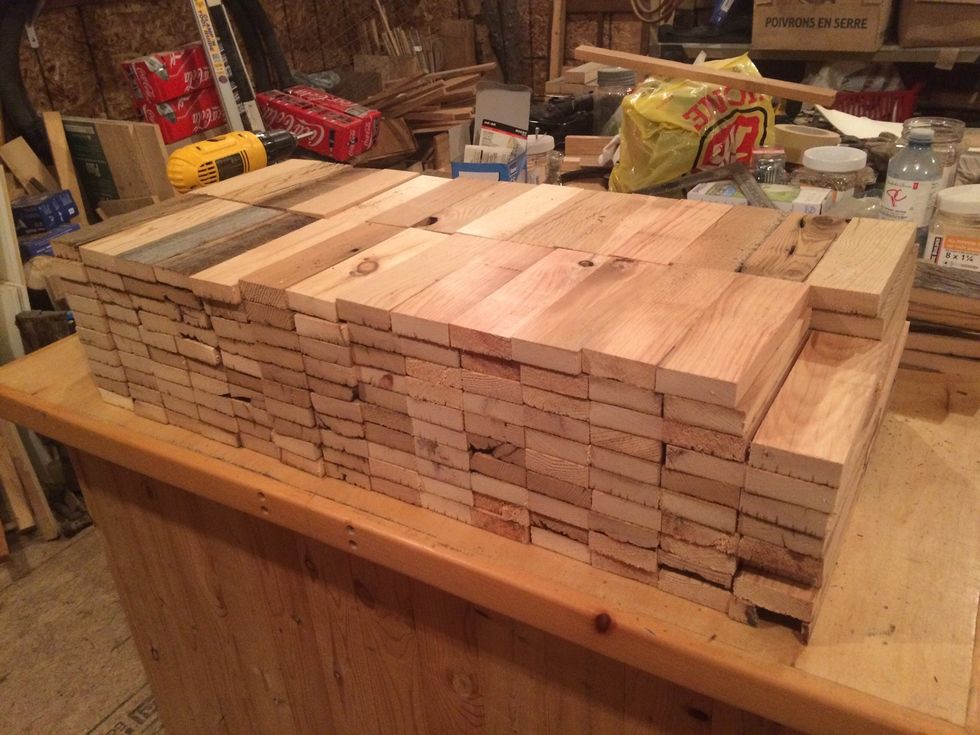
Find some barn boards. We had a barn fall down in a storm, so we have I bit of barn boards lying around. You can also use any kind of wood. This guide I used barn boards.
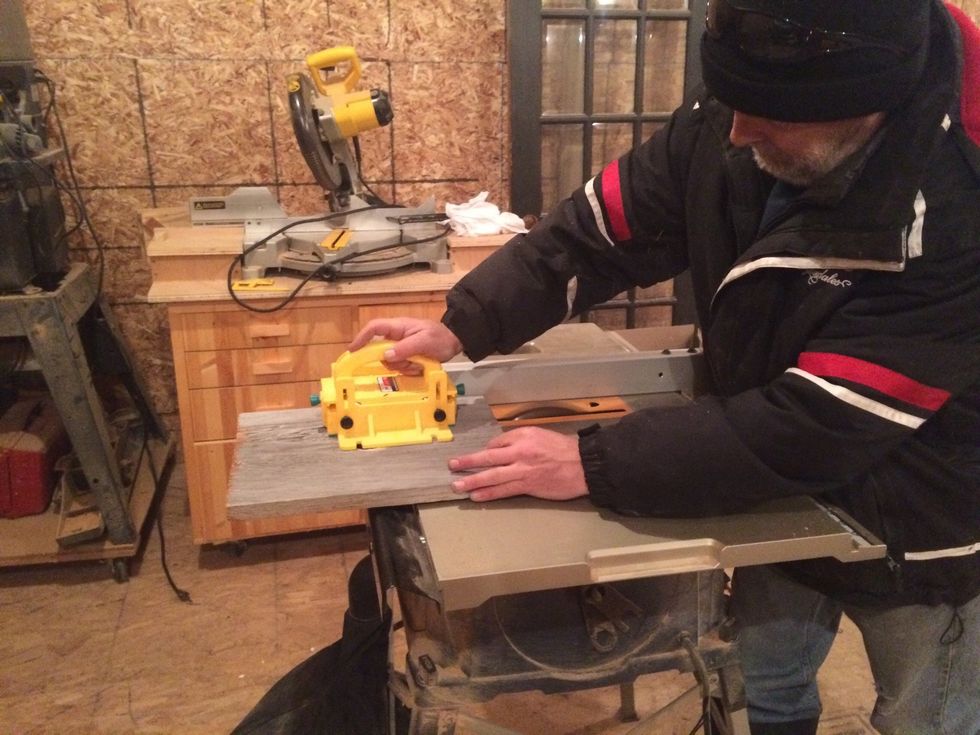
Rip the boards down to size.

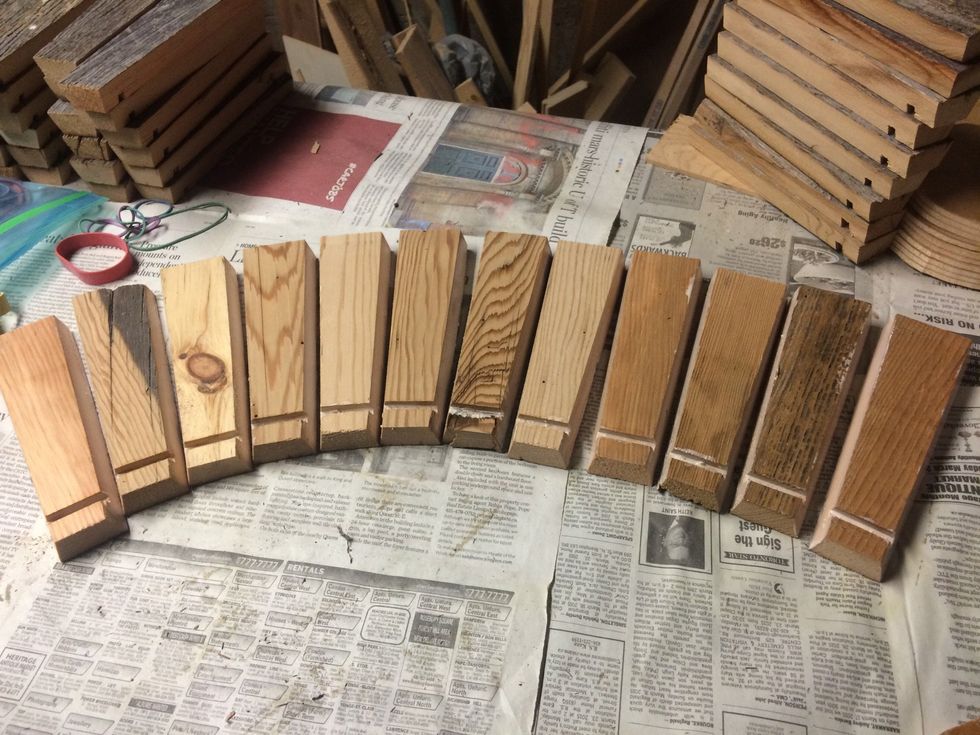
Some of the boards were different thicknesses. I wanted them all the same size. I'm doing a few buckets so that is why you see a lot of pieces.
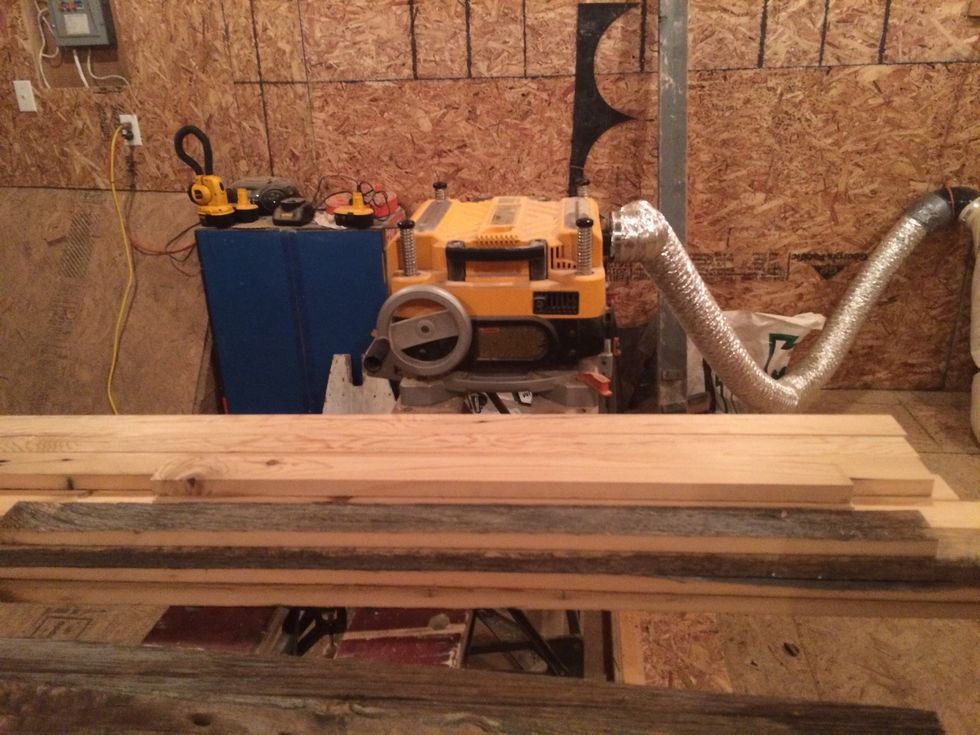
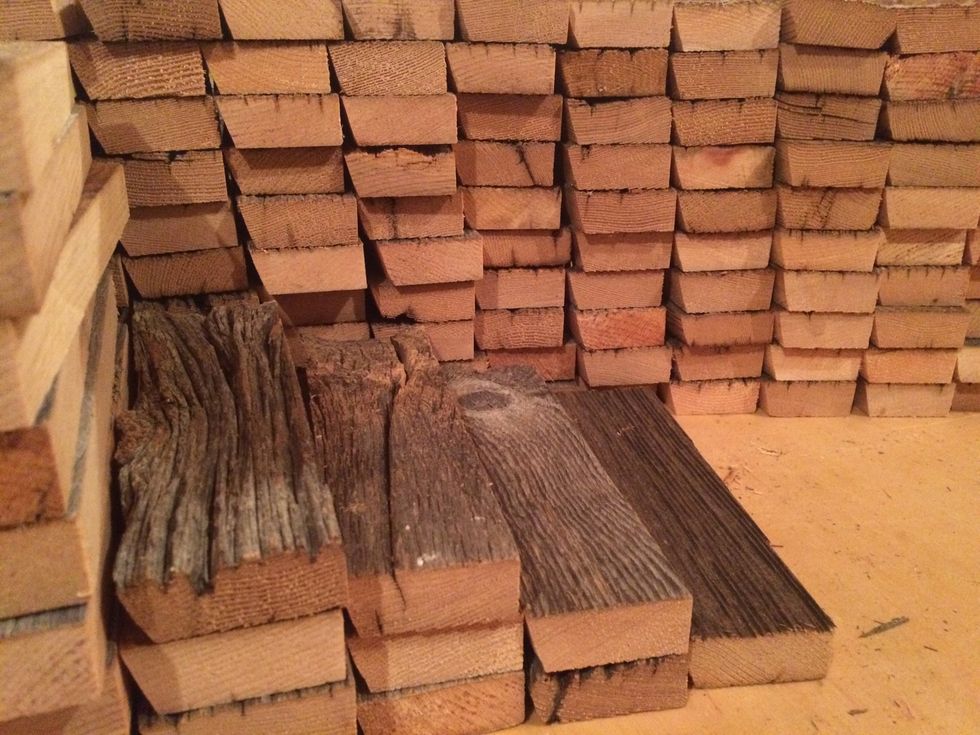
So I sent them though a planer. I got them all down to 3/4" thick. Plane one side only. There were some pieces that are smaller than 3/4", but that's okay. It will give the inside a cool look!
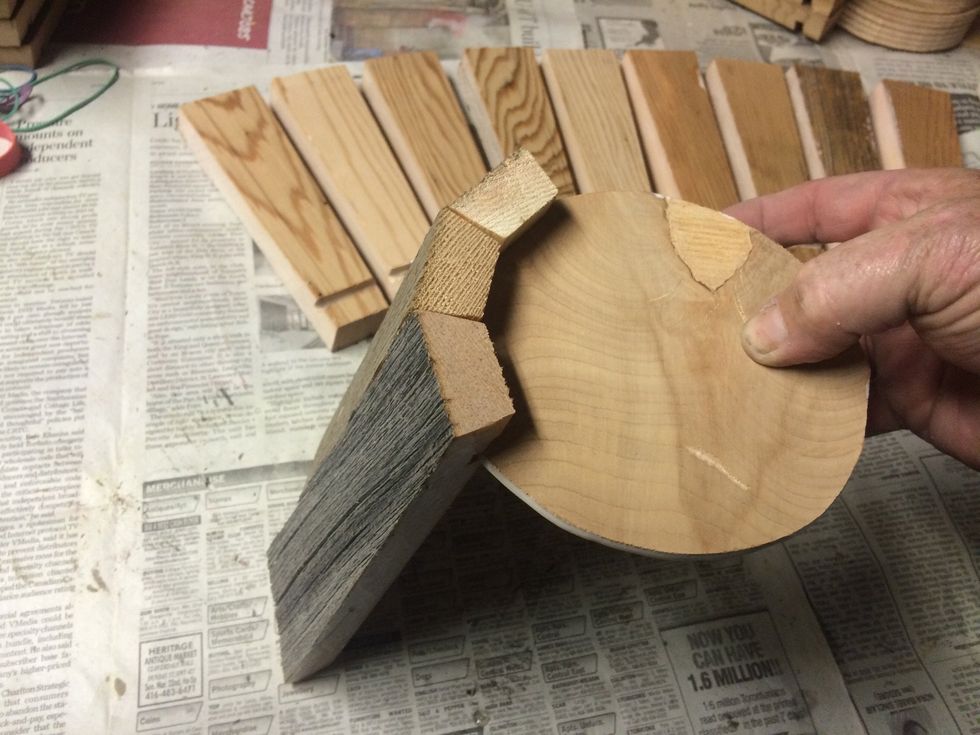
Next chop the pieces to size. In my case it's 7".
All my pieces are ready to get tapered and angle cut.
I draw a line down the centre of the stave. At the bottom I mark my 1 15/64" evenly on the centre line. Then draw a line from that mark to the top corner. That is my taper.

I set the piece in this taper jig to cut along my line. My saw is set at 15 degrees for the angle I need. 360* divided by 12 = 30* Since they are 2 parts to that angle I divide by 2 to get 15*.
One side of the taper done!

Had to make a jig to do the other side.
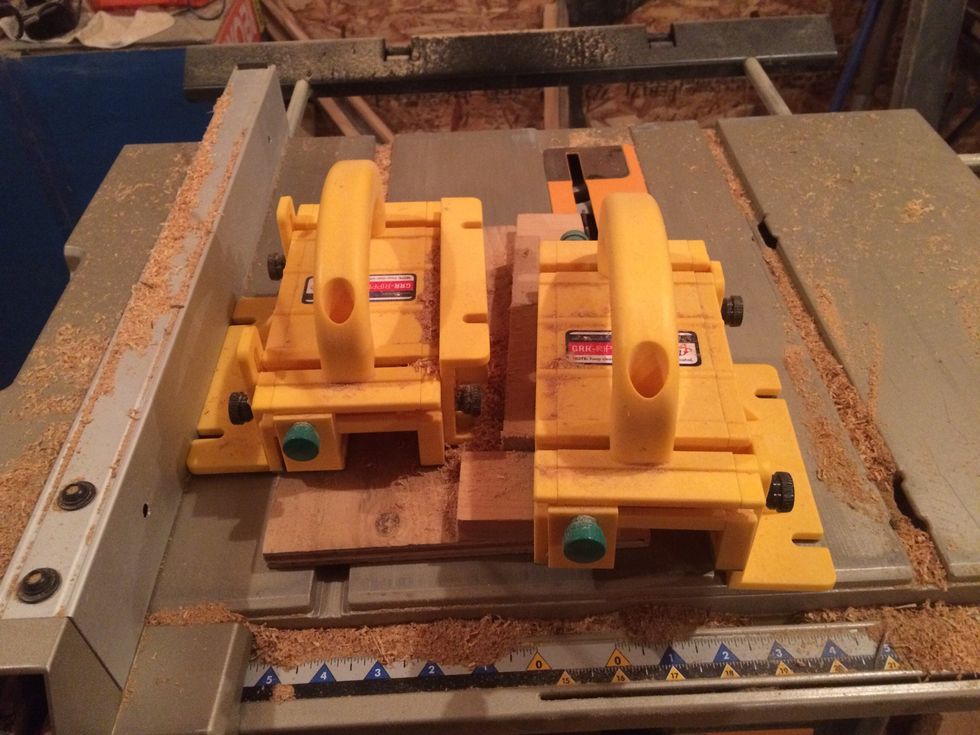
I use these grippers and they work amazing. No lost fingers is a good sign!

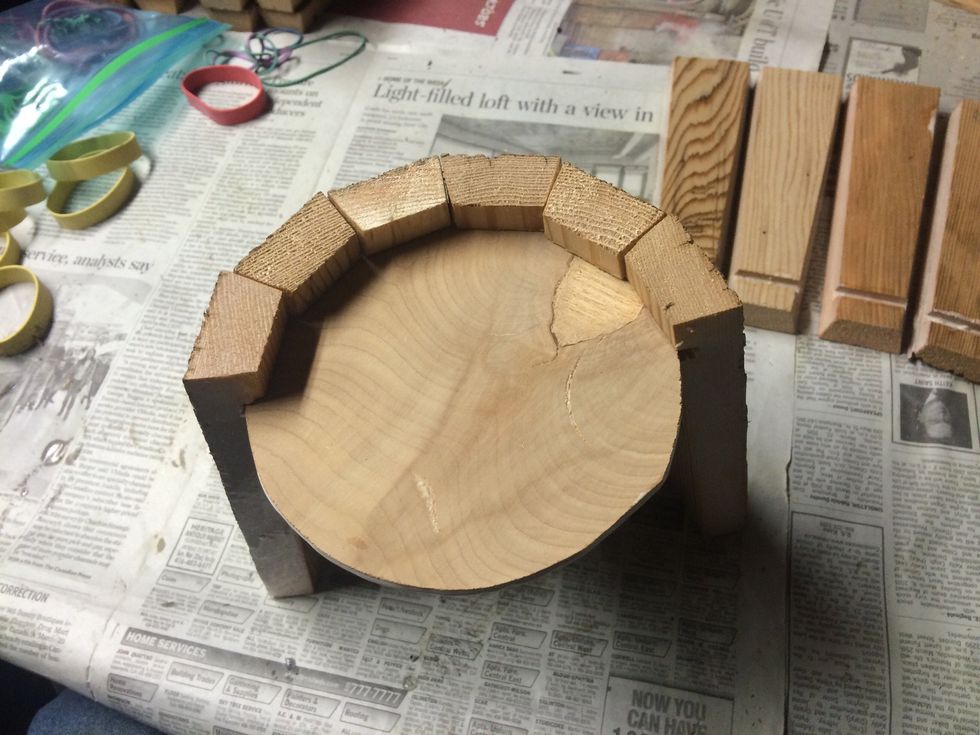
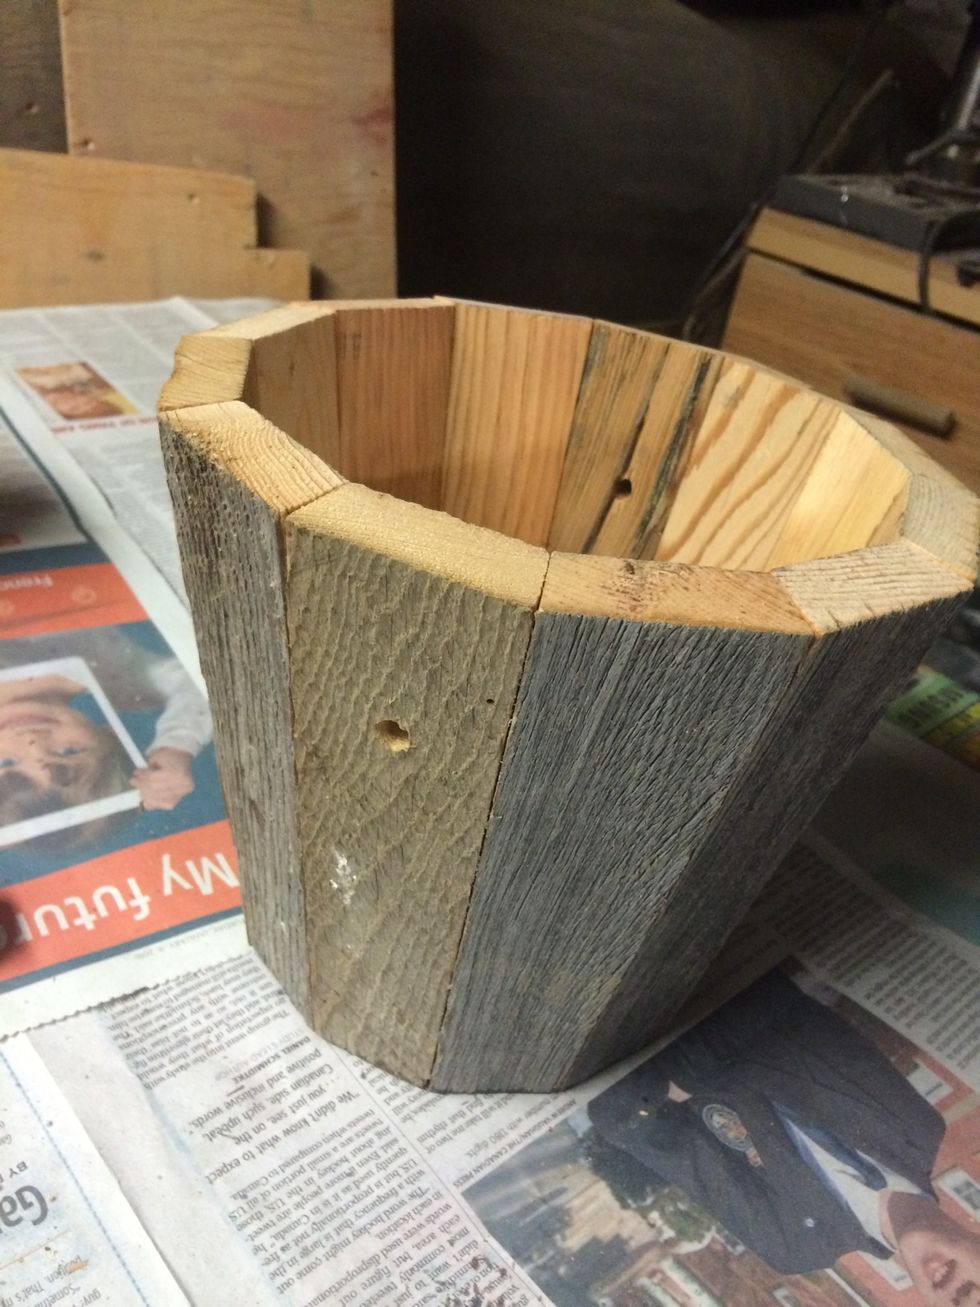
Both tapers and angle cuts are done!!
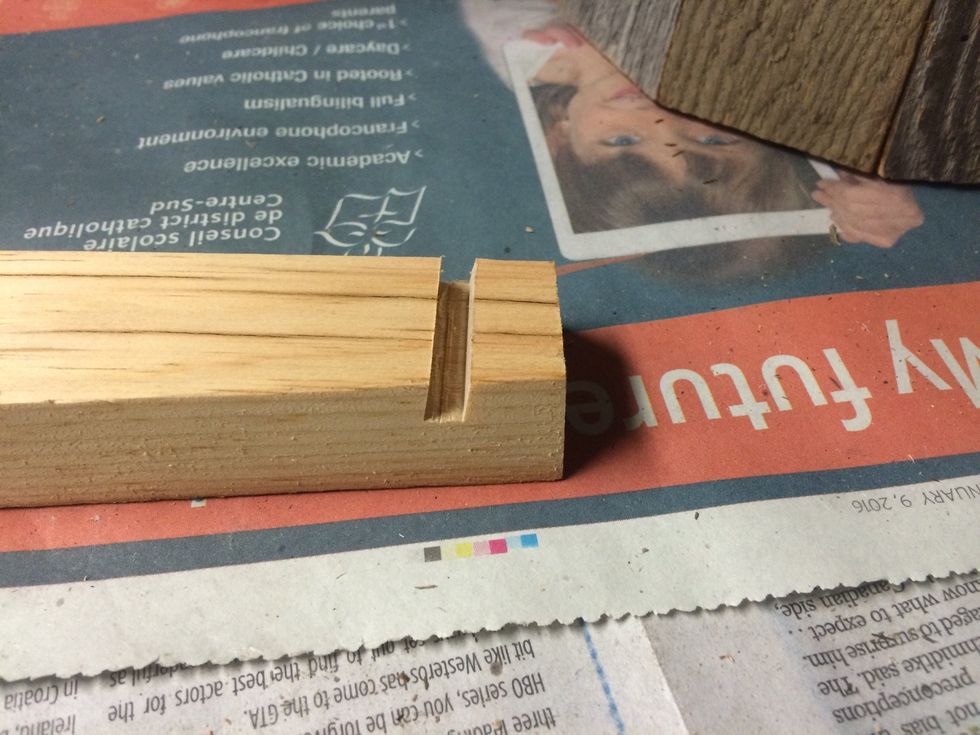
Next cut is for the bottom of the bucket. I make 2 passes with the saw to get just over 1/4" width. This cut is angled at 11*. The cut is about 1/2" deep.

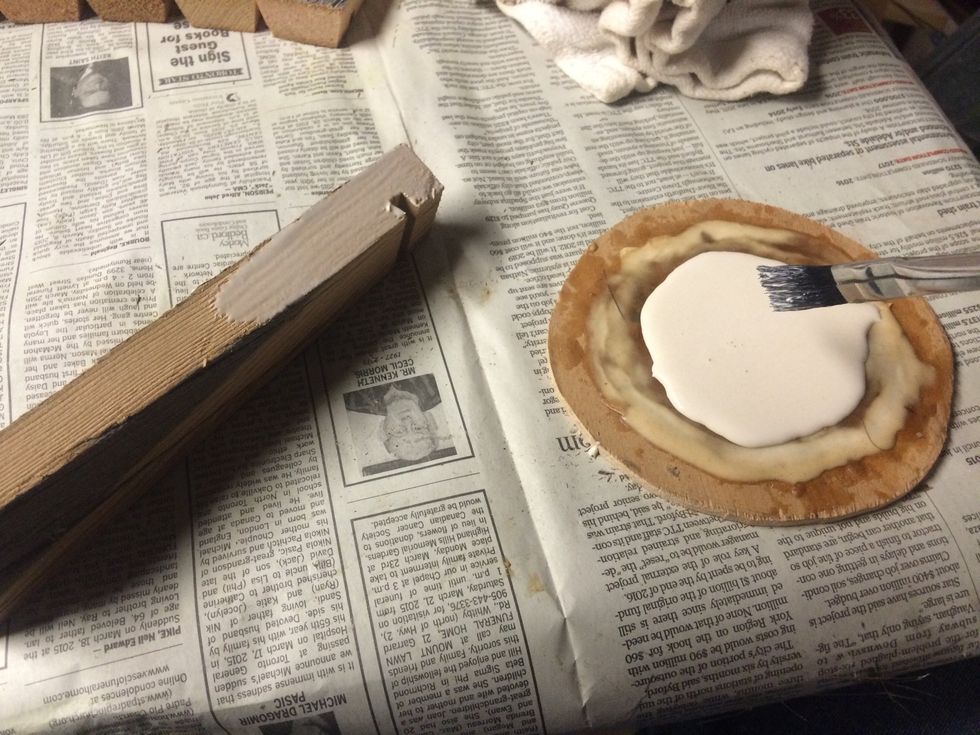
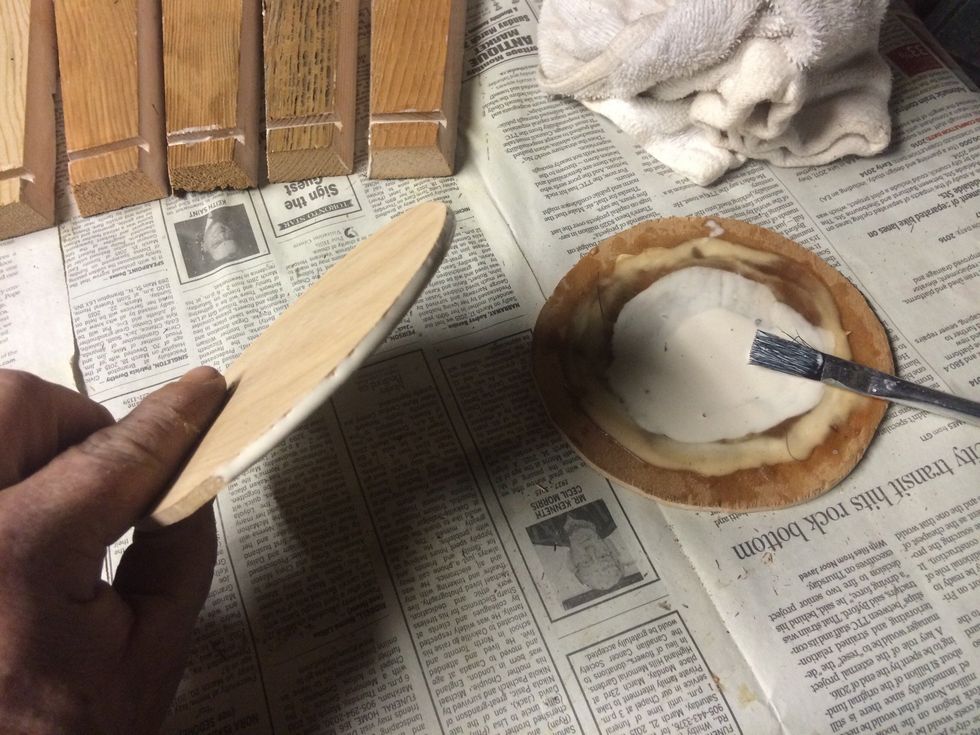
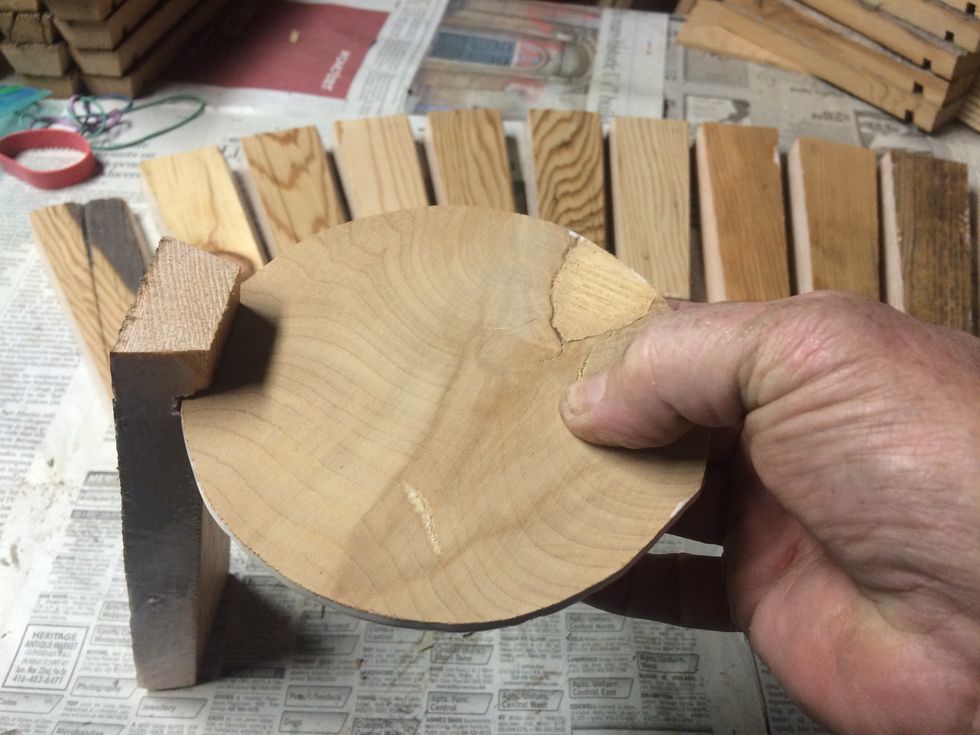
I dry fitted the bucket and measured the base. It was about 4 1/4" but I wanted it to fit in the staves. So I added 1/2" and cut out 4 3/4" circles in 1/4 plywood.
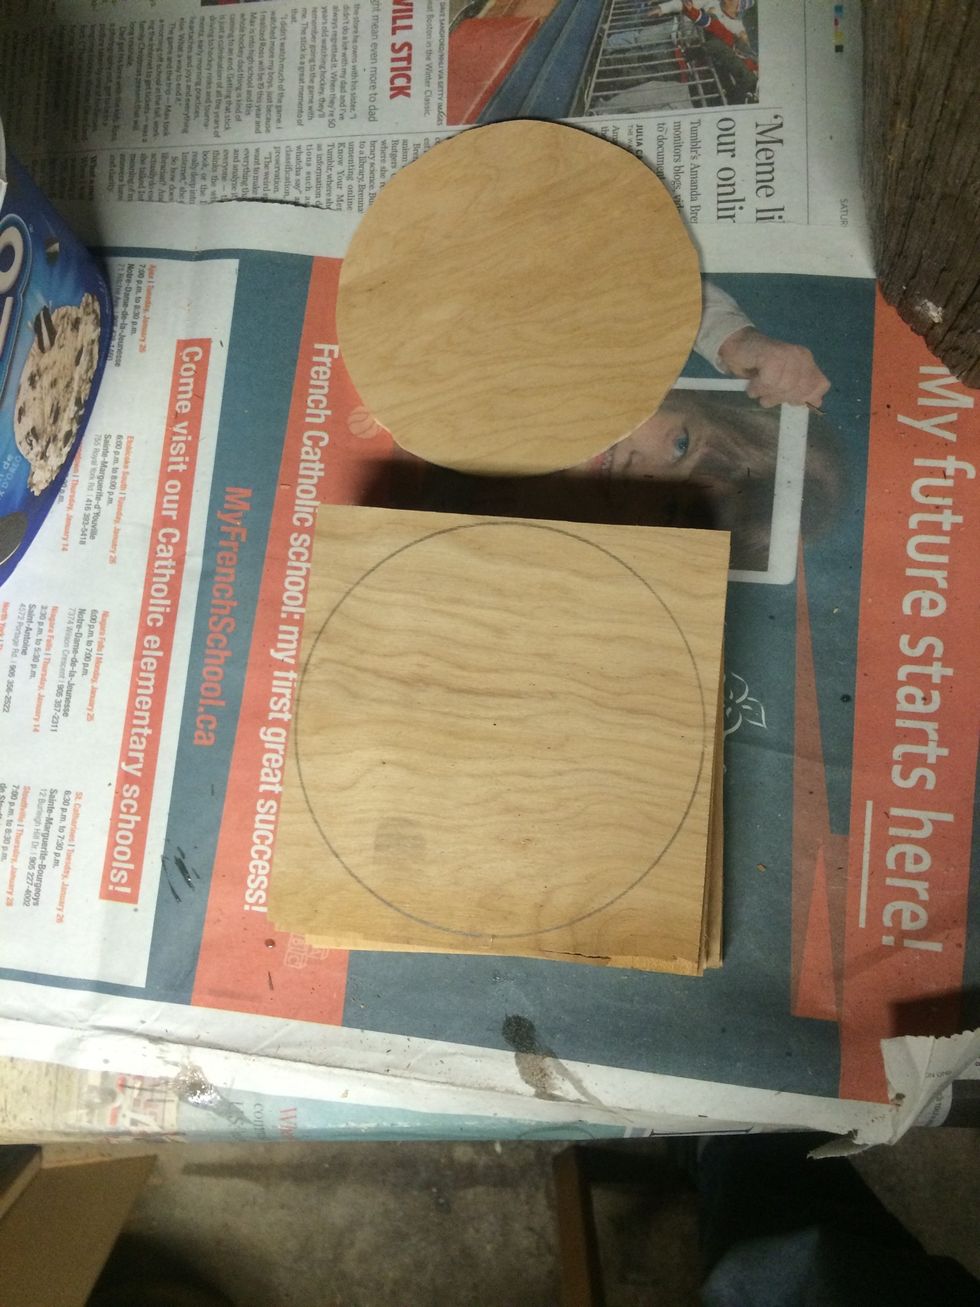
I used a jigsaw and cutout a few at a time.
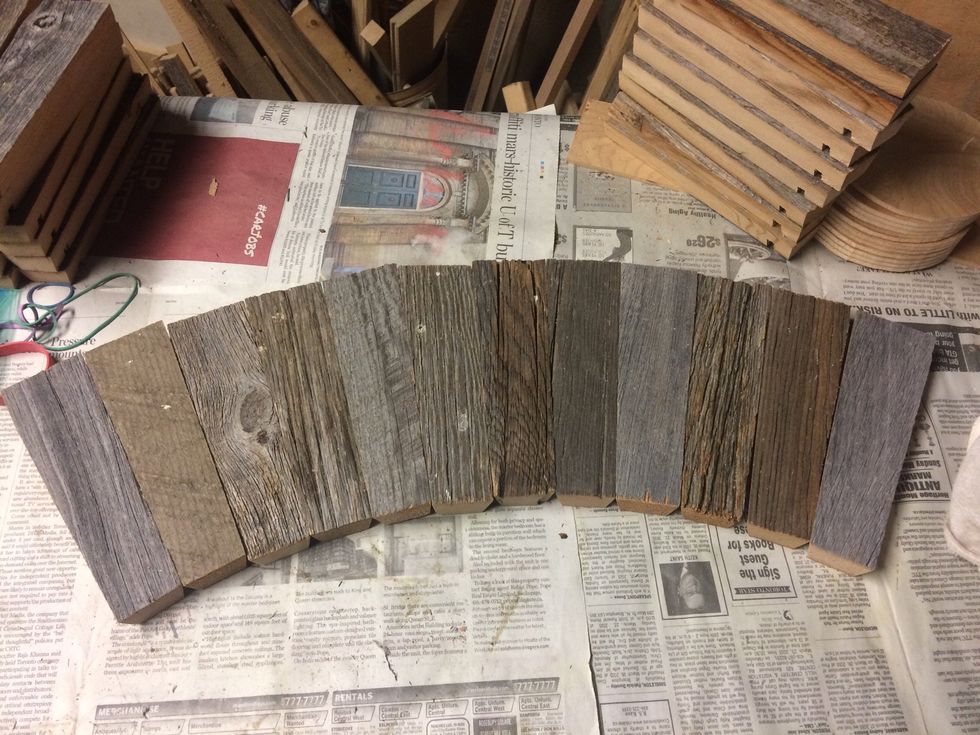
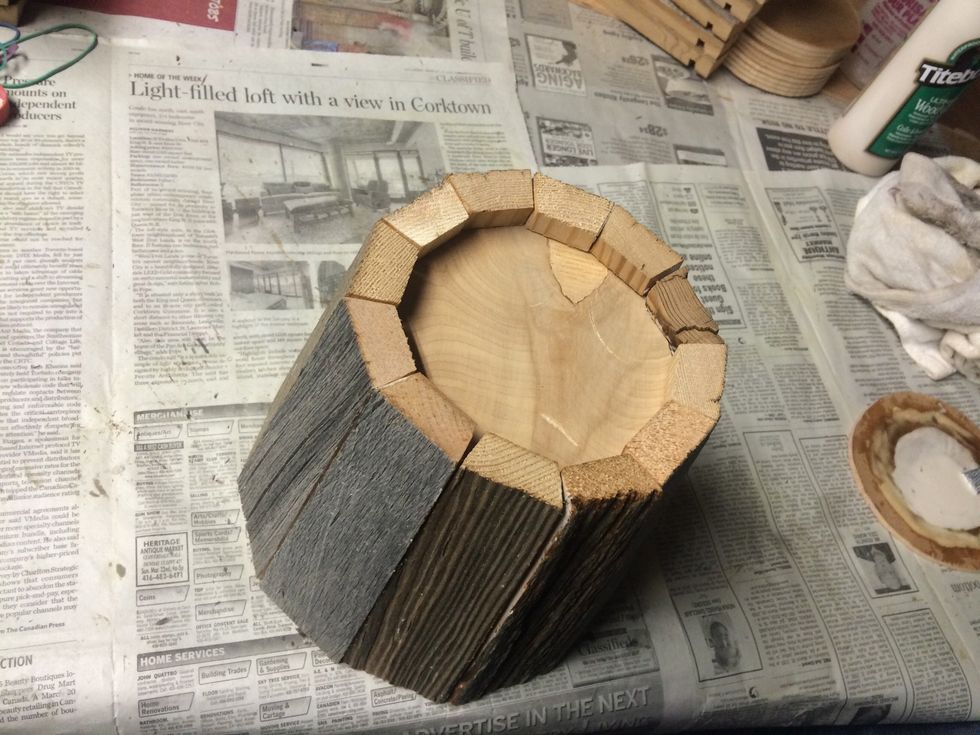
Pick out 12 pieces to use. Line them up as a test run. Remember 2 pieces will get a hole though them. So pick the worst pieces and keep them 6 pieces apart.
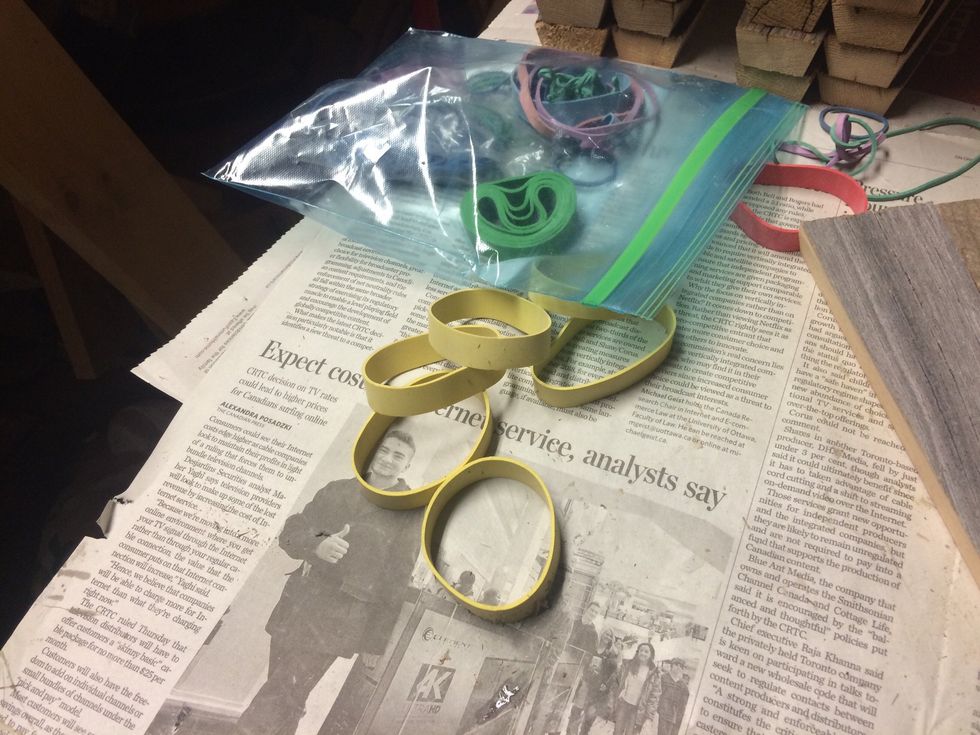
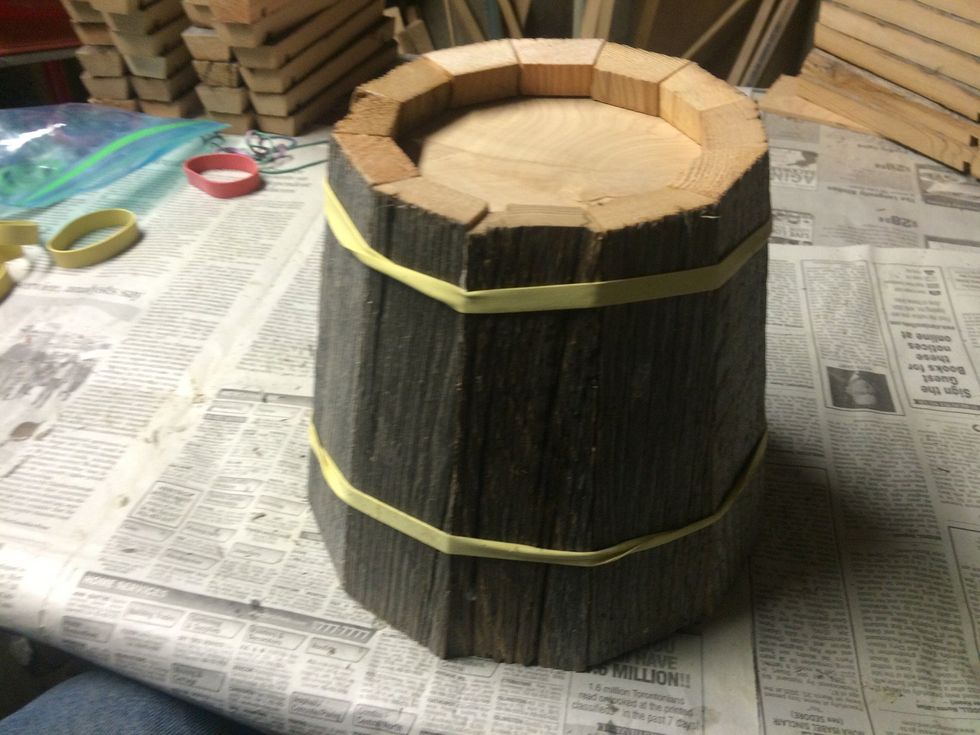
I use rubber bands to keep the buckets together while the glue drys.
Now the gluing can start. Apply glue on both sides of staves and bottom cut!
Lined up and glued. Ready for assembly.
Take one of the bases and apply glue to the edge.
Fit one of the staves in the base and start adding one at a time.
Keep adding more! After 4-5 it will stand on its own! Just be careful it might fall over!
Halfway there!
All together now!
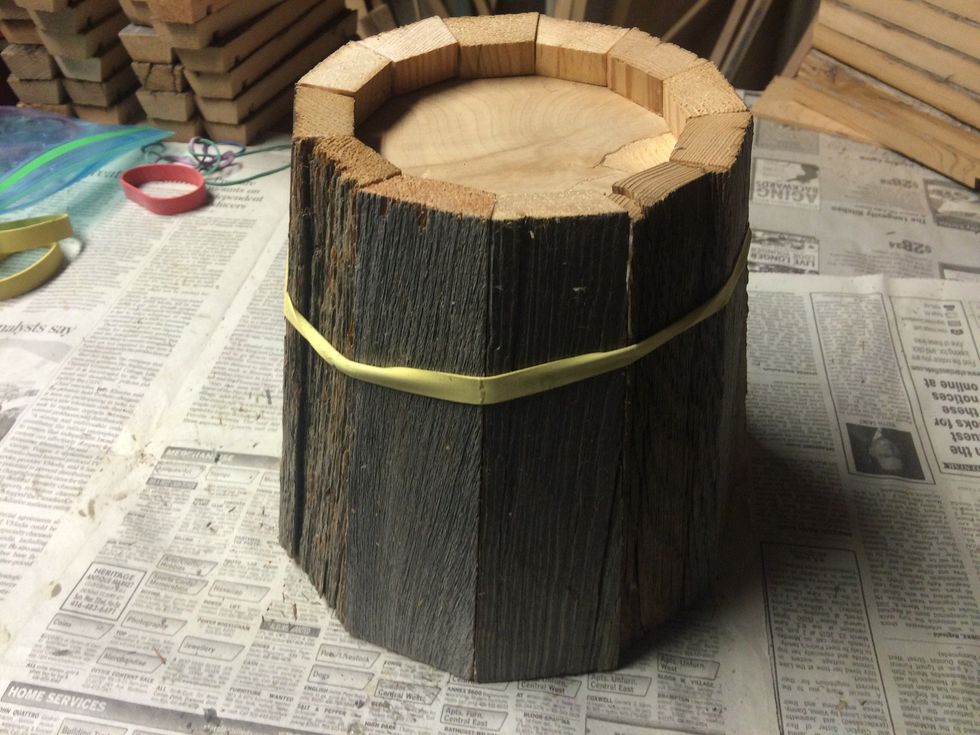
Carefully place a rubber band over the staves!
Add a few more rubber bands to insure a tight fit. Adjust any of the staves that are out of whack or not flush with each other.
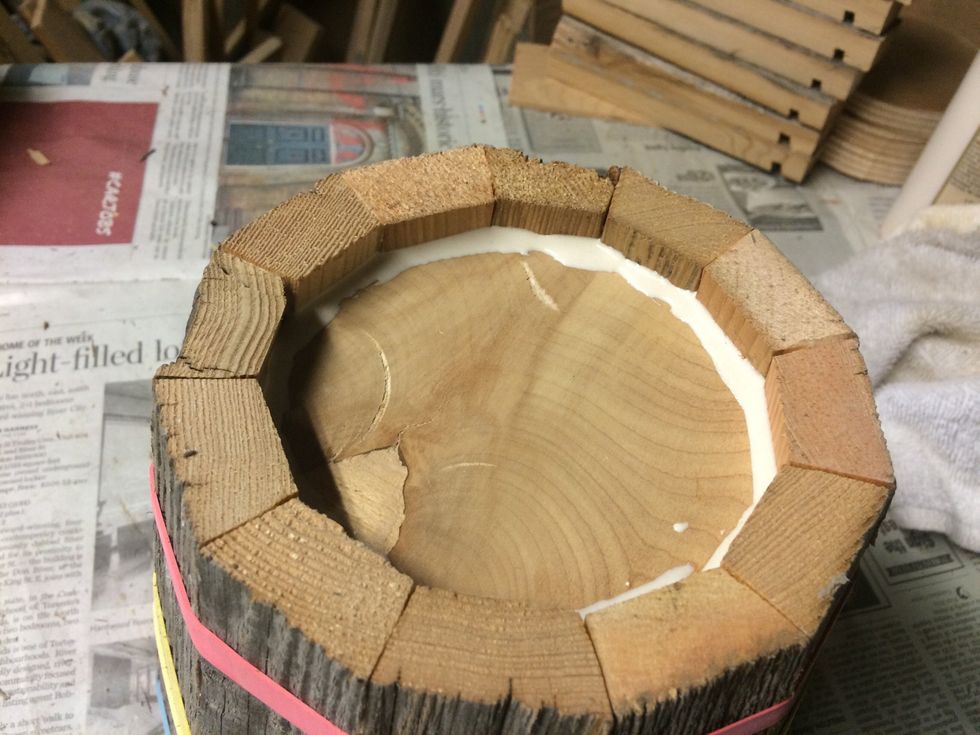
Once done, I add a bit of glue on the bottom to help keep things together.
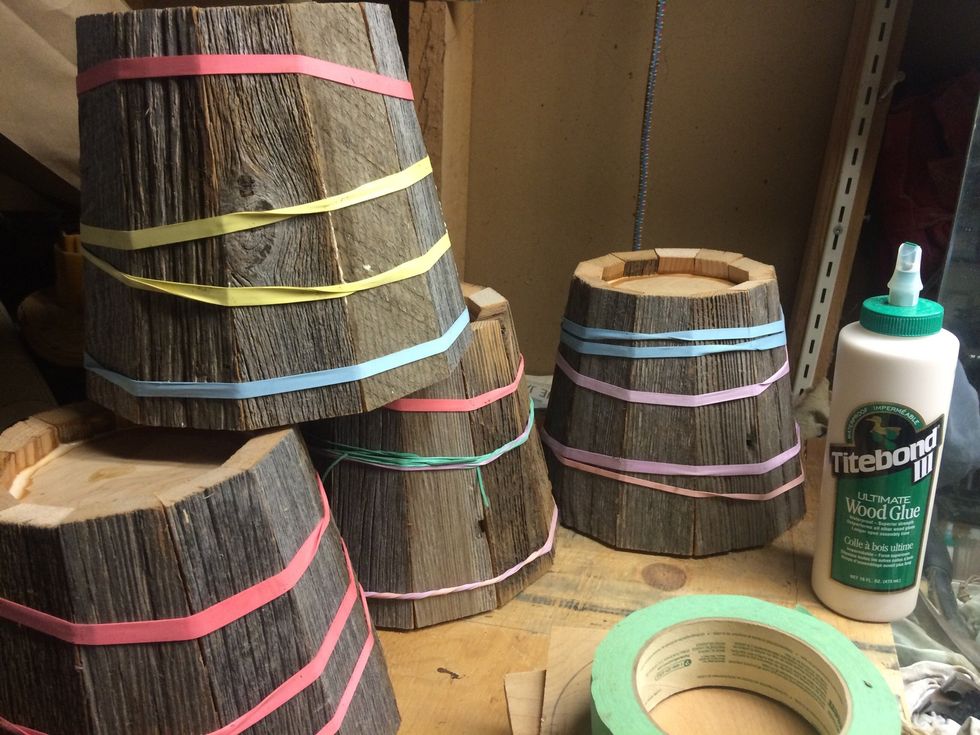
A few drying and ready for the next step.
I drill holes about 1 3/4" from the top. The hole I drill is 9/32". It's for the handle. So the 2nd hole should be opposite the 1st hole.
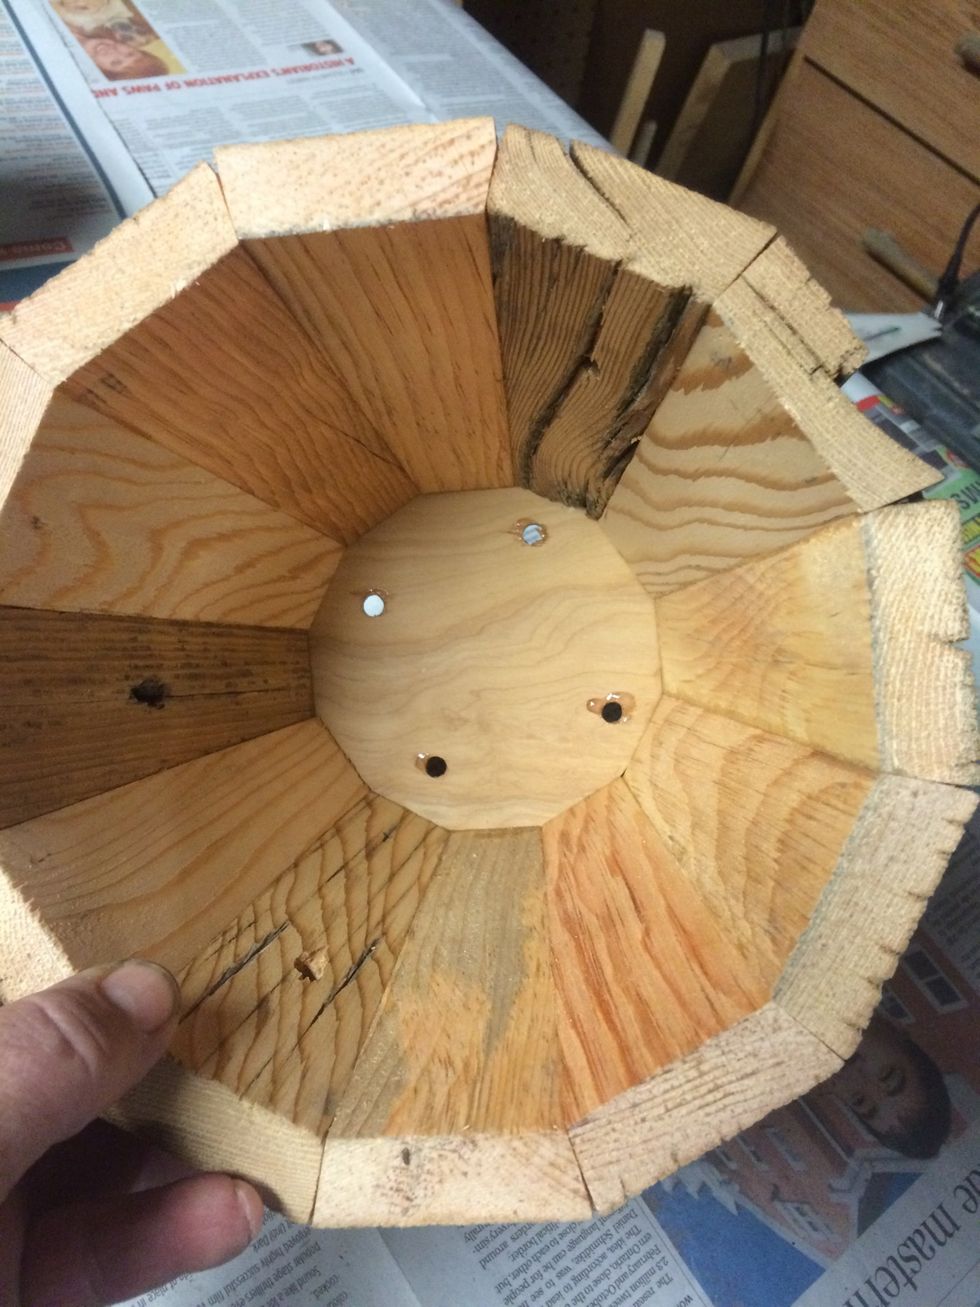
I put 4 holes in the bottom so water can get out.
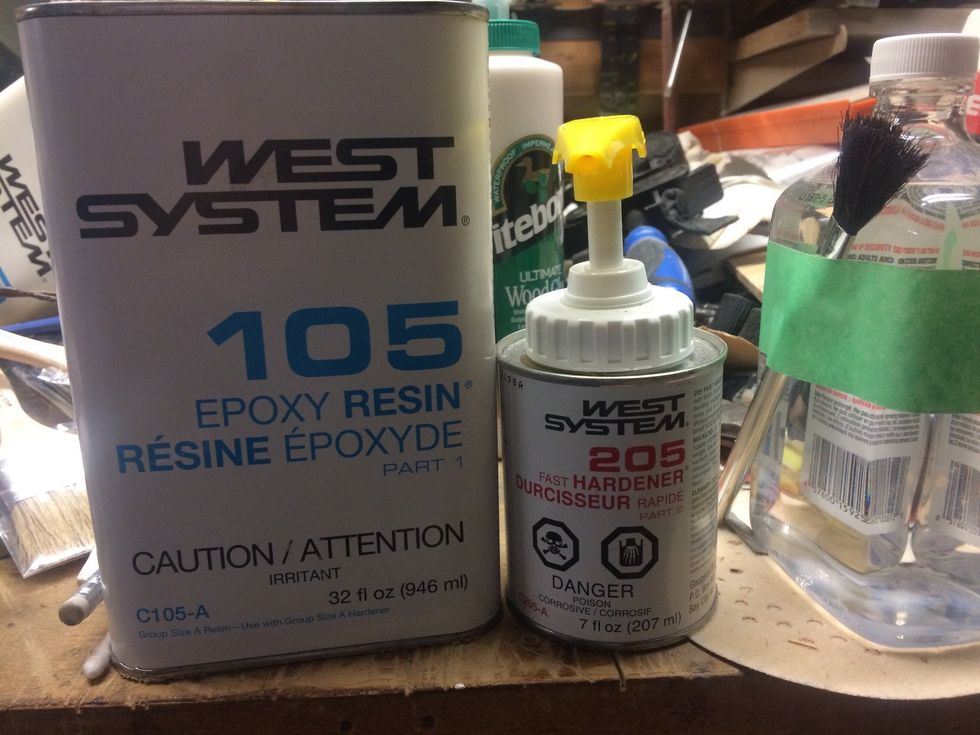
This is the epoxy I use.
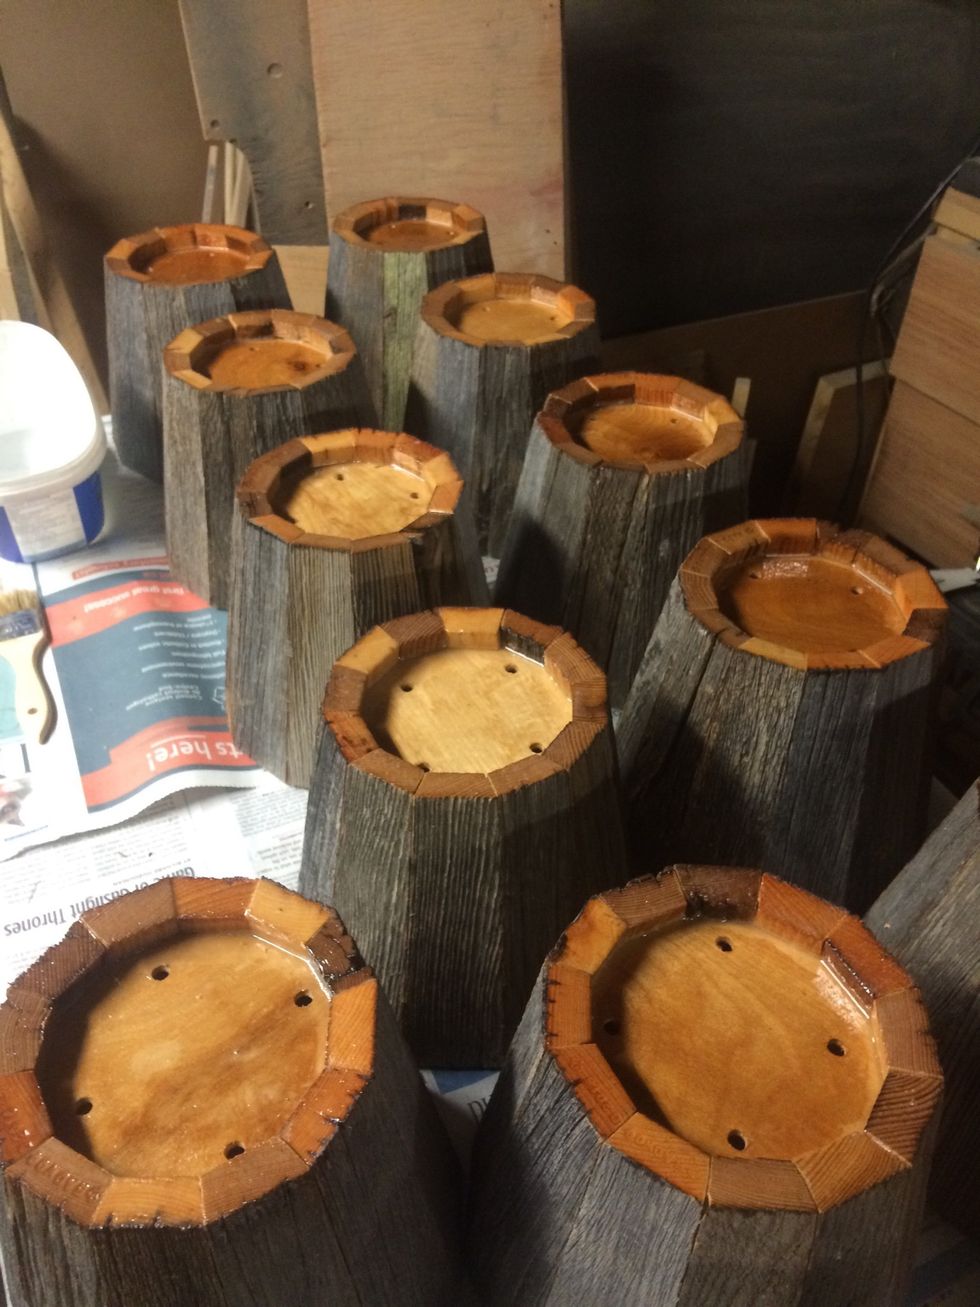
Start applying the epoxy. I start with the bottom first. After 2 thin coats I give it a quick sanding. Then put 2 more coats on. Thinner coats won't allow the epoxy to run.

Now start applying epoxy to the inside of the buckets. I do the same thing here as I did for the bottom. 2 coats, sand and 2 more coats.
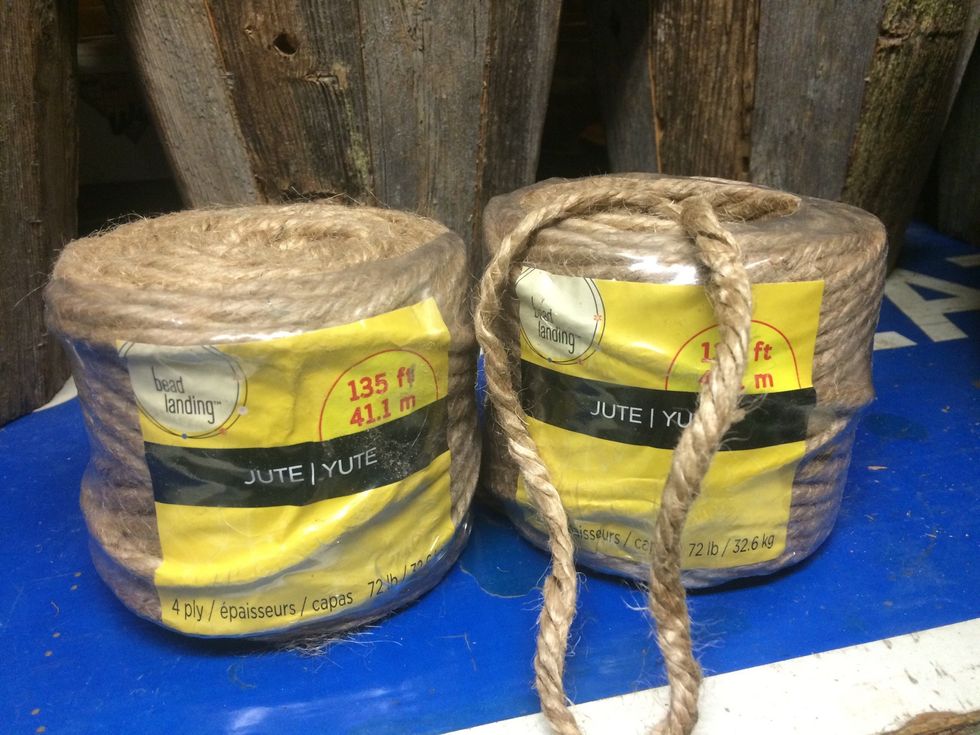
The next step is the twine. Or as they call it Jute.
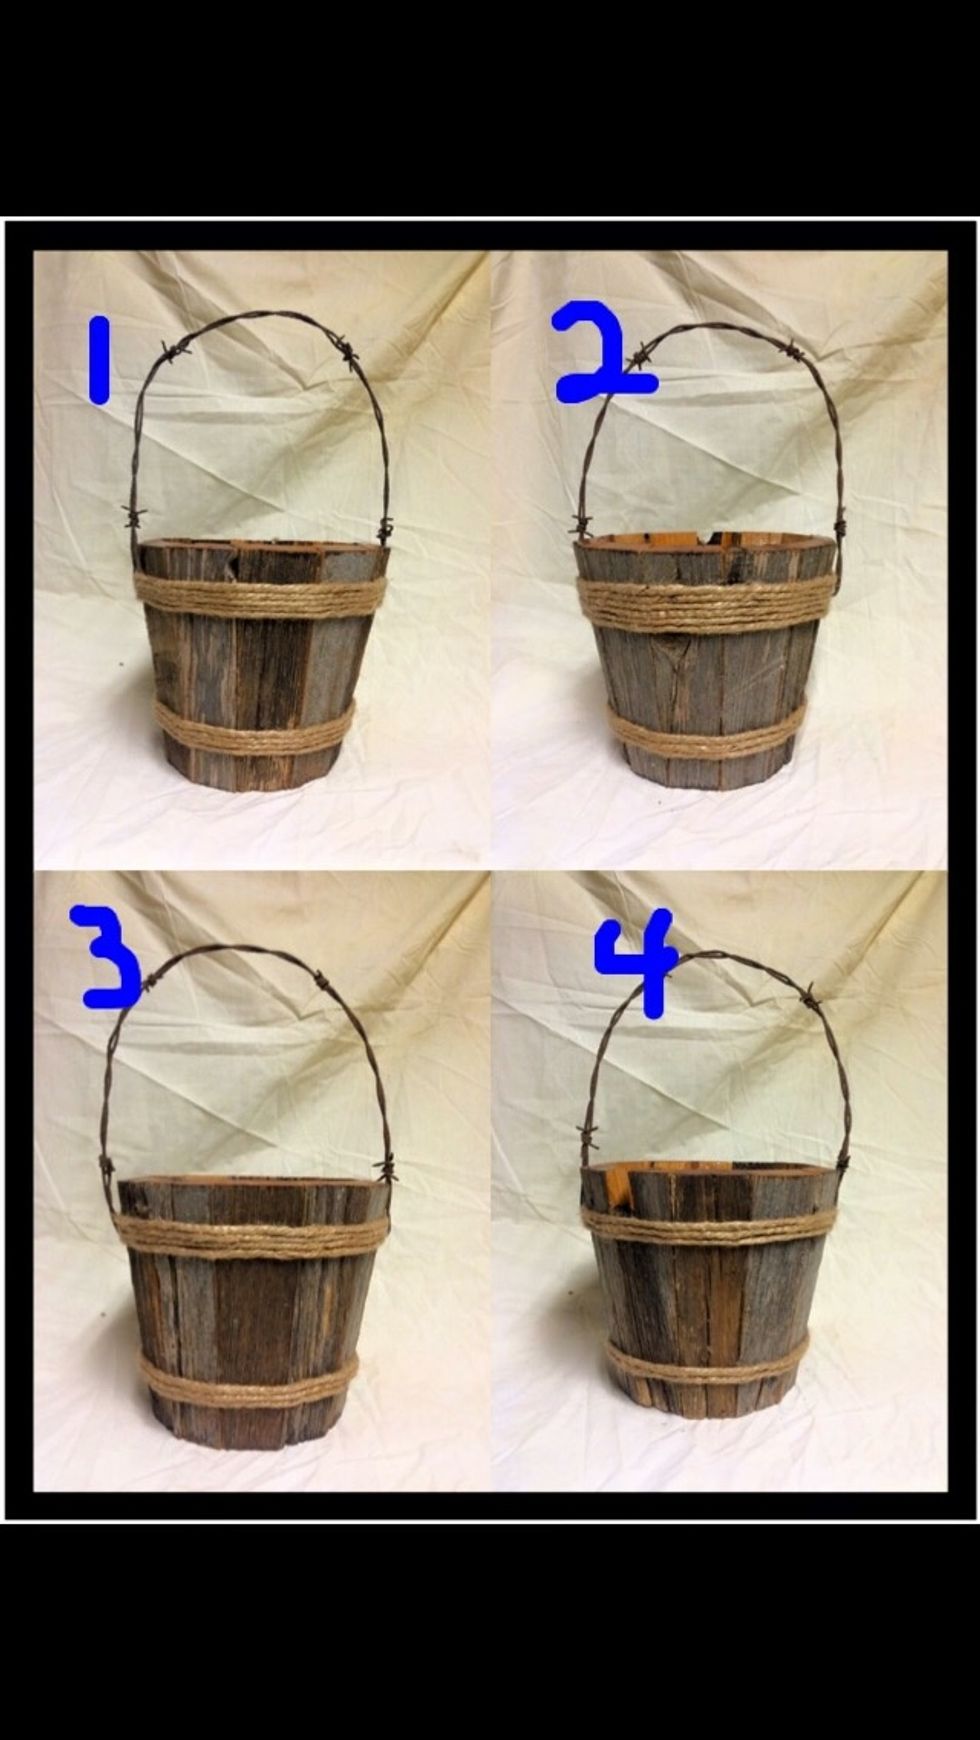
I did a survey on Facebook to see what the people like. The results are #1 & #2 had 17 votes, #4 had 5 votes. The winner is #3 with 29 votes. It was the the choice I liked the best.
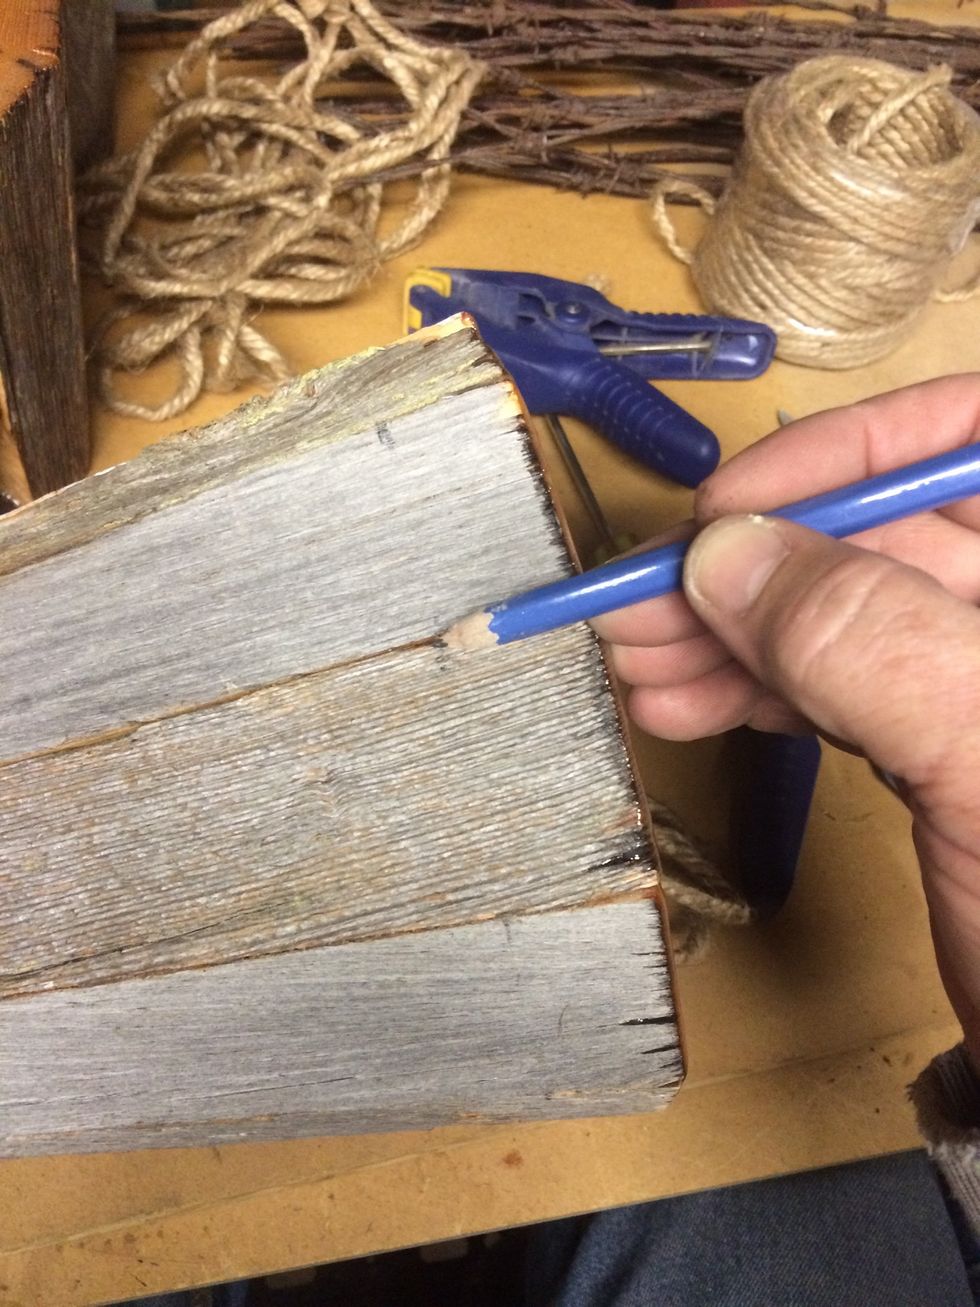
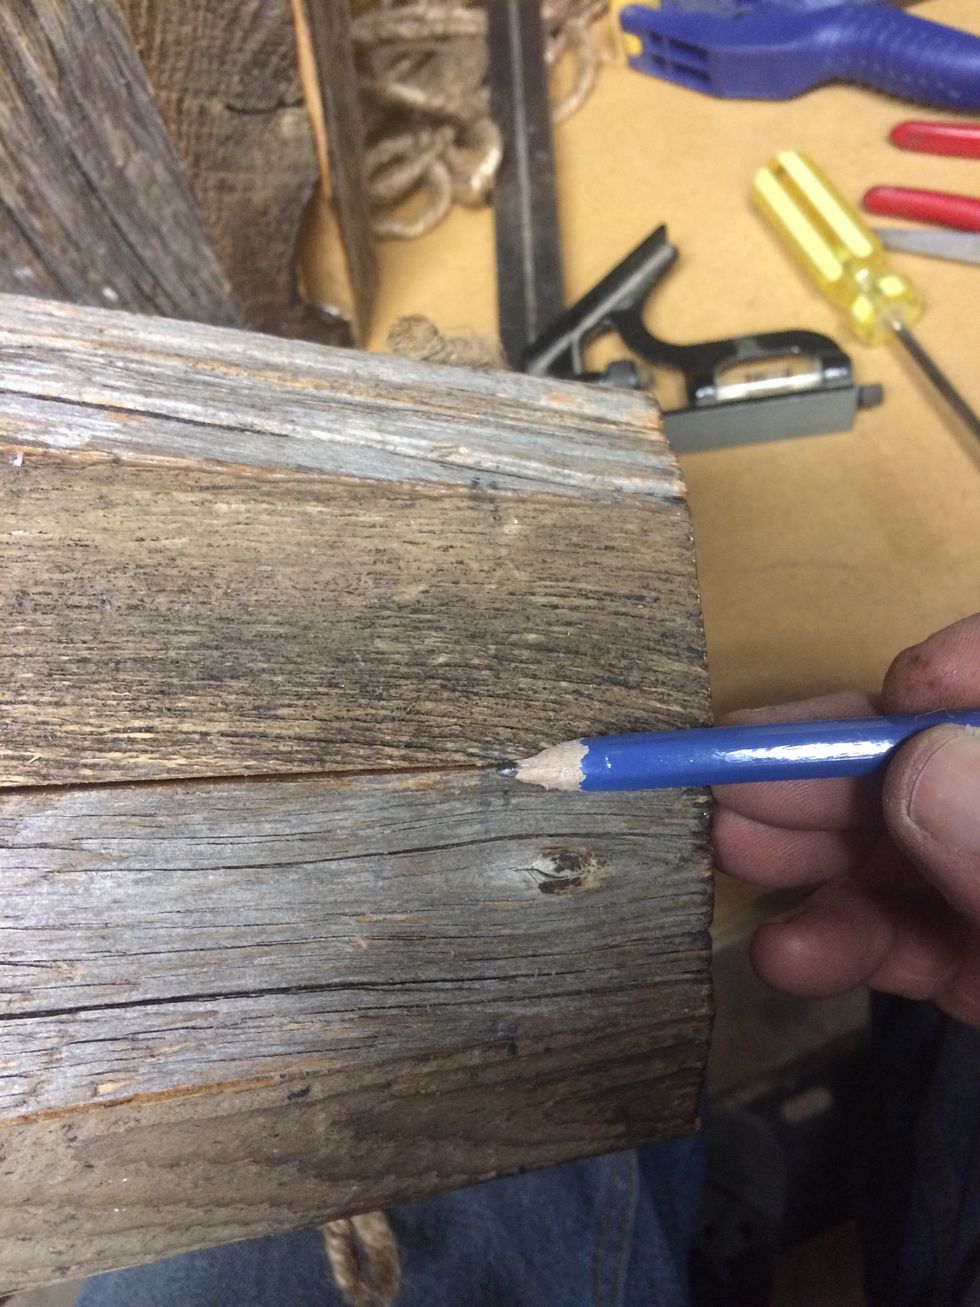
I make a mark about an 1" down from the top.
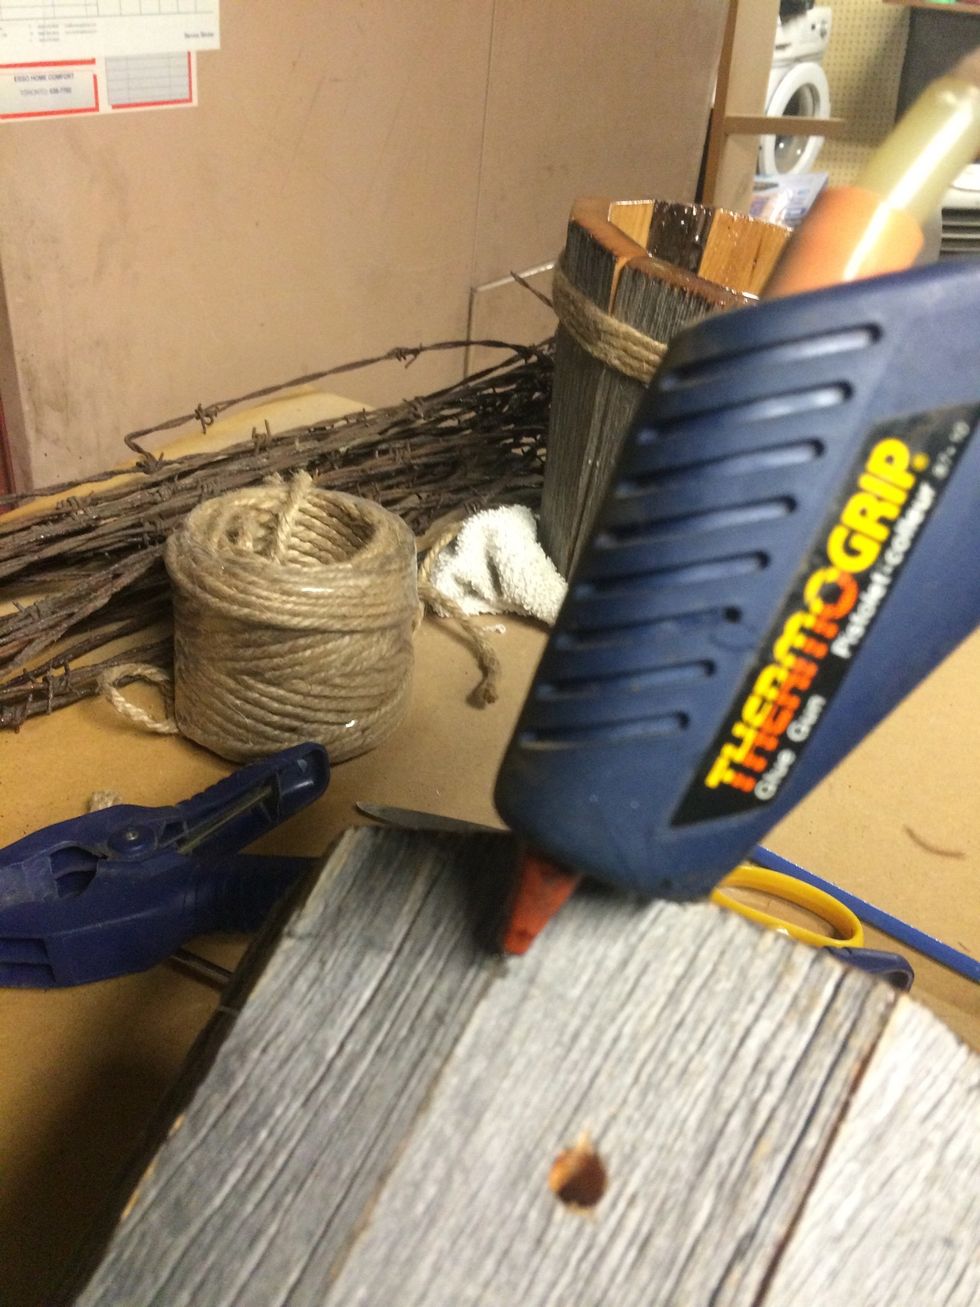
My ends are going to be ending up at the sides of the buckets. Keeps it hidden on the side. Dab a bit of glue at the starting point.

Place an end of jute in the glue and hold it down until set. It only takes a few seconds.
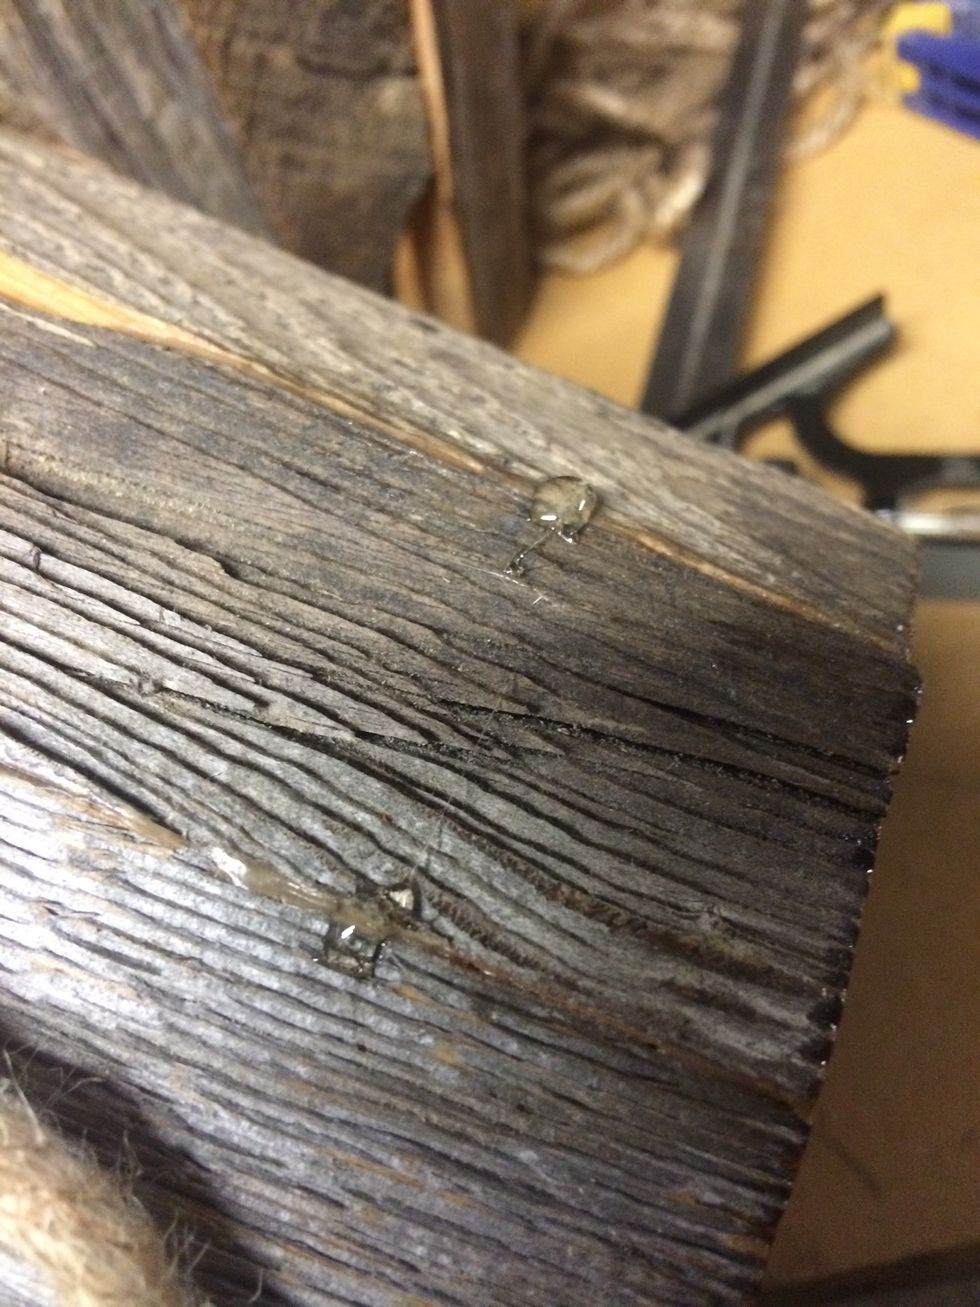
I dab a bit of glue on each joint for the first row.
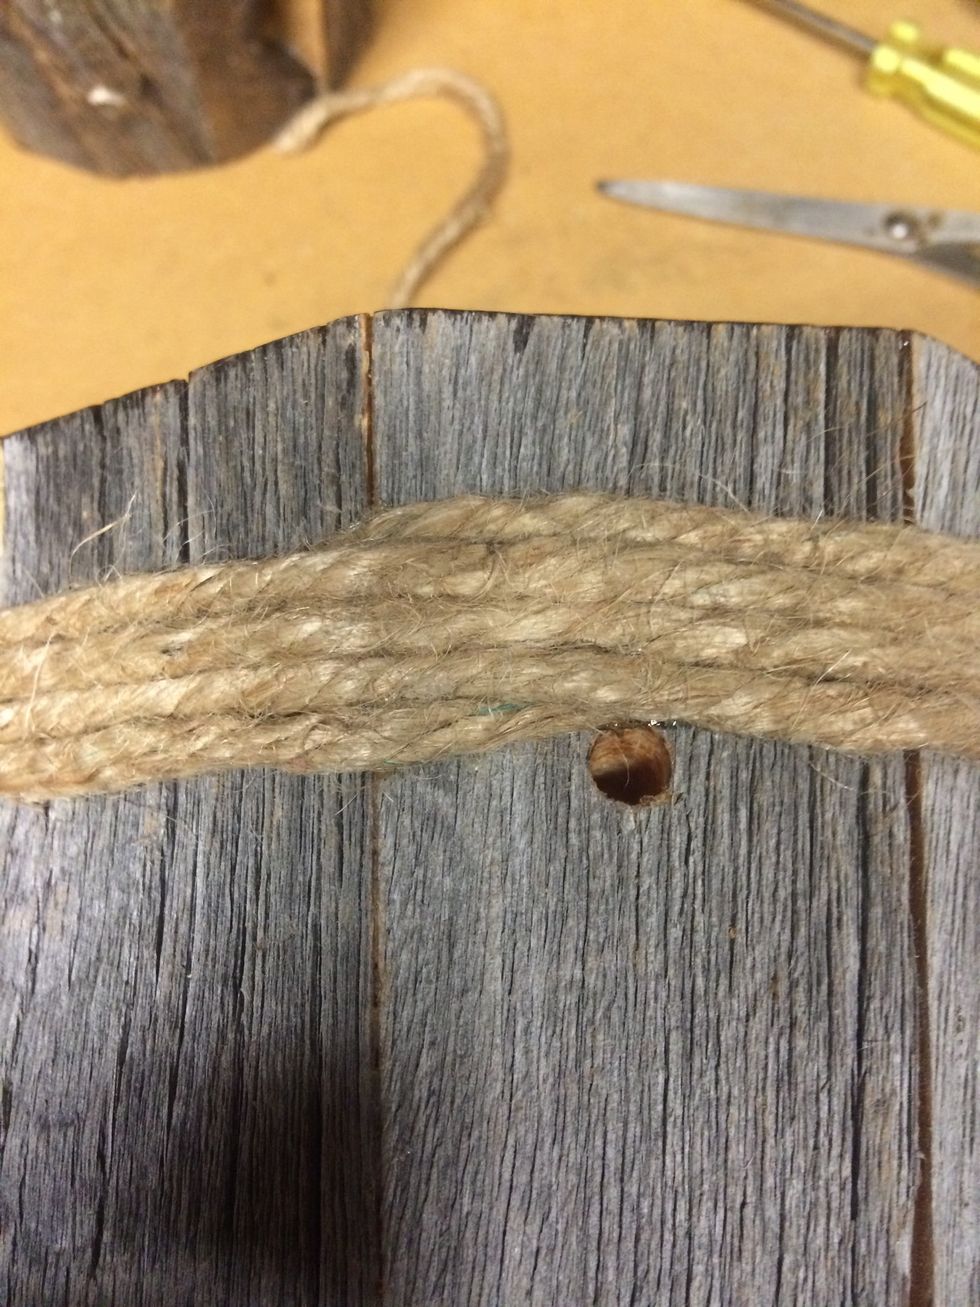
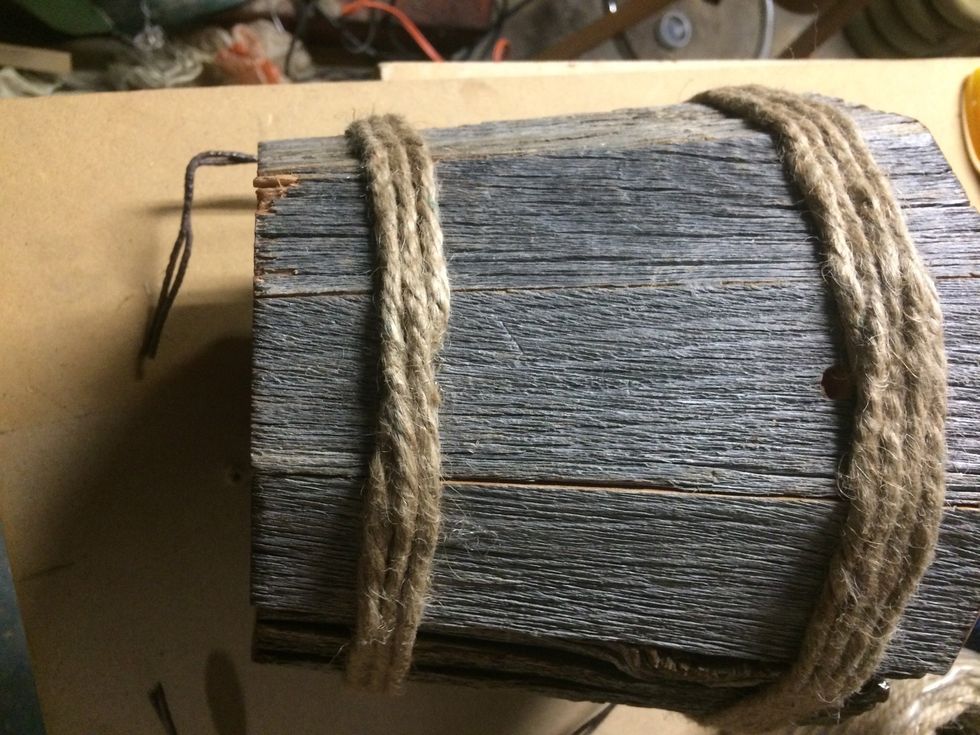
Wrap the jute around until desired amount. I'm putting 4 wraps on the top and 3 on the bottom. The last row is glued on every other joint. The ends are tucked in and a dab of glue to hold it in!
I marked the bottom a bit higher than an 1". So it's about 1 1/8"-1 1/4". Now do the same as the top but with 1 less wrap.
I do the same on the bottom with the ends!
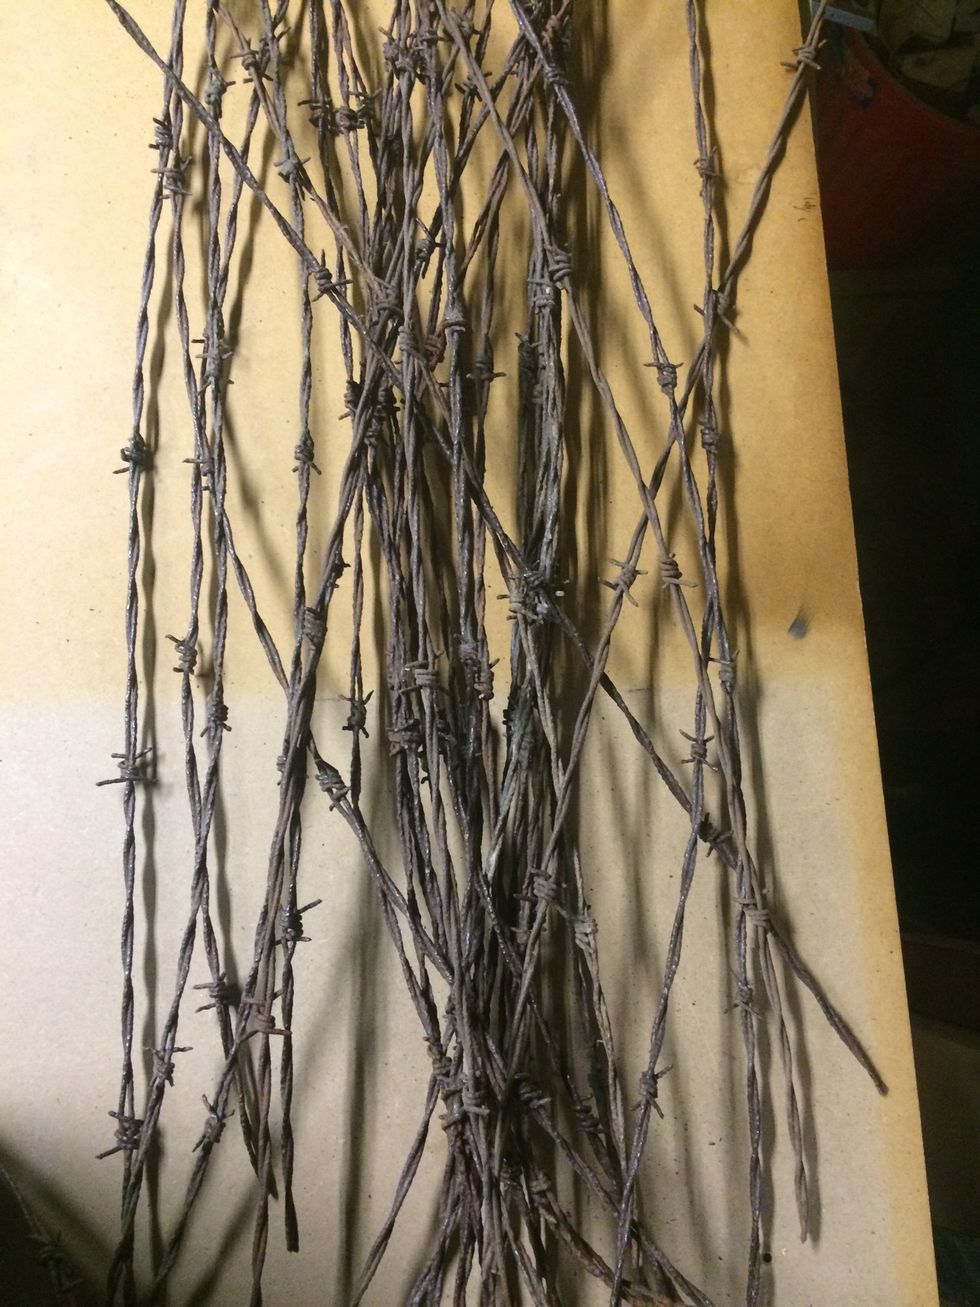
Find some barb wire. I cut them to 39" in length. I made sure that I had 4 barbs on the wires. You can use anything you want as a handle not just barb wire. Normal wire, rope, leather, iron etc...
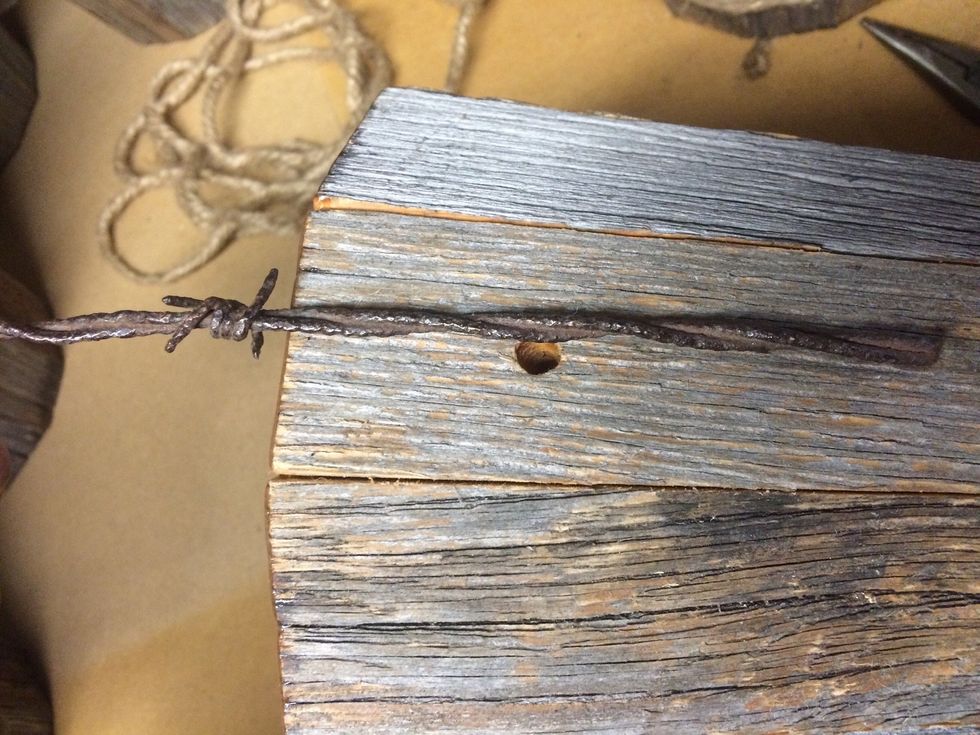
I measure the bend in the wire by placing a barb just on the top of the bucket.
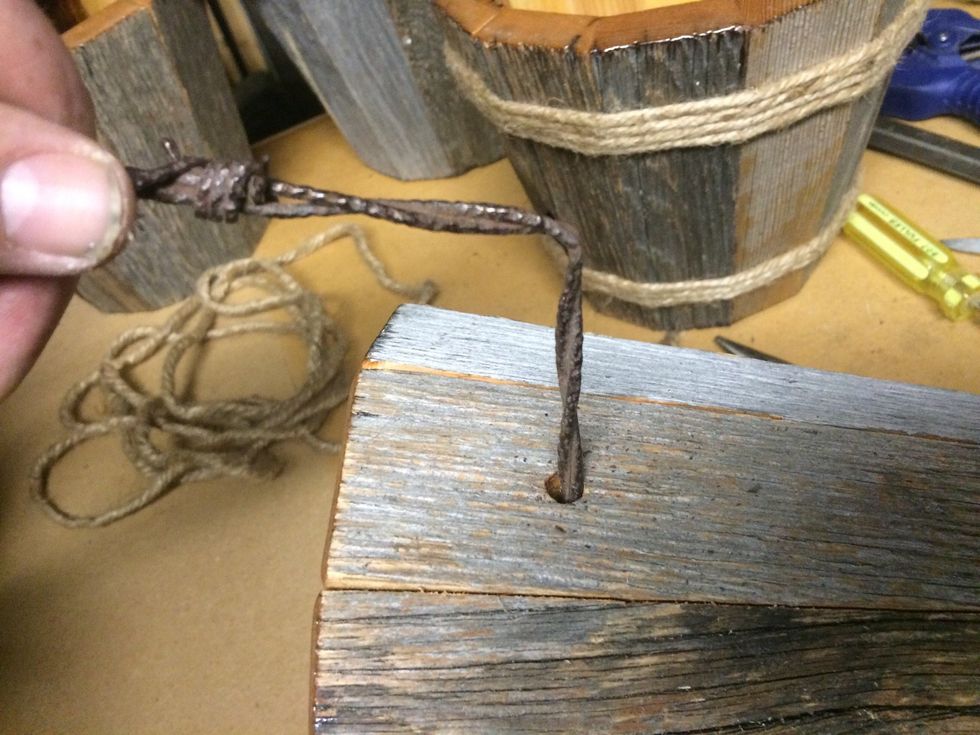
I make my bend in the barb wire with a set of pliers.
Do this on the other end of the wire.

Try and bend the wire smoothly in a nice arch. Be careful the wire may break if it's weak.
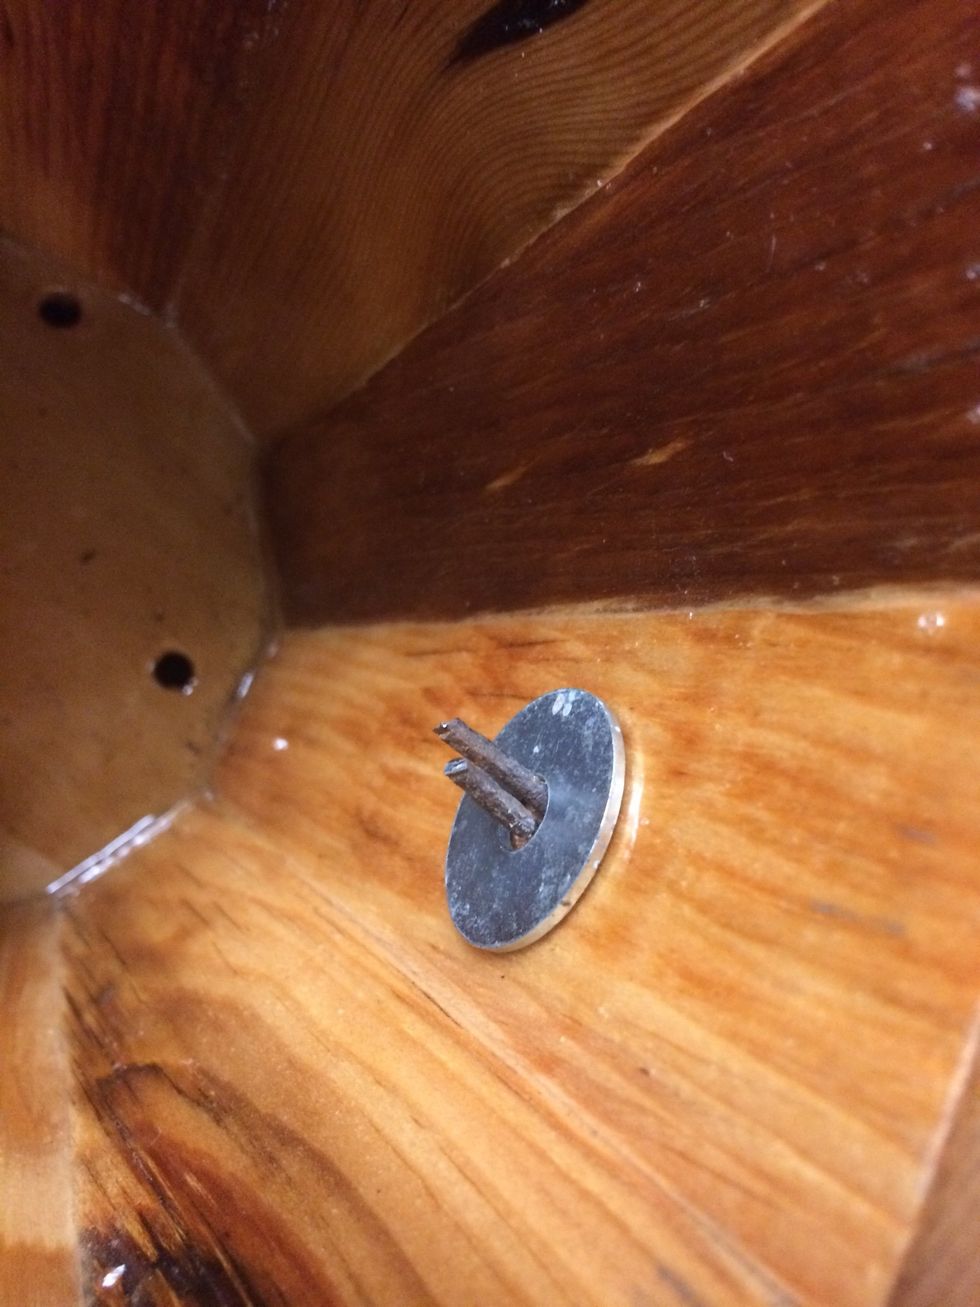
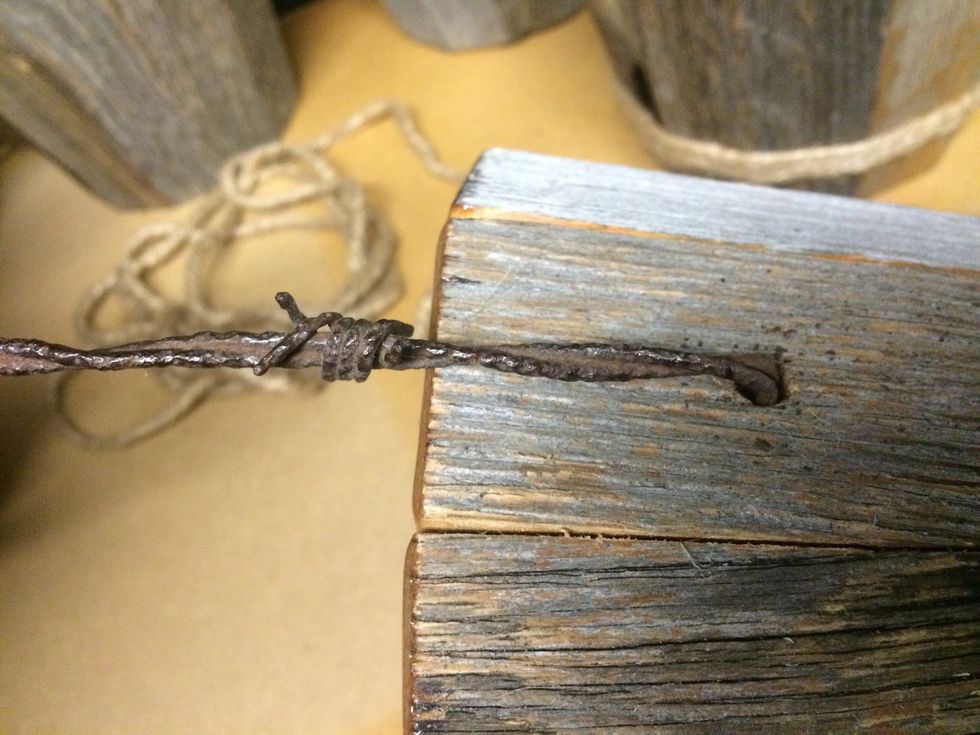
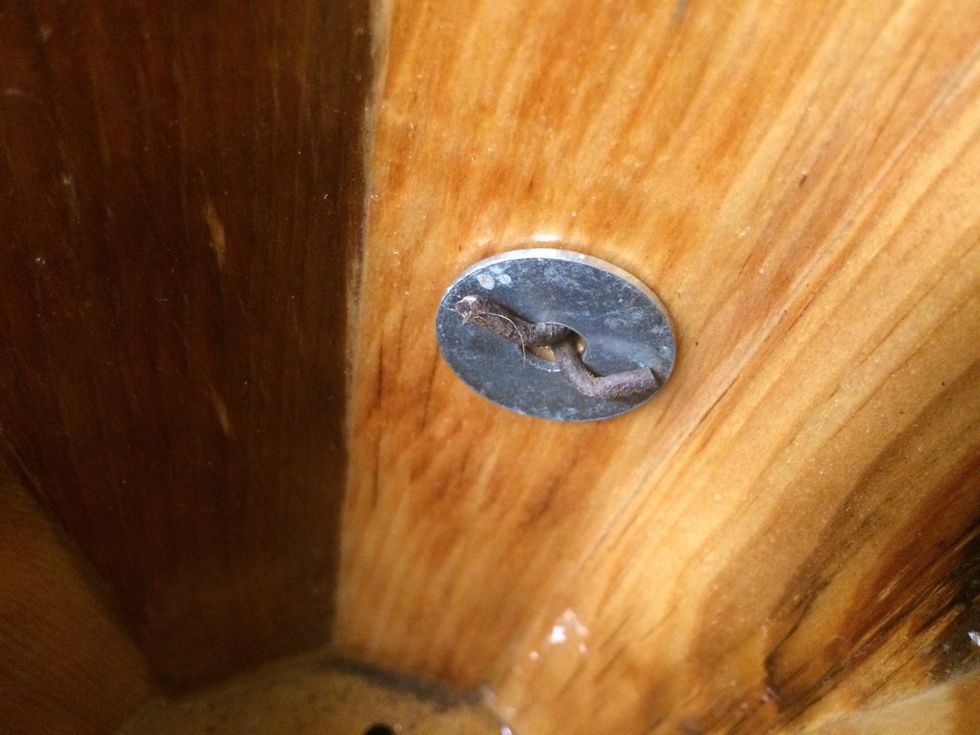
I put a washer on the inside of the bucket to help protect the finish from getting scratched. The washer is 1" wide and the hole is 1/4". I cut the wire down to about 3/4"-1" and bend it.
I use needle nose pliers to bend the wire.
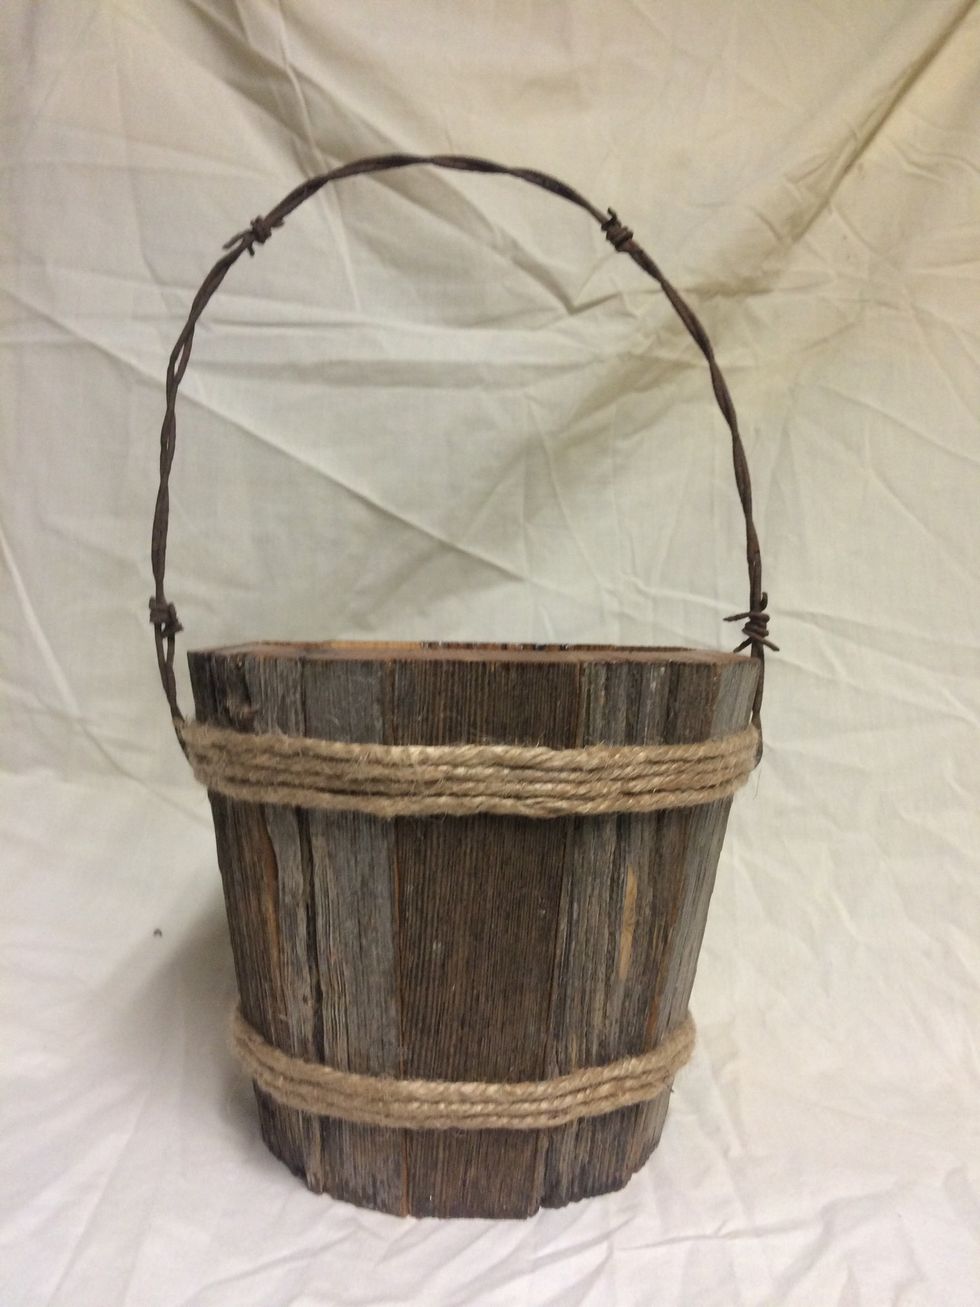
And there you go, done!!
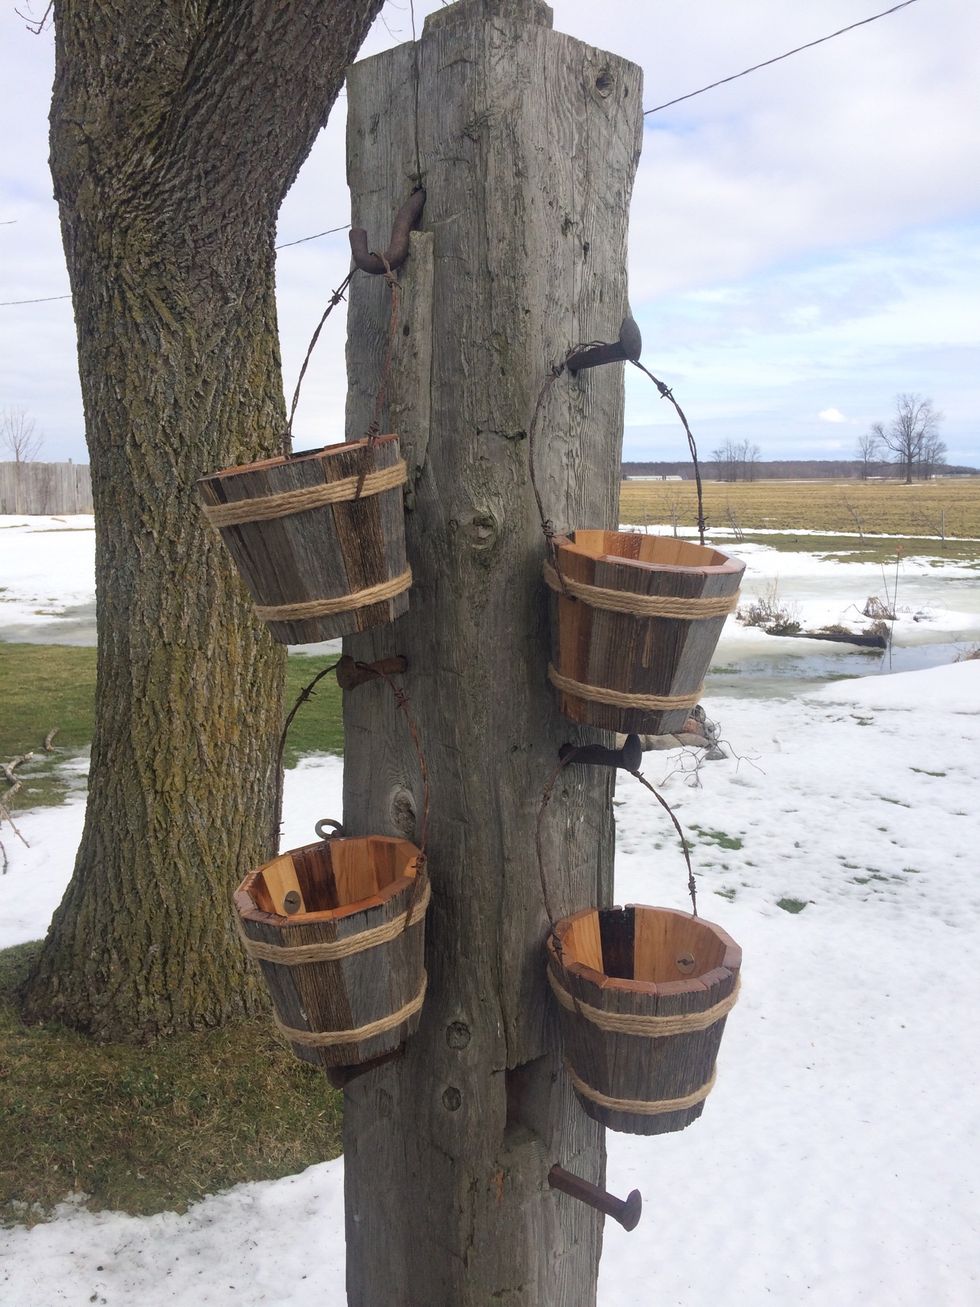
And this is what it looks like on an old barn beam cut down and hanging on old railroad spikes.