The Conversation (0)
Sign Up
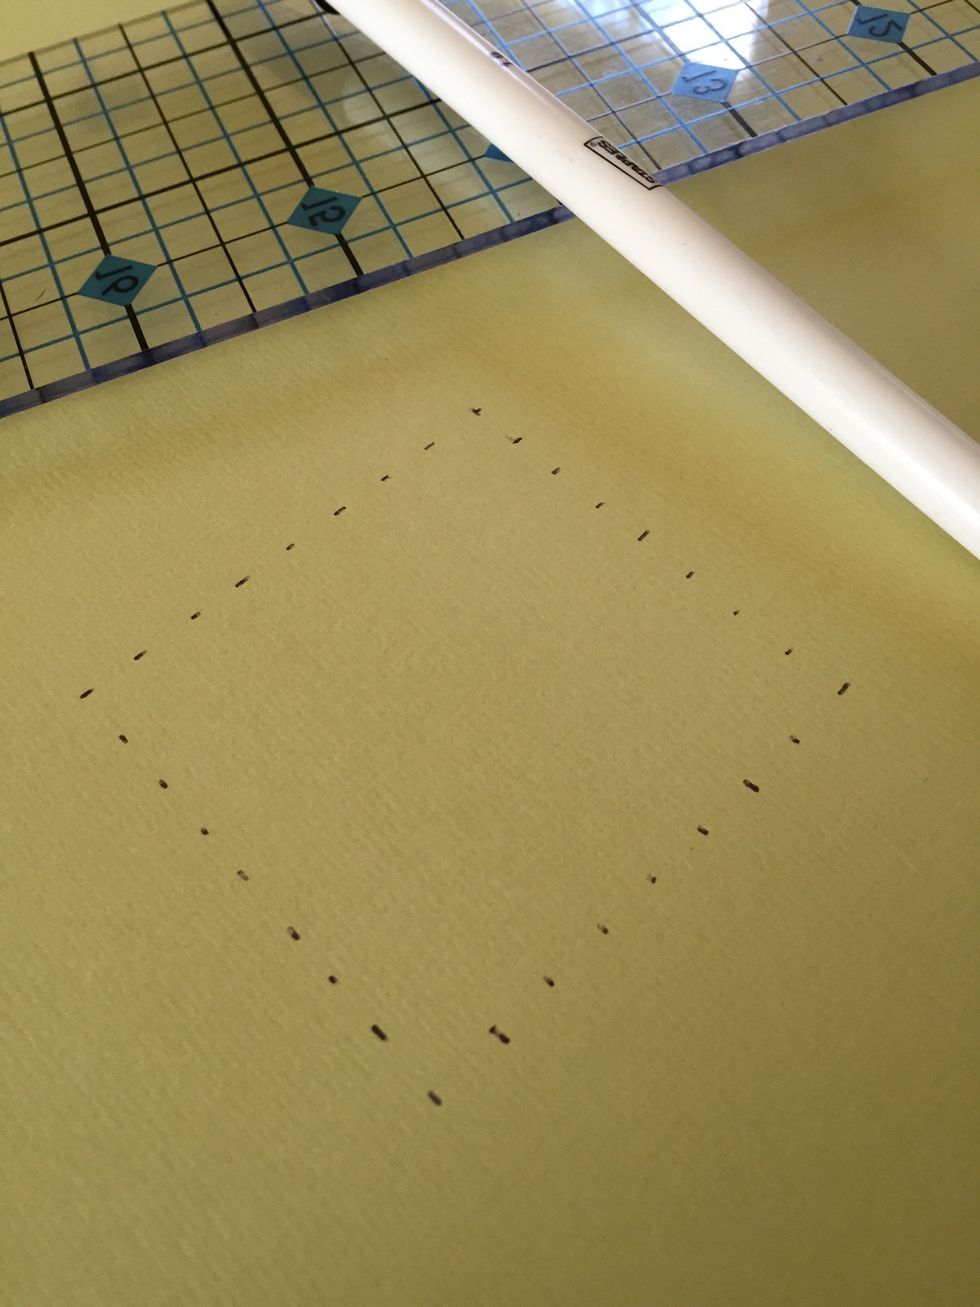
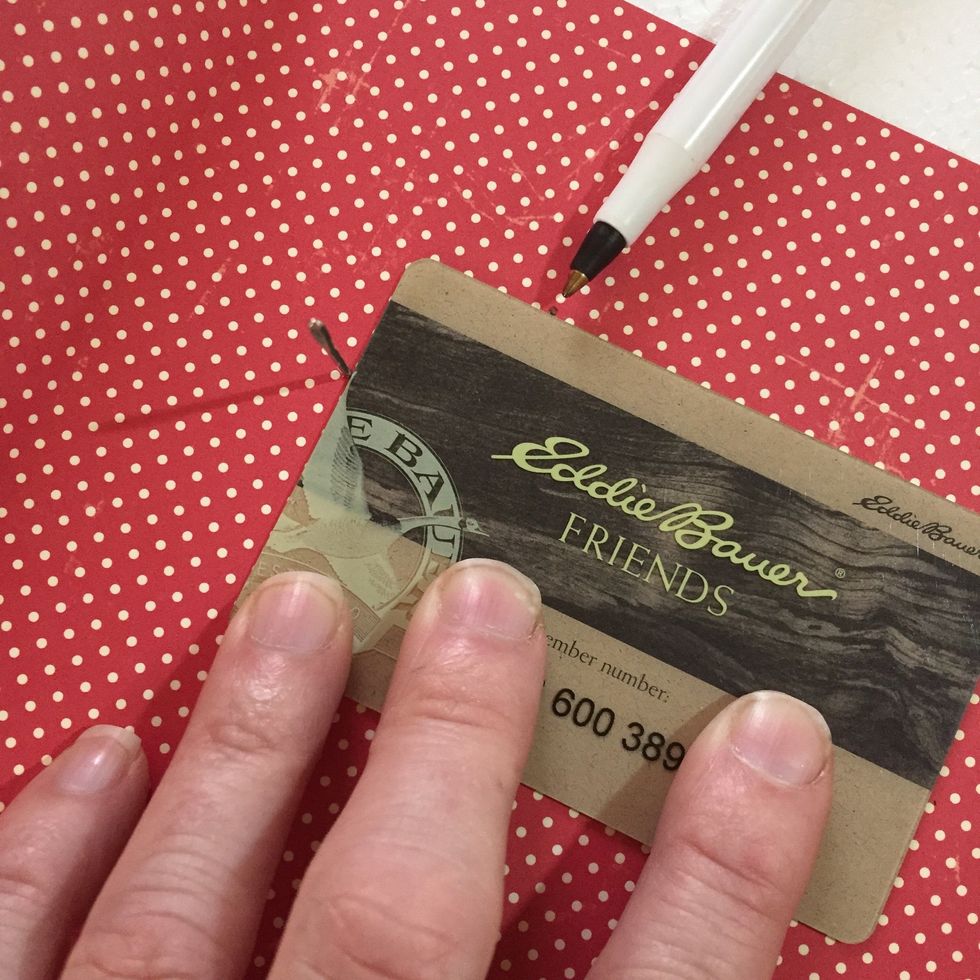
Start with your solid card stock. I use a piece bigger than what I need and cut to size after. Measure a 2x2 square and make tiny dots at each quarter inch
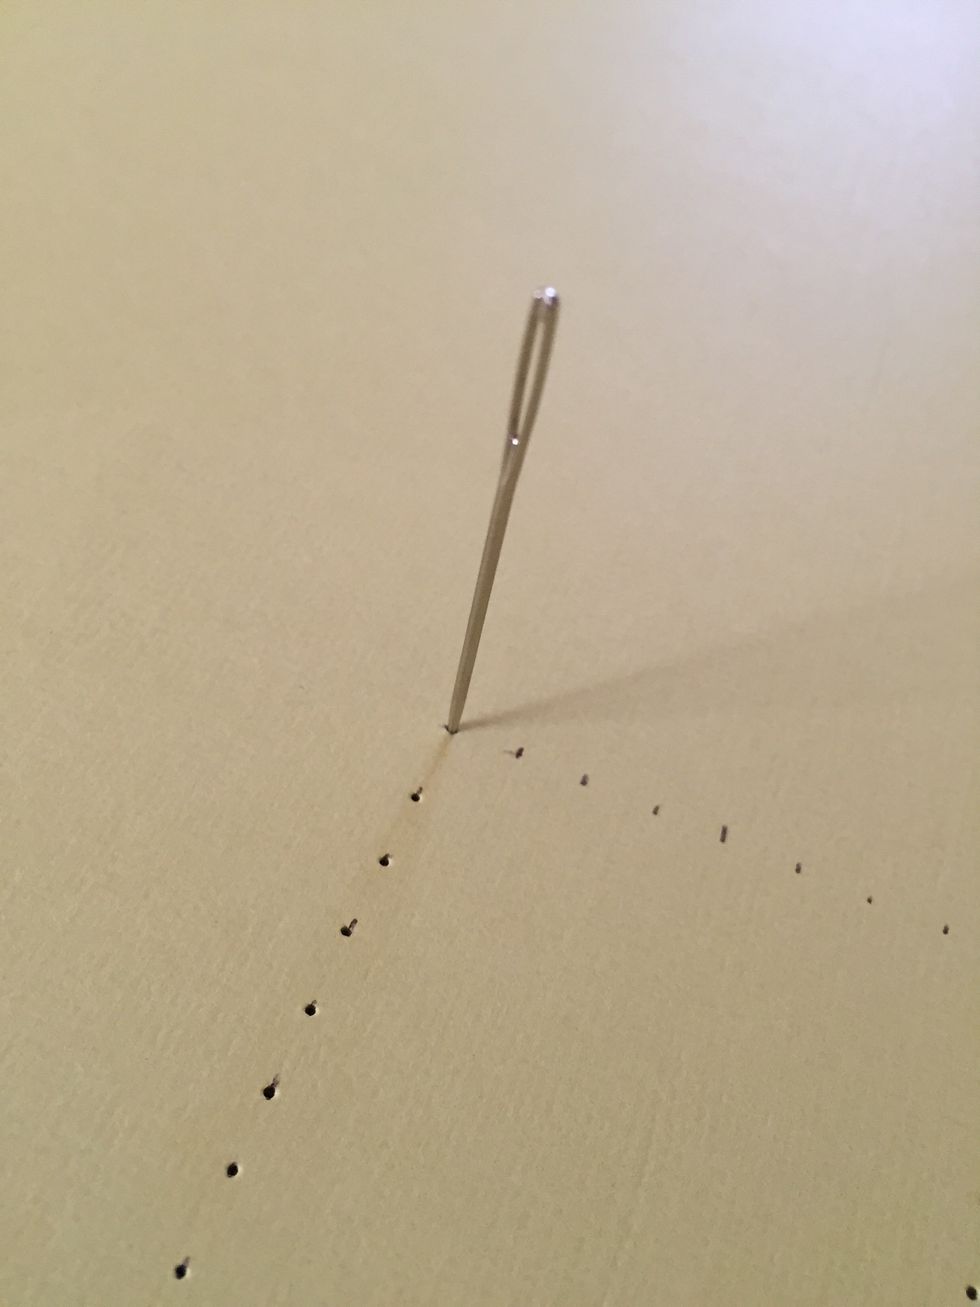
Now take the tapestry needle and pre punch a hole at each mark. I used a piece of foam core under neath, you can use felt or any other soft surface- just try not to bend the paper
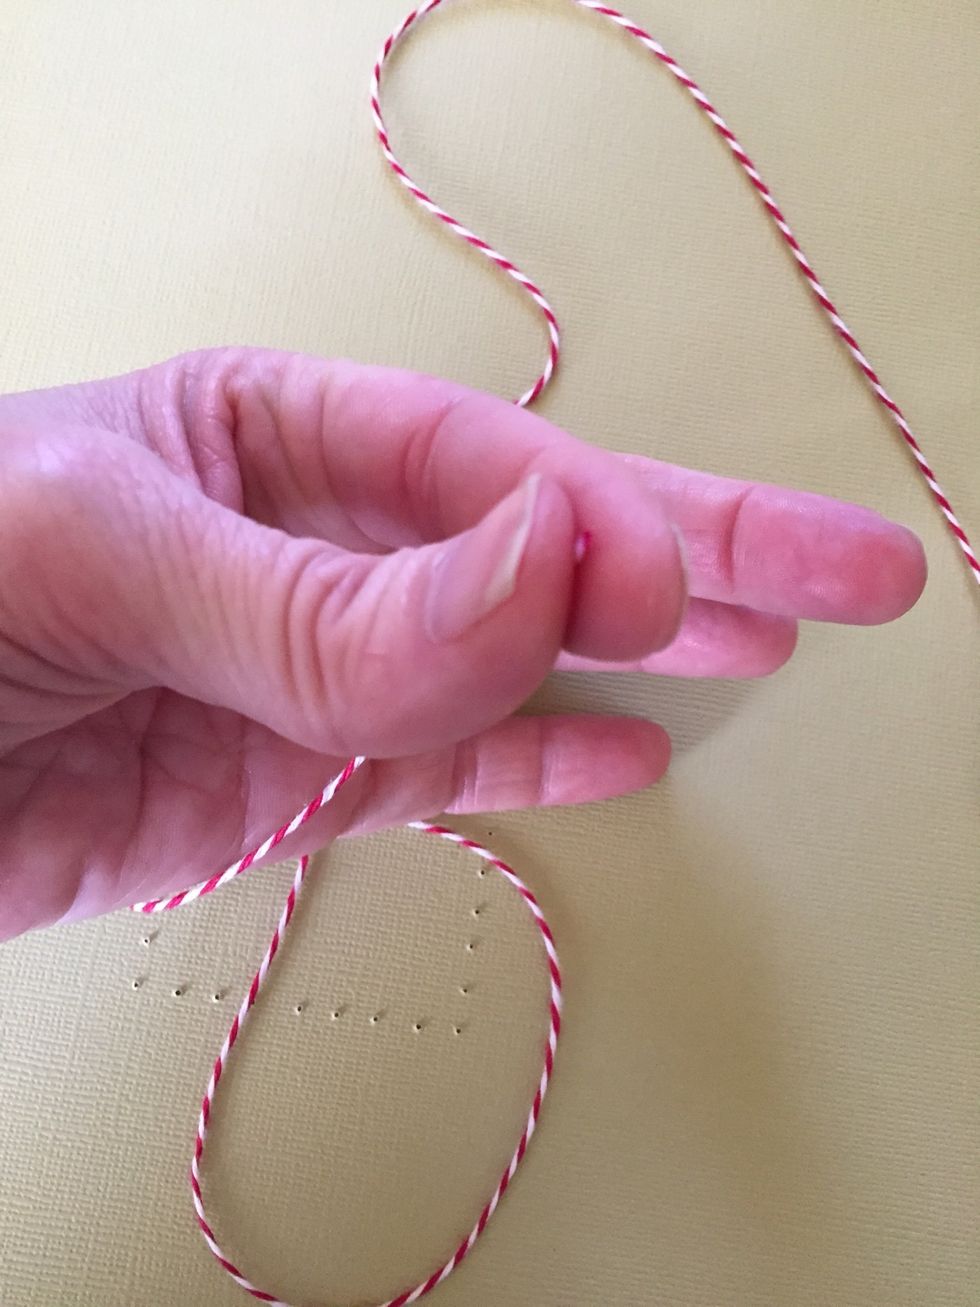
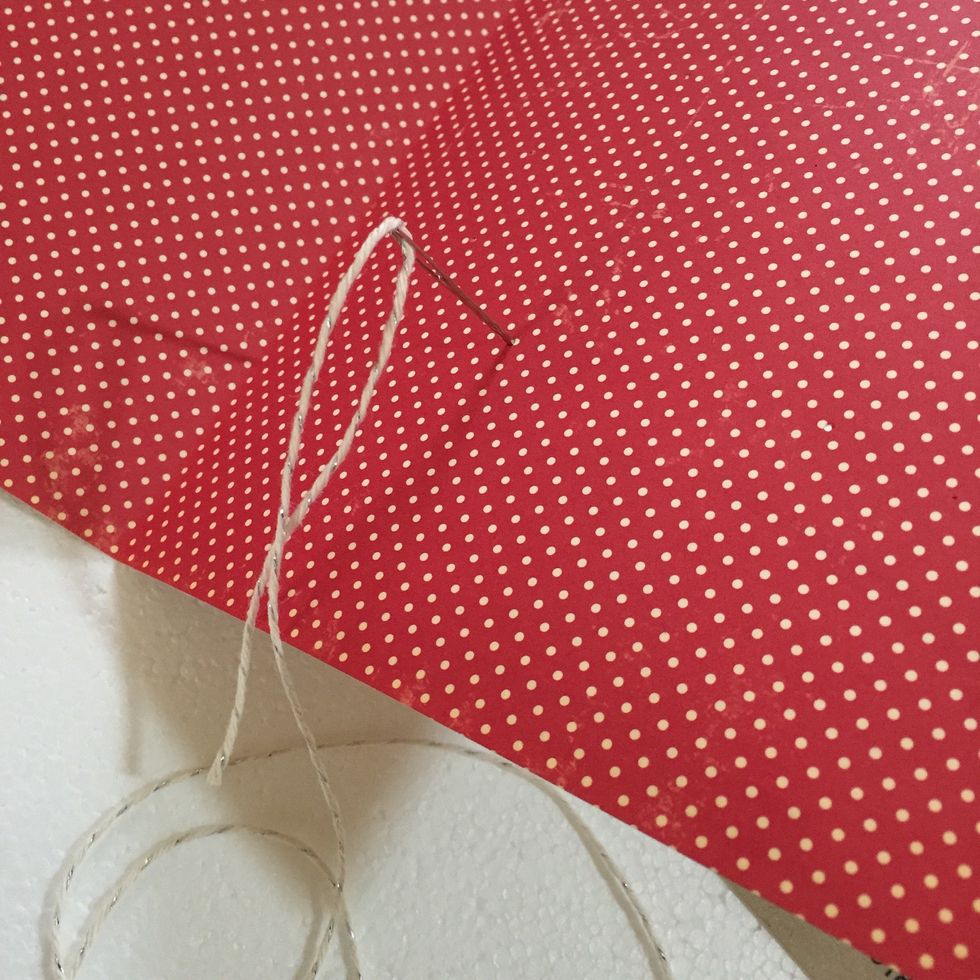
Cut approximately 1 yard of twine and thread it by licking the end and pressing it flat between your fingers. Slip through and gently pull through. You can use beeswax if you don't like licking twine!

leave a tail of about three inches
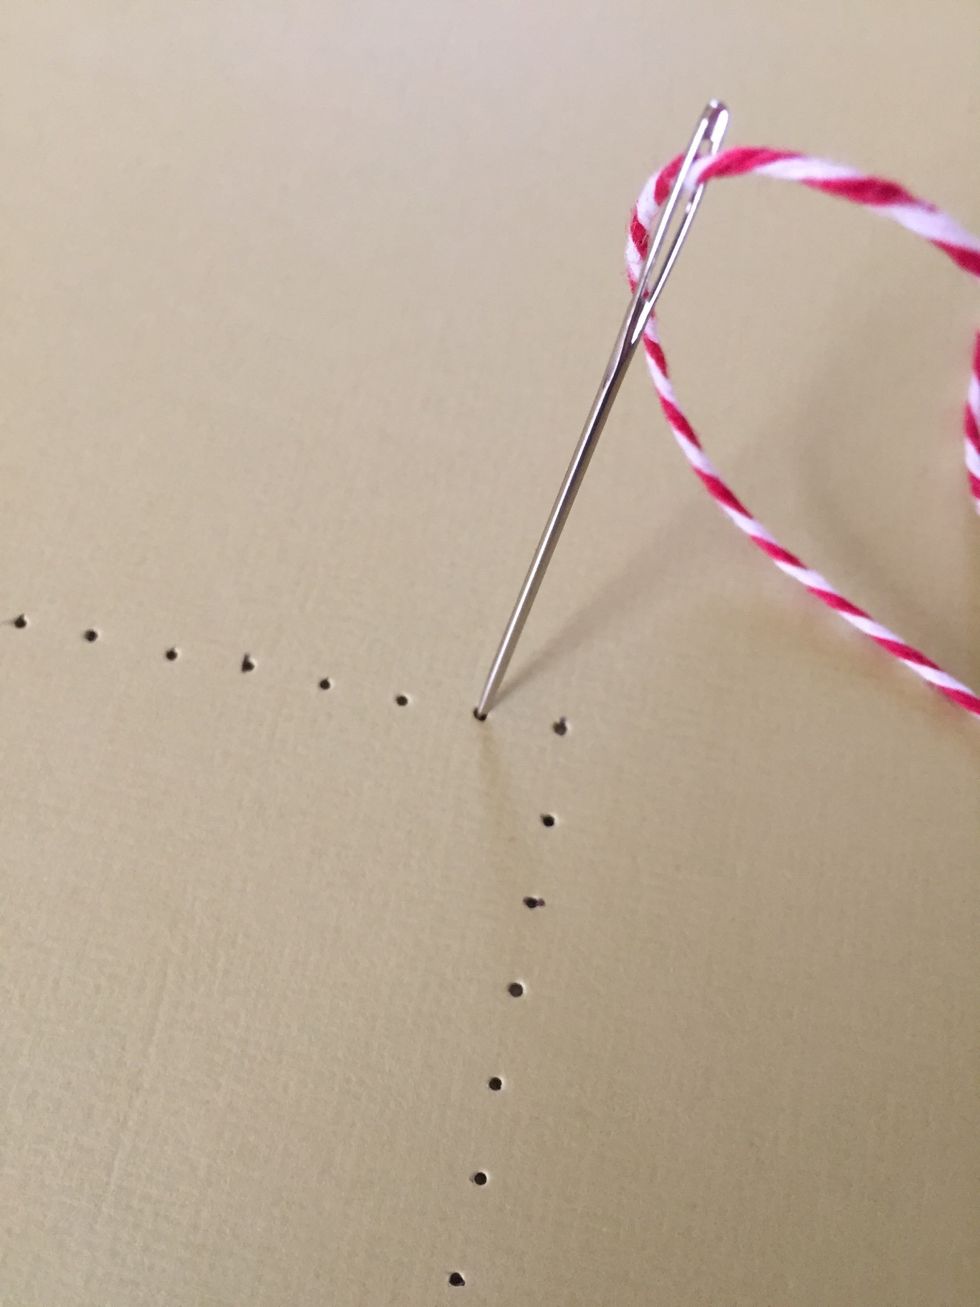
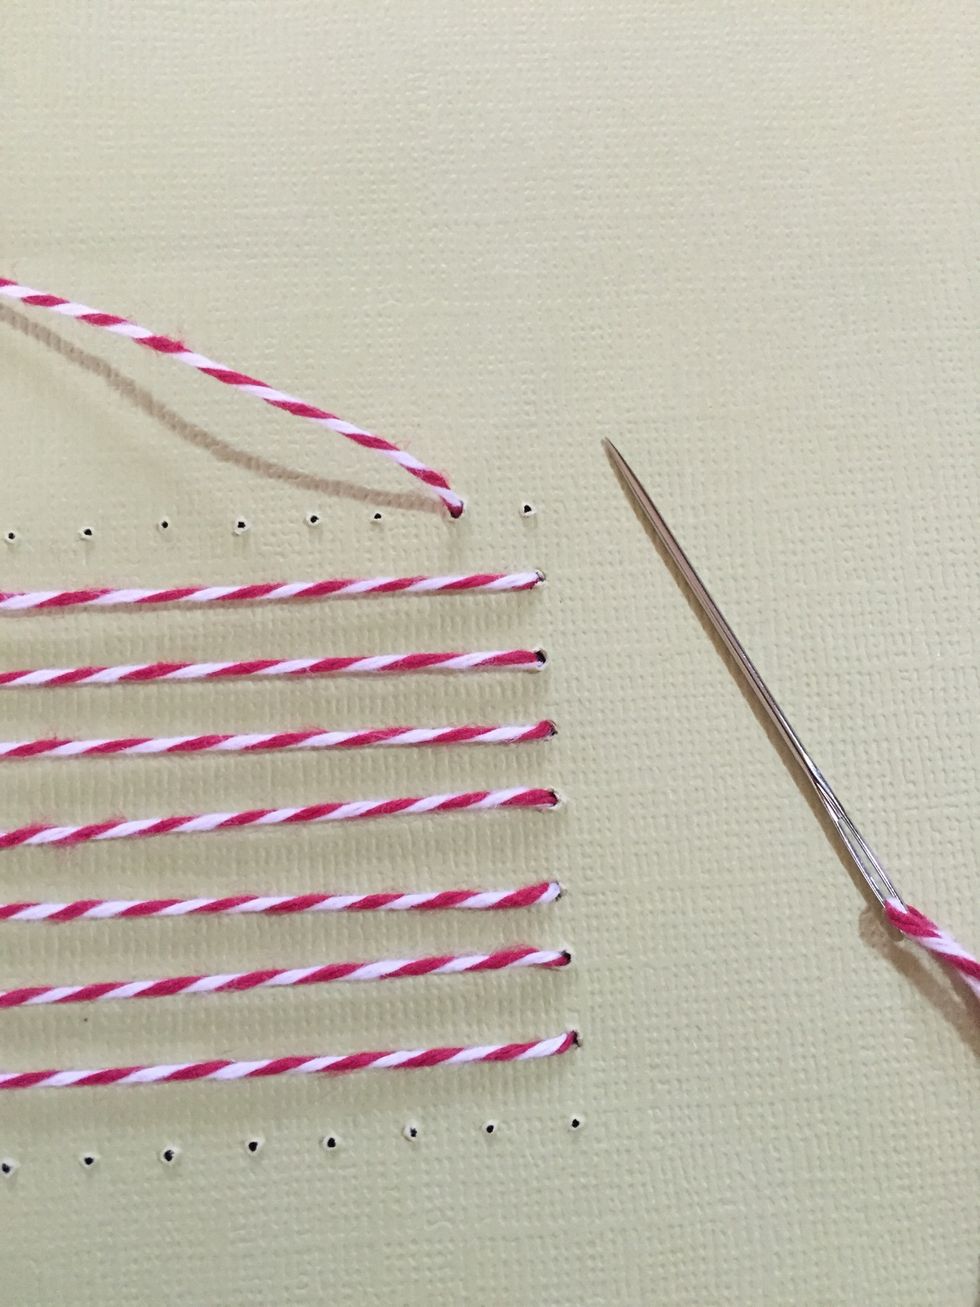
Start at the back, at one whole in from any corner as shown
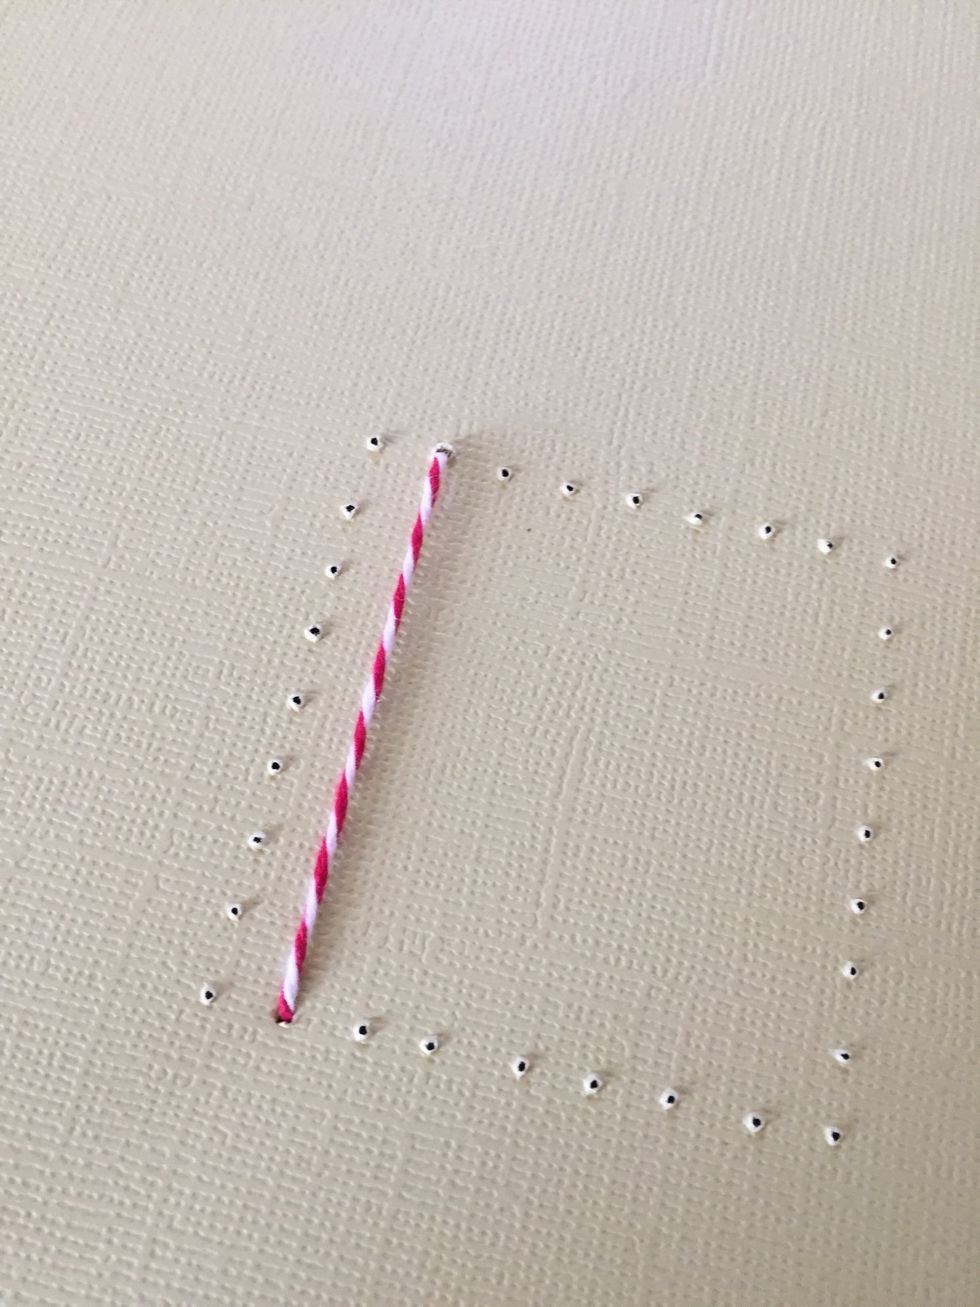
come up, then over to the hole directly across and go down as shown
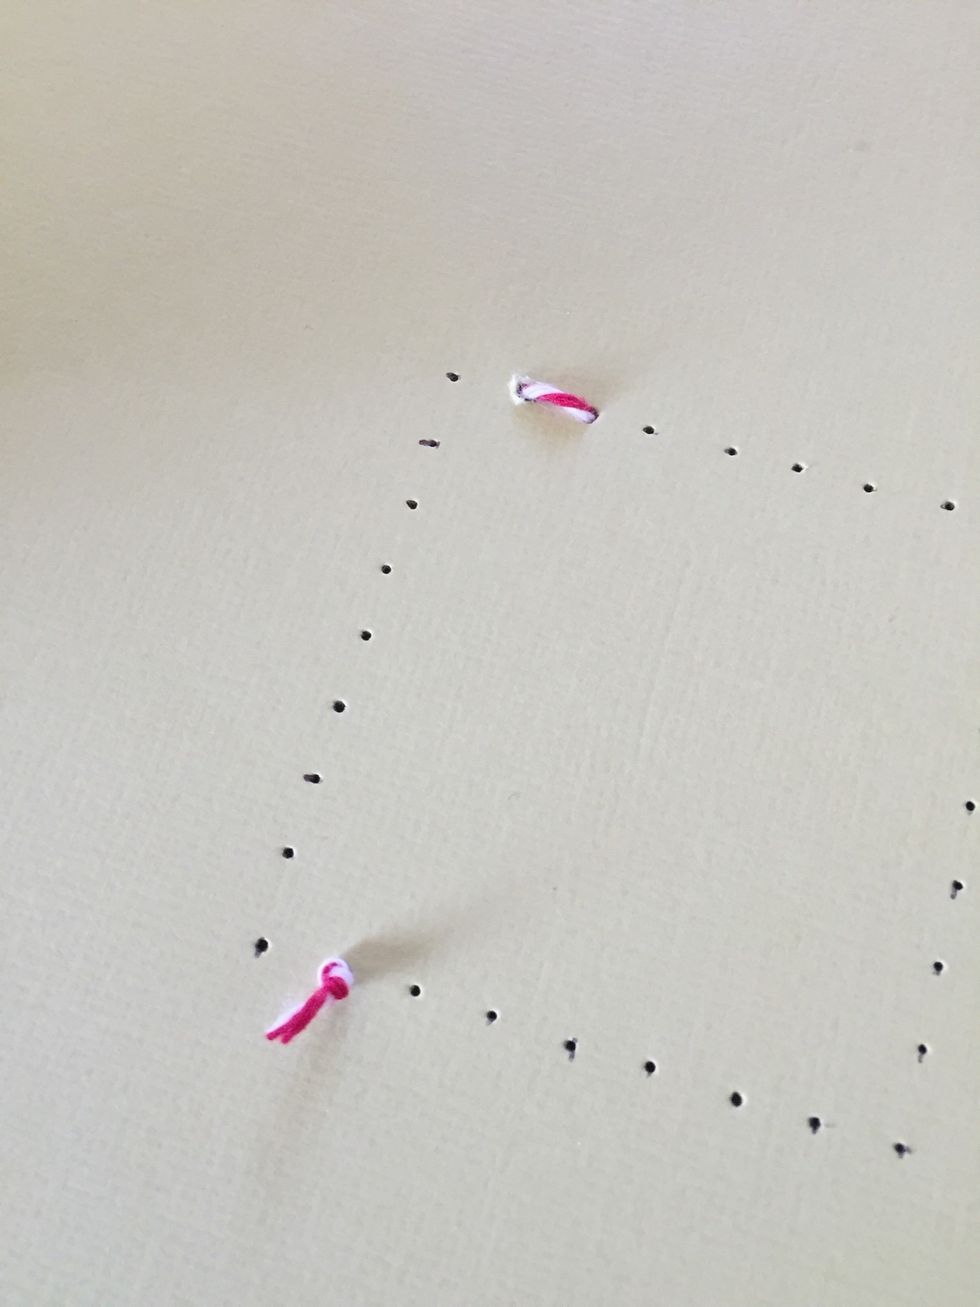
(backside) now just jump over to the next hole and go up again
continue to go across, over and up as shown
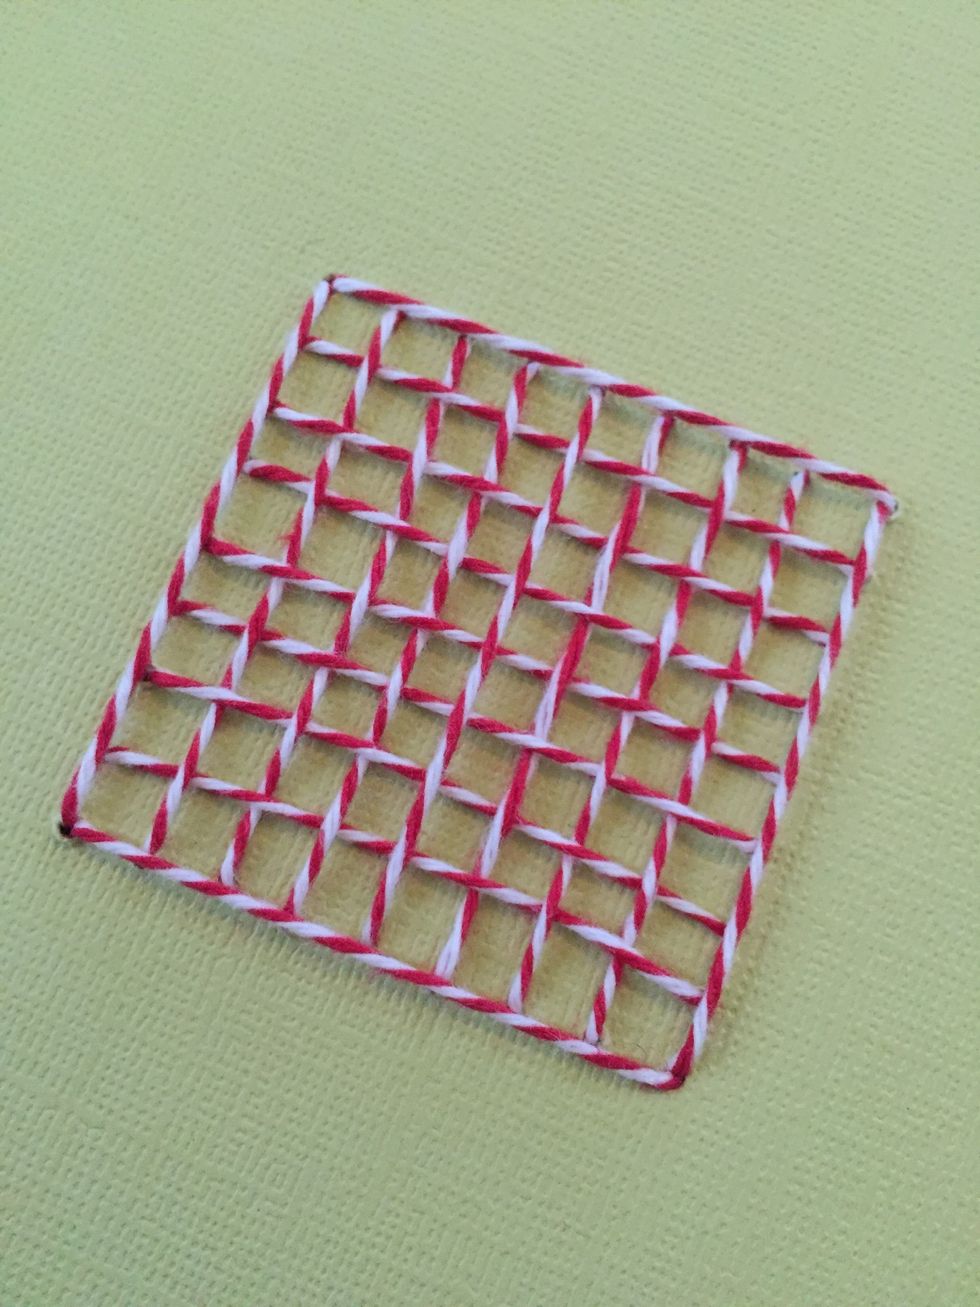
this is what the front should start looking like
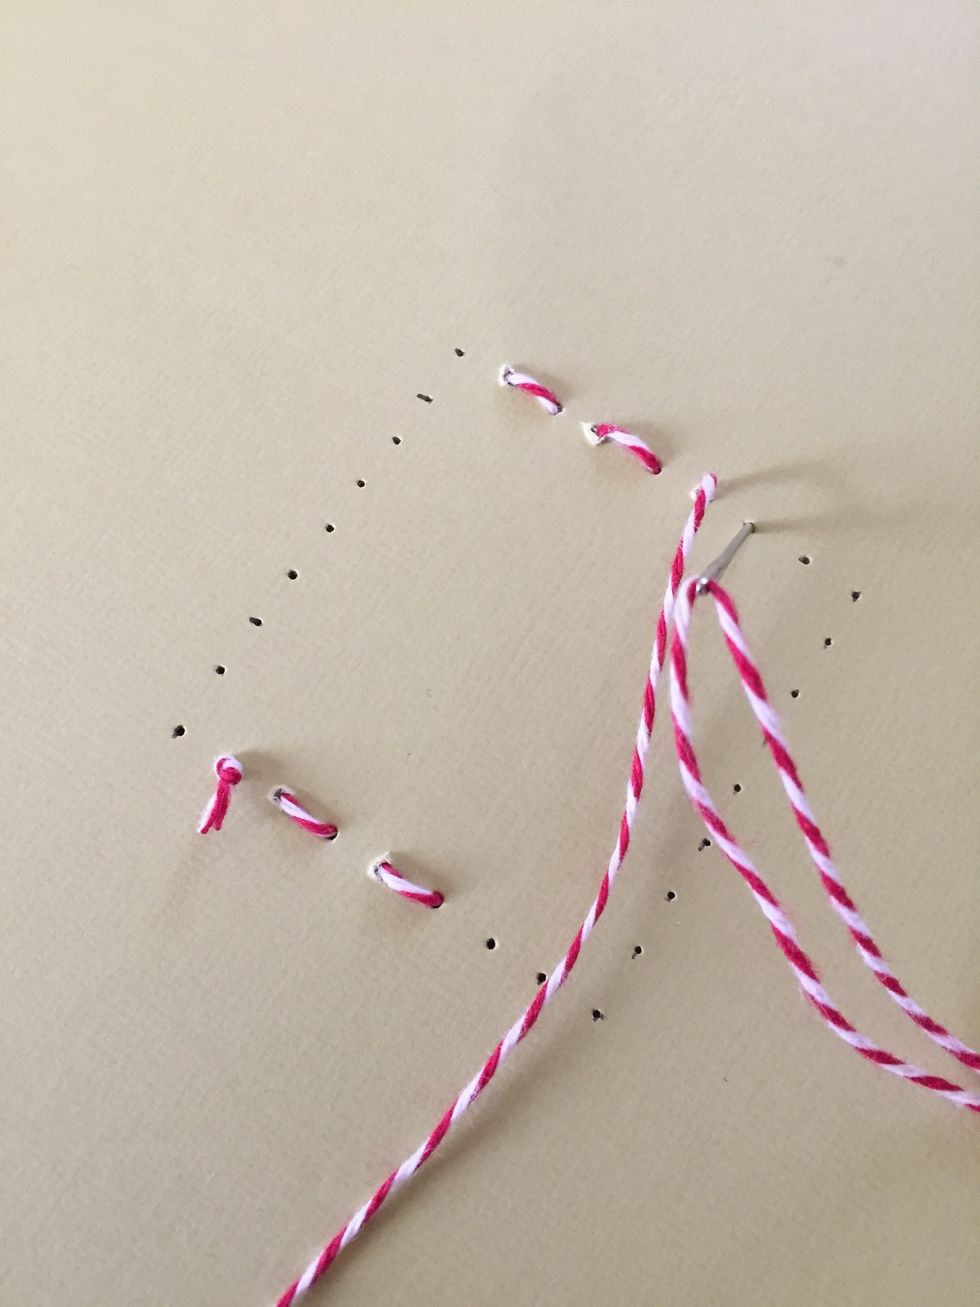
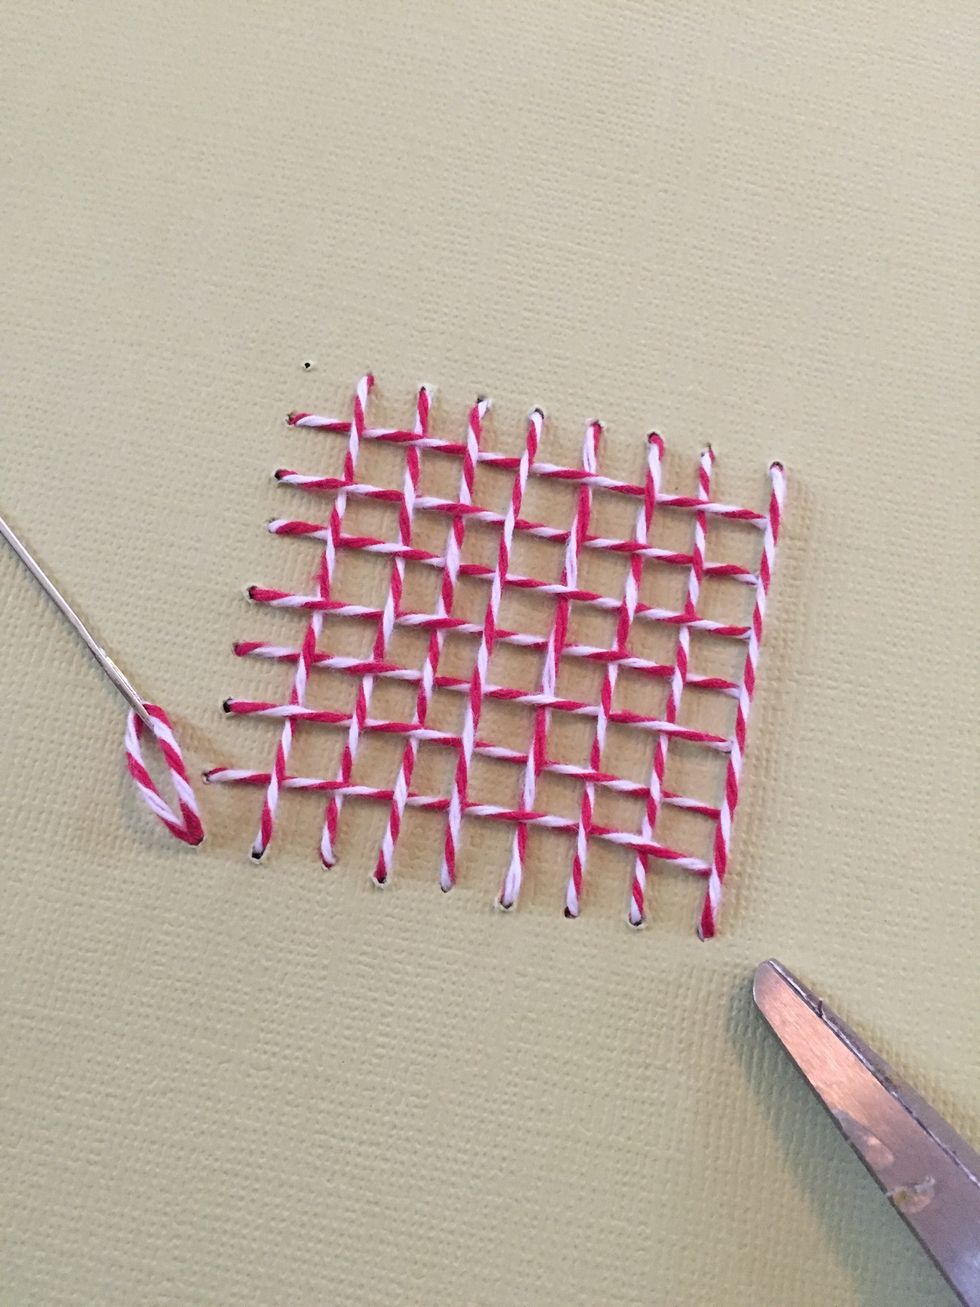
after you hit all the row on one side, come up through the next side one hole in as shown, and then go across the other way
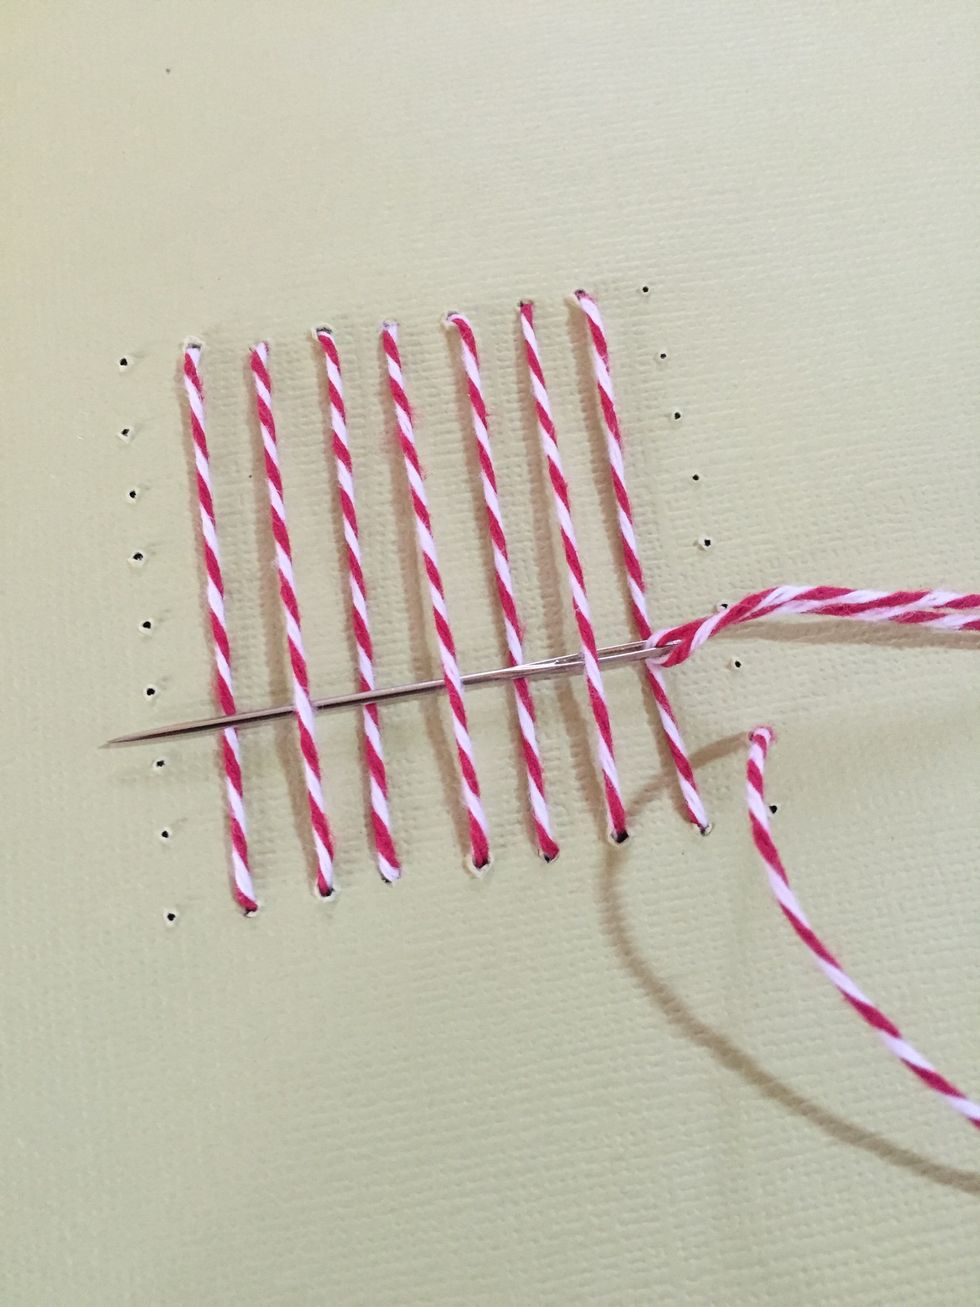
weaving as shown
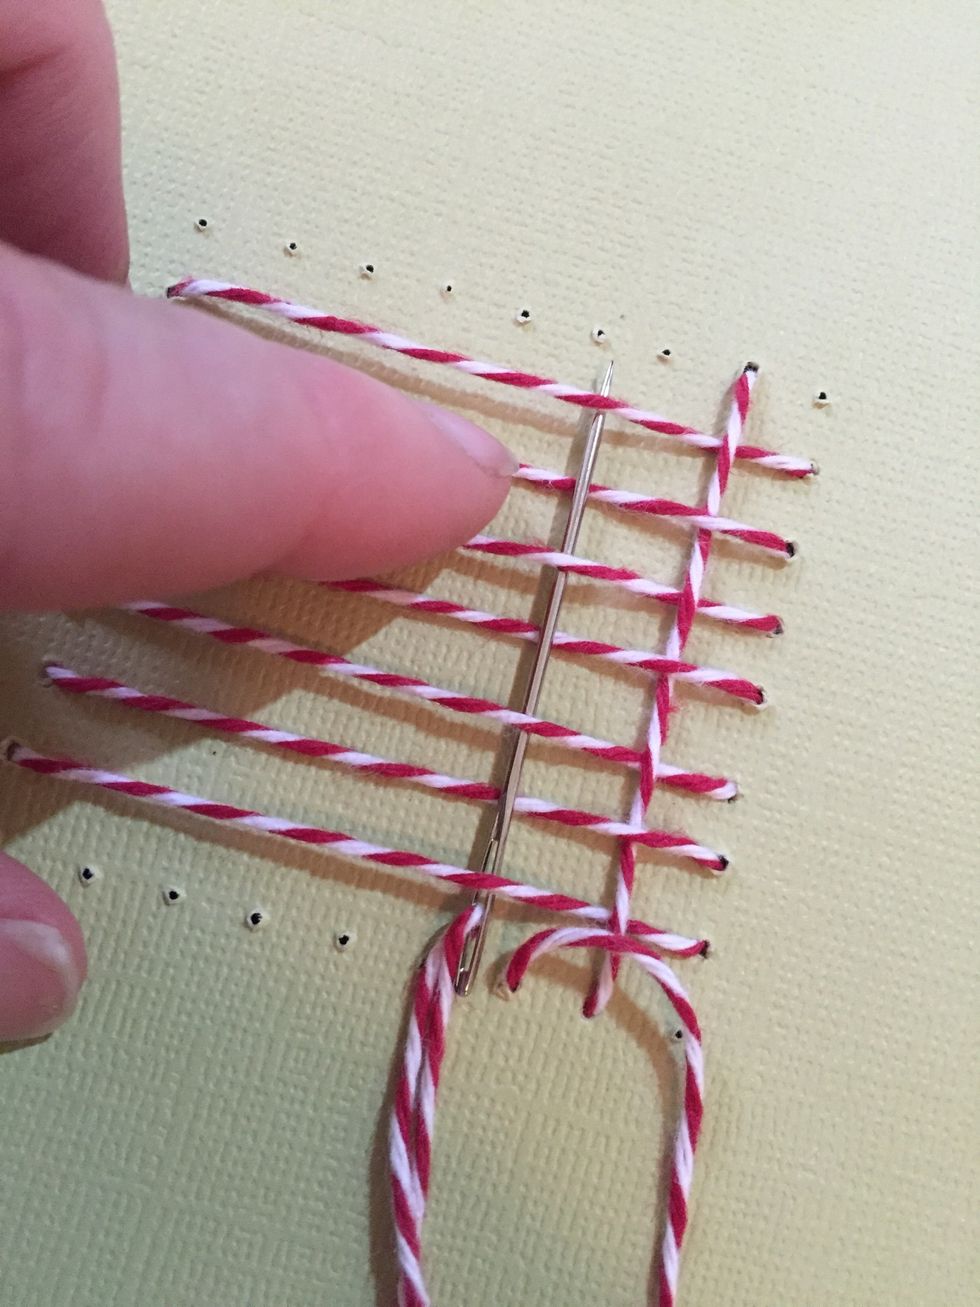
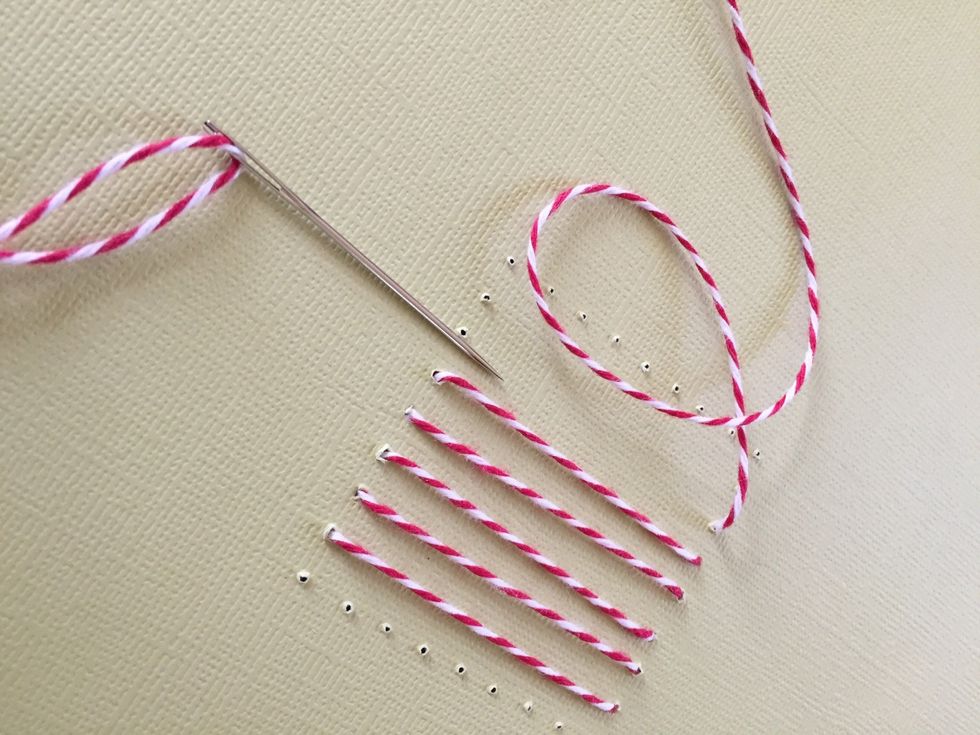
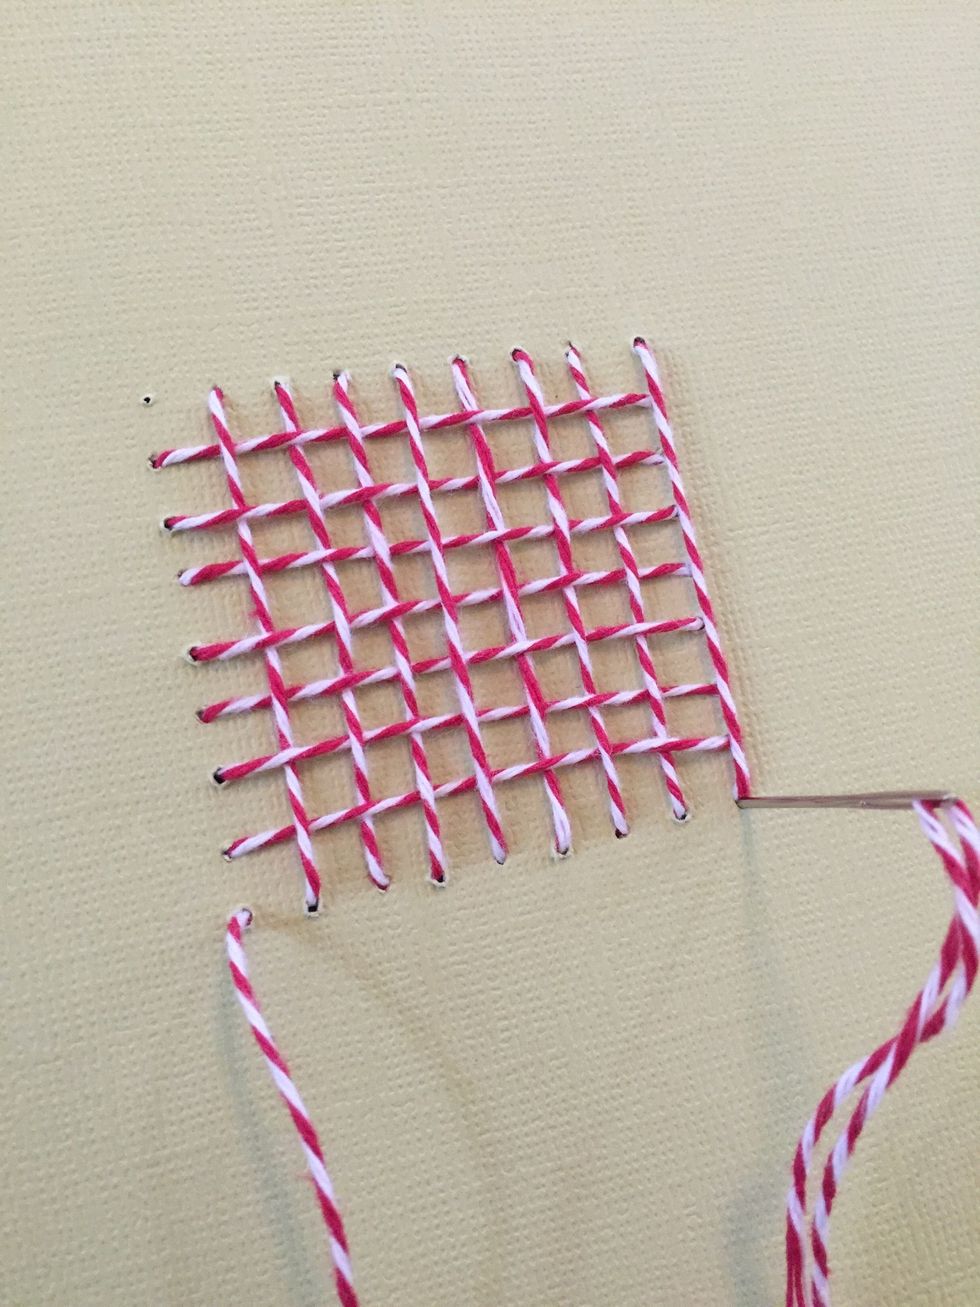
when you come over and up again, weave once more alternating starting on top and bottom of first twine. Use your finger to help you weave

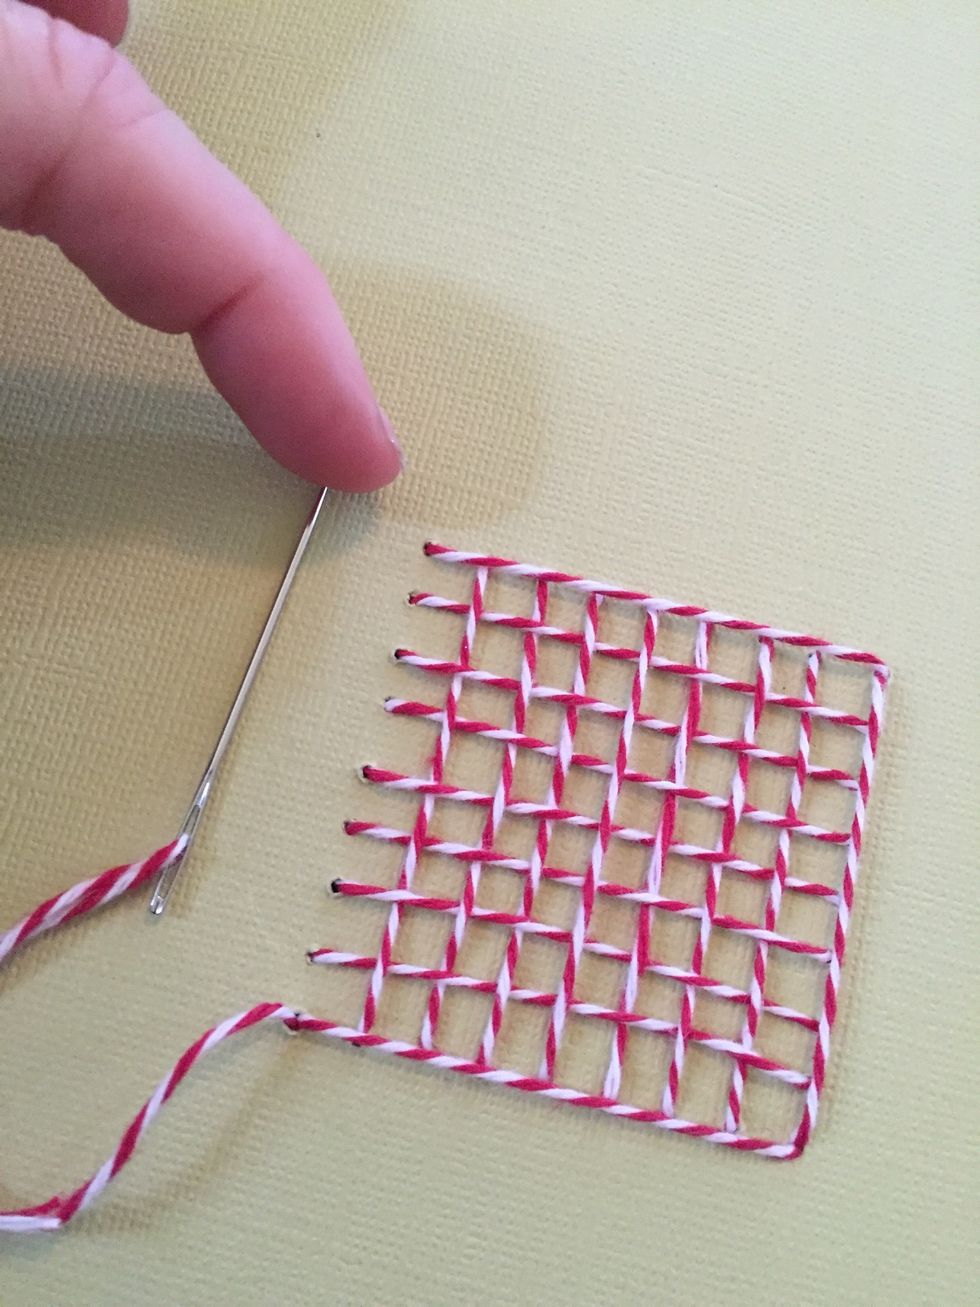
Soon you will need to tie off and start another 1 yard piece of twine. The reason why I don't start with two yards is it causes too much strain on the paper and will start to twirl and knot.
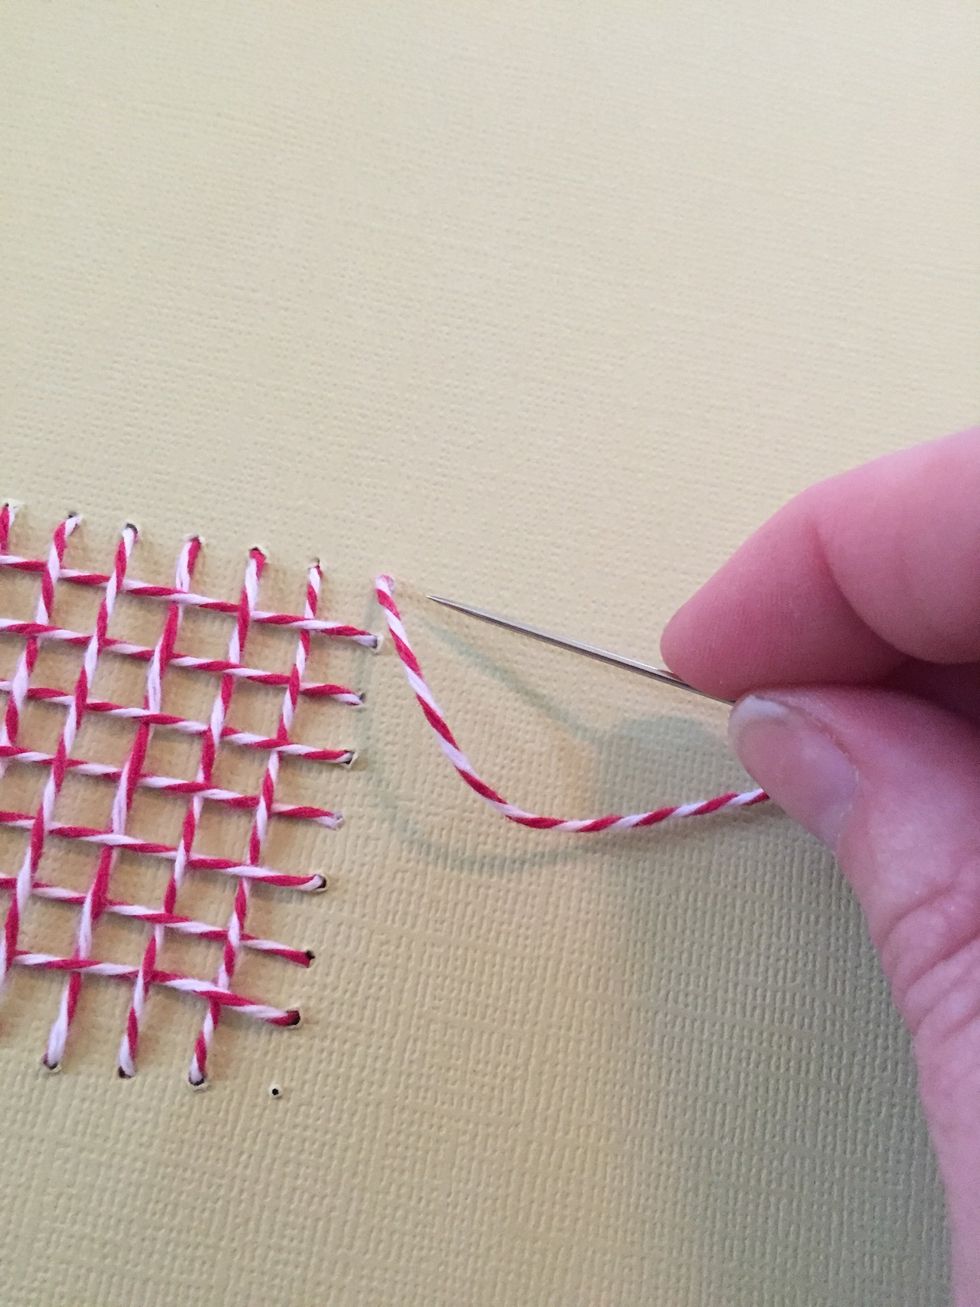
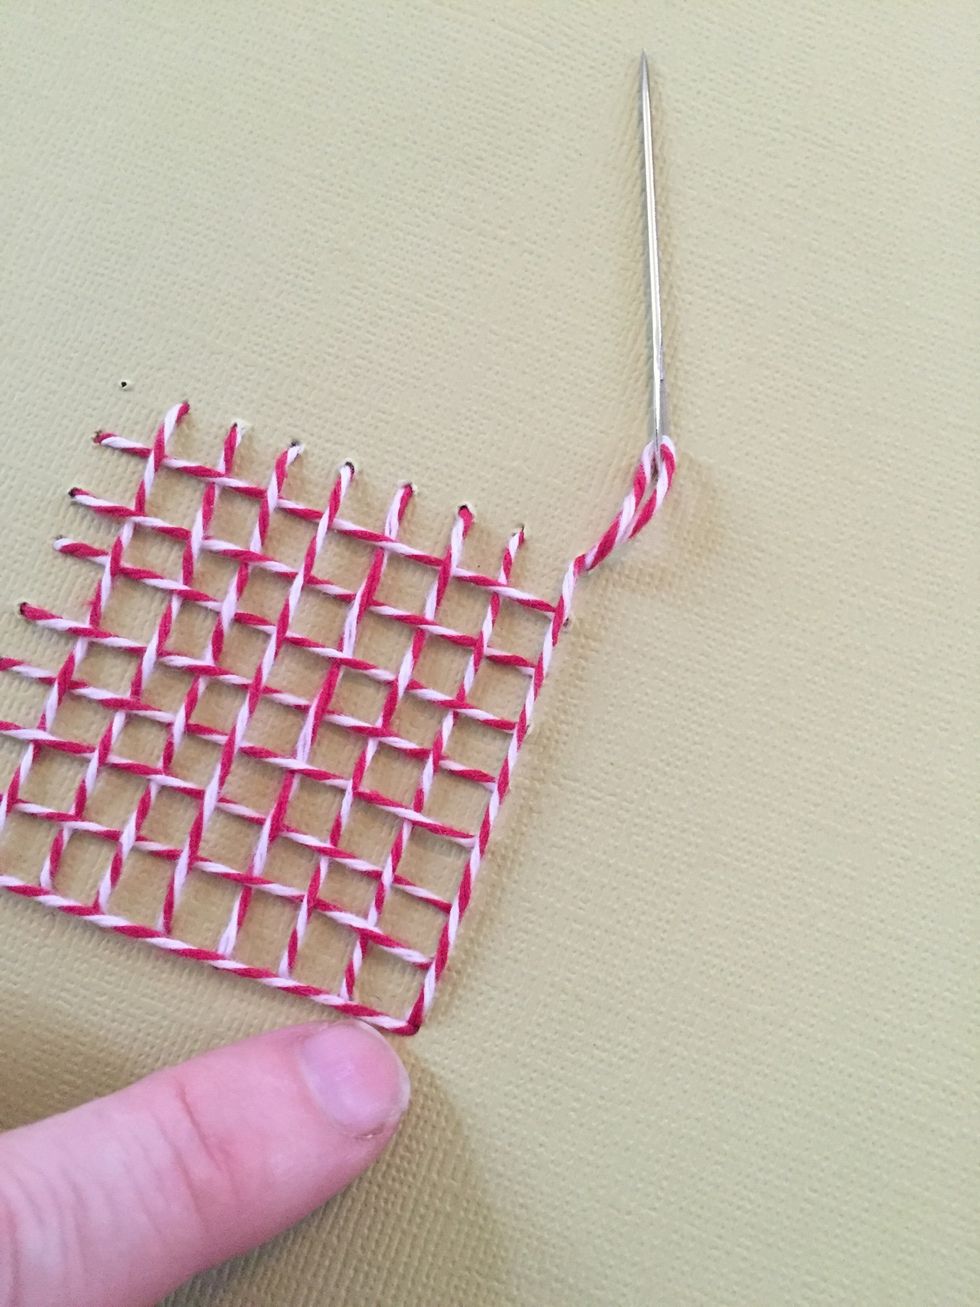
Now that you finished all the cross hatching you will come up on the closest corner to where you ended
go down to next hole (where scissor tip is pointing) then up through the next hole over (to the left)
then go over and down back through the hole I had pointed out in the last slide with scissors, as shown
okay stay with me here !hat hole you just did- now go back to than one and up through again!
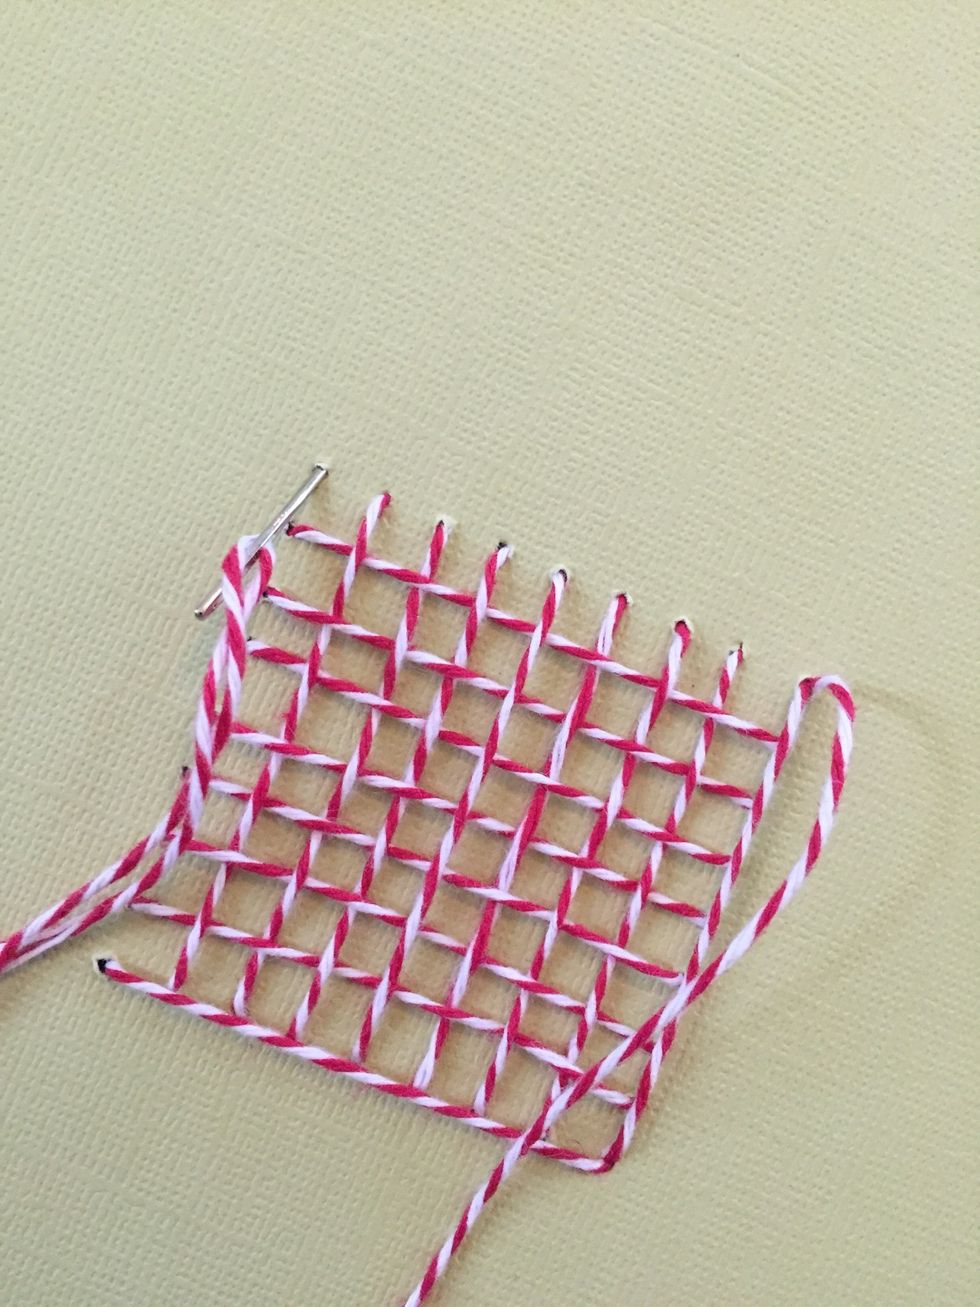
now over and down then next empty hole
come back up through the last hole, then up and over one last time. I know this is a little confusing- but just think that if you came up out of the same hole, you would undo the stitch- so you...
secure it first by going through the other holes. Ill show you back...
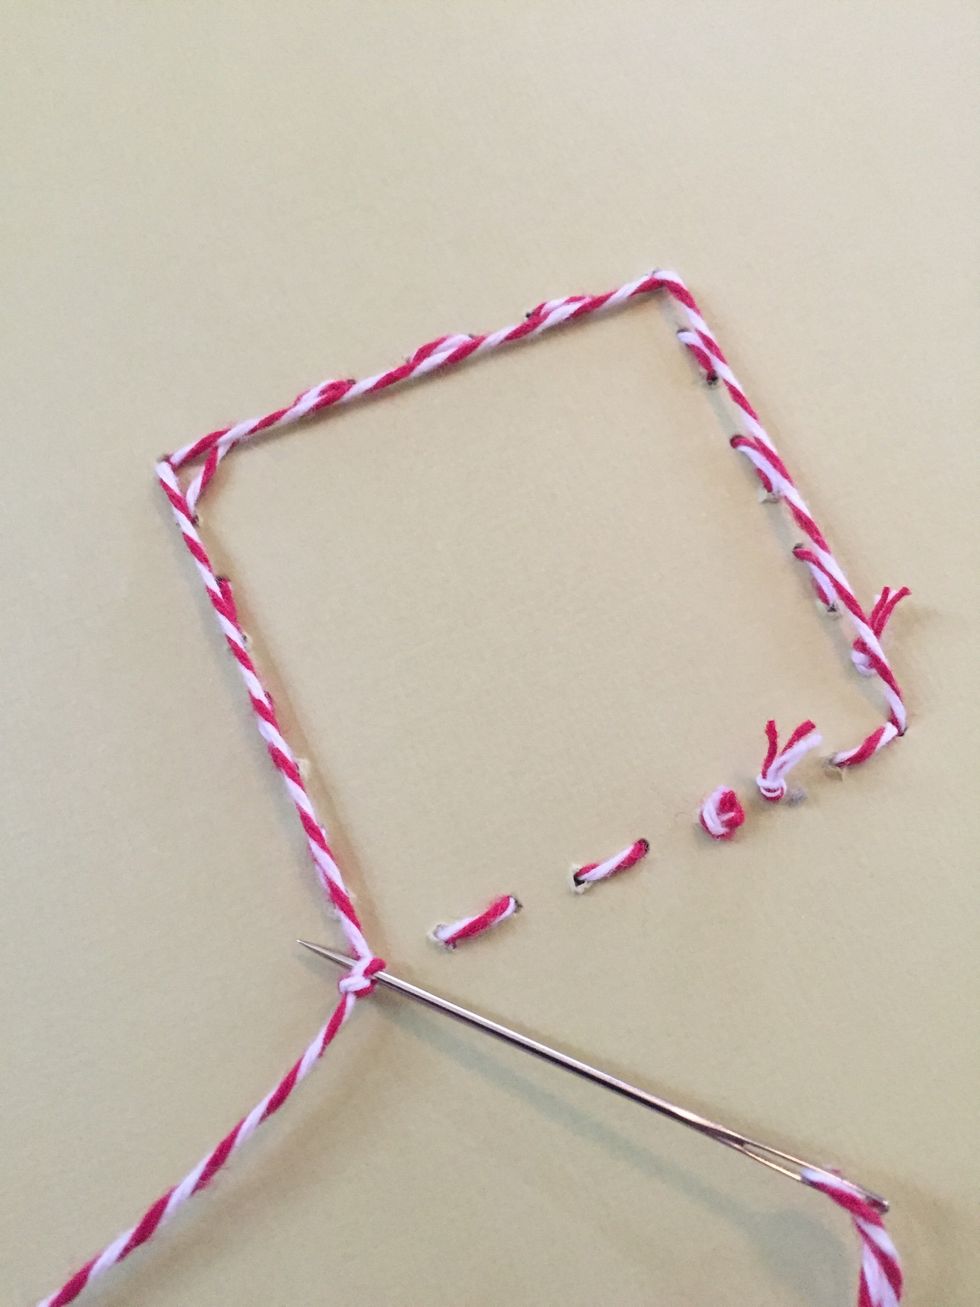
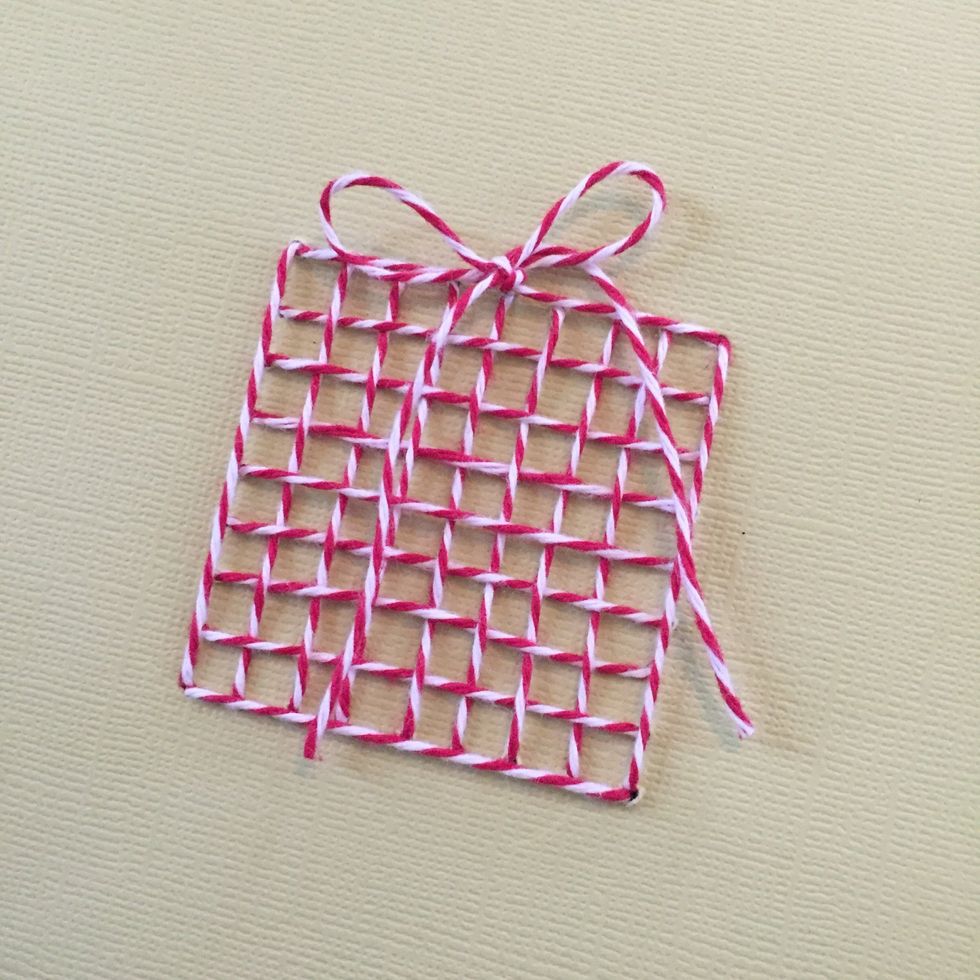
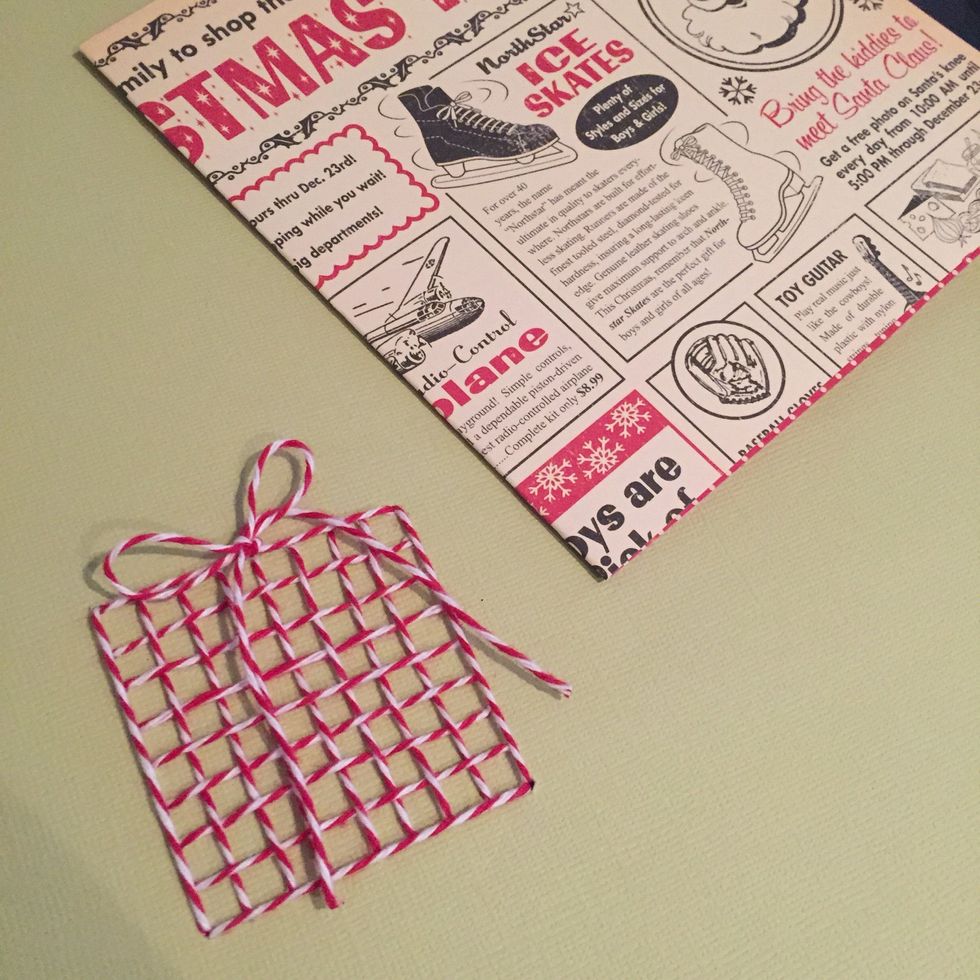
see just in and out up and over, even if the back is a mess, don't worry it won't show! Now tie it off and snip the twine

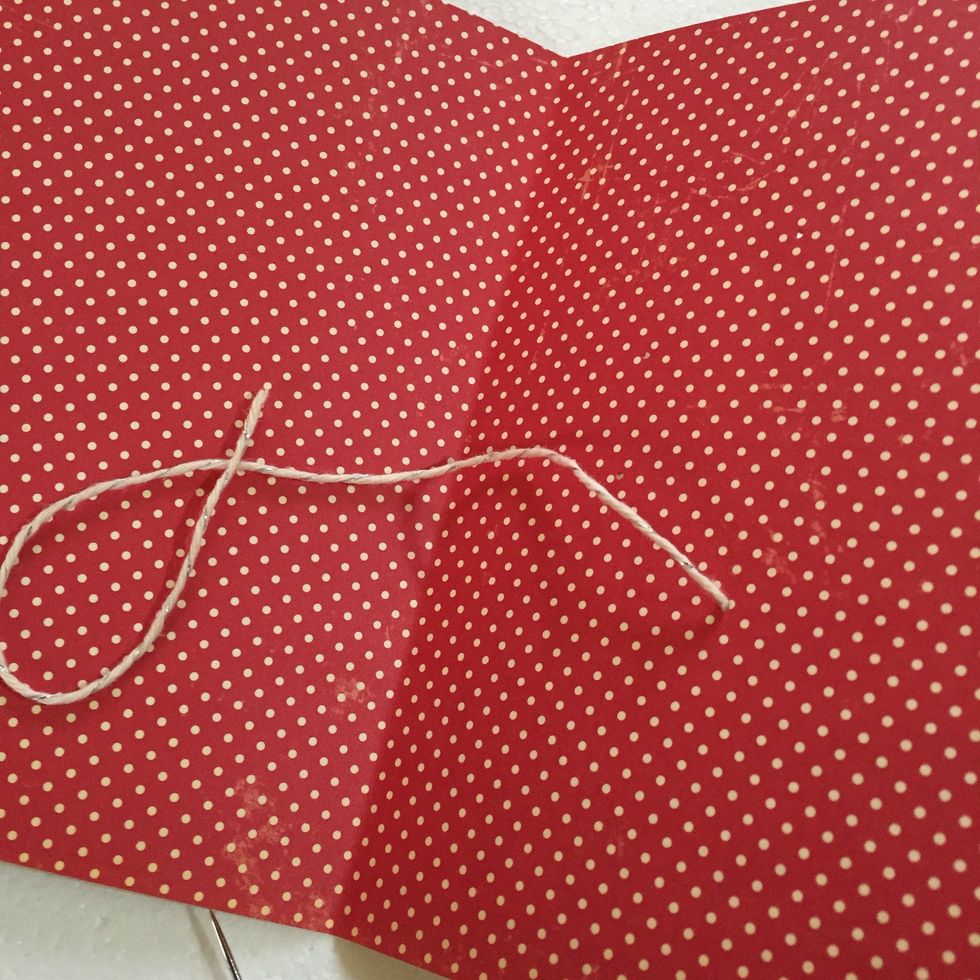
with the leftovers of that last yard of twine, make a little bow by tiring onto the top edge of the "present"
now onto the card assembly
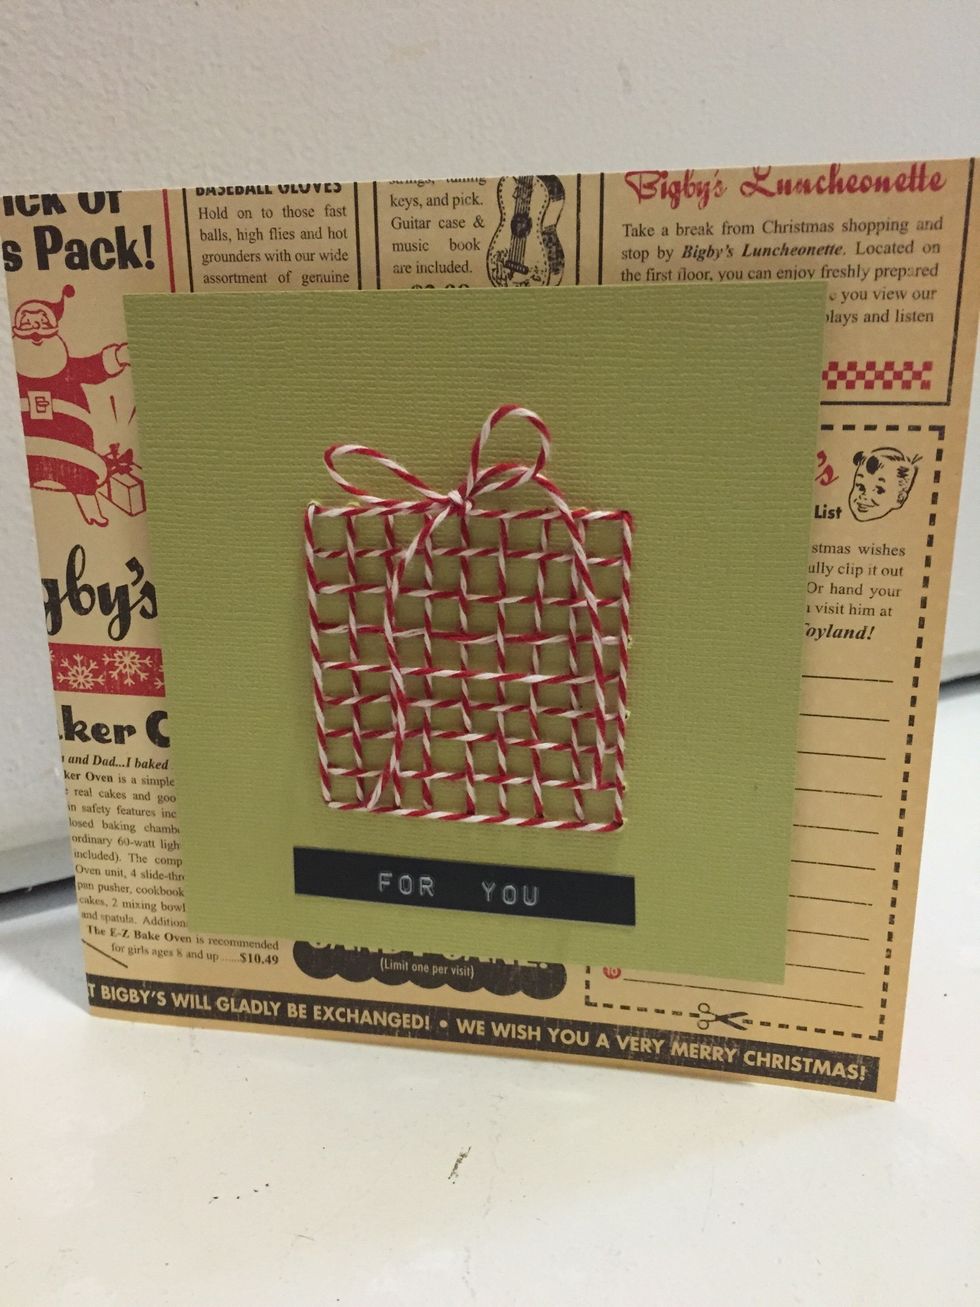
choose a background cardstock and fold into a card- I used a 6x12 piece folded in half to make a 6x6 card
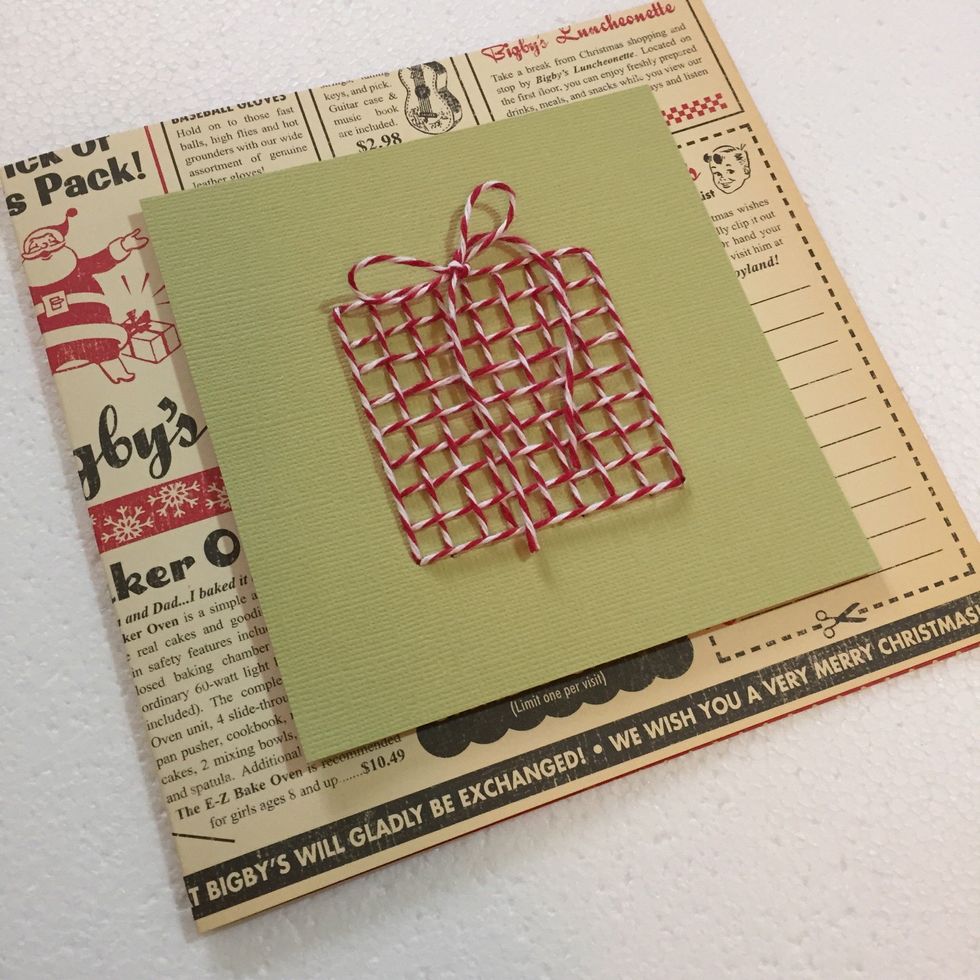
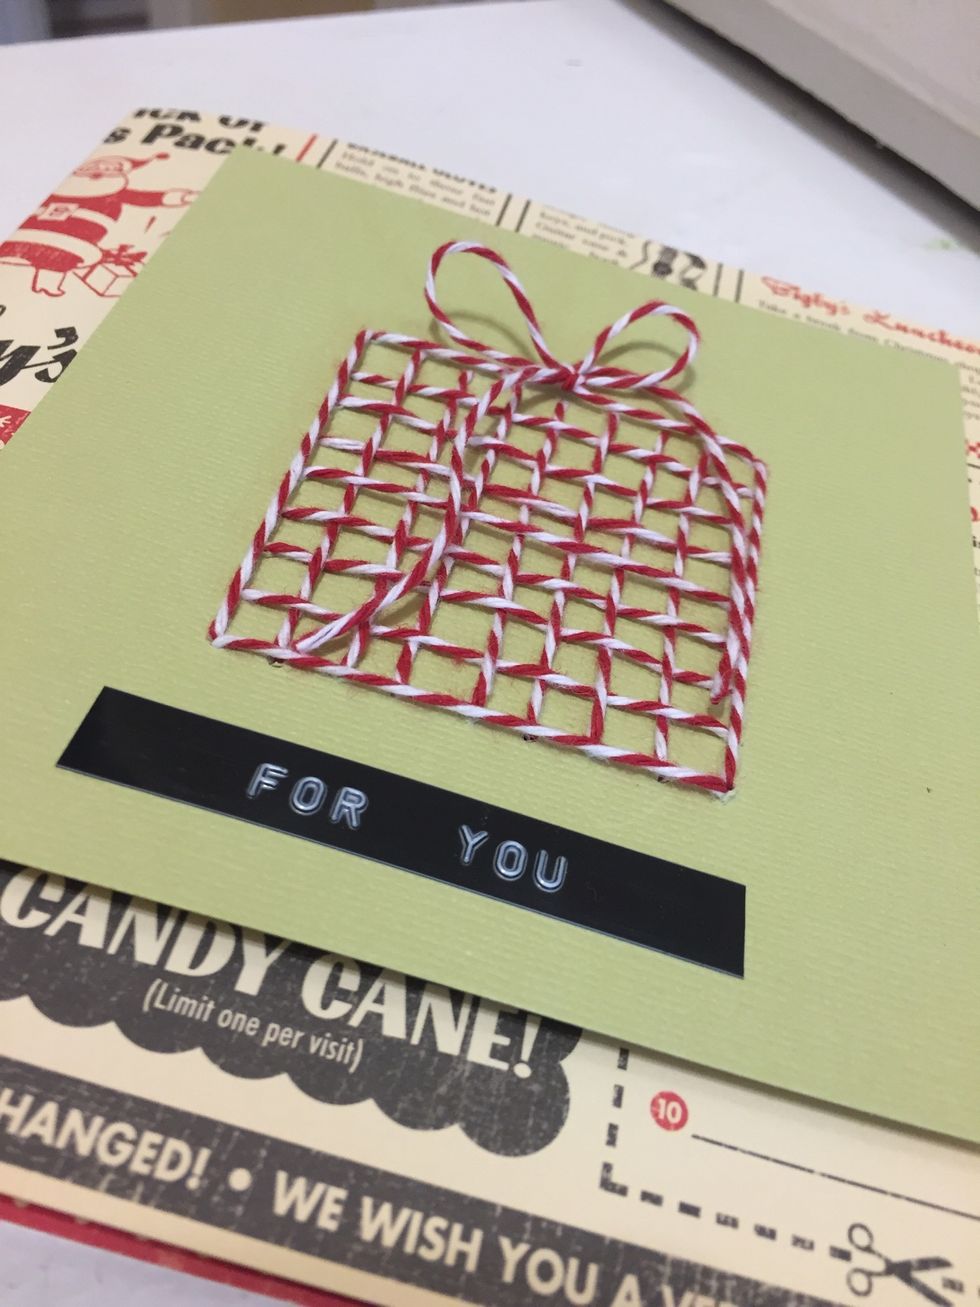
I trimmed my present down to approximately 4.5x4.5 inch
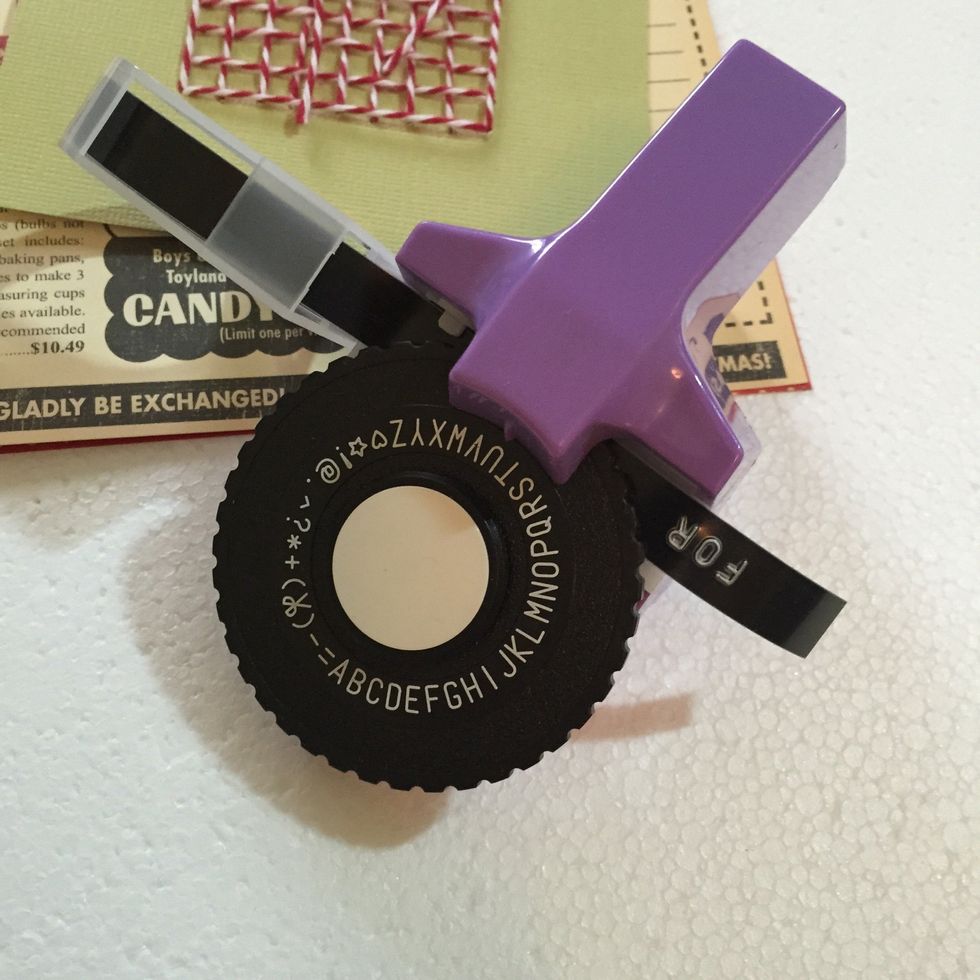
I punched out a dim style "for you" but you can make any sentiments, or used alpha stickers or a stamp
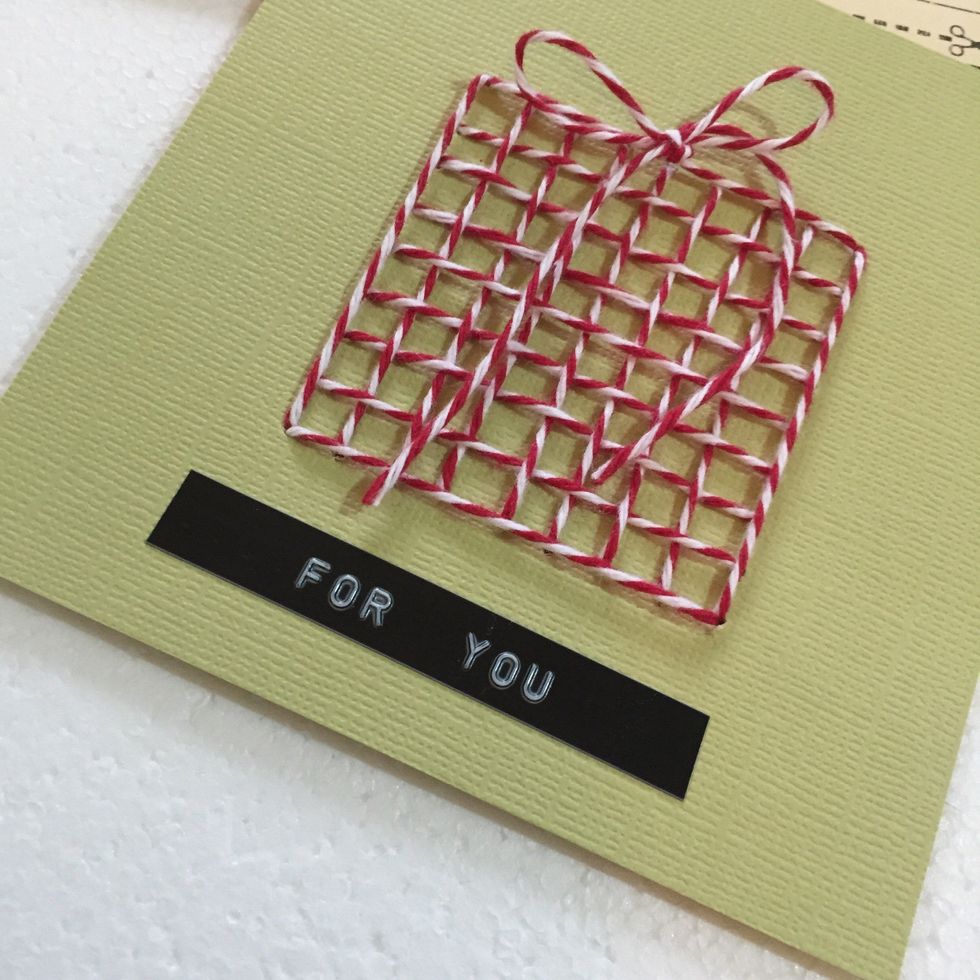
attach to your present base
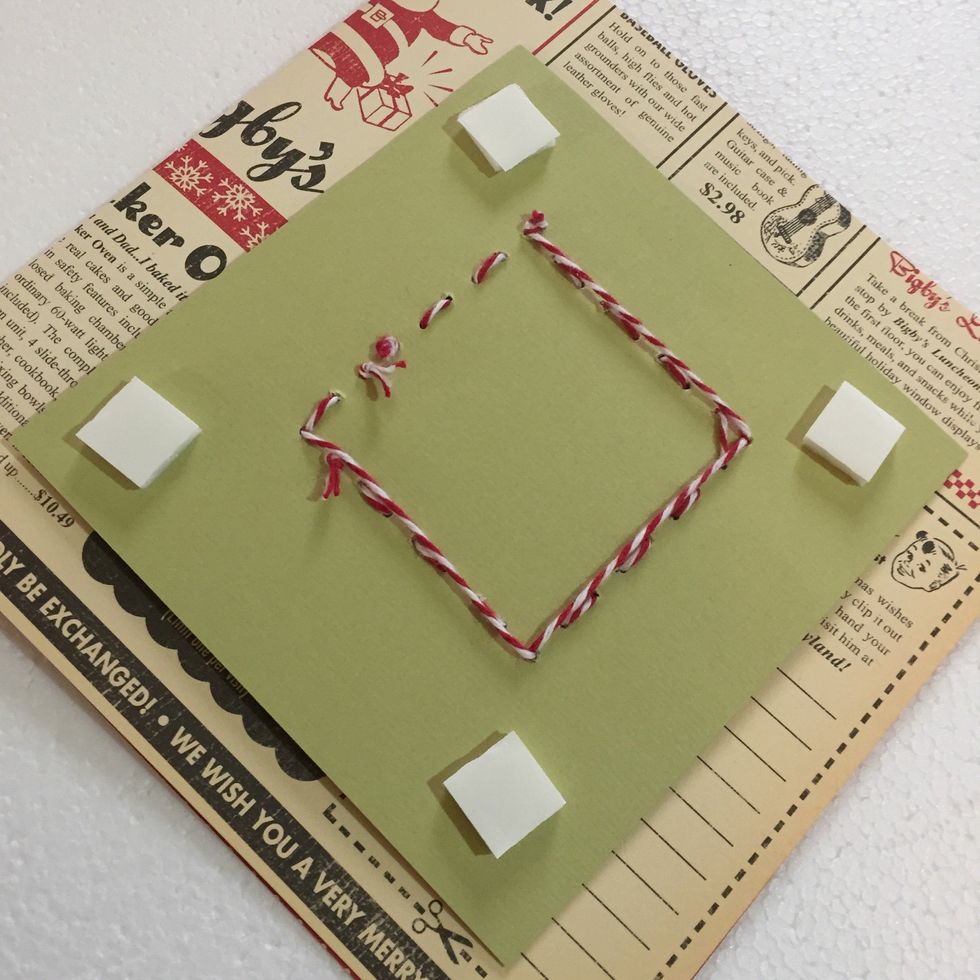
add foam squares to give dimension and help hide the back
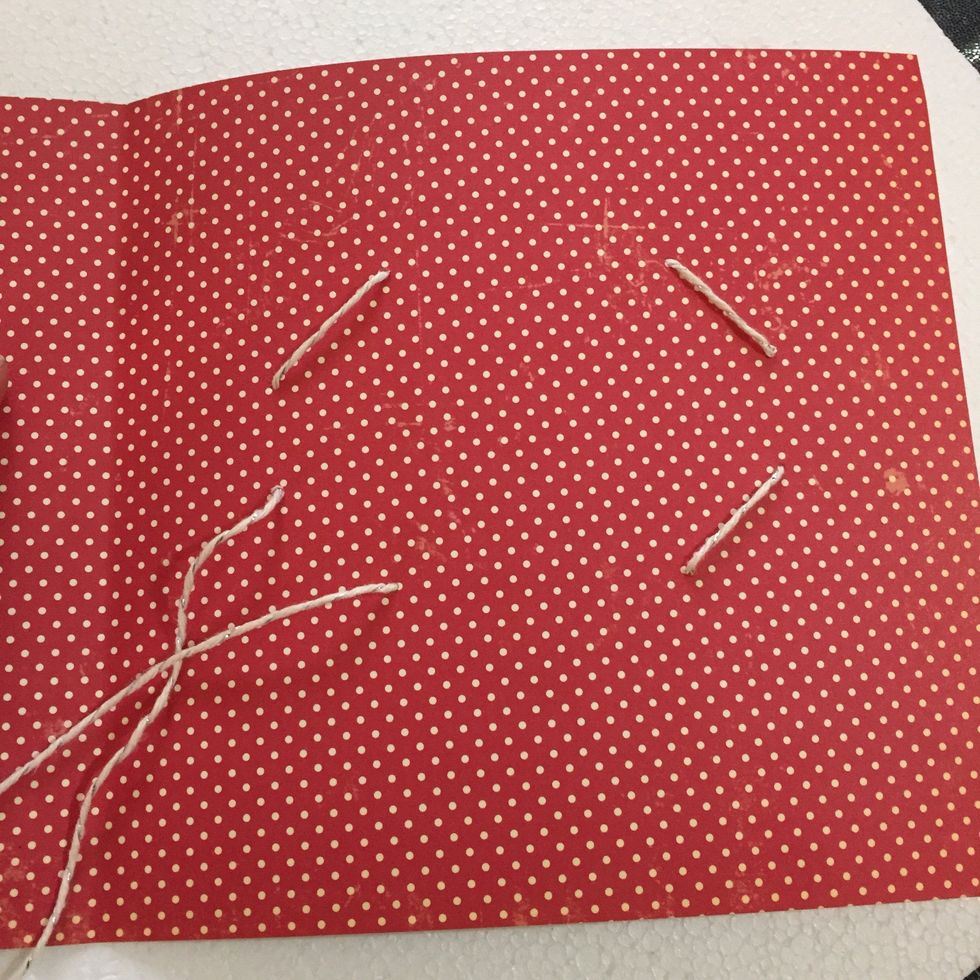
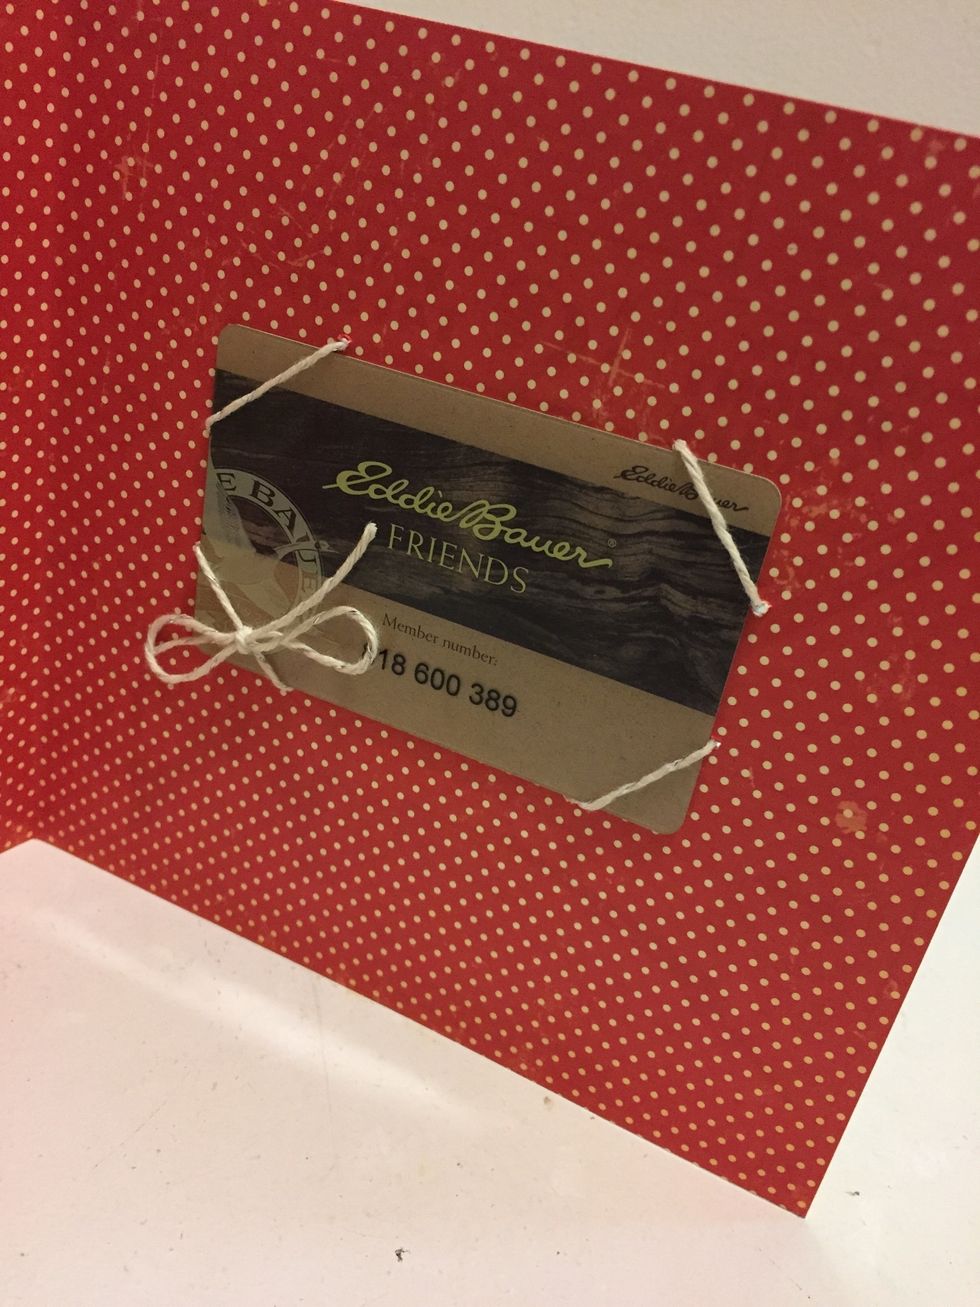
to make your gift card holder- open your card and place the gift card where you want it. Mark all four corners- as shown- don't get it- see finished card to see where I made my marks
start at the bottom left hole and go down into it...
leave 6 or so inches to tie your bow

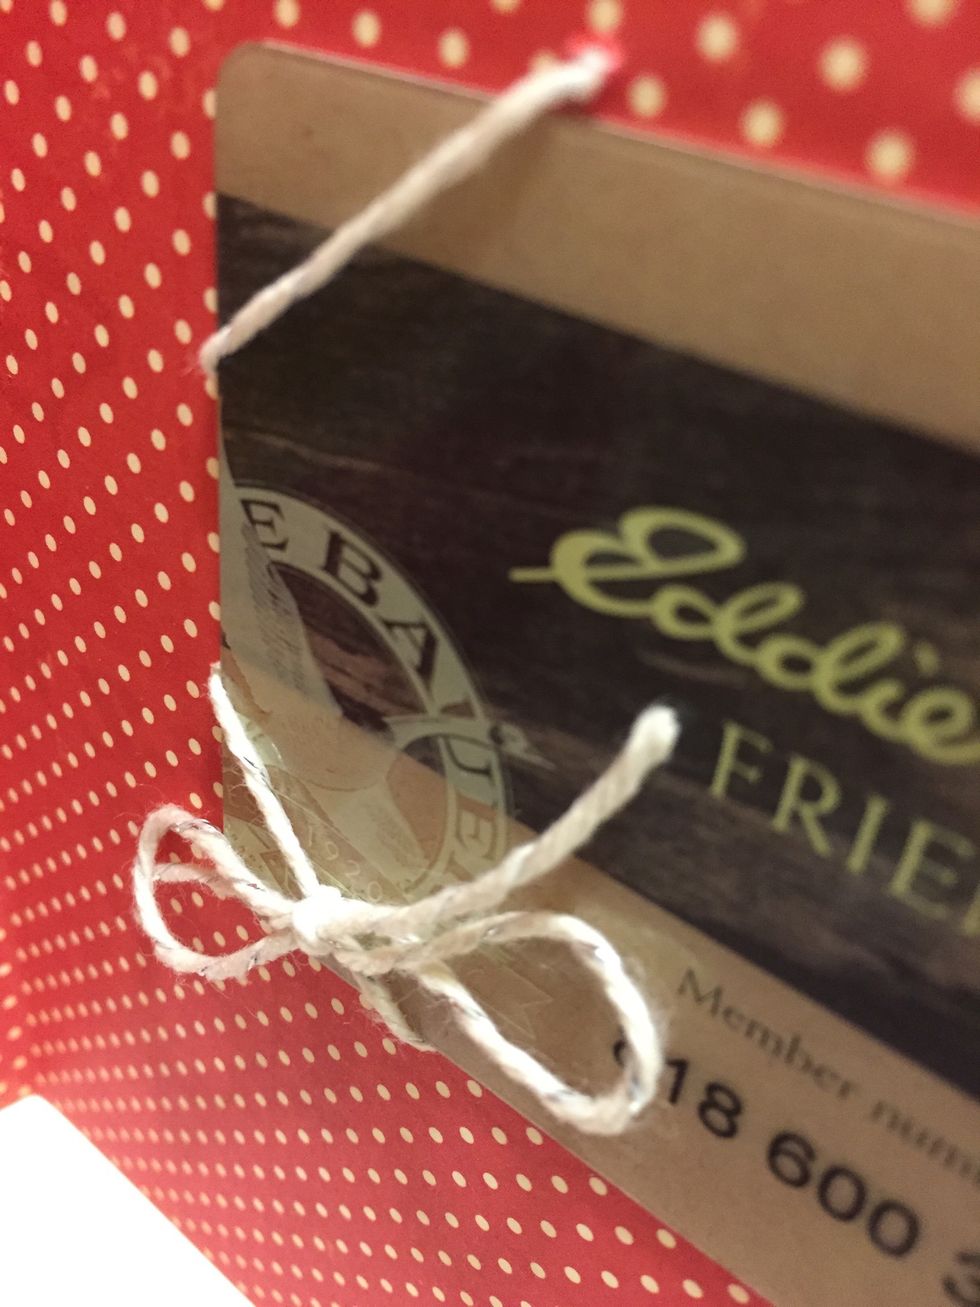
go under and across to the hole to bottom hole to the right and come up
then continue going in and out following the hole counter clockwise. leave another 6 inch tail
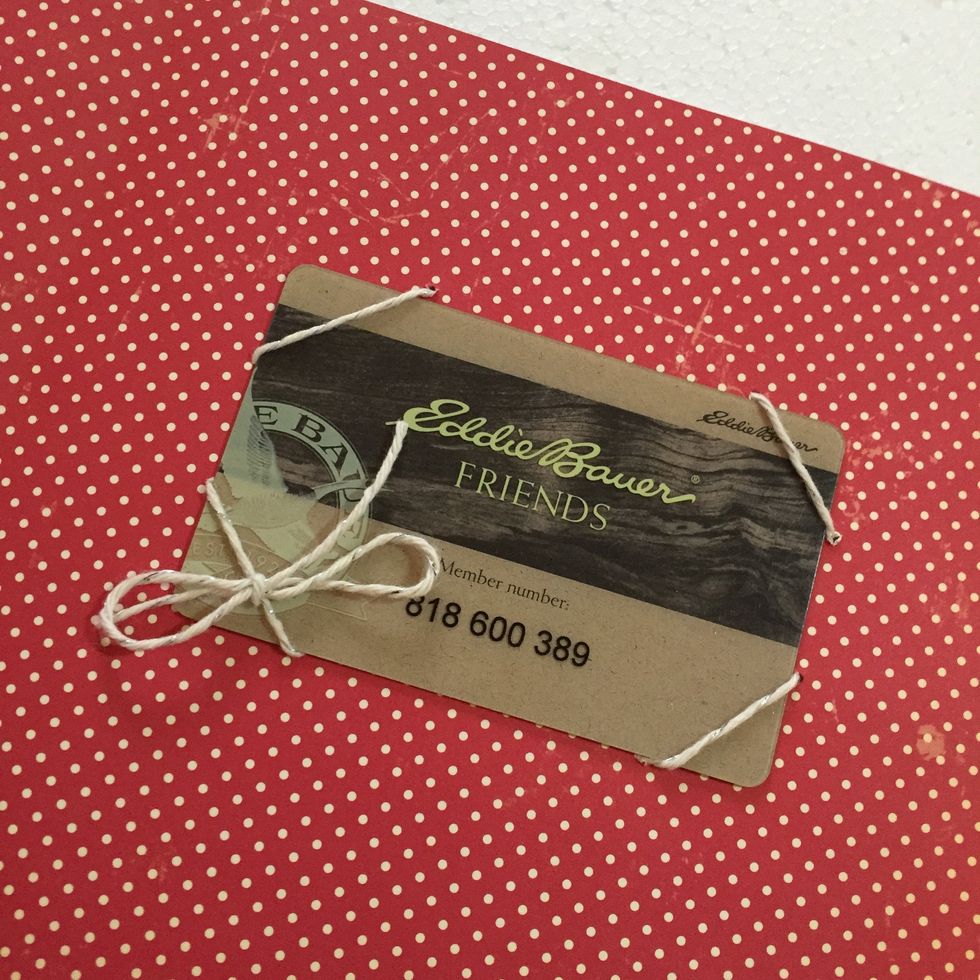
add your card and tie a bow with the twine
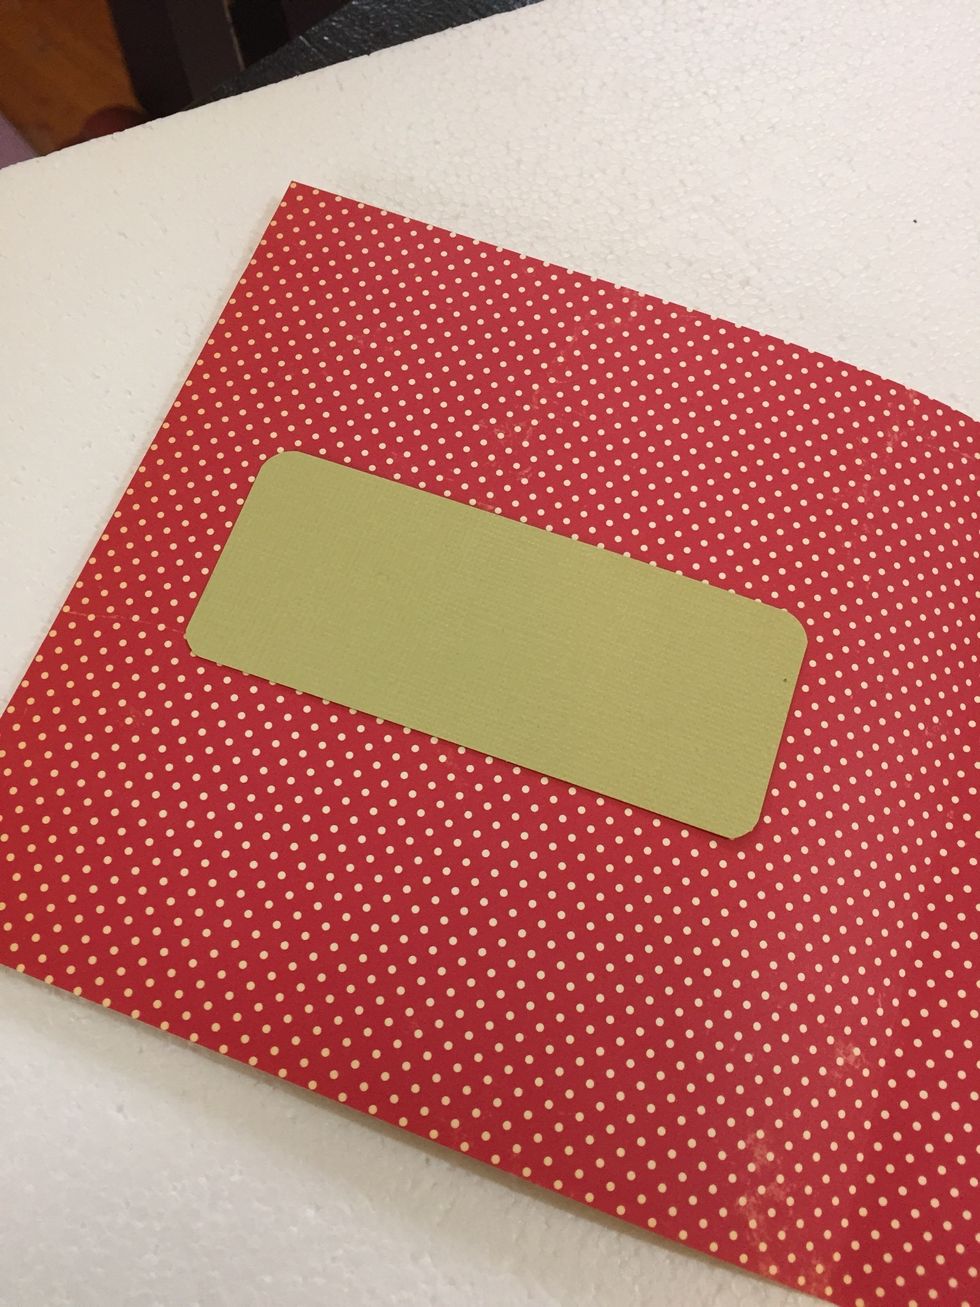
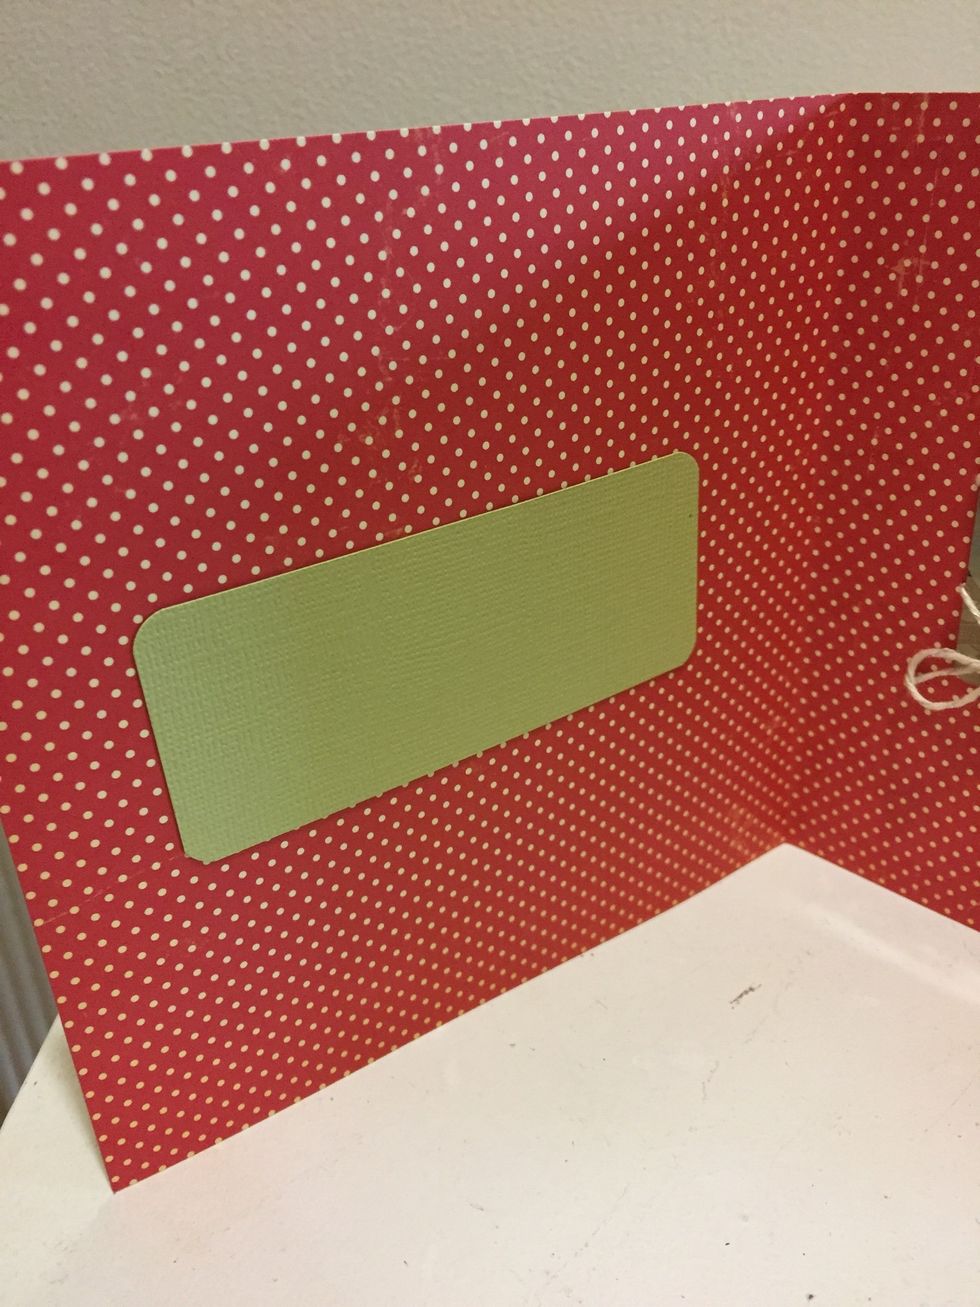
I added some of my solid card stock in case I want to write anything inside
and it done! I love to make a special card when I am giving a gift card- just makes it more special

Thanks for watching this guide. I am designer for The Twinery buy their twine online at thetwinery.com -Denise Hahn, my blog inmyblueroom.blogspot.com