The Conversation (0)
Sign Up
Use a decorative frame die to cut the pieces to create a bag. I used a set of Spellbinder frame dies and based the size of the bag from the largest die.
For the bag, cut a piece of cardstock with this dimension: 8 1/8 in x 8 in. On the longest side, fold at 2 1/4 and 6 inches. On the shortest side, fold at 2 3/8 in and 5 3/8 in.
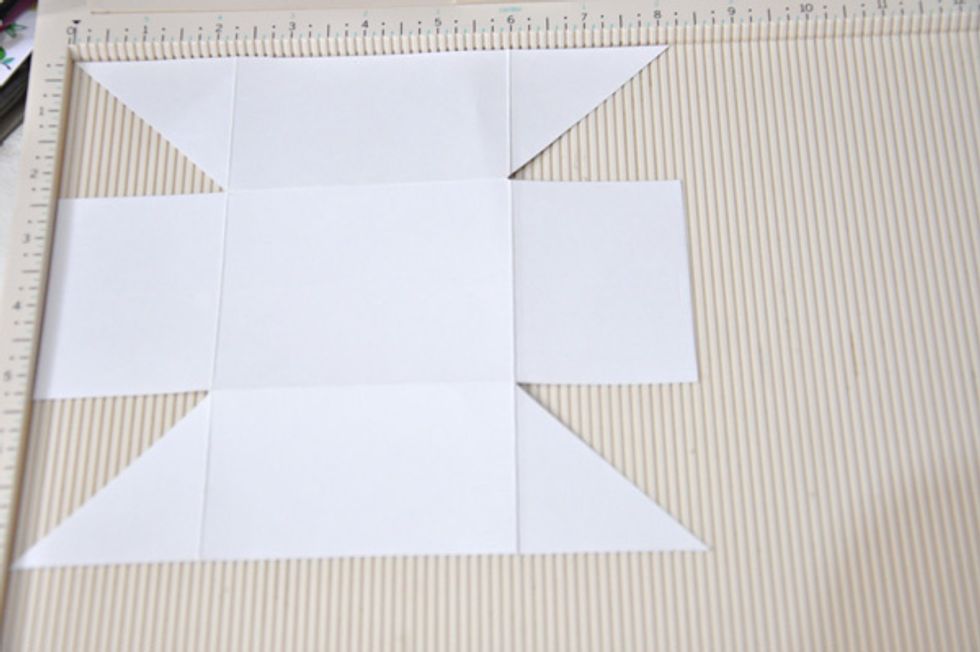
Cut at an angle as seen in the image. This is optional, you can still go through adhering the sides overlapping each other. I just prefer minimal layers.

Ink the edges
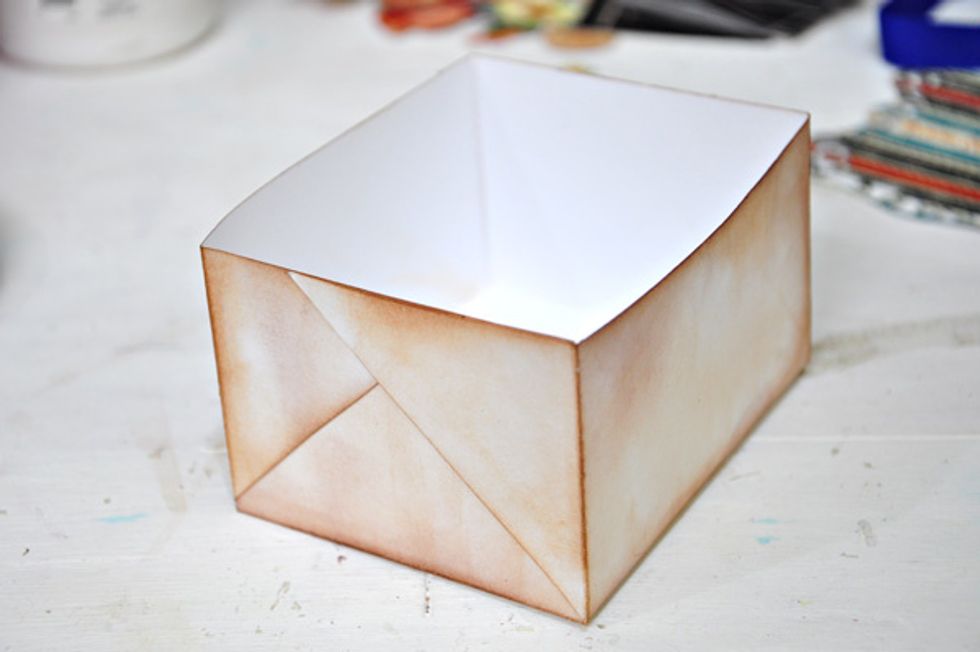
This is how the box will look like when assembled
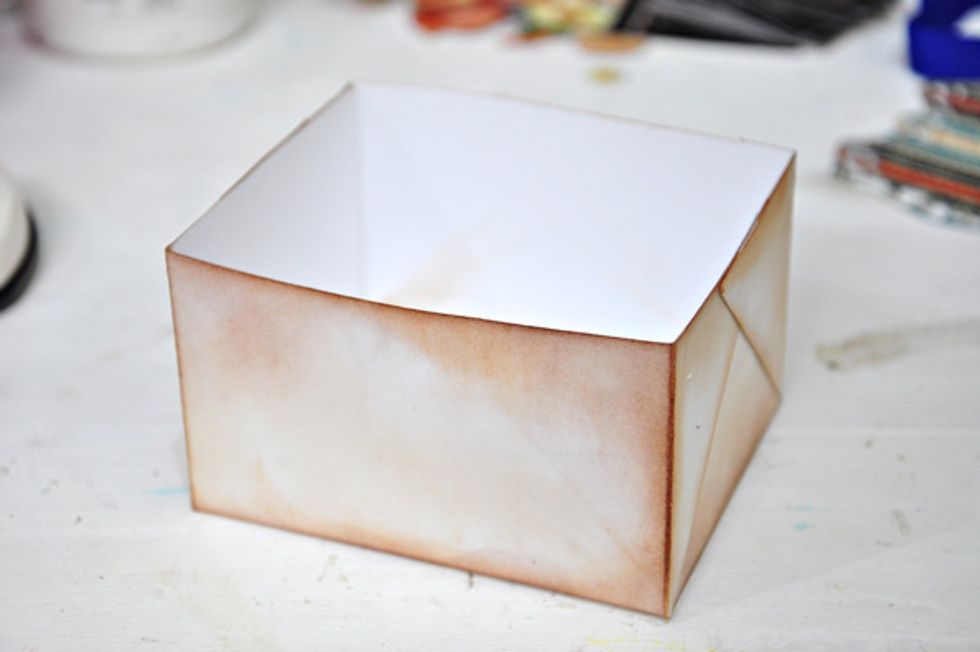
Another angle
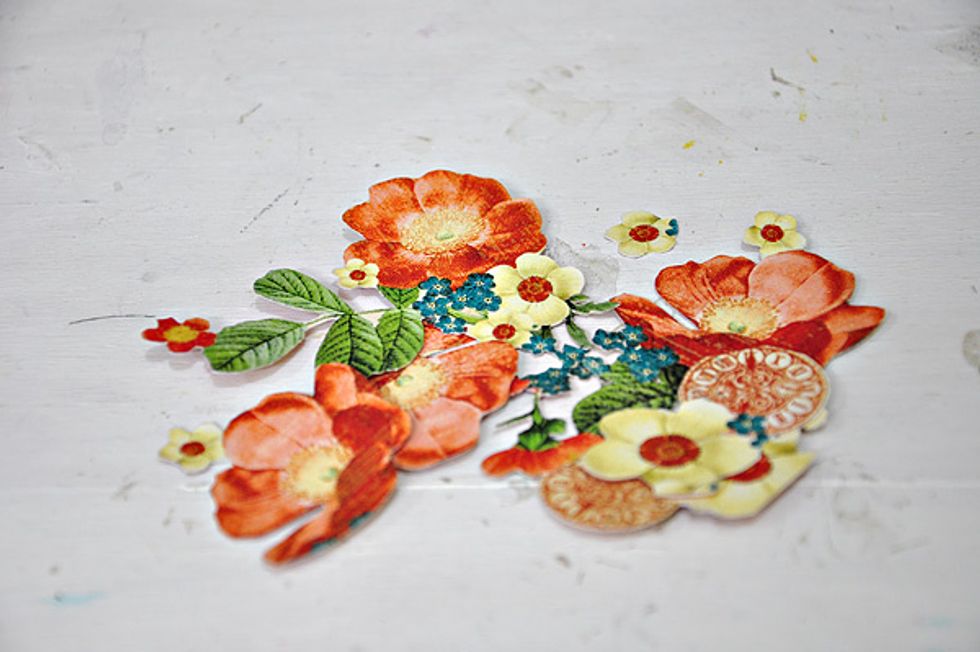
Fussy cut some flowers from a patterned paper in the Raining Cats and Dogs collection
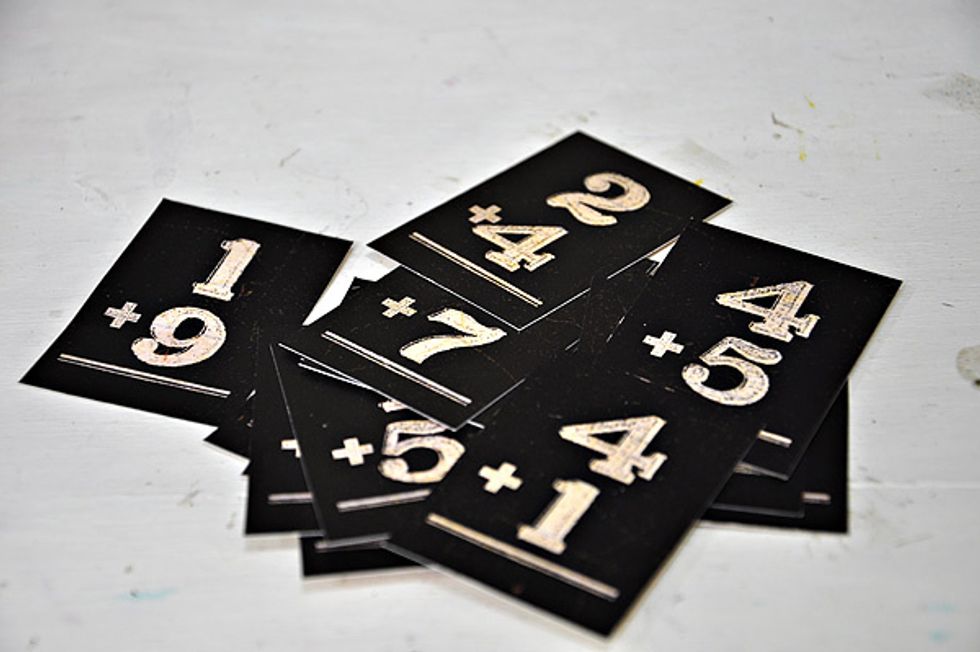
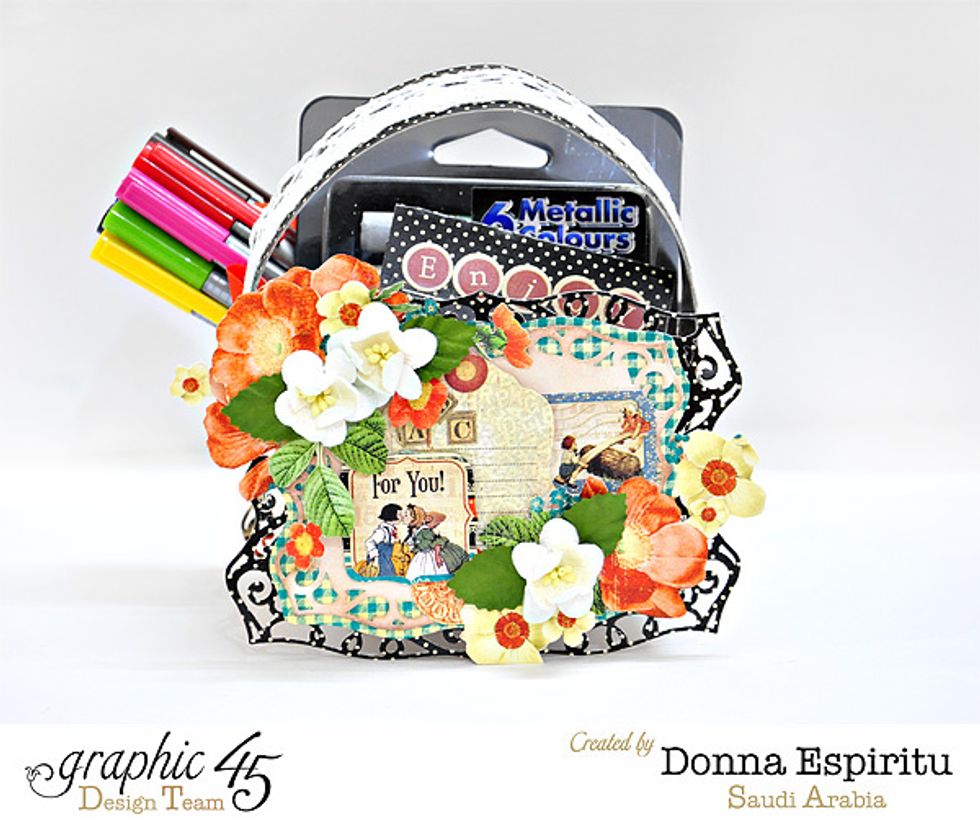
And some of the flash cards from the ABC Primer collection. This is a fun addition to the gift set!
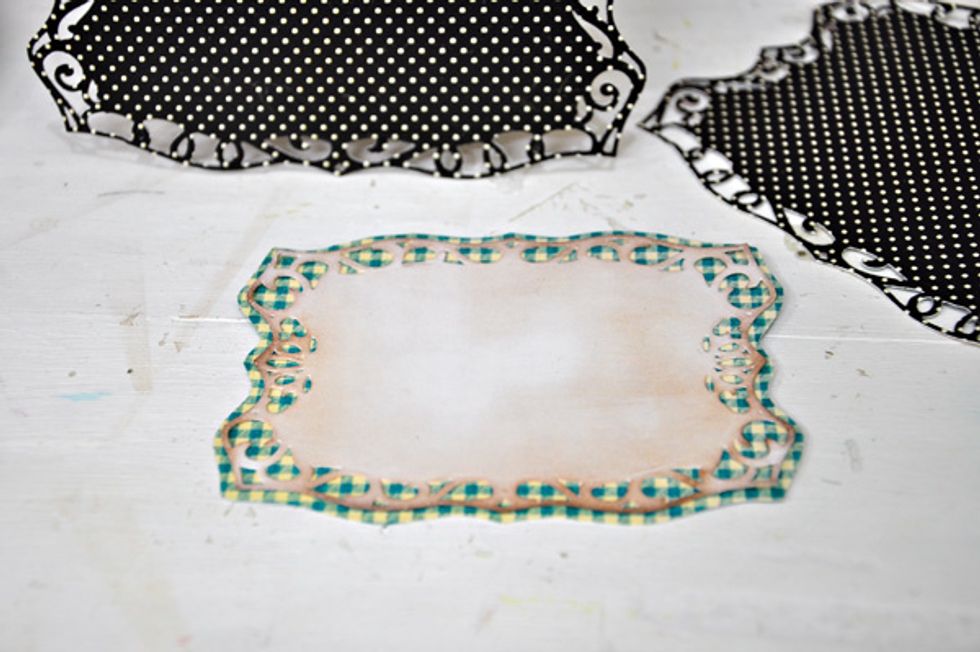
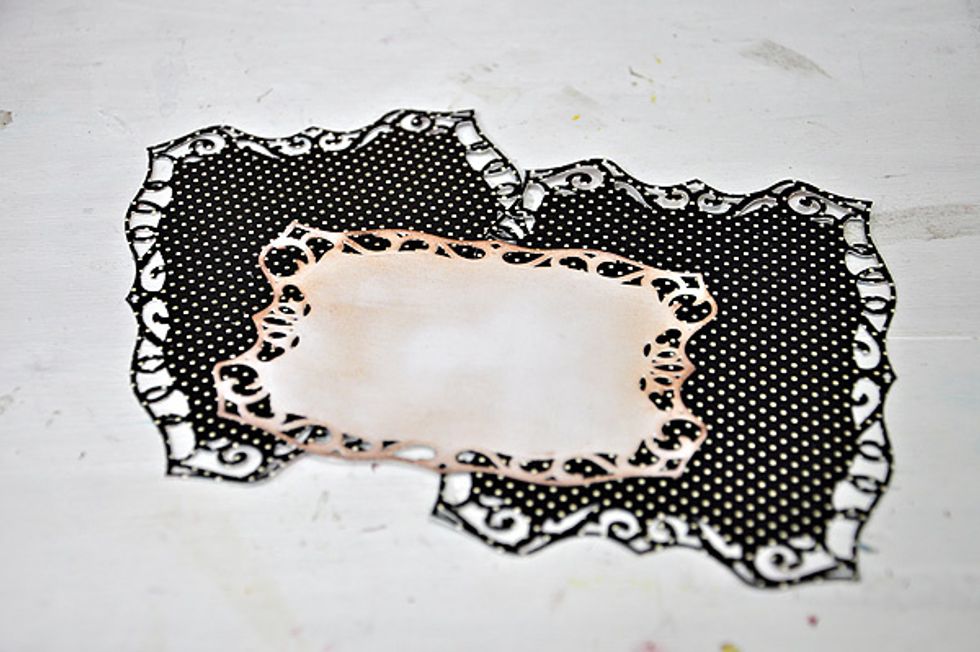
Adhere the smallest die cut paper onto another patterned paper for contrast. I just eyeballed the shape of the patterned paper based on the white die cut paper.
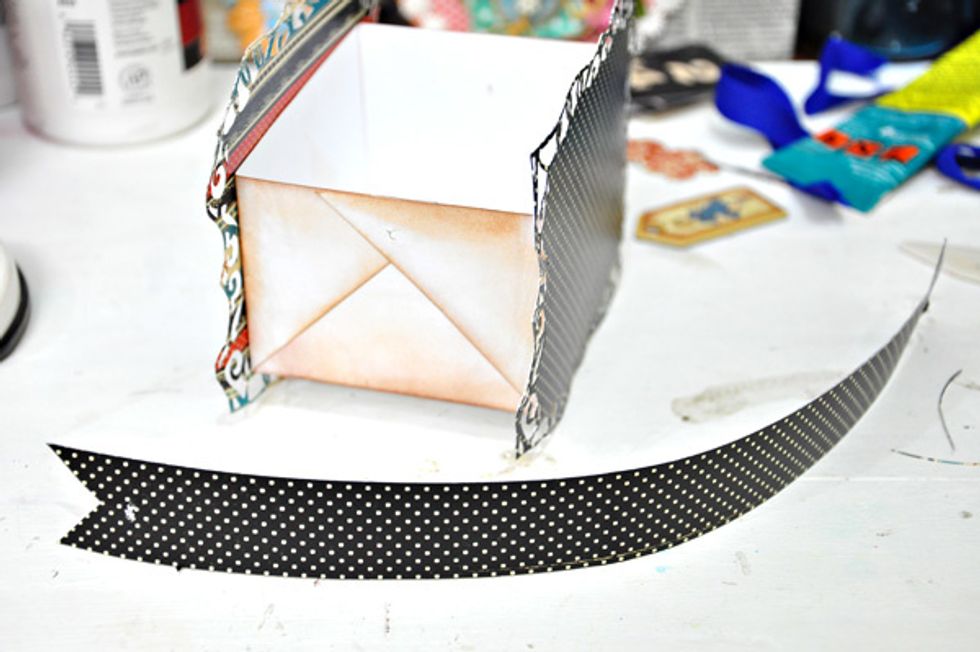
Create a handle by cutting a strip of paper as seen in the image. This is 8 inches x 1 inch.
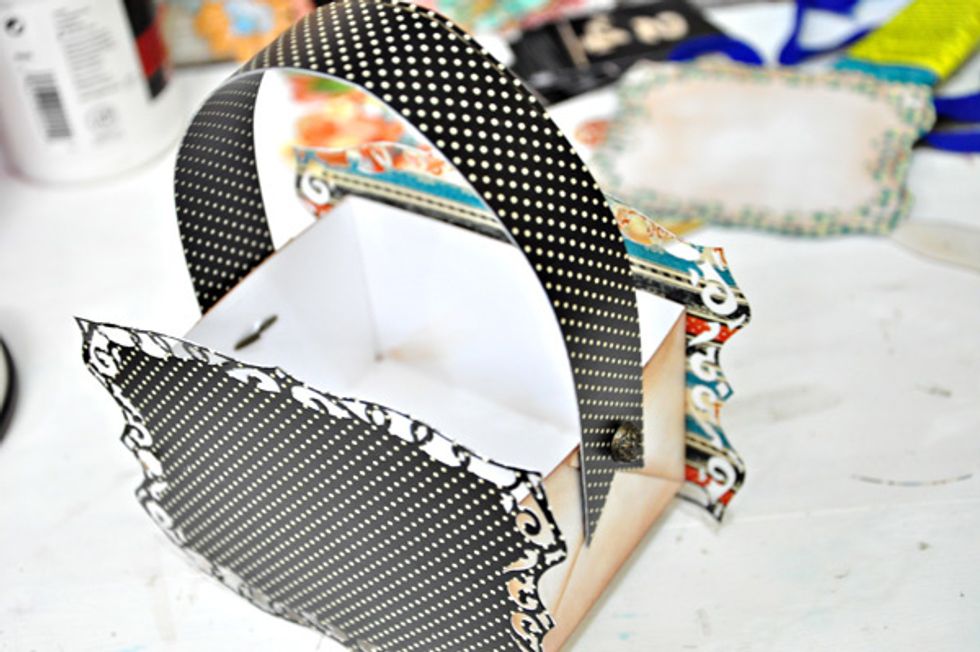
Attach the strip/handle using a couple of brads
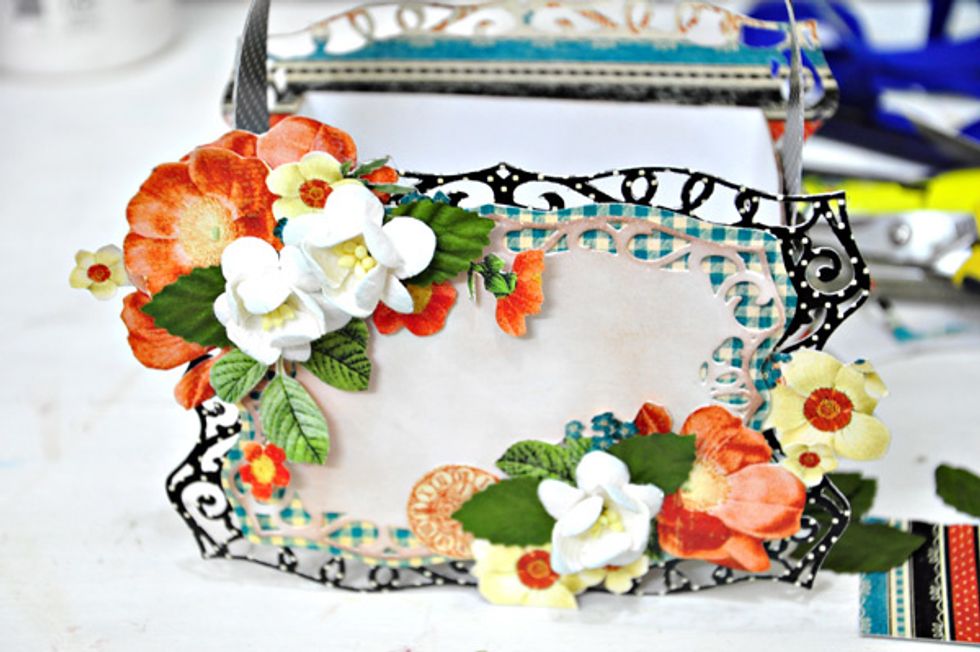
Start embellishing the bag. Add some stickers, chipboards and flowers.
Finally, this is how the gift bag will look like.
Adhere a strip of lace to the handle for a pretty touch.
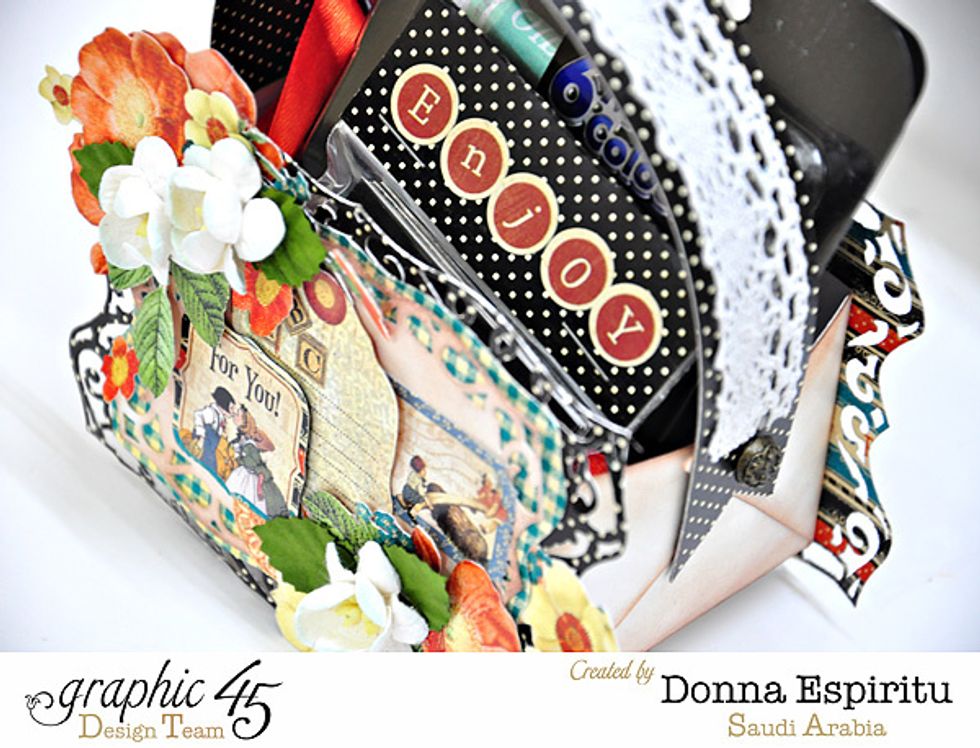
I used a small resealable plastic to store the flash cards and topped it with a folded polka dot black and white paper and some alpha stickers.
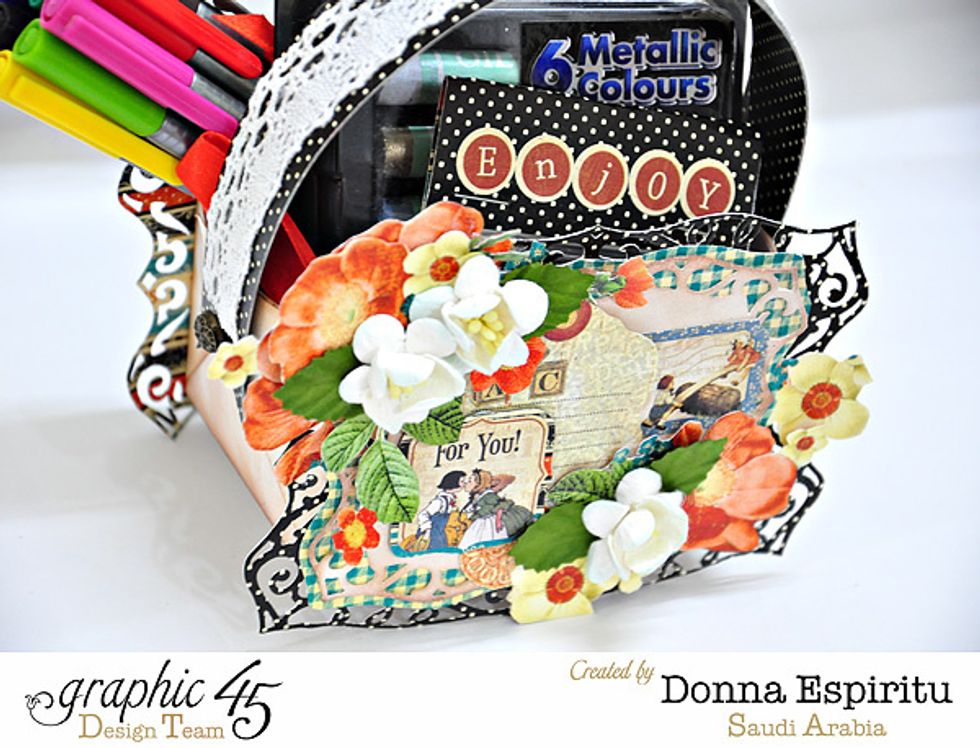

I tied the coloring pens and pastels with a ribbon.
Thank you and I hope you liked my project. Happy crafting!