The Conversation (0)
Sign Up
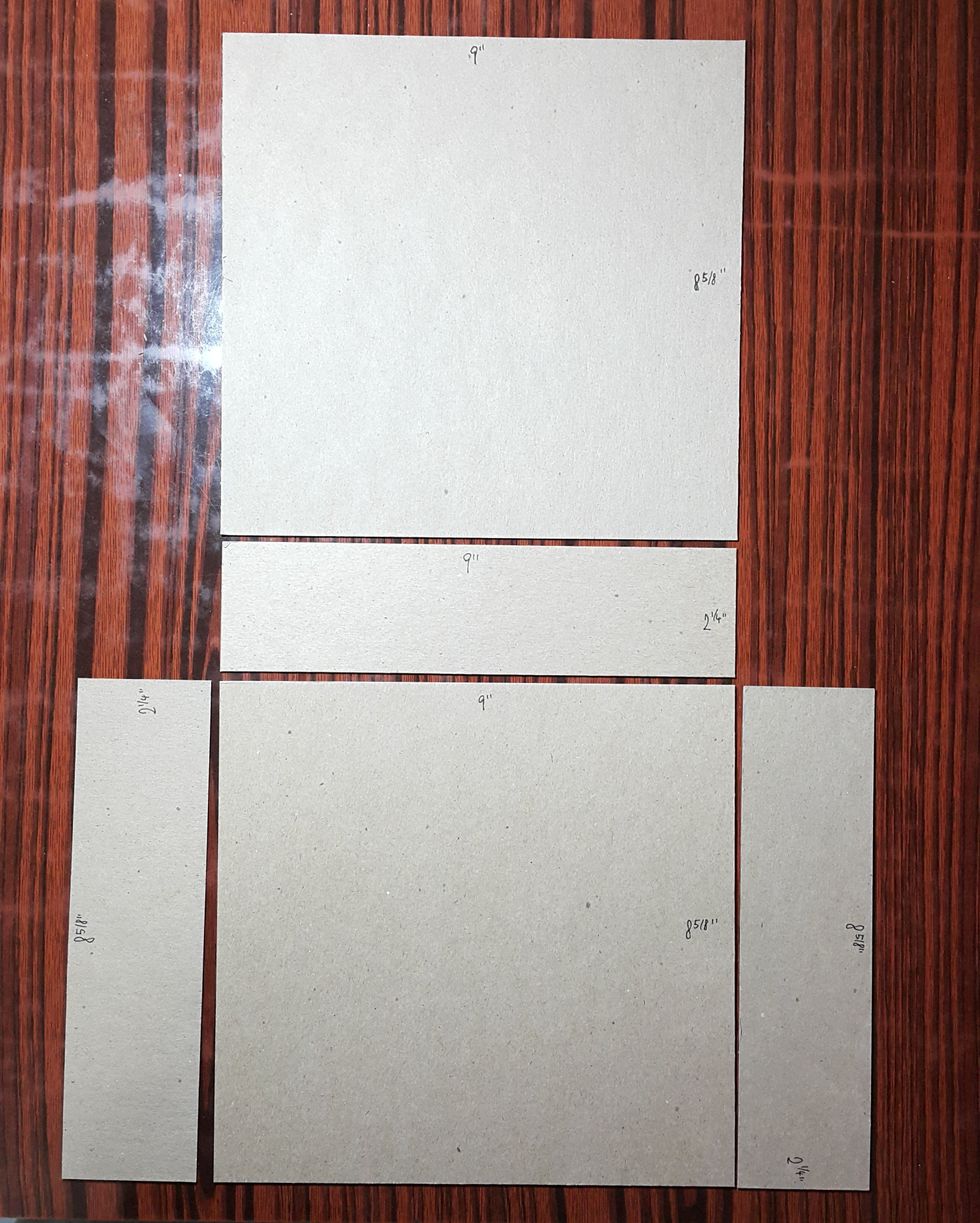
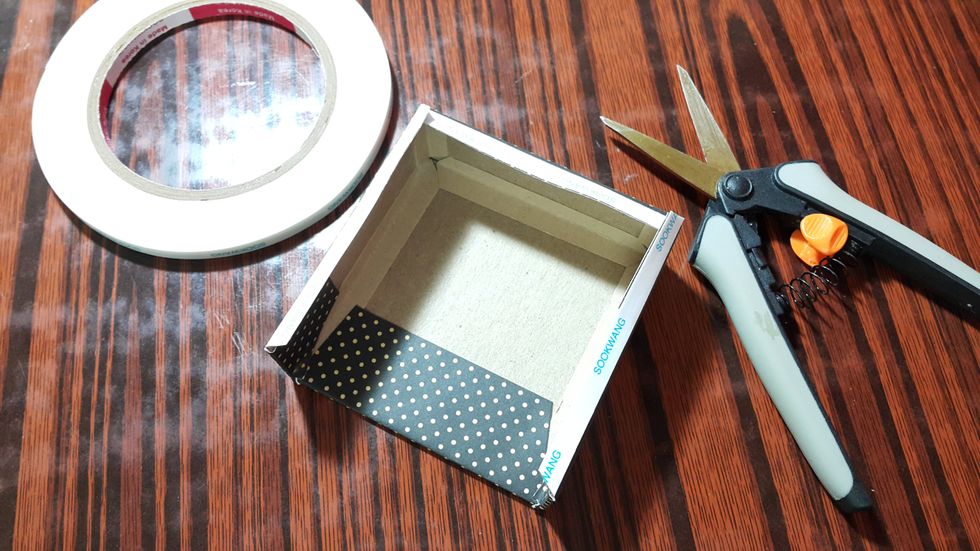
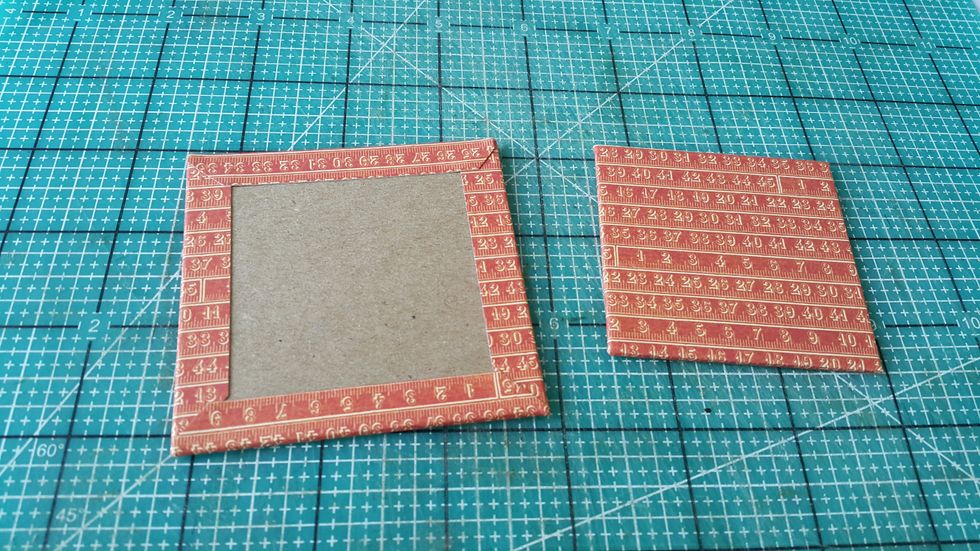
Cut chipboard into size that fit for the Mixed Media Album, with one face open
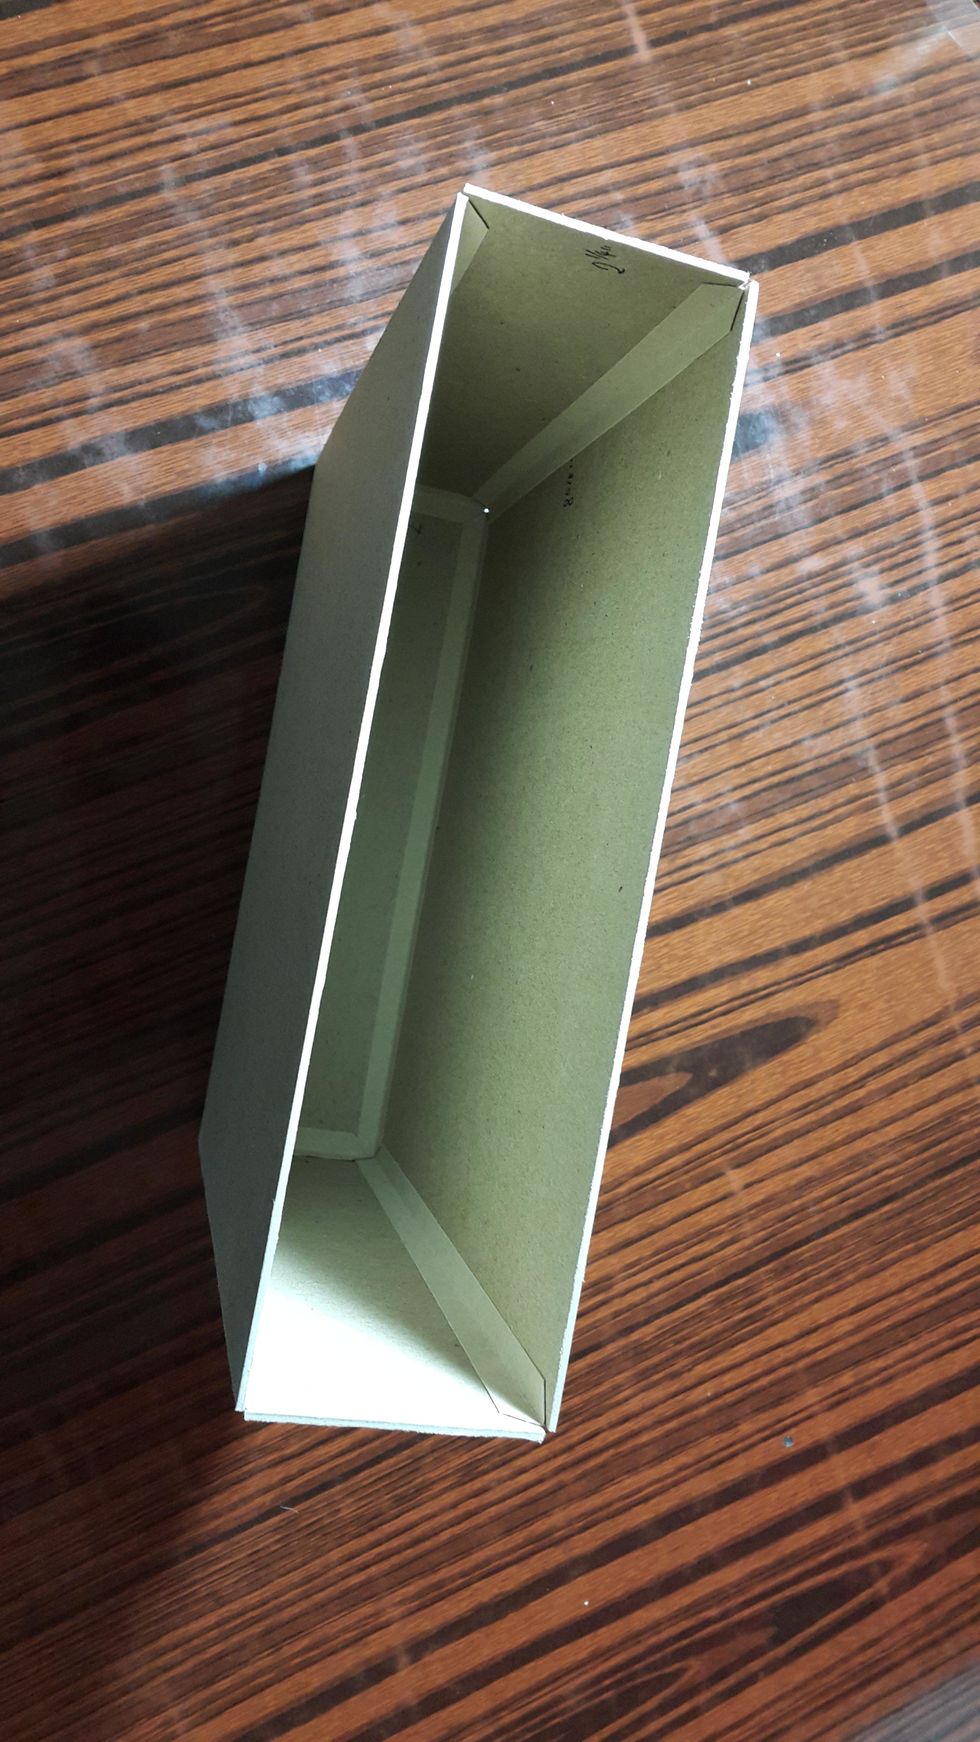
Adhere the chipboard pieces into shape
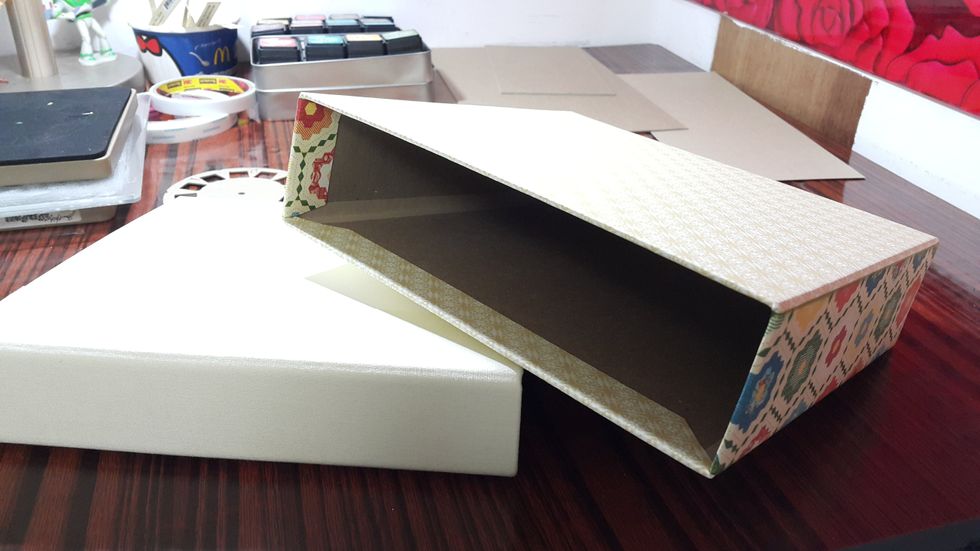
Cover the box with your favourite Graphic 45 papers
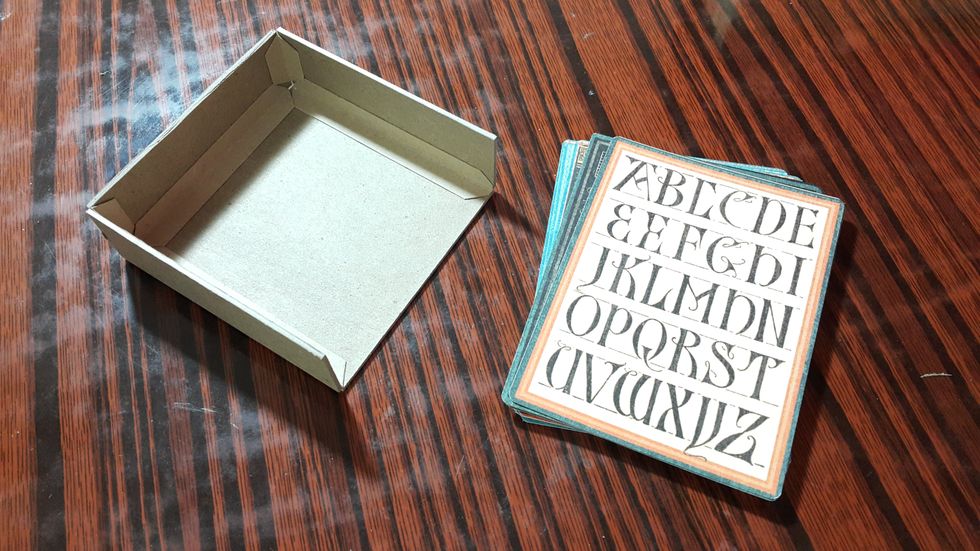
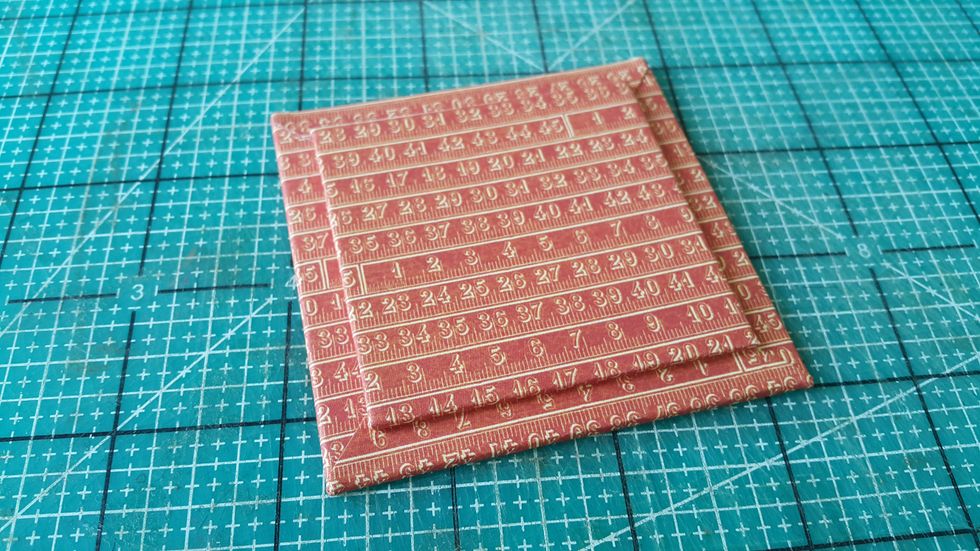
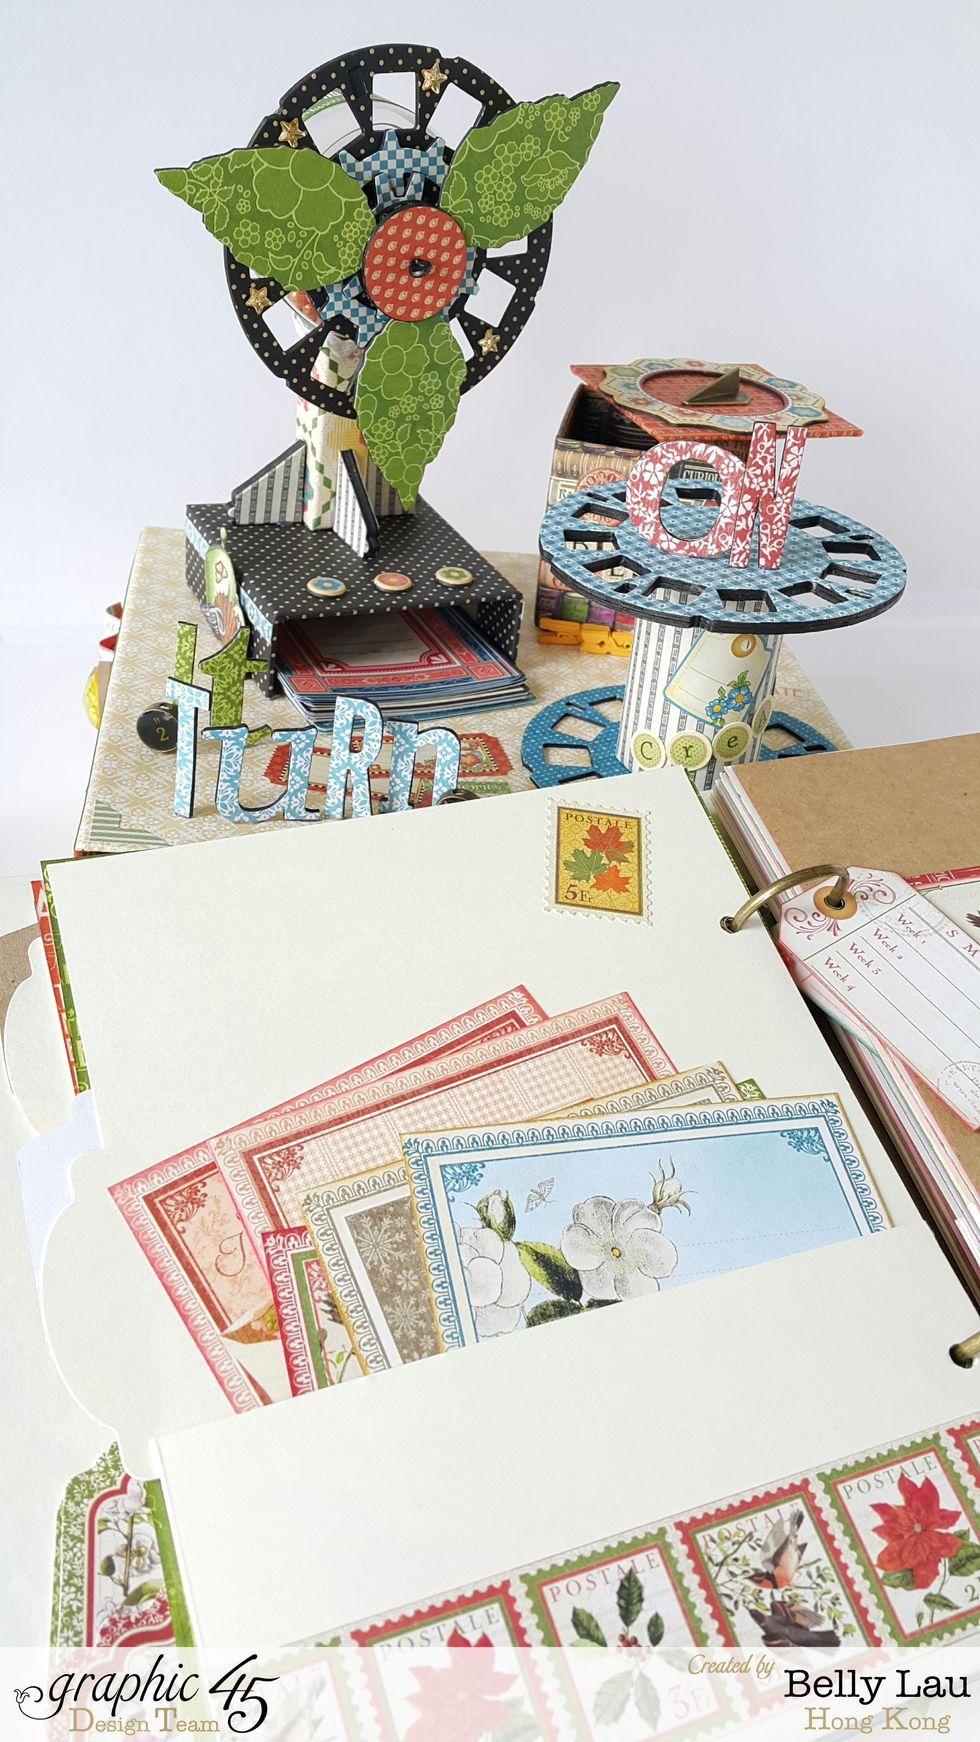
Cut chipboard pieces and adhere into shape which fit for the 3x4inch cards to slide in
Cover the card top with your favourite Graphic 45 papers and left 1/4" to be adhere on the planner box
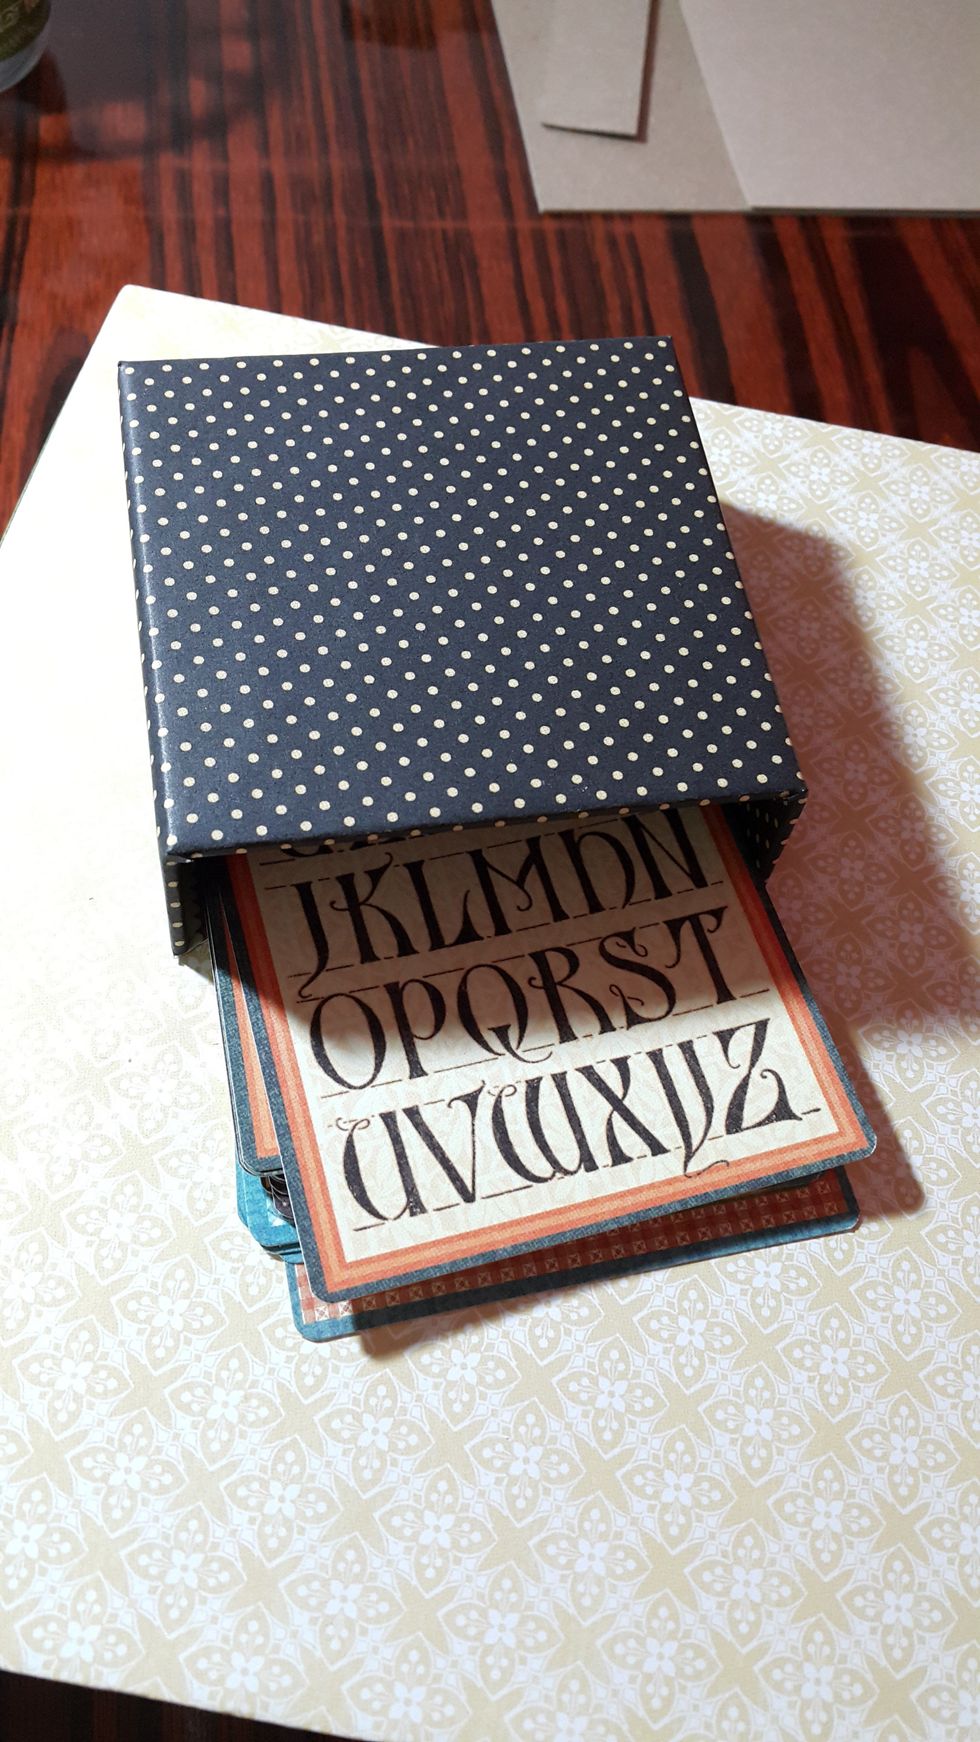
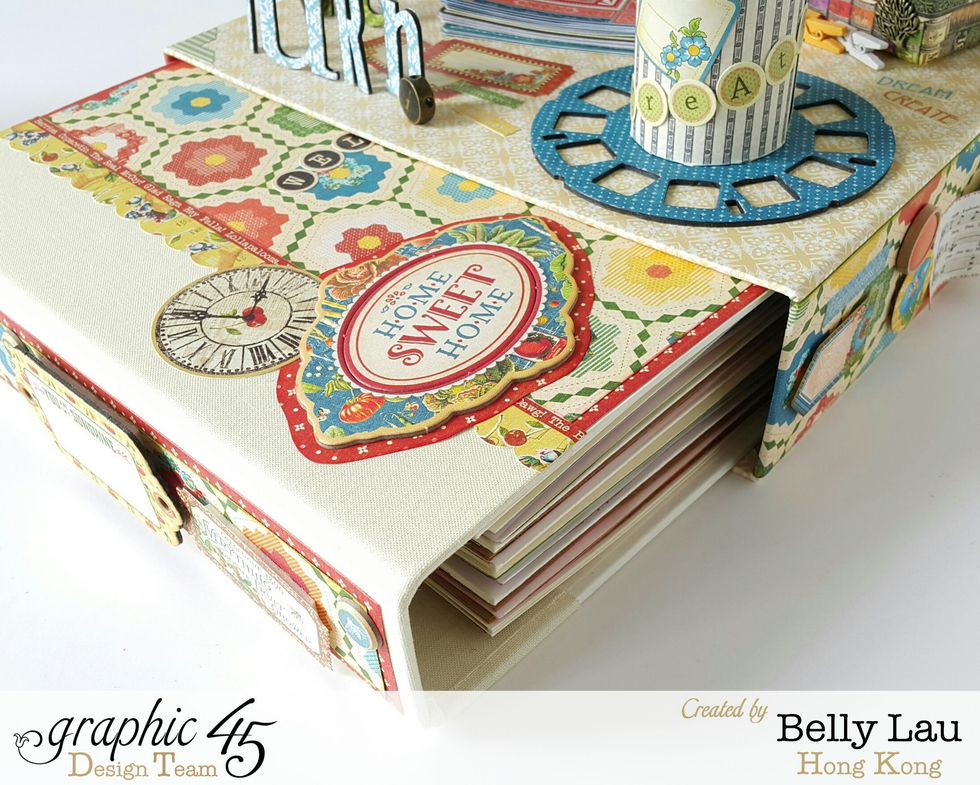
Adhere on the top of the box, its cool
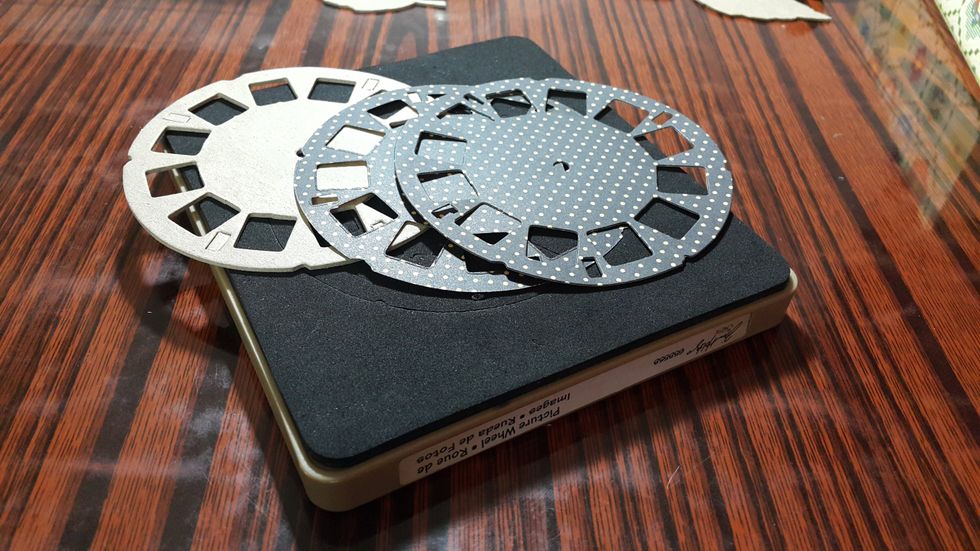
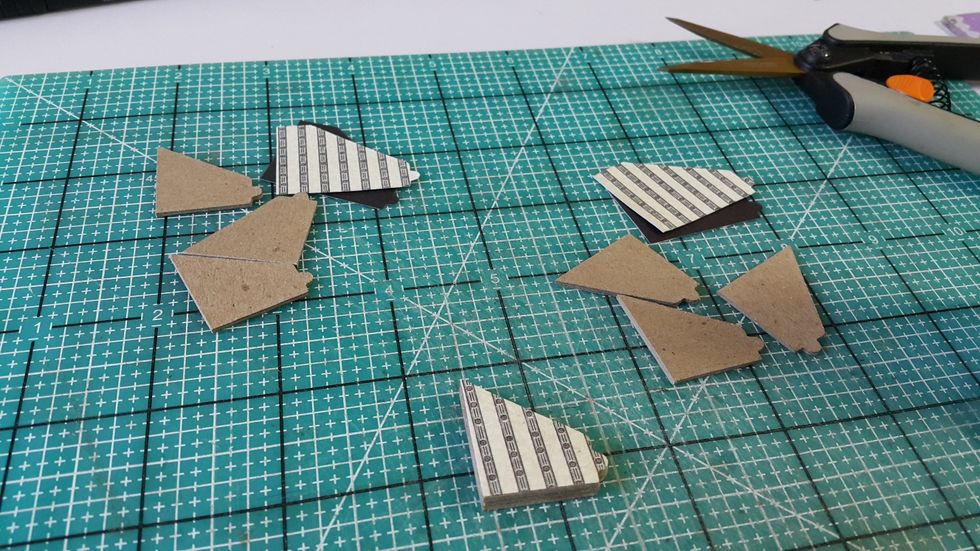
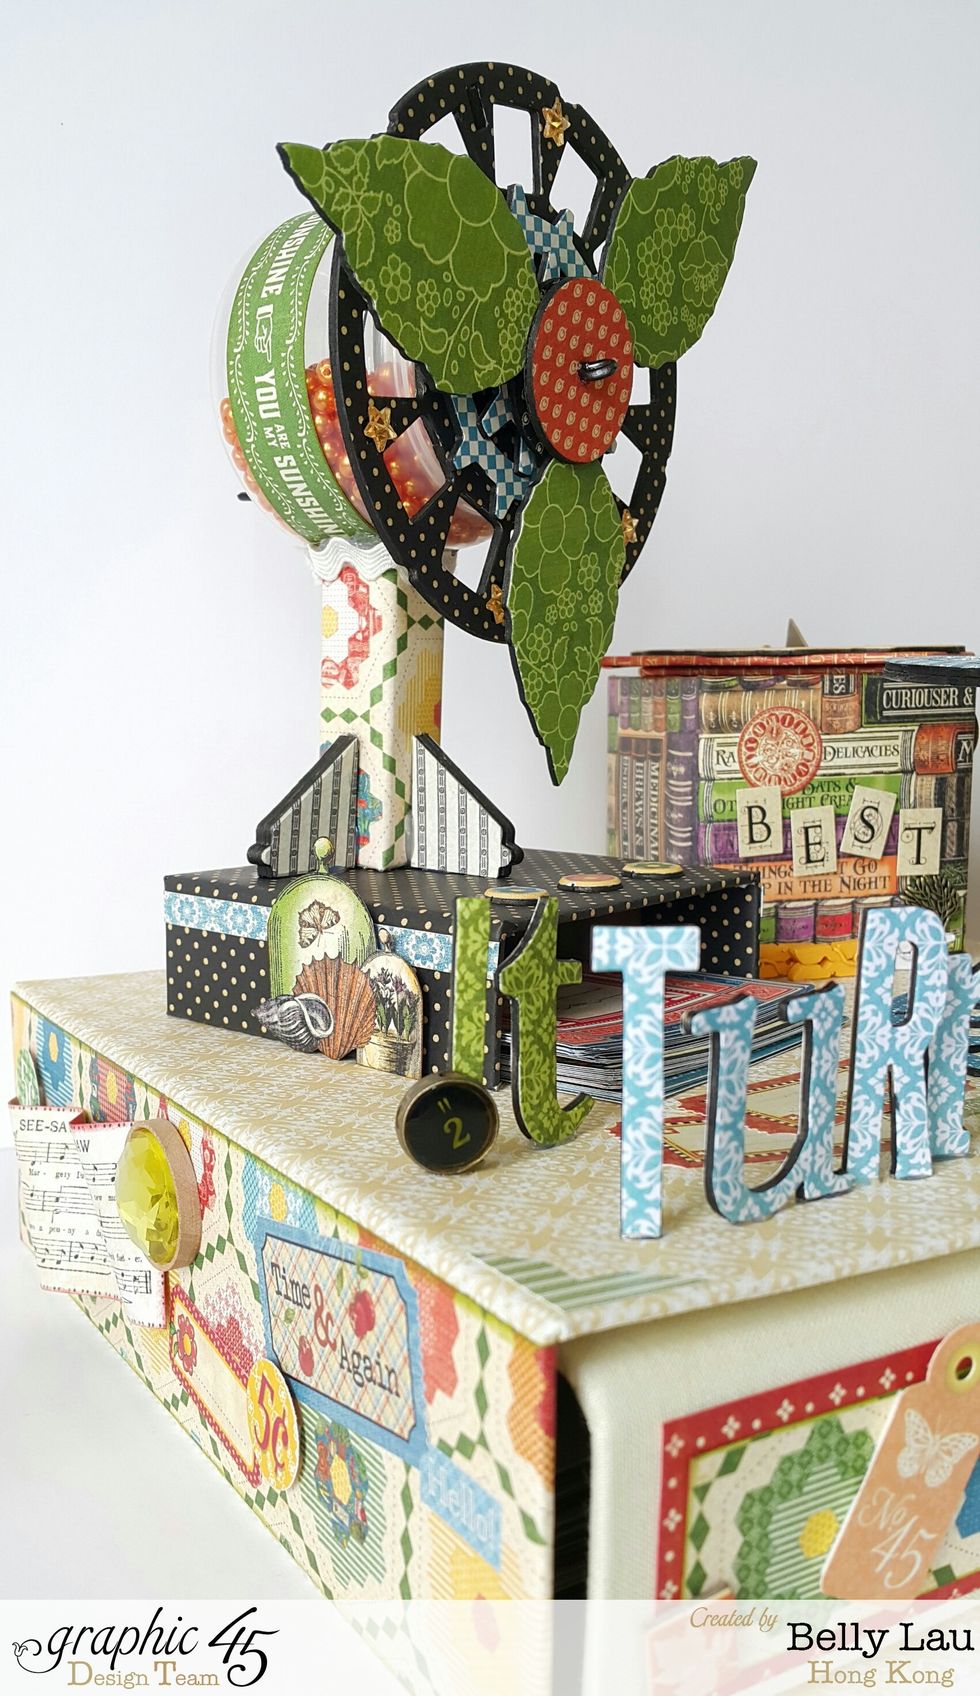
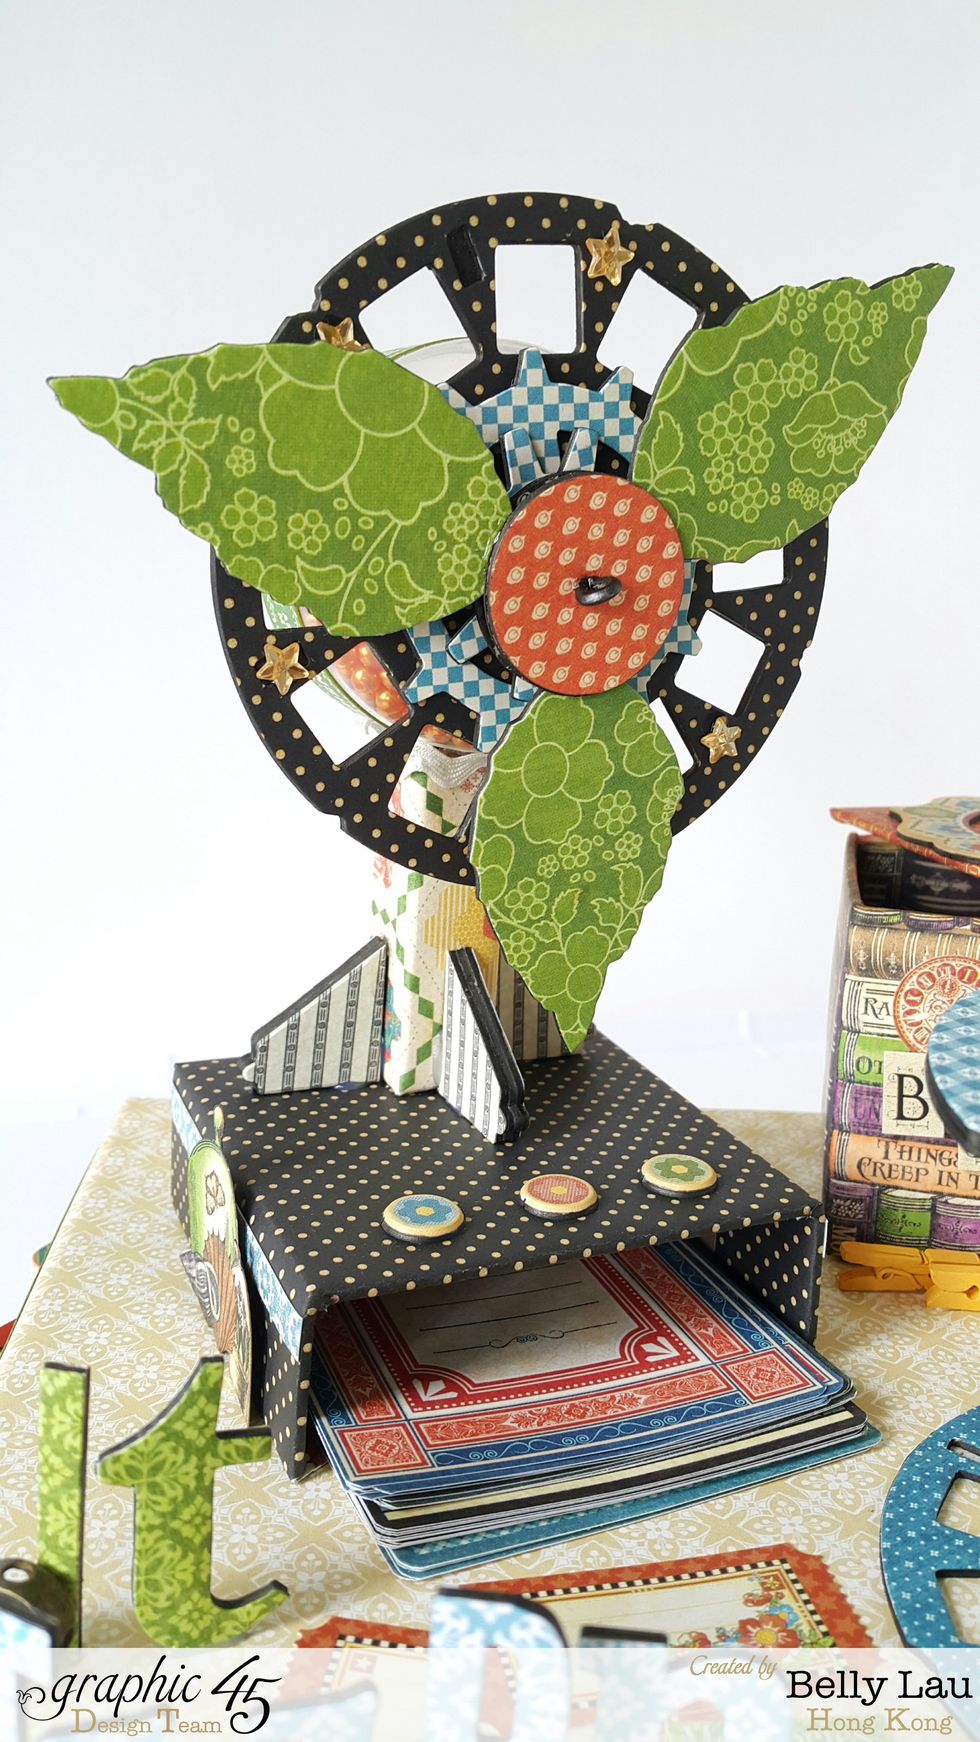
Die cut one piece of chipboard and two pieces of papers for the funny fan
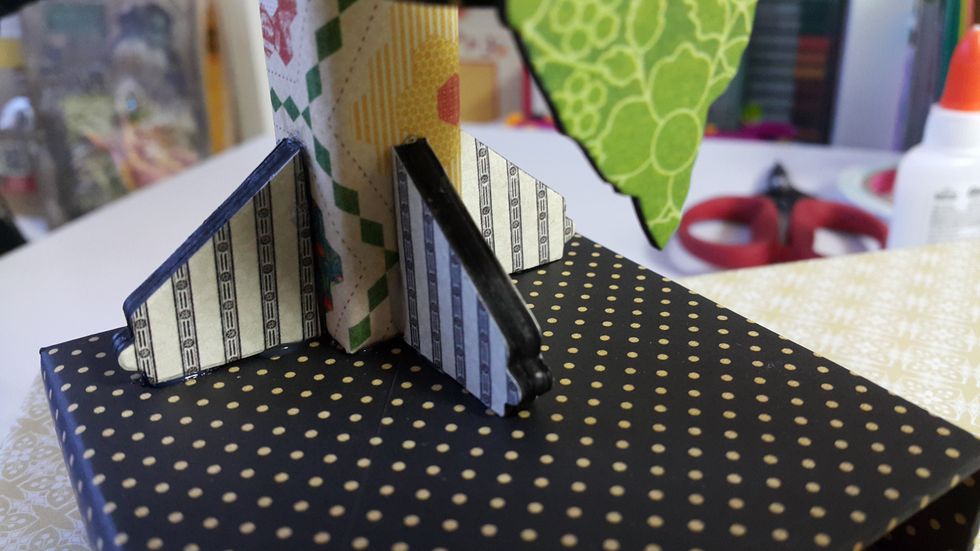
Cut out chipboard pieces and form into shape, as the standing base of the fan
Cover the stand with your favourtie Graphic 45 papers, use tools to form a curve base for the upcycle yogurt bottle
Adhere the upcycle yogurt bottle on the stand with super strong glue
Die cut chipboard pieces and papers as the decorative accents on the front of the fan
Adhere the three layers together
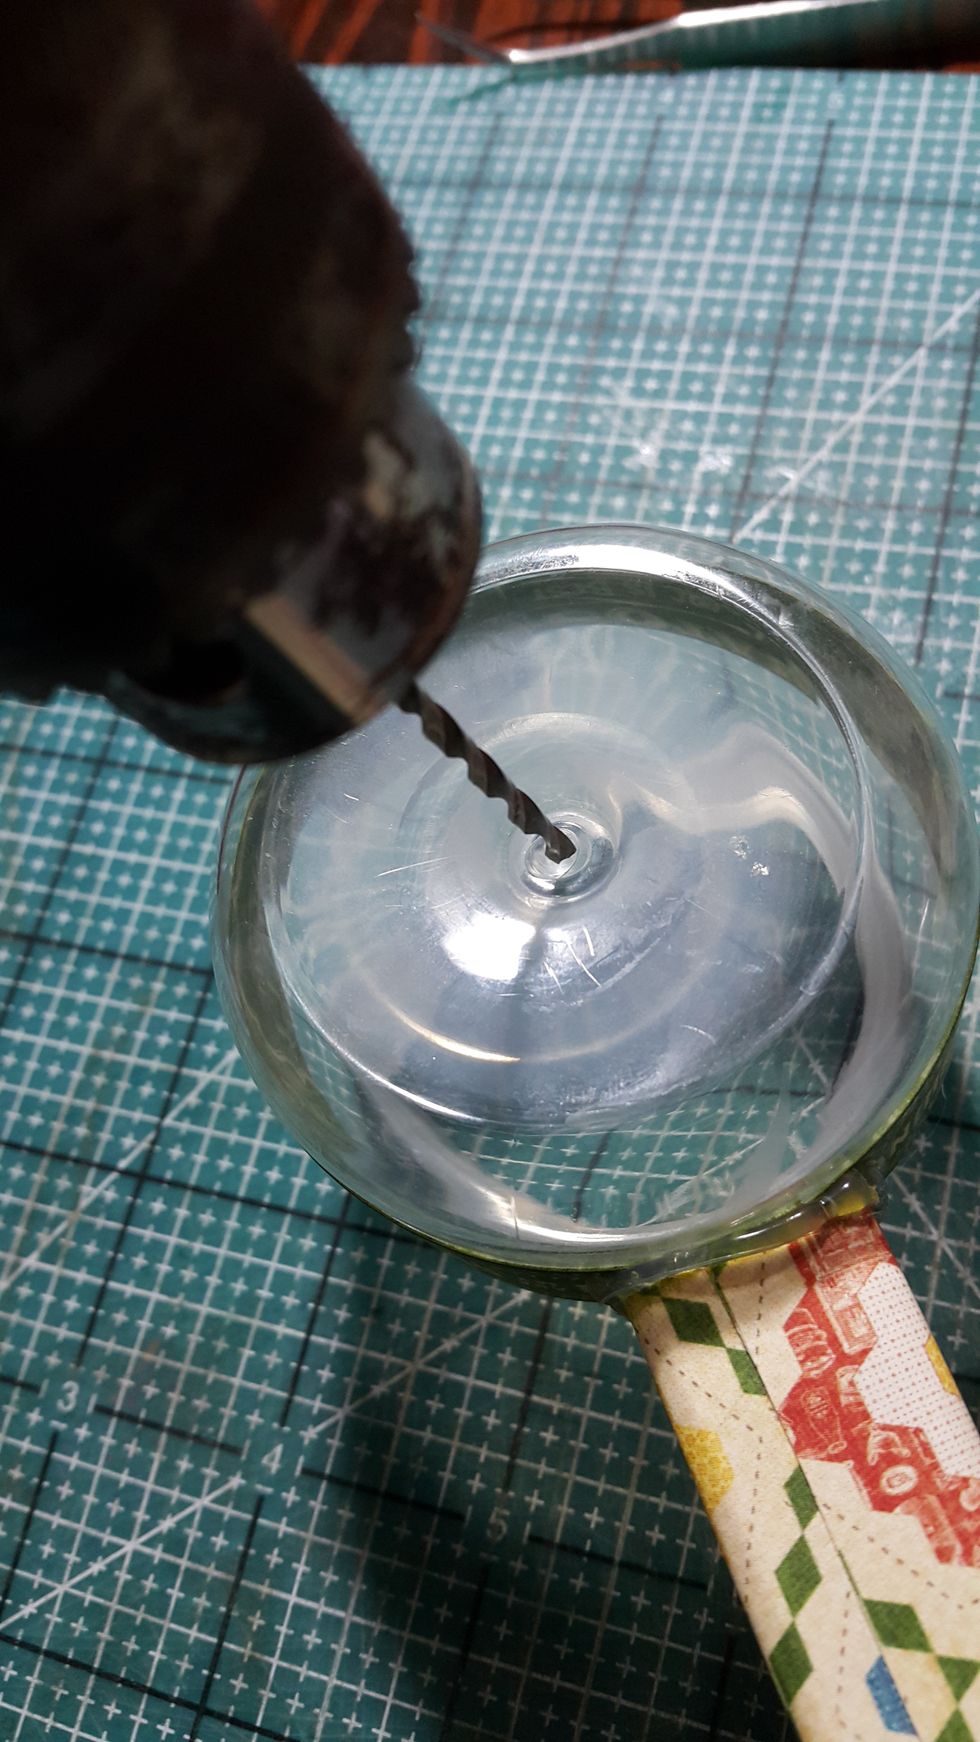
Make a hole at the back of the yogurt for putting through the black wire
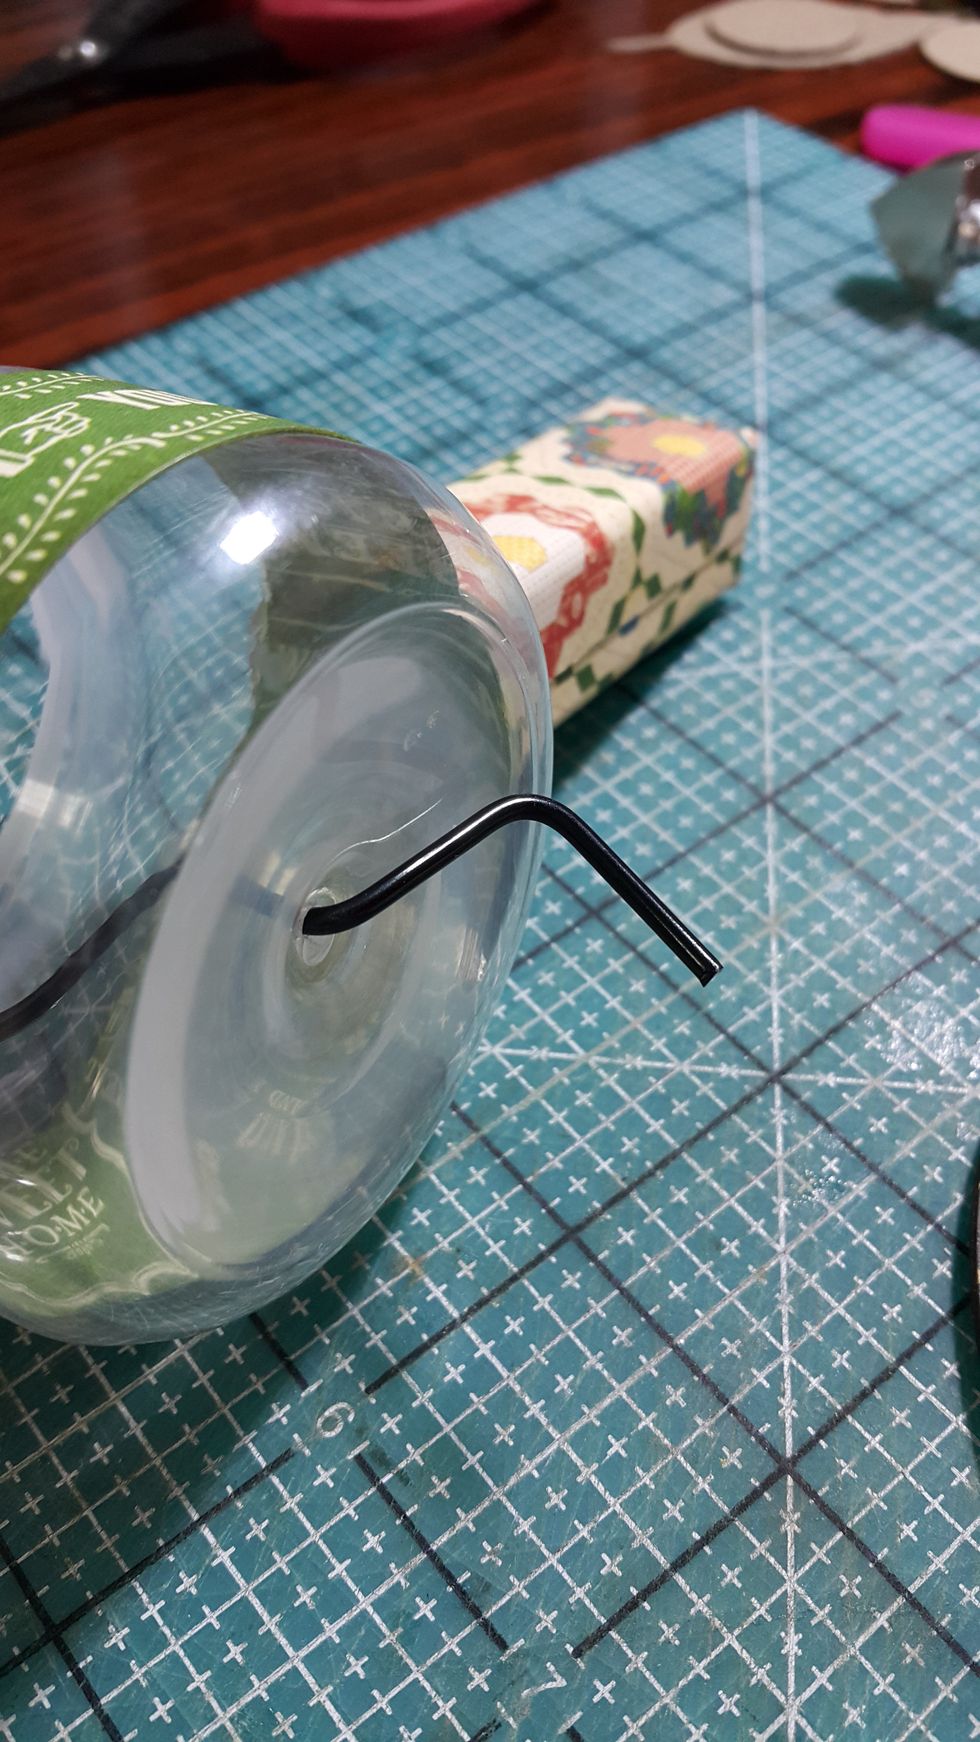
Put through the black wire and turn it into shape, this will be the handle of the fan
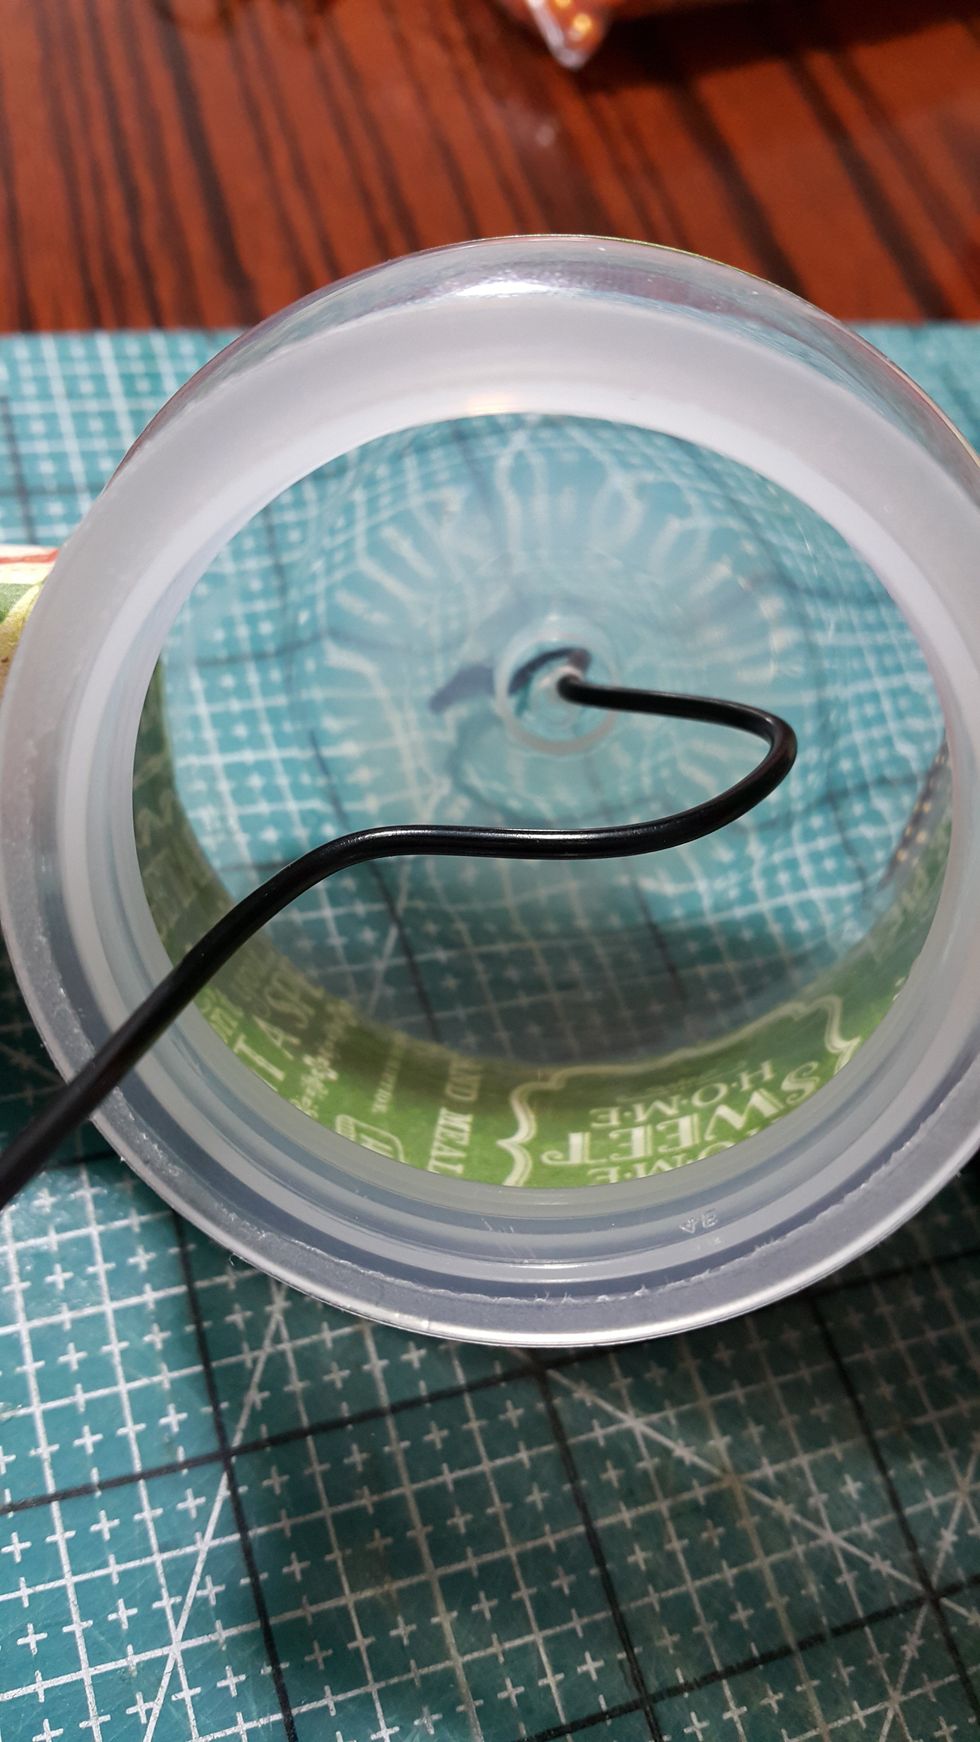
Make a turn of the black wire, so the beads putting inside can be moved when you turn
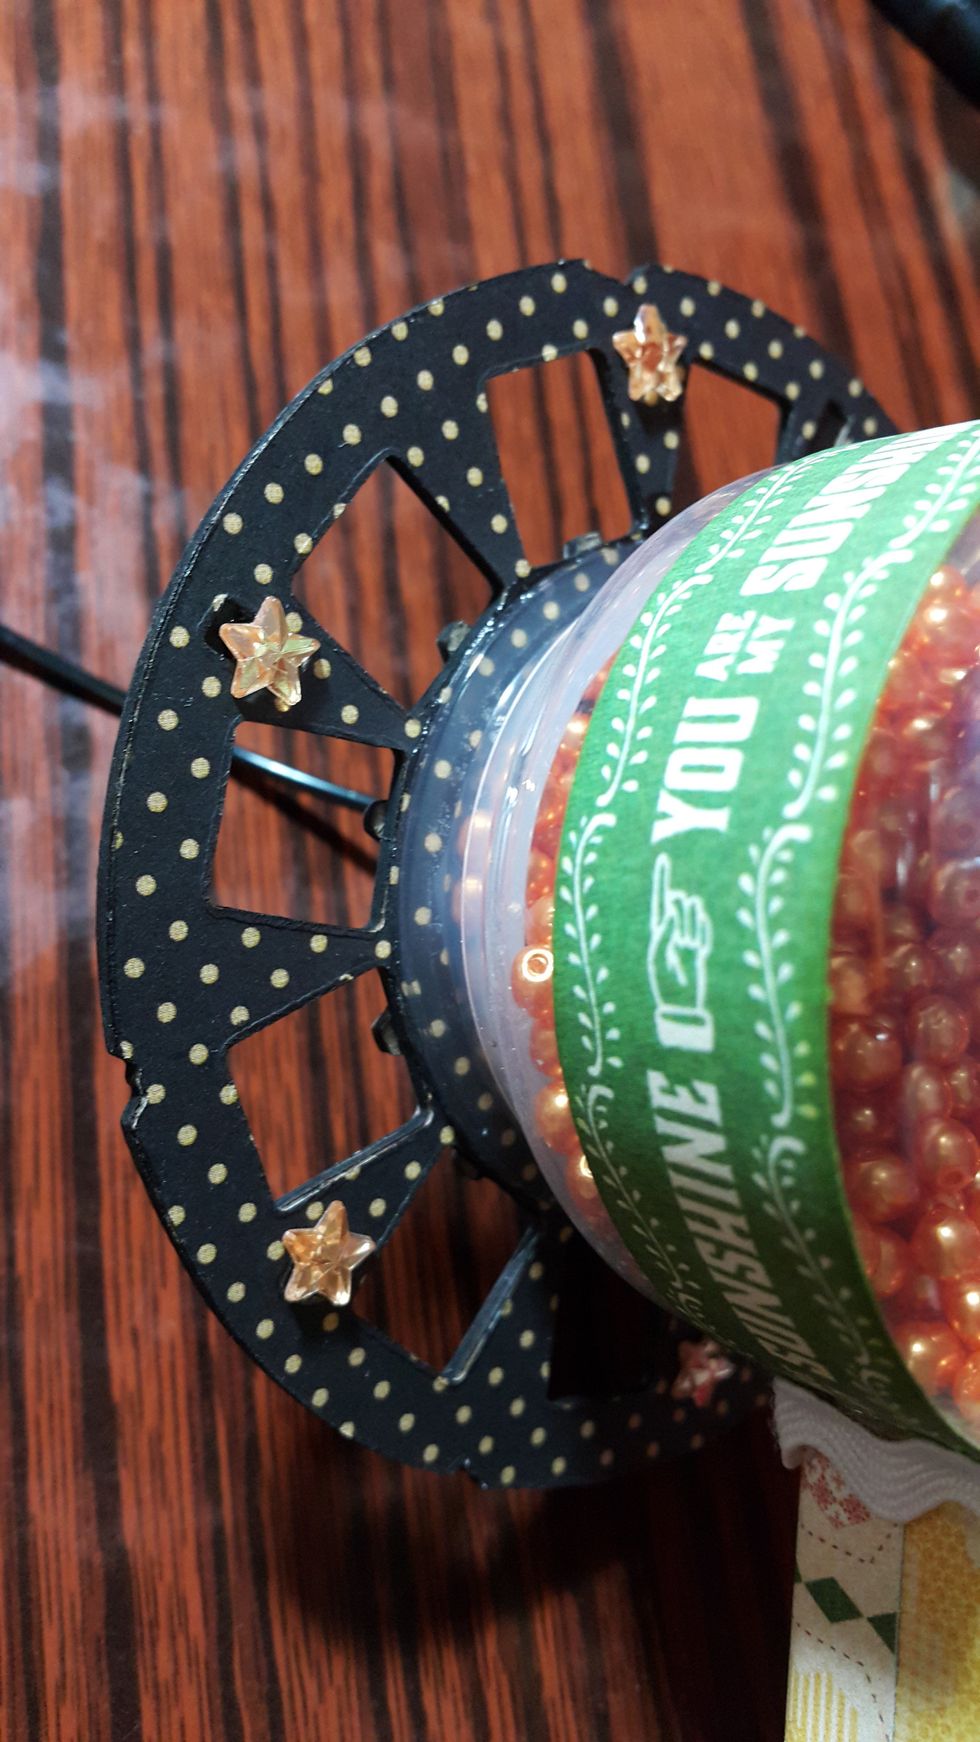
Put the beads and adhere the front of the fan with strong glue
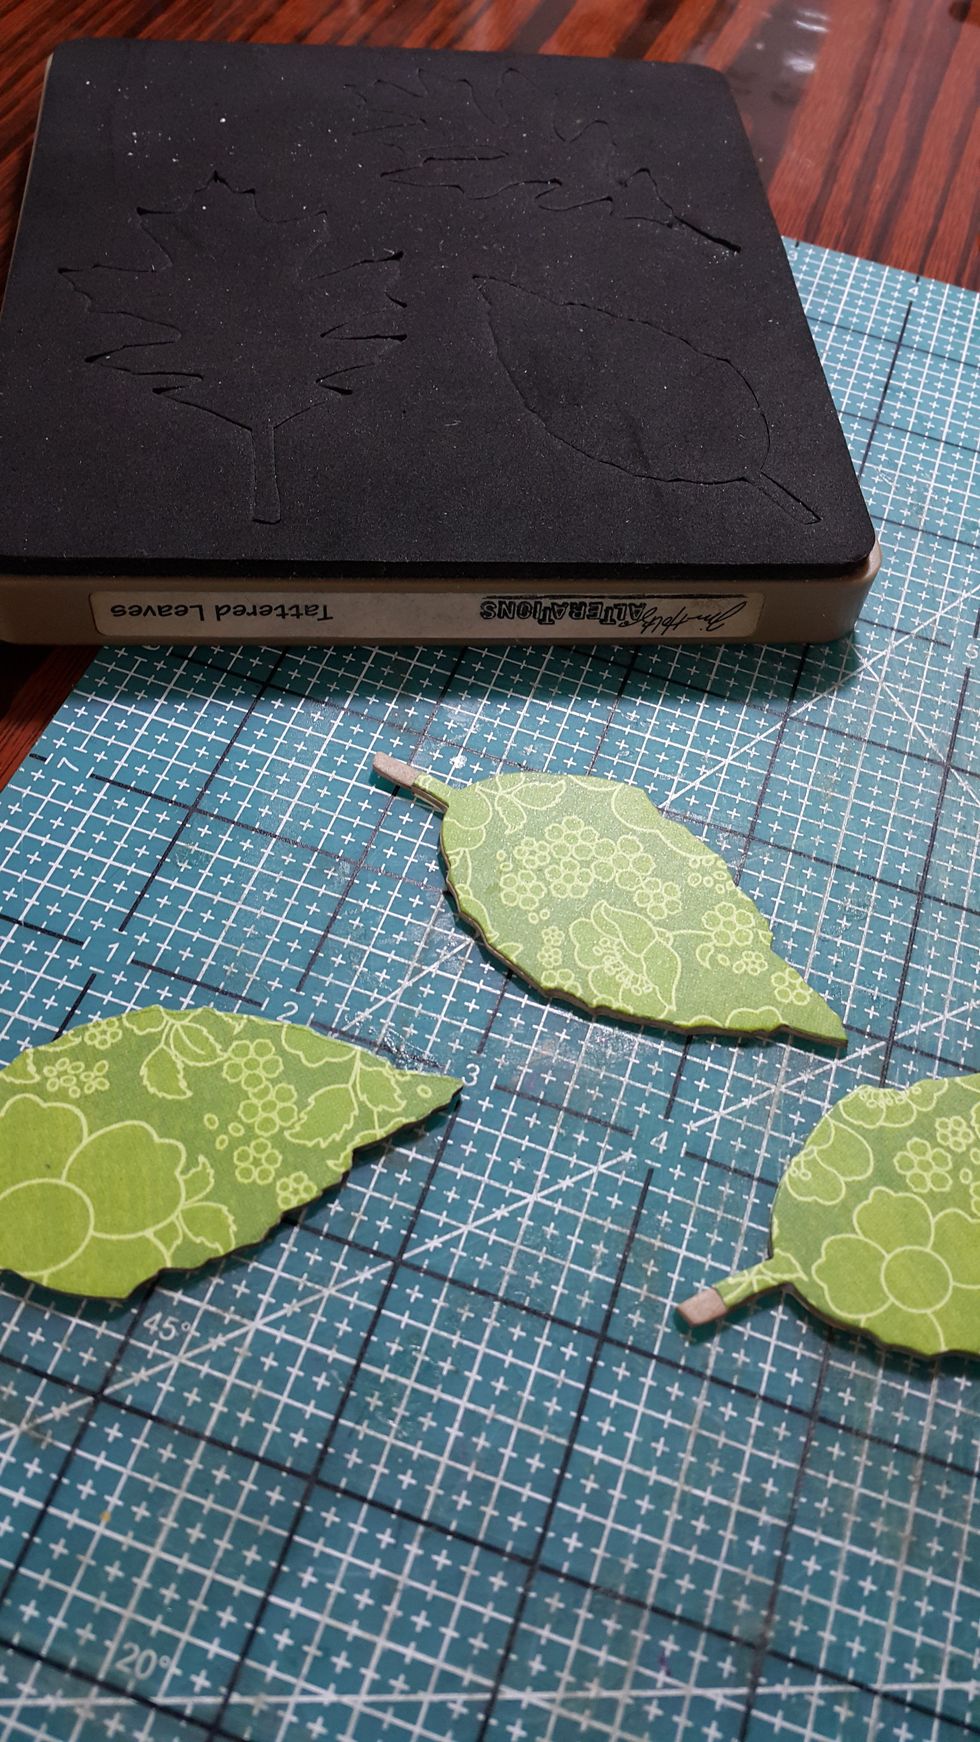
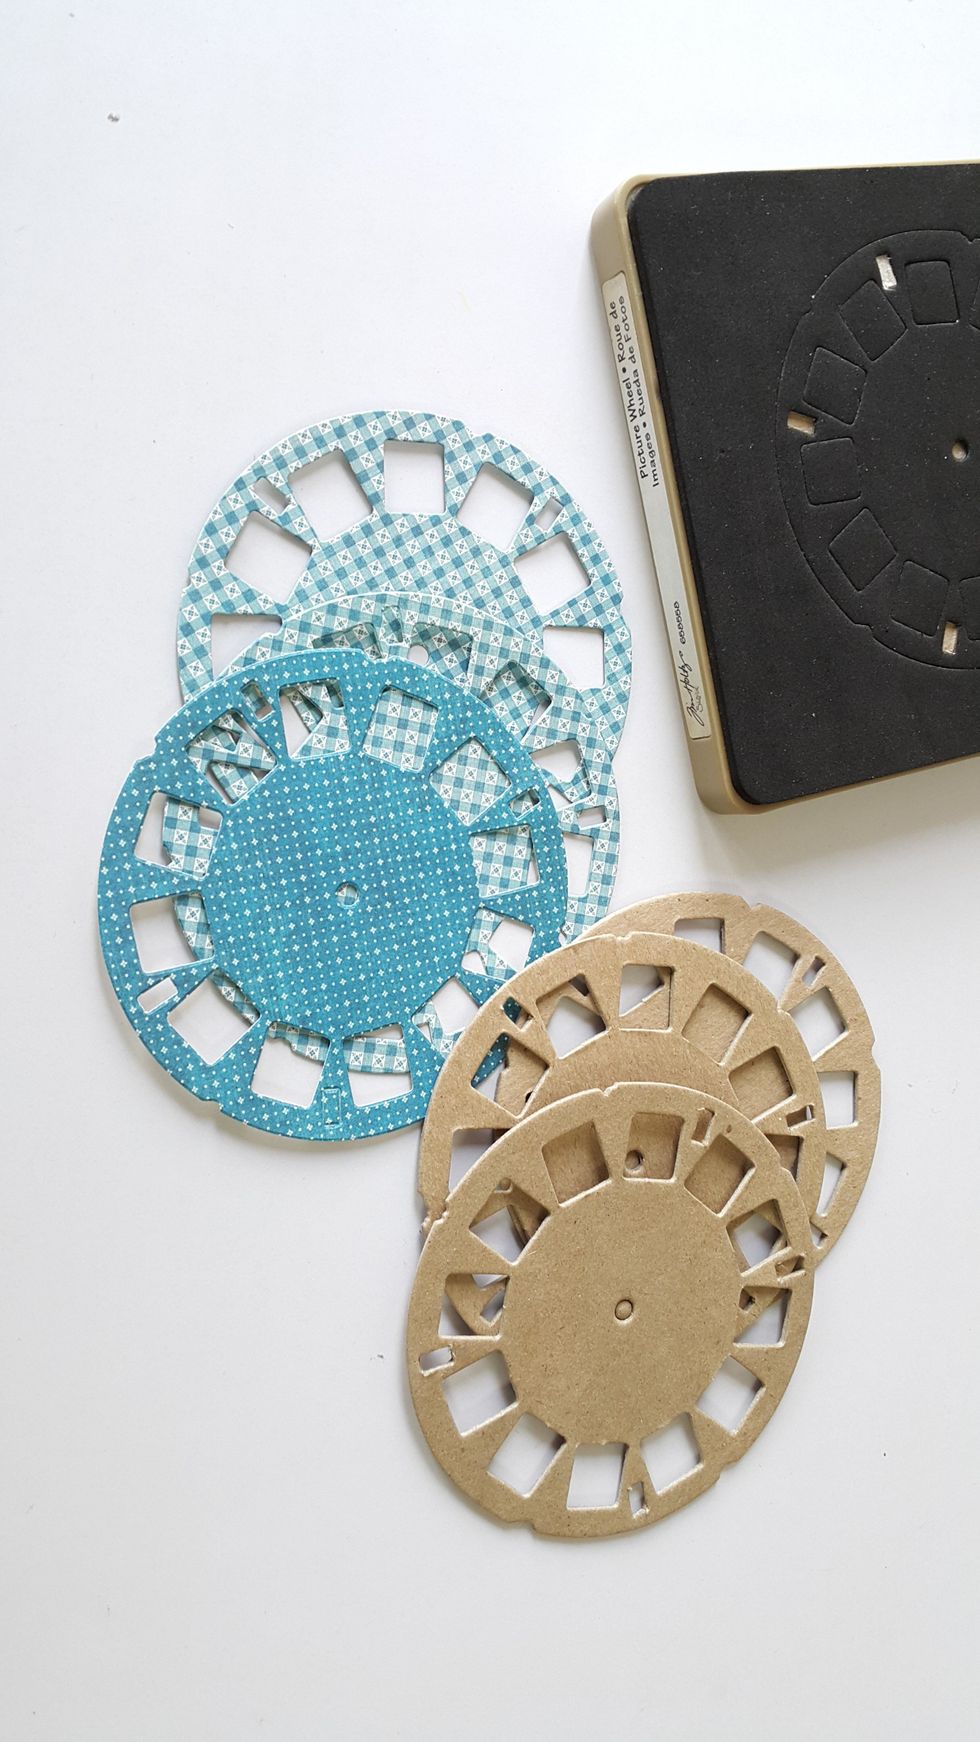
Die cut leaves shape with chipboard pieces and papers, adhere well
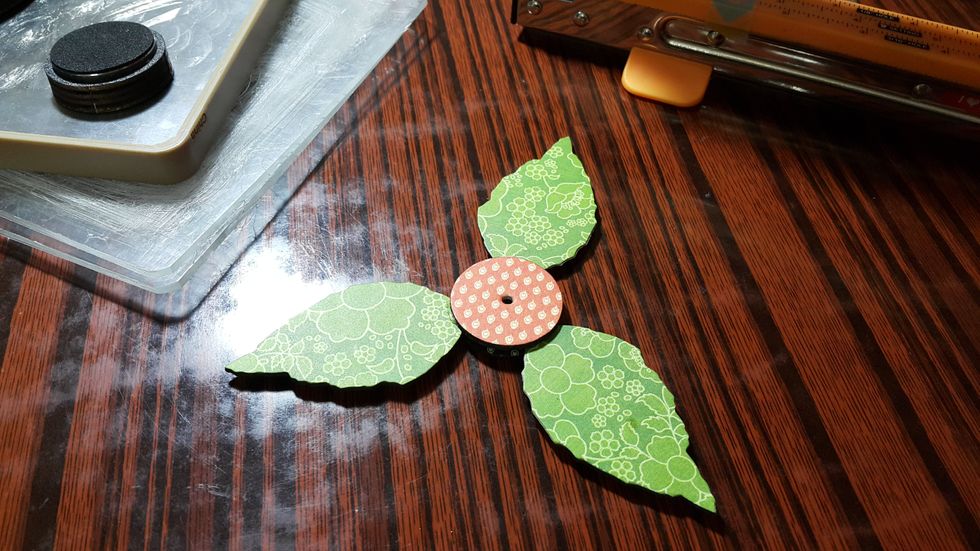
Die cut two pieces of circle chipboard pieces, adhere the leaves in between like sandwiches, punch a small hole for the black wire
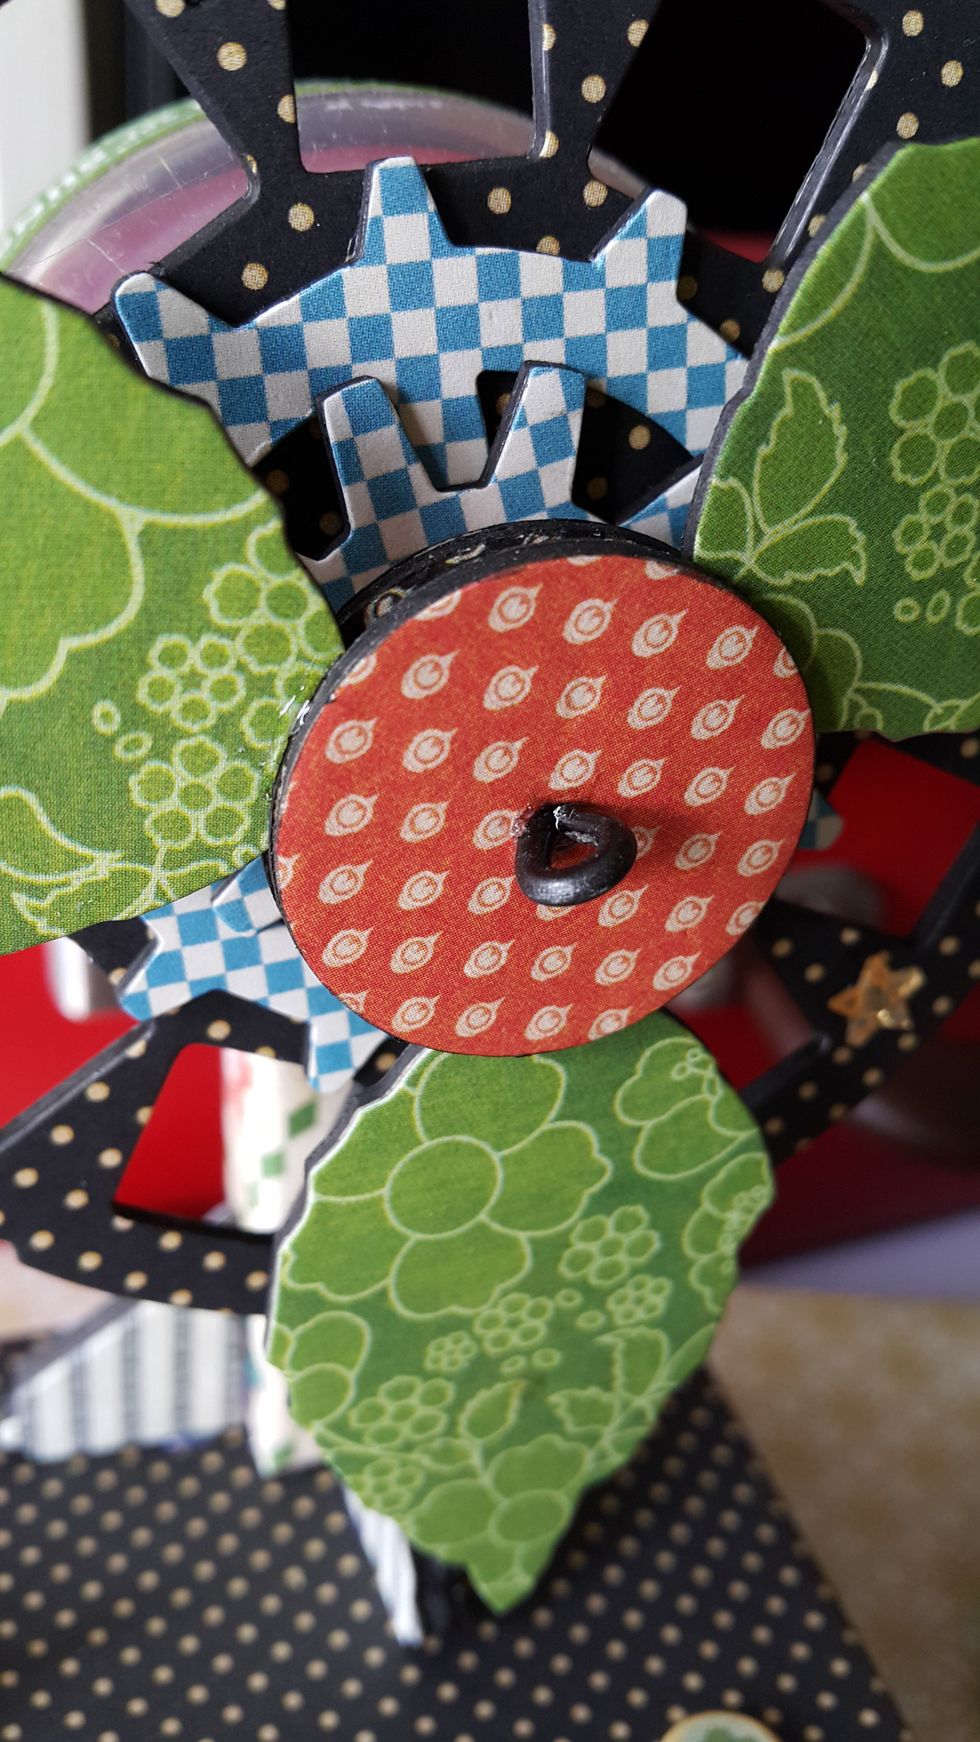
Put the black wire through and fix it
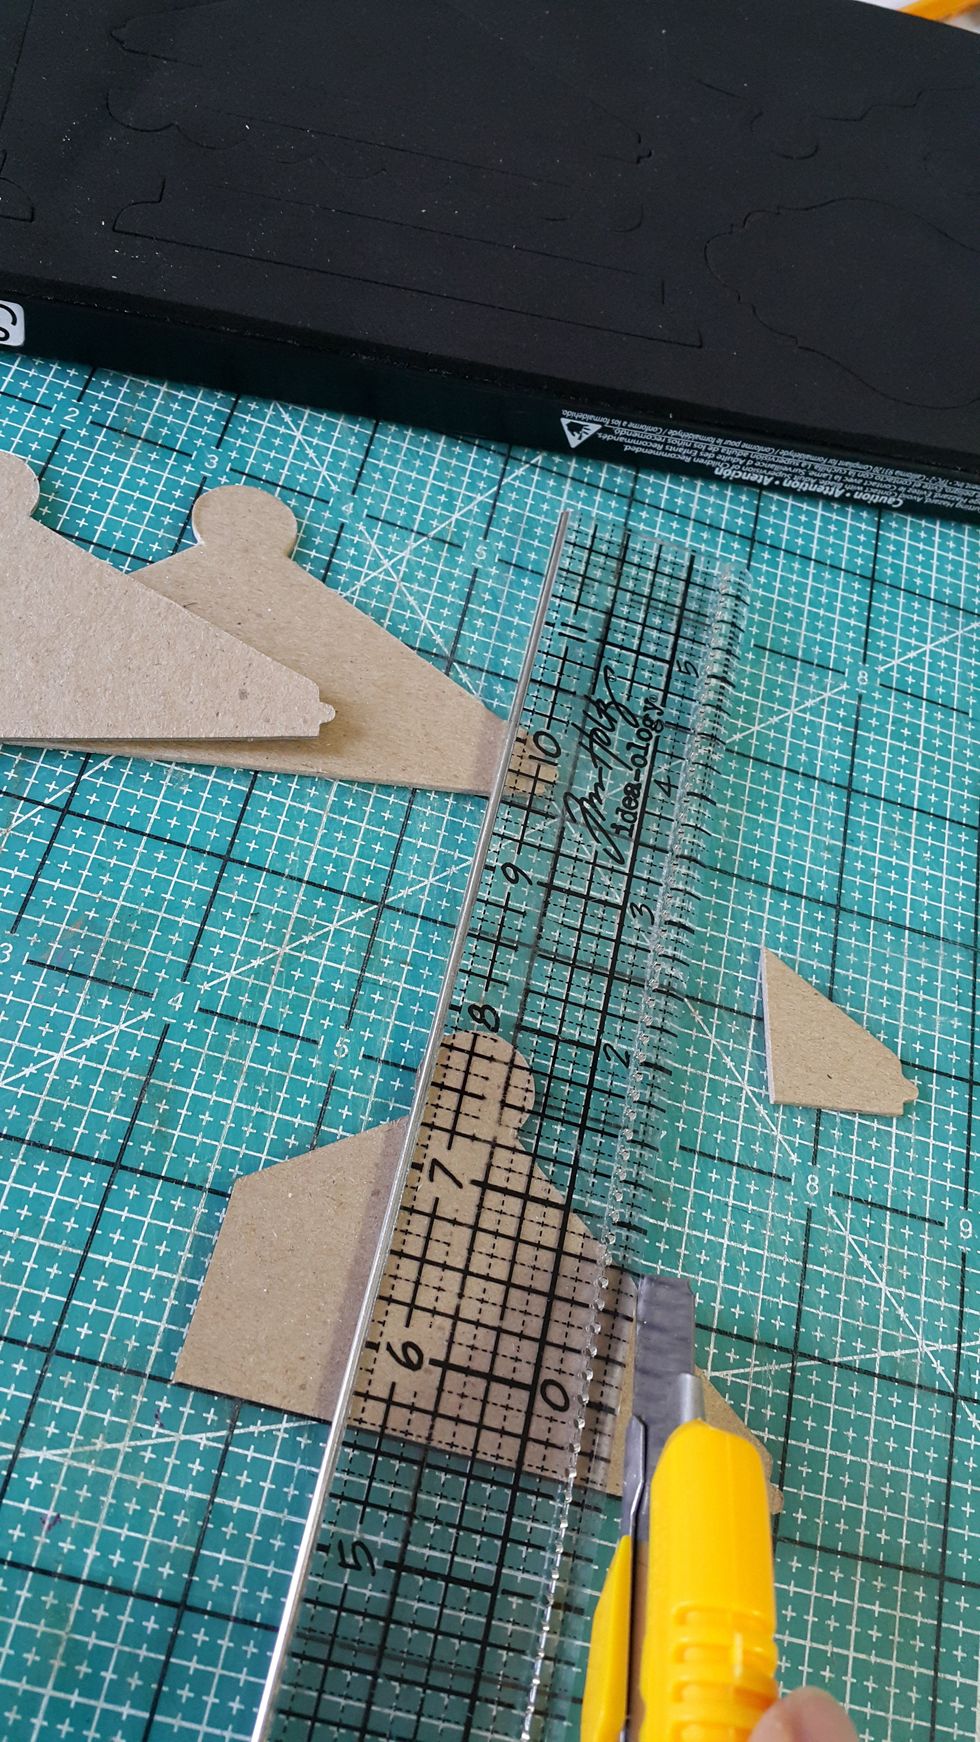
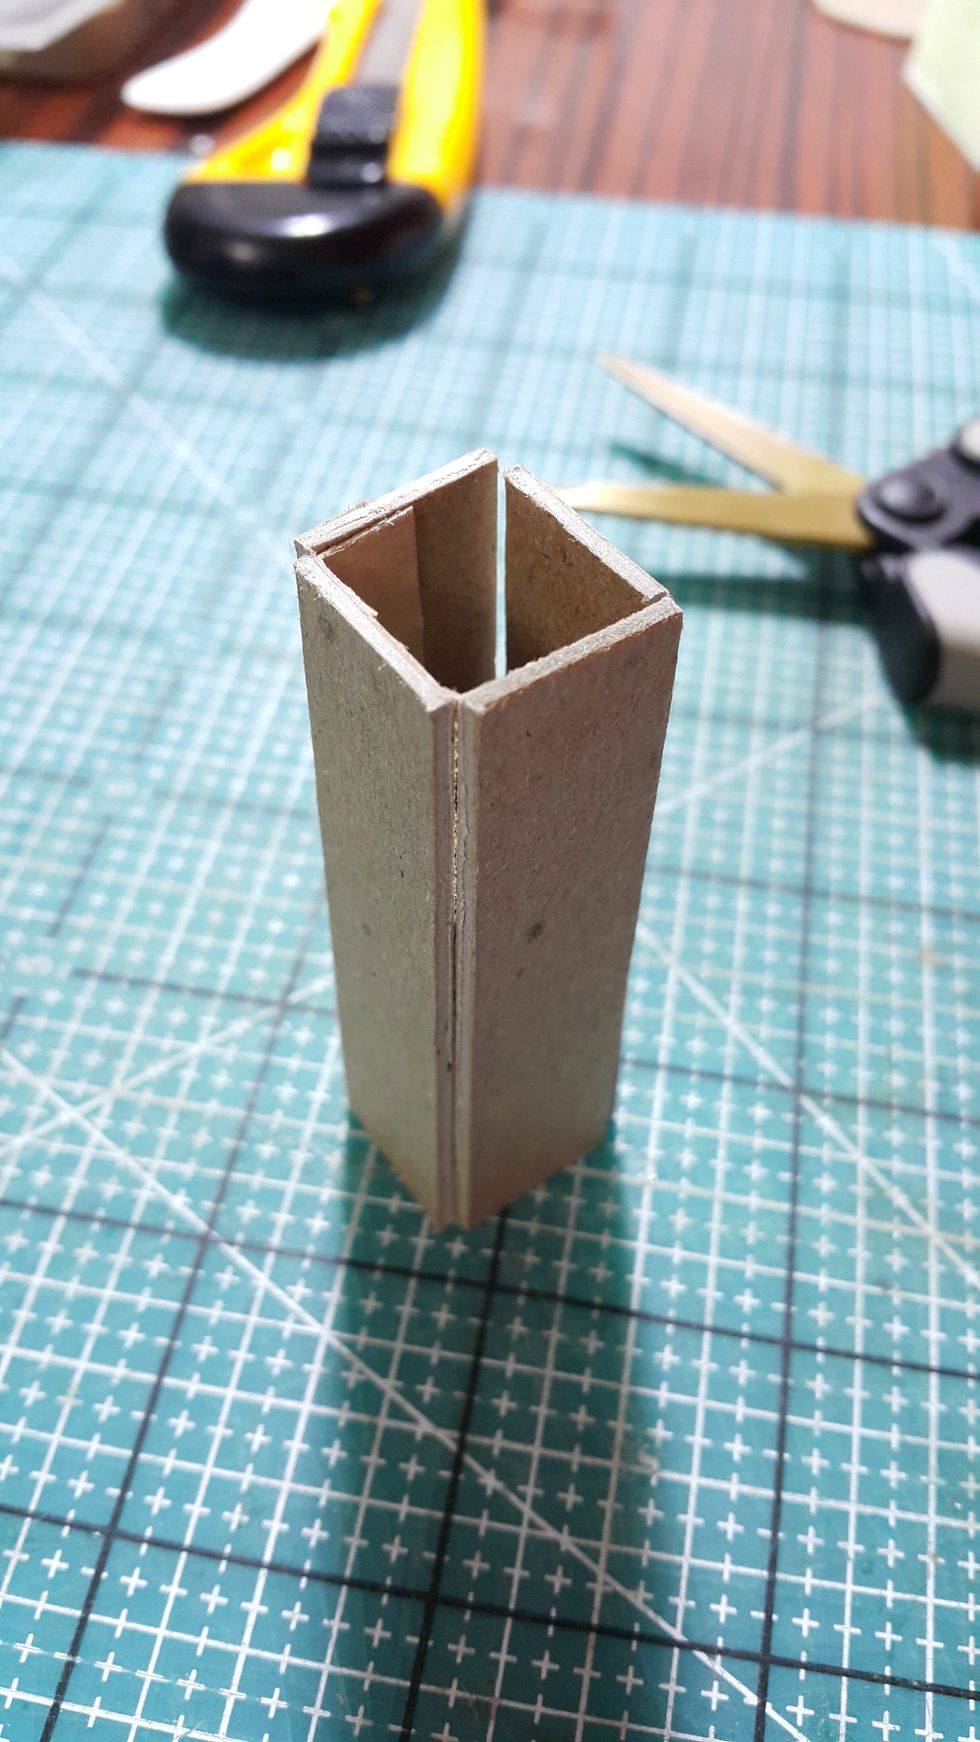
As only the stand is not steady enough, I use a die cut to help making the extra legs
Every legs width 1", which consist of three pieces of chipboard and cover with paper on both sides
These are the legs for the funny fan
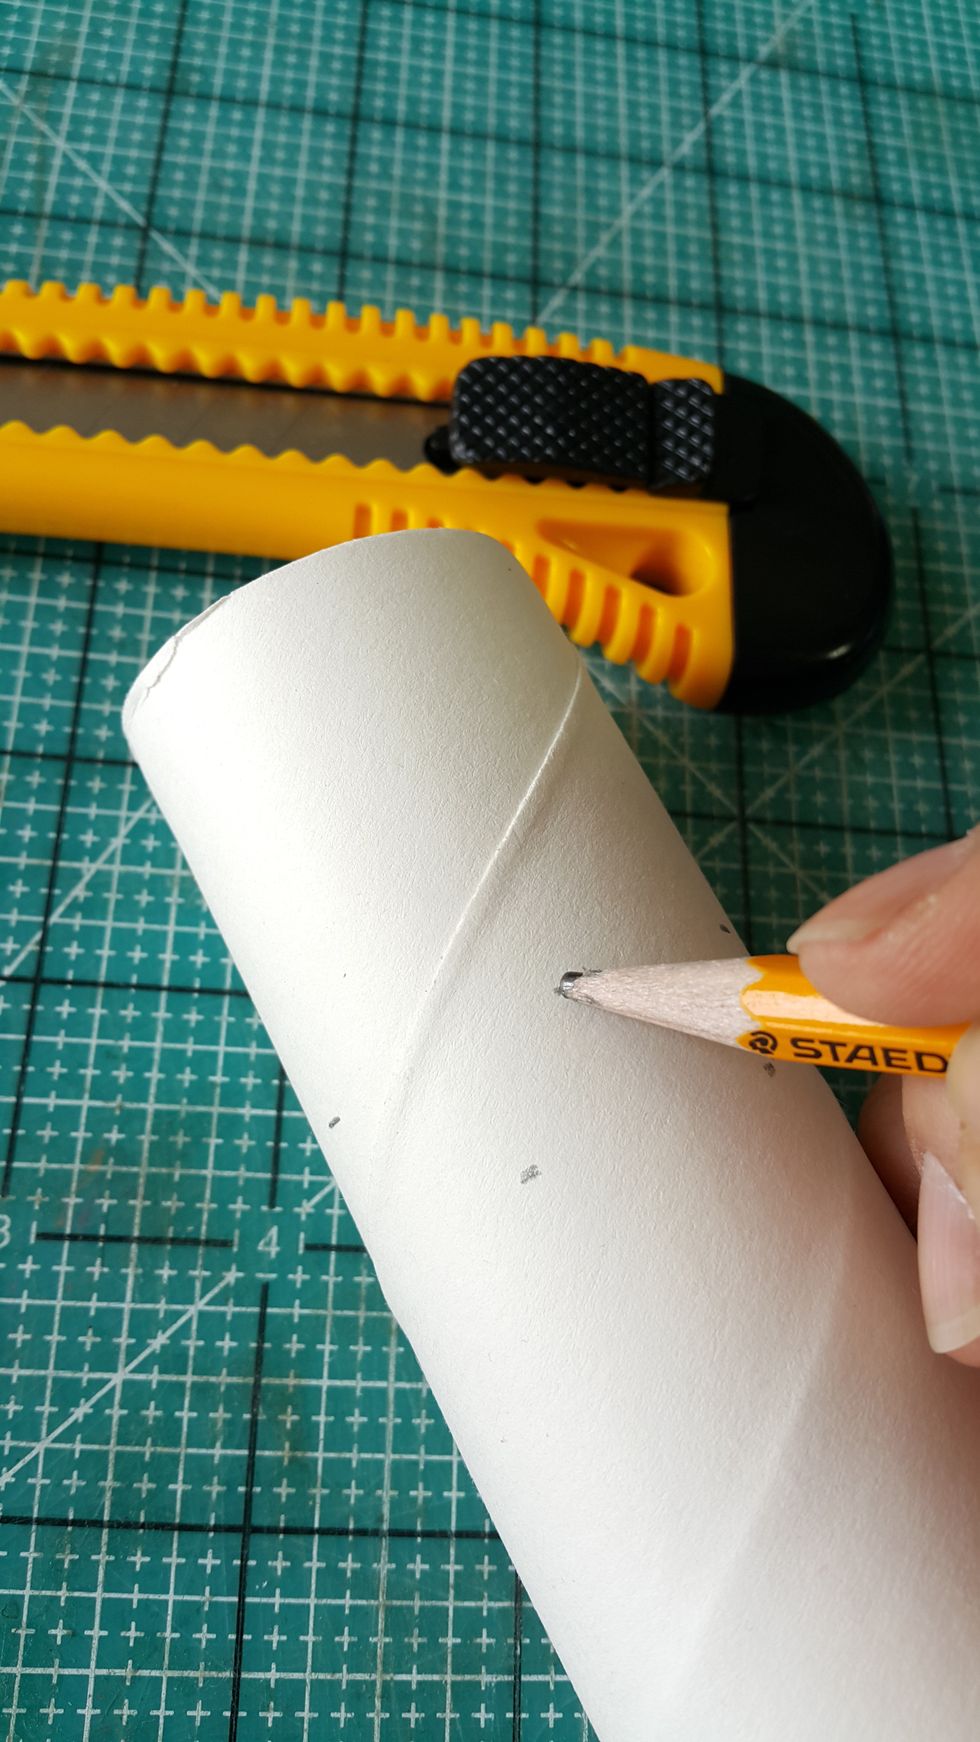
Mark 2-1/2" round the toilet tissue roll
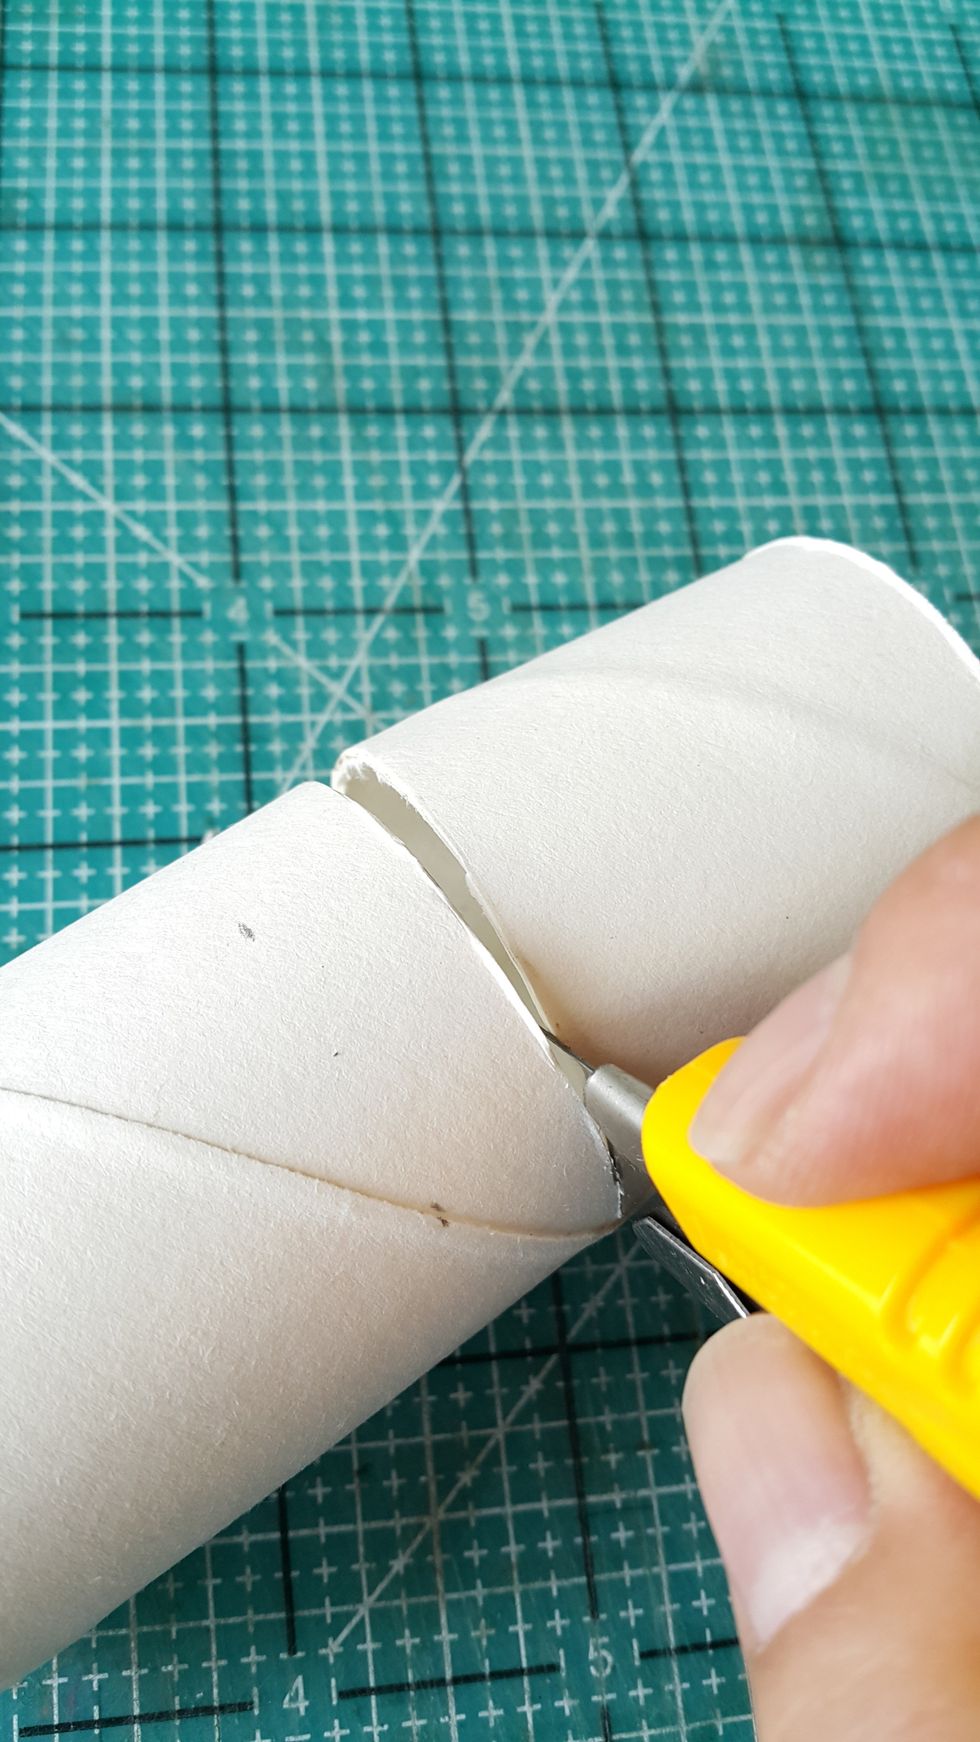
Cut with cutter, you don't need to make it perfect
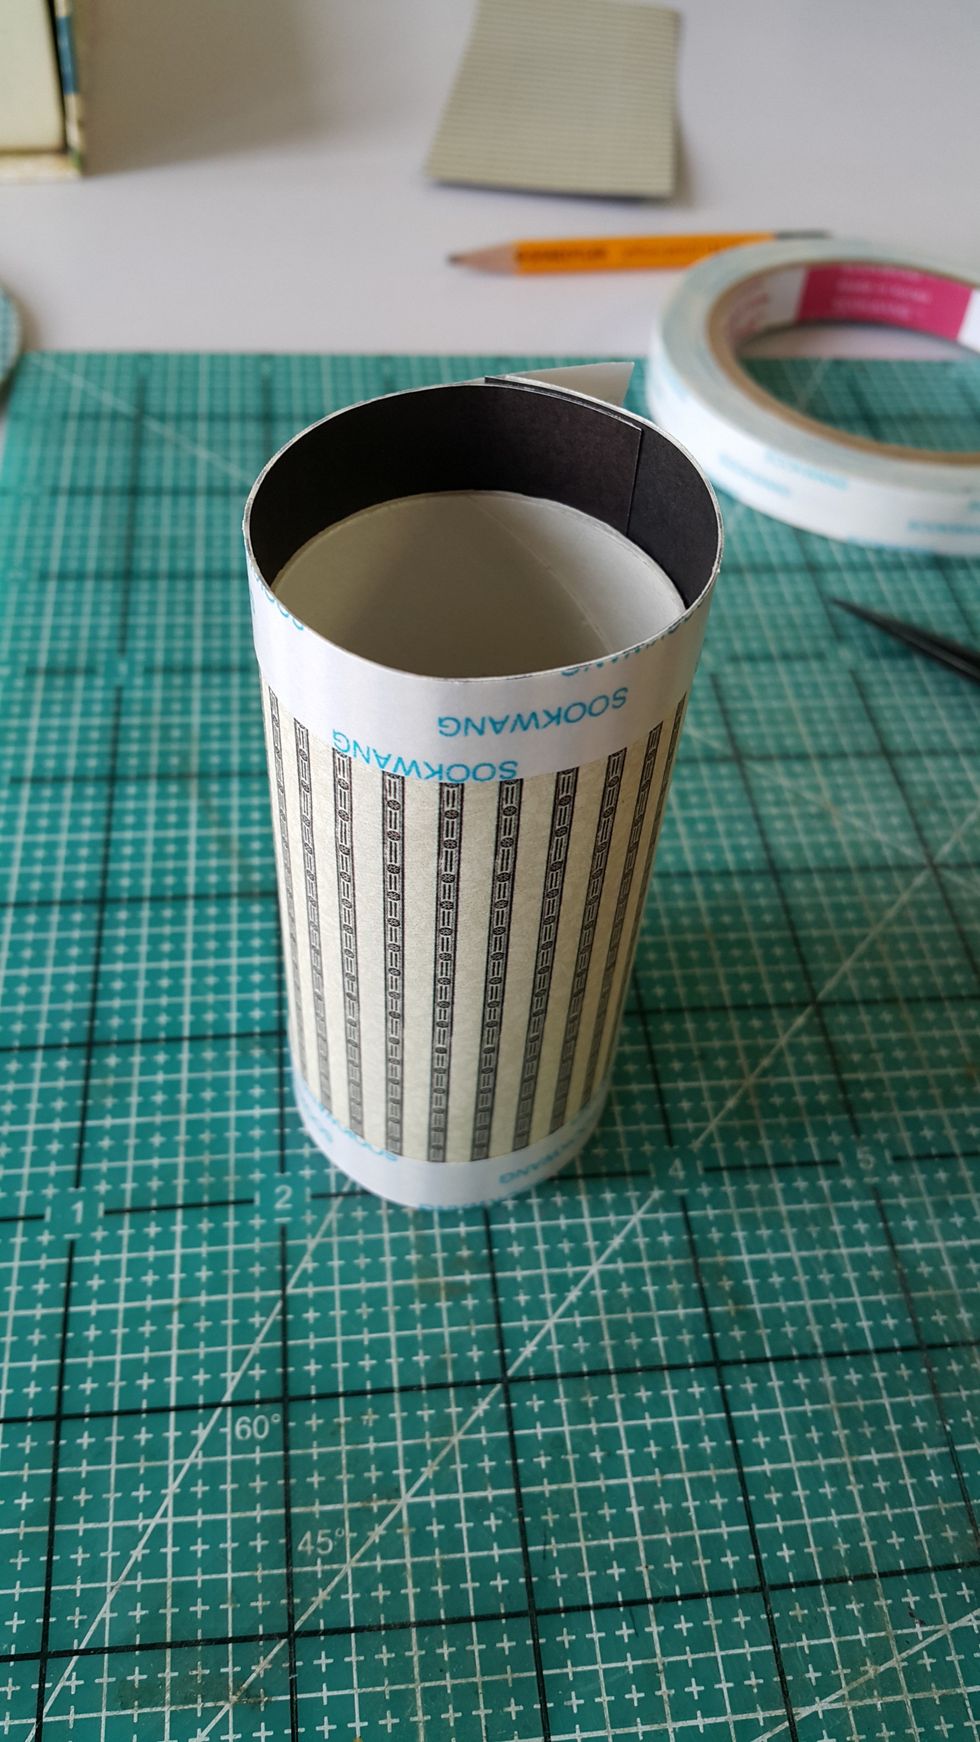
Cover with your favourite Graphic 45 papers, left 1/2" on both sides
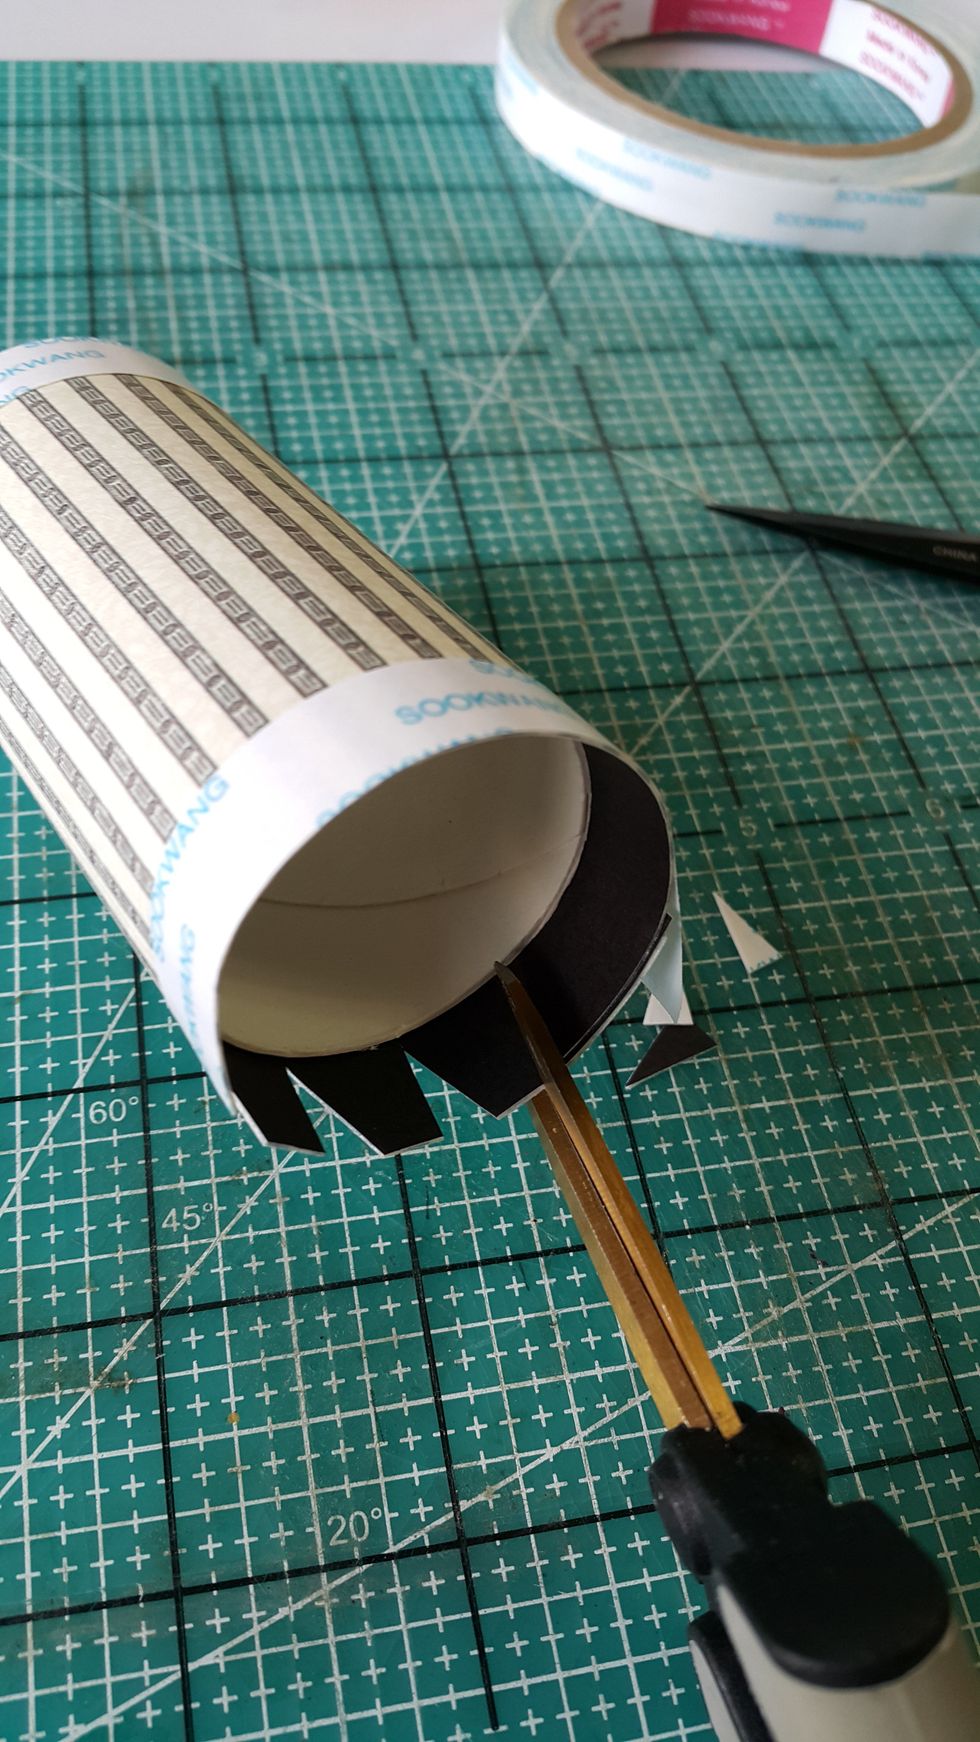
Cut the leftover 1/2" into shapes, which make easier for you to fold and adhere
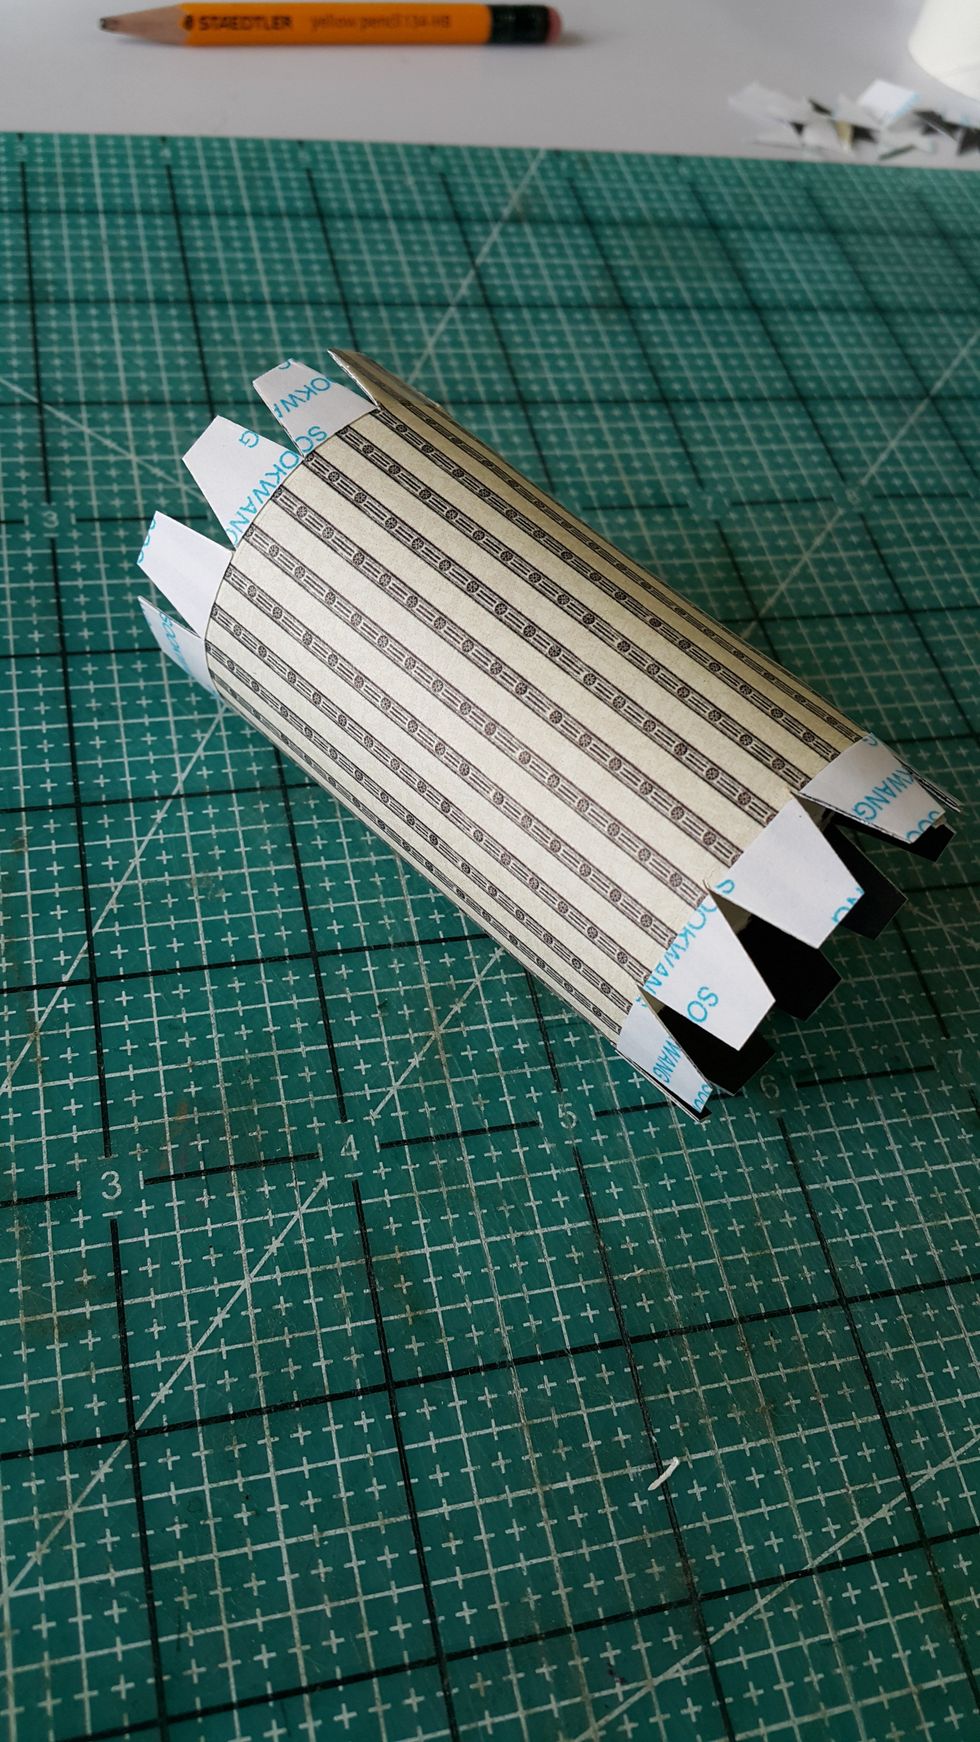
This is how it looks after finishing all the cuts
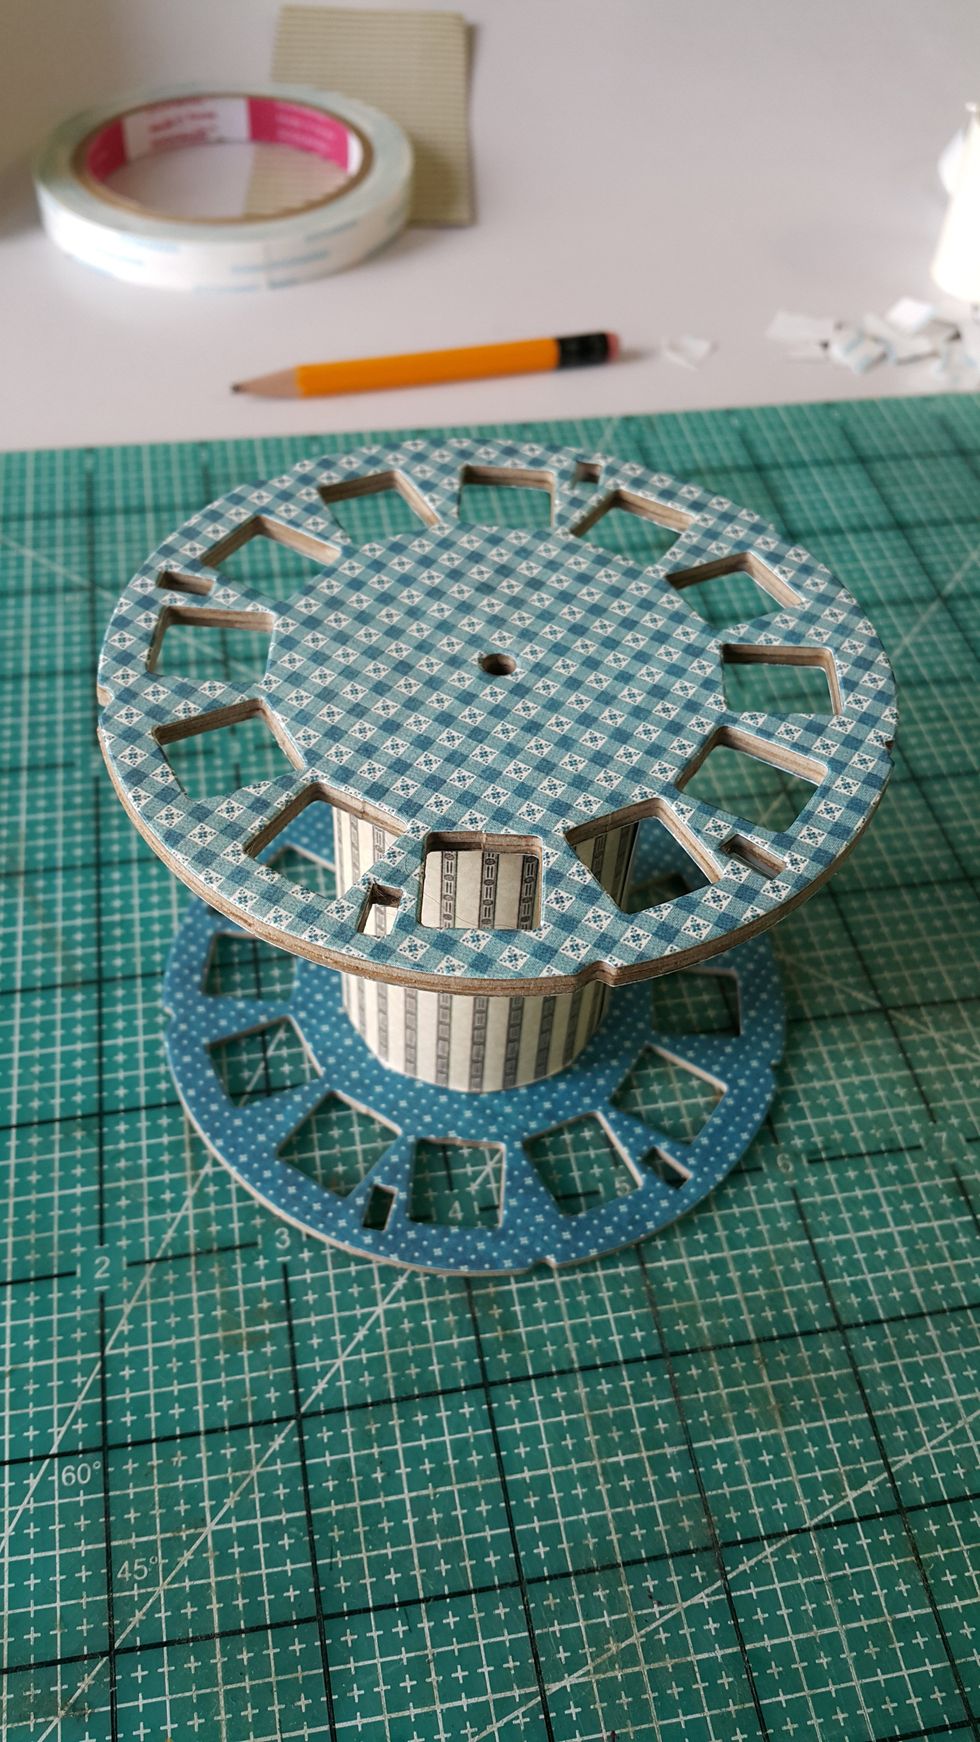
Adhere the base and the top
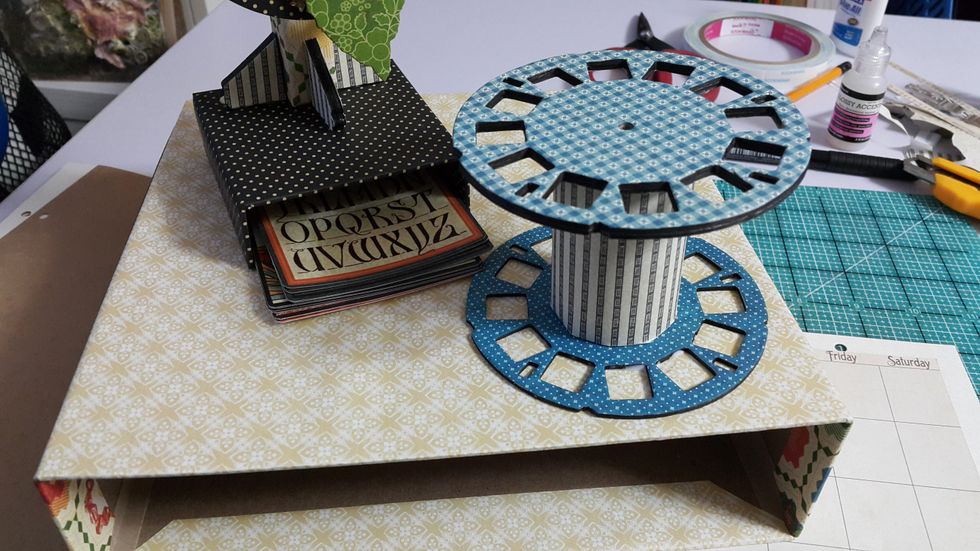
You can now place on top of the planner box to see what it looks
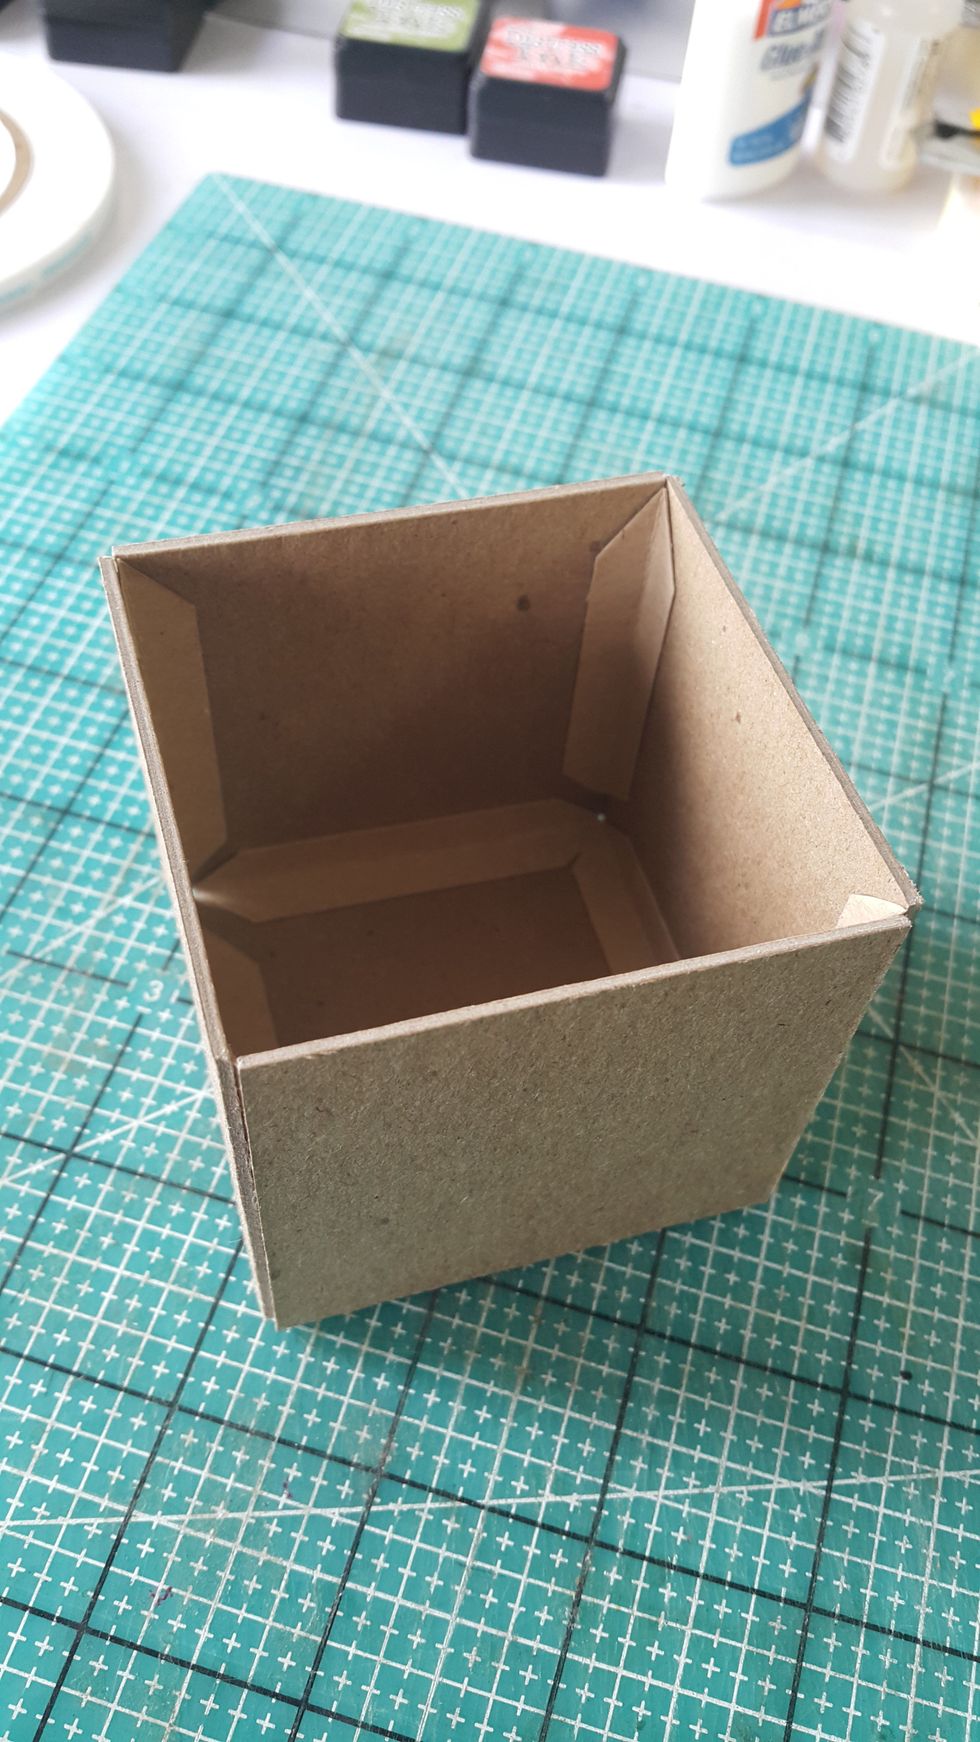
The last main elements of this planner set is the little storage box, I've made it 2-1/2" cube, open top for the extra lid

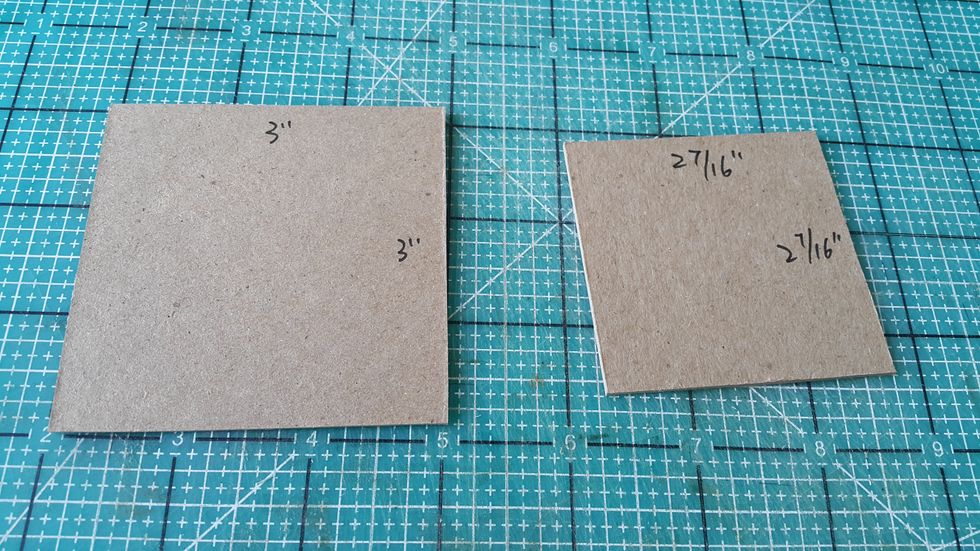
Cut two pieces of the chipboard for the lid of the little storage box
Cover with your favorite Graphic 45 papers, only one side of each chipboard is fine
Adhere them together, the smaller piece will be the bottom so your lid can stay without moving
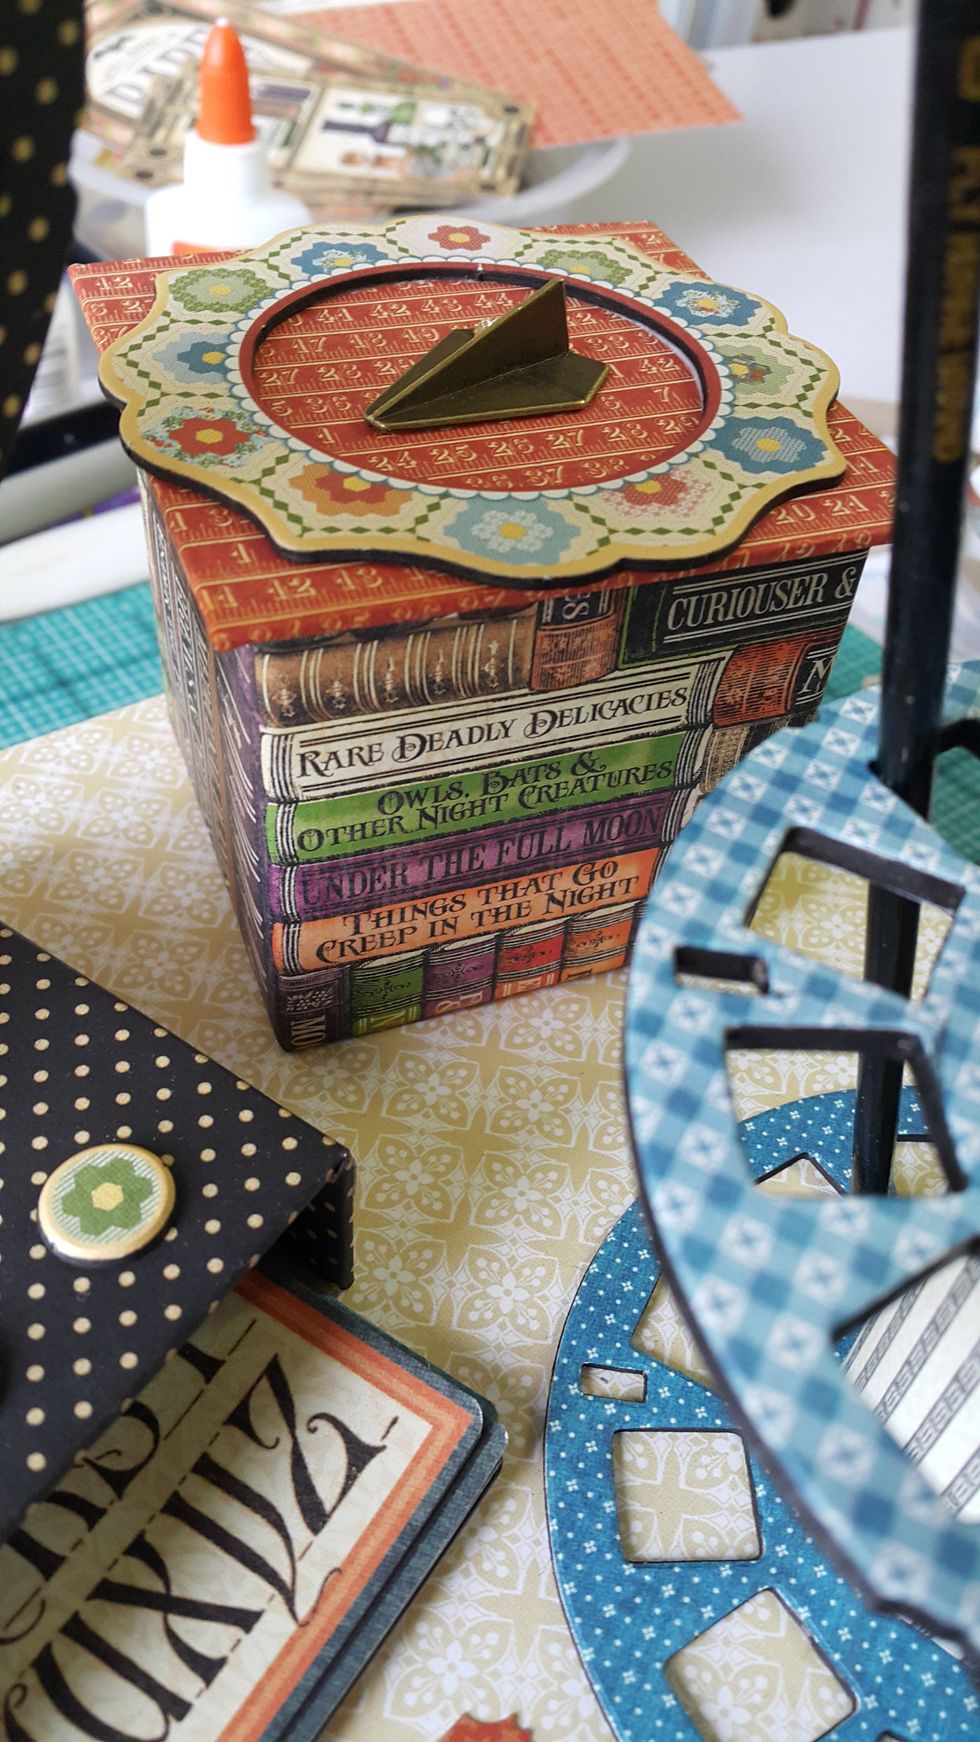
Decorate the lid and done
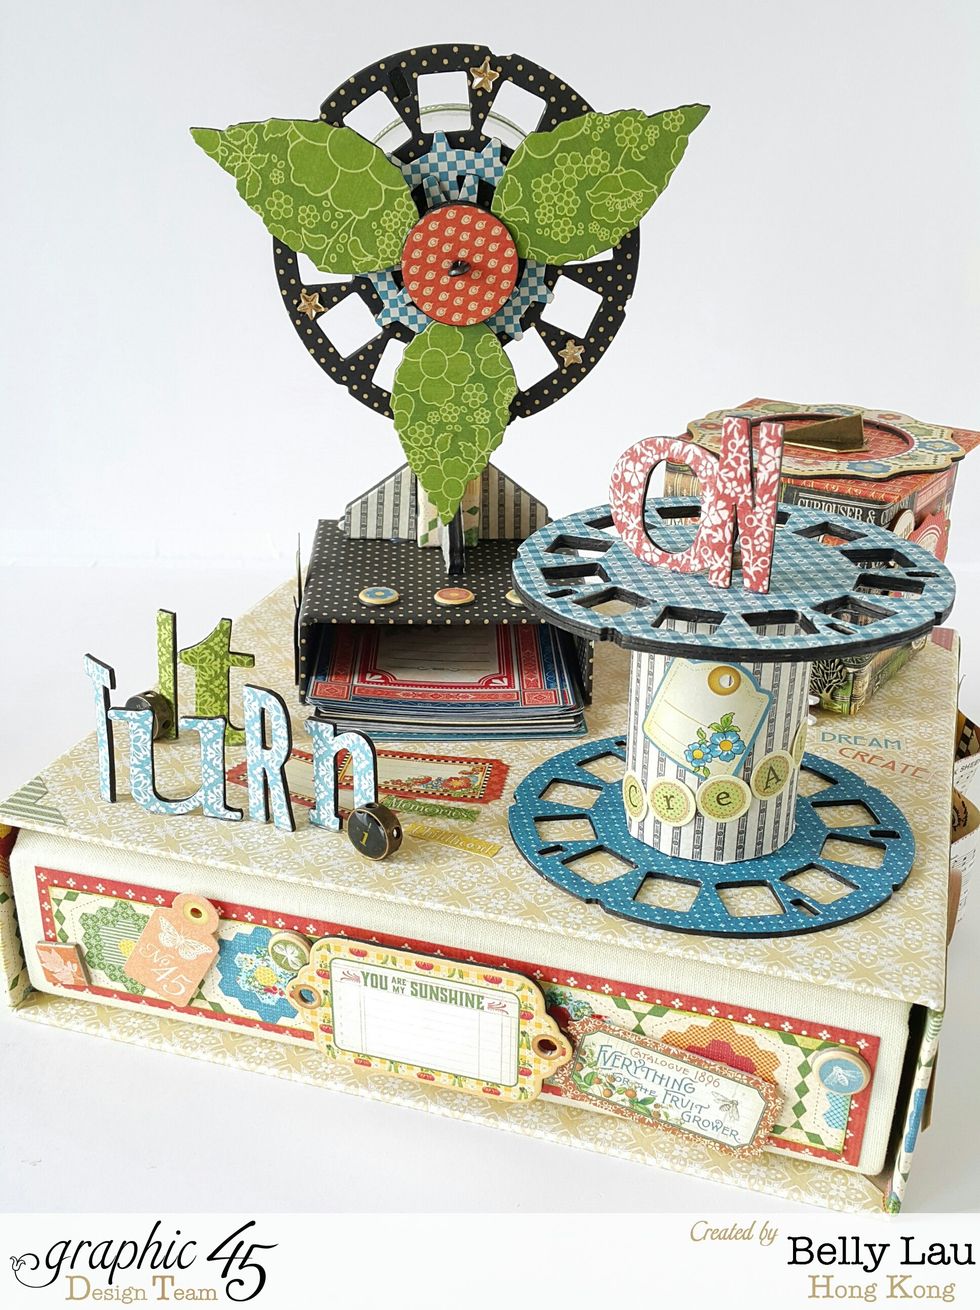
Add on some letters to decorate the planner set
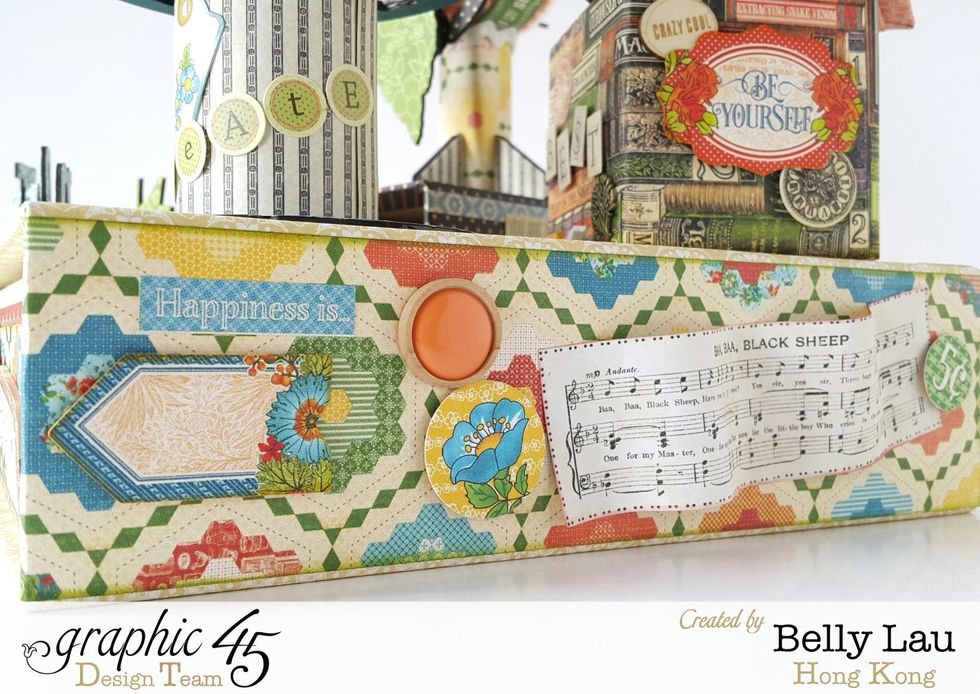
By the side of the planner box, cut out some paper pieces and use some stickers to decorate
The other side of the planner box
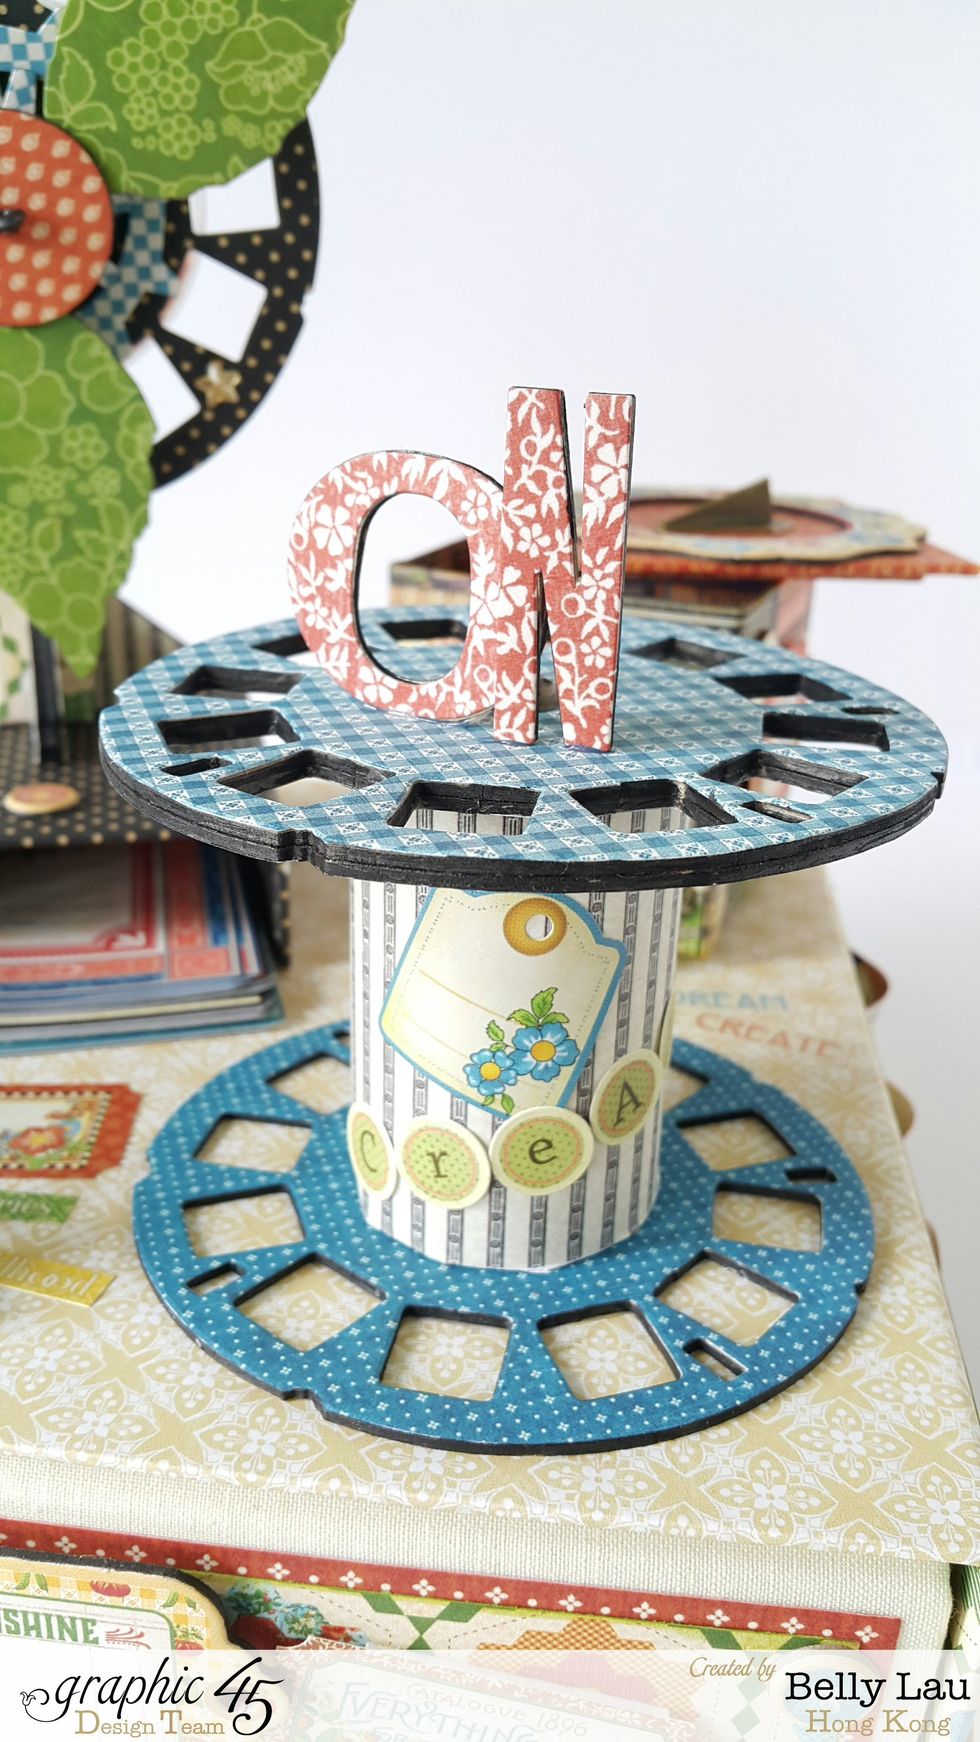
Stickers to decorate the pen stand
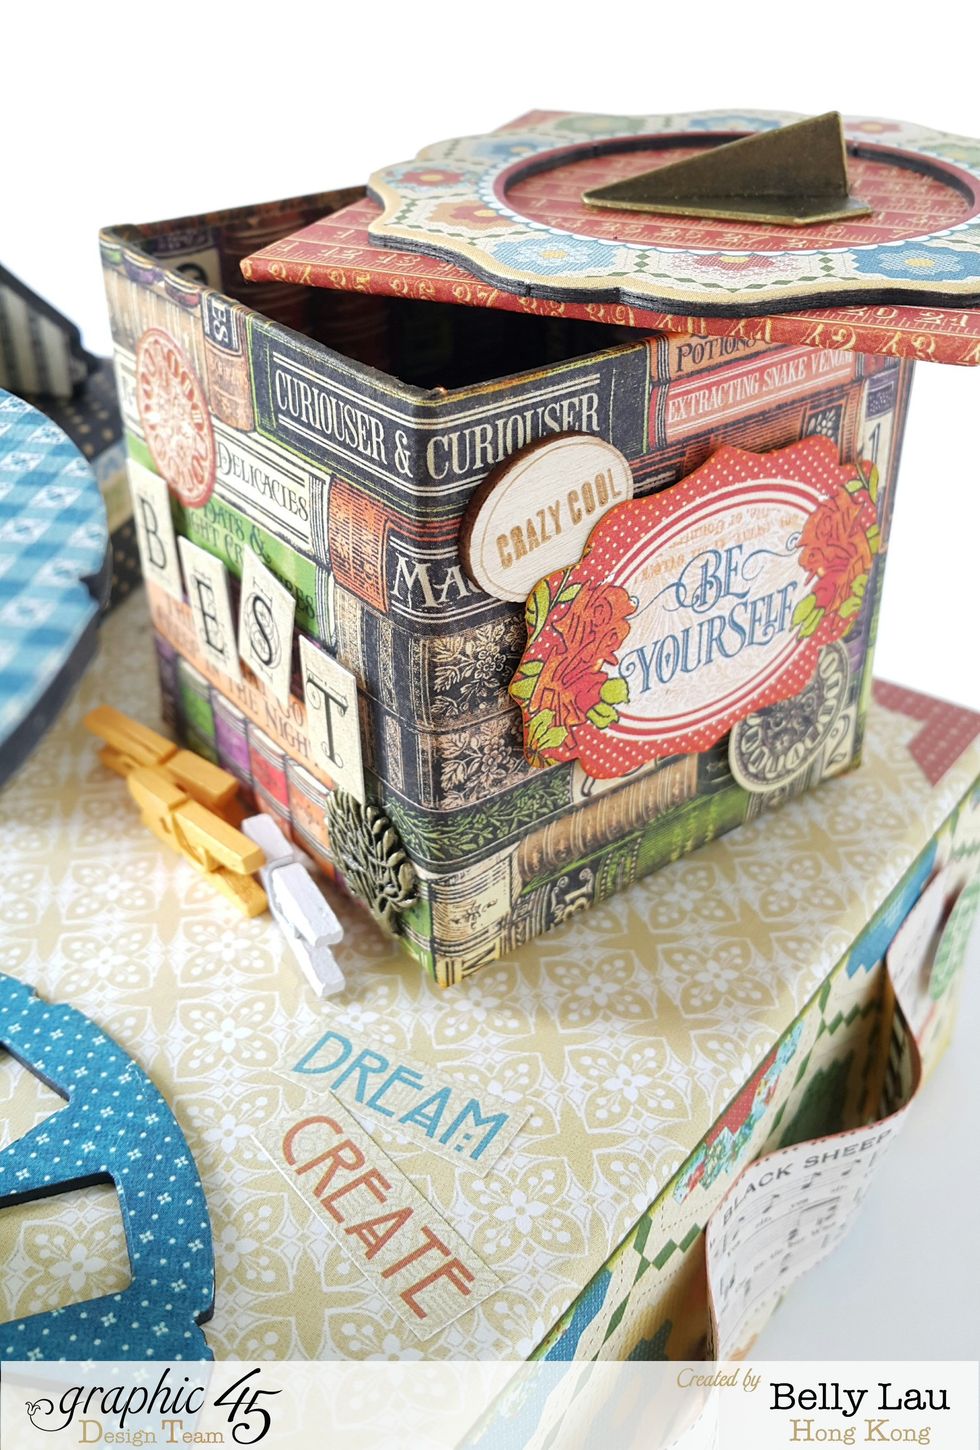
Stickers, wood pieces and metal embellishments to decorate the little storage box
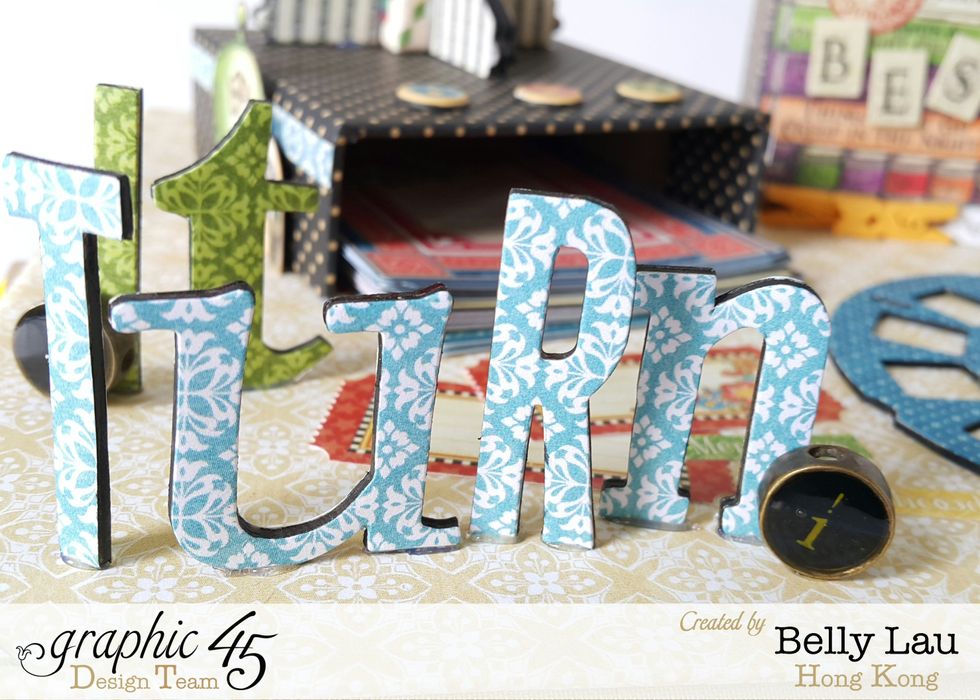
Use strong glue to adhere the die cut letters
Use chipboard as accents for the funny fan
You can decorate the planner however you like with Graphic 45 papers and cards
Punch hole on some accents to decorate the planner
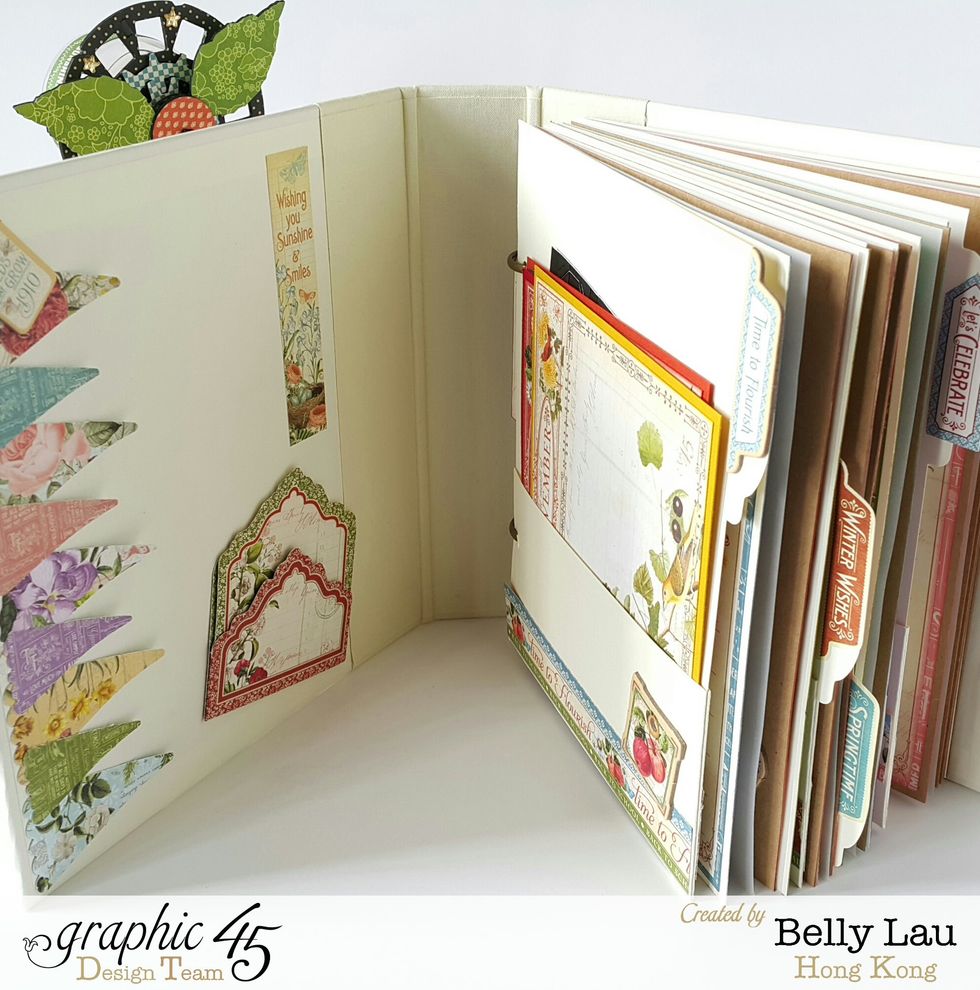
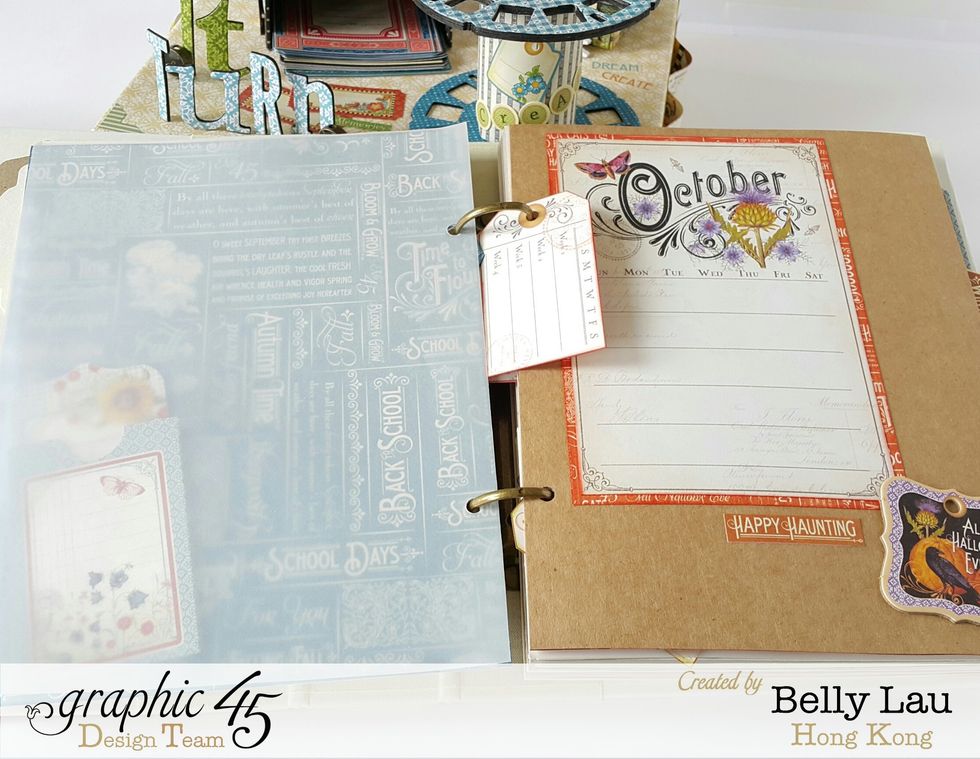
Use the pocket pages inside the Mixed Media Album for cards
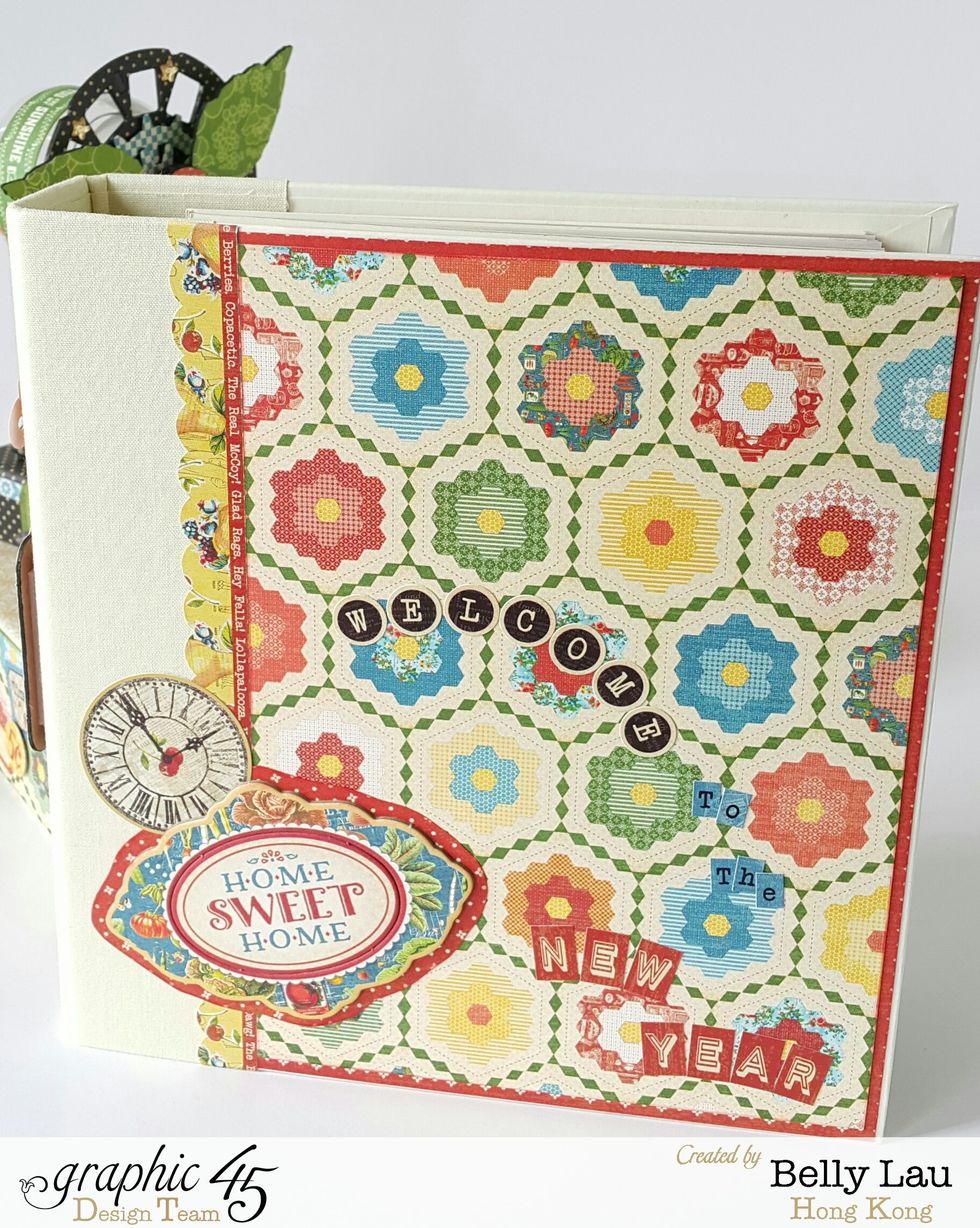
Cover the front of the Mixed Media Album with your favorite Graphic 45 papers, reminds not to bulky with the decoration as you need to slide inside the box
You have to make the planner box just fit on the top, otherwise the box cannot support the weight of all the decorations