The Conversation (0)
Sign Up
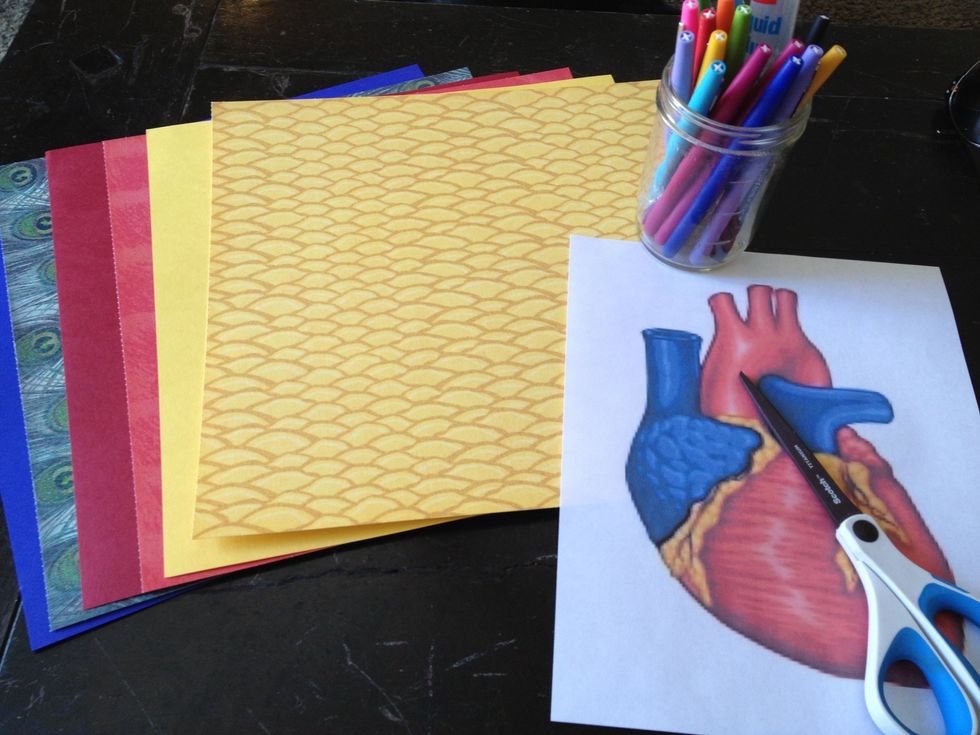
gather your supplies - I used a template from google images (not as correct as I'd like it to be, but for the card it will work perfect - not too much detail.)
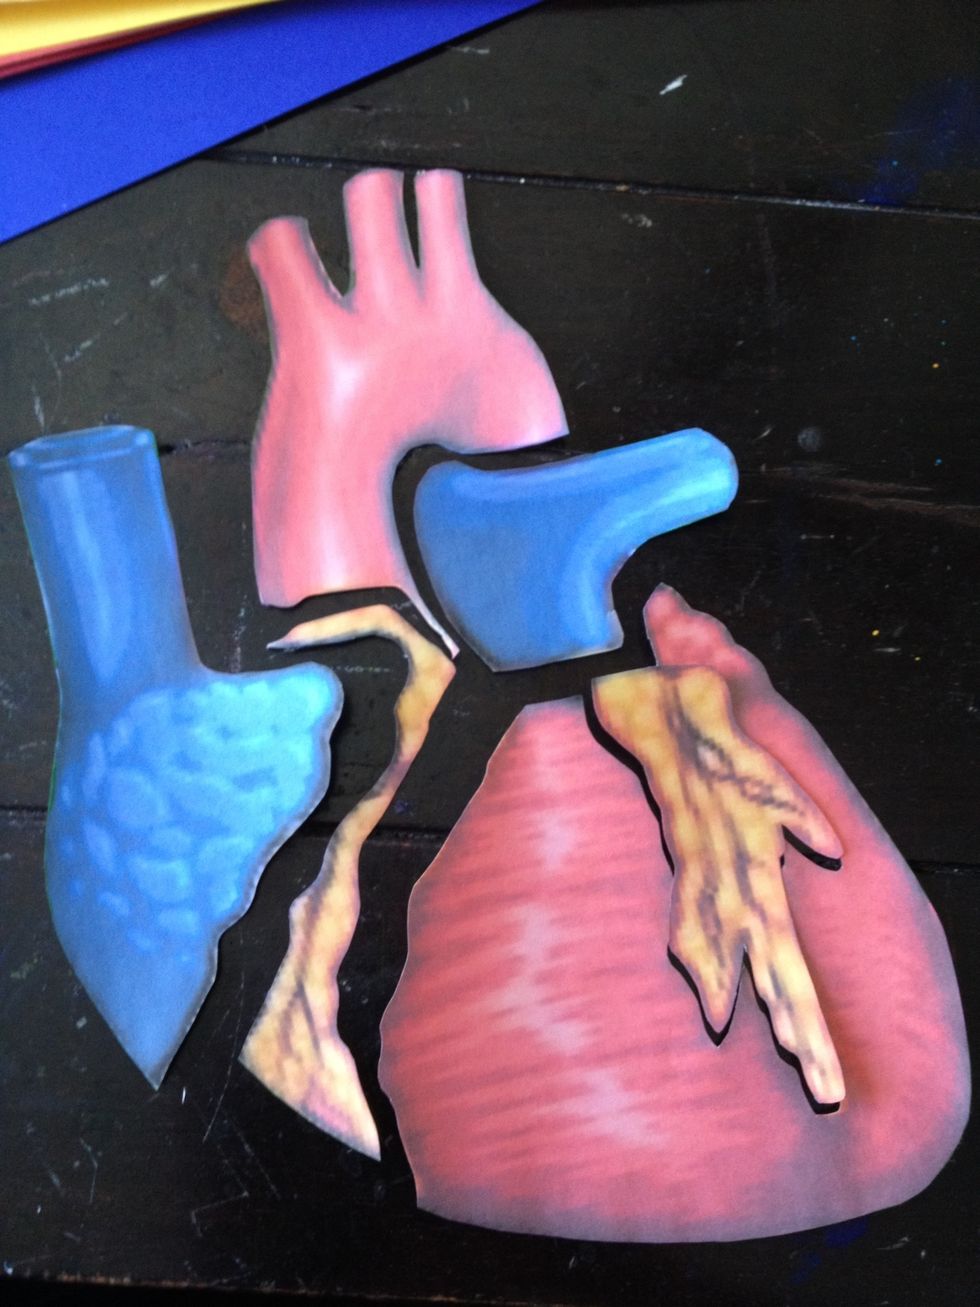
cut apart your template.
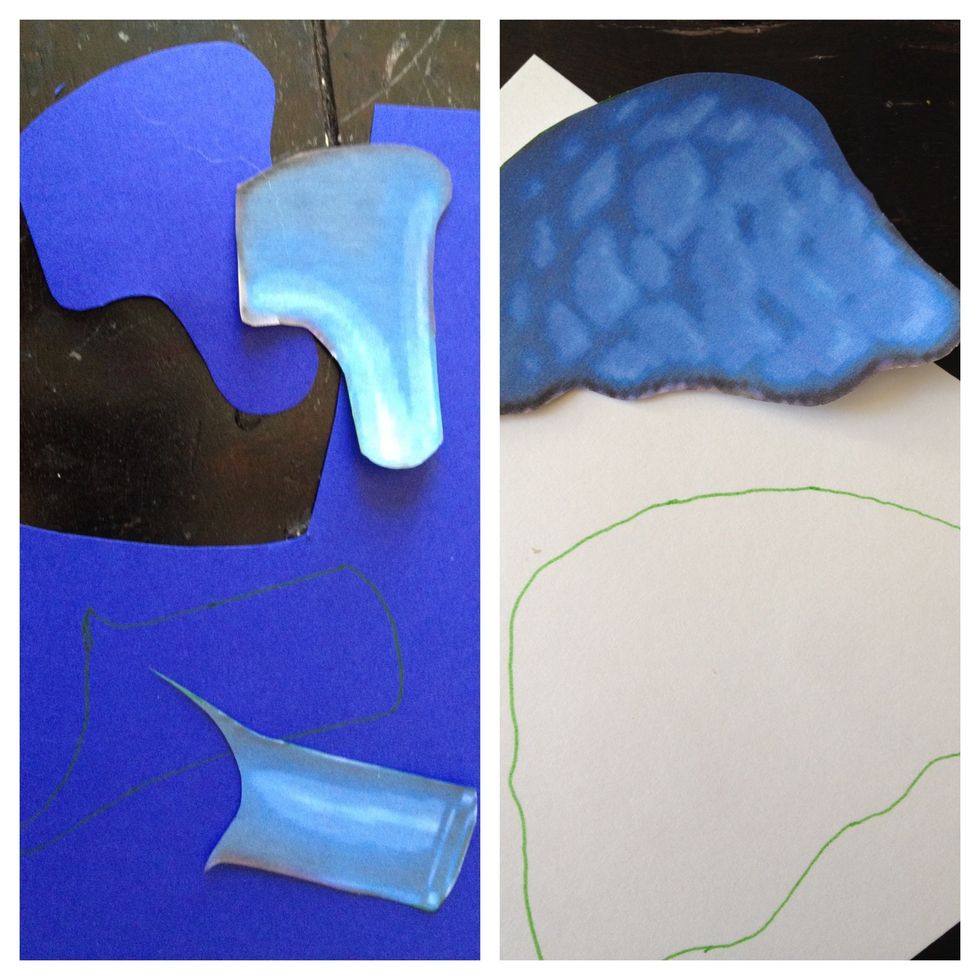
now use your template to trace the different pieces of the heart onto the corresponding color of paper. I used dark blue, a blue peacock print, red, pink zebra print, and yellow snake print.
remember: when you're tracing, flip the image upside down in order to make sure the part of the heart faces the right direction.
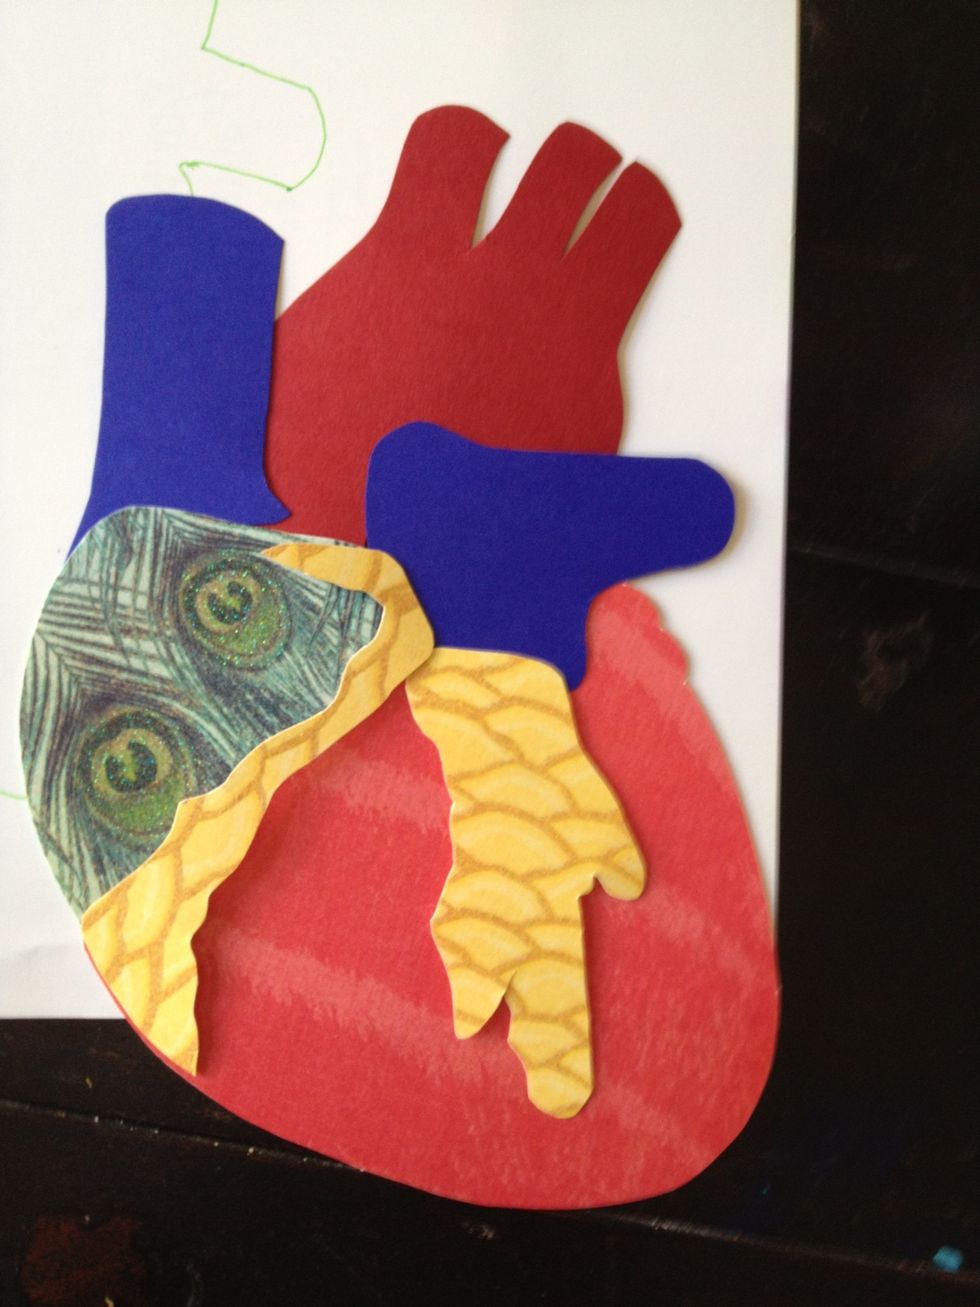
once they've all been cut out, arrange before gluing to get an idea of the process (what goes where, what to glue first, foresee any problems.)
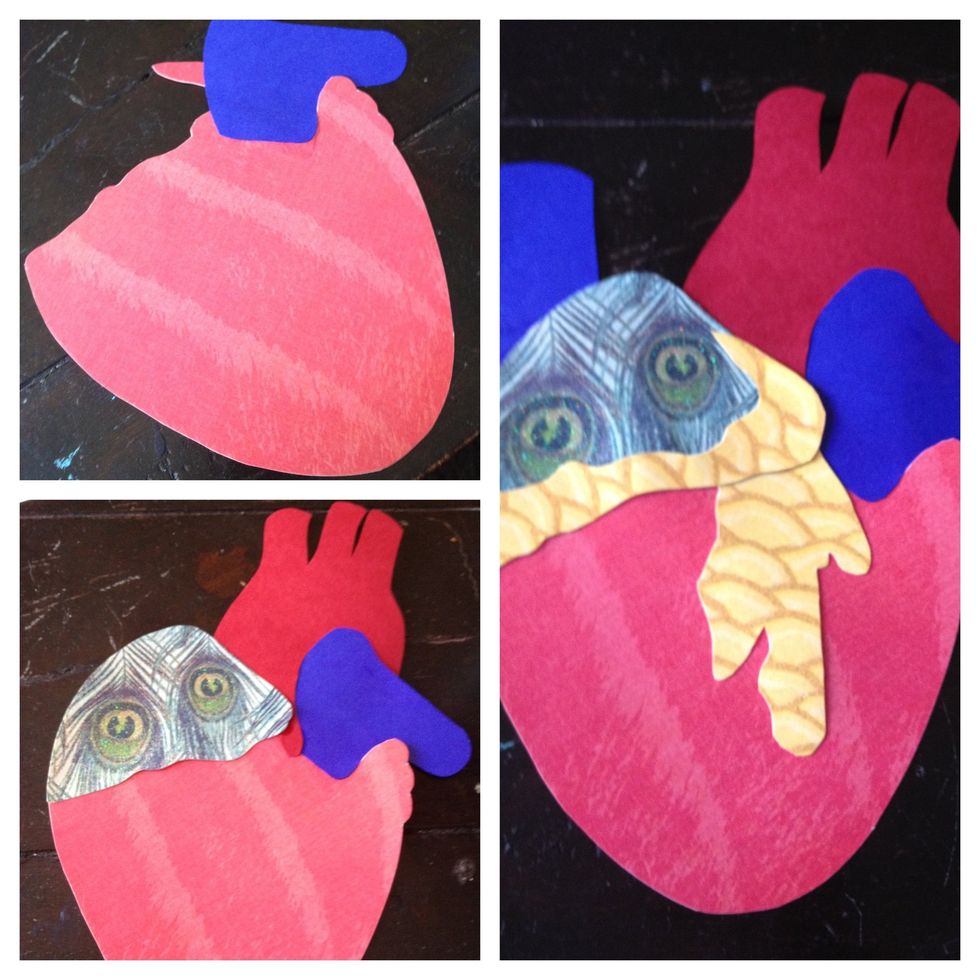
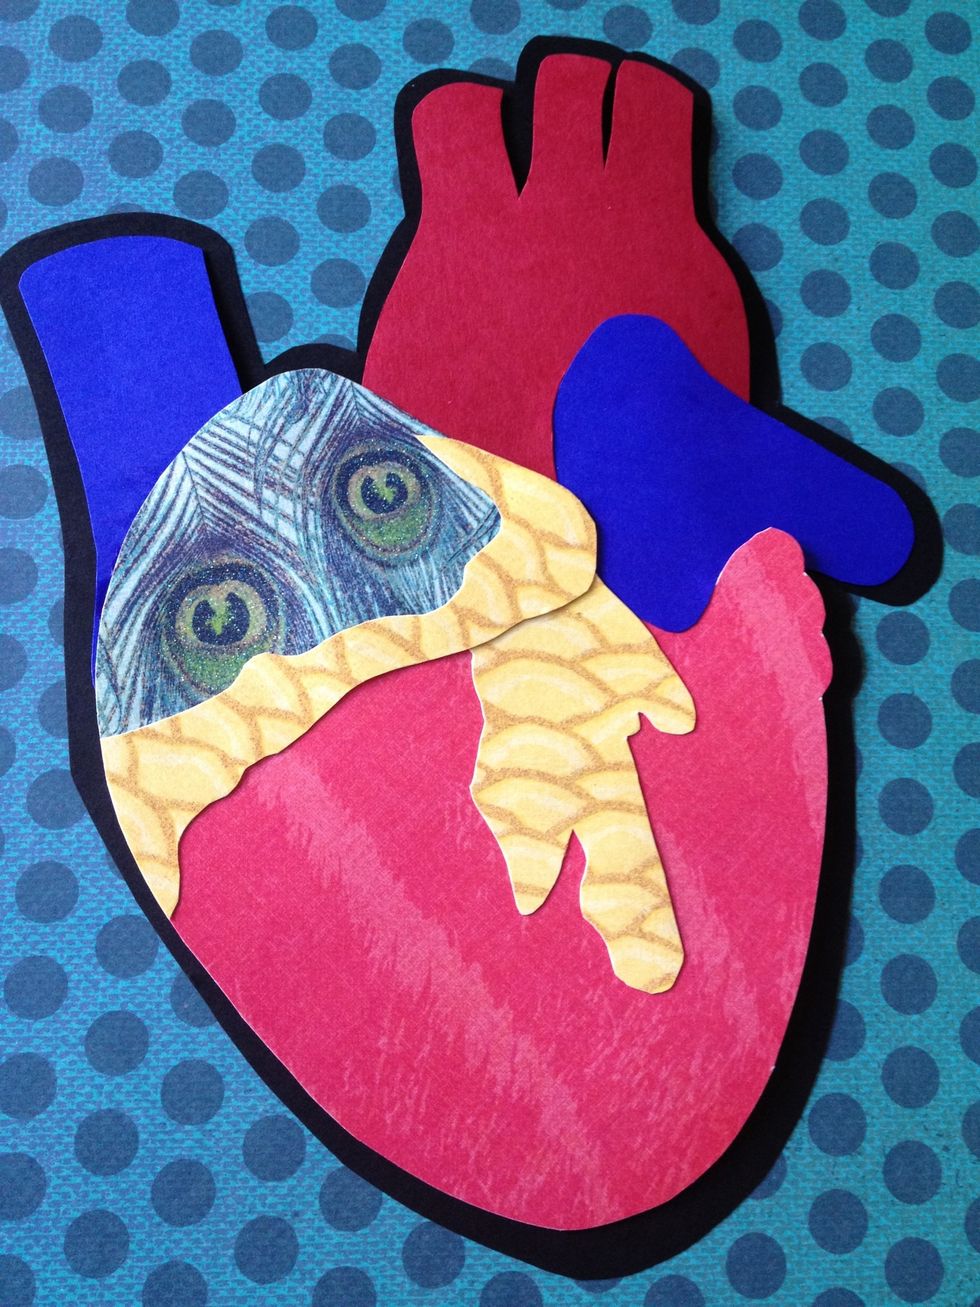
this was MY process for gluing, yours may vary. and then the final heart product.
I traced and cutout a black backing and than mounted on this fun polka-dot patterned paper. this backing is a single, rectangle sheet. you can fold it to make the card or tie with ribbon.
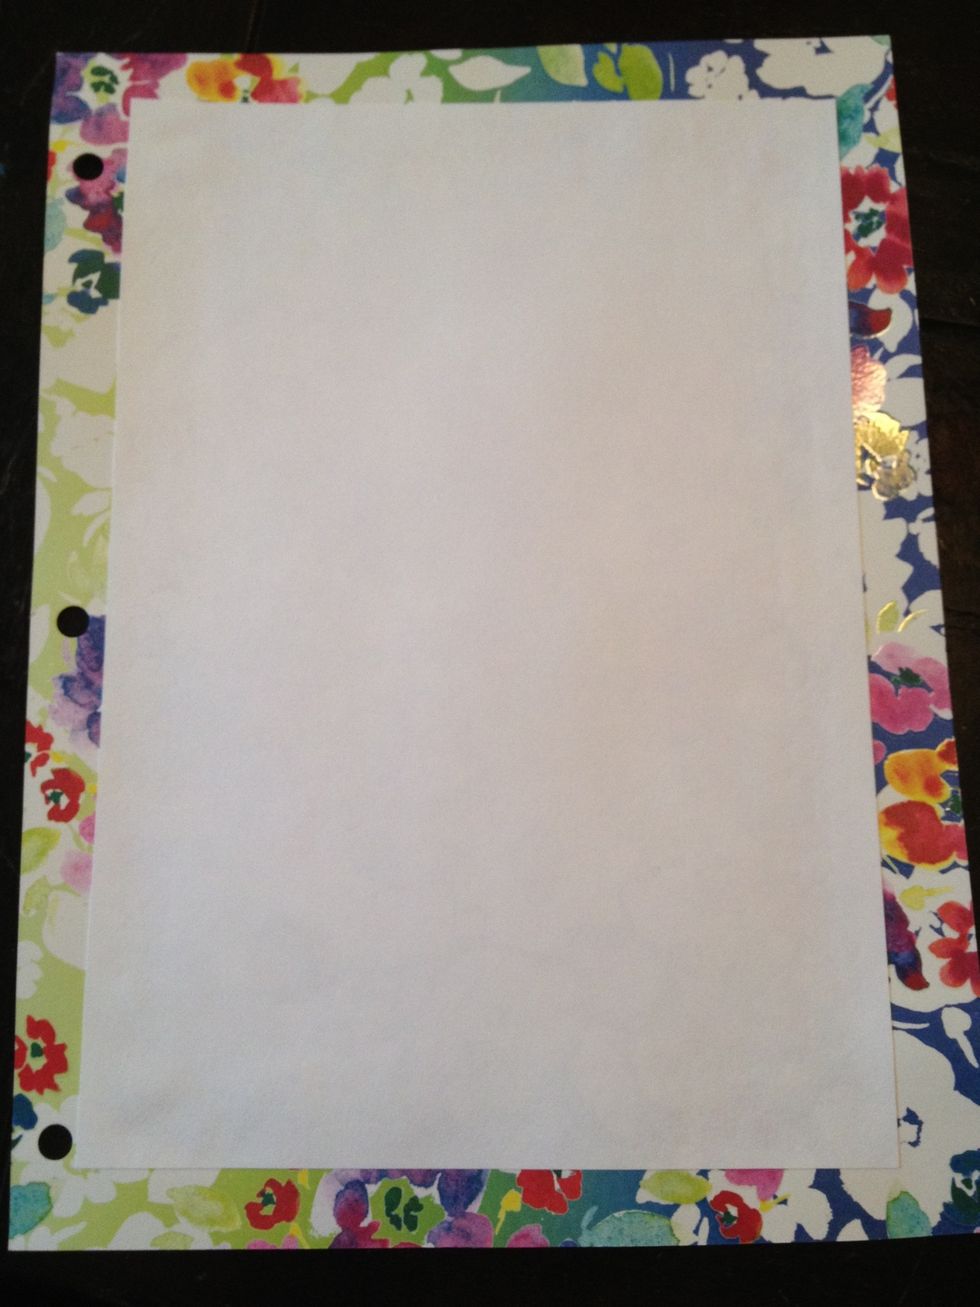
I made a fun second sheet for us to write on - I used a rectangle patterned paper and a small white rectangle glued together.
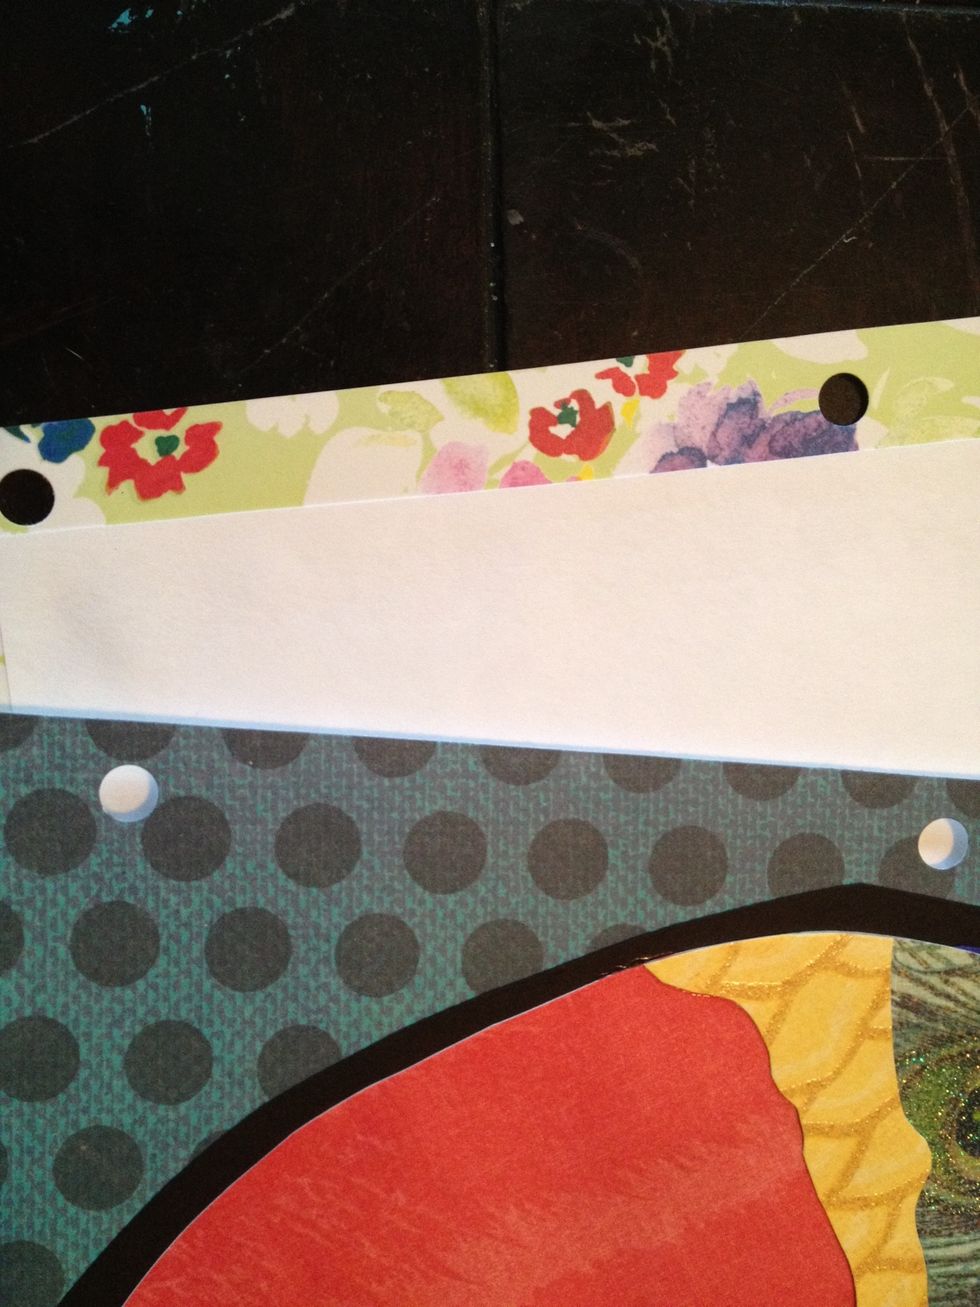
hole punch the left side of both cards; if you do them at the same time, it will assure the holes will line up.
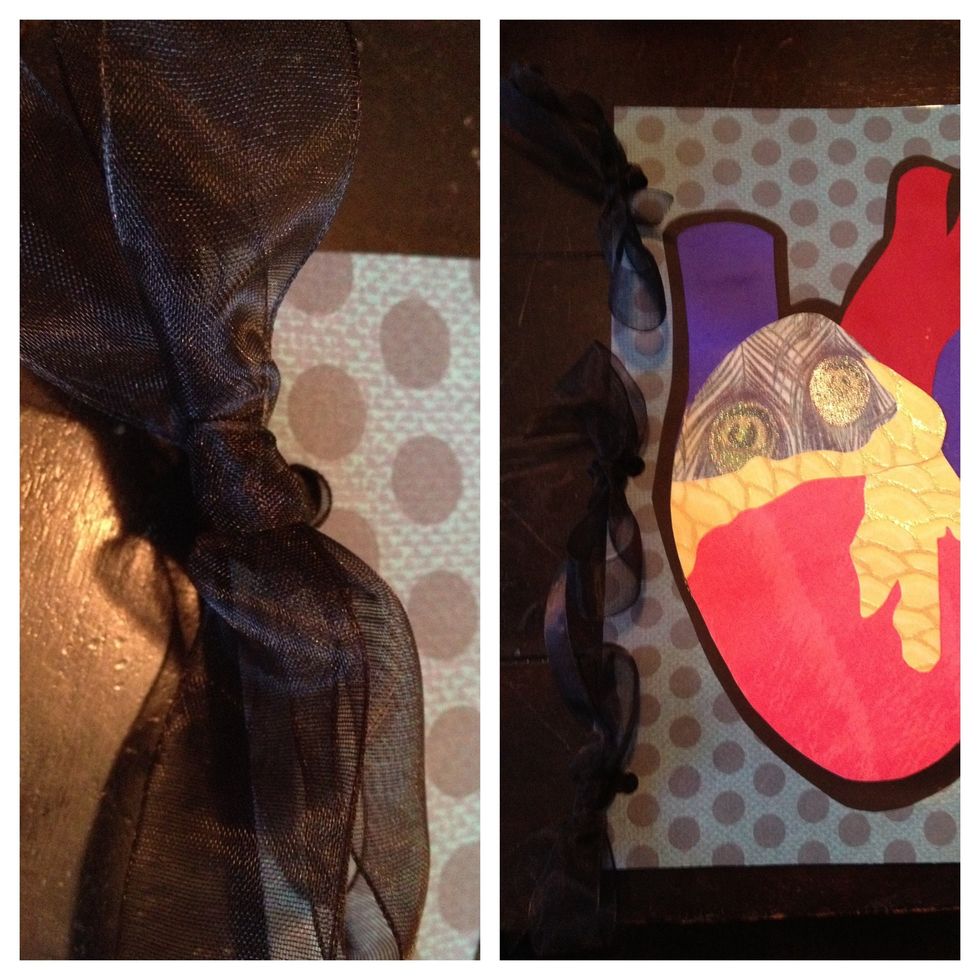
tie a ribbon thru each hole.
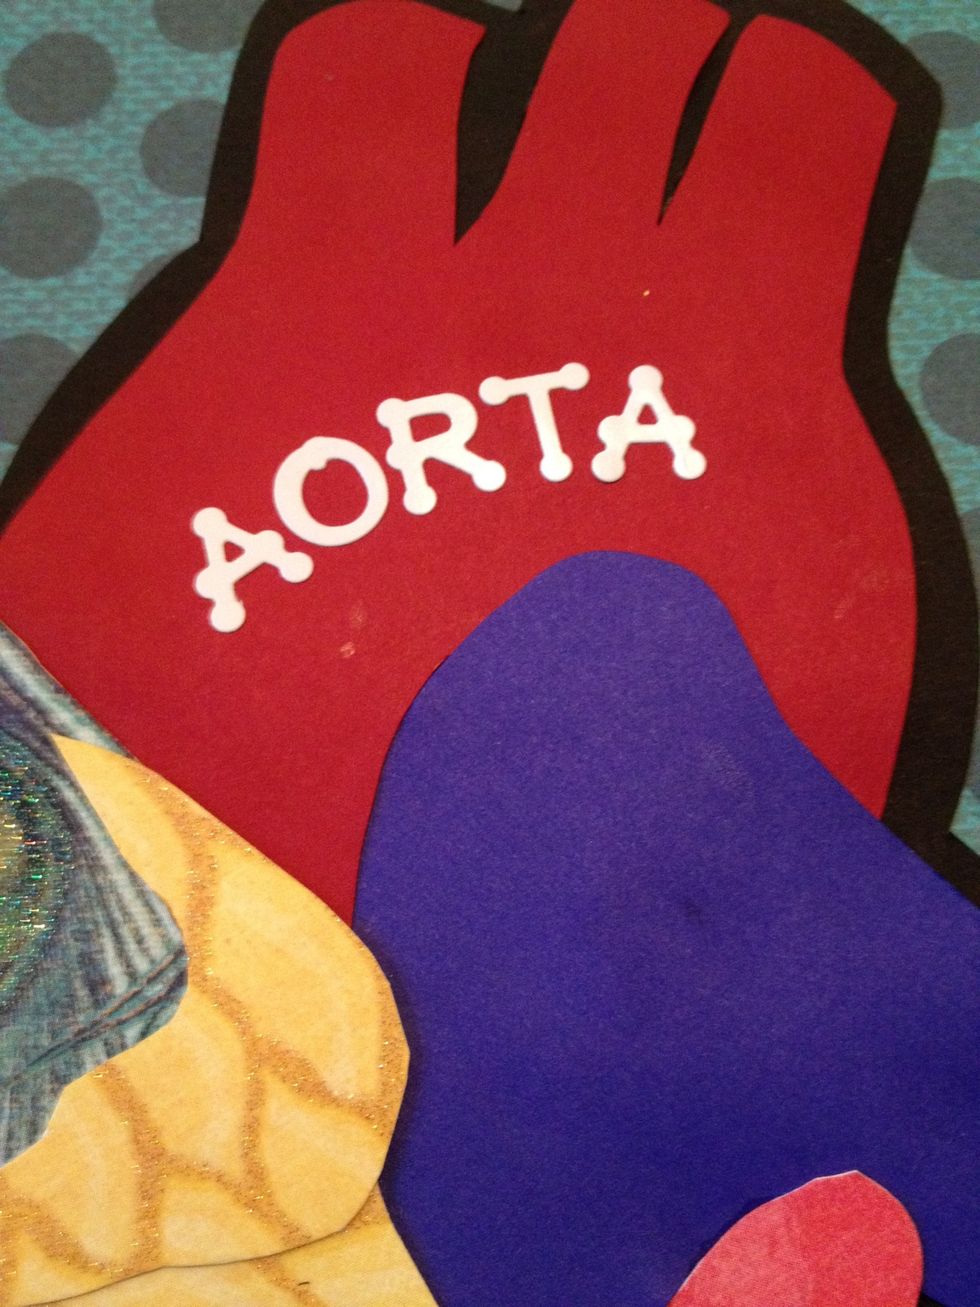
personalize with stickers. I chose to name the basic main parts of the heart, and use a pretty, silver script sticker that says, "the heart."
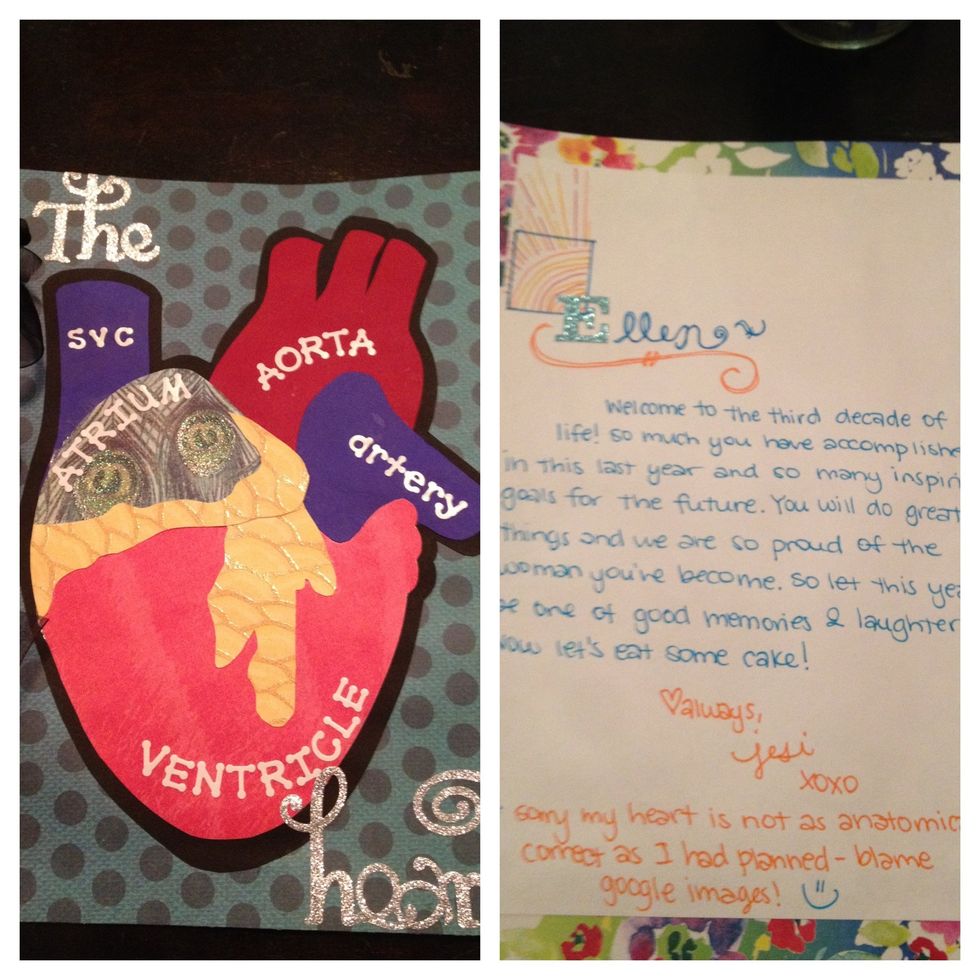
fin. this was my finished product! I hope you enjoyed the guide!