The Conversation (0)
Sign Up
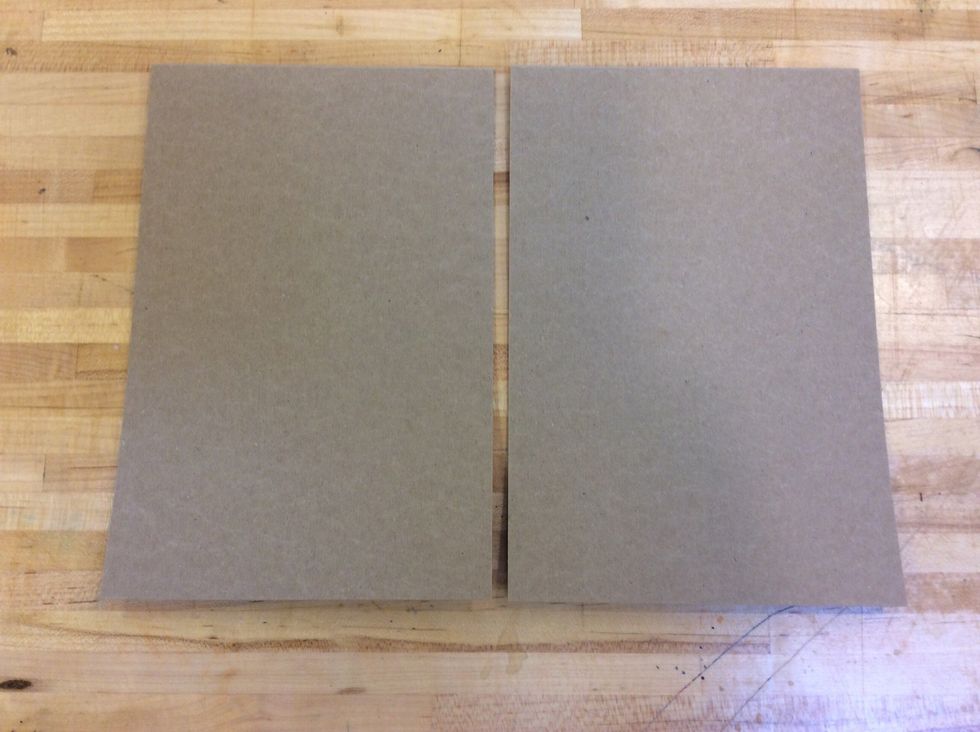
First, lay the two sheets of cardboard side-by-side with a quarter inch space between them.

Next, put down a piece of masking tape in the center of the cardboard,covering both pieces equally. (The tape should extend past the top and bottom of the cardboard pieces)
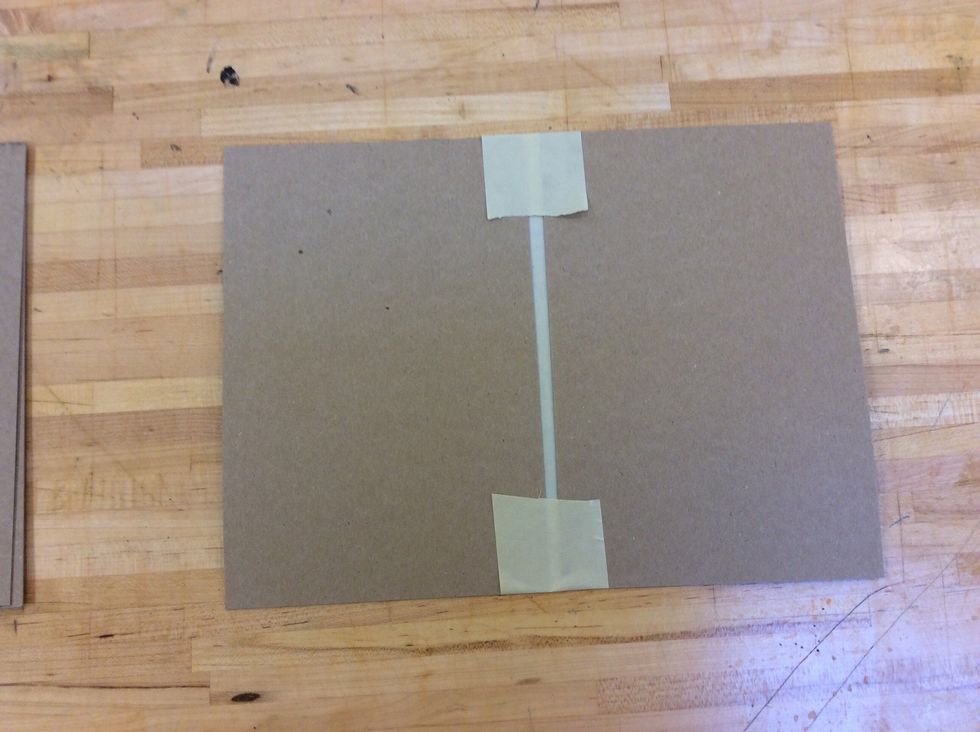
Flip over your cardboard cover and tuck the edges of the tape over onto the cardboard.
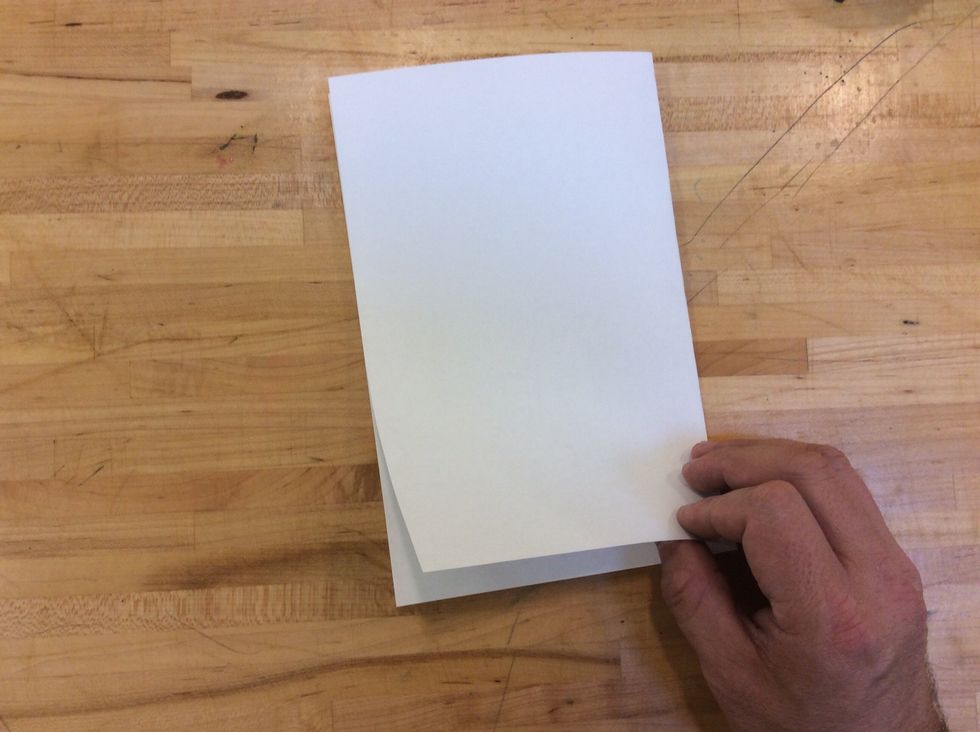
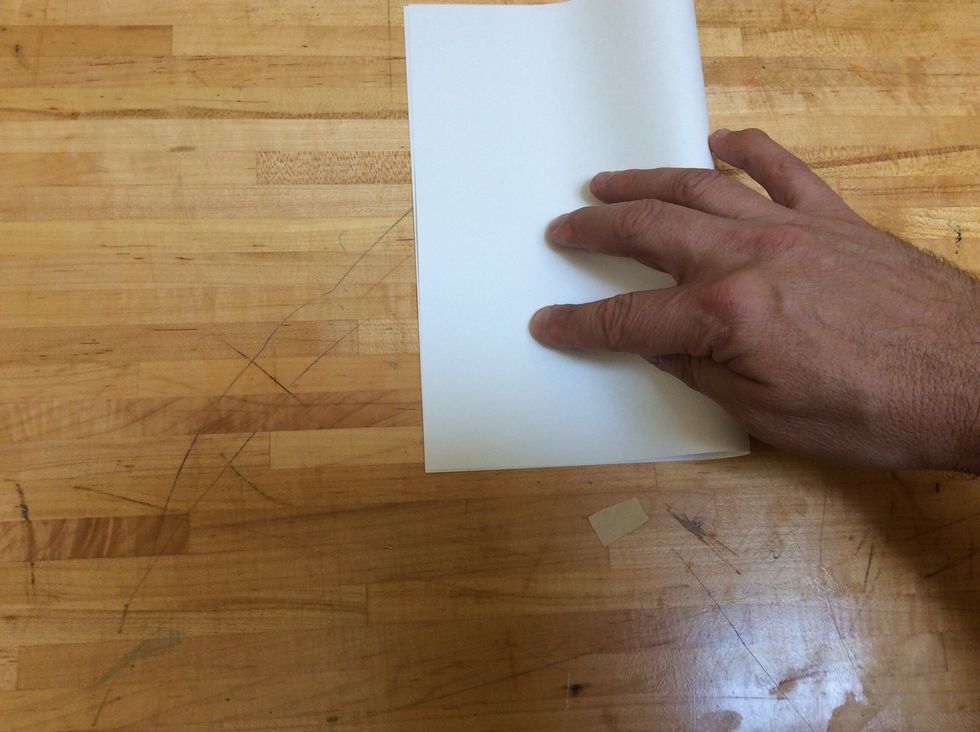
To make our pages that go inside of our cardboard cover, we start by folding one piece of paper in half (Hamburger Style).
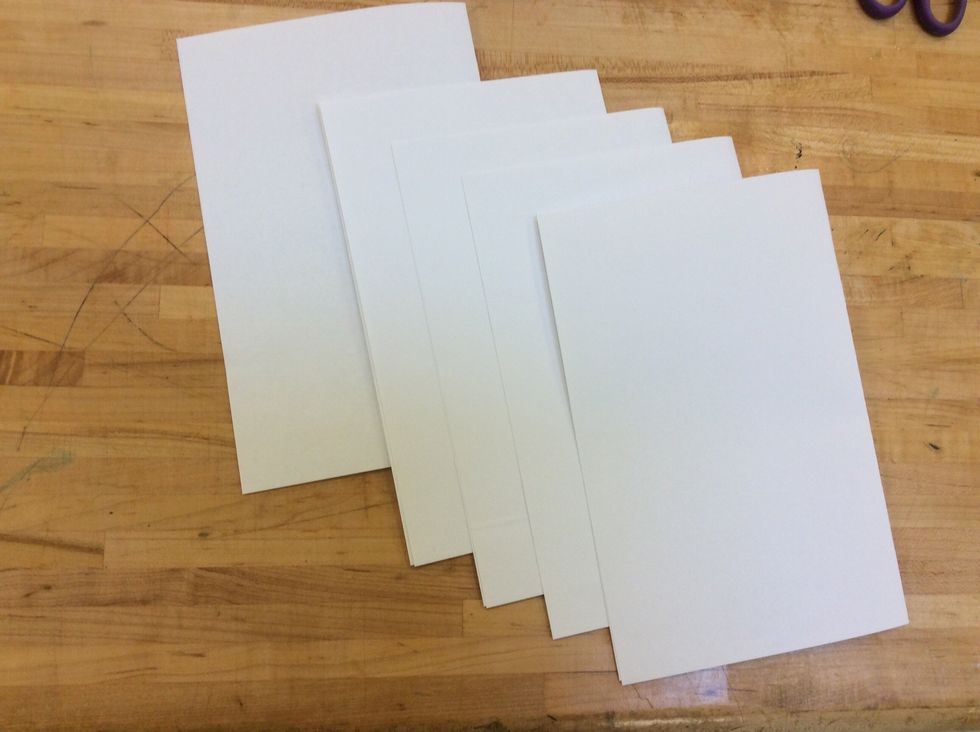
Next, we fold the rest of our paper in half (Hamburger Style). Set one piece of folded paper to the side (you will use this in a later step to make the cover for your book).
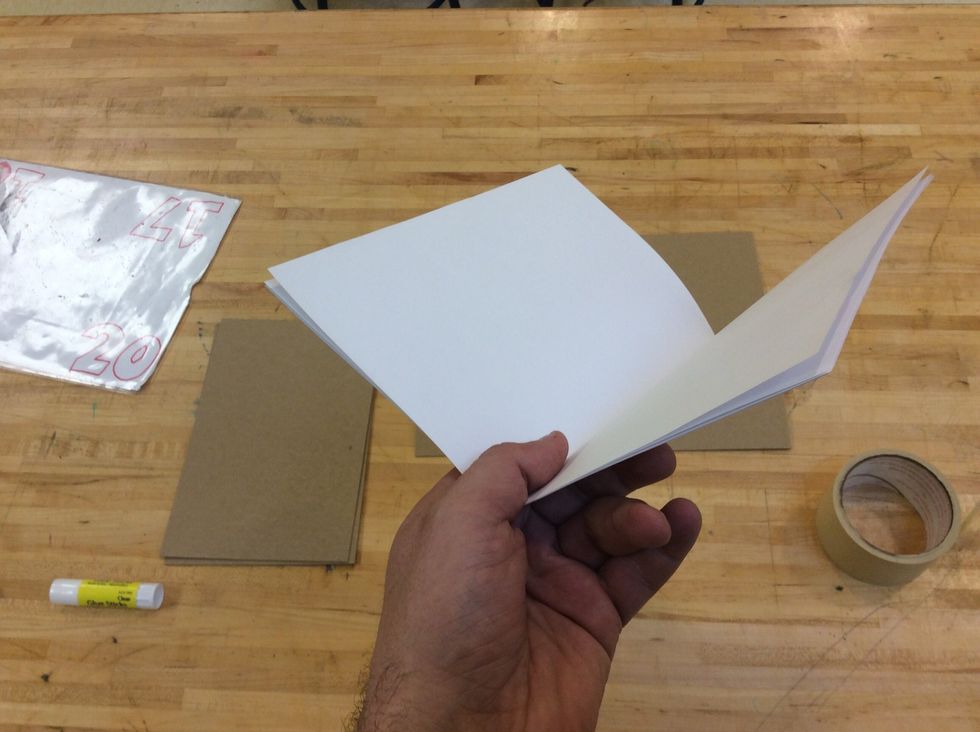
Open one piece of folded paper and put the other folded papers inside, making a paper booklet. (be sure the papers are stacked on top of one another, with the folds lined up)
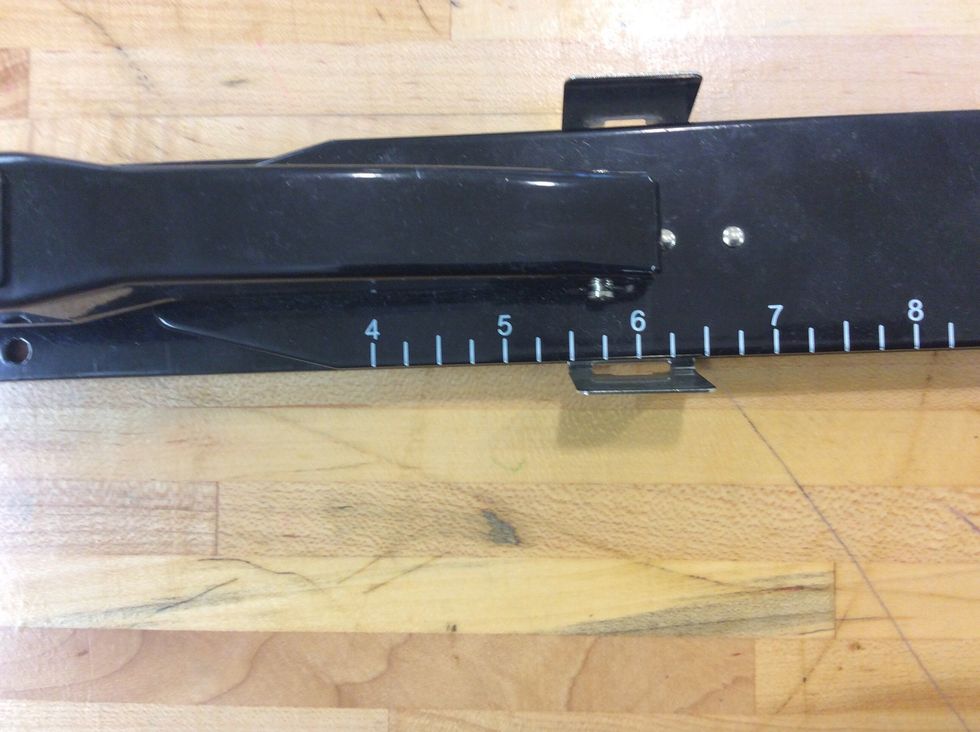
Set the silver metal measuring tab on the booklet stapler so that the side nearest to the front is lined up between the 5 & 6 marks (at five and a half).
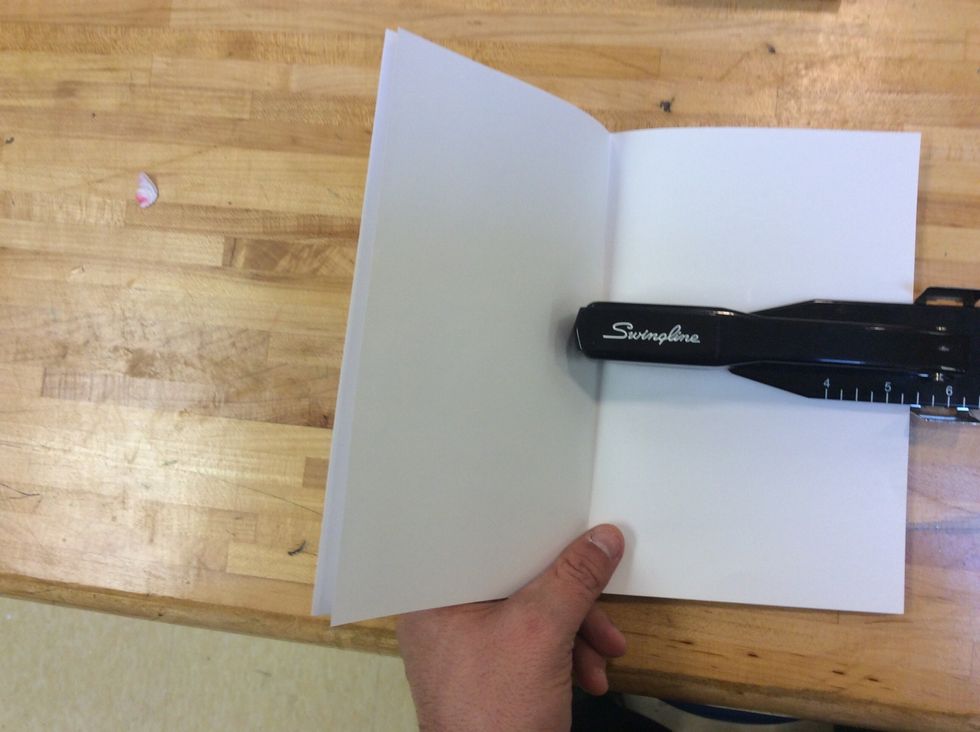
Open your booklet and slide it into the stapler, until the paper hits the silver metal measuring tab on the stapler. (The part where the staple goes in should be lined up with the fold on the booklet)
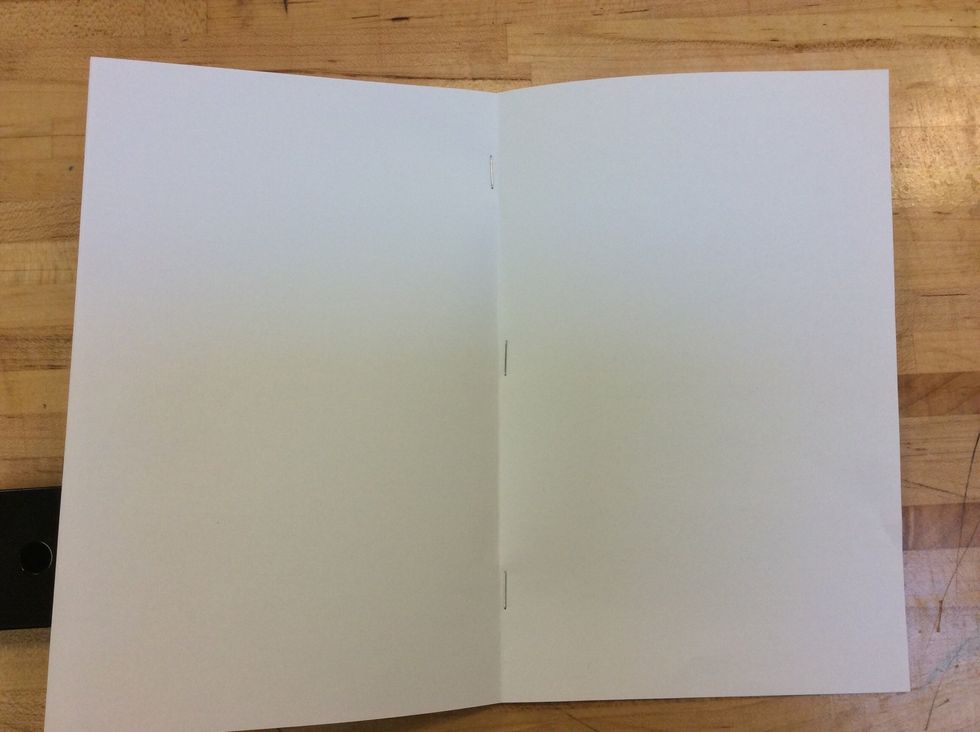
Staple three times on the fold: Once in the center, and once near each edge.
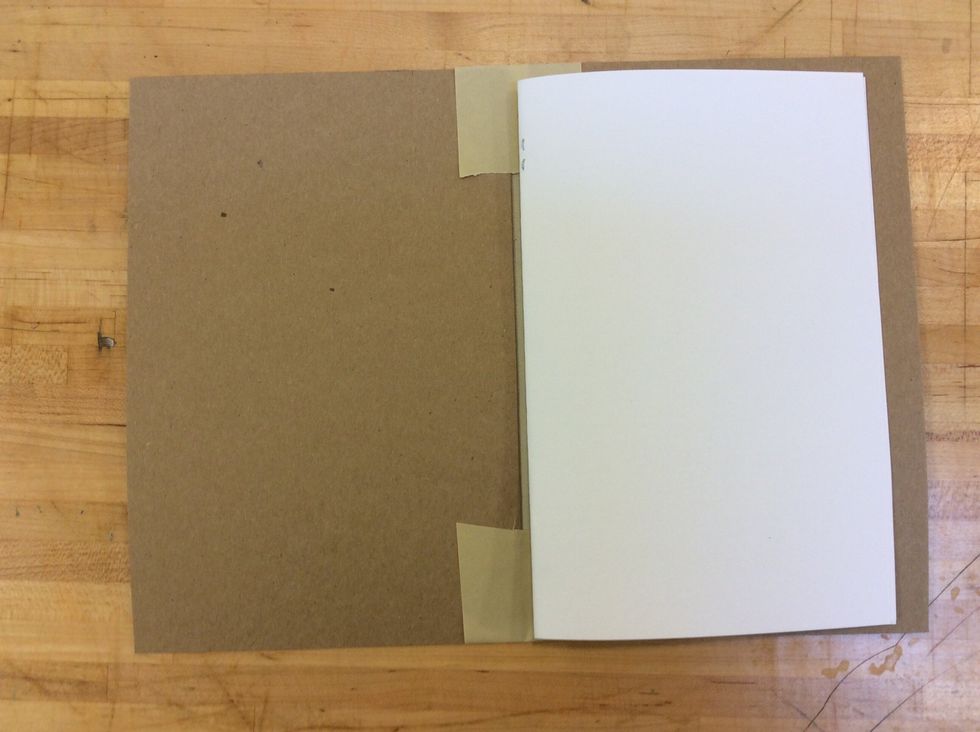
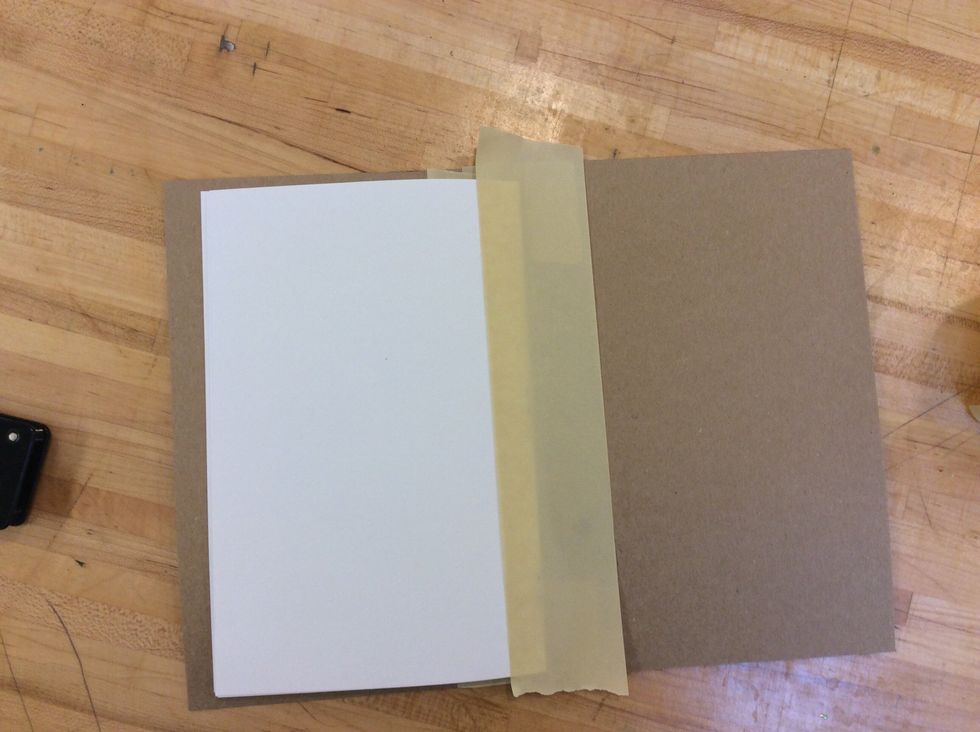
Next, open your cardboard cover and place your book lead on one side, with the staple edge in the center of your cover.
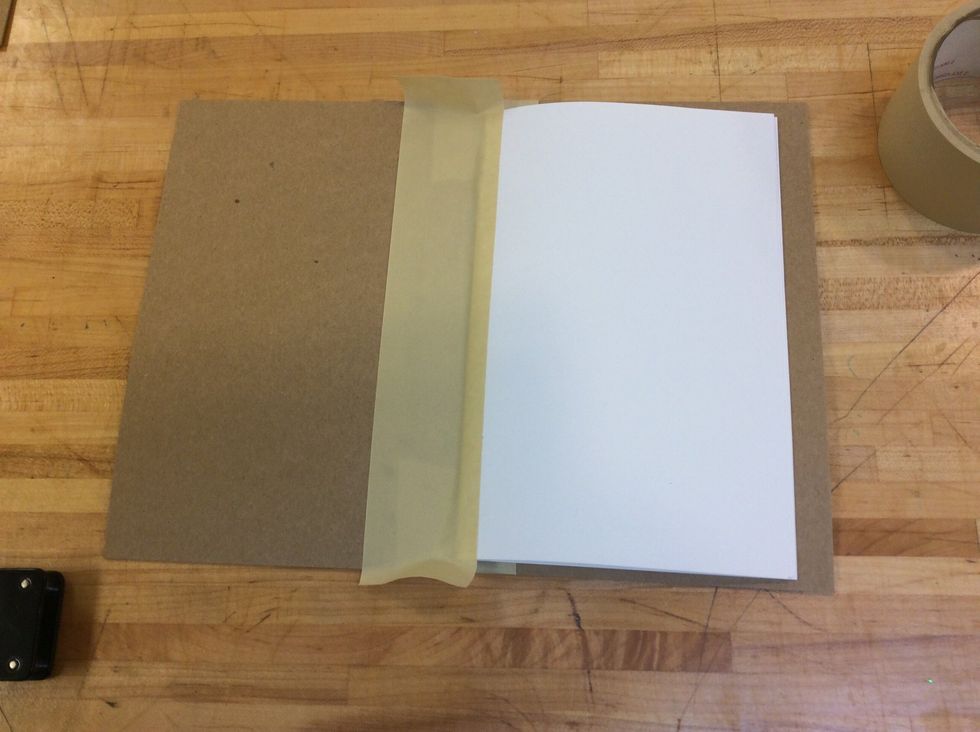
Use the tape in the center, going from top to bottom, and covering from 1/4 to 1/2 inch of the paper booklet.
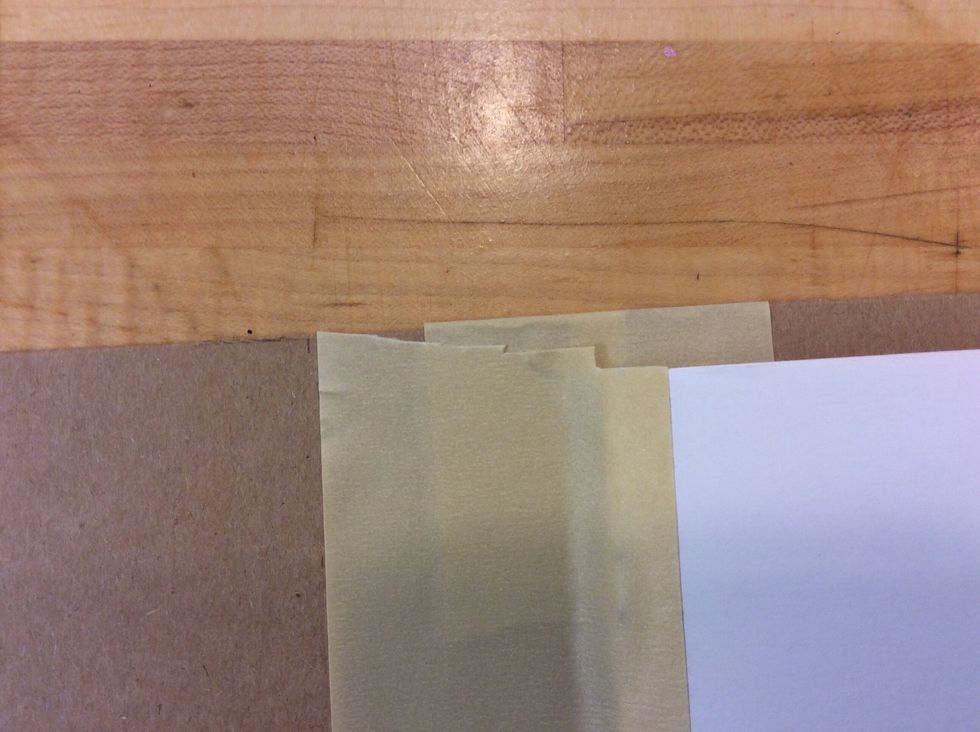
Use the scissors to cut off the extra tape at the top and bottom of your booklet.
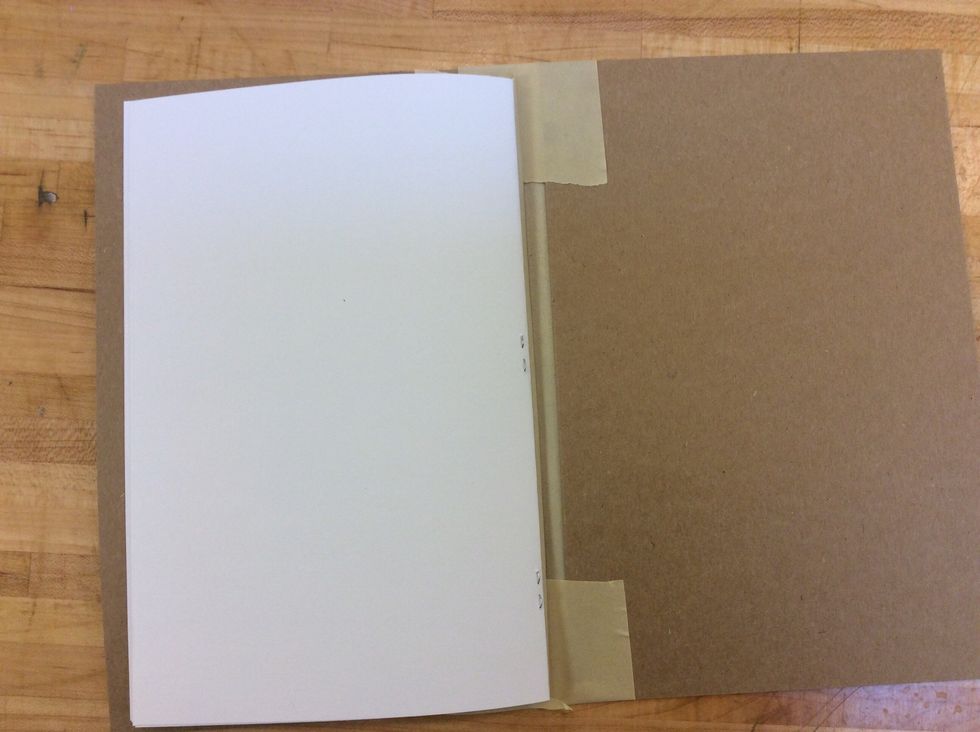
Flip your booklet over to the other side.
Use the tape in the center, going from top to bottom, and covering from 1/4 to 1/2 inch of the paper booklet. Then, use the scissors to cut off the extra tape at the top and bottom of your booklet.
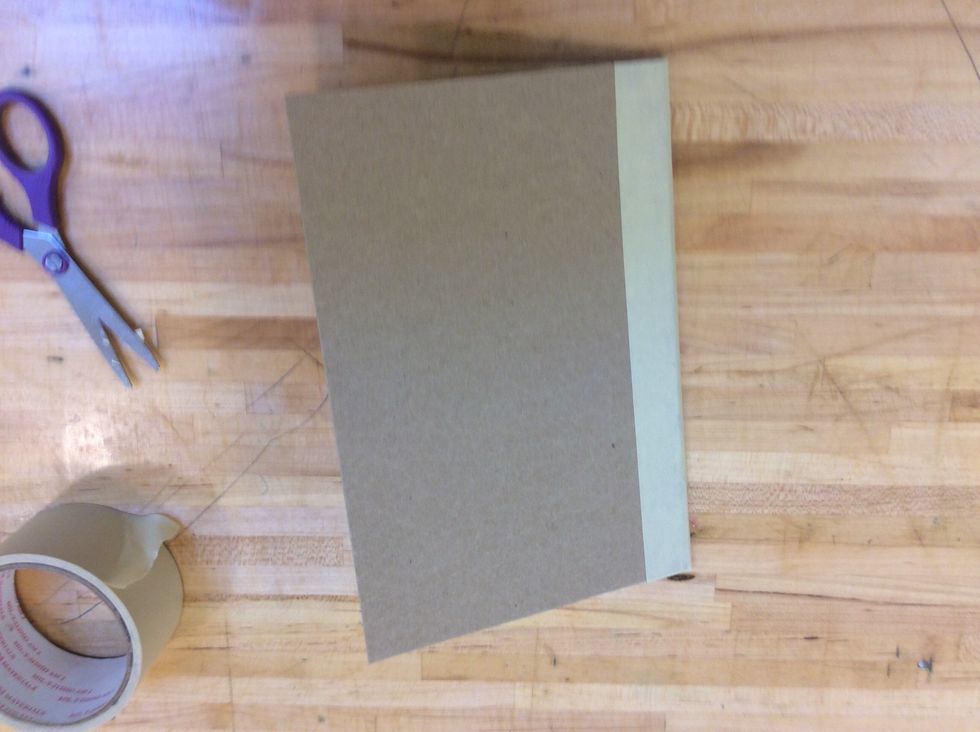
Close your book. Now that you've attached the inside booklet to the cover, we can finish the front and back cover.
Remember that folded piece of paper you set aside? Well, now we're going to use it.
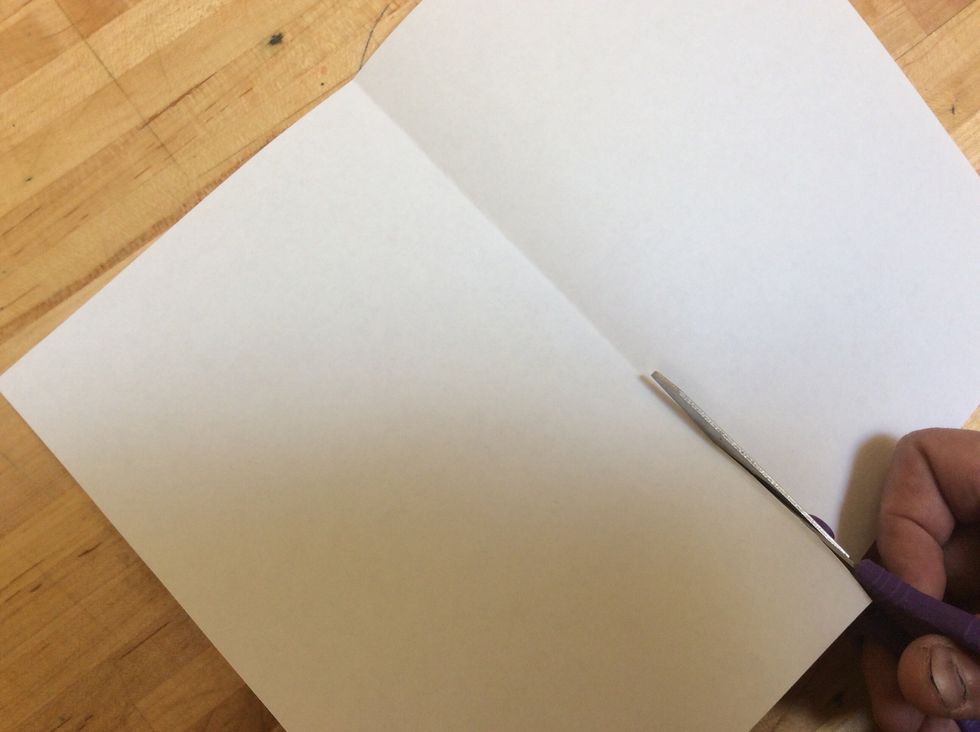
Open the paper and cut it in half, cutting a straight line along the fold. We now have two pieces. One piece will be used for the front of the cover, and one piece will be use for the back.
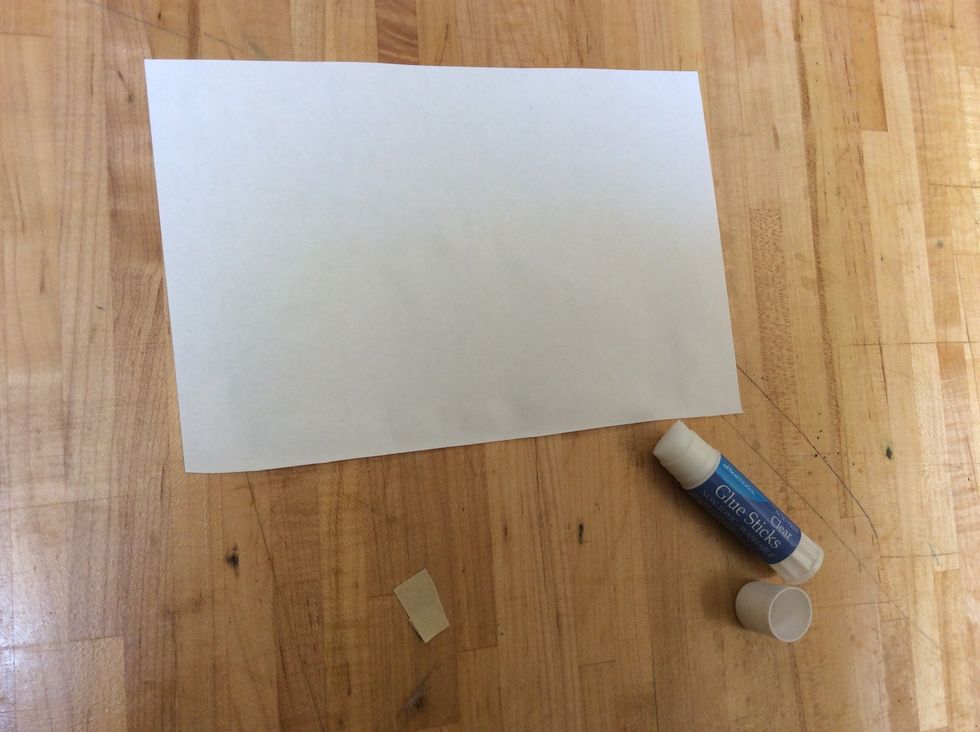
To add the pieces to the front and back of your book, first use your glue stick to put glue on one of the papers (around the edges and diagonally from corner to corner).
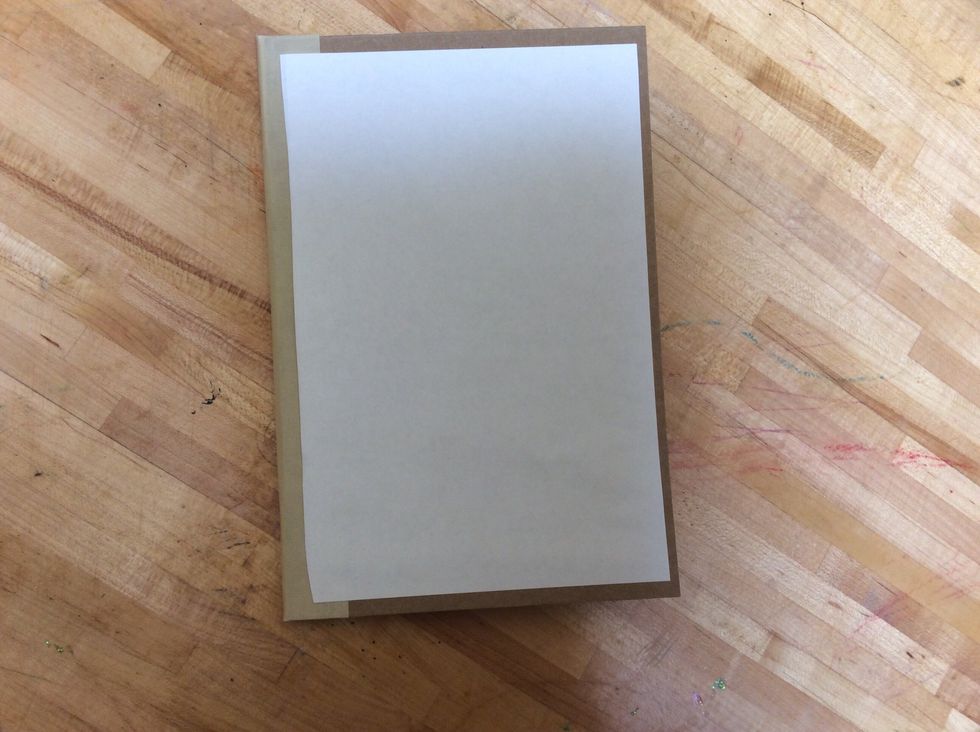
Next, center the piece of paper (glue side down) in the middle of the front of your book cover. When you put it down rub and smooth the paper hard enough so that it sticks to the cardboard.
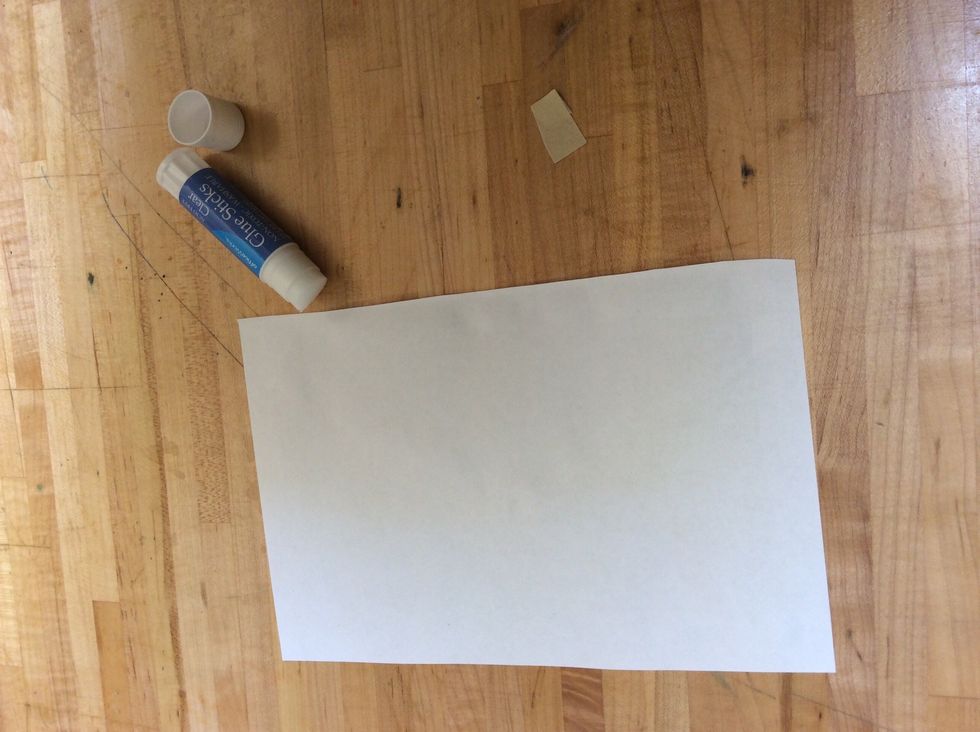
Repeat the glue step for the back of your cover. Use your glue stick to put glue on the paper (around the edges and diagonally from corner to corner).
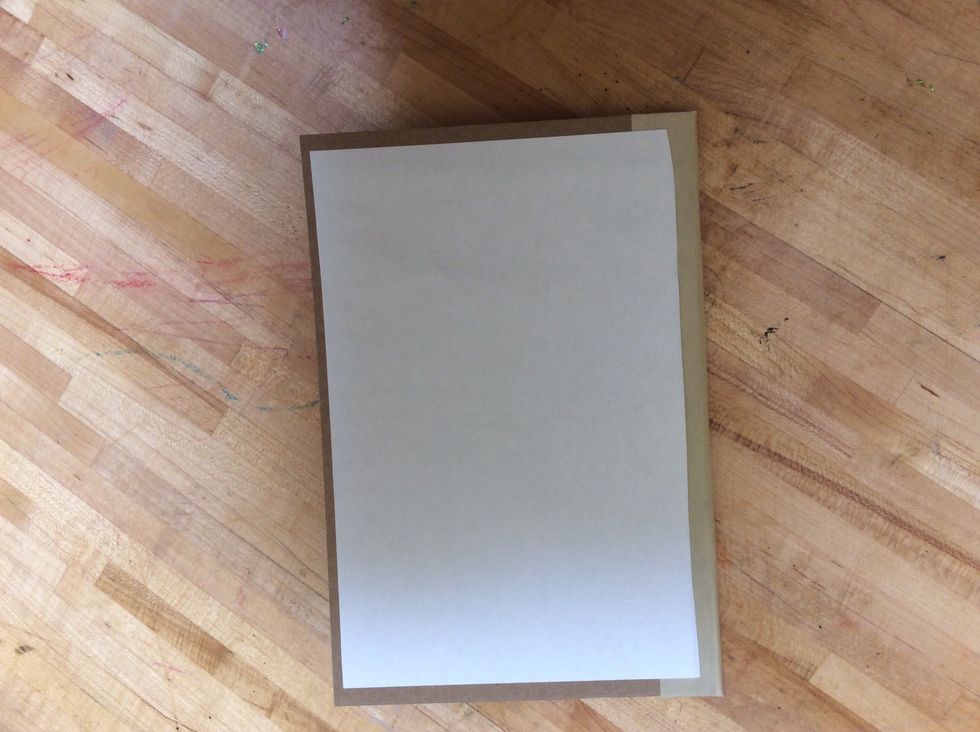
Center the piece of paper (glue side down) in the middle of the back of your book cover. When you put it down rub and smooth the paper hard enough so that it sticks to the cardboard.
Great!!! Your book is done. Now, it's time to add your words and Art!!!