The Conversation (0)
Sign Up
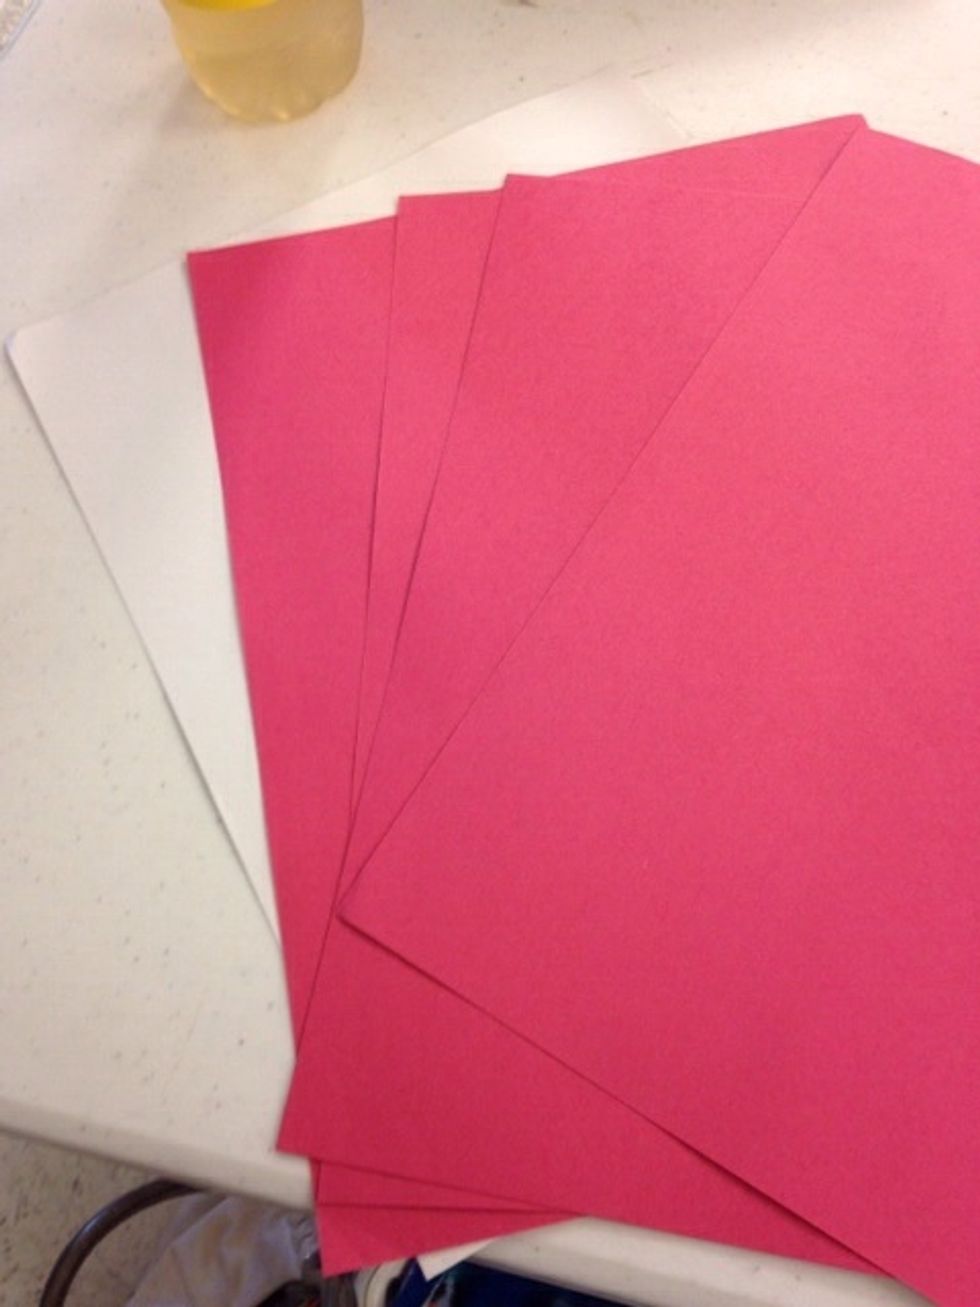
Collect your 5 pieces of paper
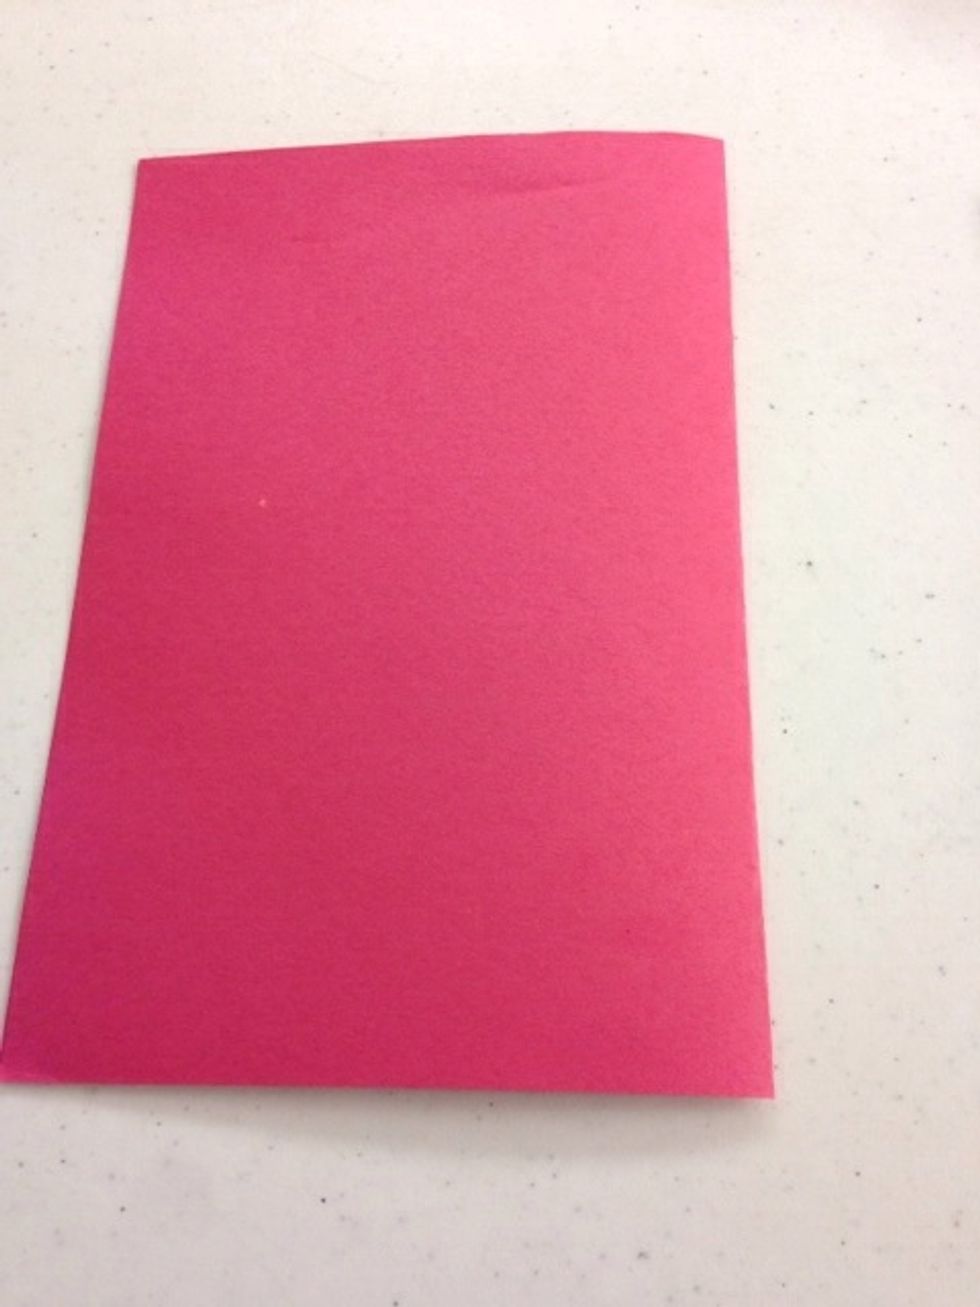
With your first piece of paper, fold in half, hamburger style.
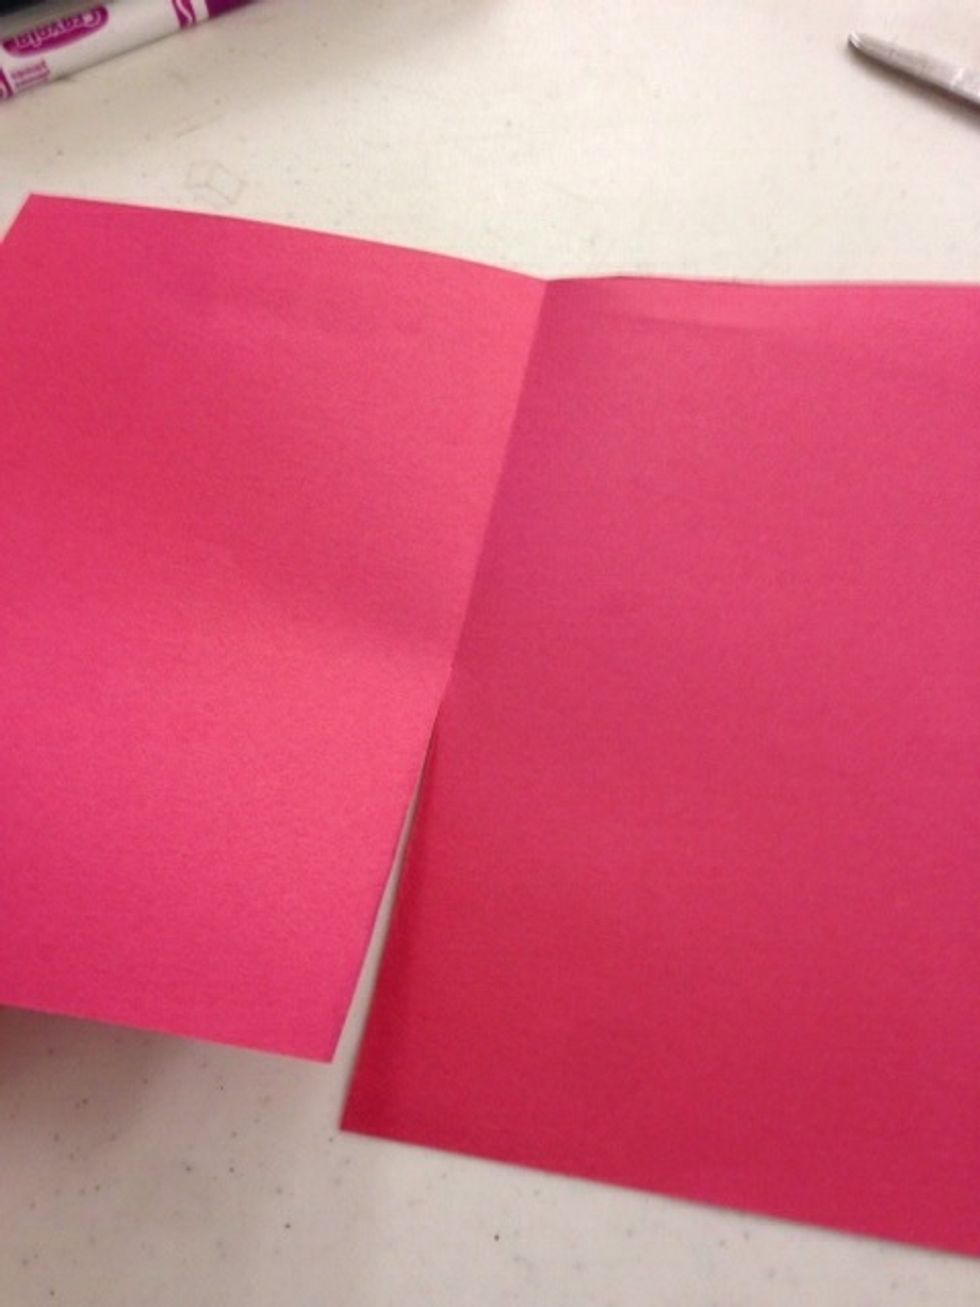
Once folded, cut along the crease.

After cutting, fold one piece in half again, hamburger style. And then in half once more.
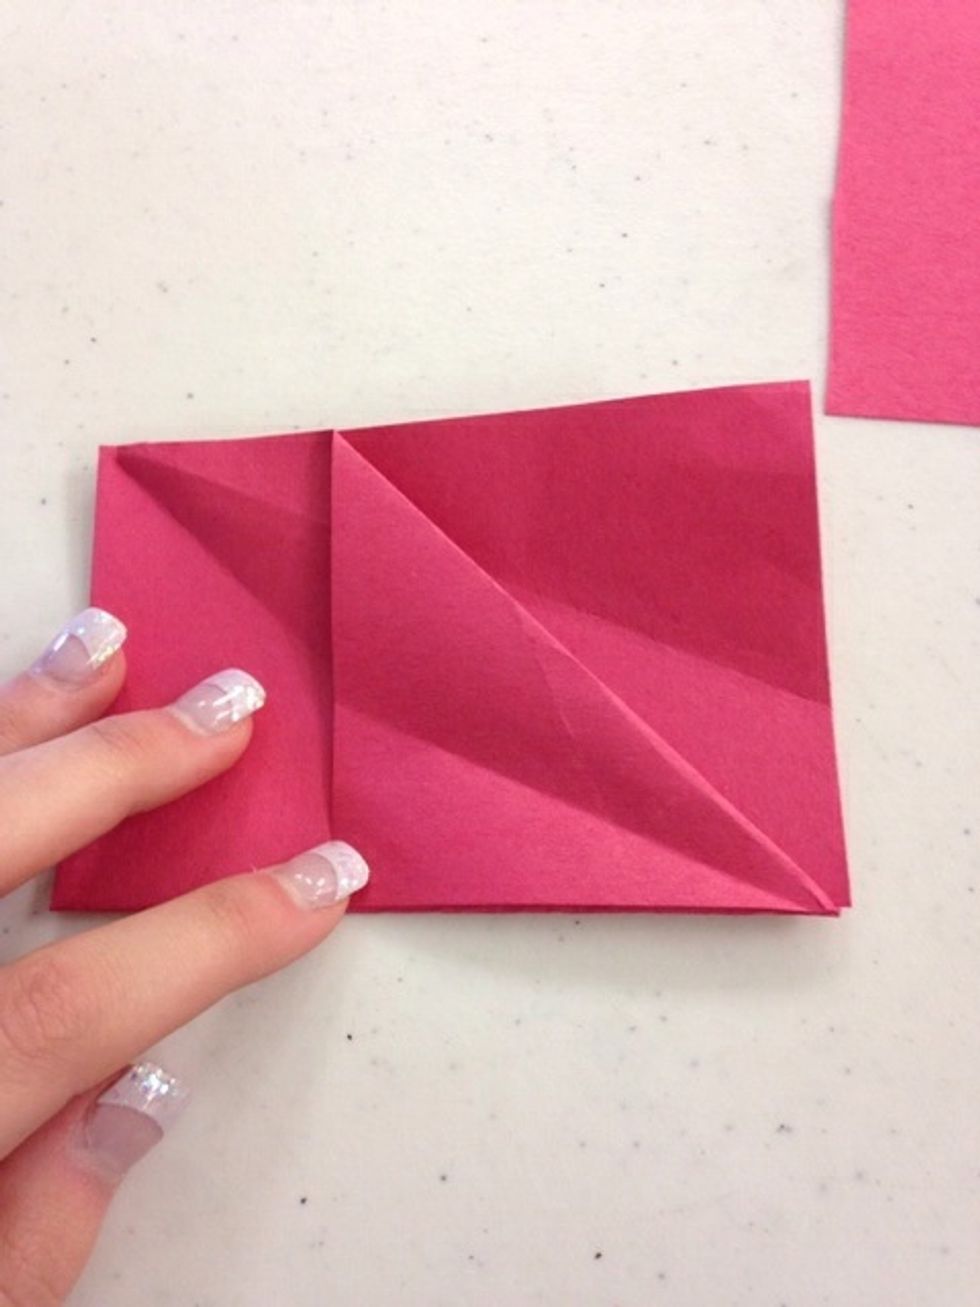
After folding in half, take the connected side and fold it down meeting the edge of the paper.
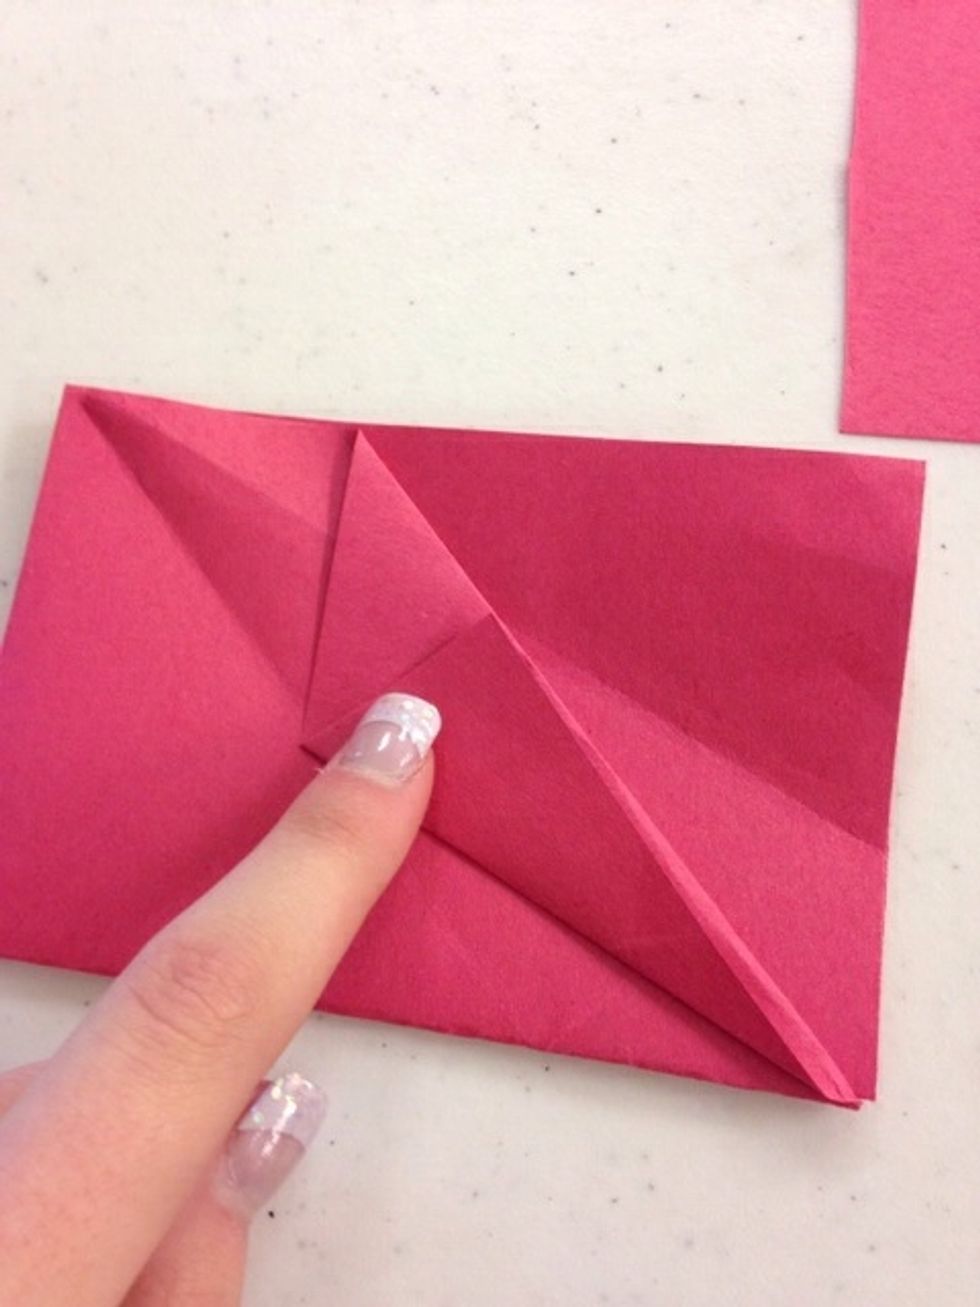
Then, fold the flap in half back to the crease just created. And then continue and create the same fold on the other side.
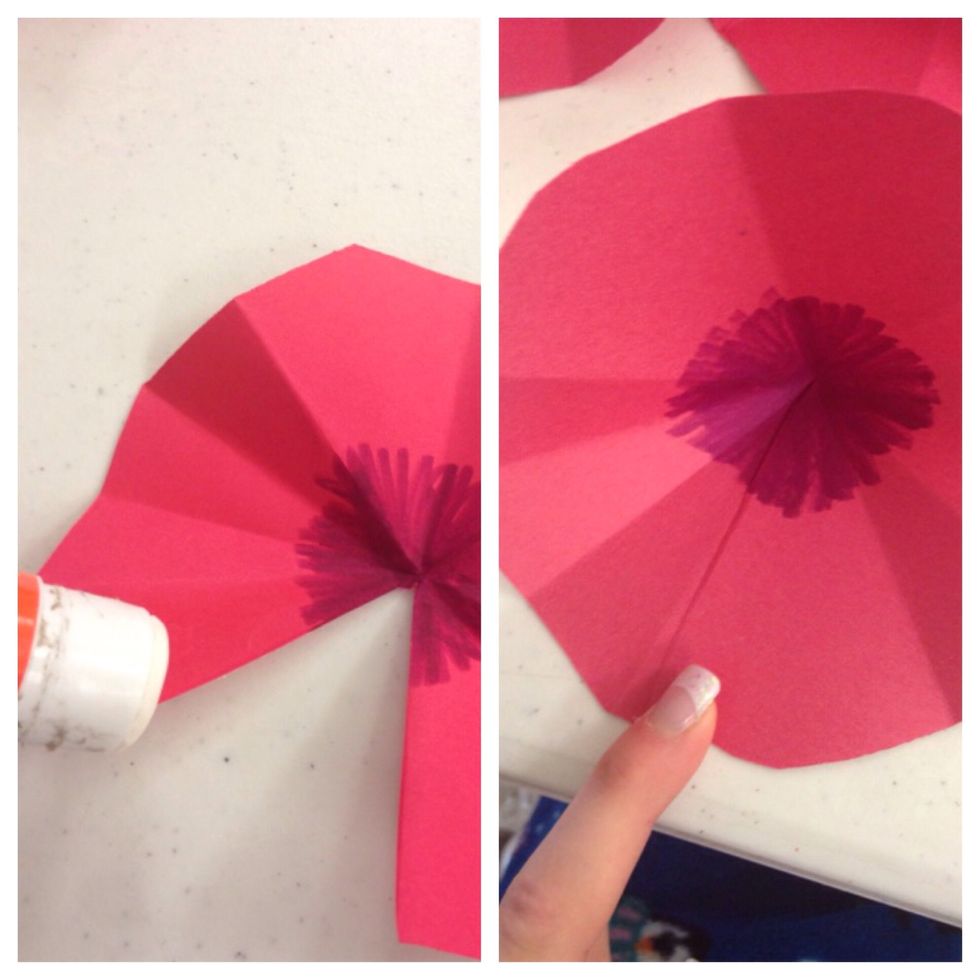
After folding both flaps, cut along the smallest fold, creating a rounded triangle.
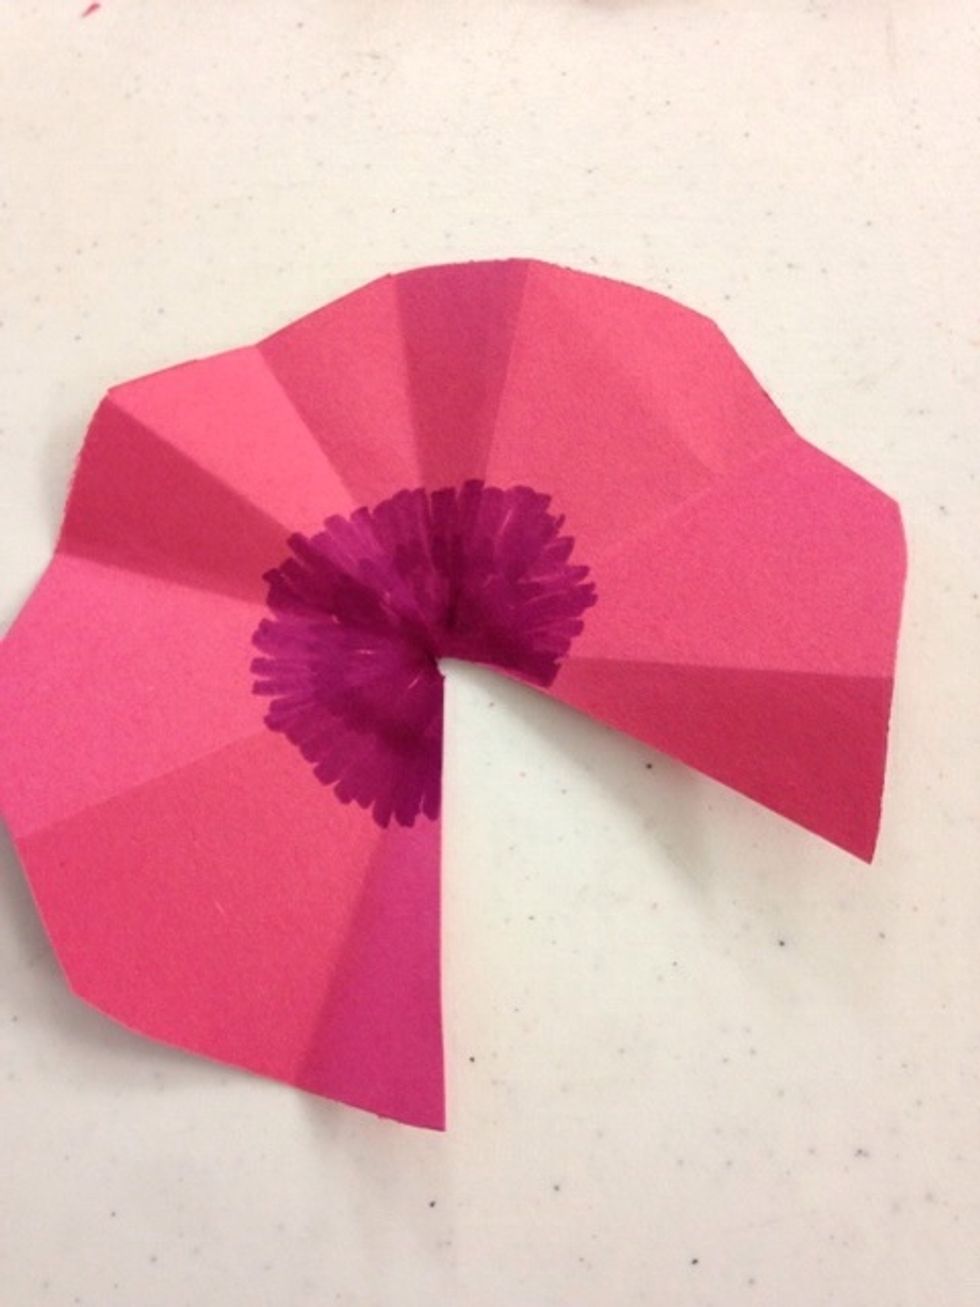
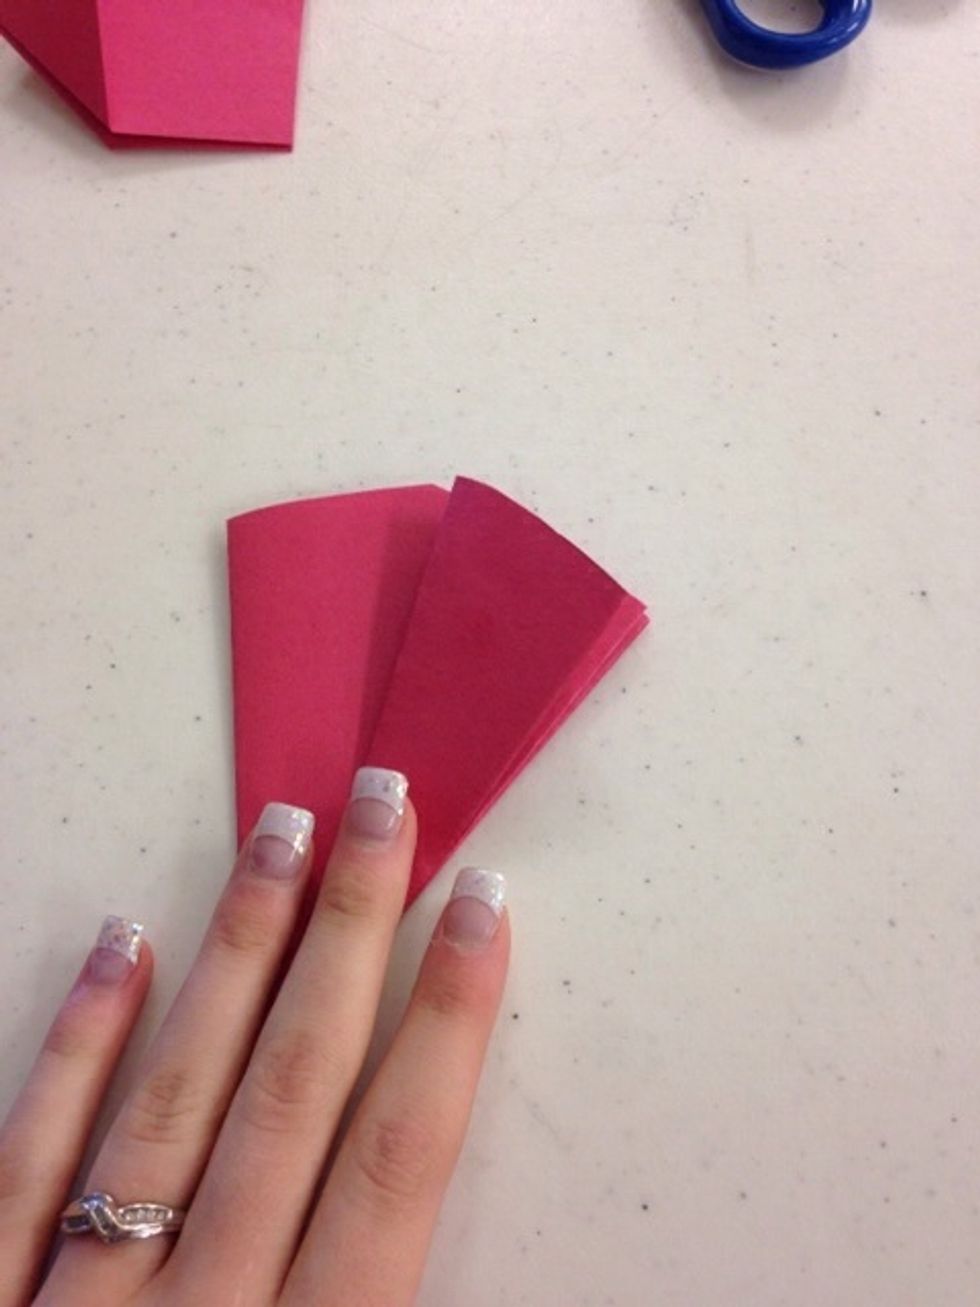
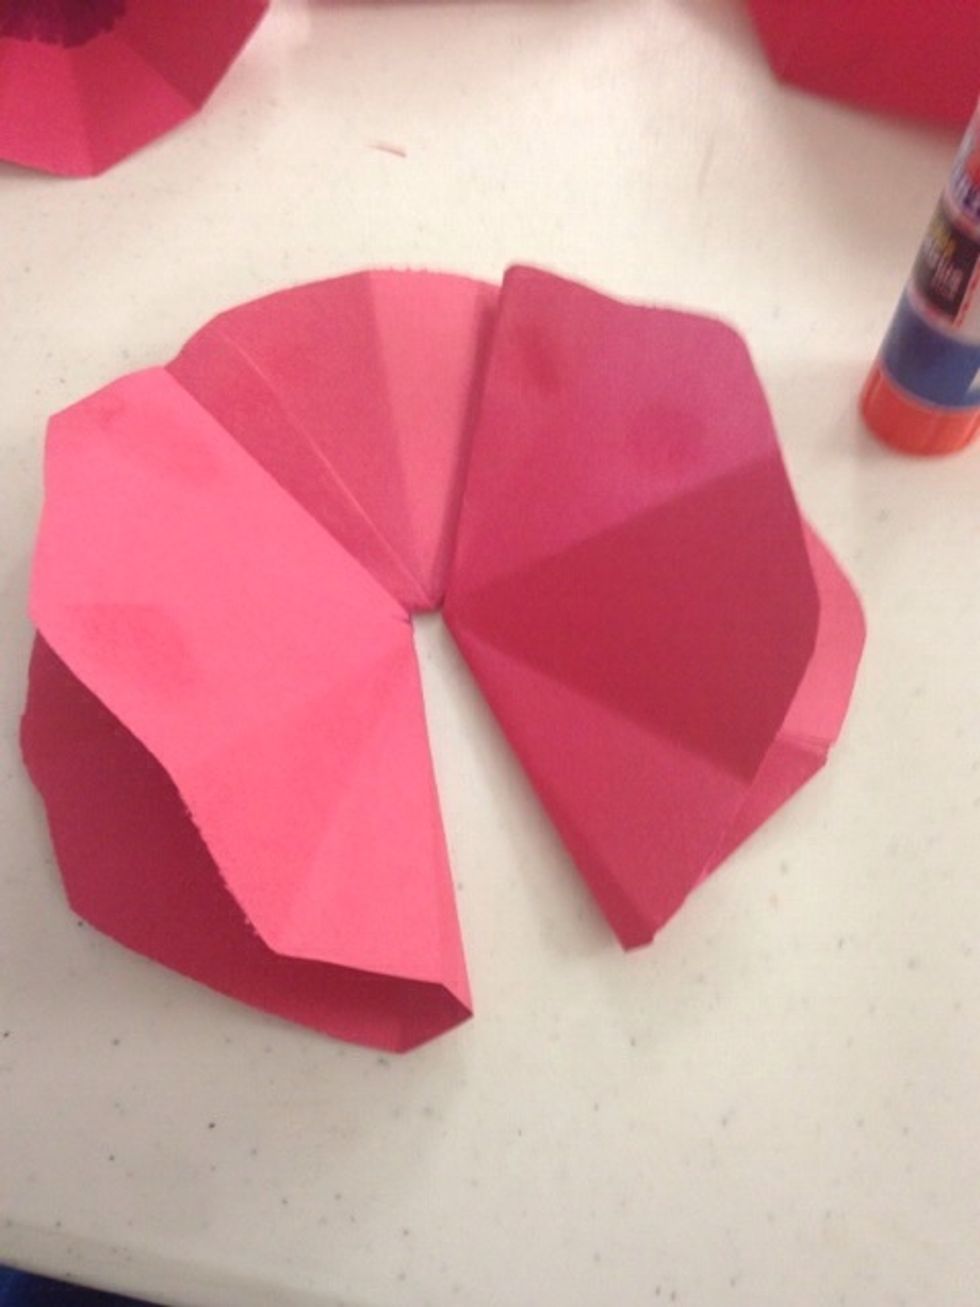
After cutting open your piece and cut out 2 out the "triangles". And color the middle in whichever way you would like to make it look like the middle a flower.
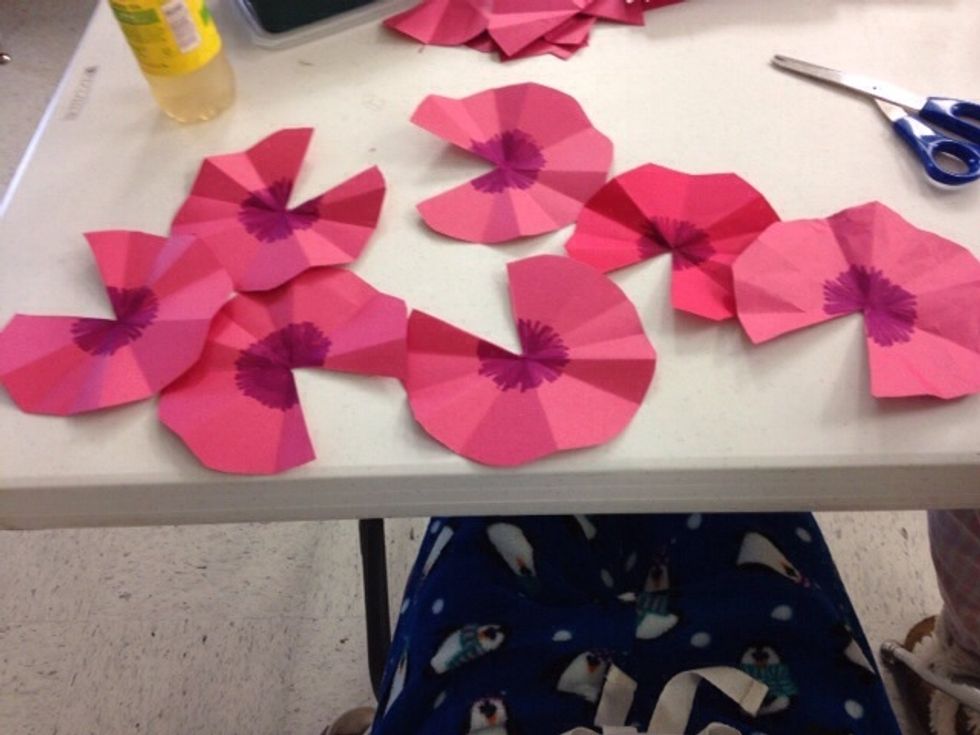
Repeat steps 2-8 creating 7 flowers total.
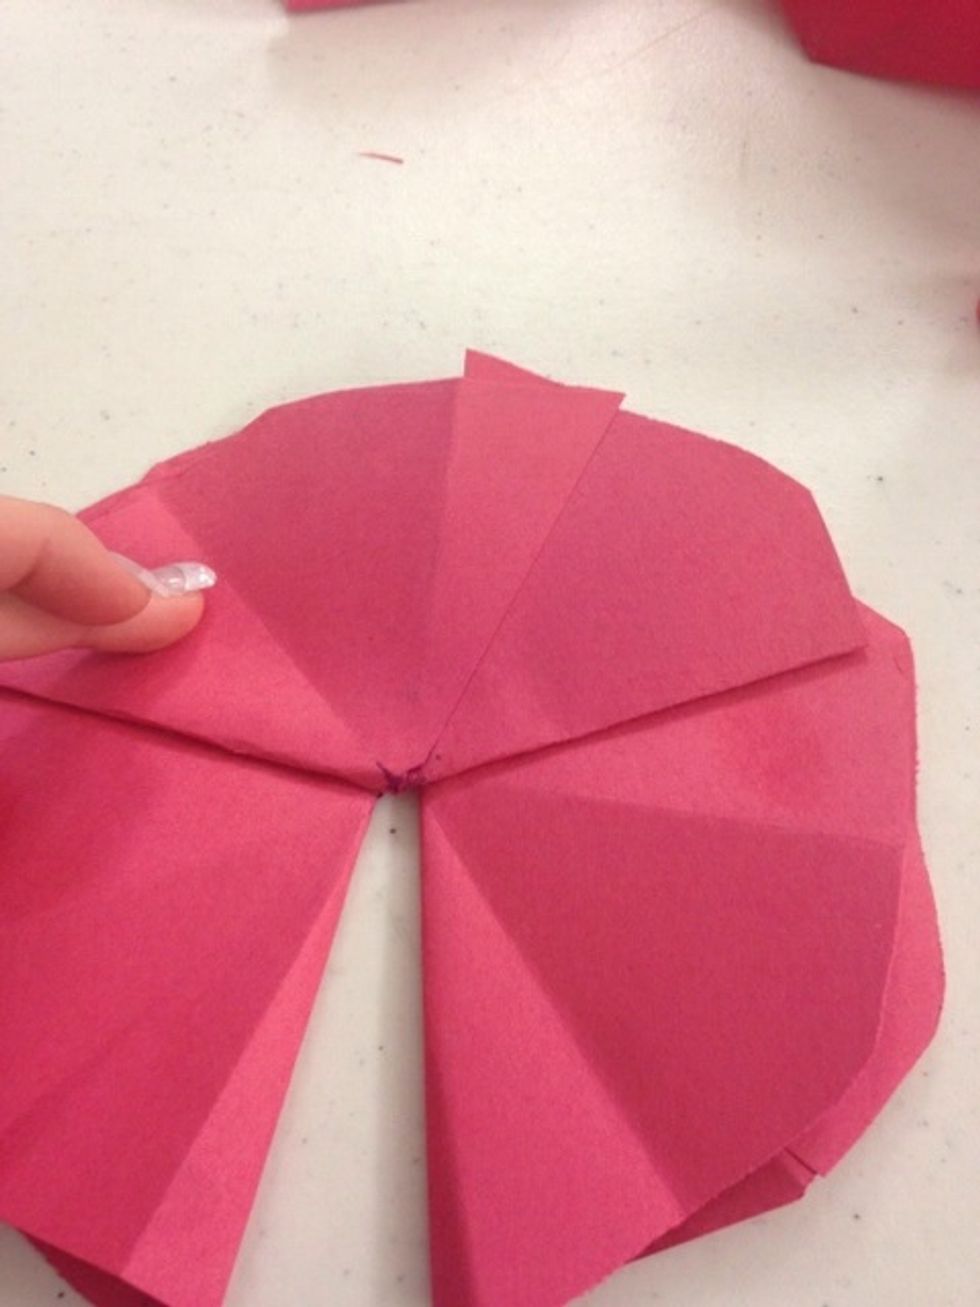
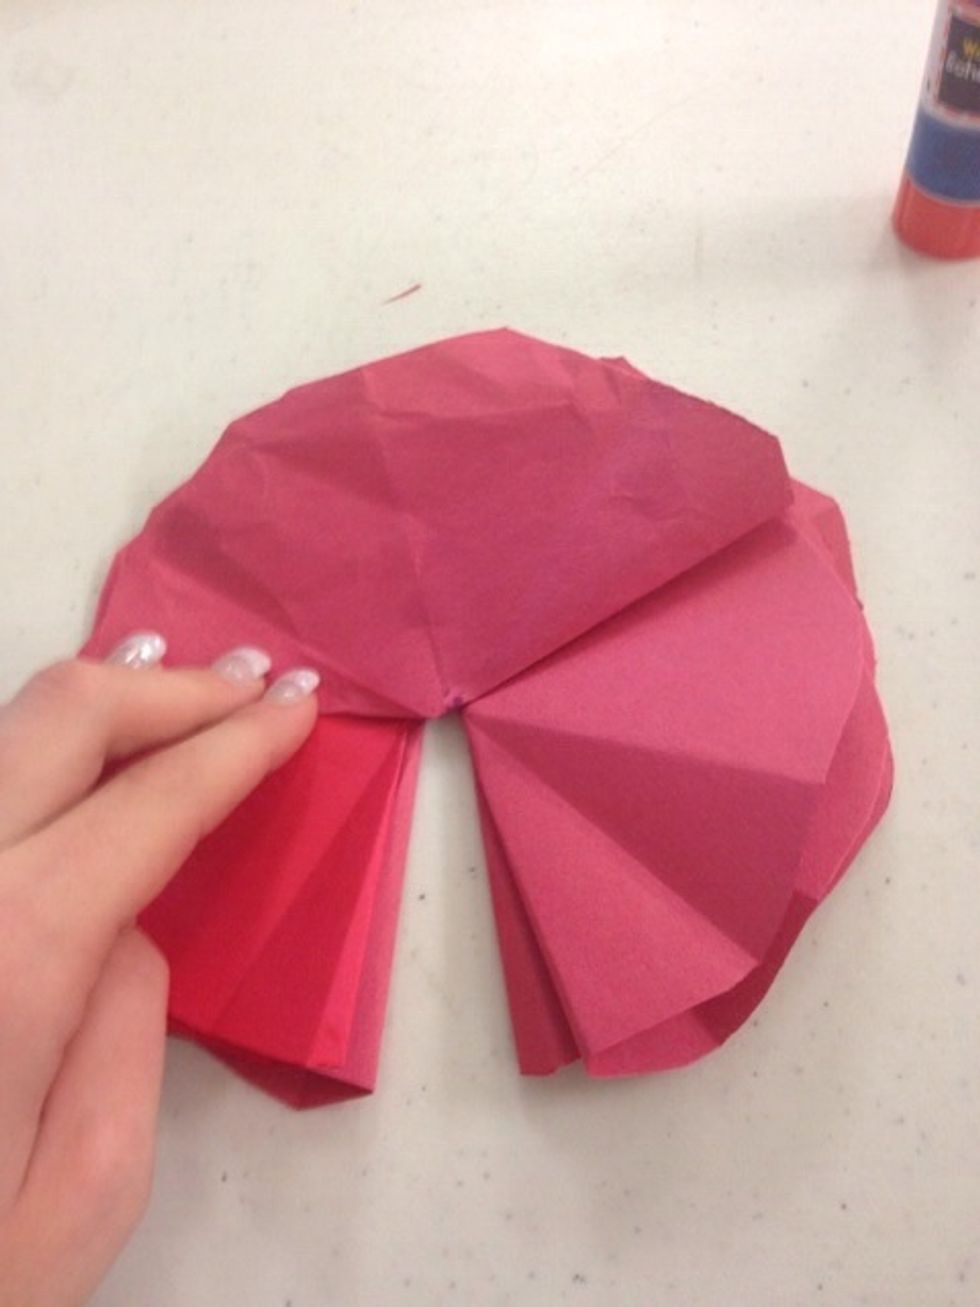
After cutting 7 flowers, glue one triangle and overlap the corresponding triangle creating a "flower". Then proceed doing this to all flowers.
After gluing all flowers, take 3 (of your choice) and flatten them. Then glue 1 on each end of a flattened flower. This will leave one "triangle" open.
Place one more flattened flower on top of the first flower in the same placement. Kind of creating a "sandwhich".
Repeat steps 11 & 12 on top.
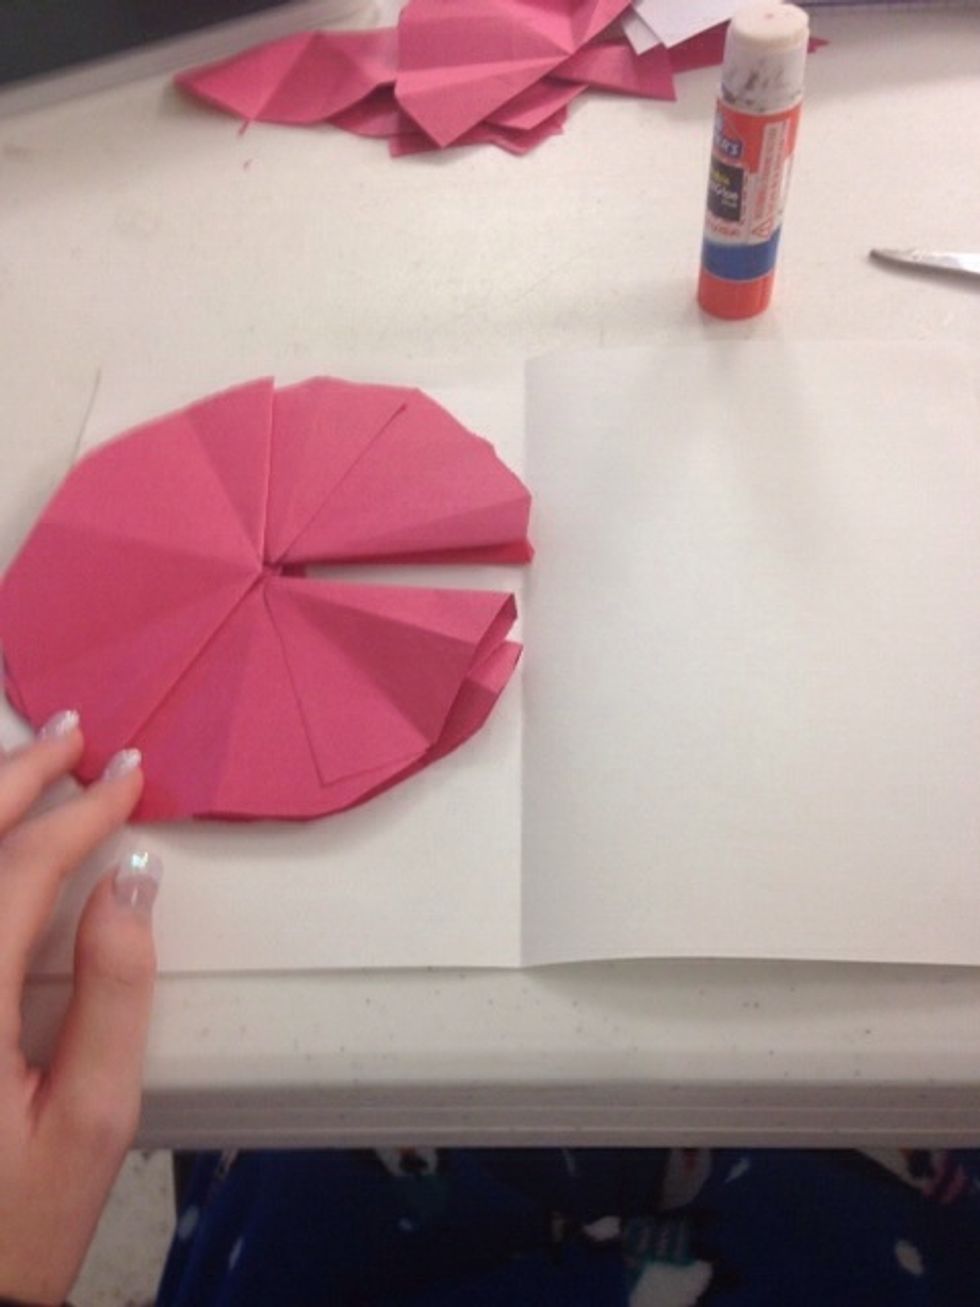
Once finished gluing flowers together, take your last piece of paper and fold it creating a book. Glue one side of the flower down onto one side of the inside of the book.
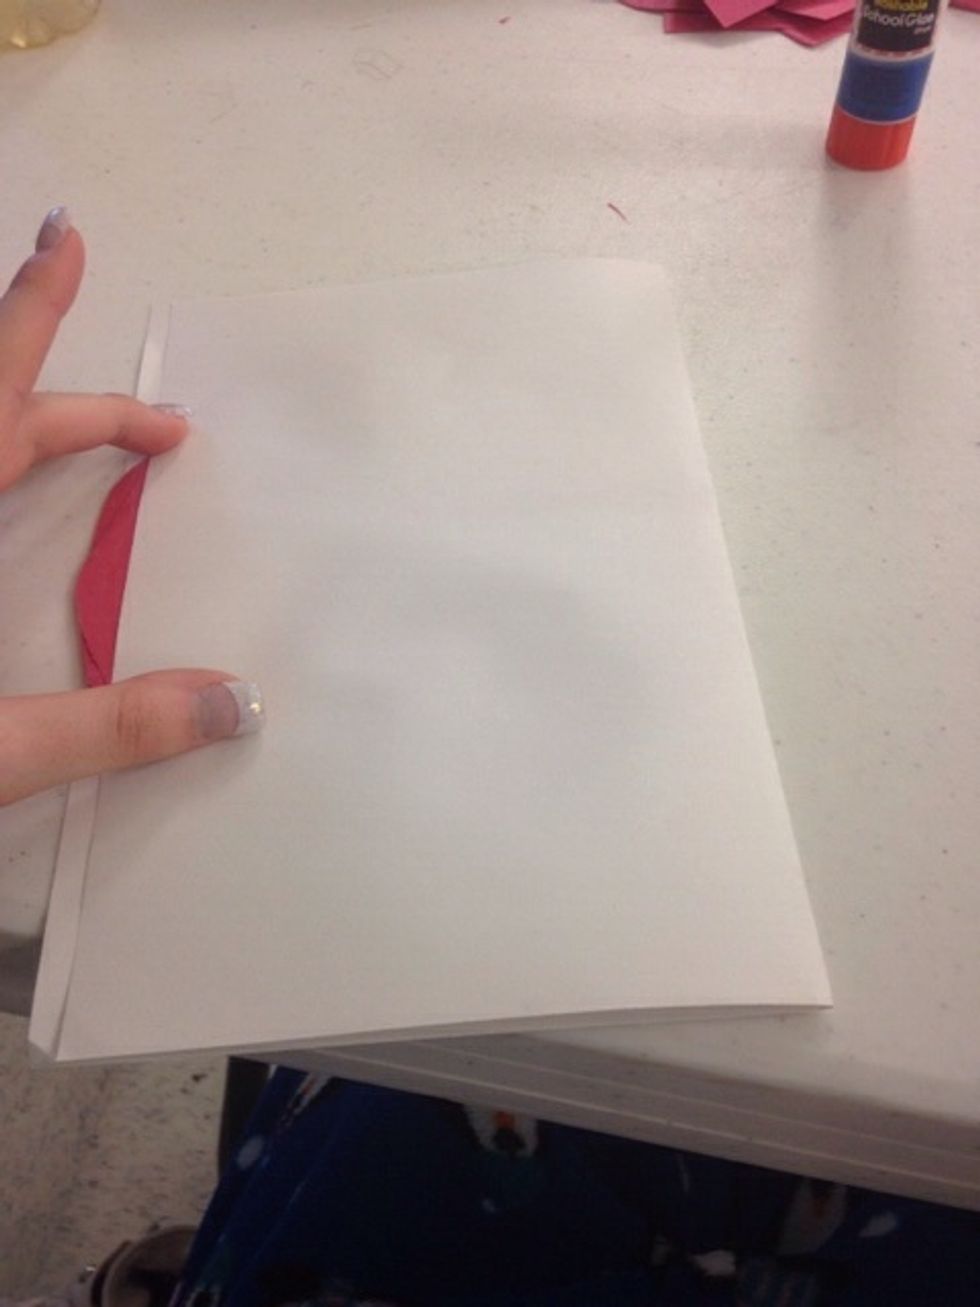
Then continue to glue the other side of the flowers to the book as well.
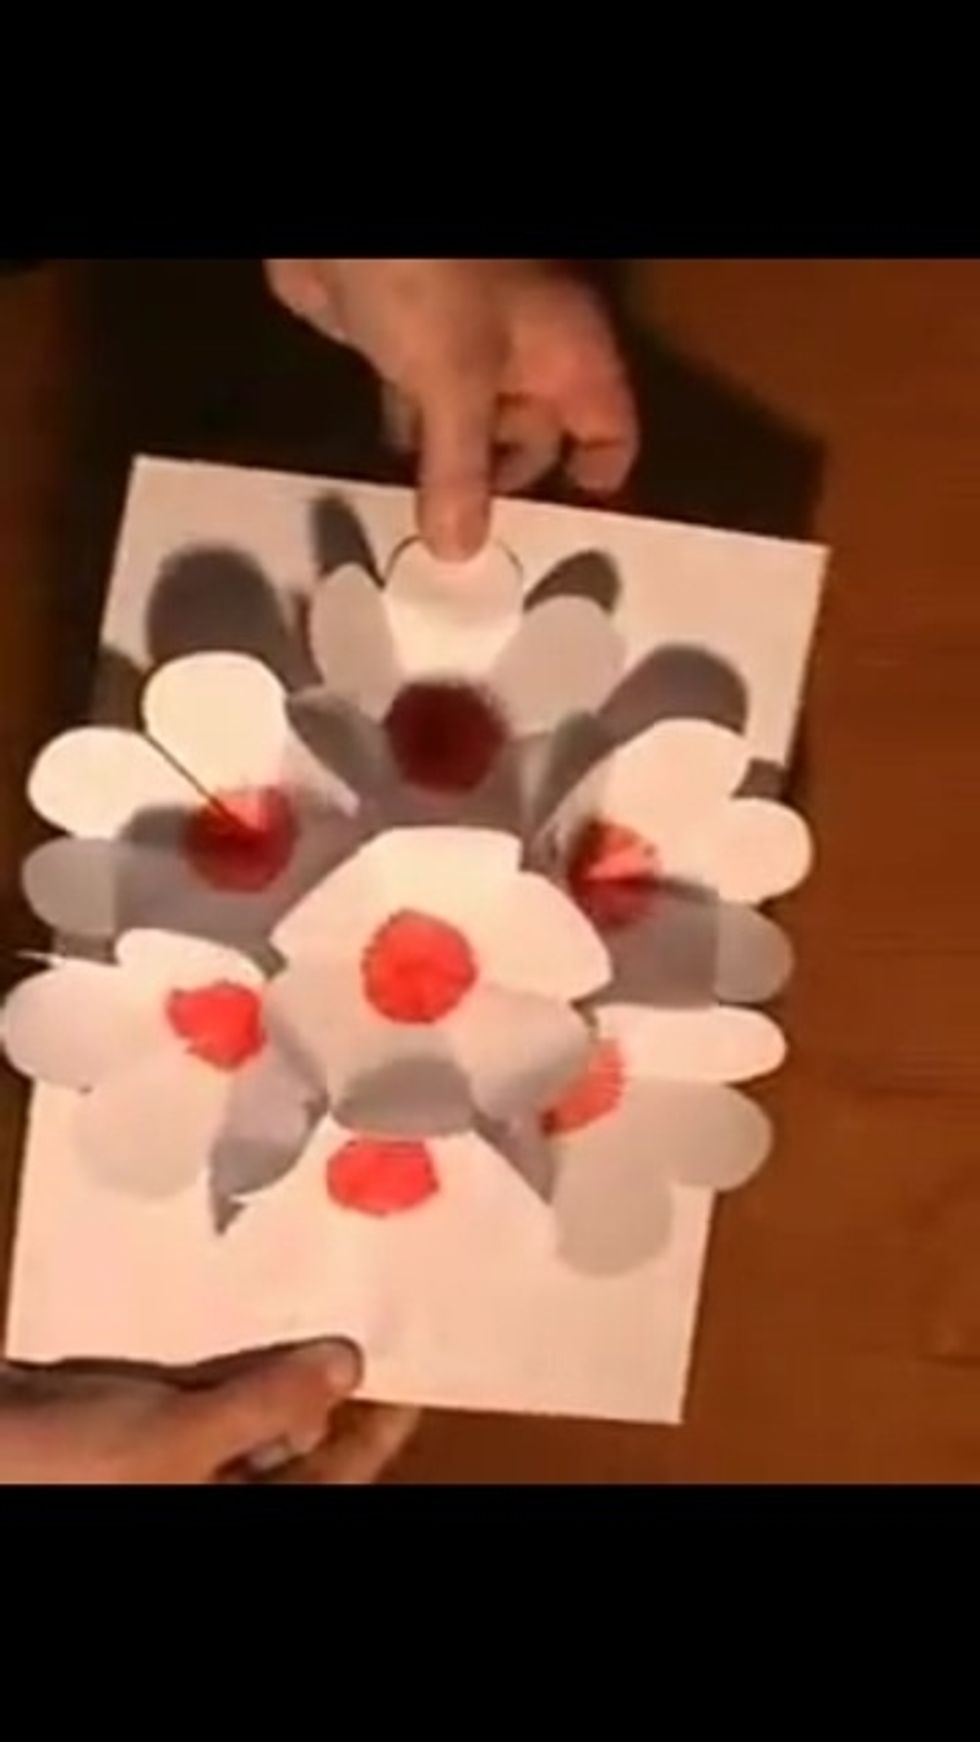
Once the book has dried, open your book to reveal your 3D flower!!