The Conversation (0)
Sign Up
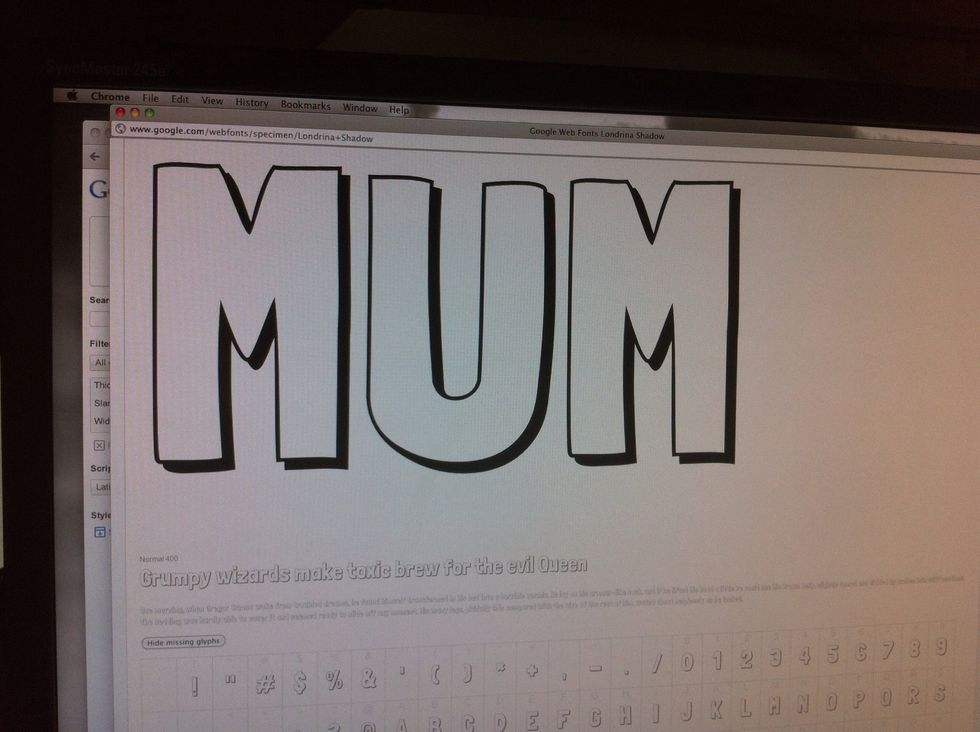
Using a word processor, or similar (Here I'm using Google Web Fonts), type out your desired word. Size it so that it is the same physical size you want the final product to be. Here I'm going for A4

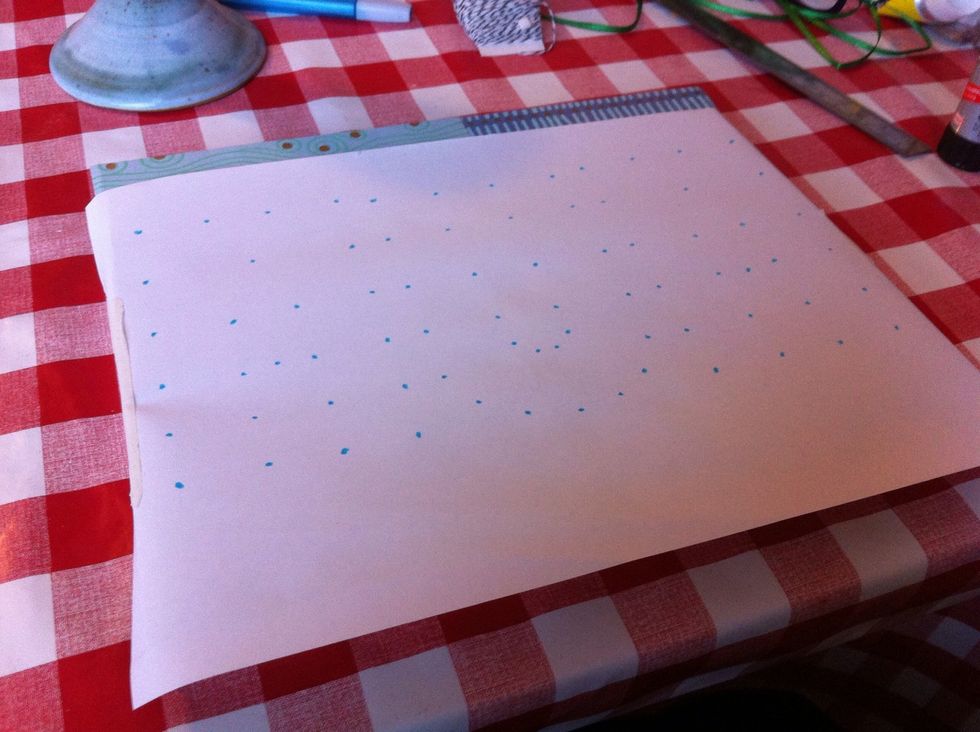
Tape some paper to the screen and mark out the defining points of each letter, try to capture each letter with as few points as possible. Note: you could also print the design and do this on the print
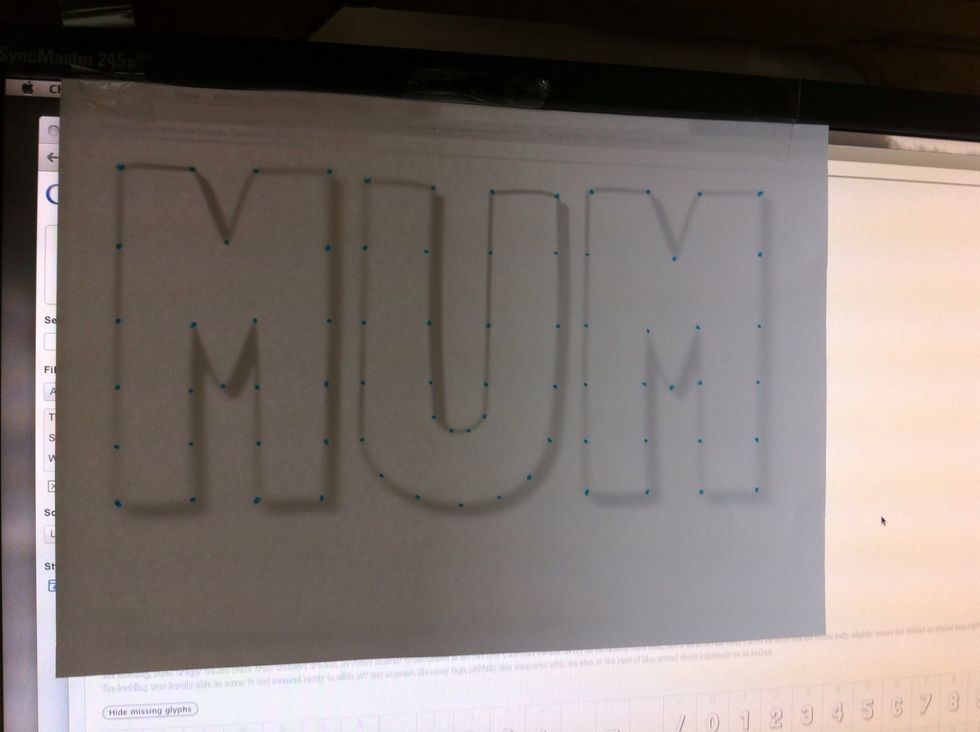
Now go back over and add in extra dots along the straits to make it quite grid-like
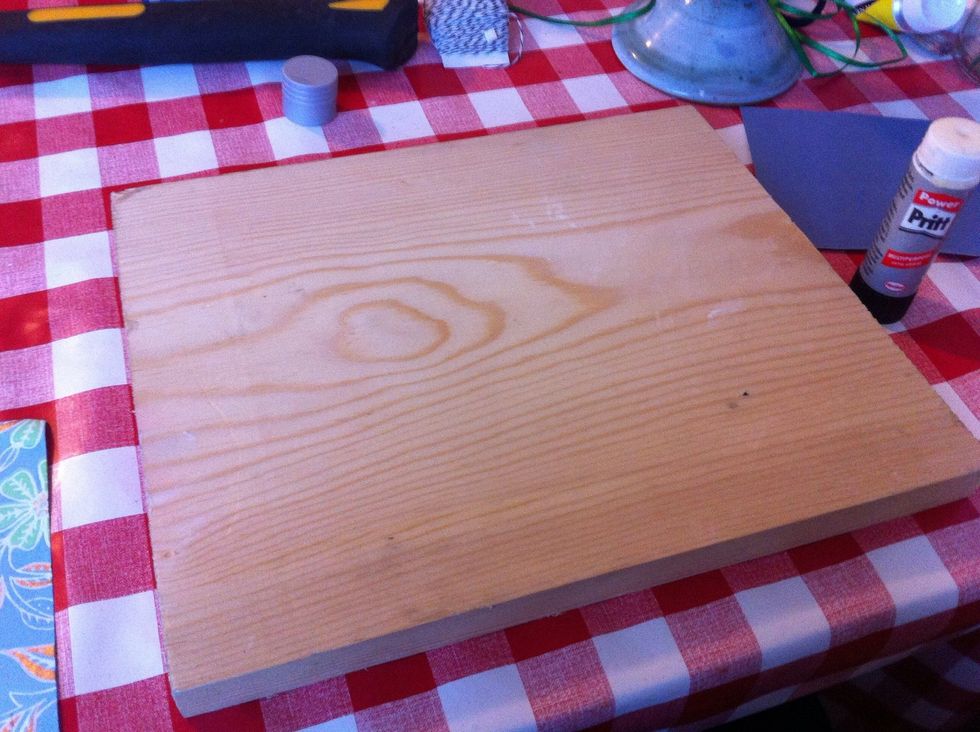
Clean up a piece of wood big enough to fit the design on.
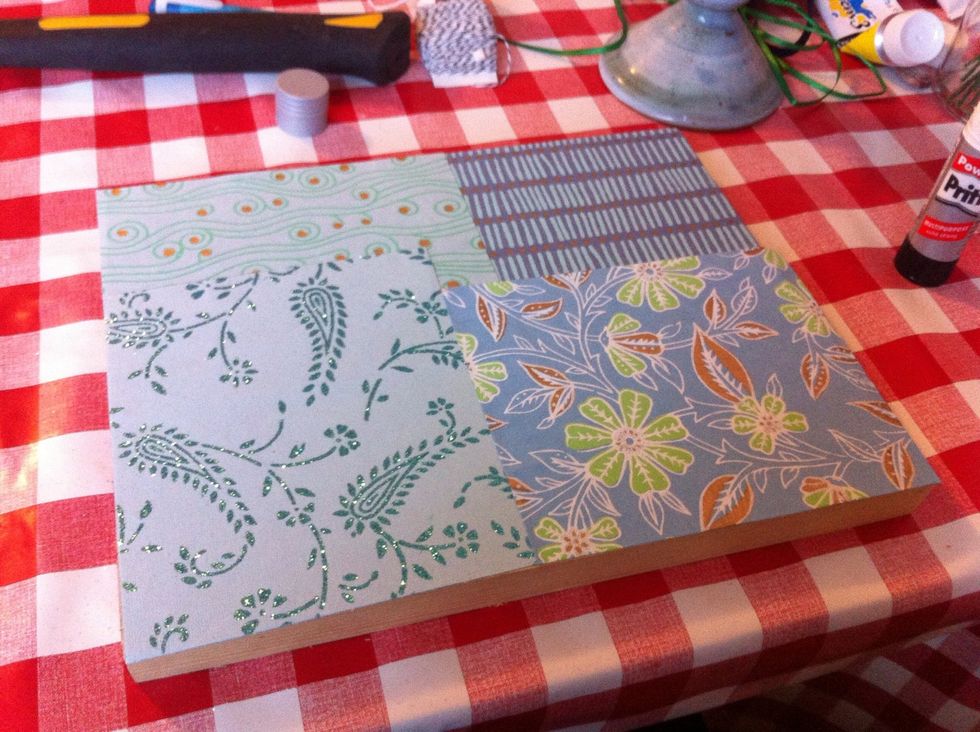
This part is optional but I decided to spruce up the wood by glueing on some scrap paper
Lay the paper over the wood in the place you want the letters to be. Secure the paper with some tape.

Now the fun bit! Pick a dot and start hammering in the nails. The depth is up to you but stay consistent.
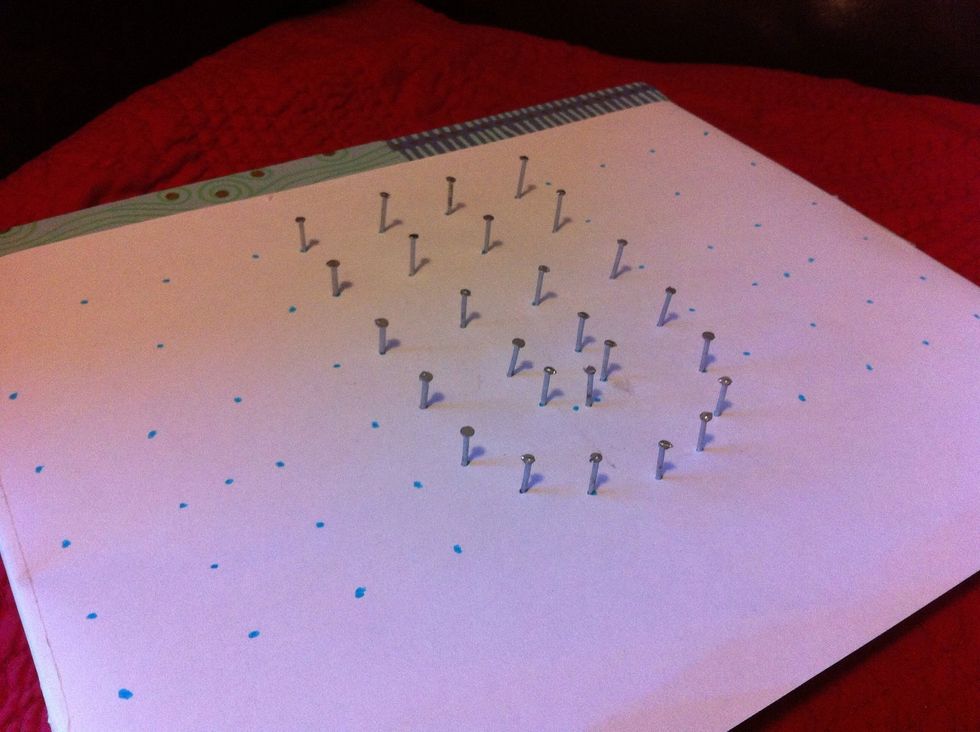
Here is one completed letter, as you can see I've decided to simplify the inside of the U as it would have been a bit crowded otherwise. Any nails that are leaning can be knocked back in to line.
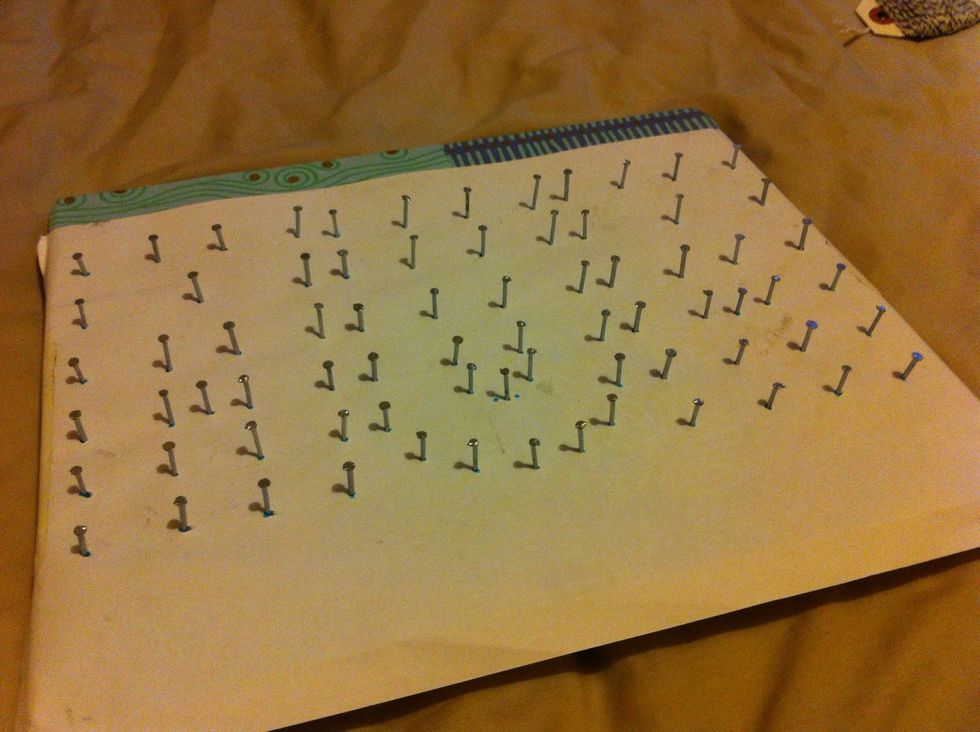
Here it is with all the nails in.

Now peel off the paper.

Now run a length of string around each letter and tie it back on to itself. Cut off any excess and you're done!