The Conversation (0)
Sign Up
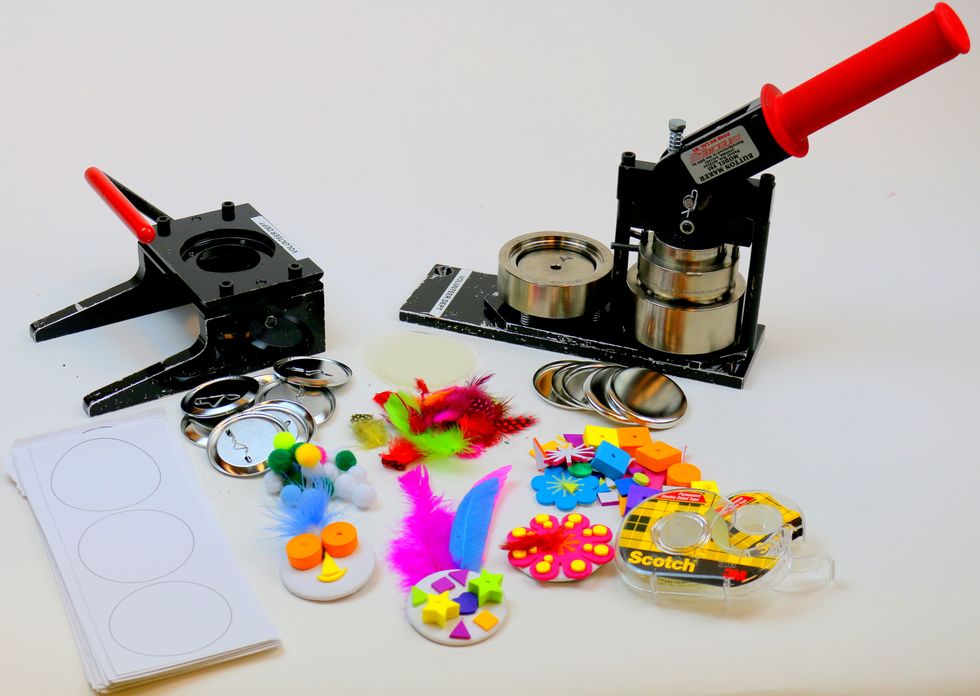
Gather the necessary supplies.
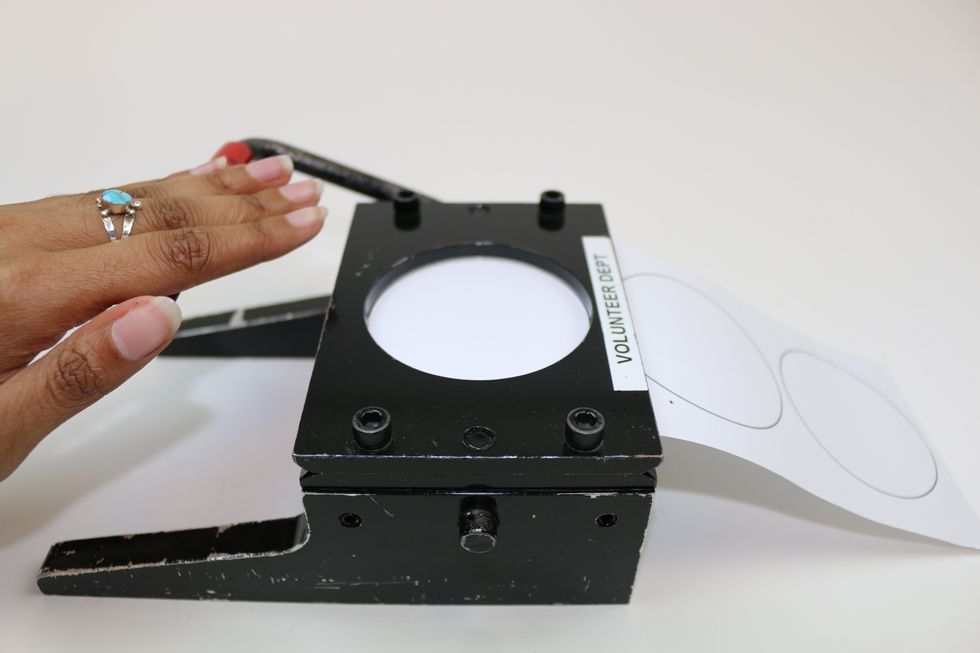
Align the template in the paper cutter to cut out a circle for the button. Press down on the paper cutter handle firmly.

Here is how the template should look once it has been cut out.
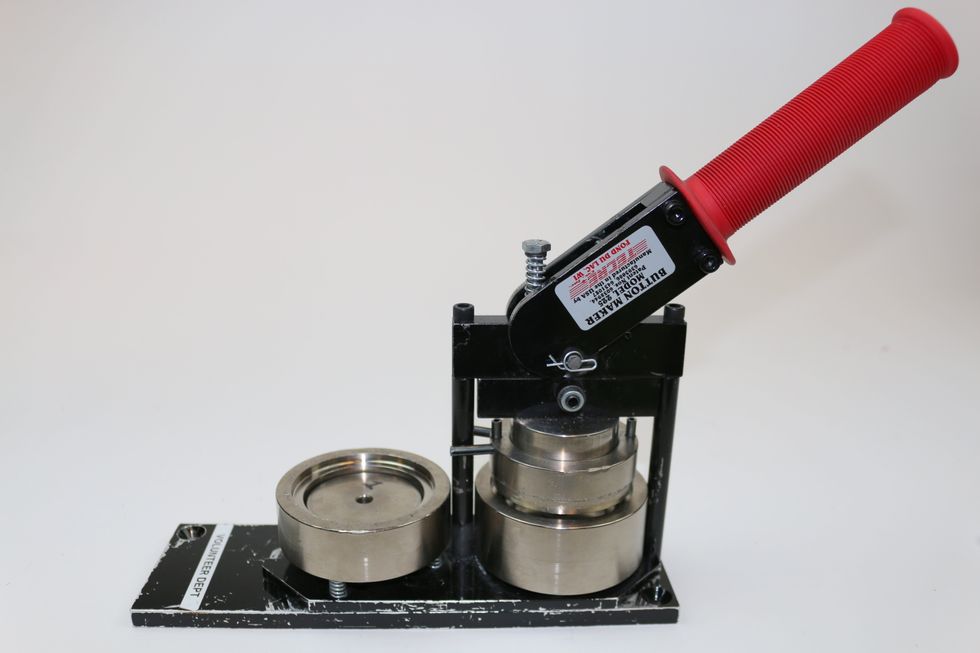
Next, you'll start with the button maker.

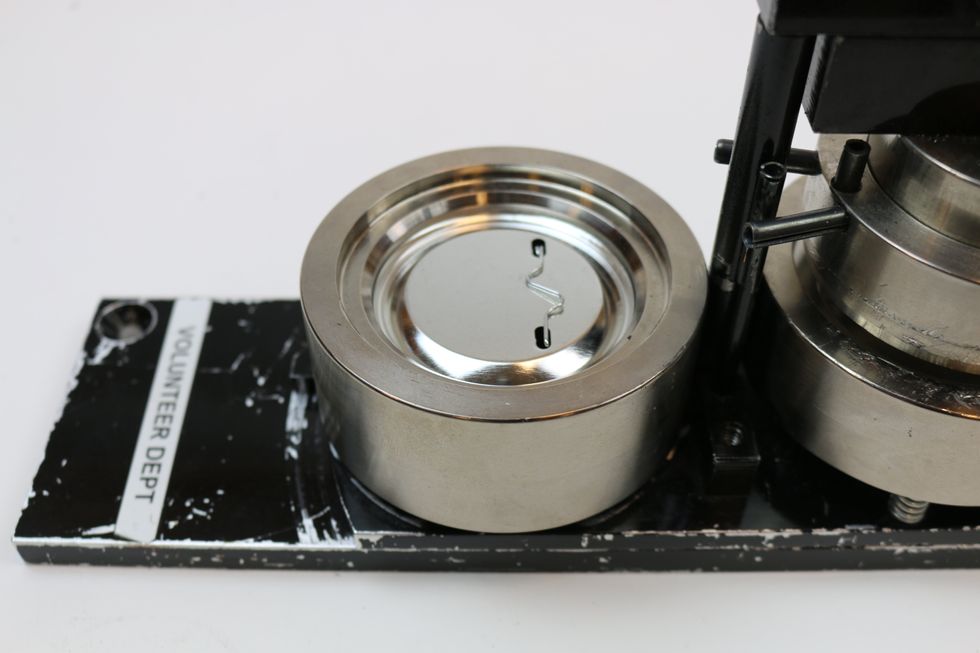
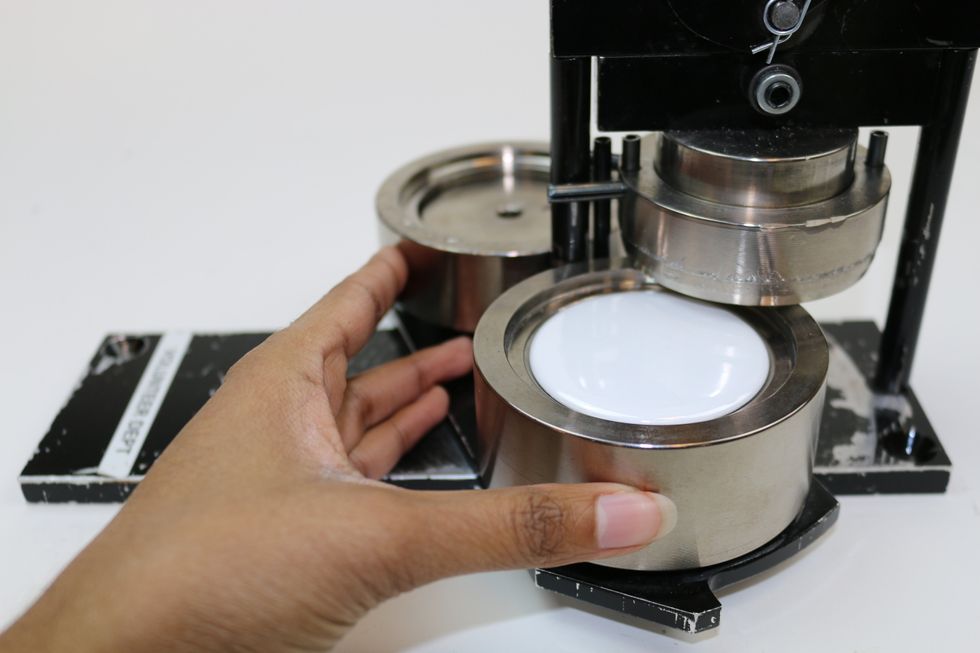
Place a button front over the plate number 1. Make sure the smooth side is facing up.
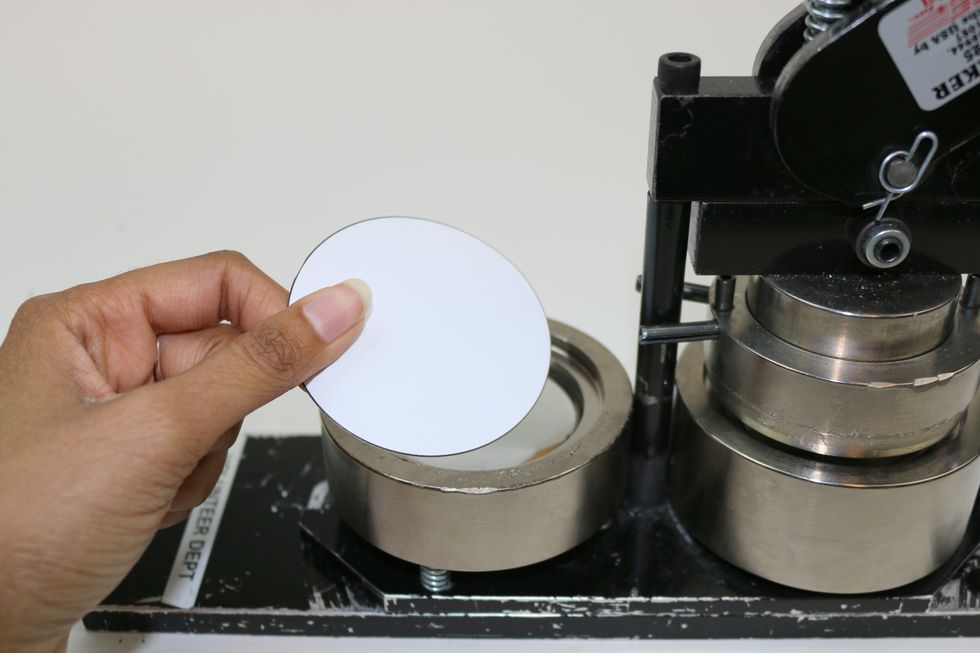
Place the circle template, cut out previously, on top of the button front in the button maker.
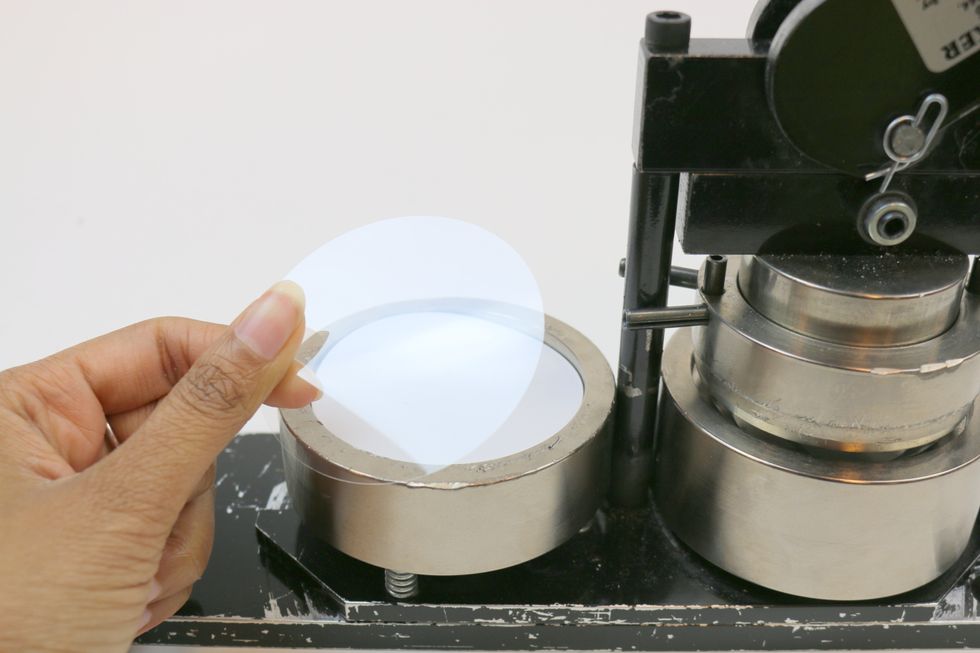
Grab a button plastic cover sheet and place over the paper template in the button maker.

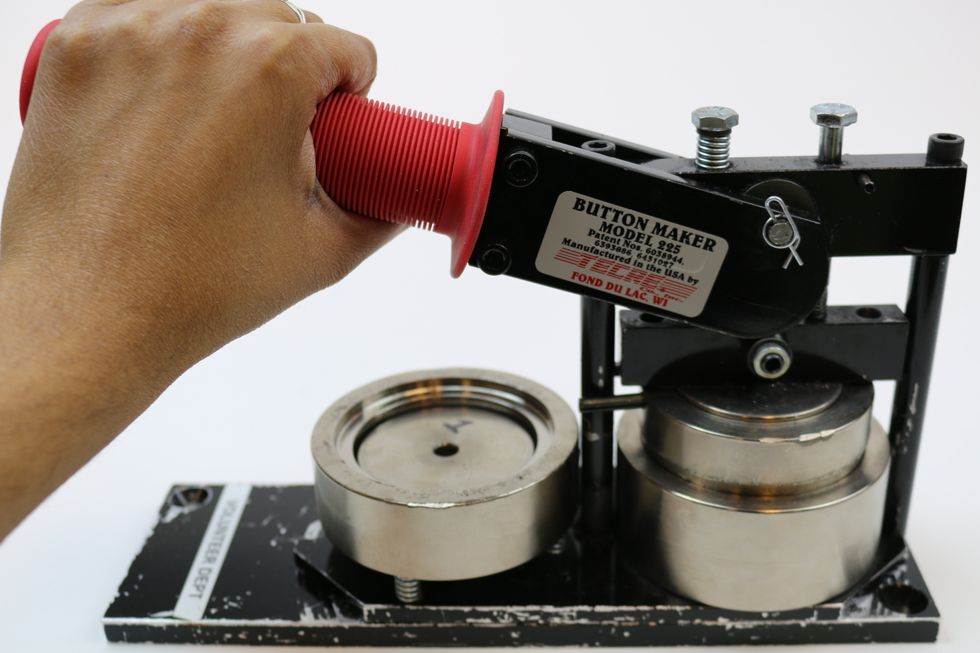
Spin the bottom of the button maker so that the button front with the paper and plastic is beneath the lever.

Firmly and steadily pull the lever down all the way. Use both hands if necessary.

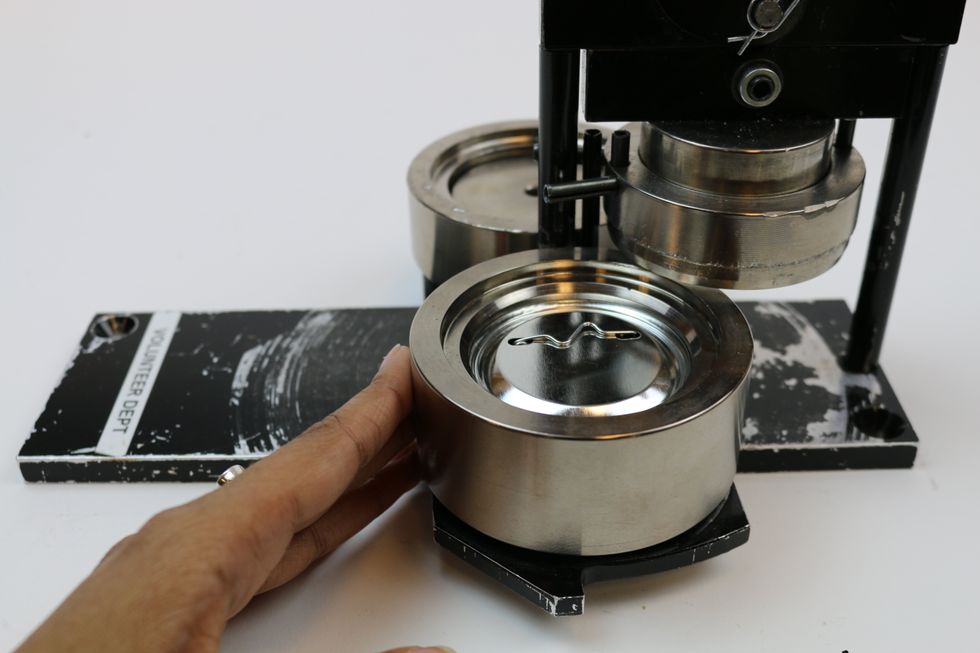
Now place button pinback into the area marked with the number 2.
Make sure the pin side is facing down.
Spin the bottom of the button maker again, but this time the pinback button should be beneath the lever.
Once again, press down the lever firmly.
Spin the bottom back to grab your button.
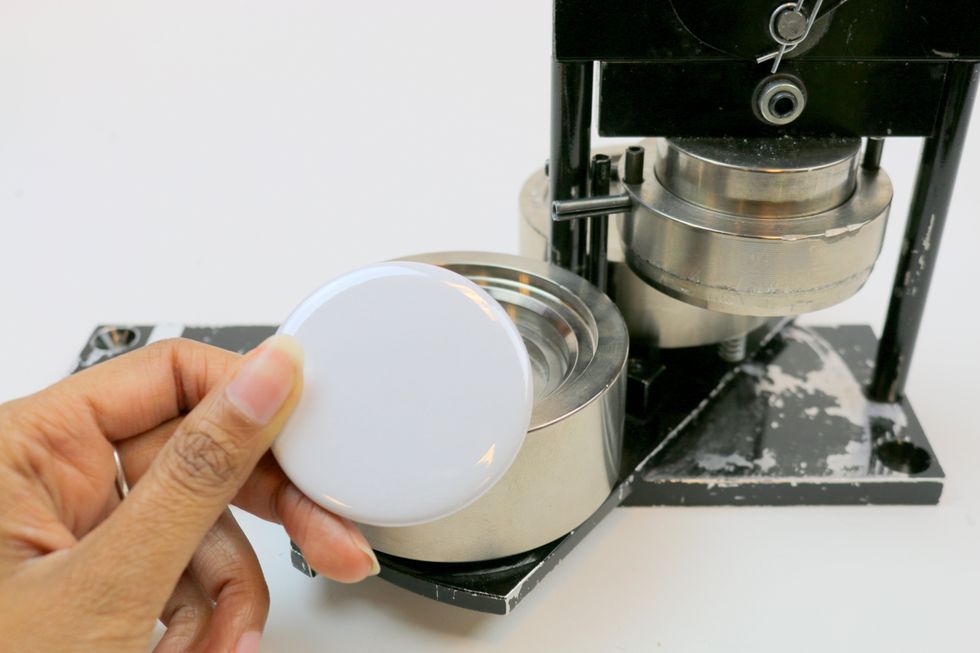
Your button is now complete and ready for decoration!

Gather some art supplies and start decorating.
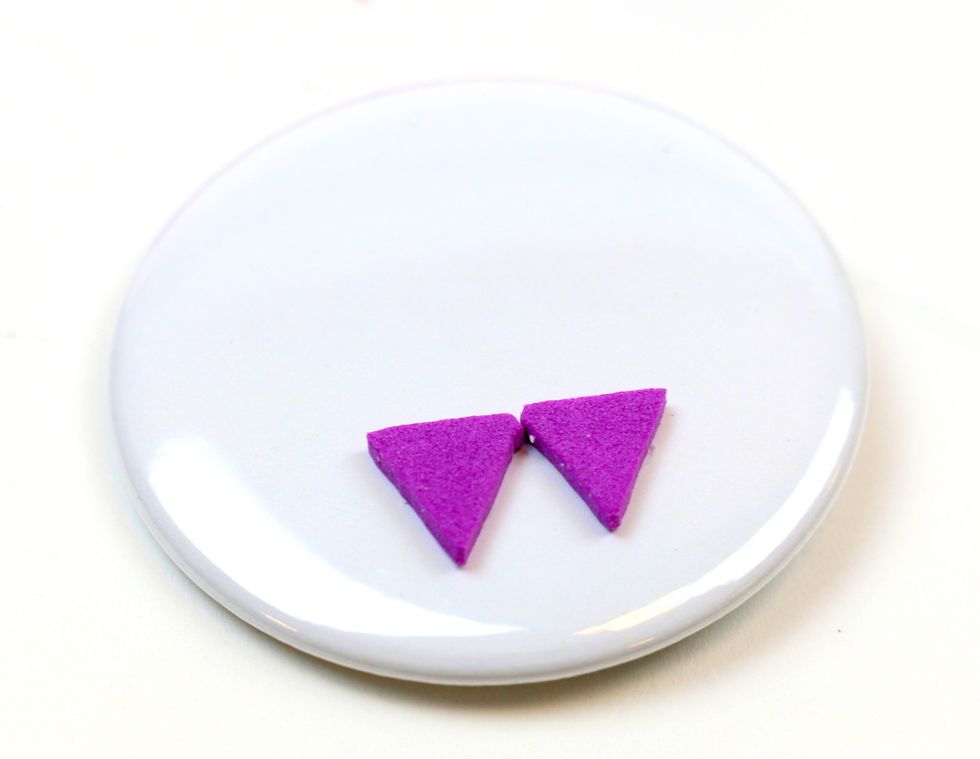
Foam stickers of different shapes and sizes are easy to work with.

However, double-sided tape works great too.
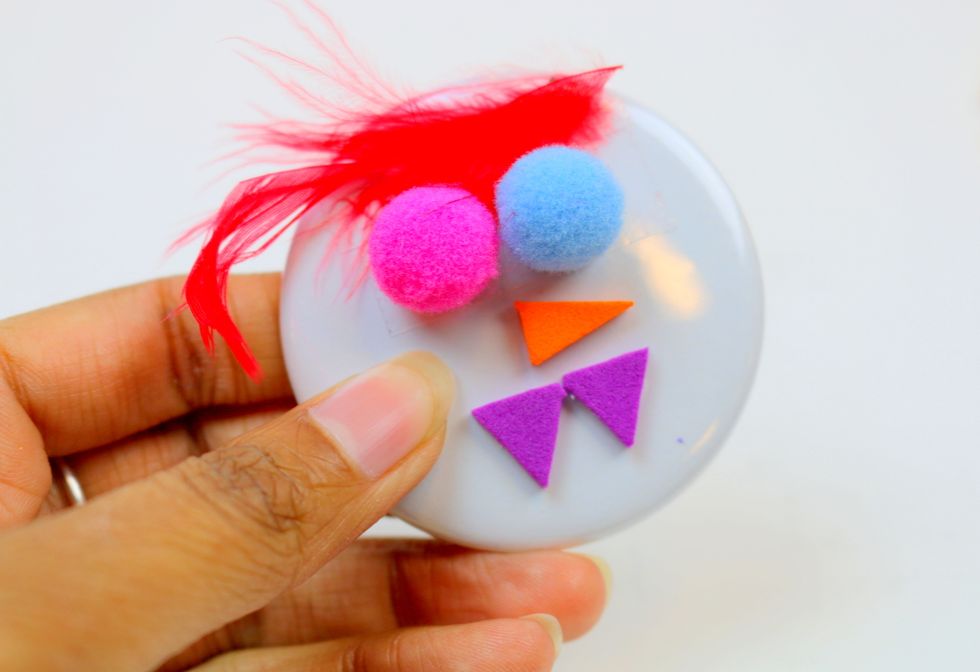
Add some feathers too, and get creative!
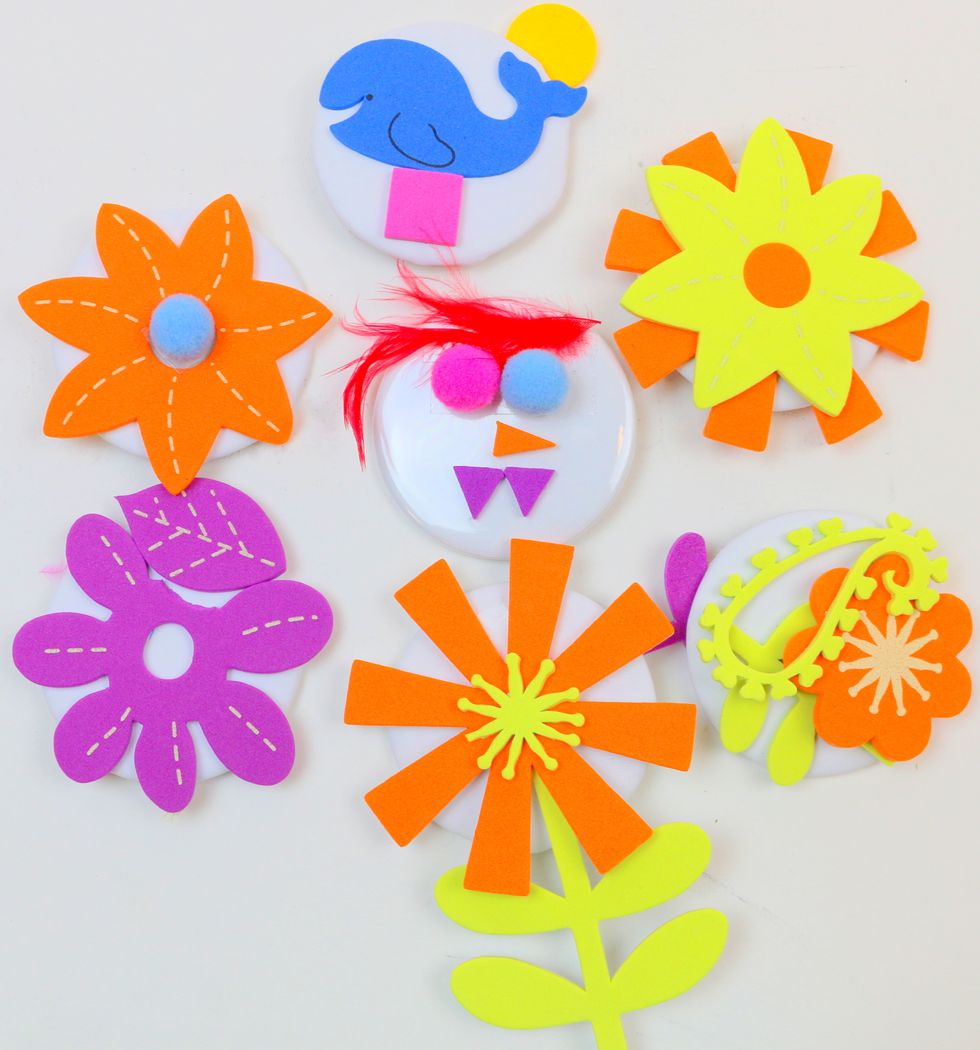
And now you have a 3D button!