The Conversation (0)
Sign Up
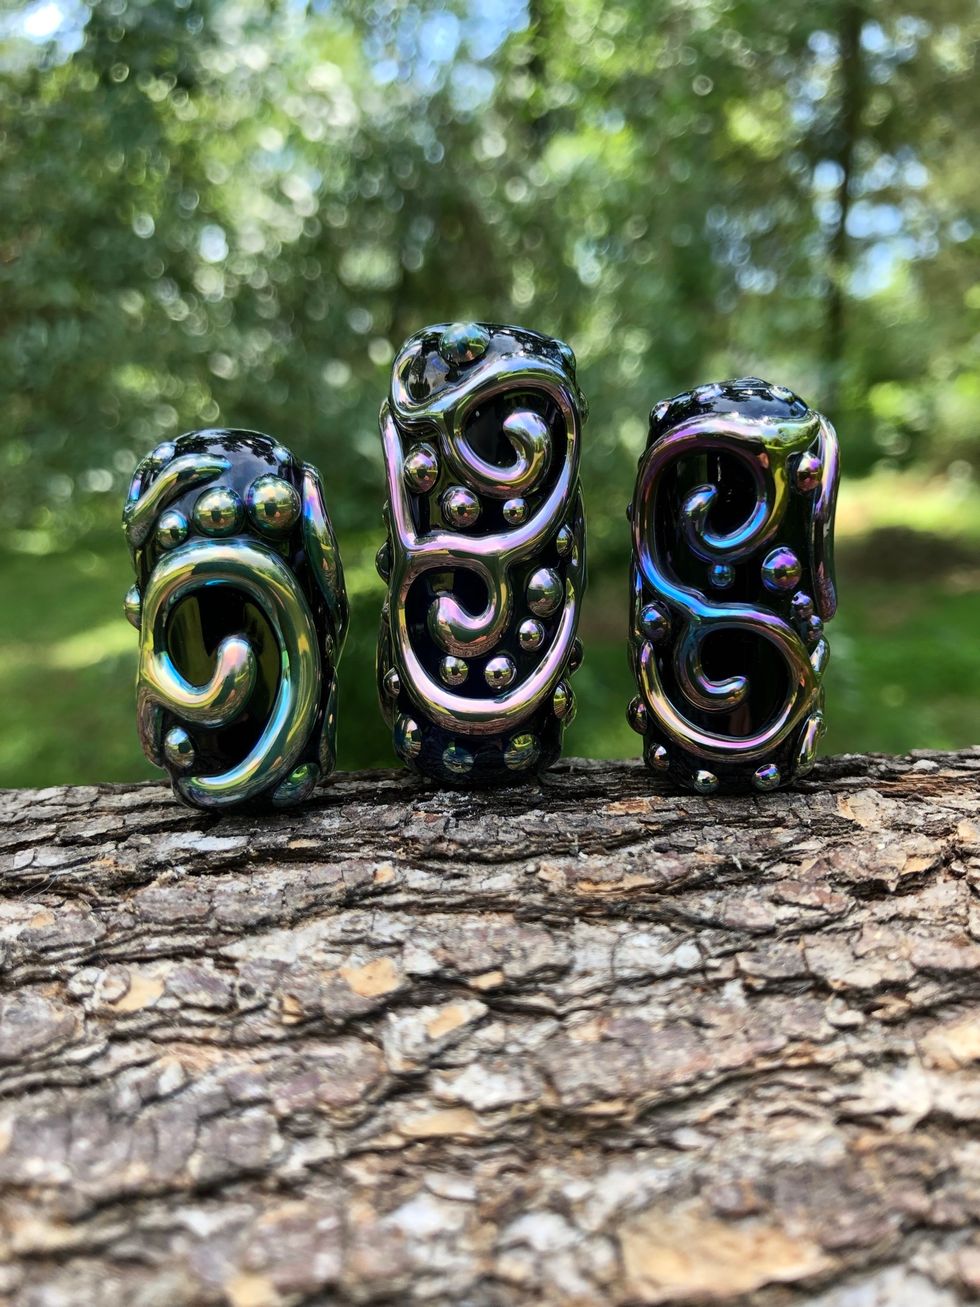
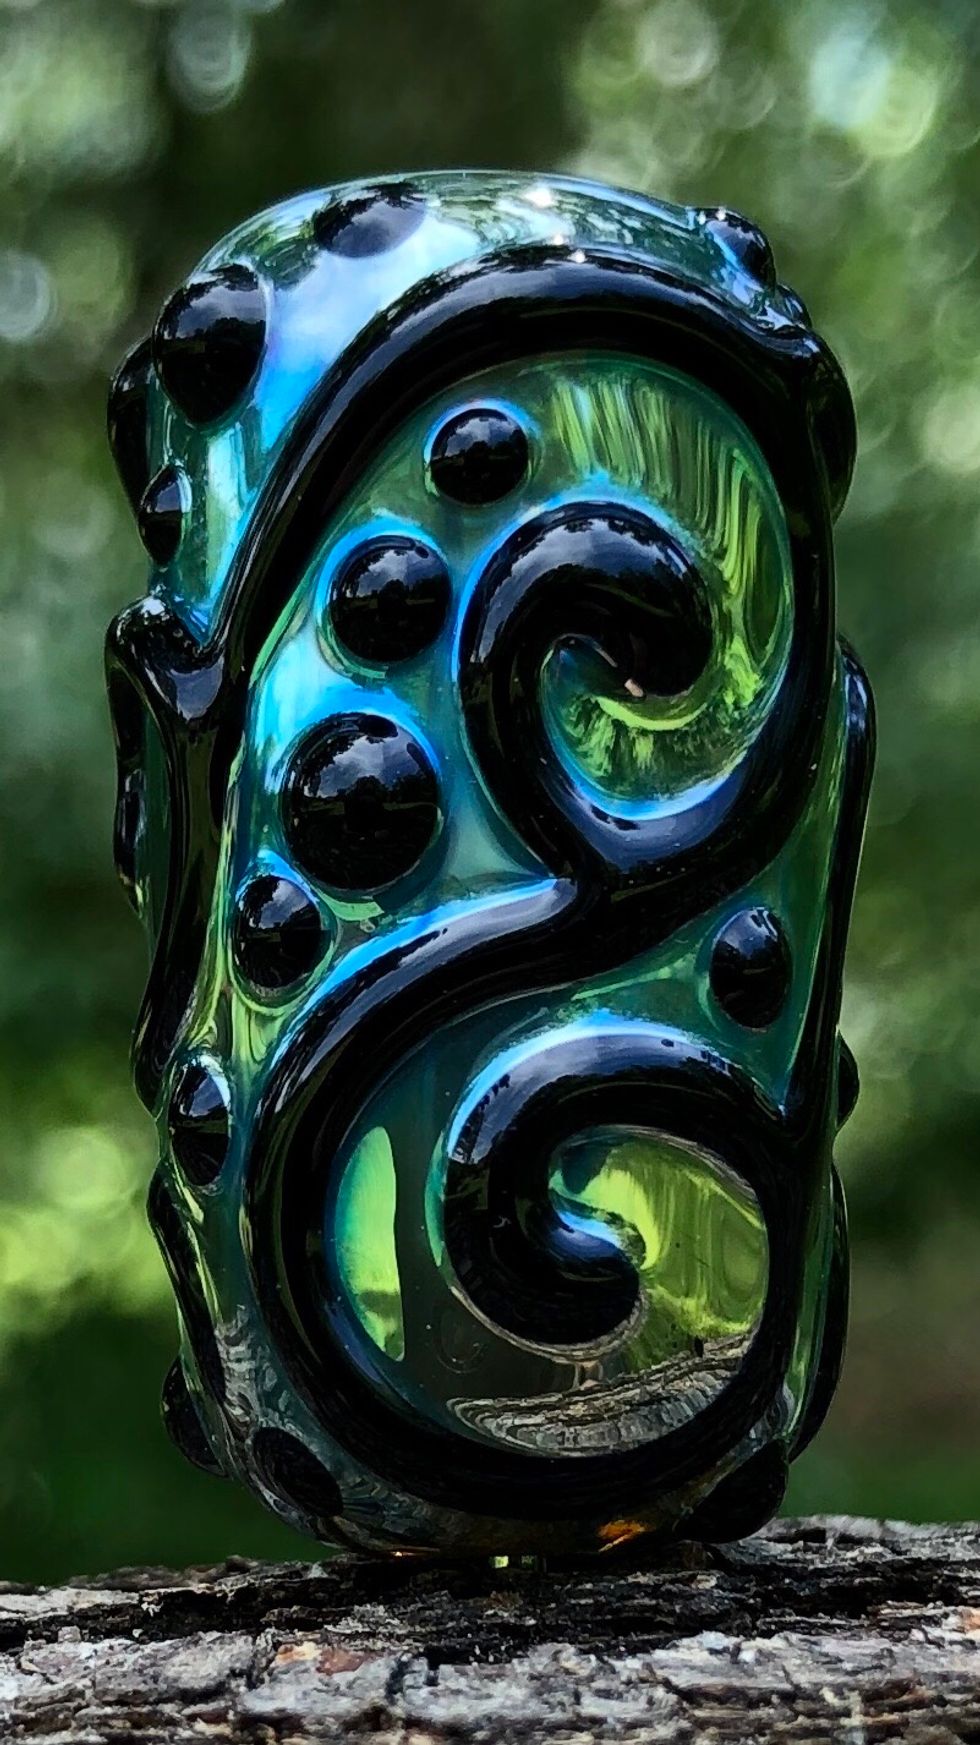
The finished bead will have a raised iridescent metallic luster over a black background.
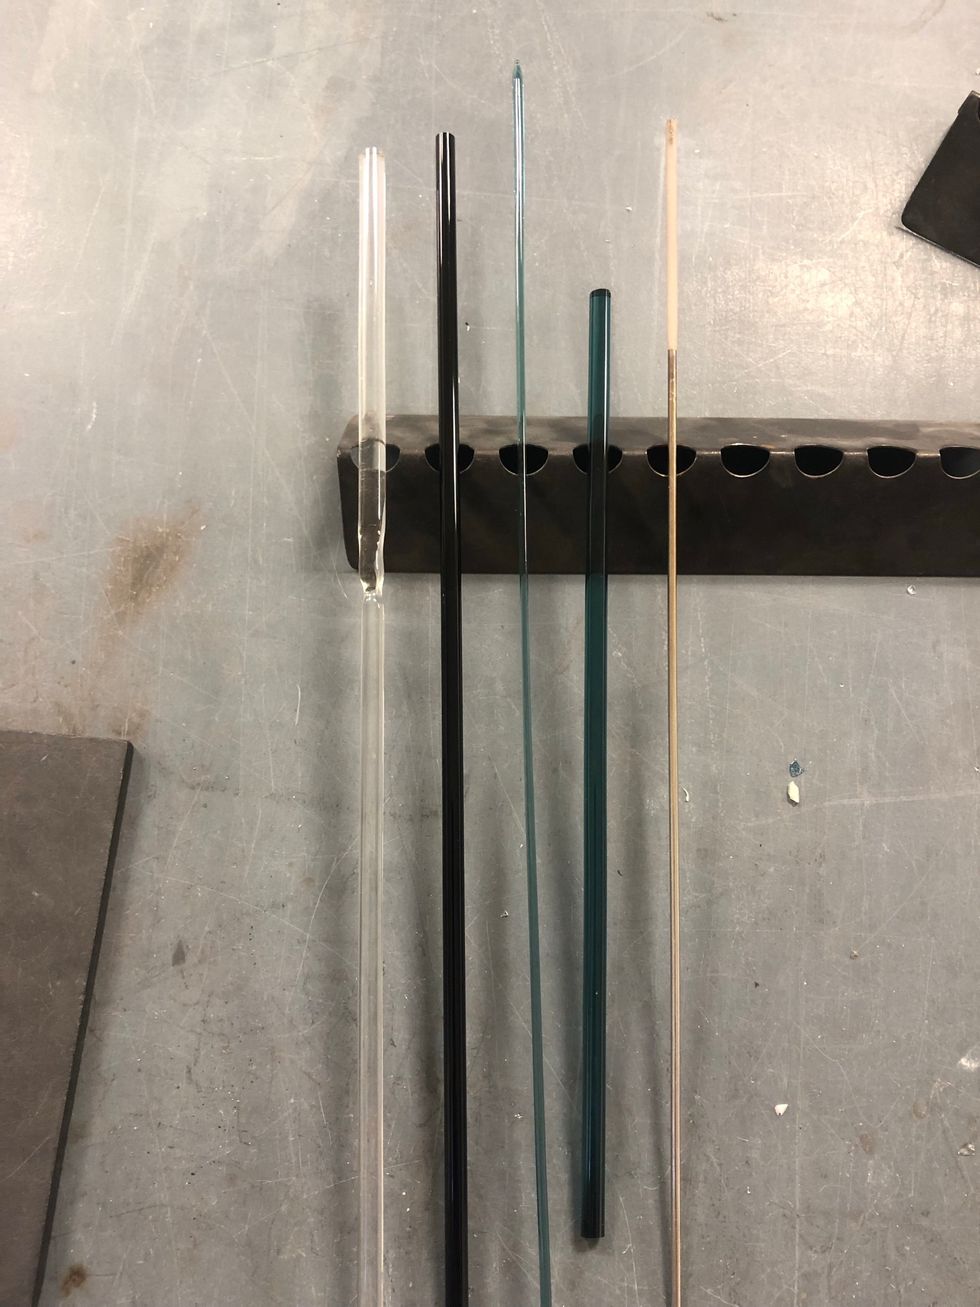
For the clear core I use a length of Zephyr 8mm welded to a 5mm punty rod. A quarter-rod of Melia 2 makes enough 2-3mm stringer for this bead.
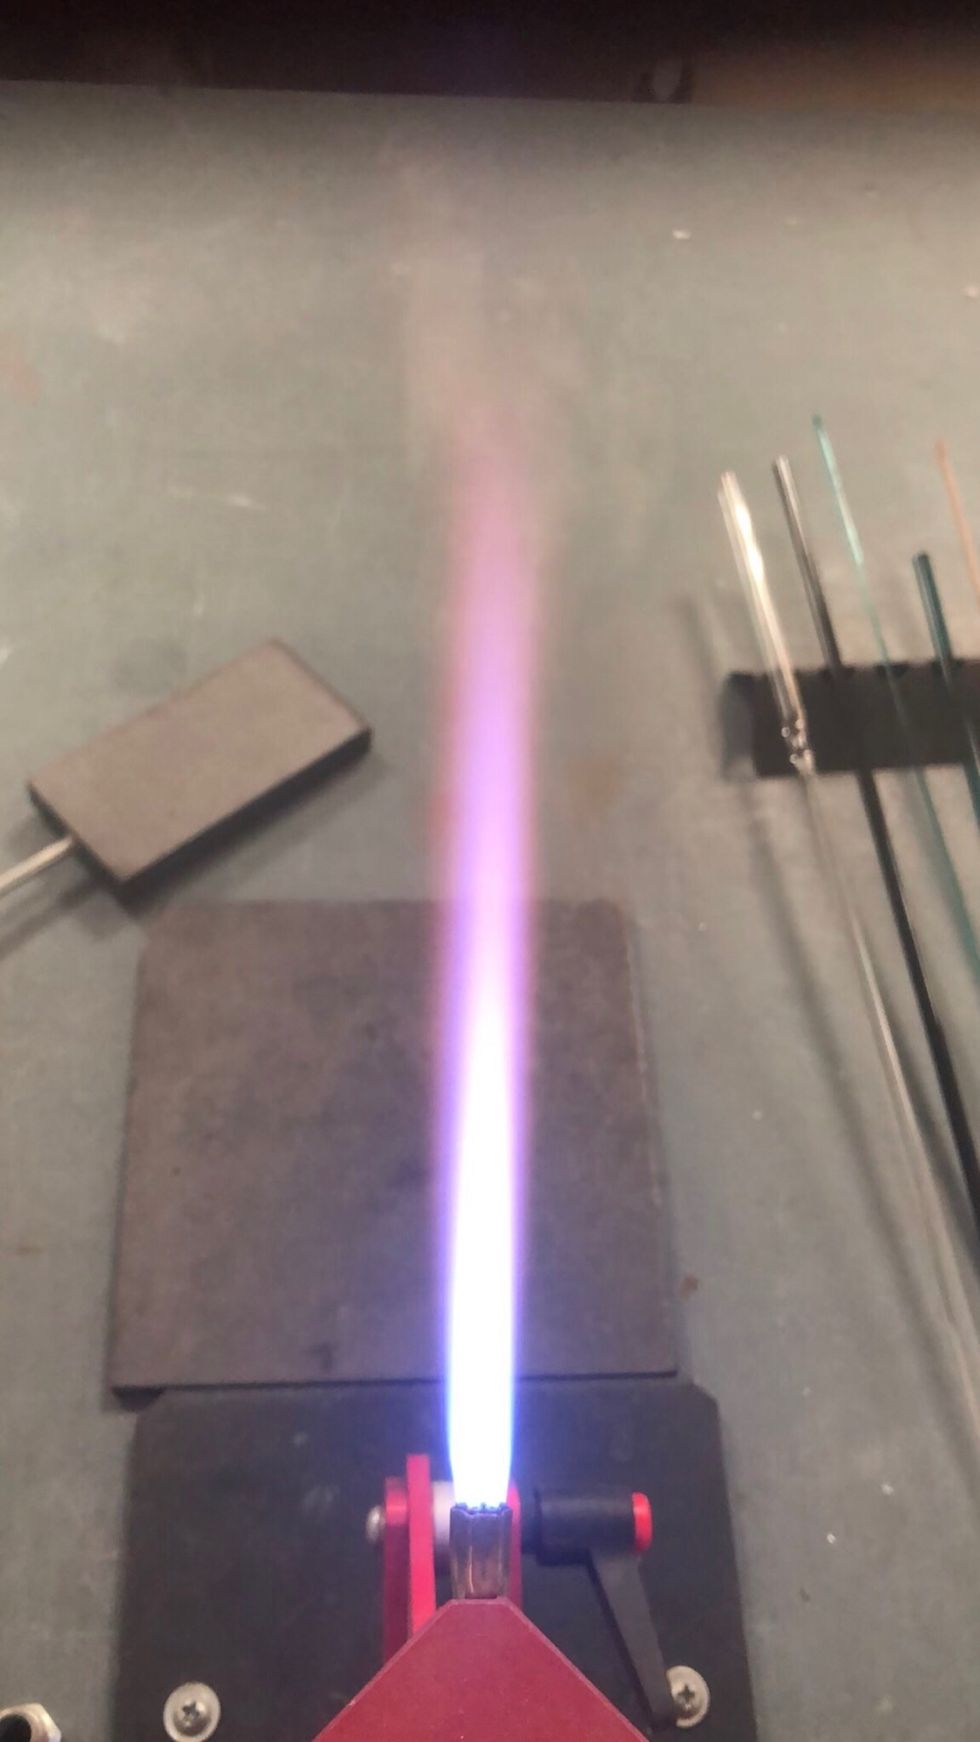
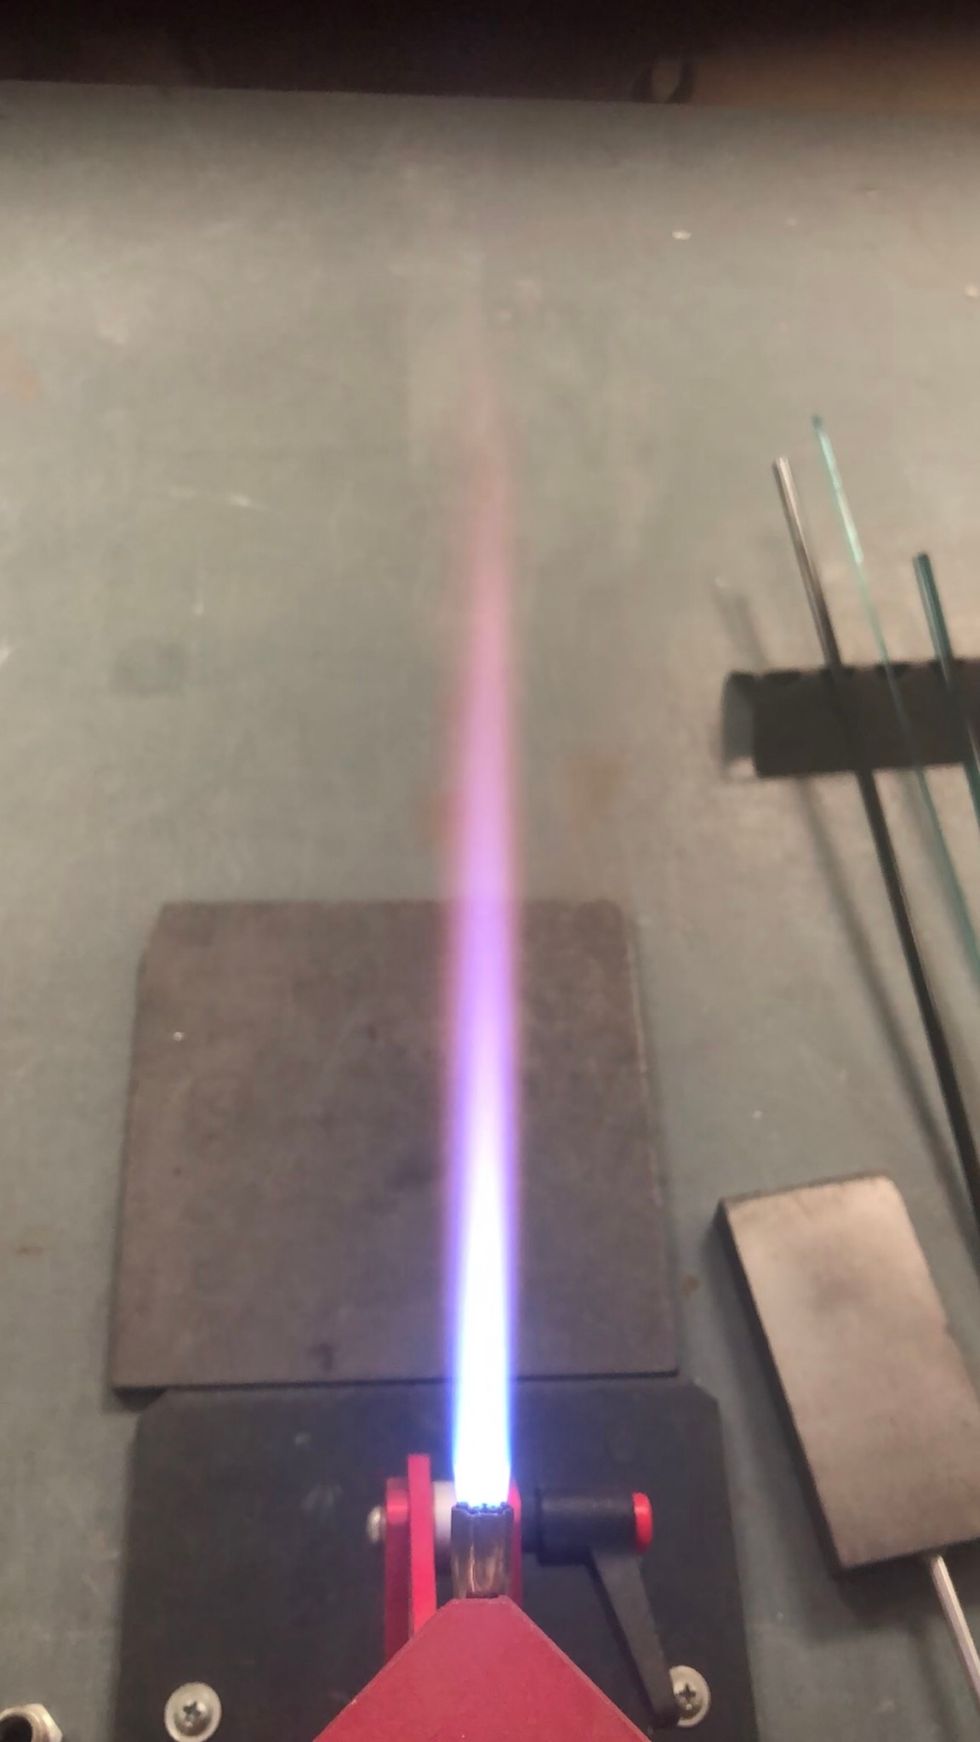
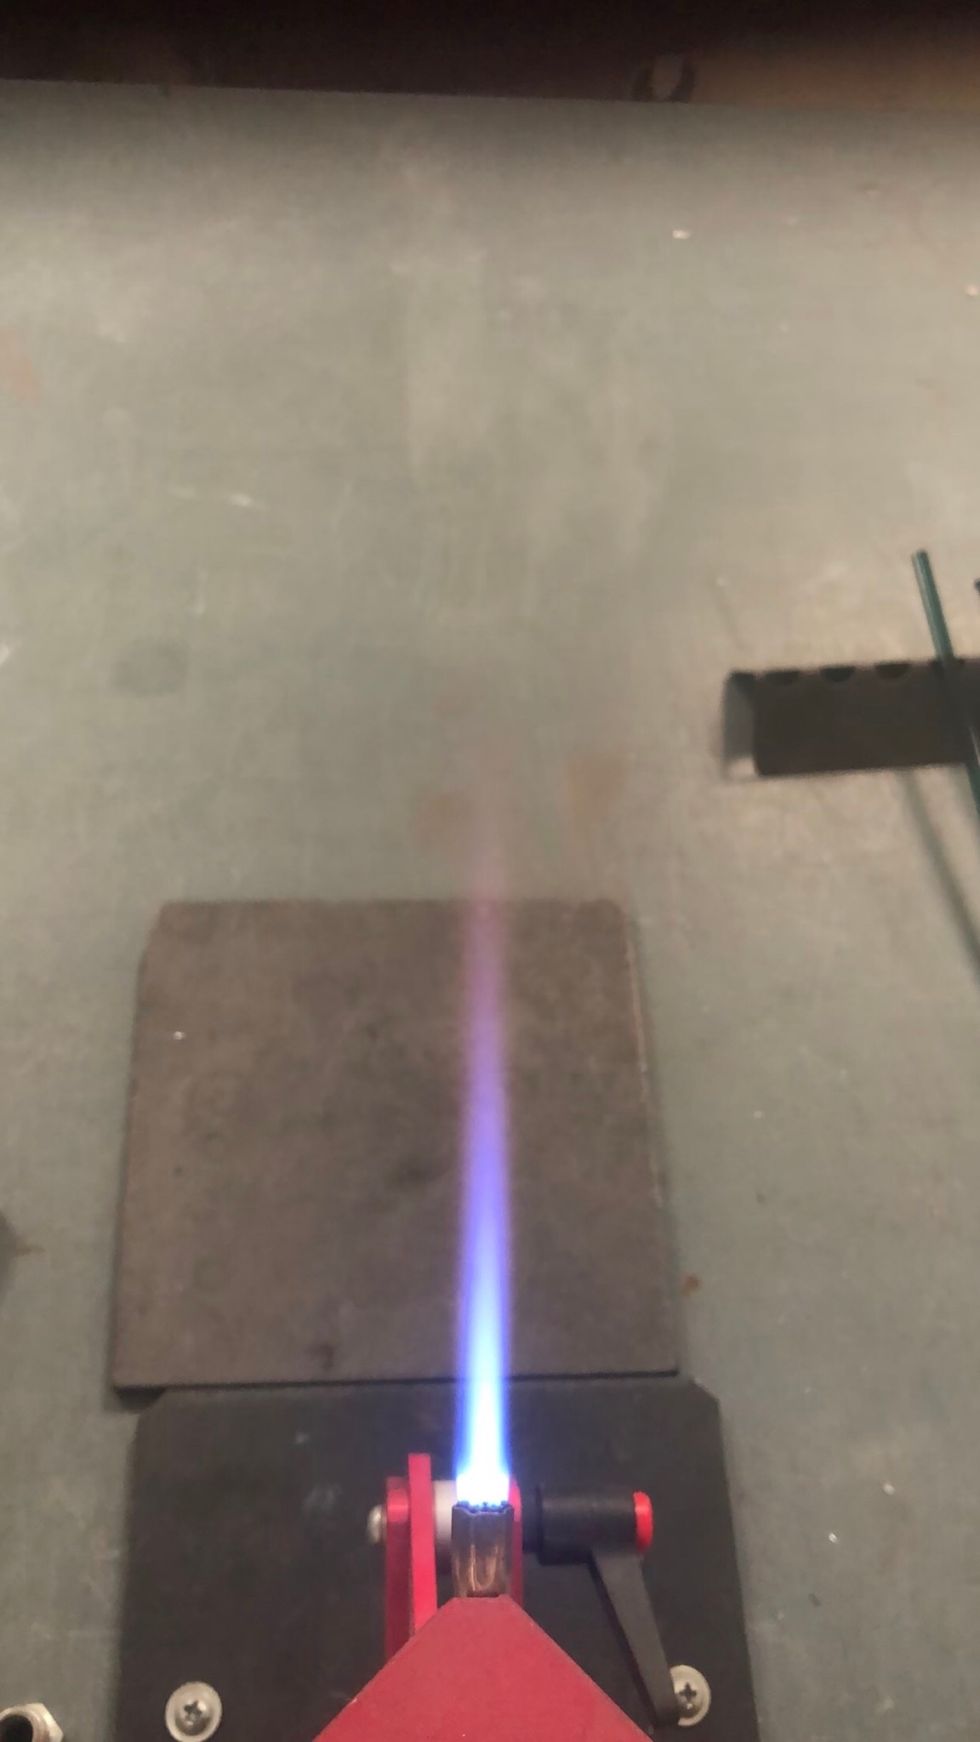
Adjust your torch to produce a hot, neutral flame.
Preheat the bead release and mandrel.
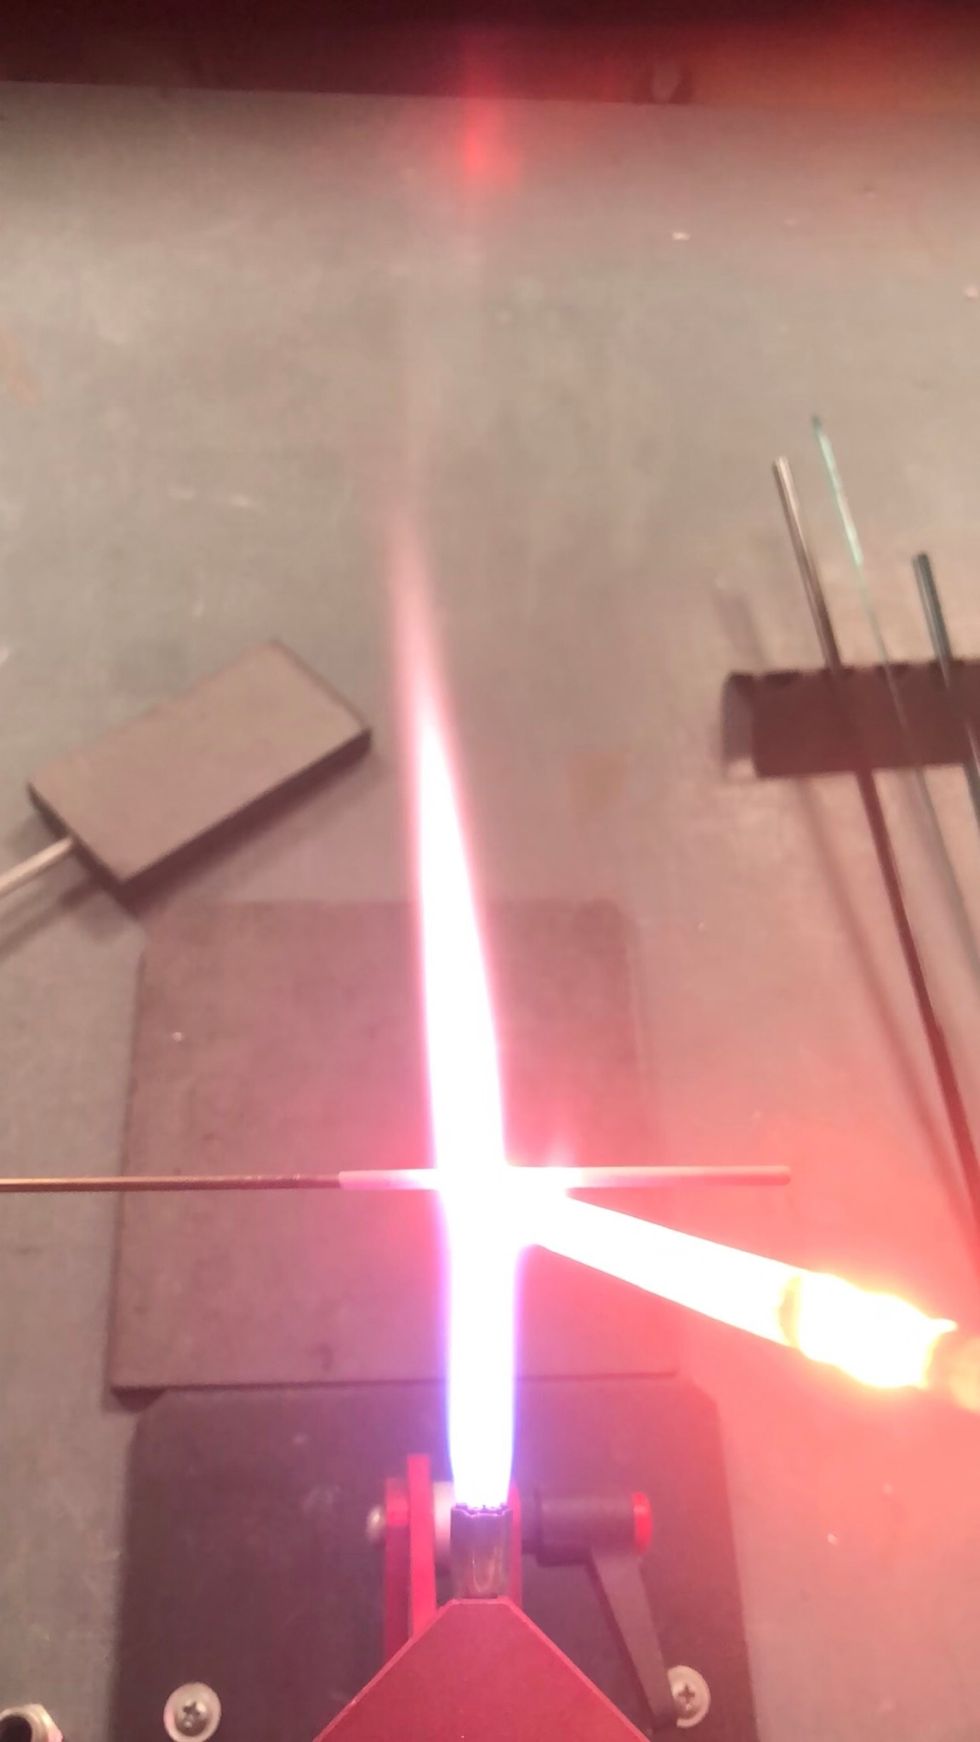
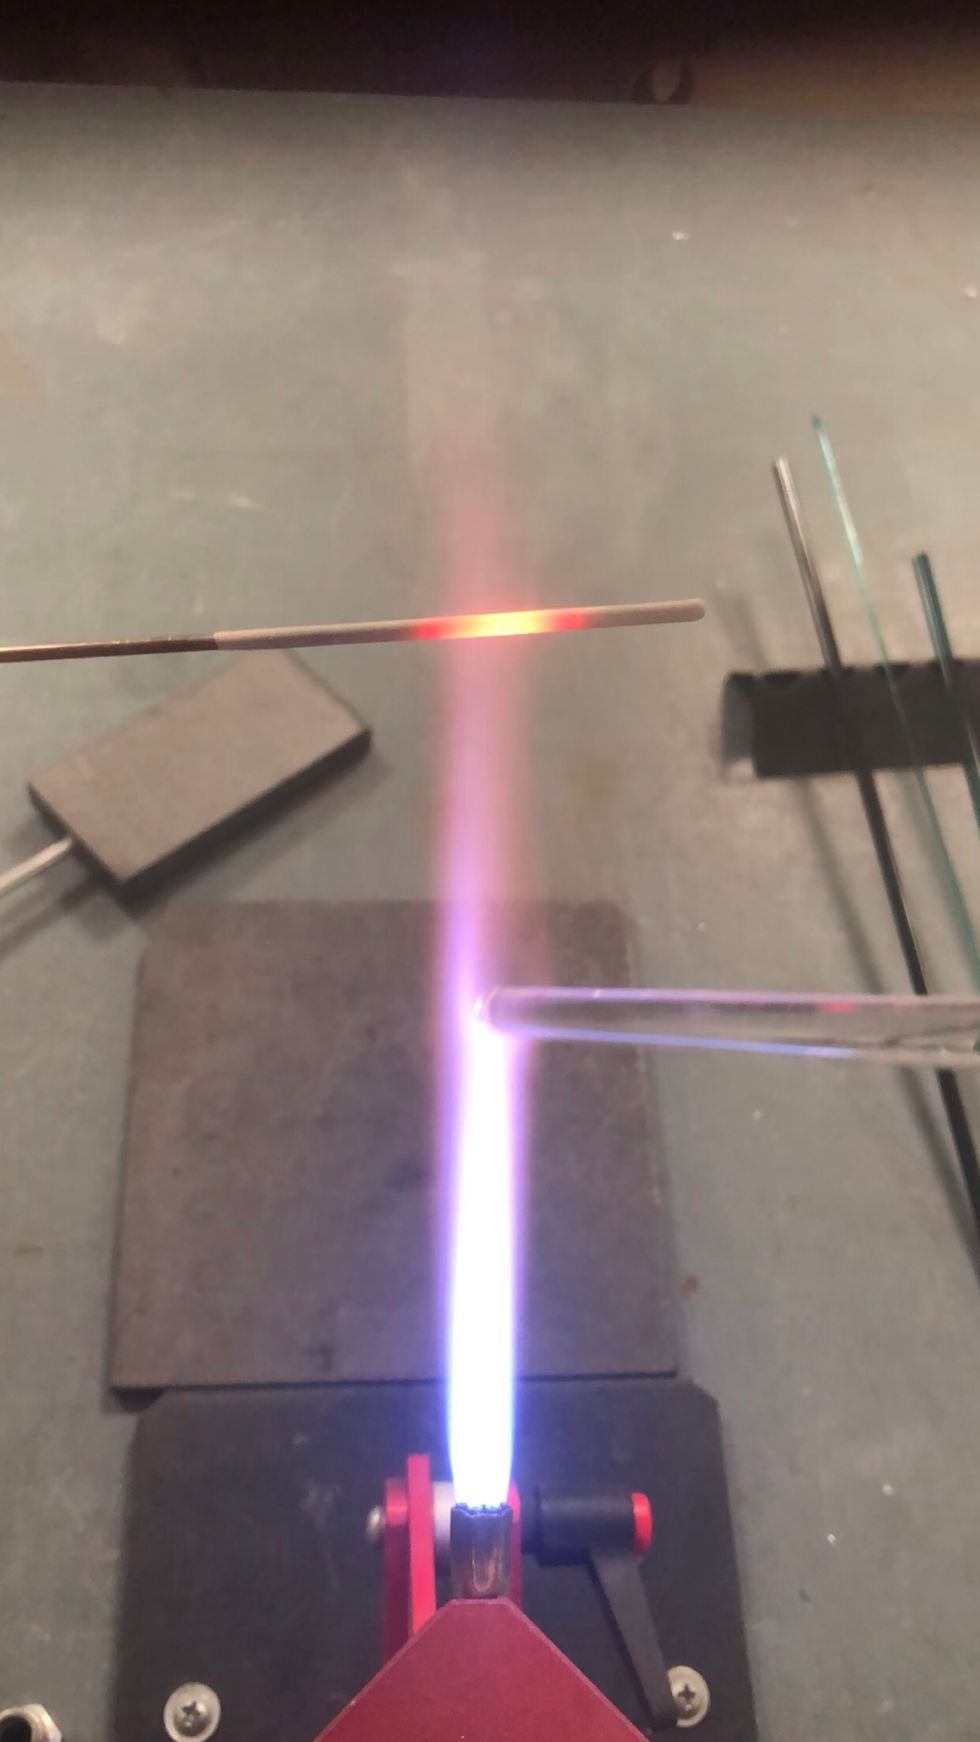
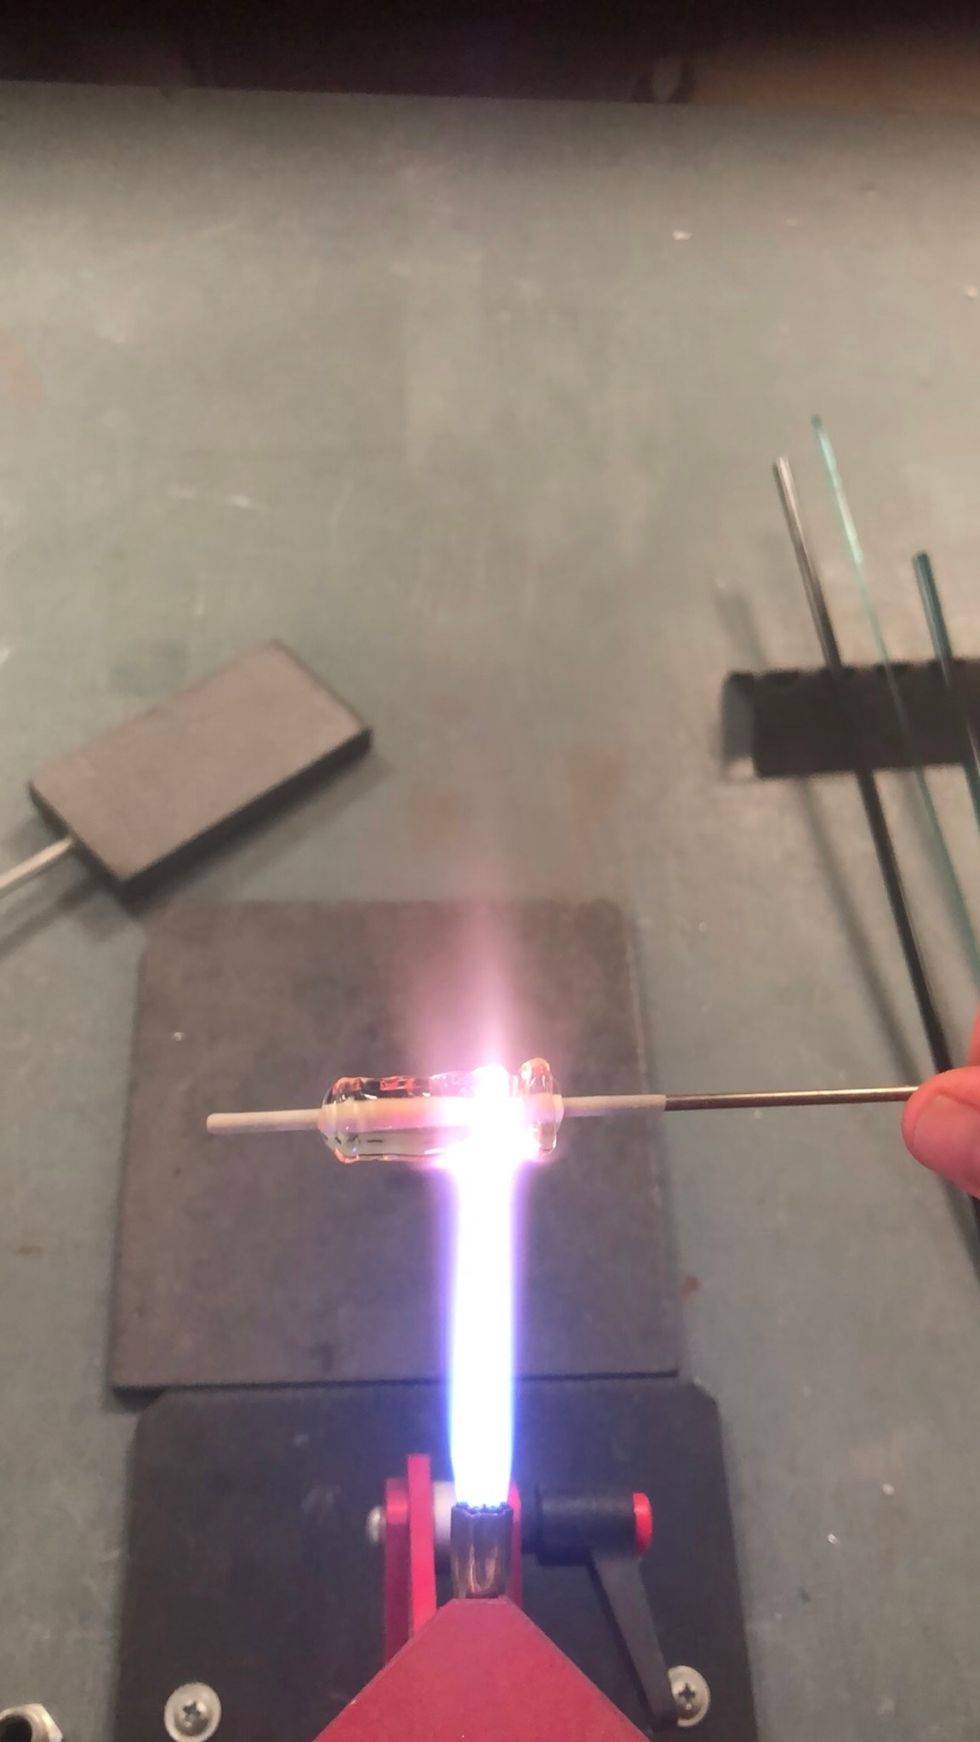
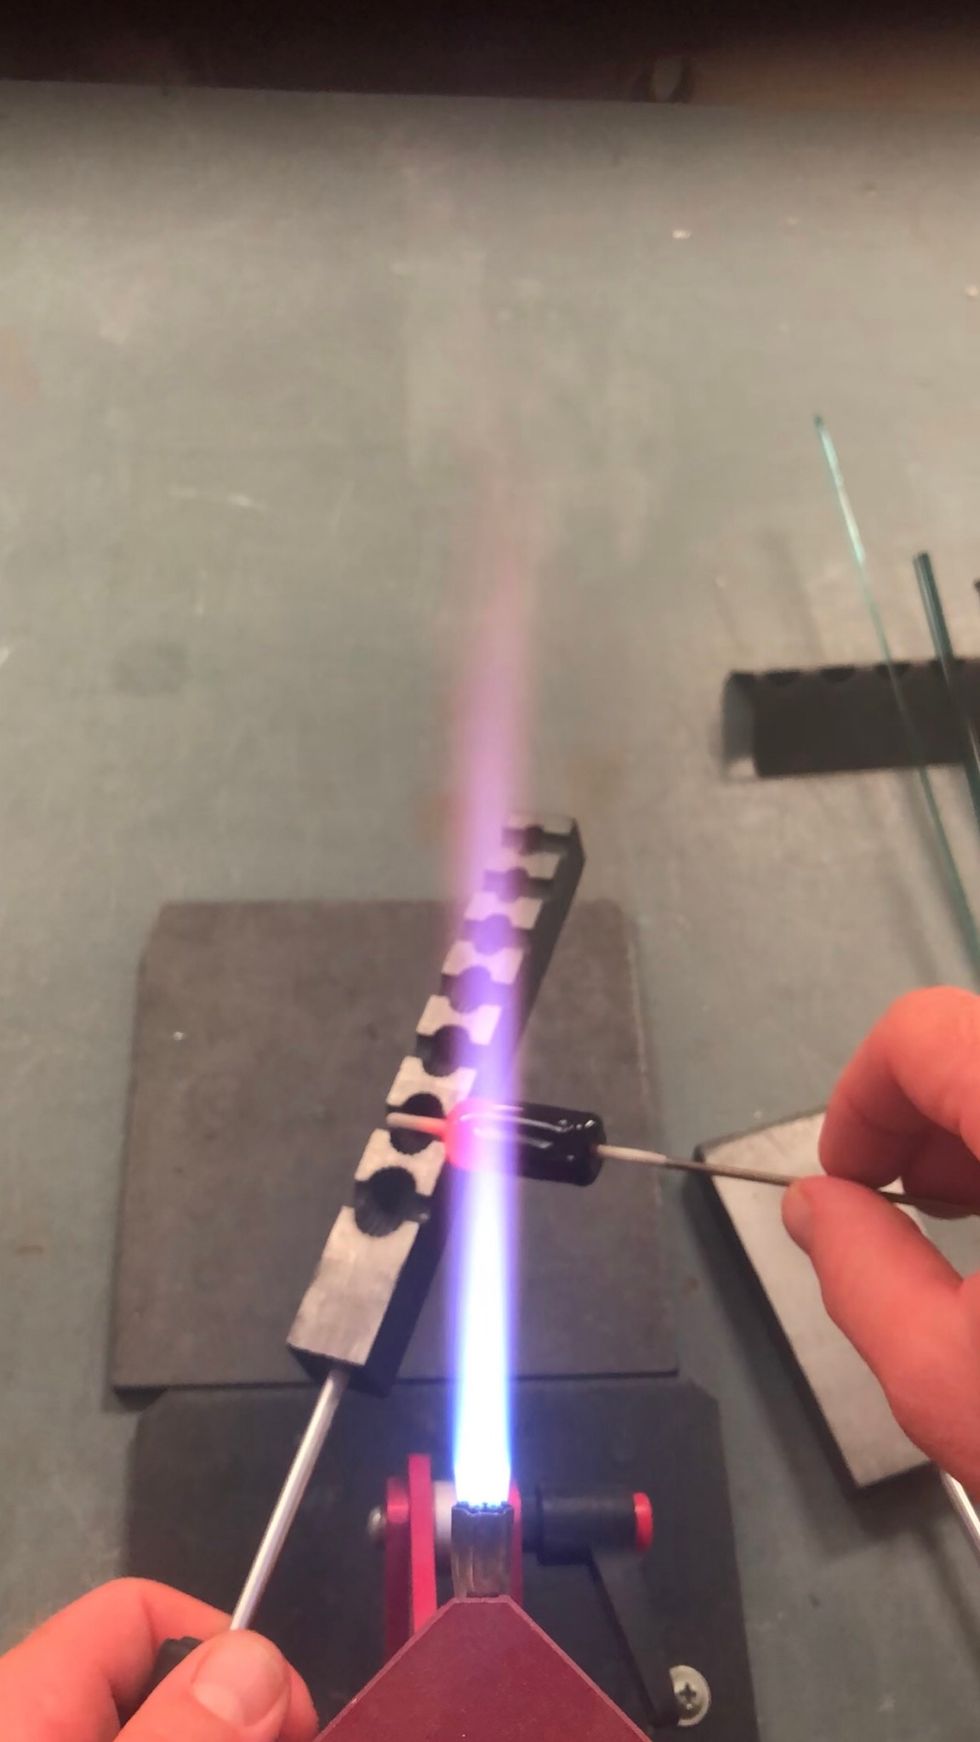
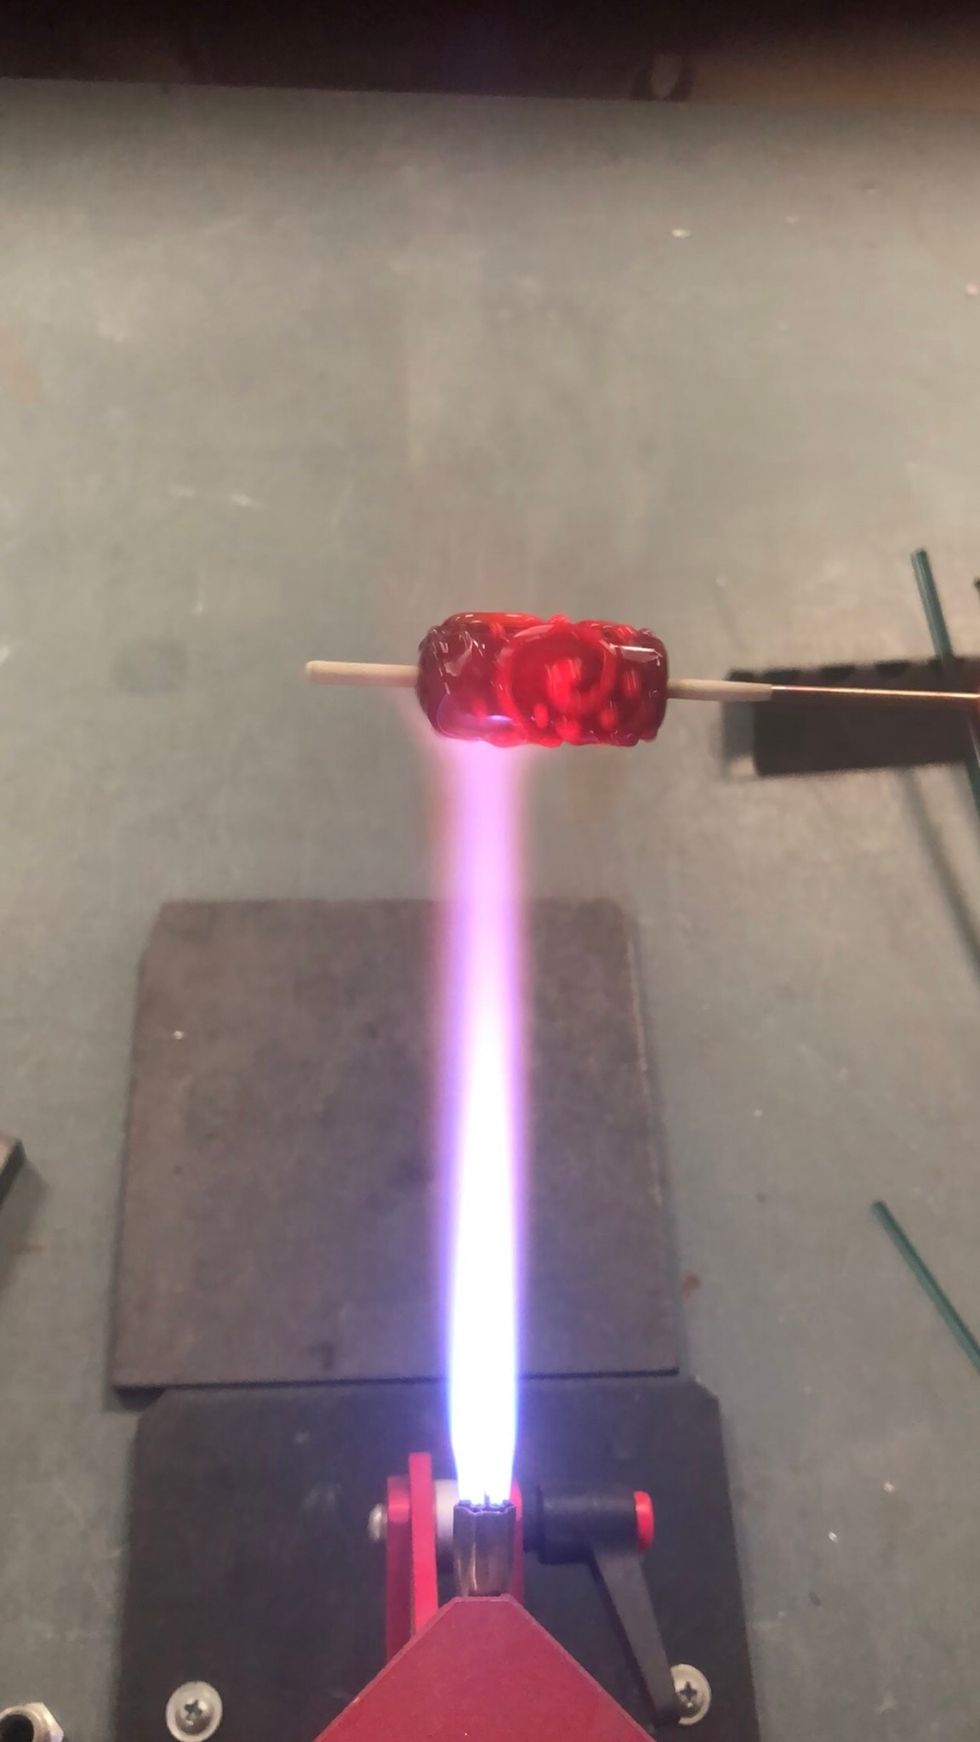
Using a hot flame, lay down a layer of Zephyr where the bead will be. Use enough heat so the glass flows onto the mandrel easily.
Work your way across the mandrel.
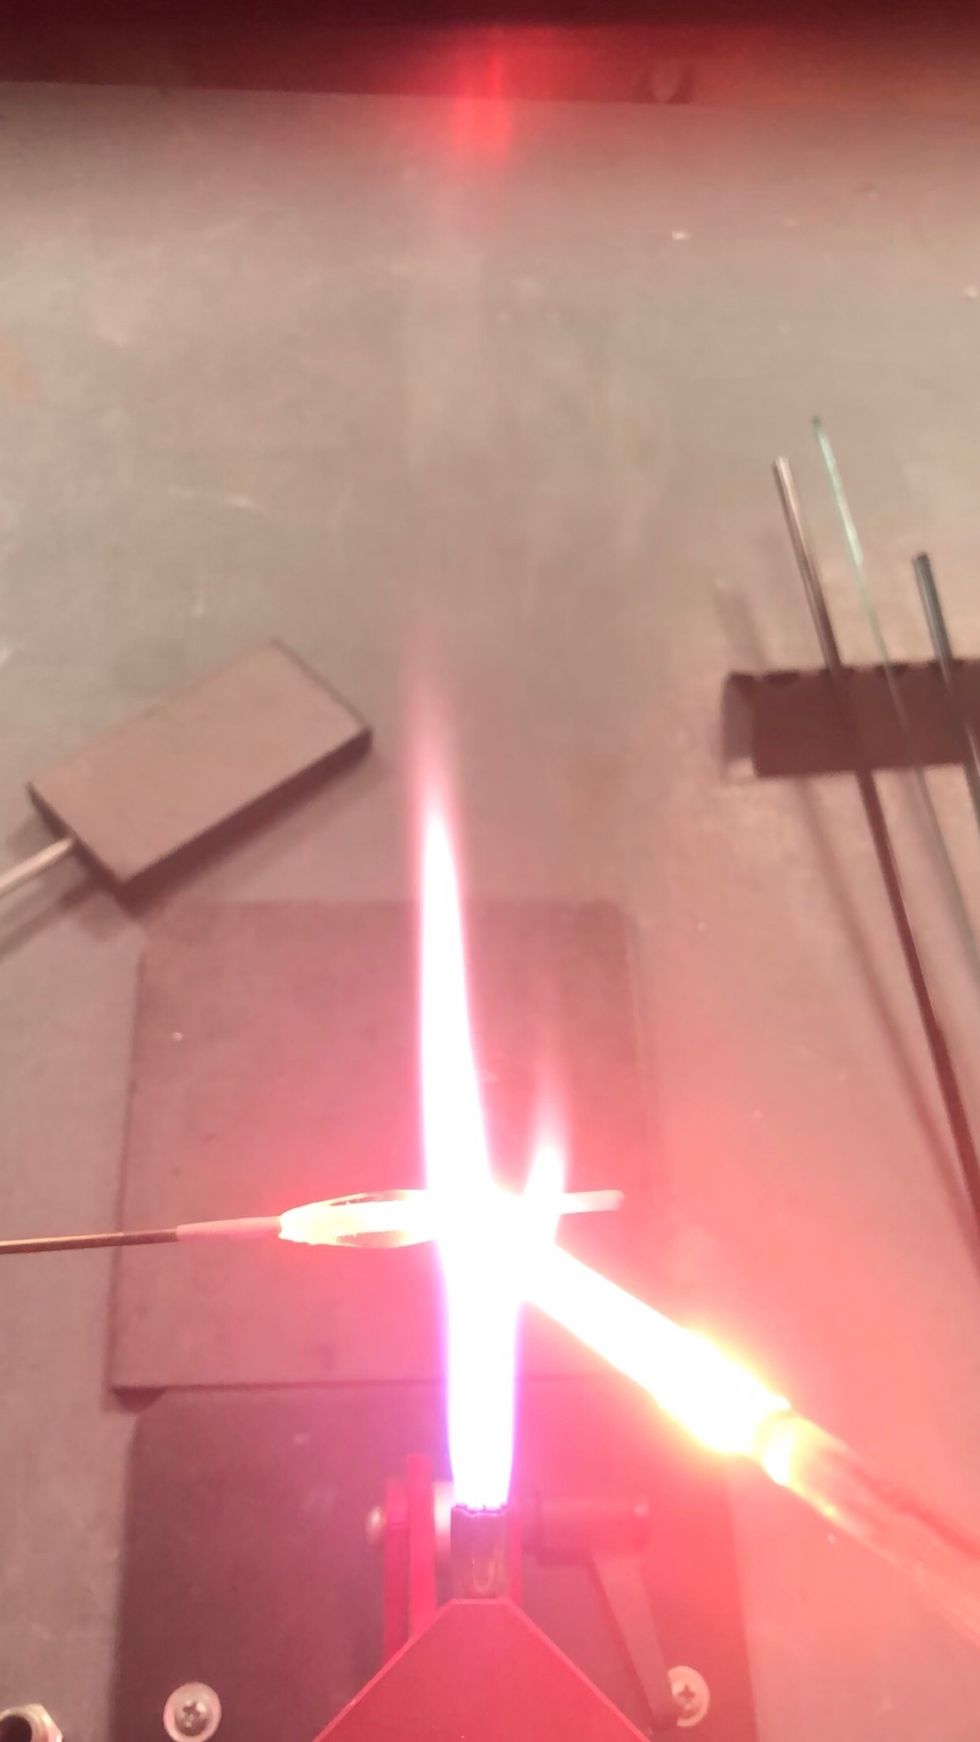
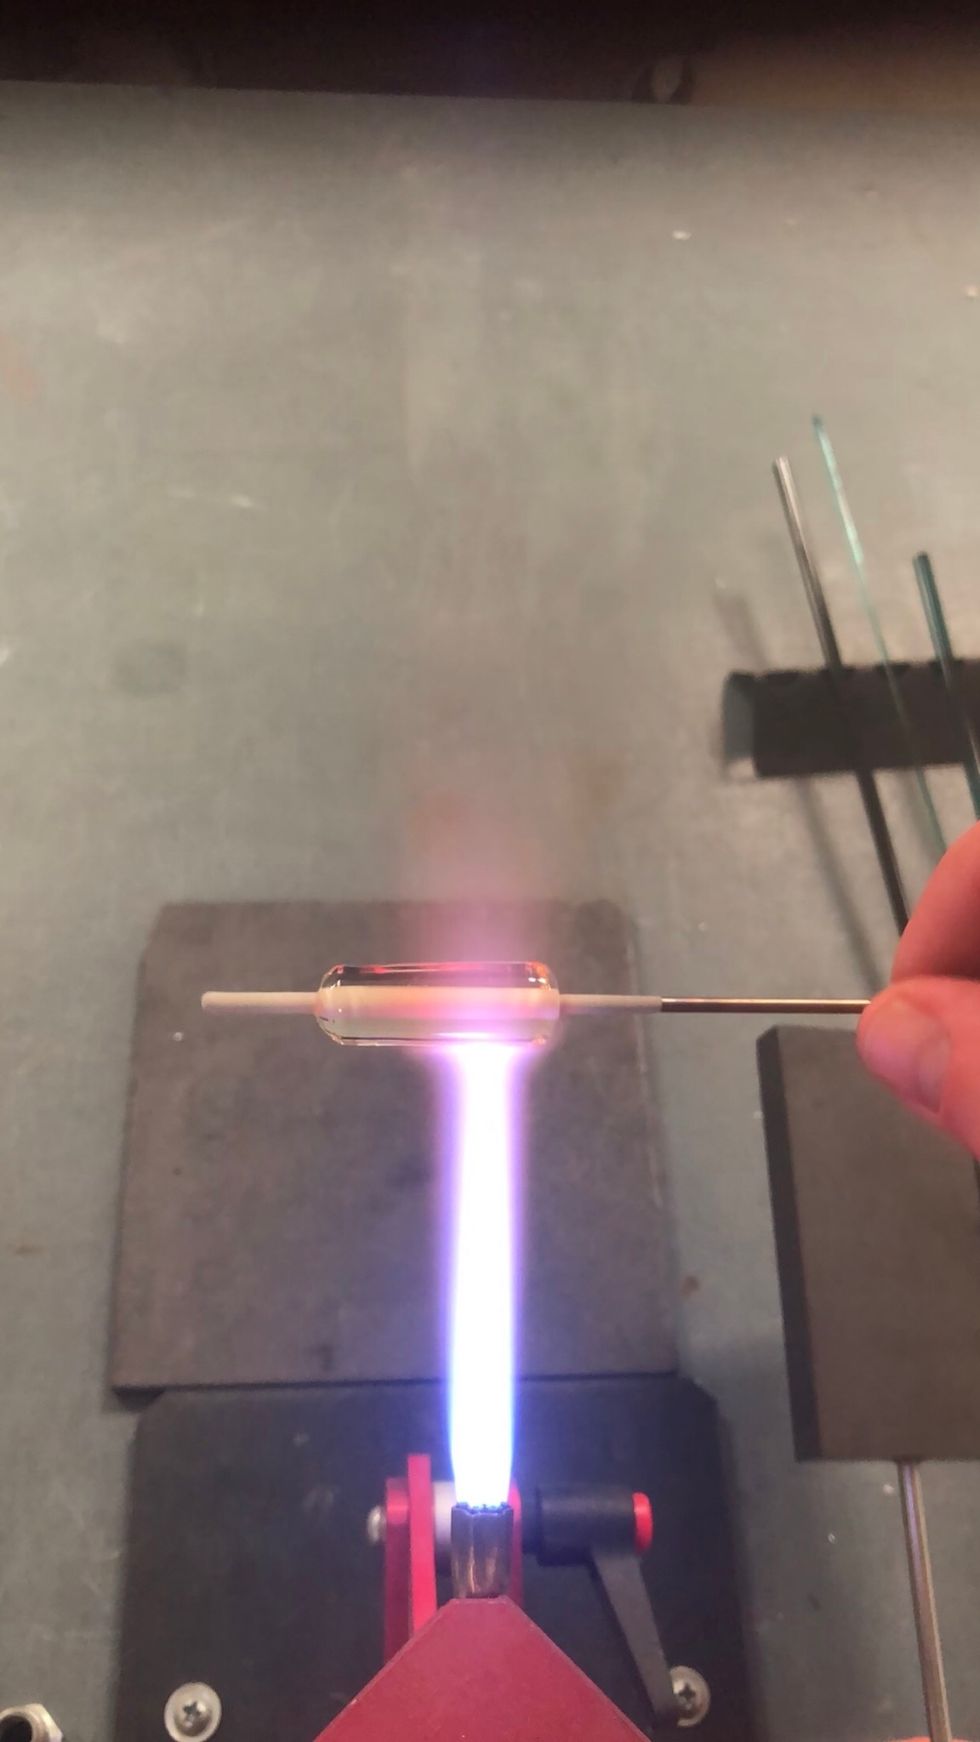
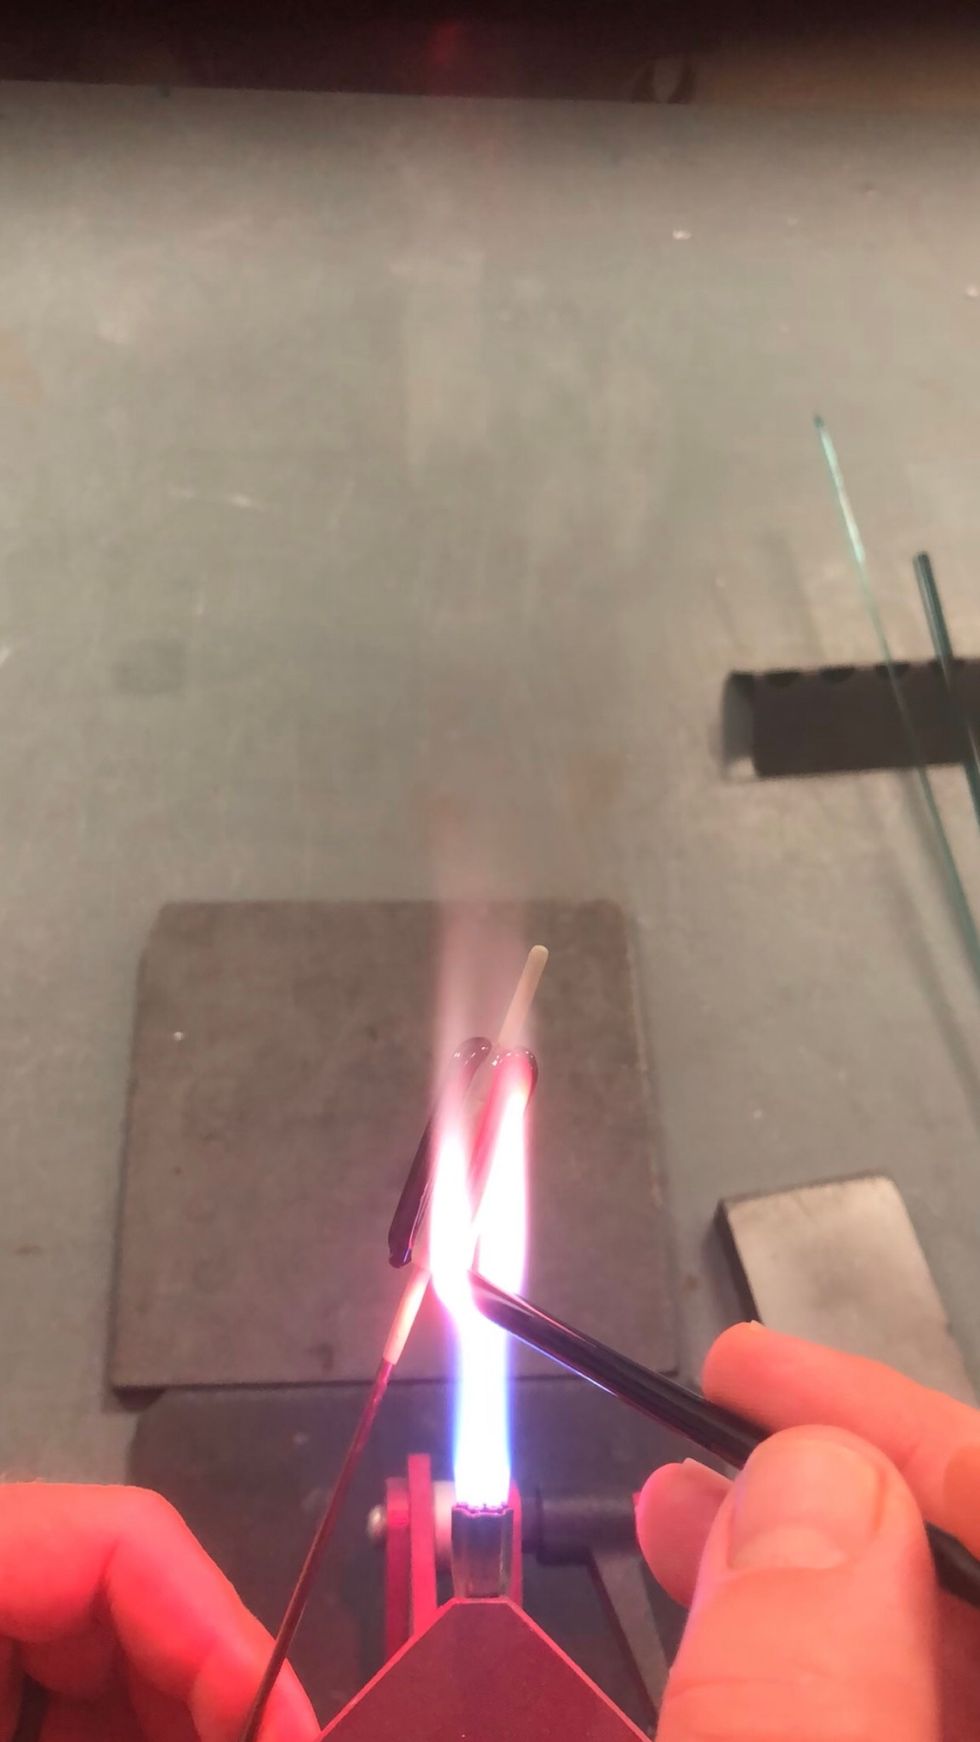
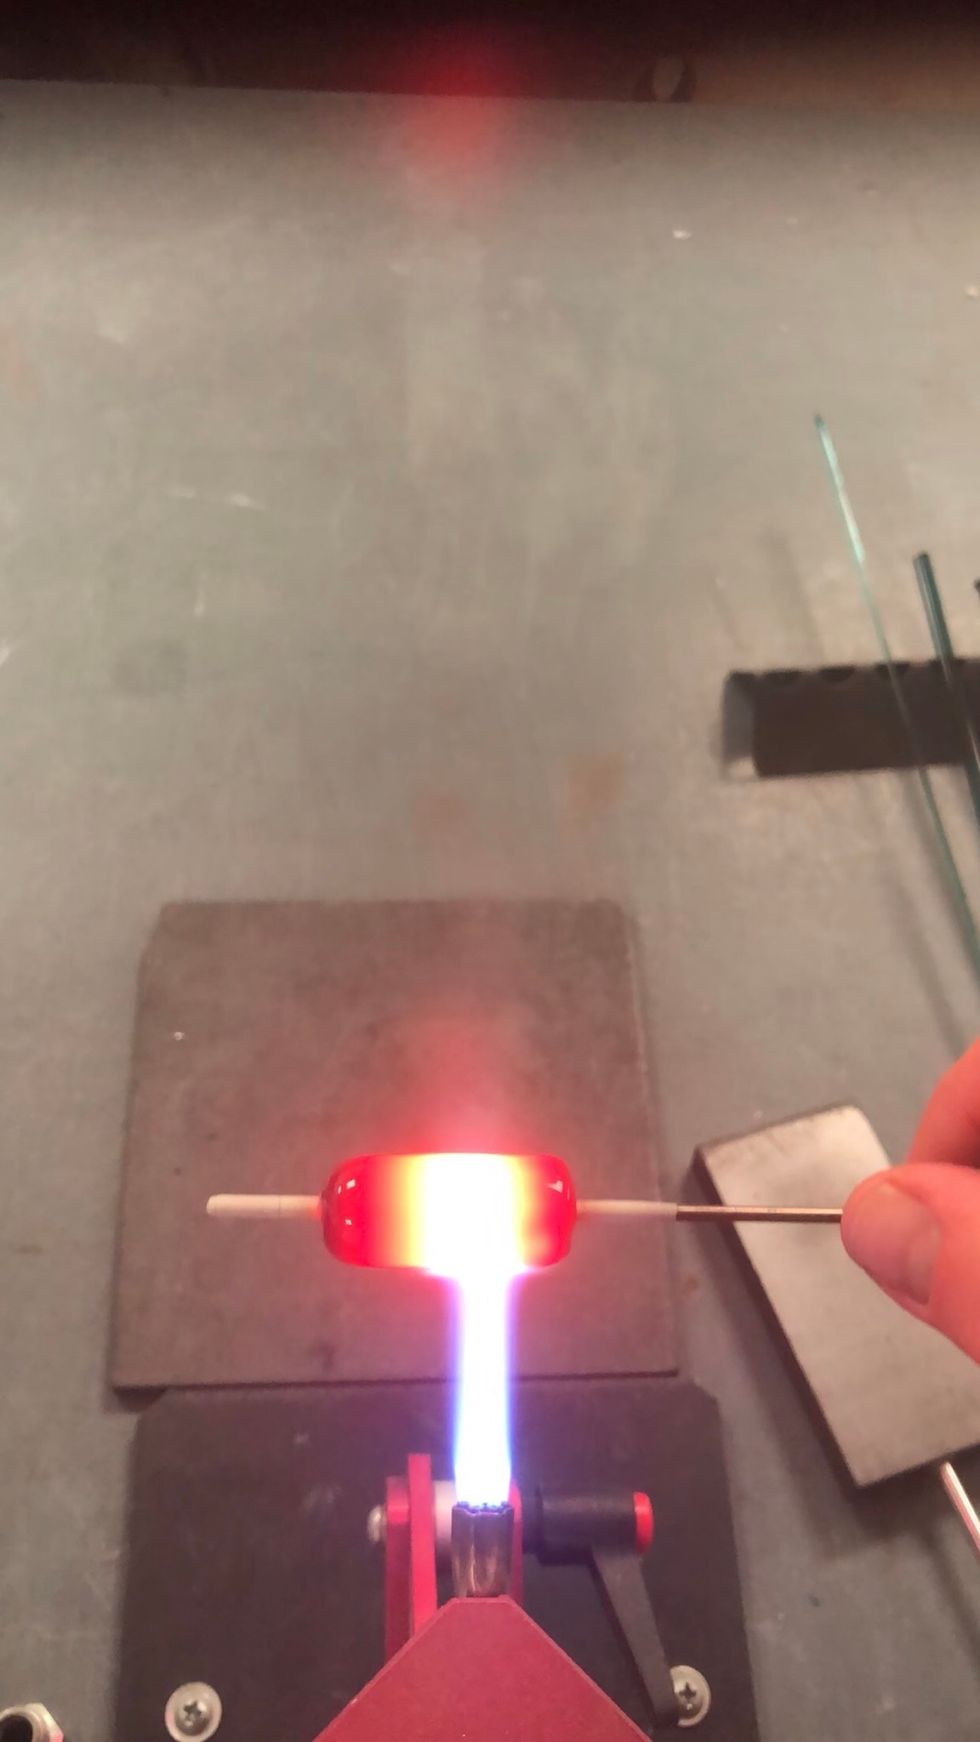
Once the bead’s footprint has been established, build up both ends with a wrap of clear glass.
Then fill in the middle of the bead with clear.
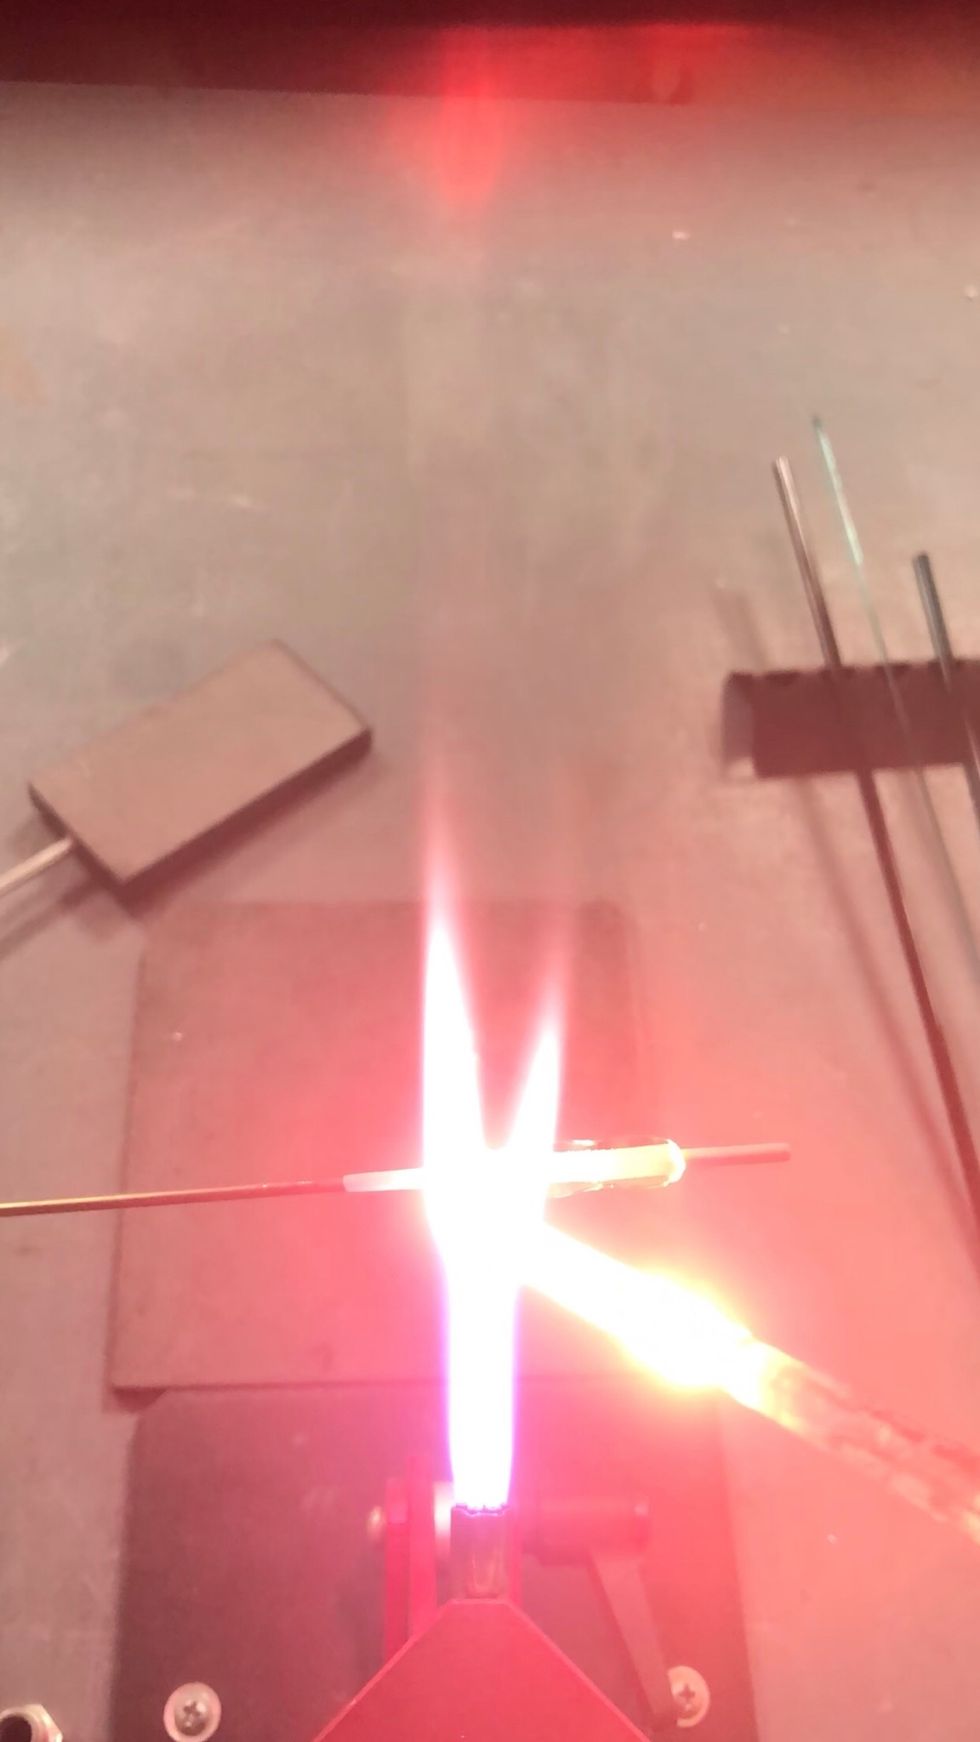
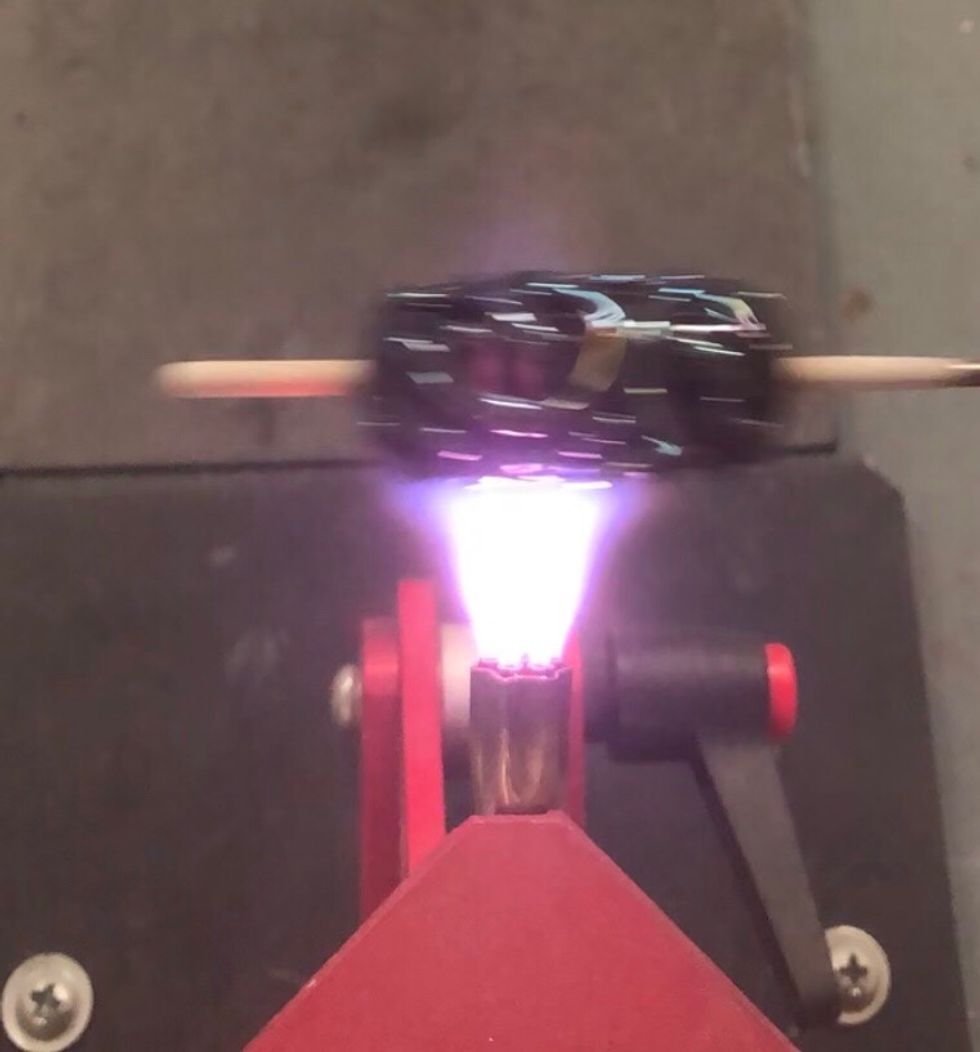
Once enough glass has been applied, heat one end of the bead until the clear begins to soften, but not so hot that it flows freely.
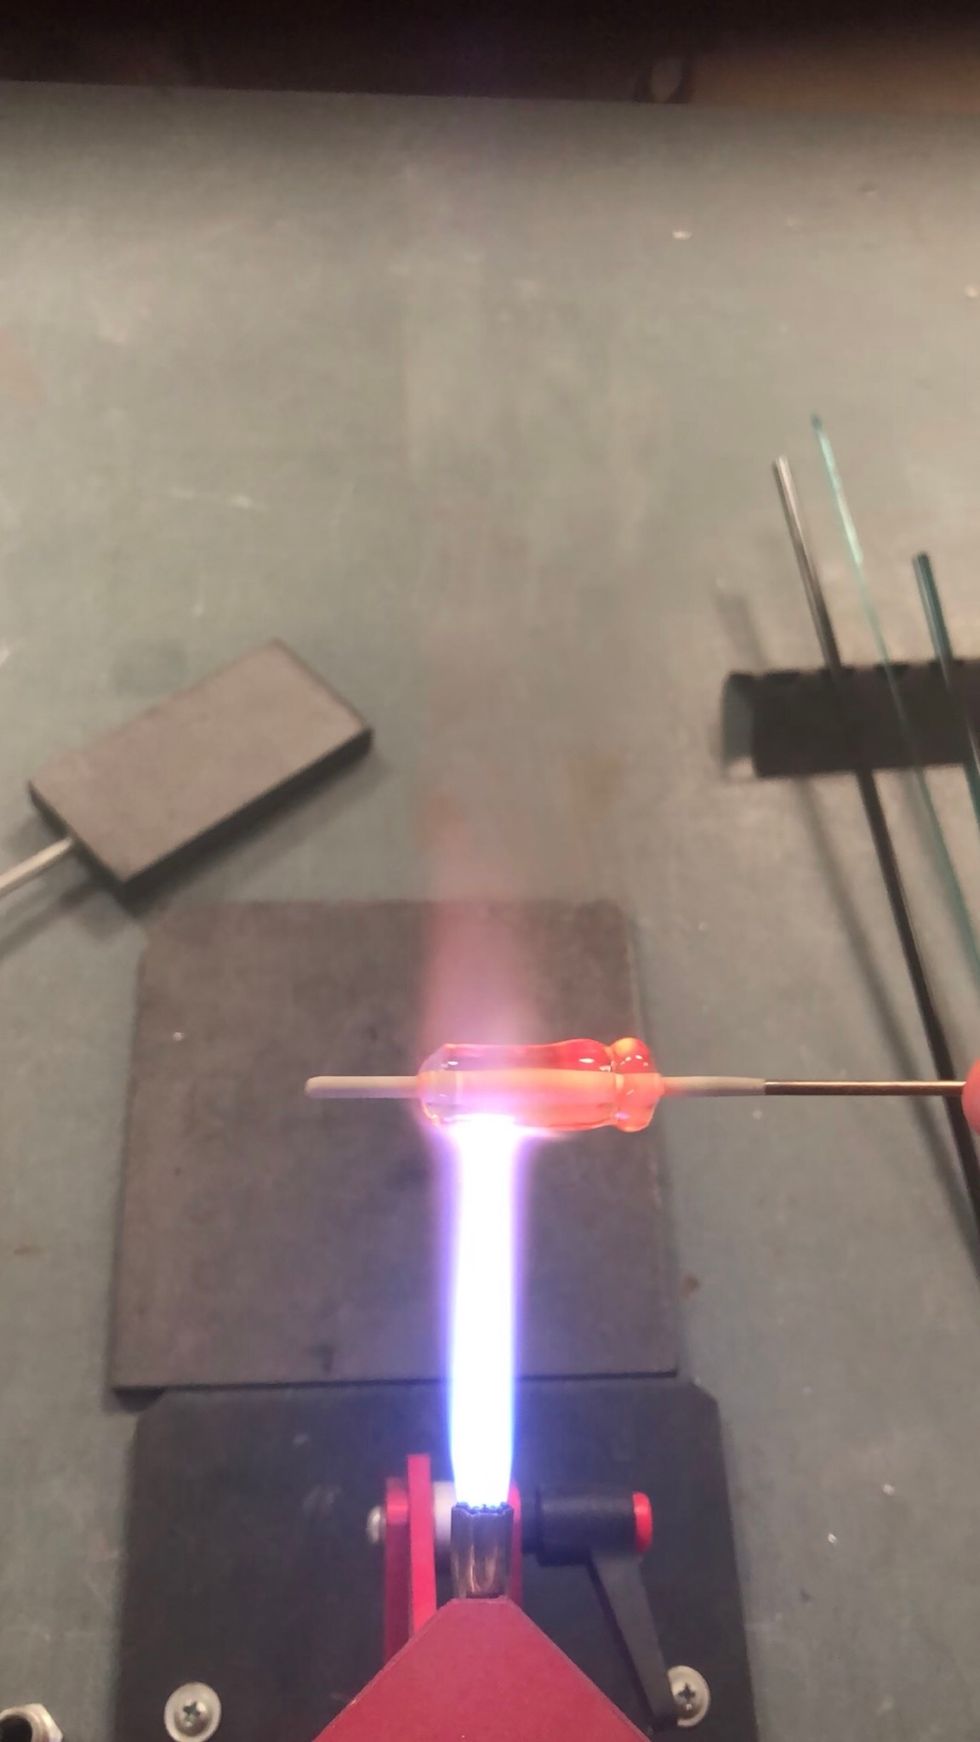
Then heat up the other end.
Use a graphite paddle to gently marver the first end until it’s cylinder shaped. I find it helpful to let the surface cool for a few seconds before using the paddle.
Reheat the second end.

And marver it into a cylinder.
Gently heat the middle.
And marver the whole bead to even it out.
The ends can be gently squared using the edge of the paddle.
Fire-polish away any chill marks from the marvering.
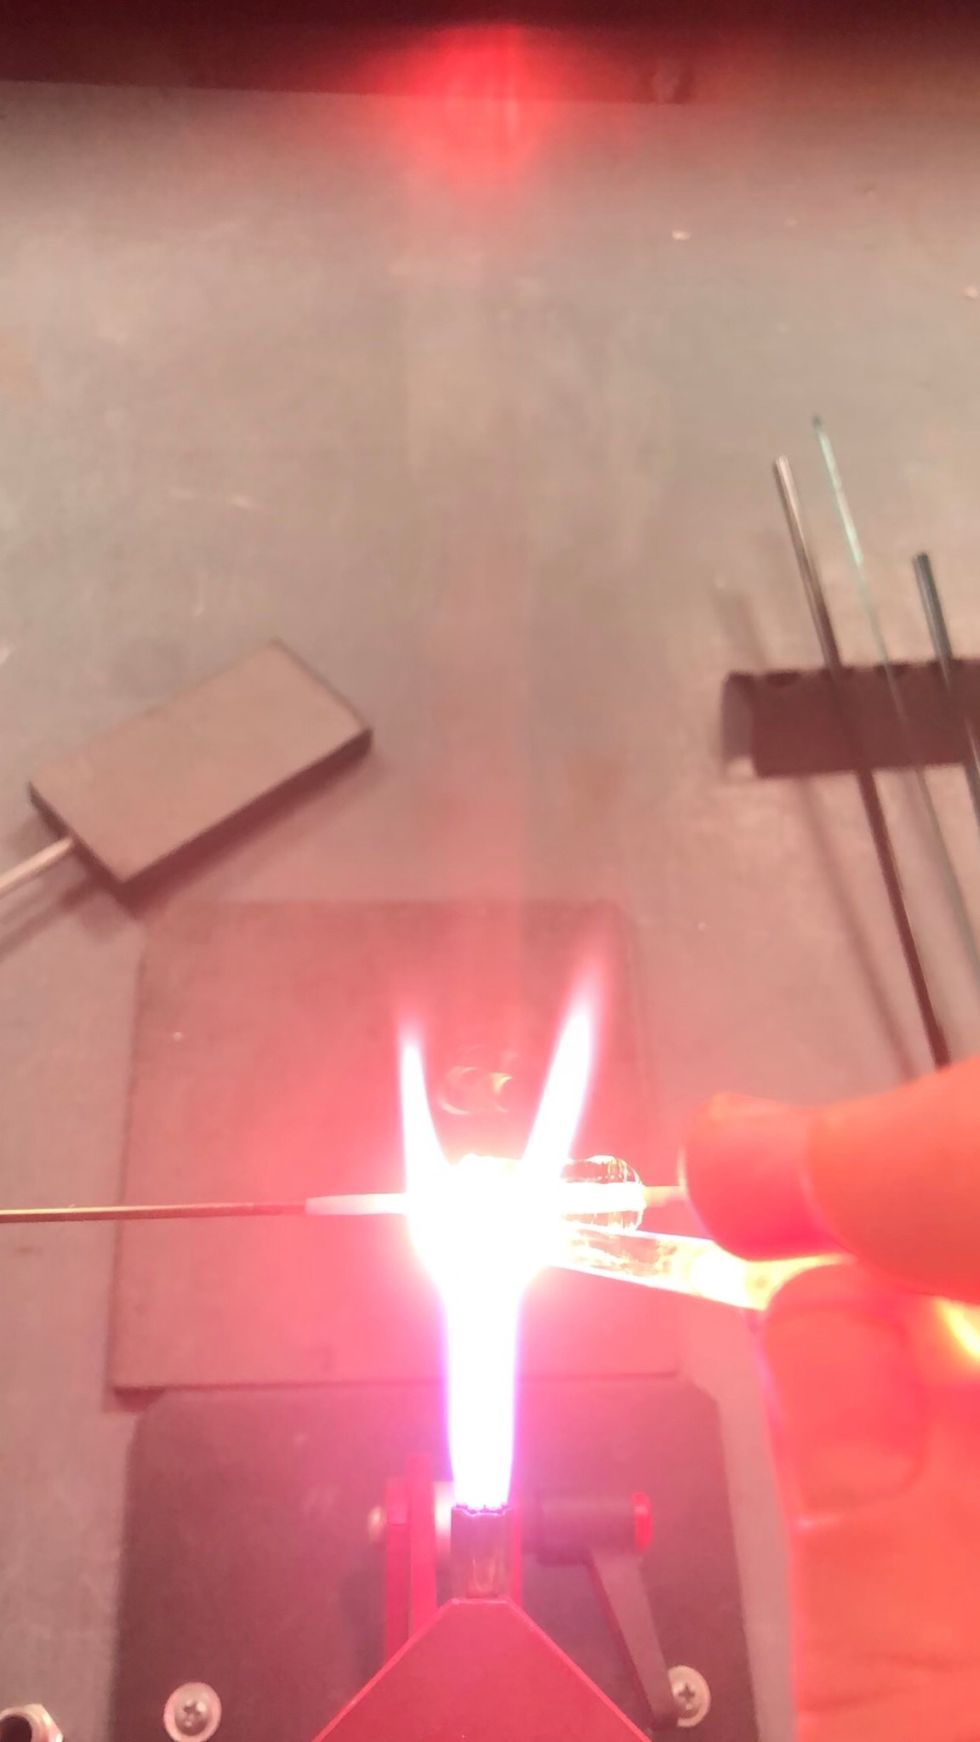
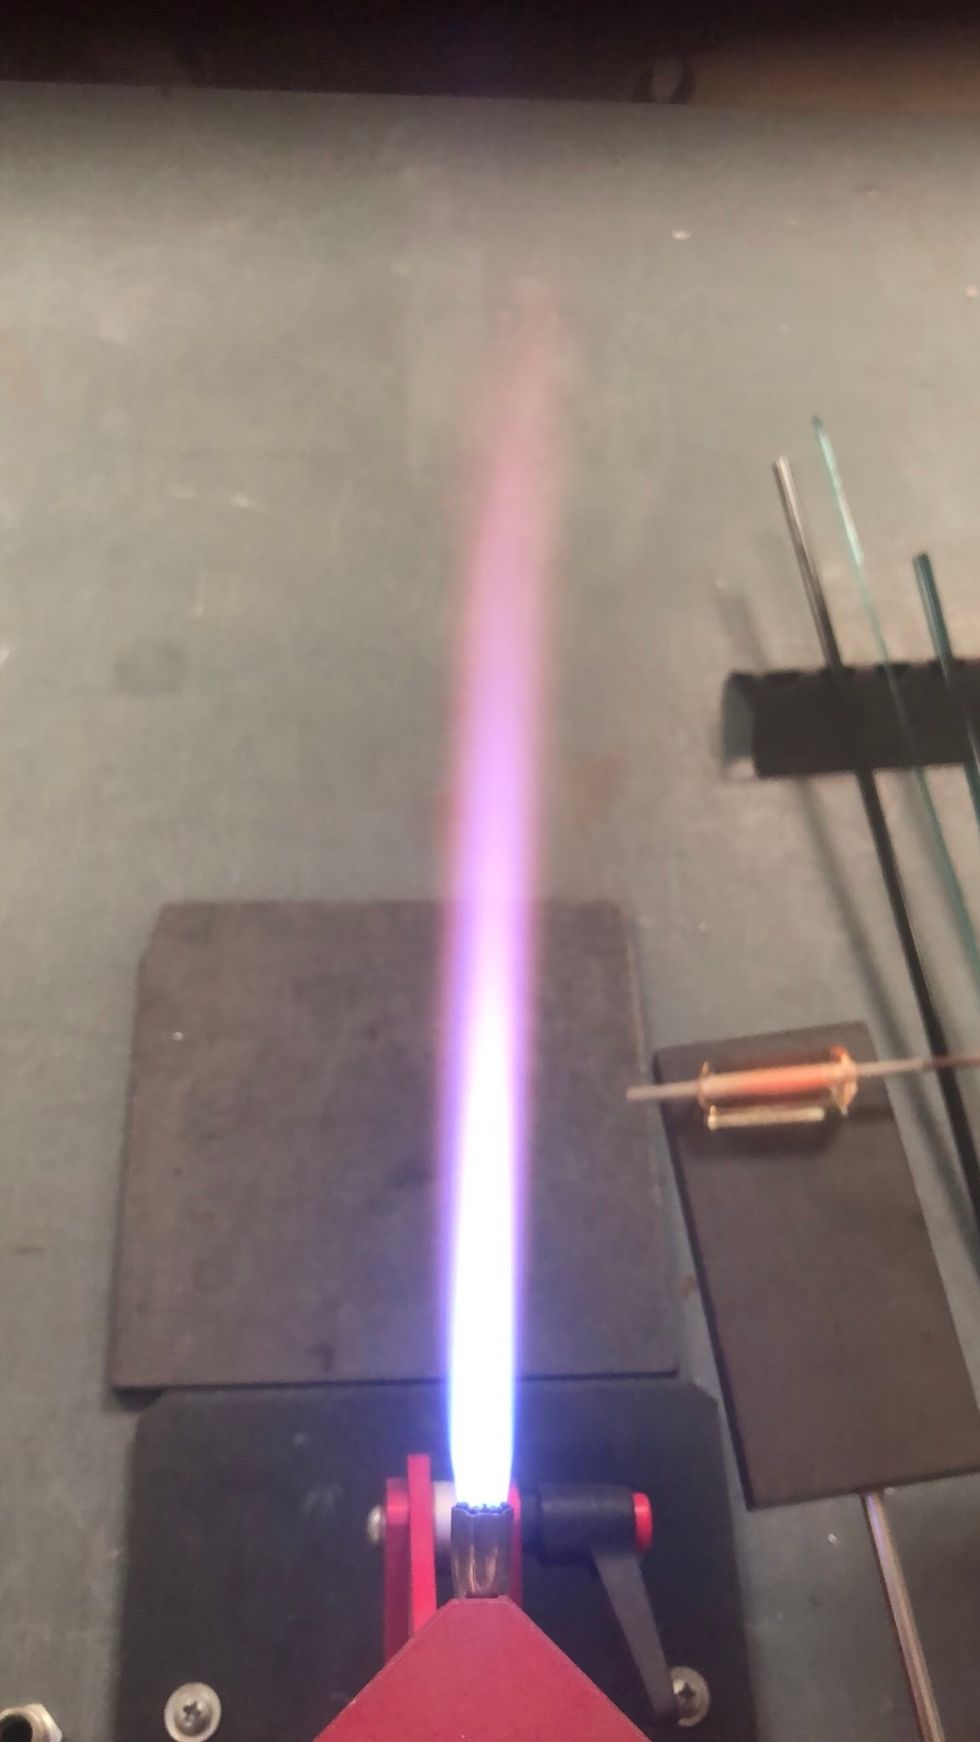
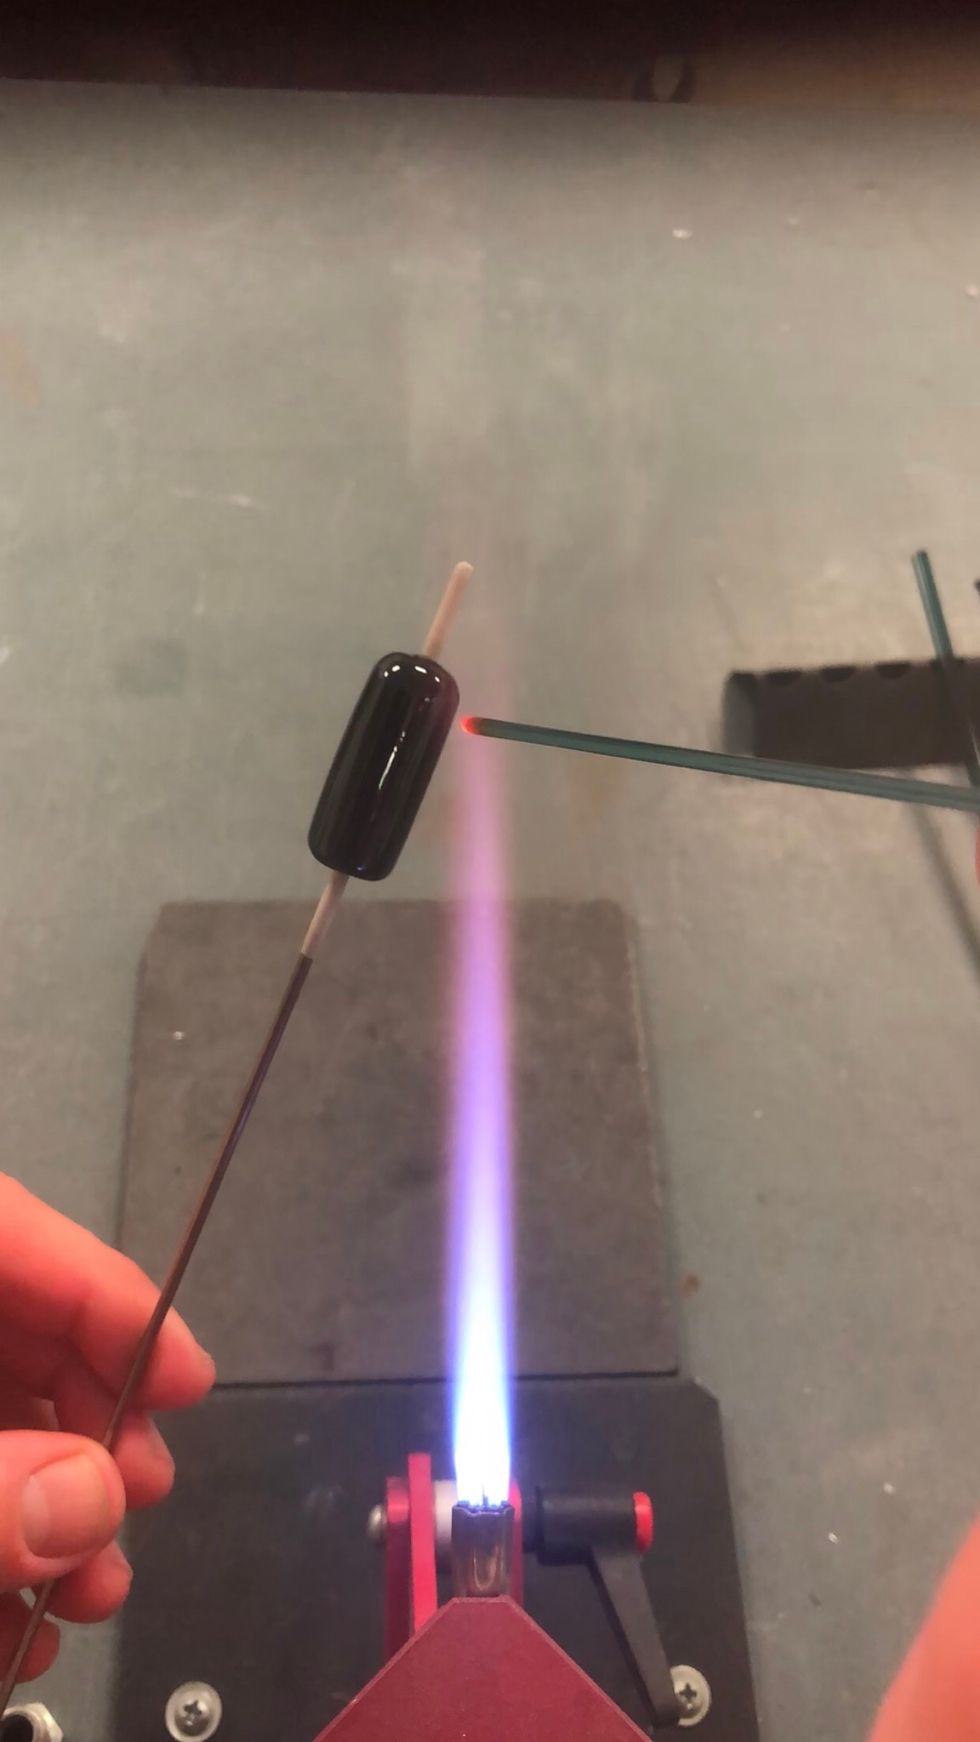
Turn your propane down a bit to make a more focused flame and pick up your rod of Oracle-Black.
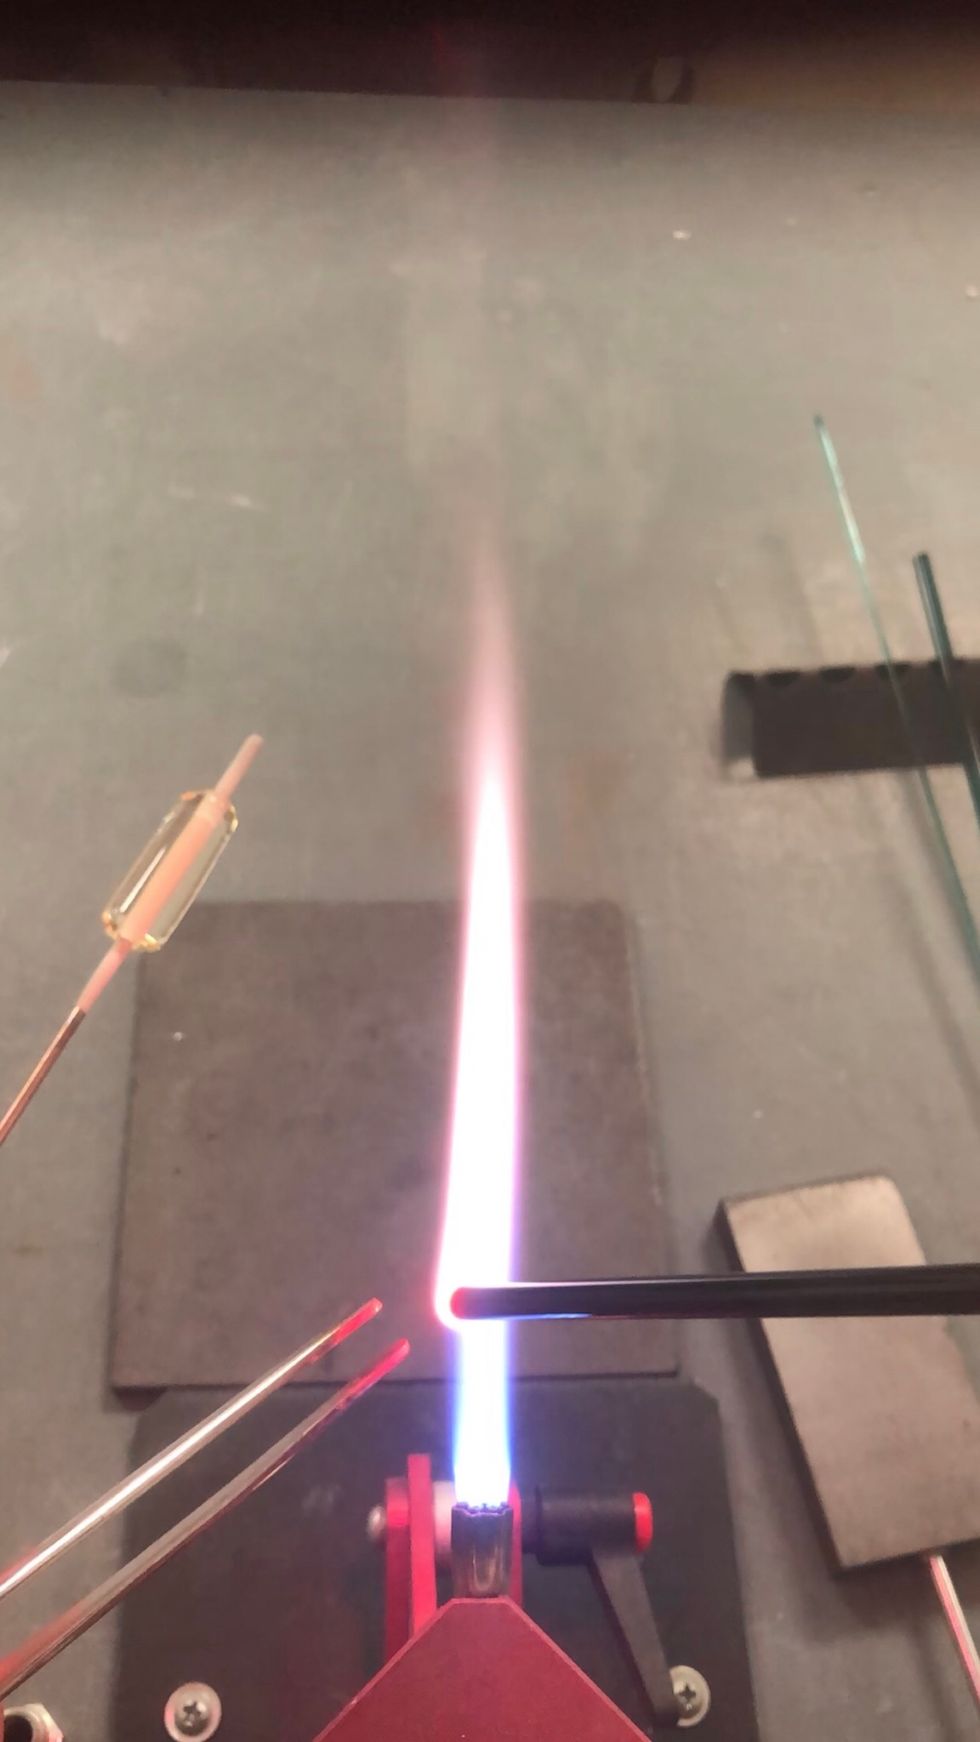
I pinch the tips off of new rods to avoid contaminants and bubbles. Good thing I have three hands.
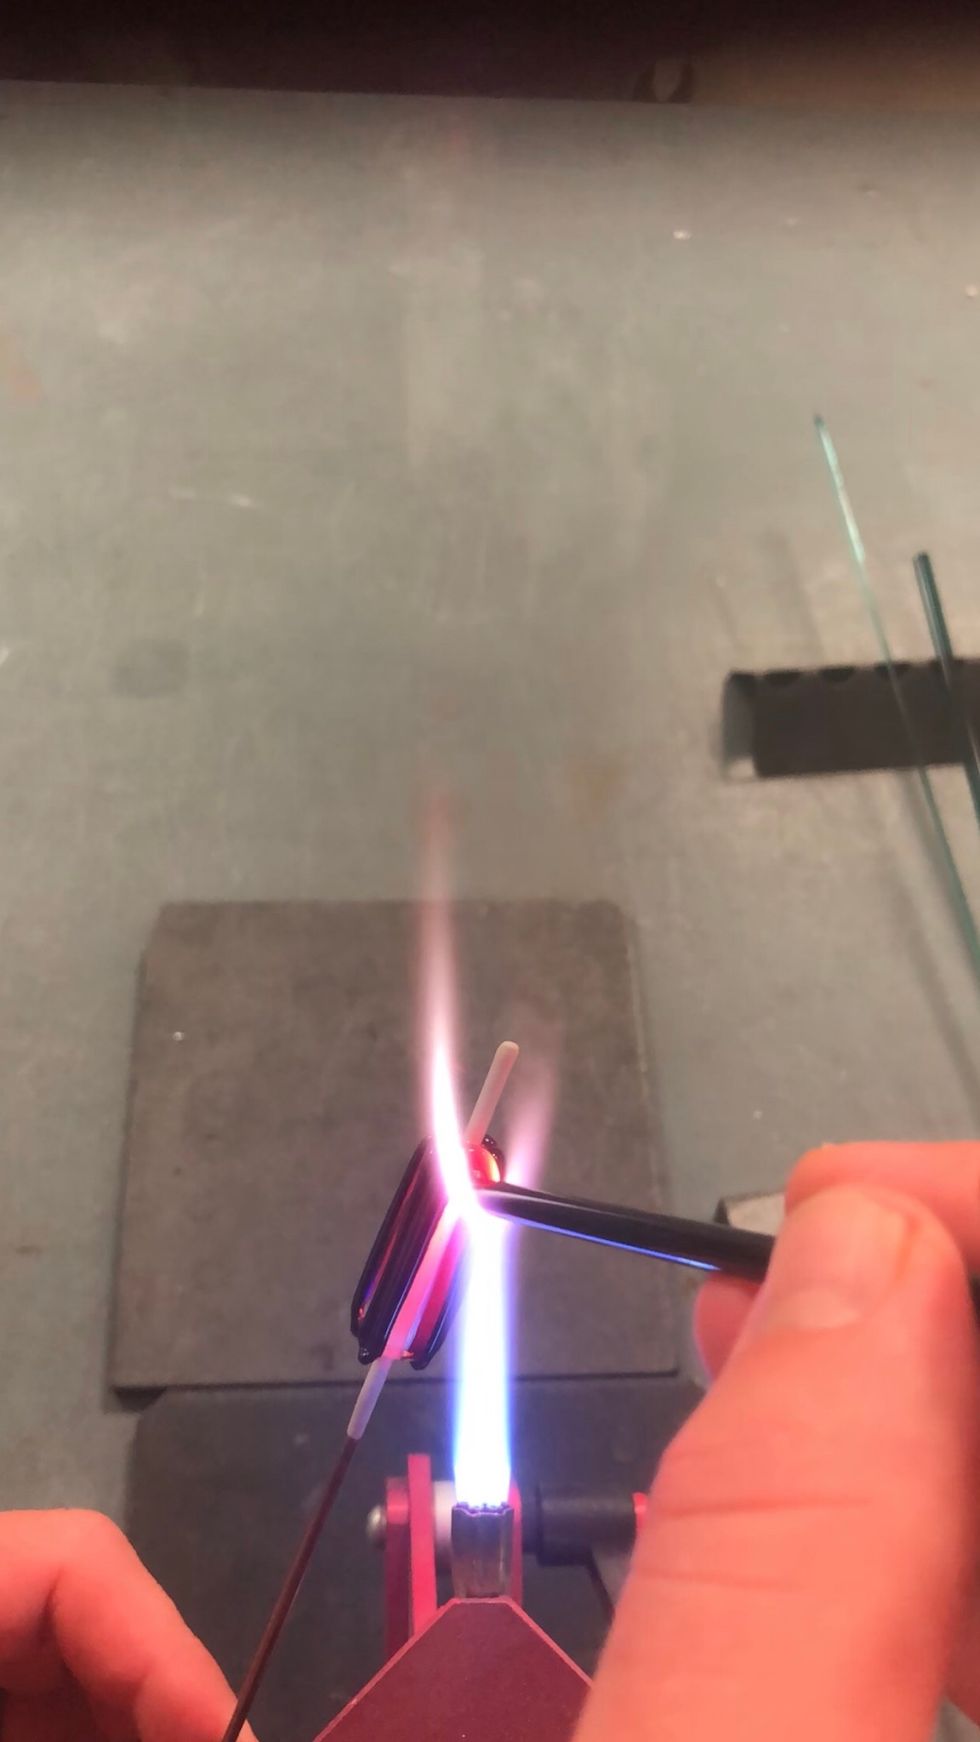
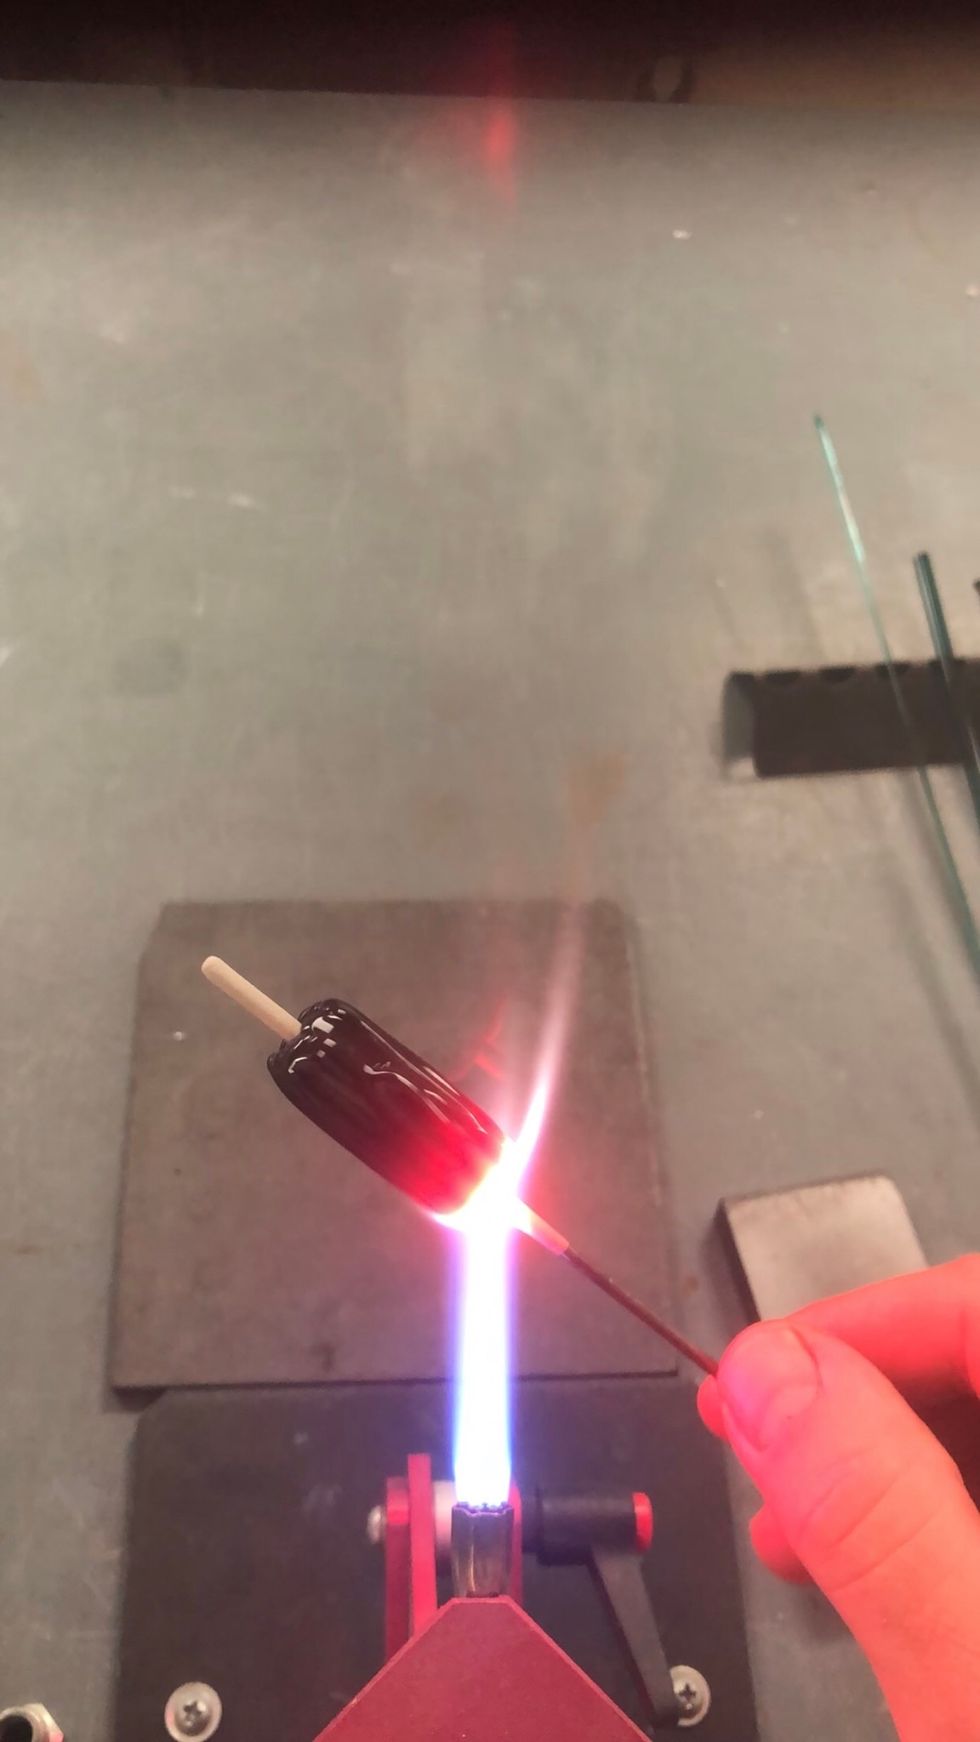
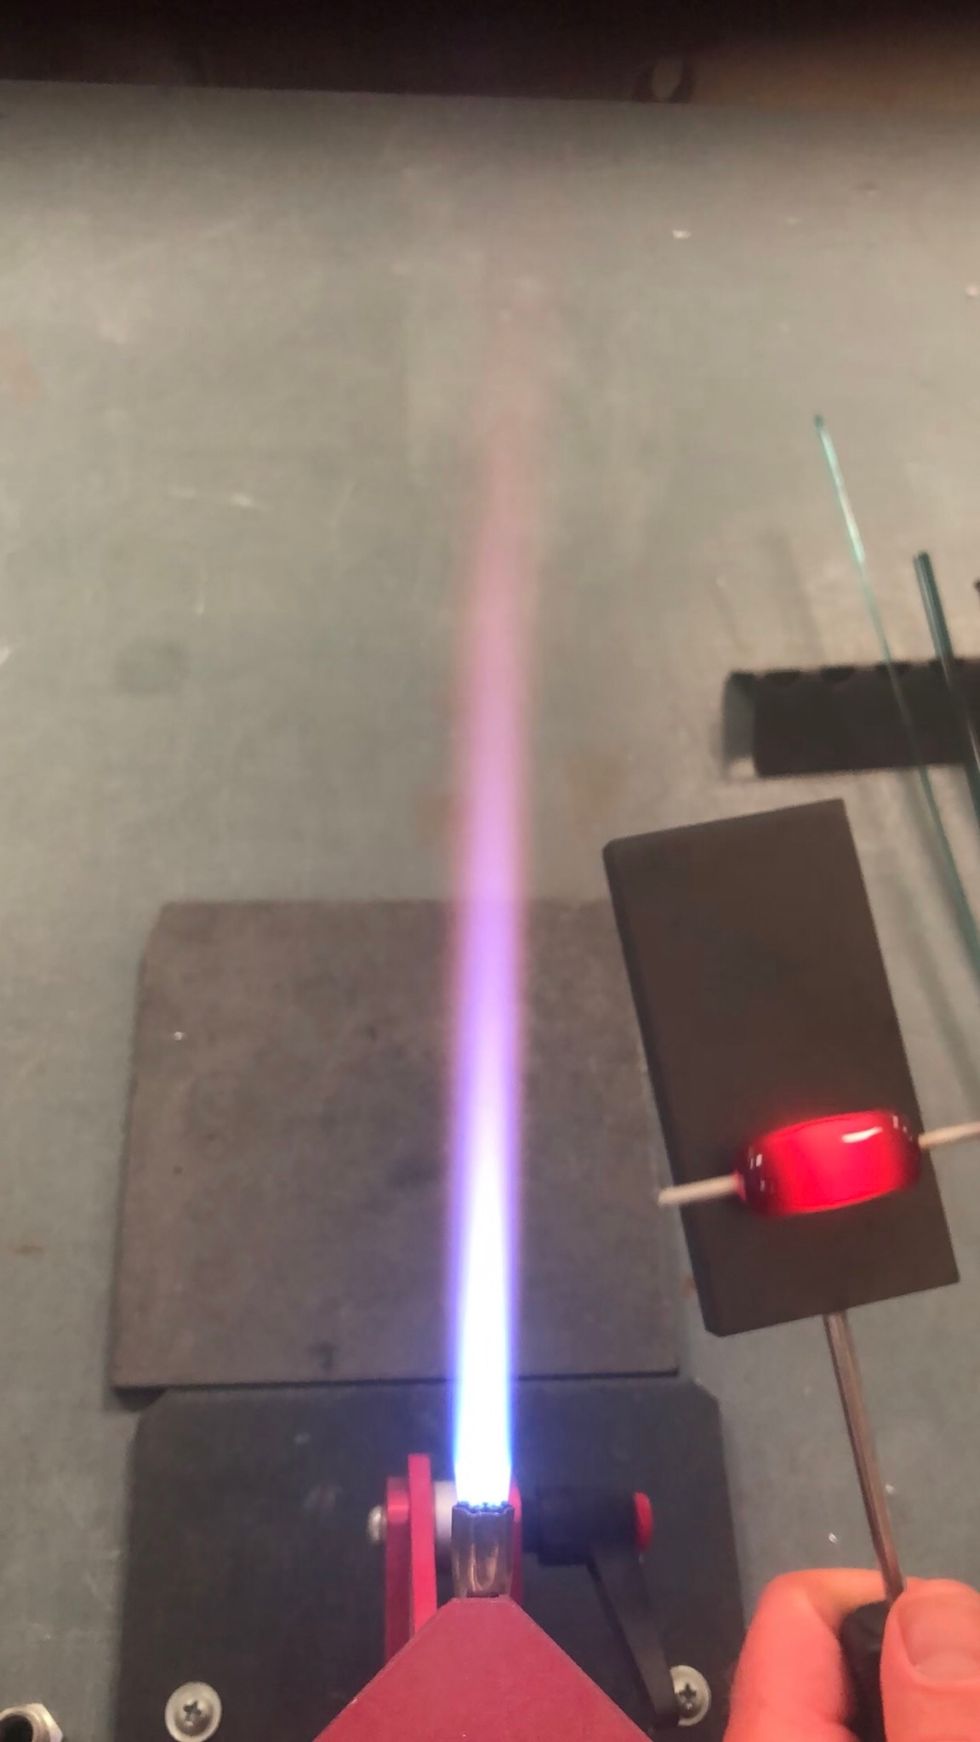
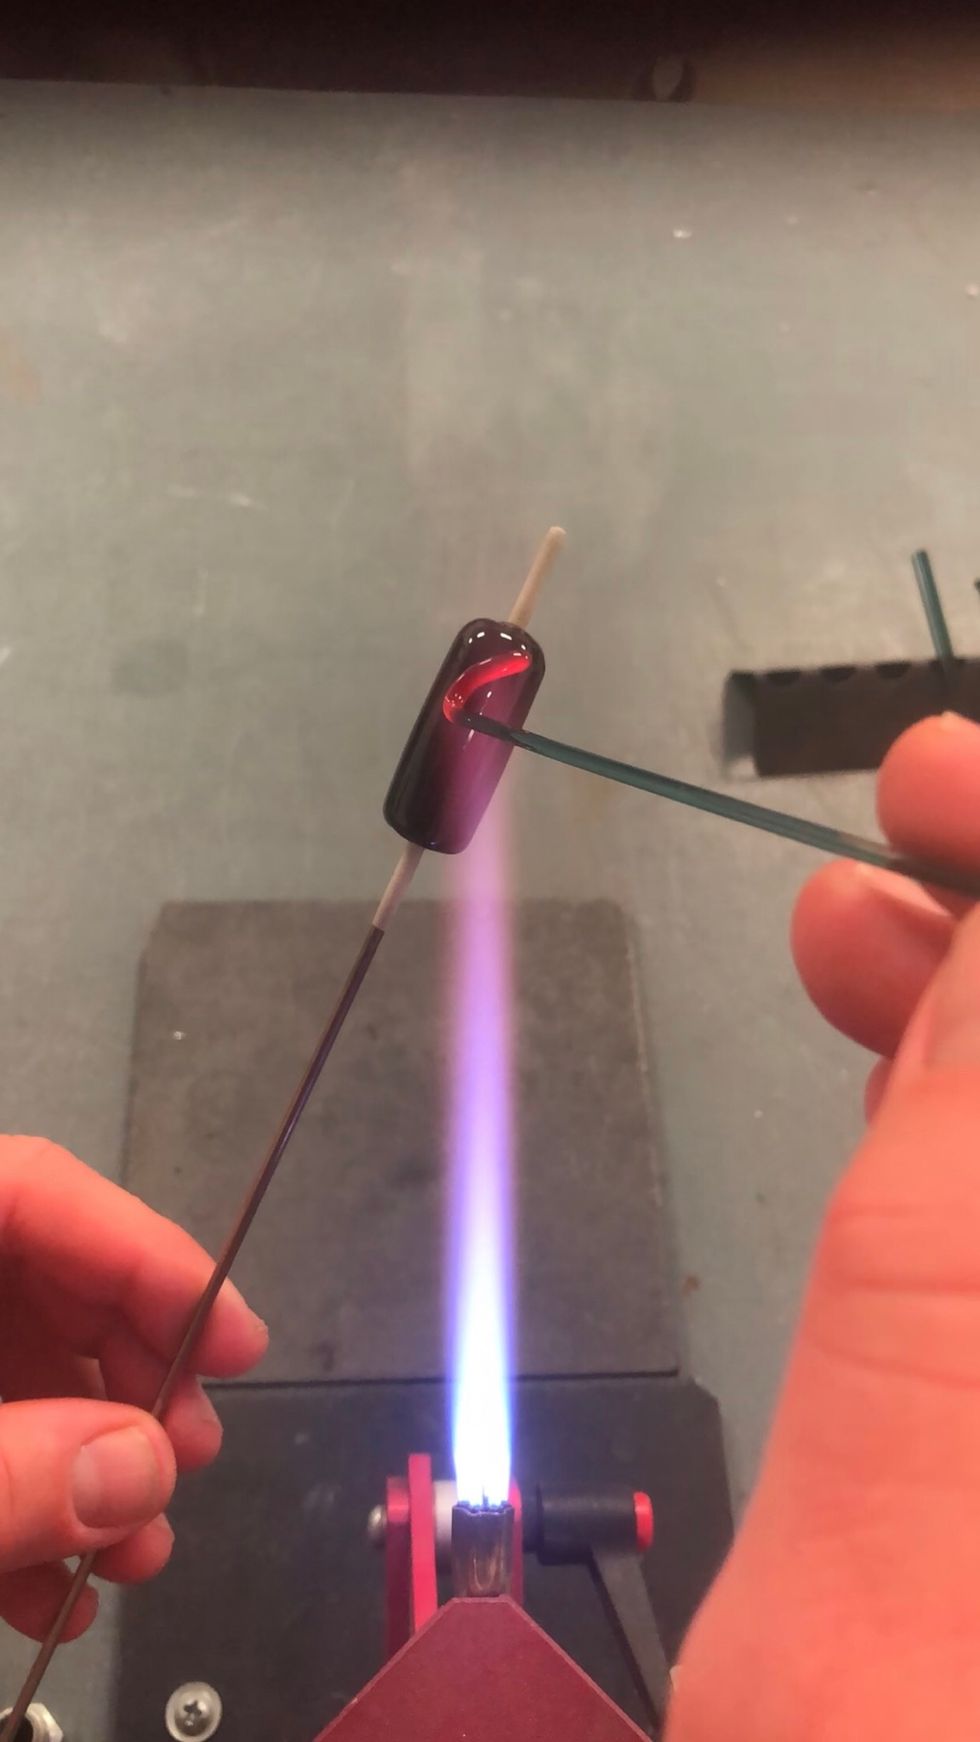
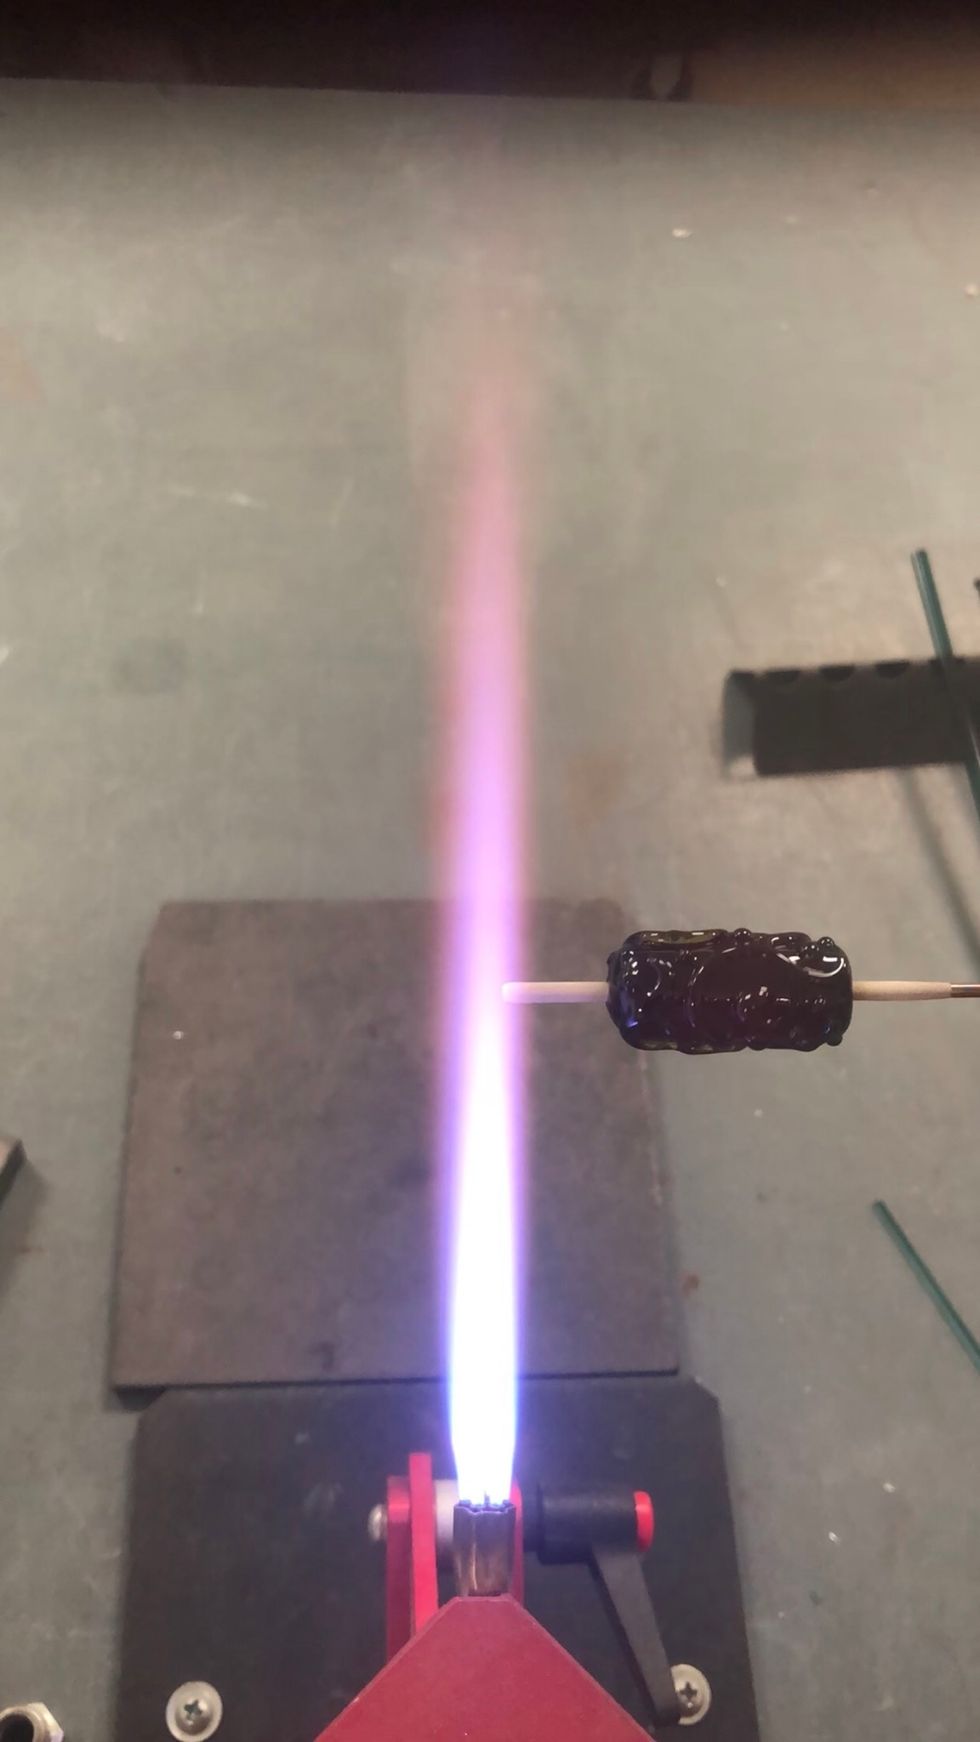
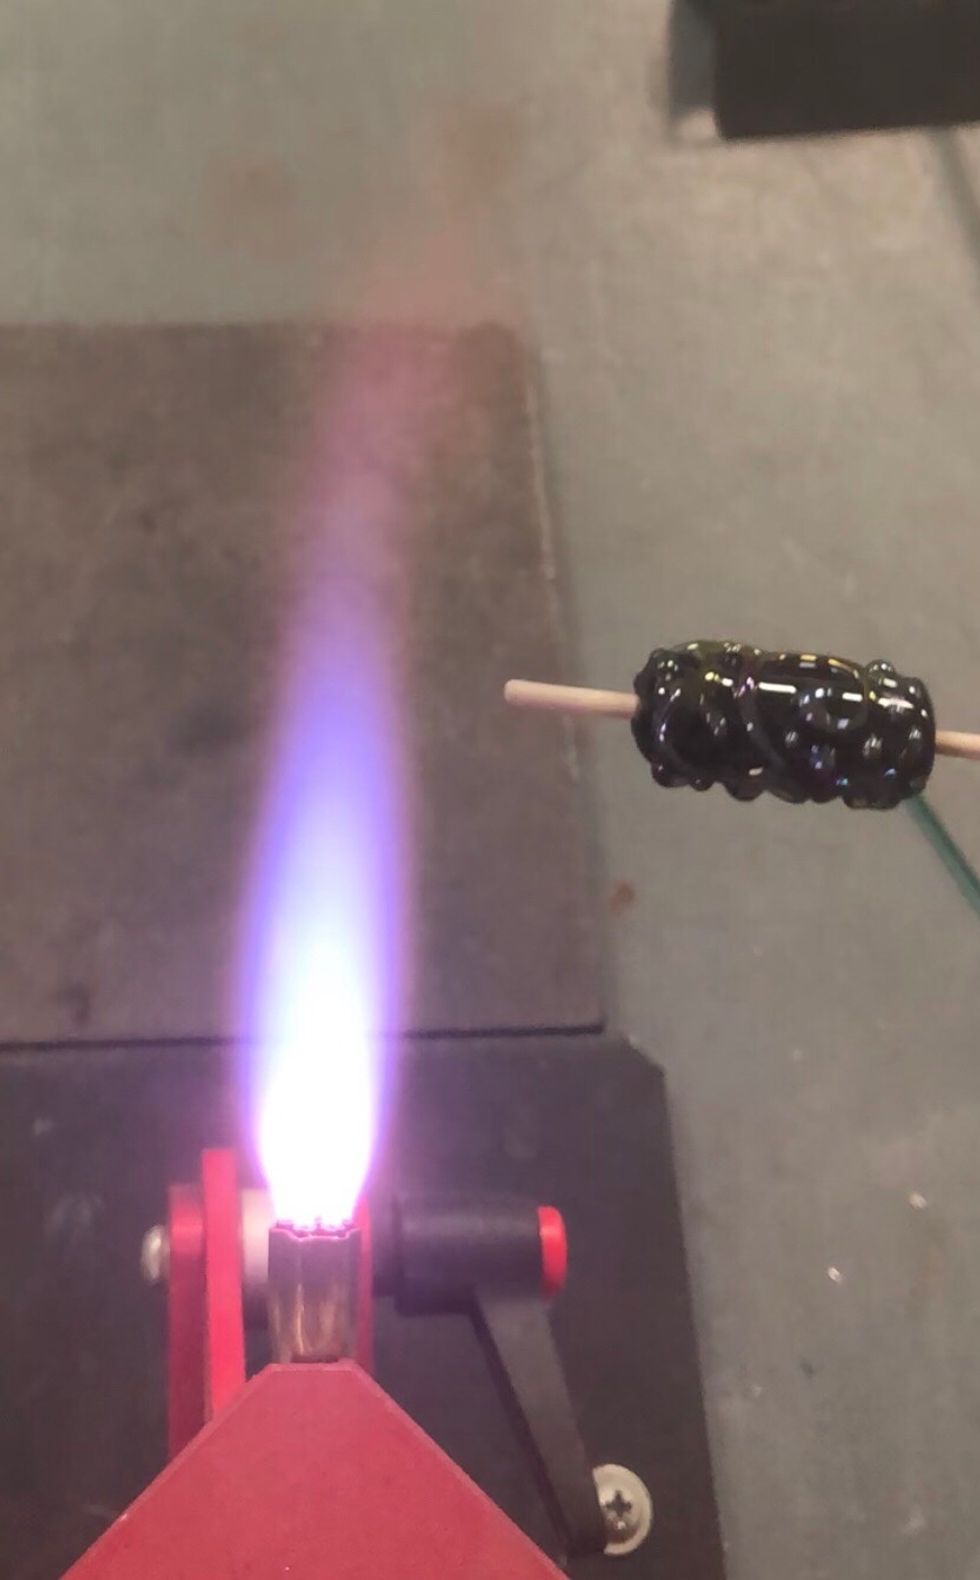
Starting at the end, apply an even stripe of the Oracle-Black down the length of the bead.
Try to push the bead while feeding the rod into the flame. Feeding through the same location in the flame makes for consistent heat and a consistent stripe.
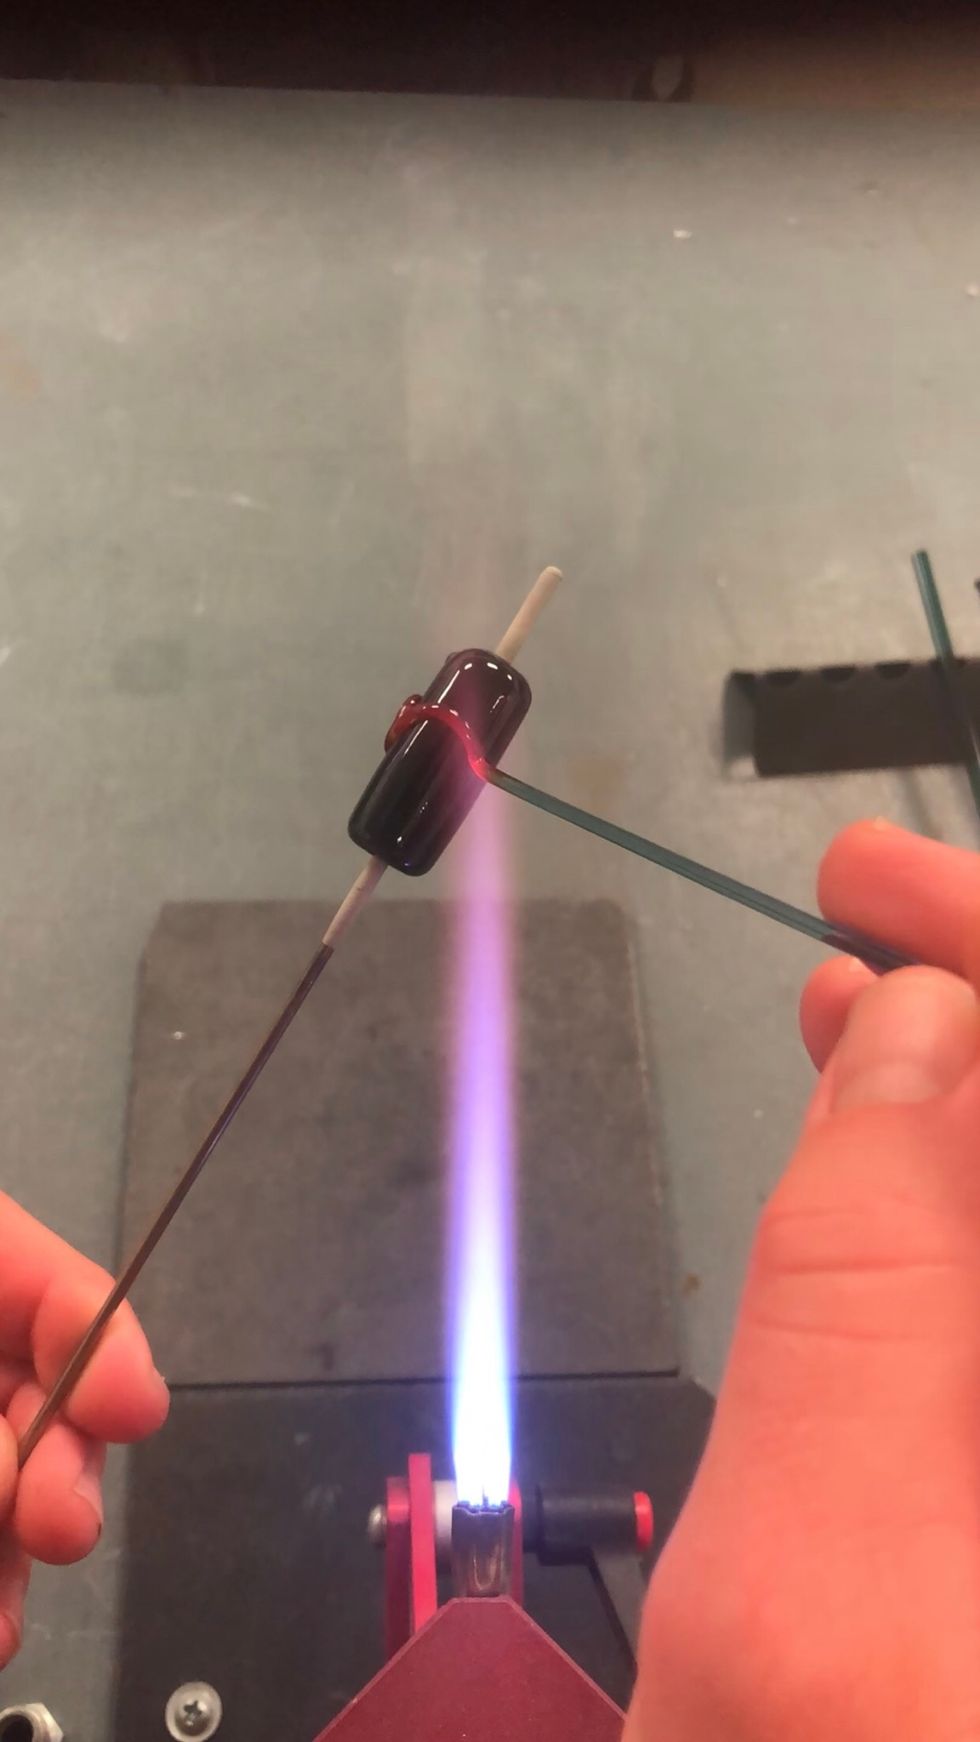
Rotate the bead 180 degrees and apply another stripe opposite the first.
Rotate the bead 90 degrees and apply a third stripe between the first two.
Apply a fourth stripe, then fill in the four spaces. Check for gaps, and fill them with hot glass.
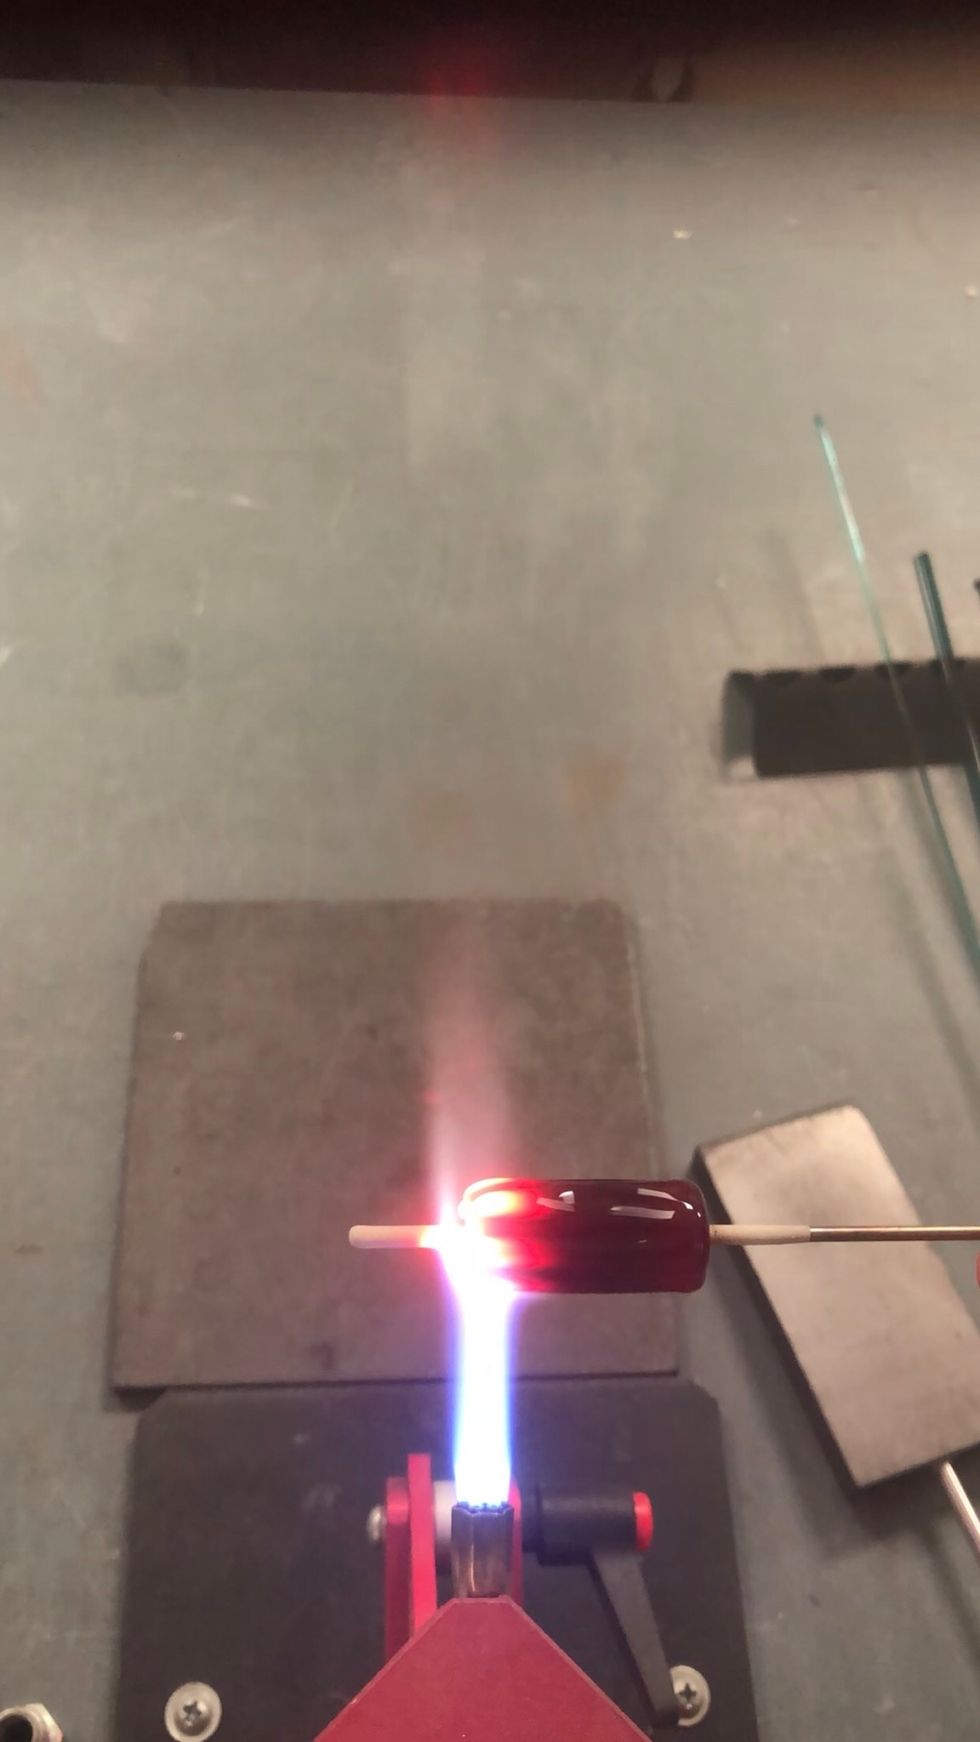
Heat one end while rotating the bead.
Tilt the bead so that the end gets hot enough to flow a bit. Let it just start to move. That will allow the black coat to cover the edges and end.
Gently square the end with the edge of a graphite paddle. I like to use a CG beadroller for this.
Repeat on the opposite end. Heat the end.
Tilt, and let flow a millimeter or so.
Then square the end.

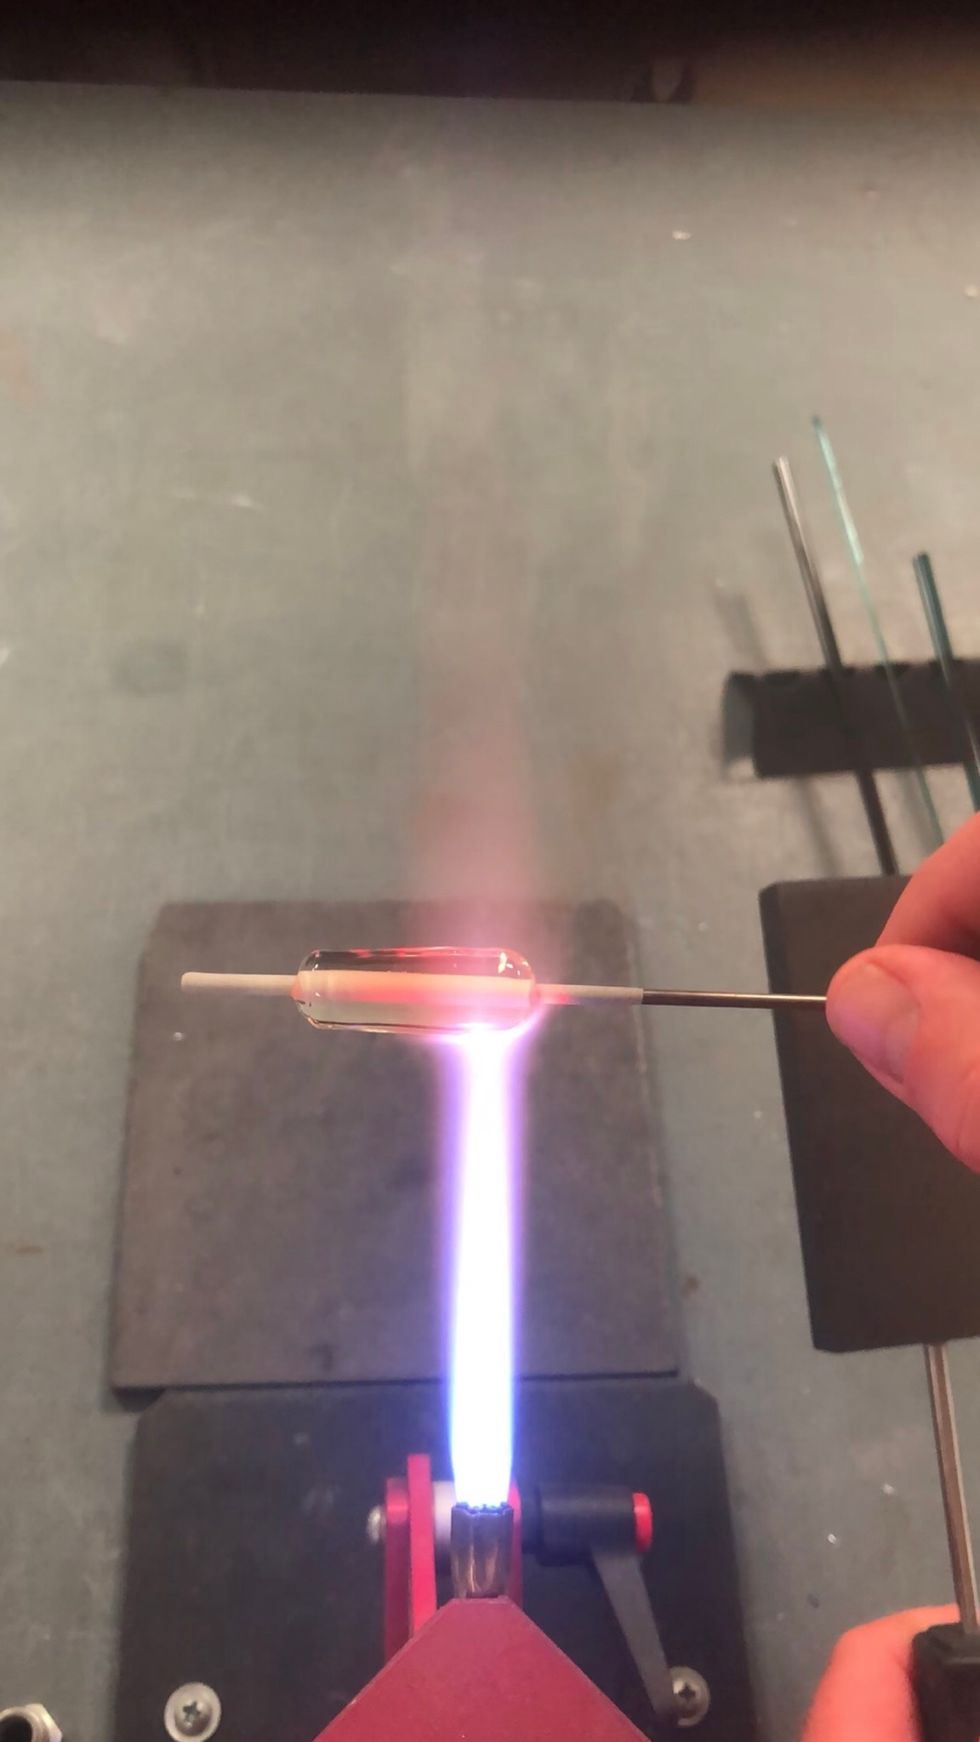
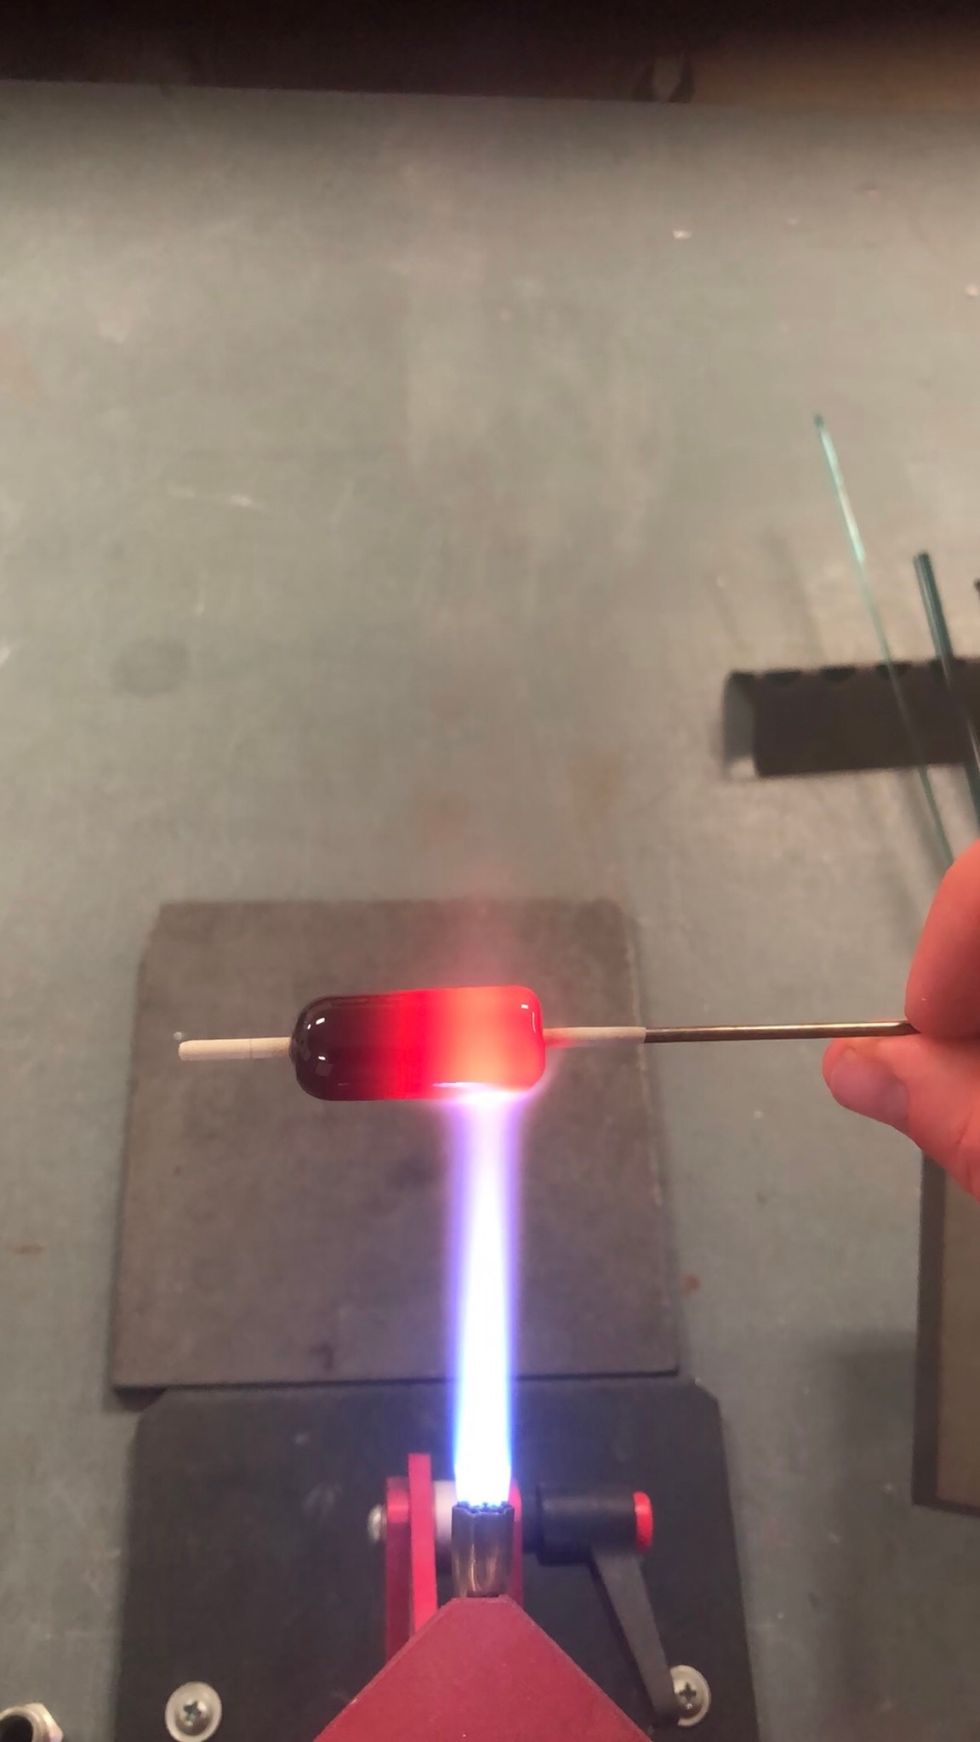
Heat the middle of the bead. I’m starting right-of-center since the left side is still hot.
Avoiding the ends, heat the center of the bead until it smooths out.
Then gently marver until the bead is a smooth cylinder.
Repeat as necessary.

When you’ve achieved the finished shape, lightly fire-polish the outside of the bead.
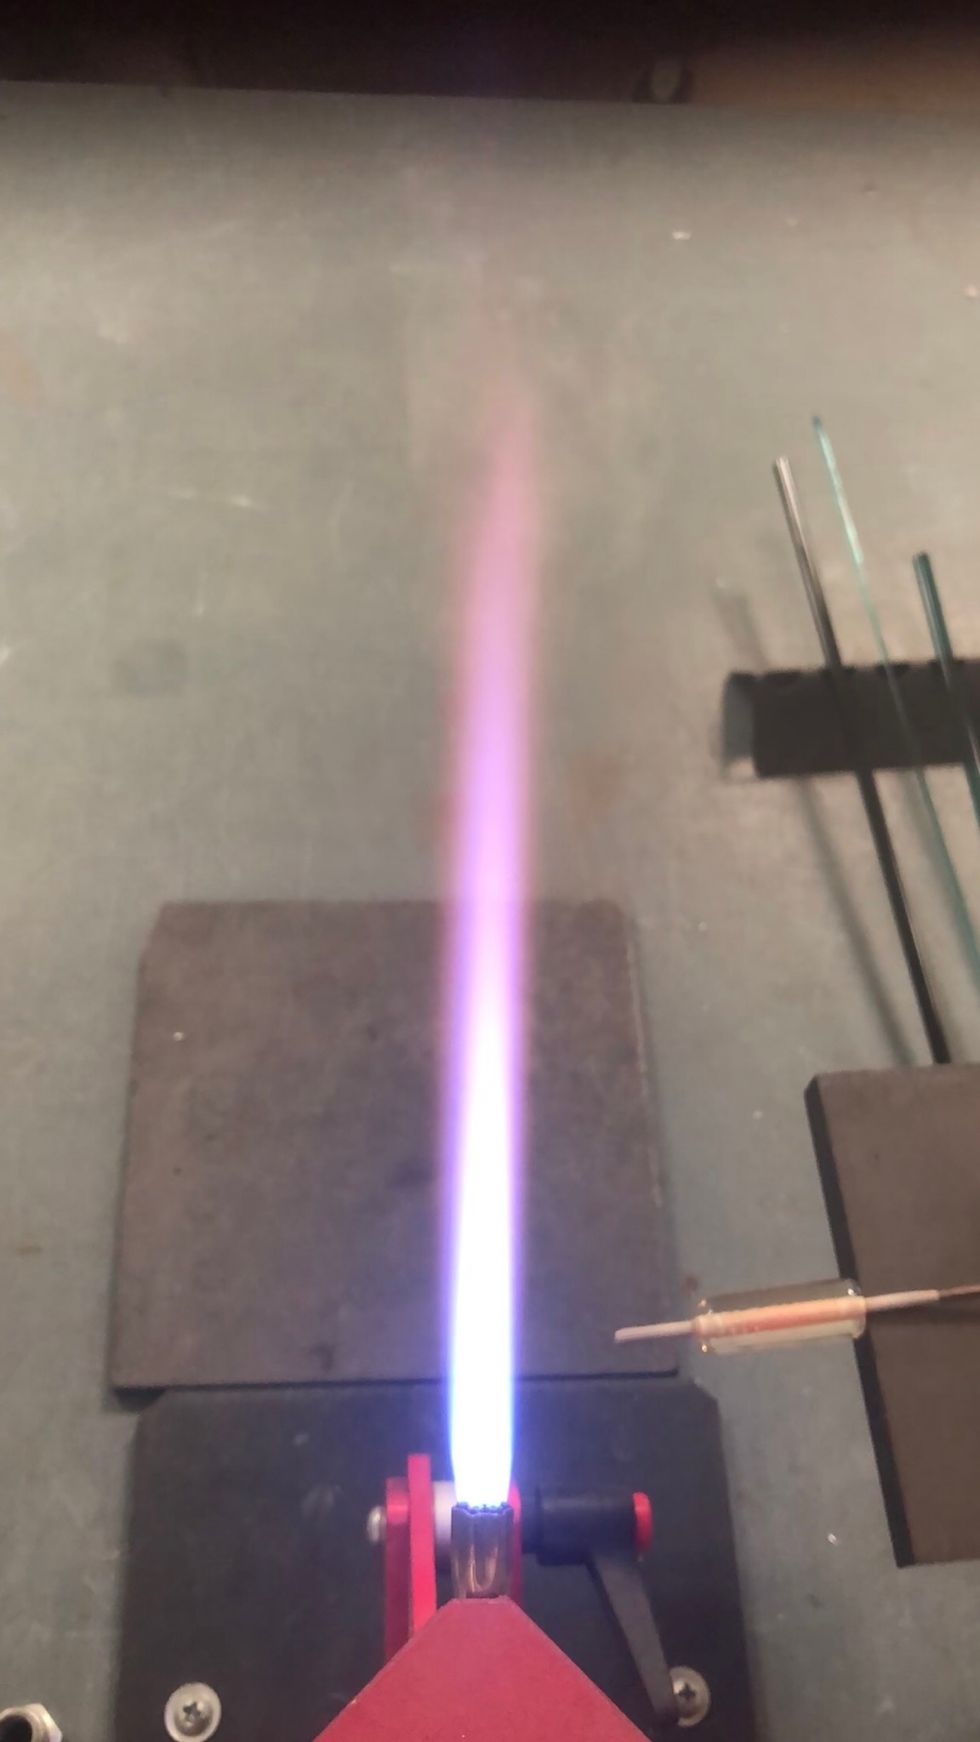
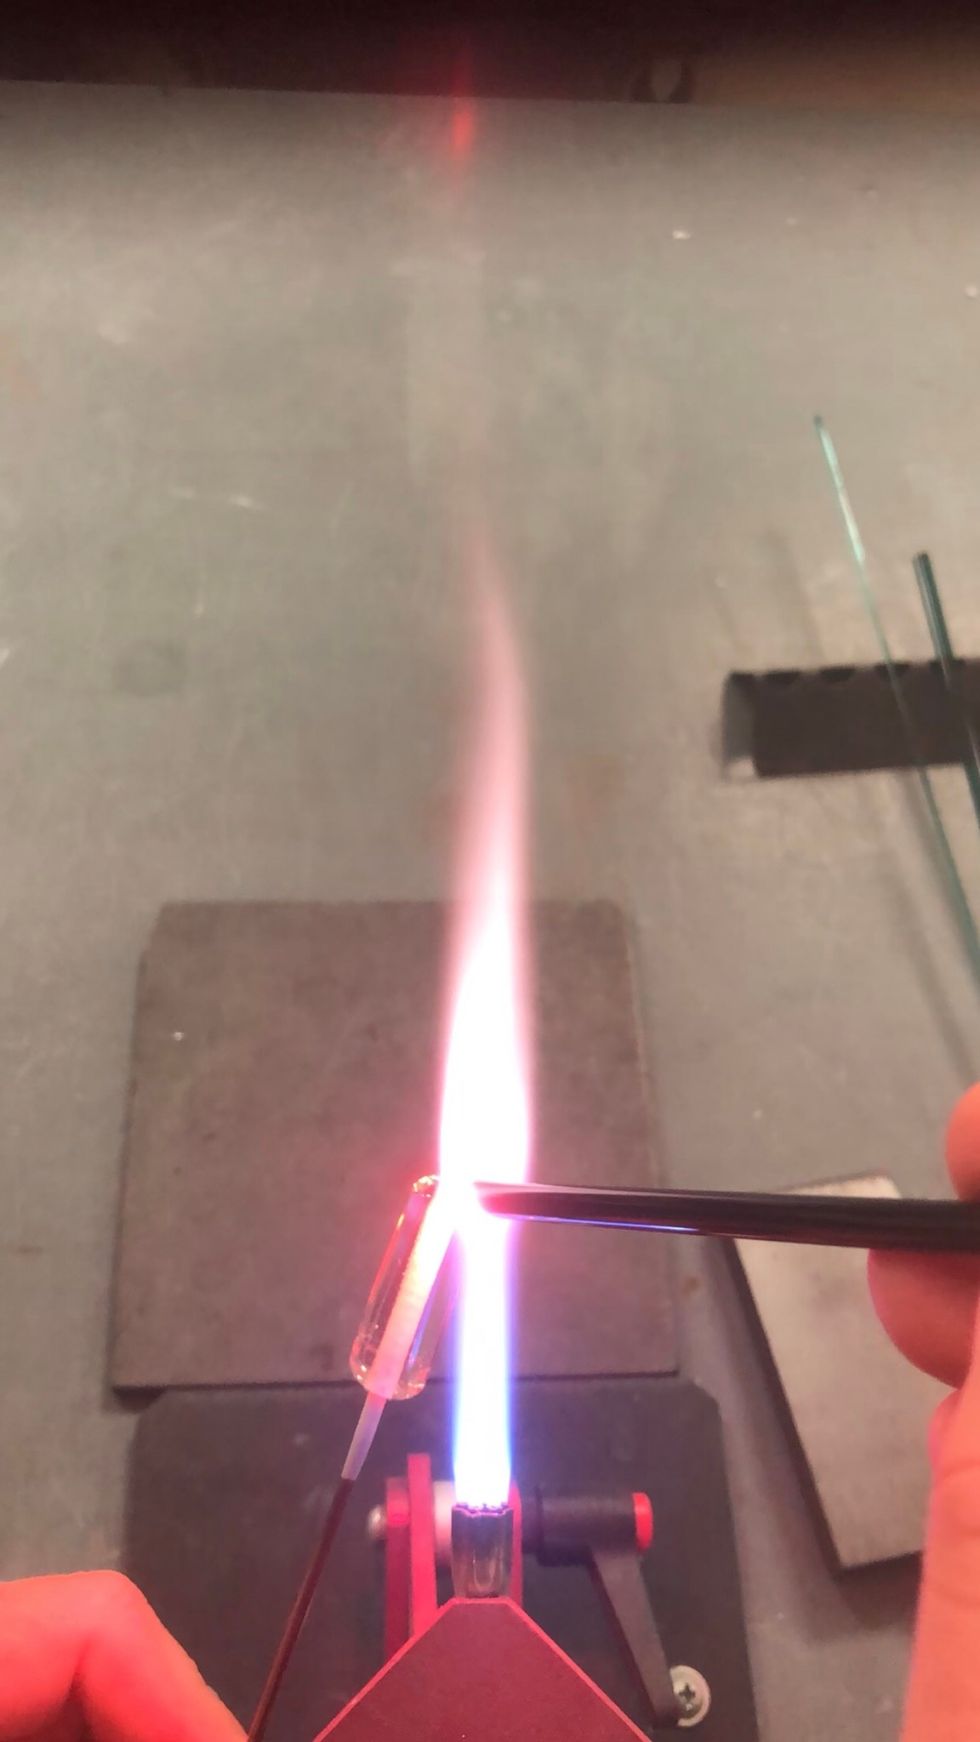
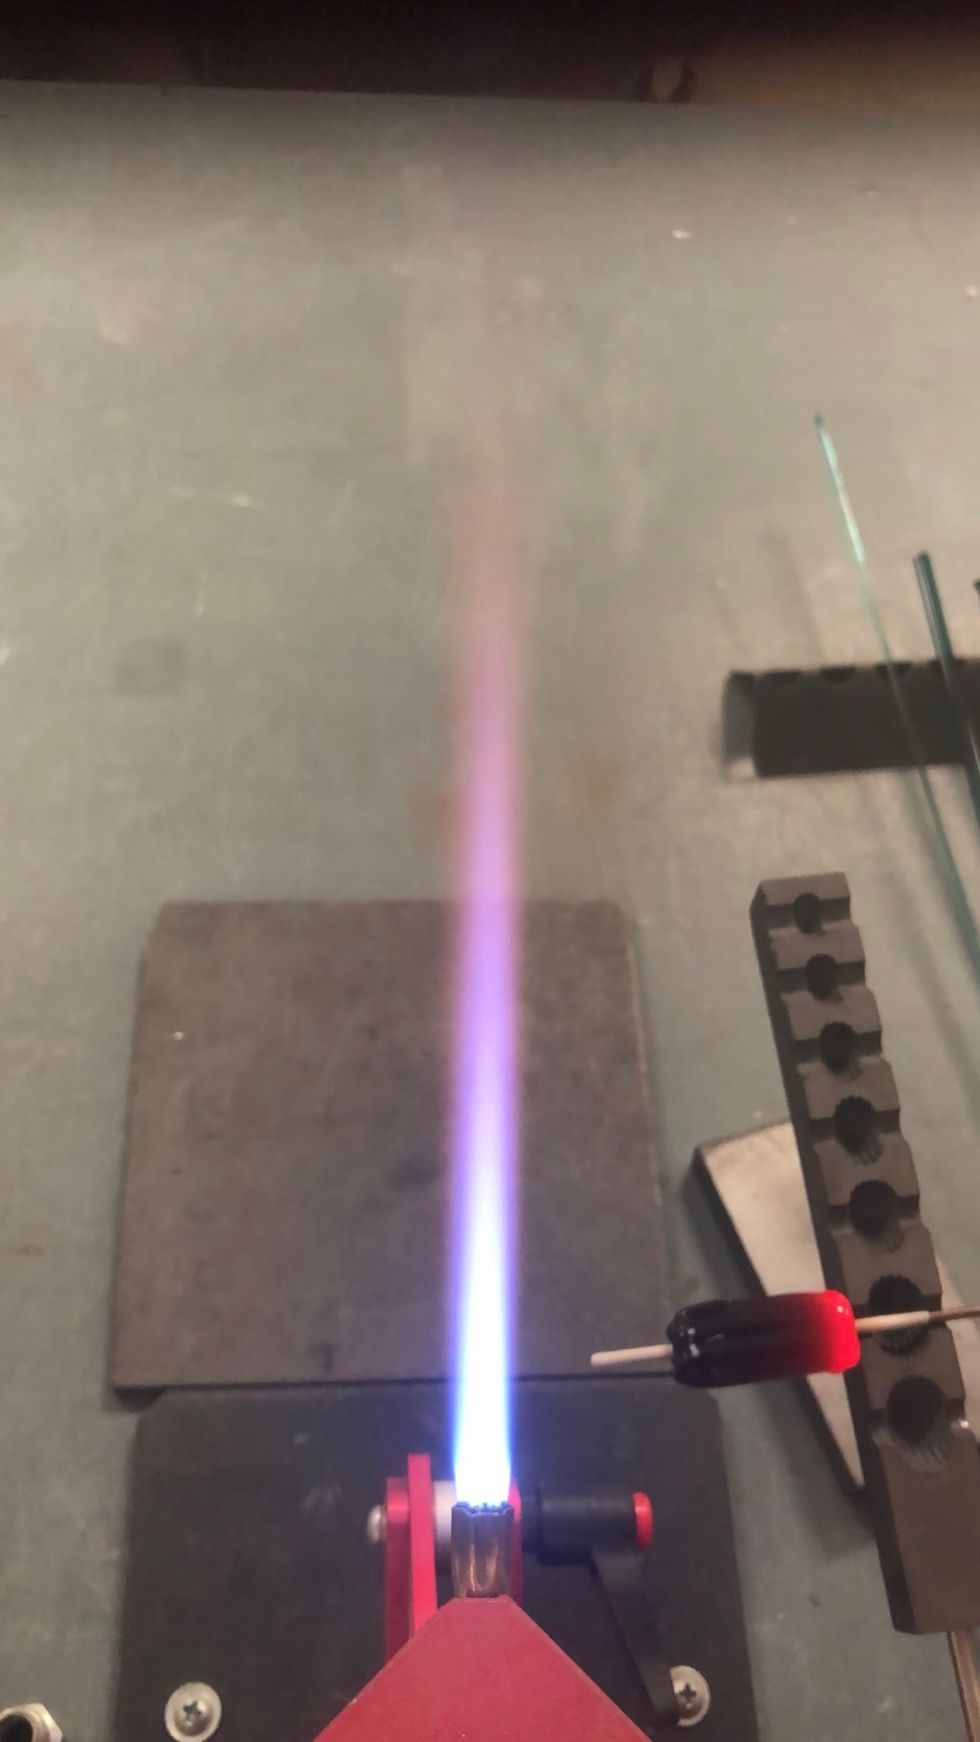
Turn the propane down again, creating a small, precise, narrow flame.
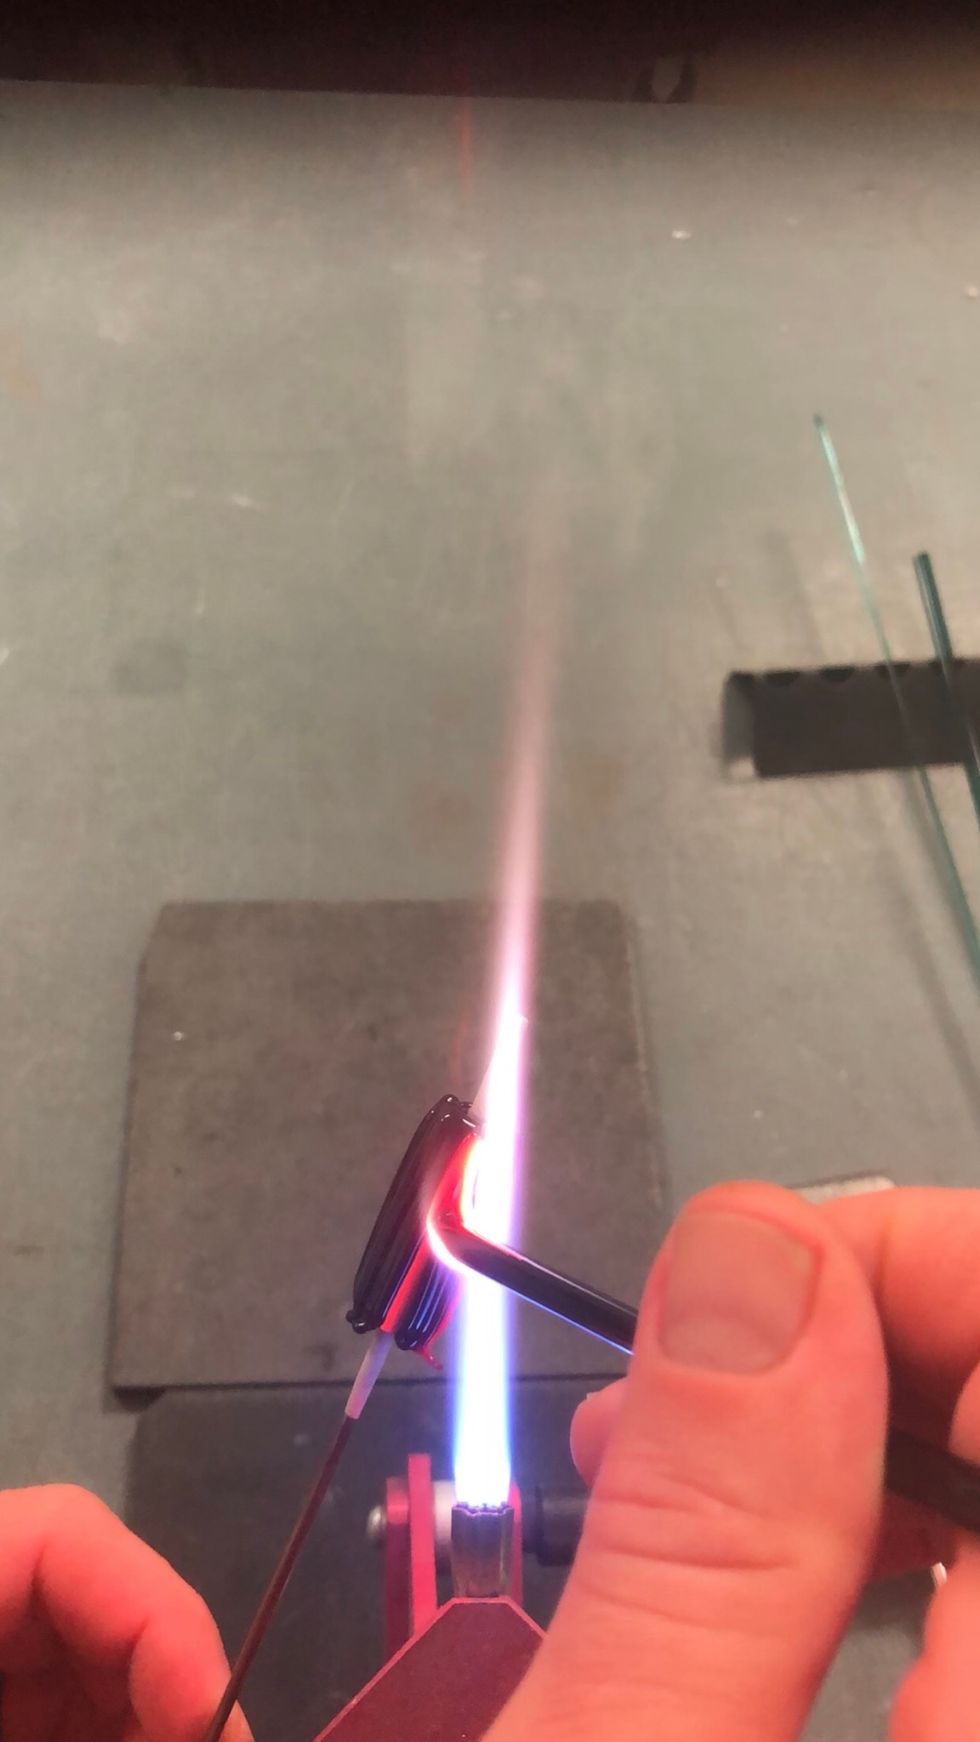
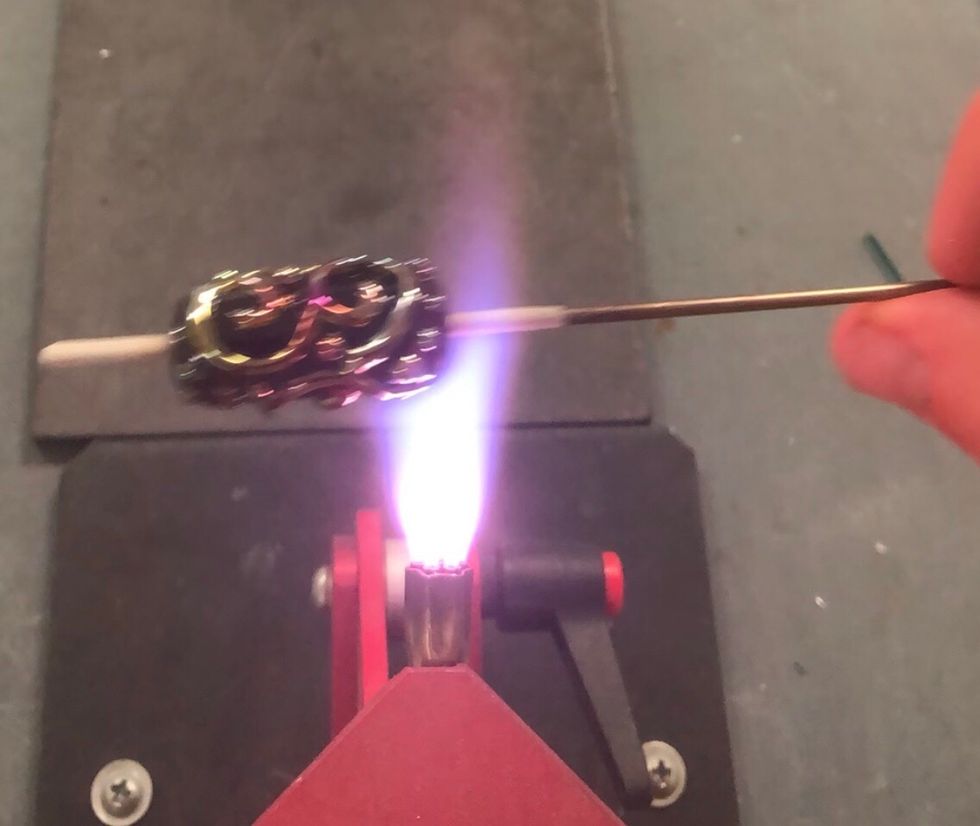
Working in the tip of the flame, begin applying the Melia 2 stringer.
I use light pressure to guide the glass, giving it just enough push to flatten a bit as it’s applied.
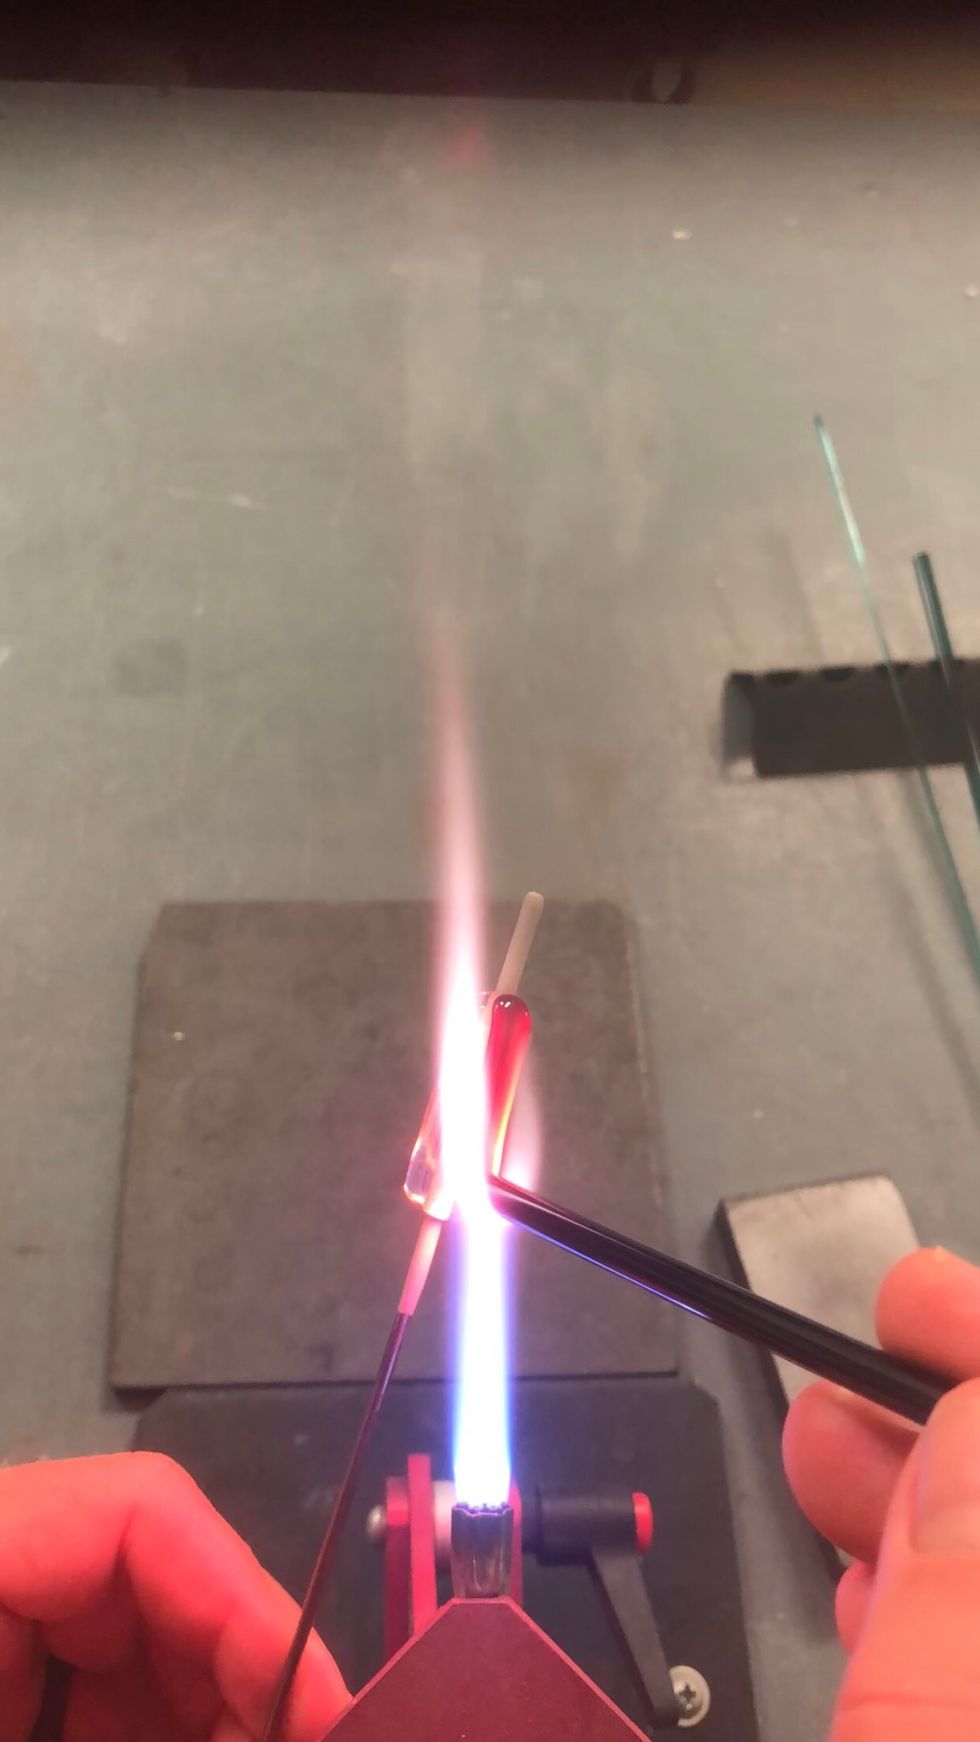
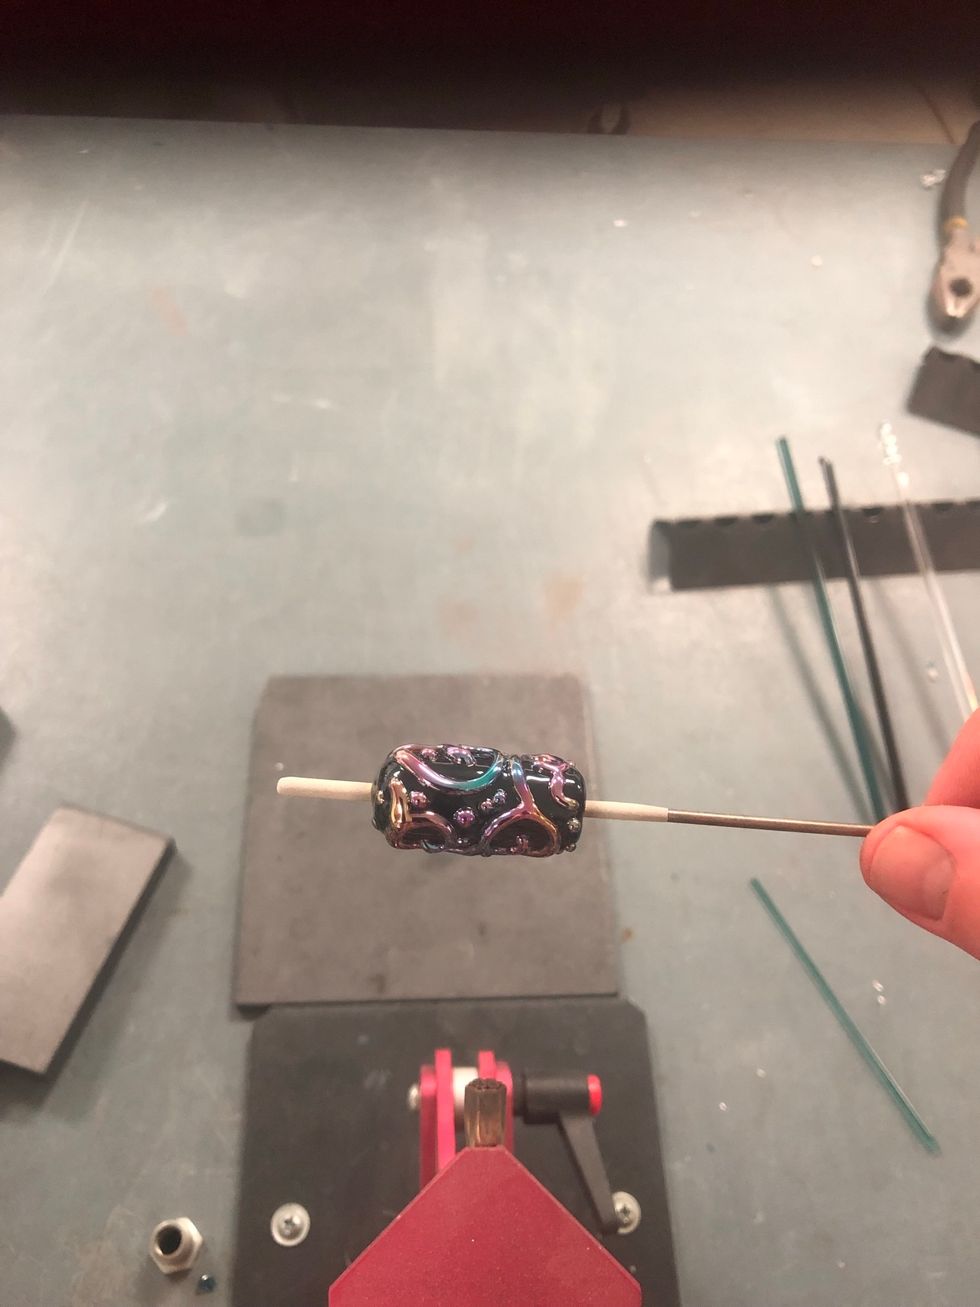
Cover the base bead in large, branching curlicues.

Use the heat of the flame to cleanly terminate each spiral.
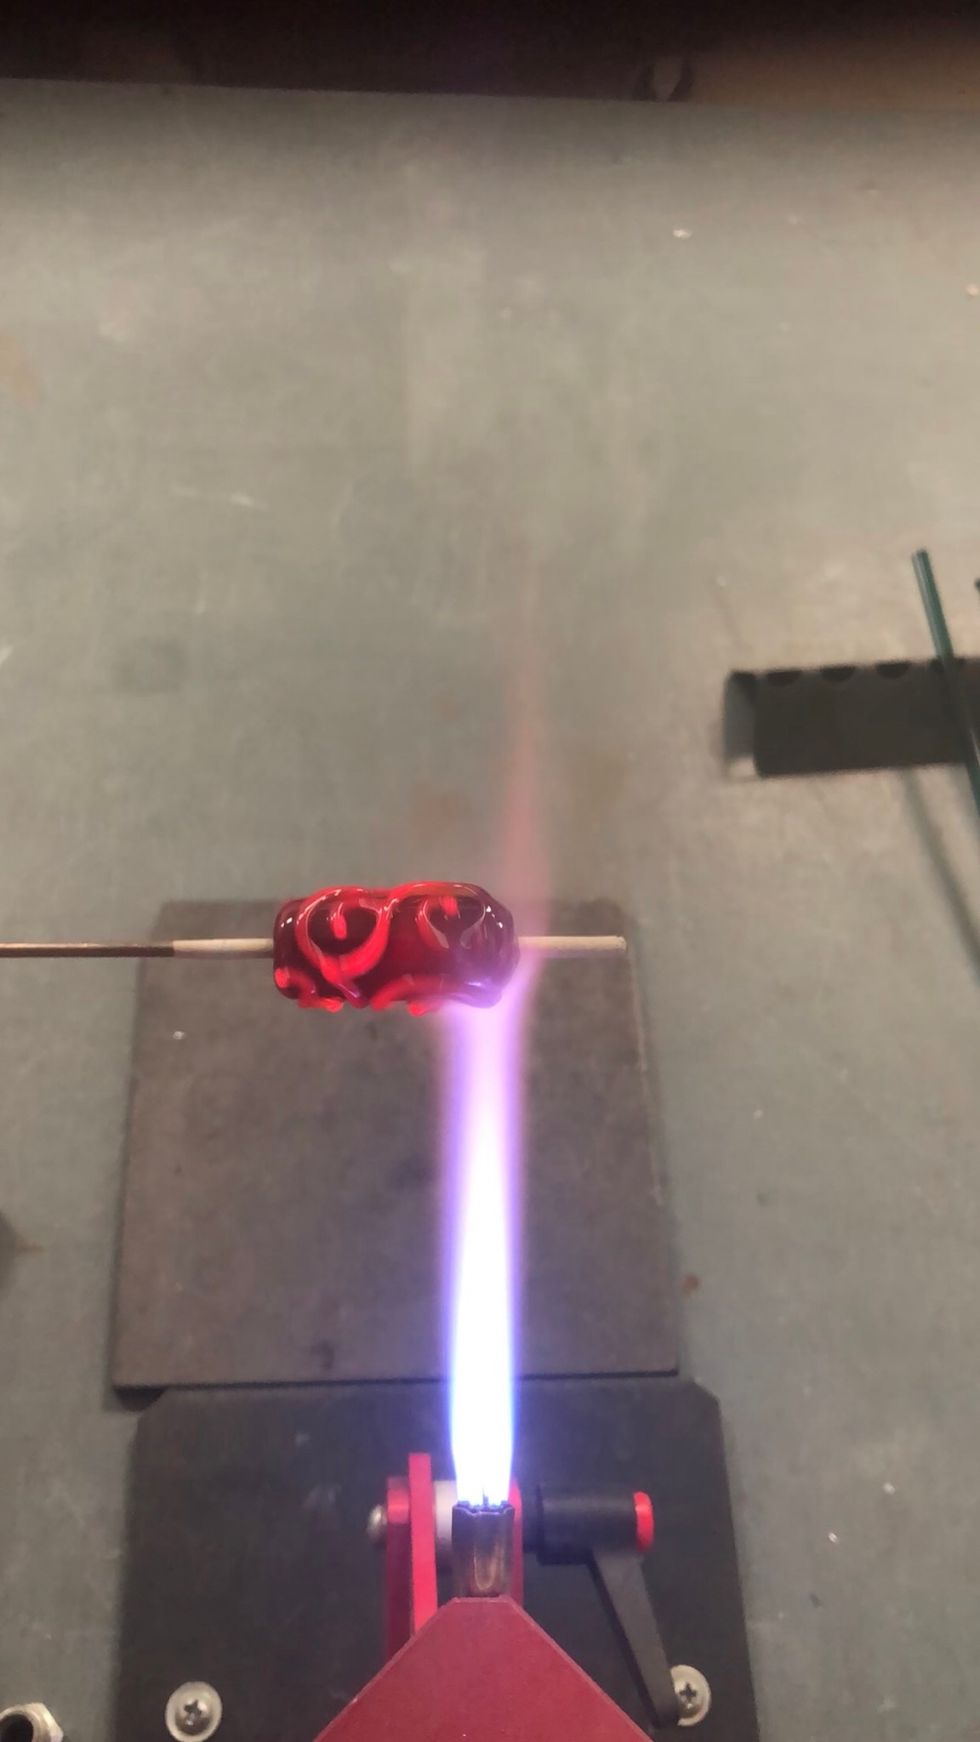
Once the bead is covered in enough spiraling curlicues, give the whole bead a gentle heating. This will weld the scrollwork to the base bead and heat the core enough to avoid cracking.

Turn your propane down yet again, and use a small, precise flame to apply dots wherever you think a dot should go without crowding the design.
Then place a set of smaller dots where there’s room in the design.
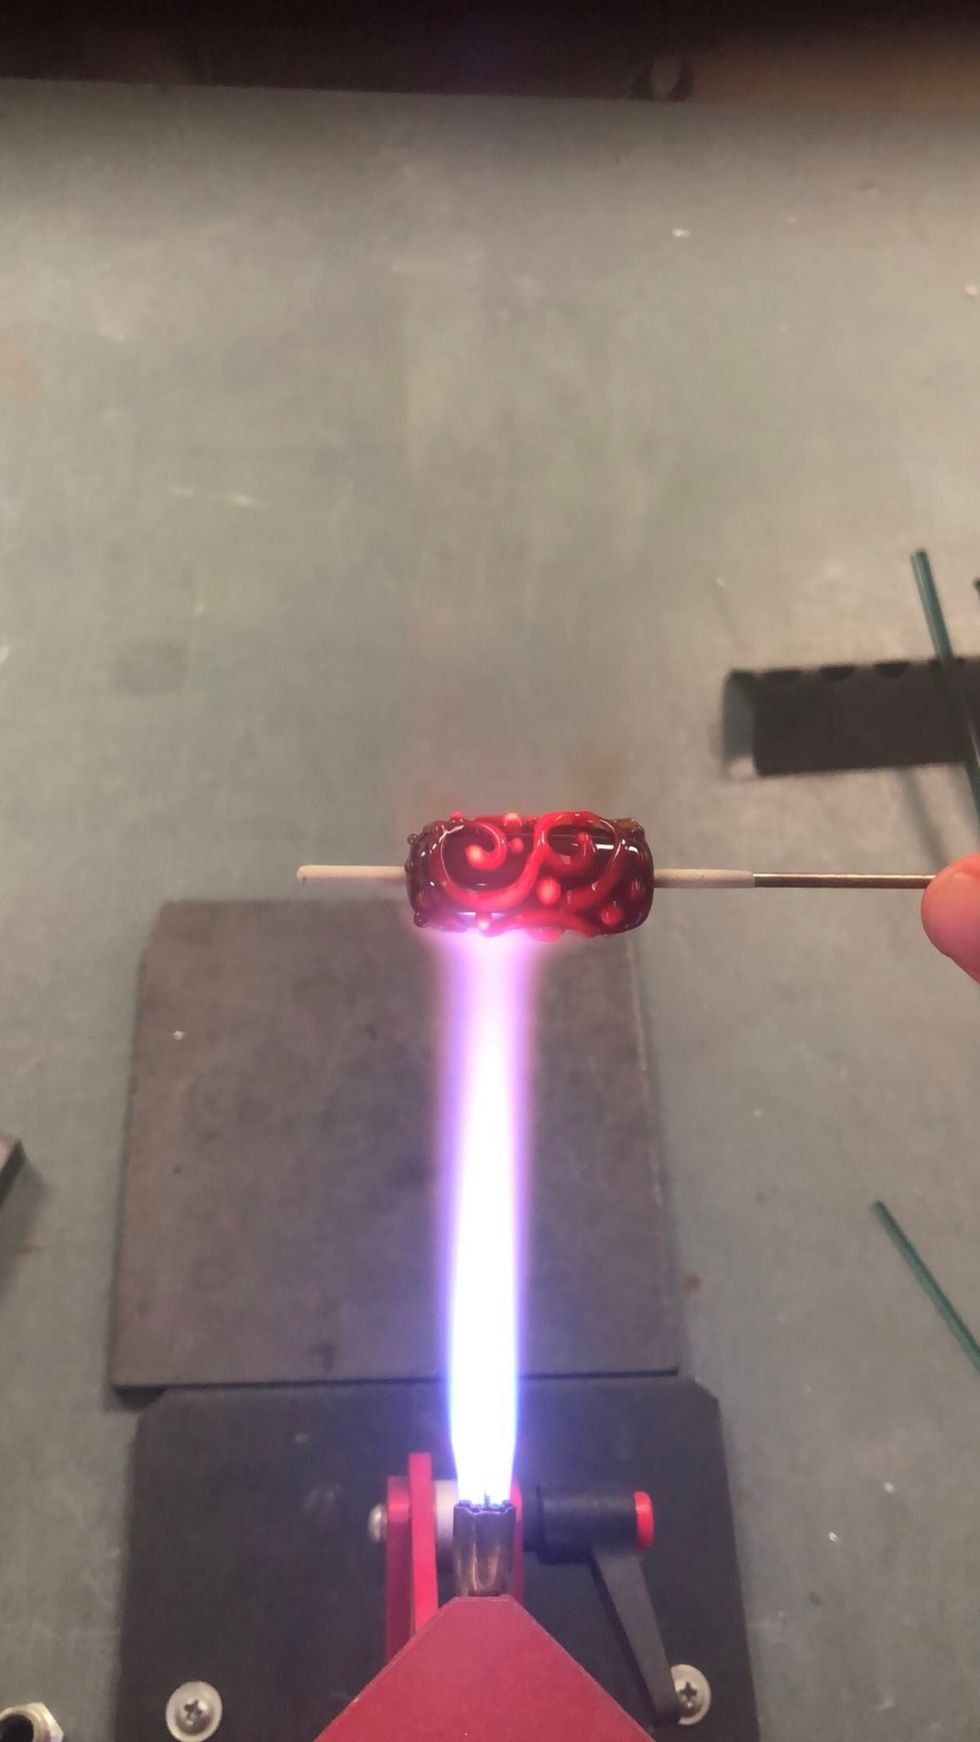
When you’ve applied enough dots, give the whole bead a gentle heating again.
If any of the dots or scroll terminations are too tall, gently spot heat and press them flat with a tool. I like to use a stainless steel butterknife for this task.
Inspect the pattern while applying a gentle heat. Melt the scrollwork in enough so that’s it’s smoothly joined with the base, but raised above the surface.
That’ll do.
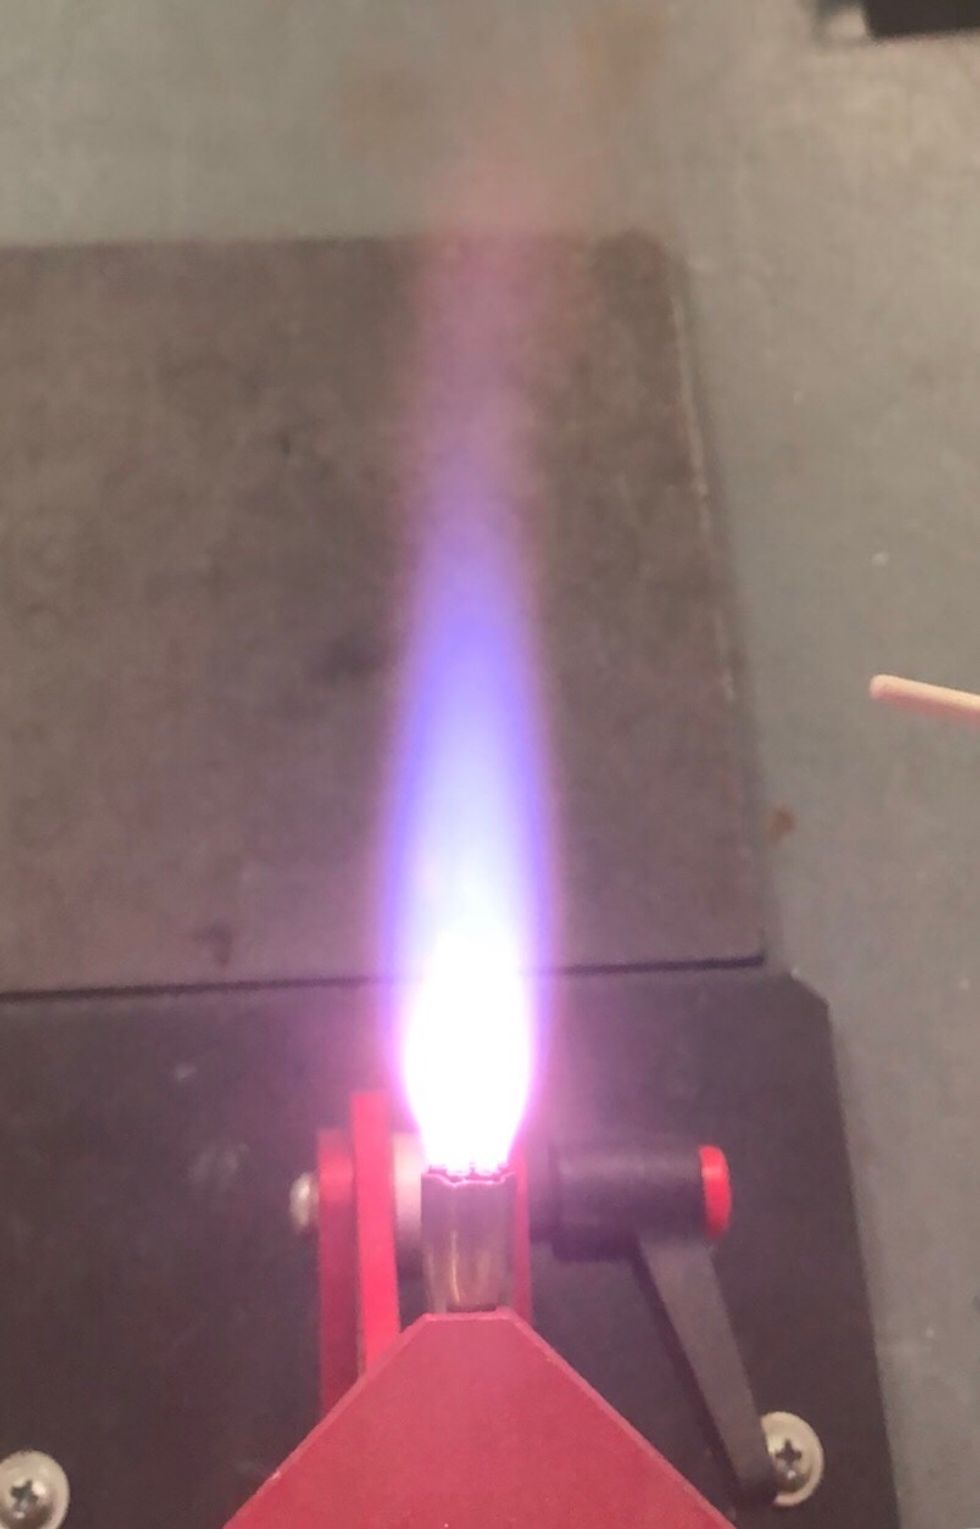
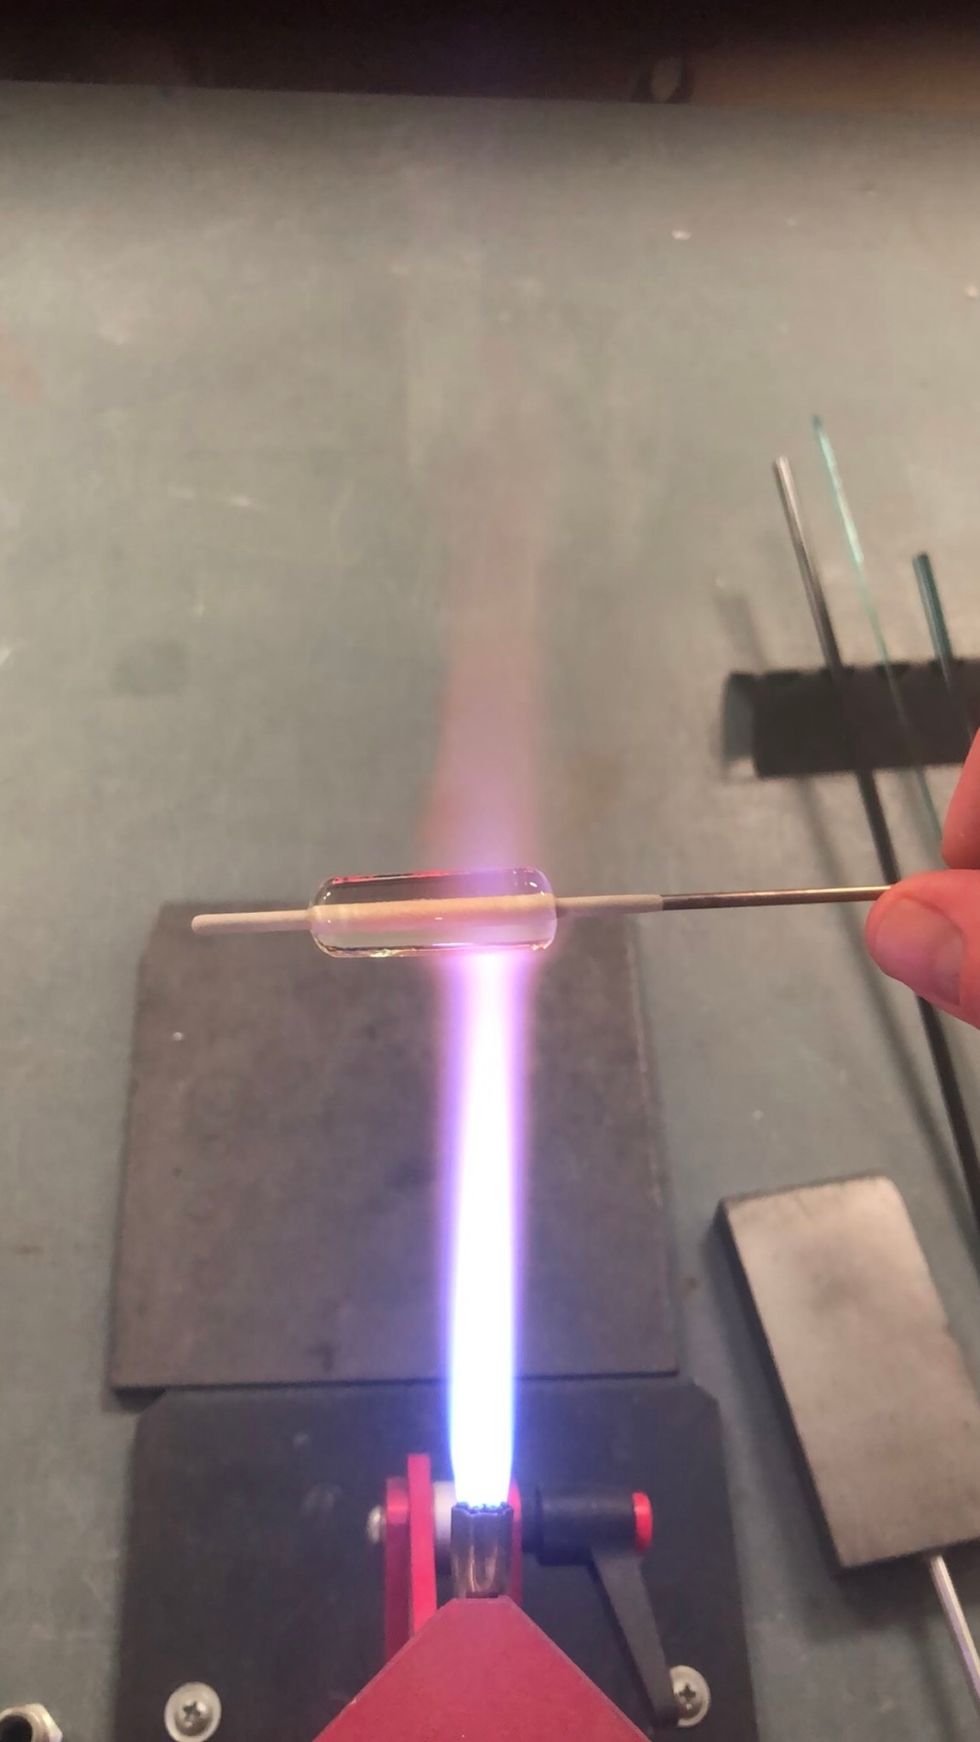
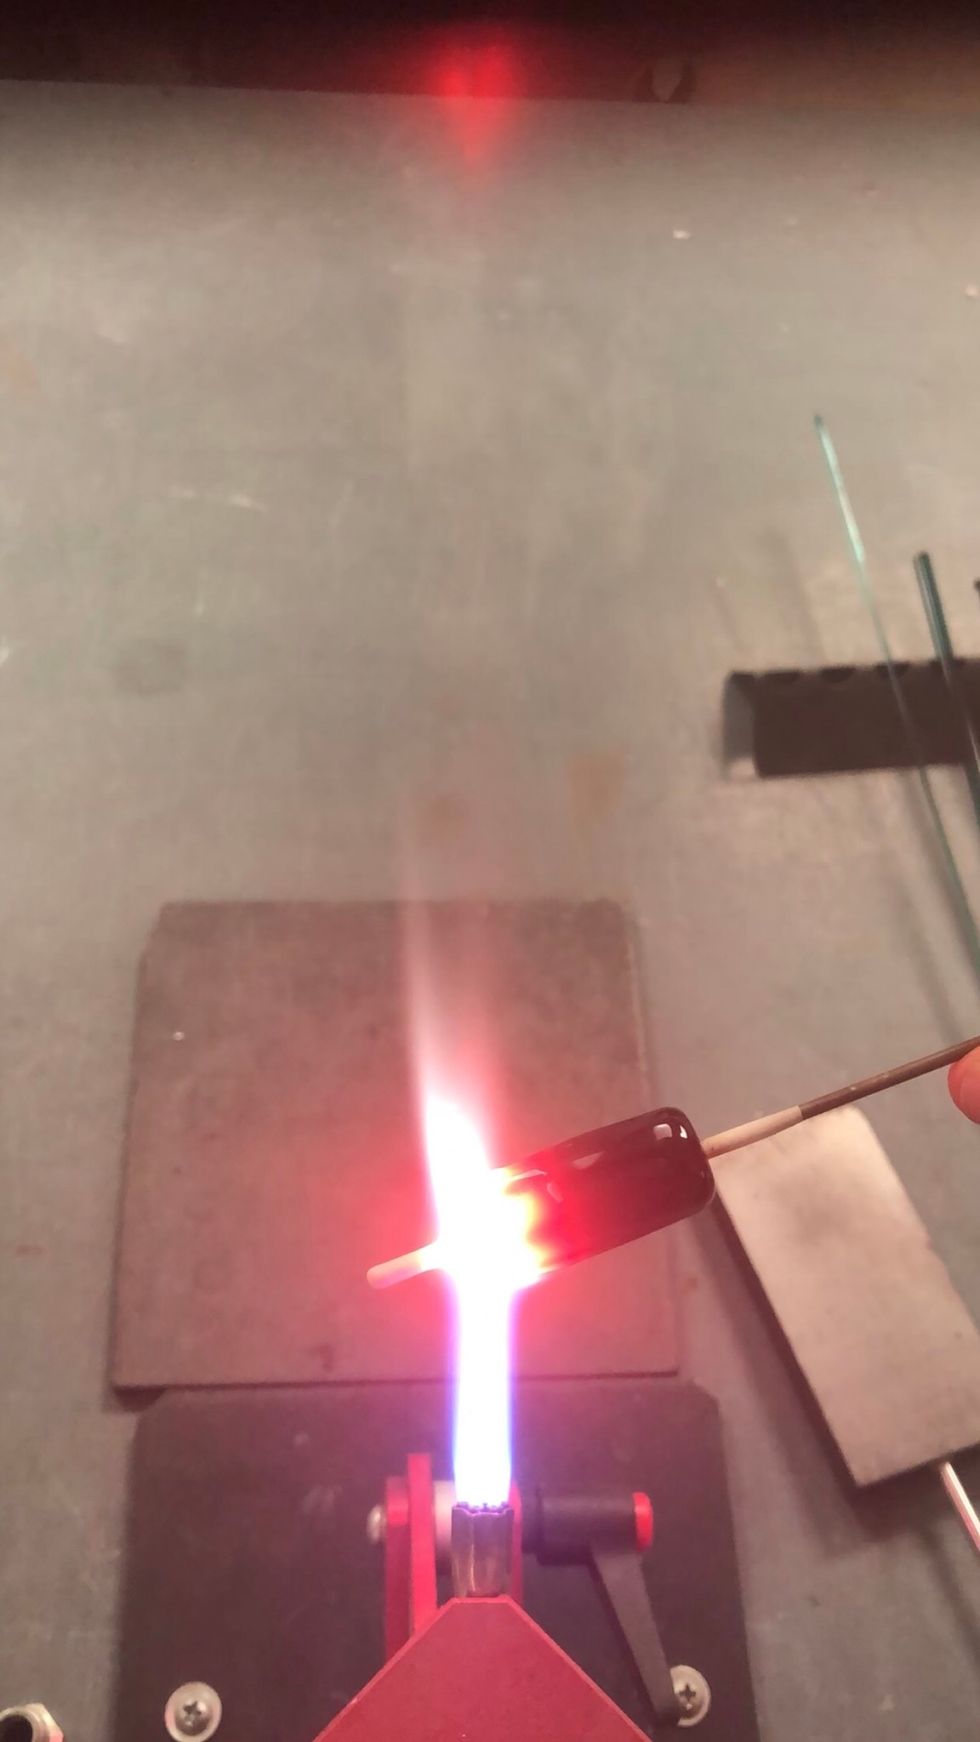
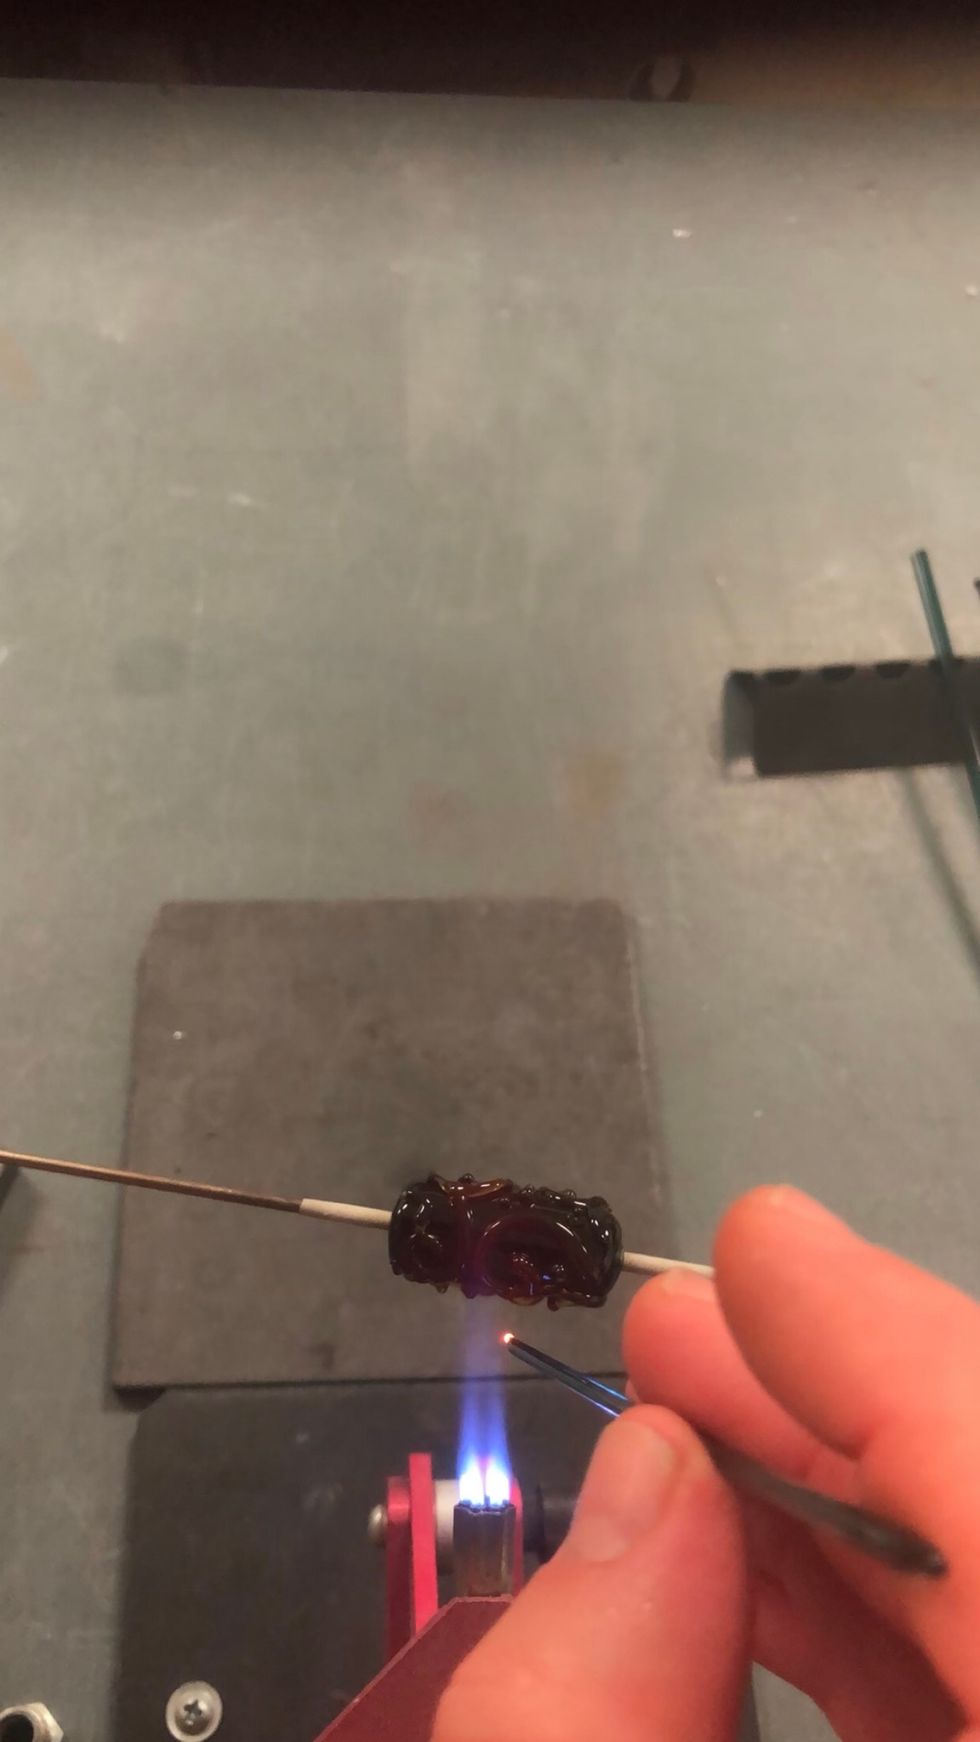
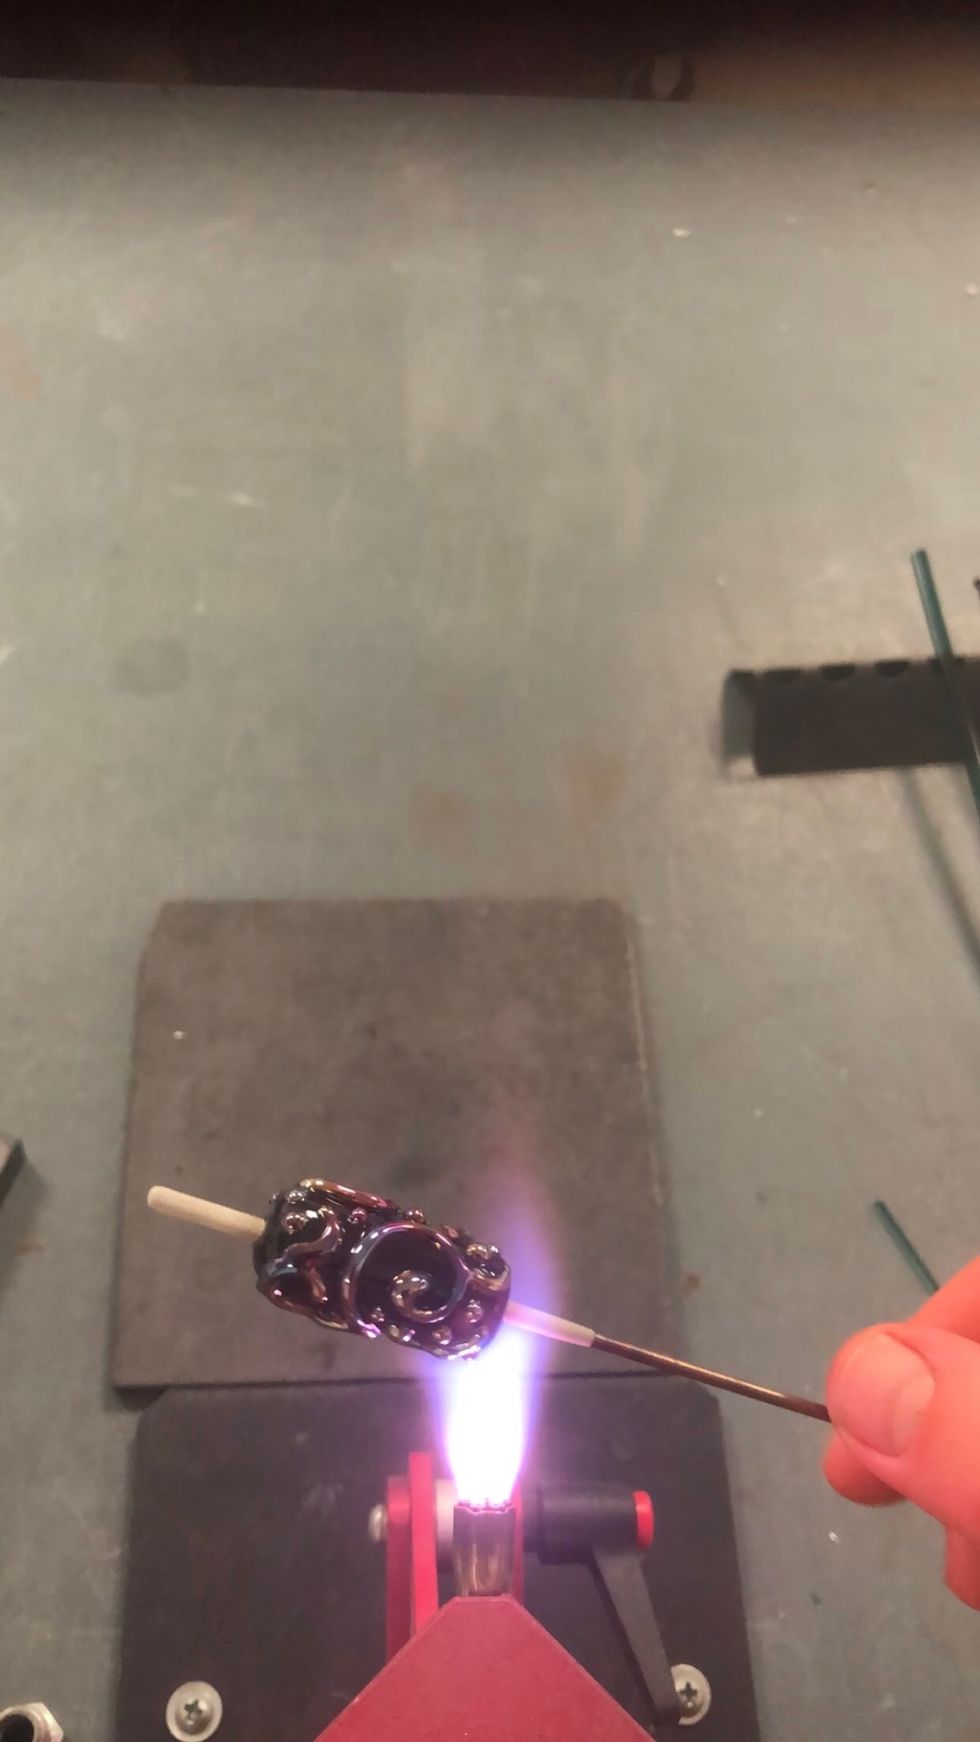
Adjust your torch to create a small brush reduction flame.
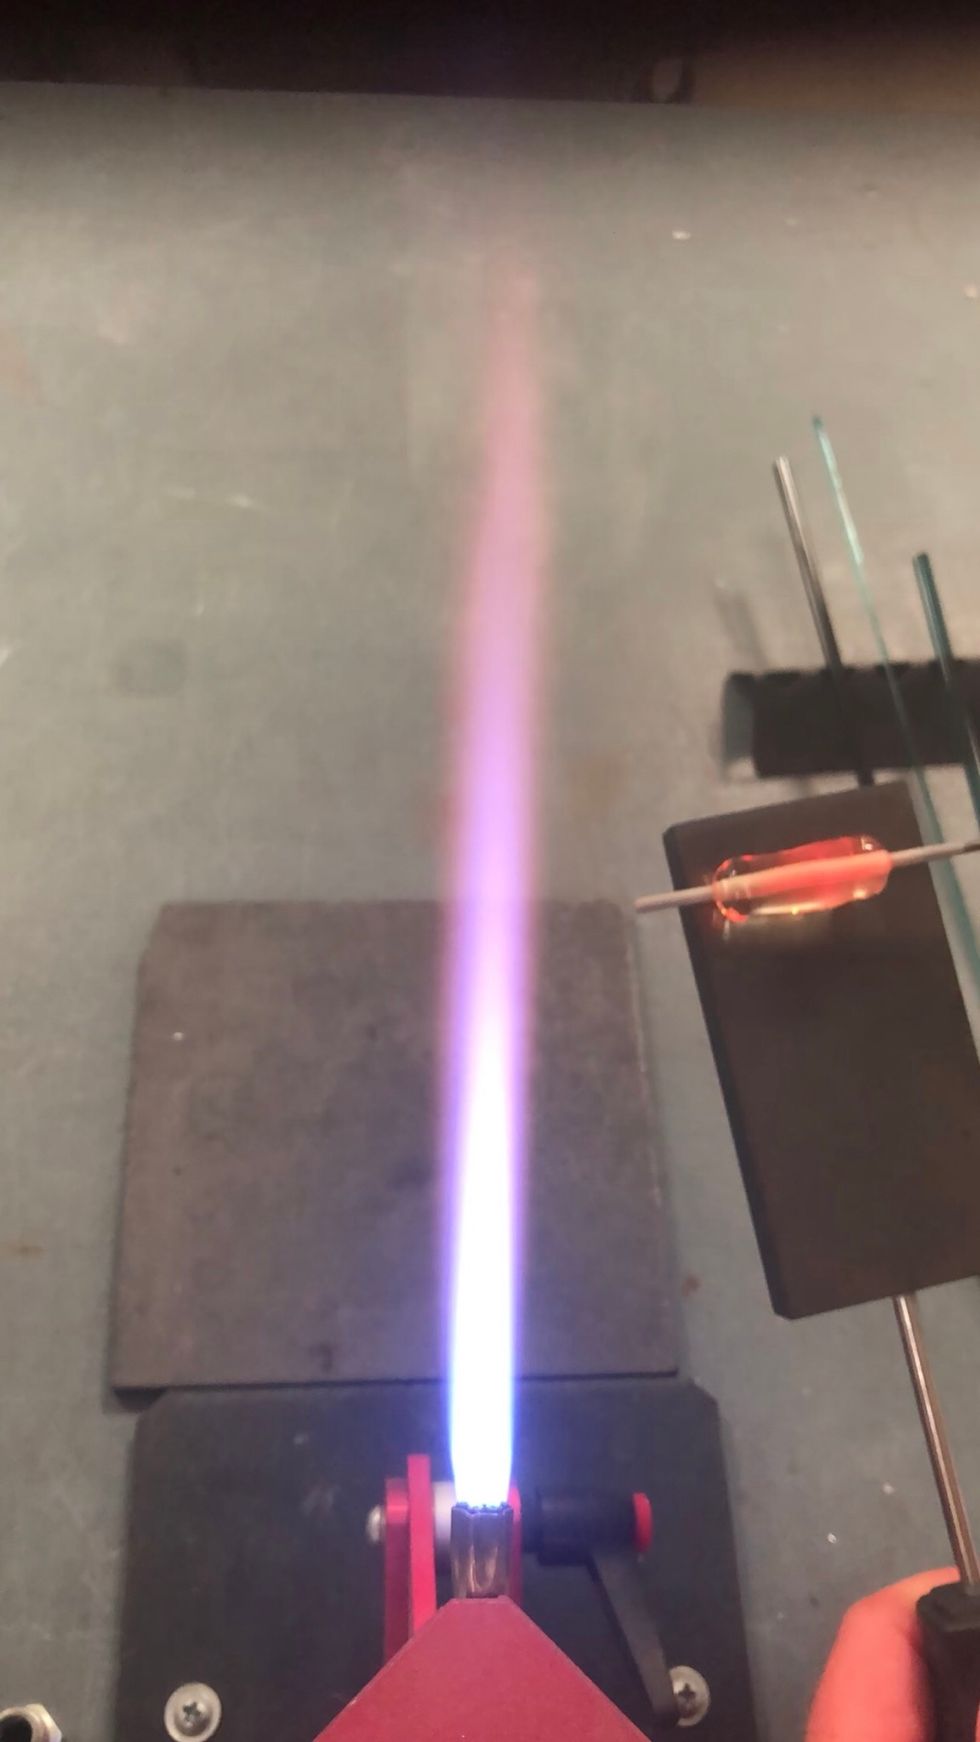
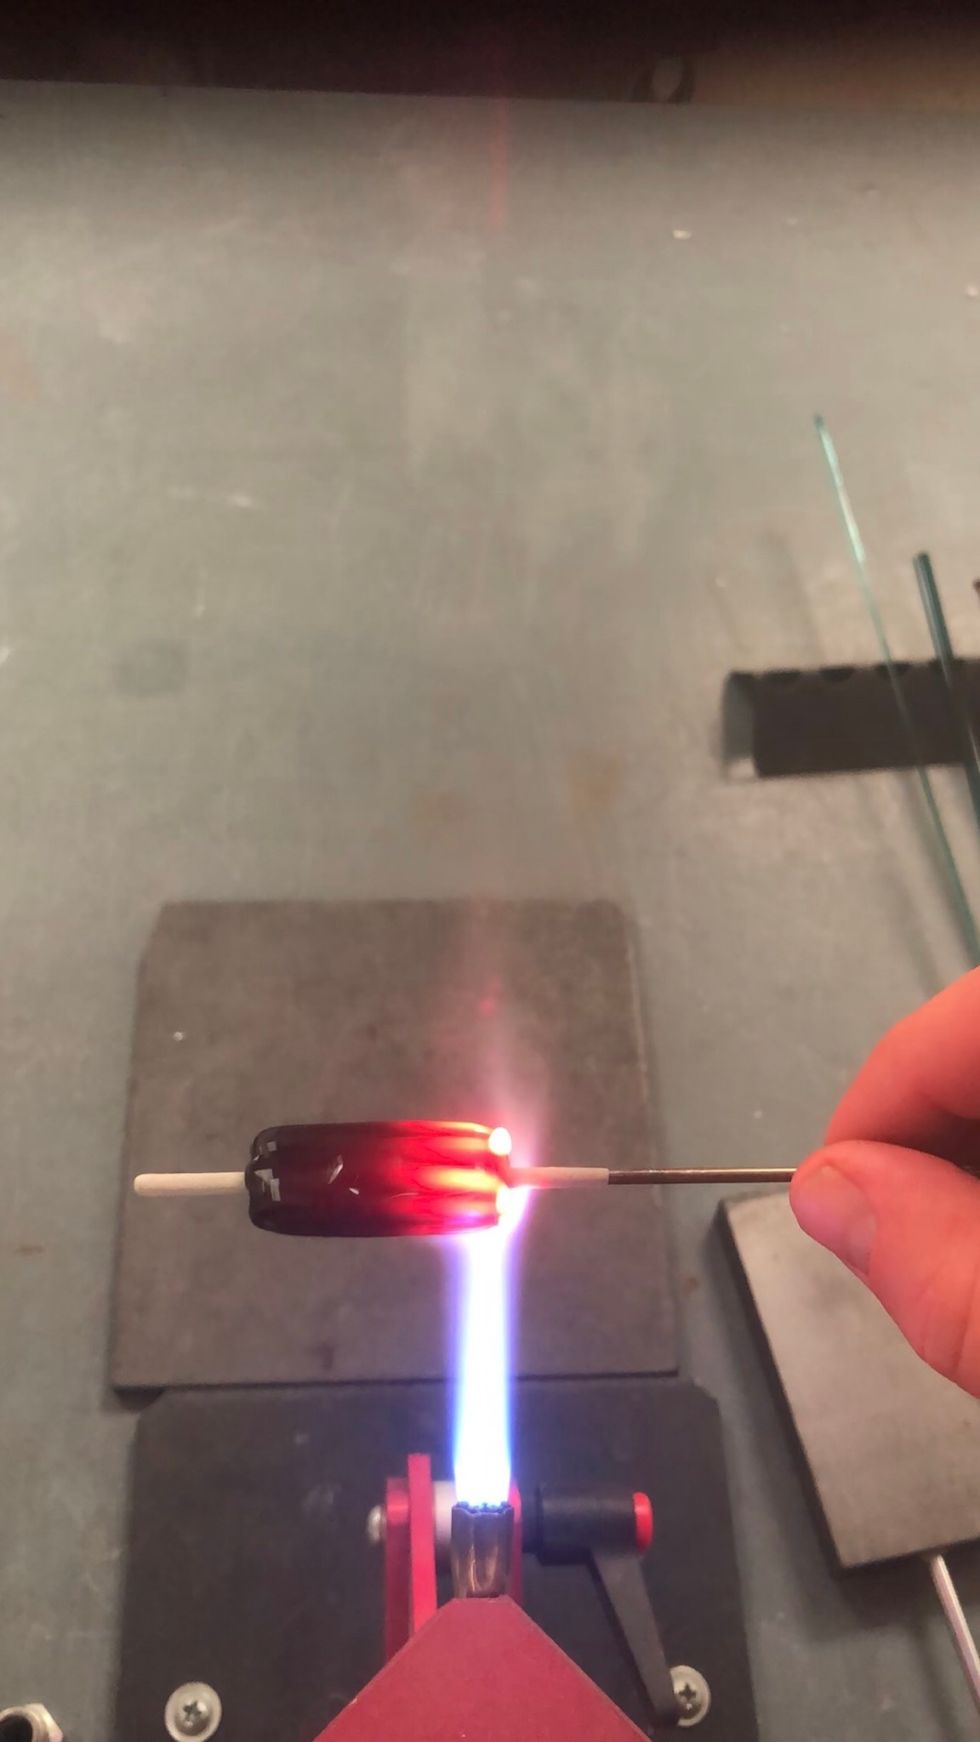
Pass the bead through the yellow candles a few times.
You’ll see a metallic luster begin to develop.
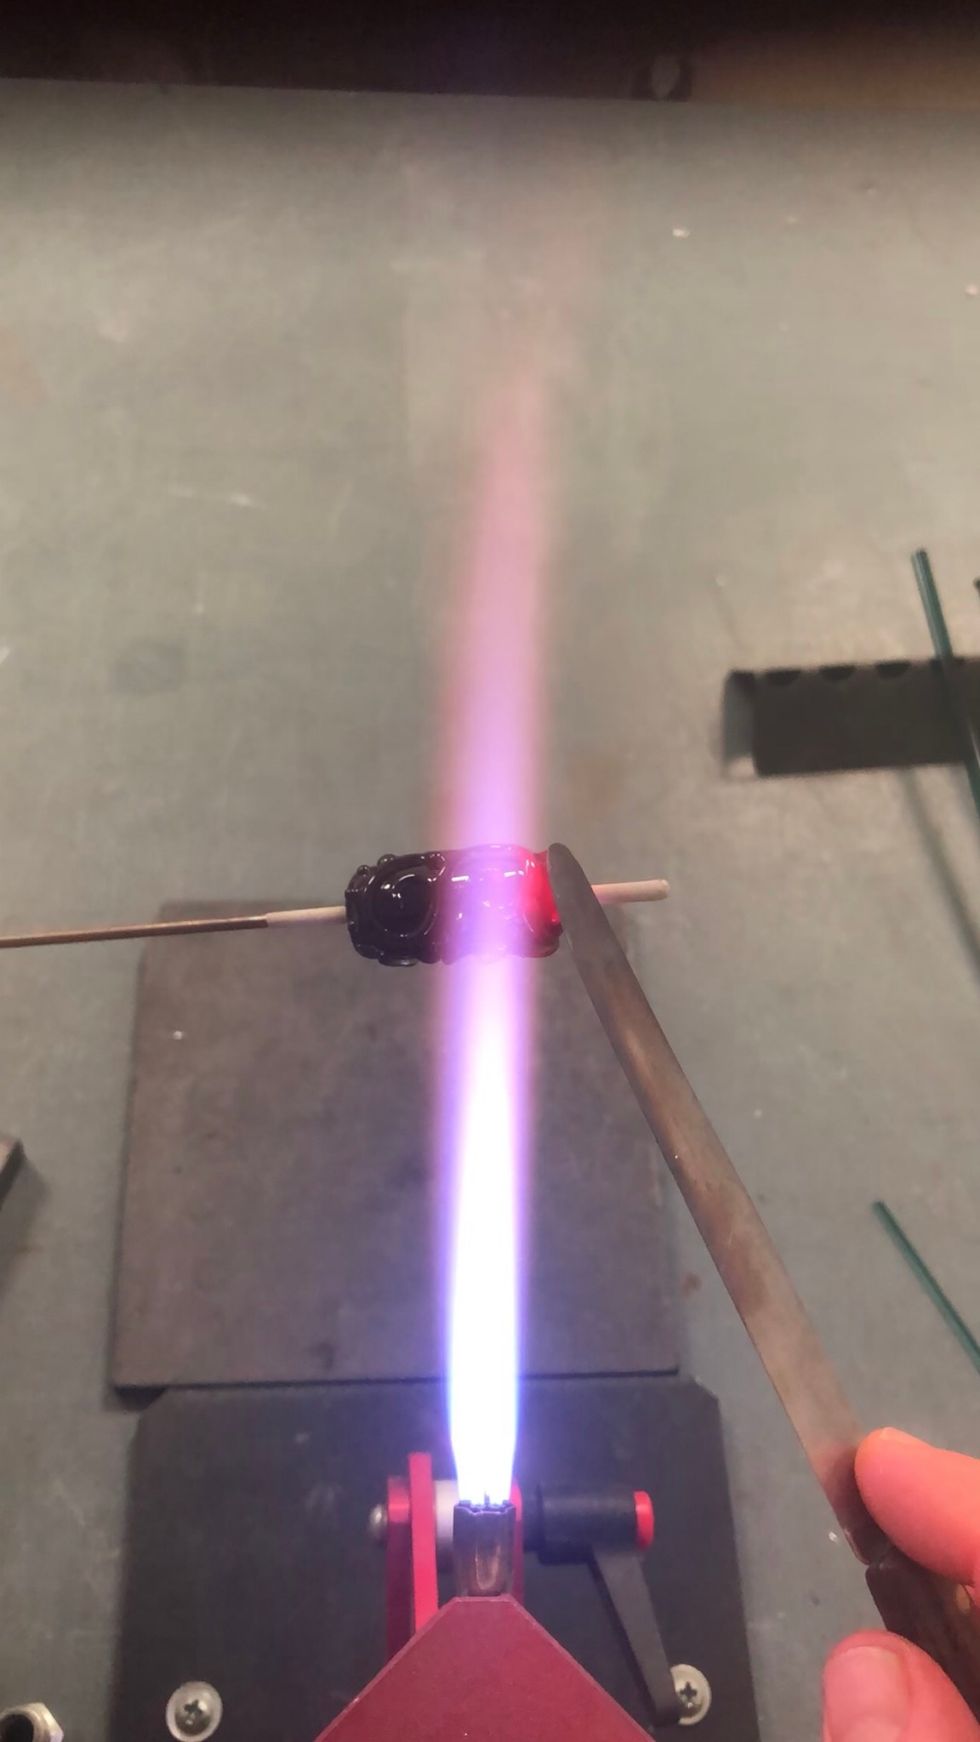
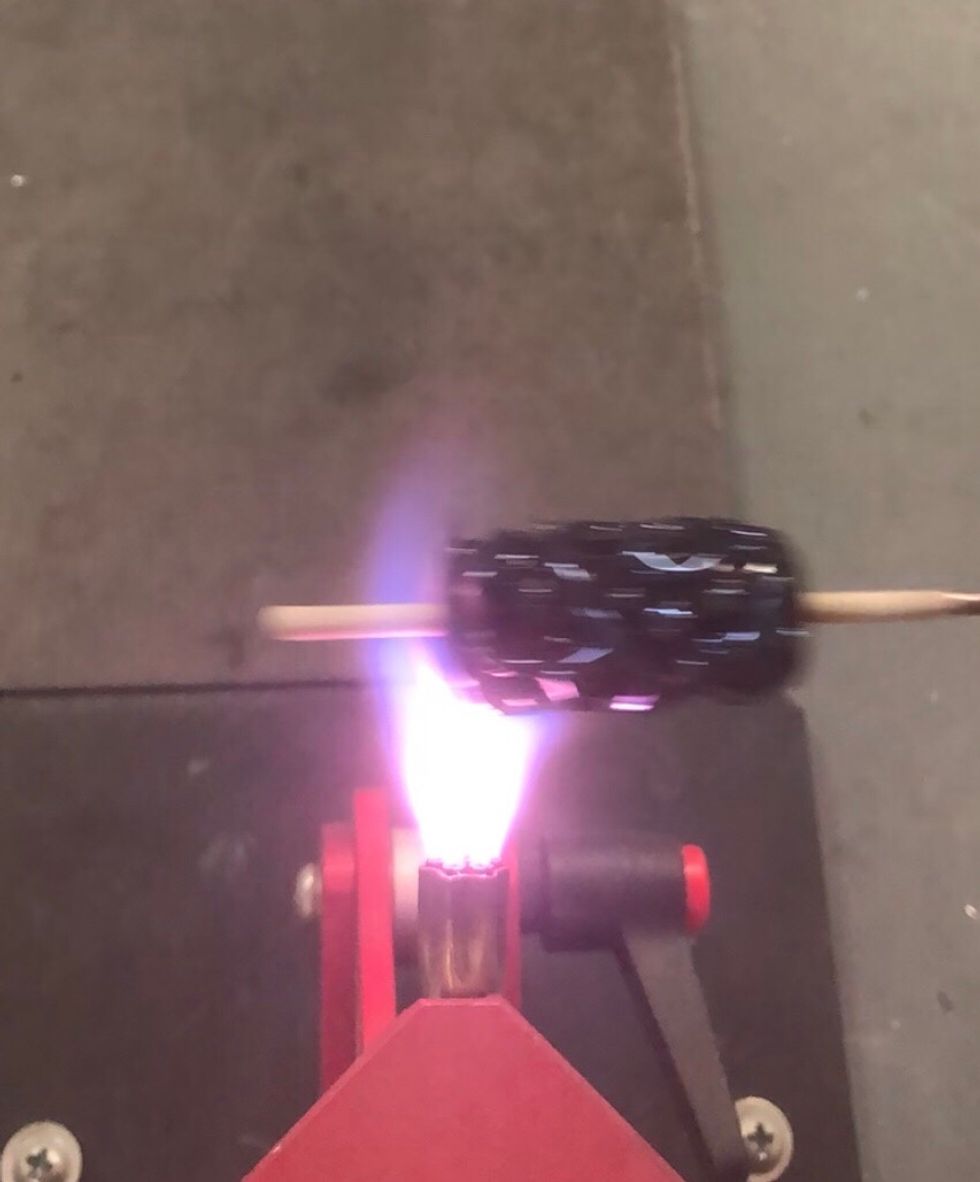
Stop and inspect the bead. In addition to determining if you want more reduction, this pause also gives the surface of the bead a chance to cool.
Repeat the reduction using quick passes through the flame.
Don’t forget to expose the ends to the reduction flame.
There we go. Into the annealer. I’m annealing for a half hour at 940F for this bead.
This technique works great with Melia 2, Arke, Iris, and Iaso. You can also try reversing the pattern, with black scrollwork over a silver luster.