The Conversation (0)
Sign Up

Today we are going to make a very quick and easy Love Sweet Love Altered Truffle Box with Graphic 45 A Ladies' Diary DCE, cardstock , a small metal frame, flowers and burlap string. Let's get started!
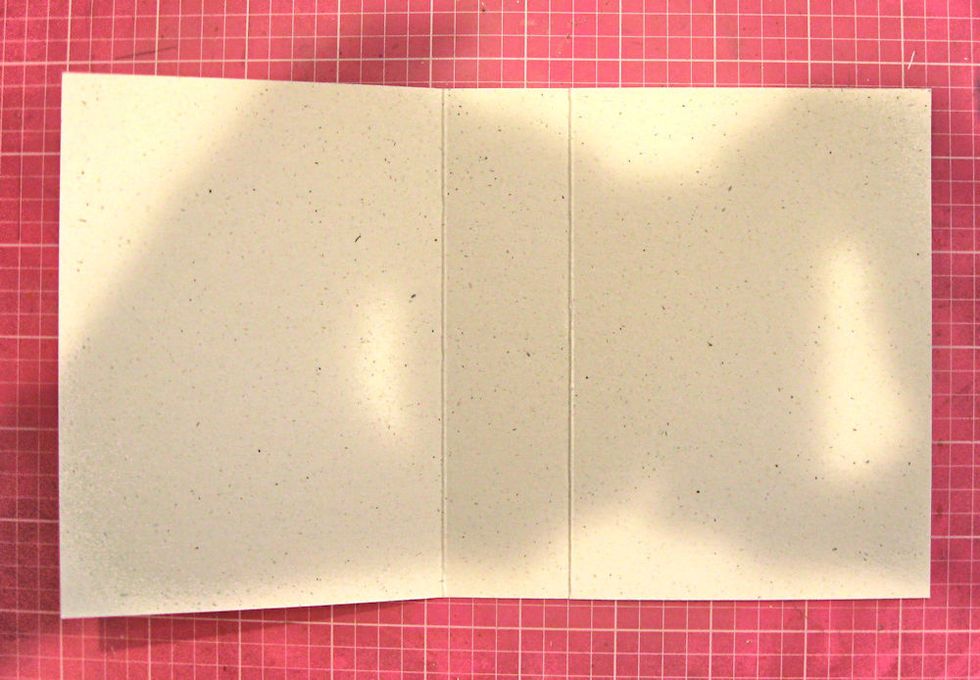
Begin by cutting a 9" x 5 3/8" rectangle from heavy ivory cardstock. Score on the long side at 3 7/8" and 5 1/4" . Fold and crease to create the chocolate book cover.
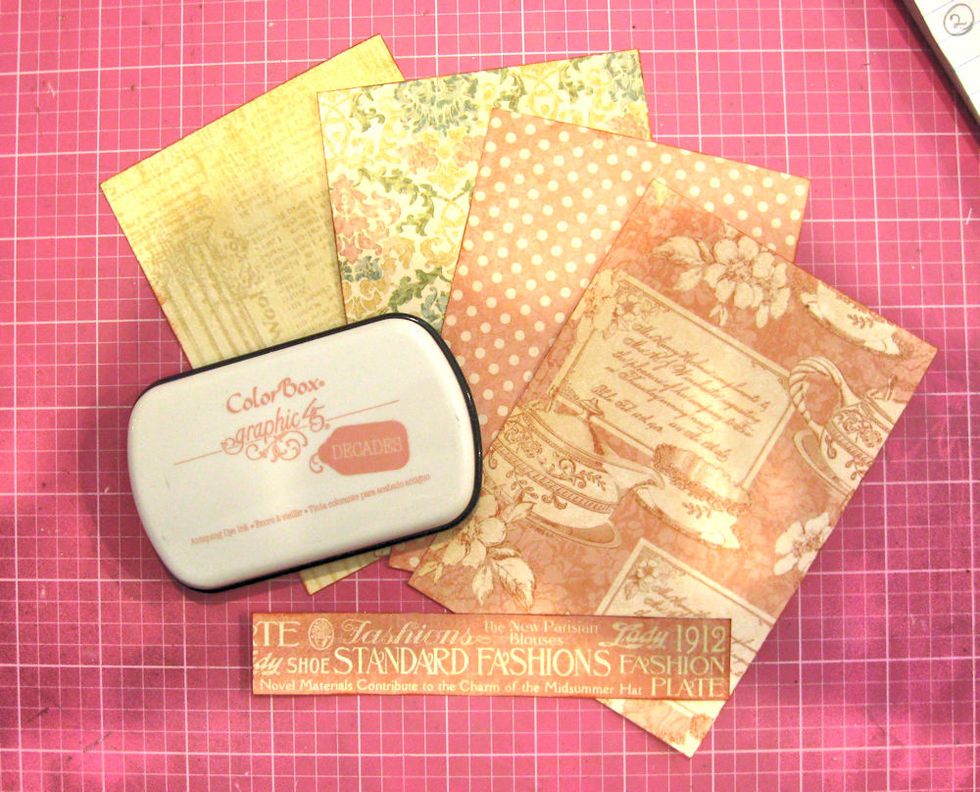
Next, cut FOUR 3.75" x 5 3/8" panels of G45 A Ladies' Diary DCE papers. Ink all the cut edges with G45 Decades Precious Pink ColorBox Ink. You will also need 3 spine pieces cut to 1.25" x 5 3/8".
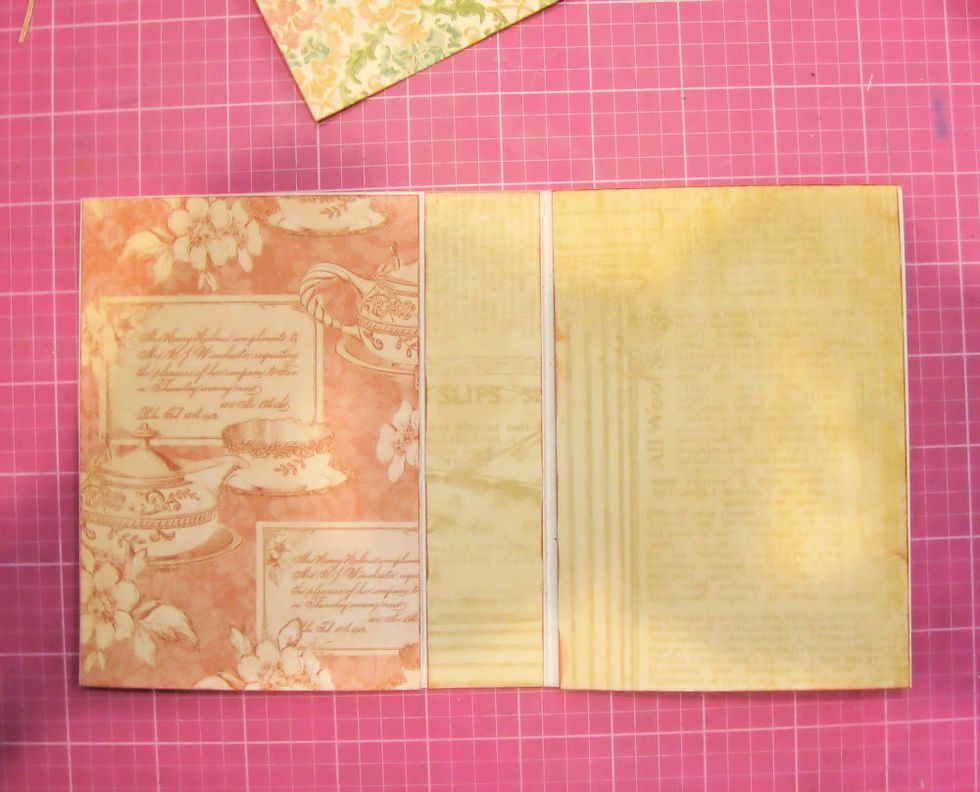
Glue the inner spine and liner pages in place using the adhesive of your choice.
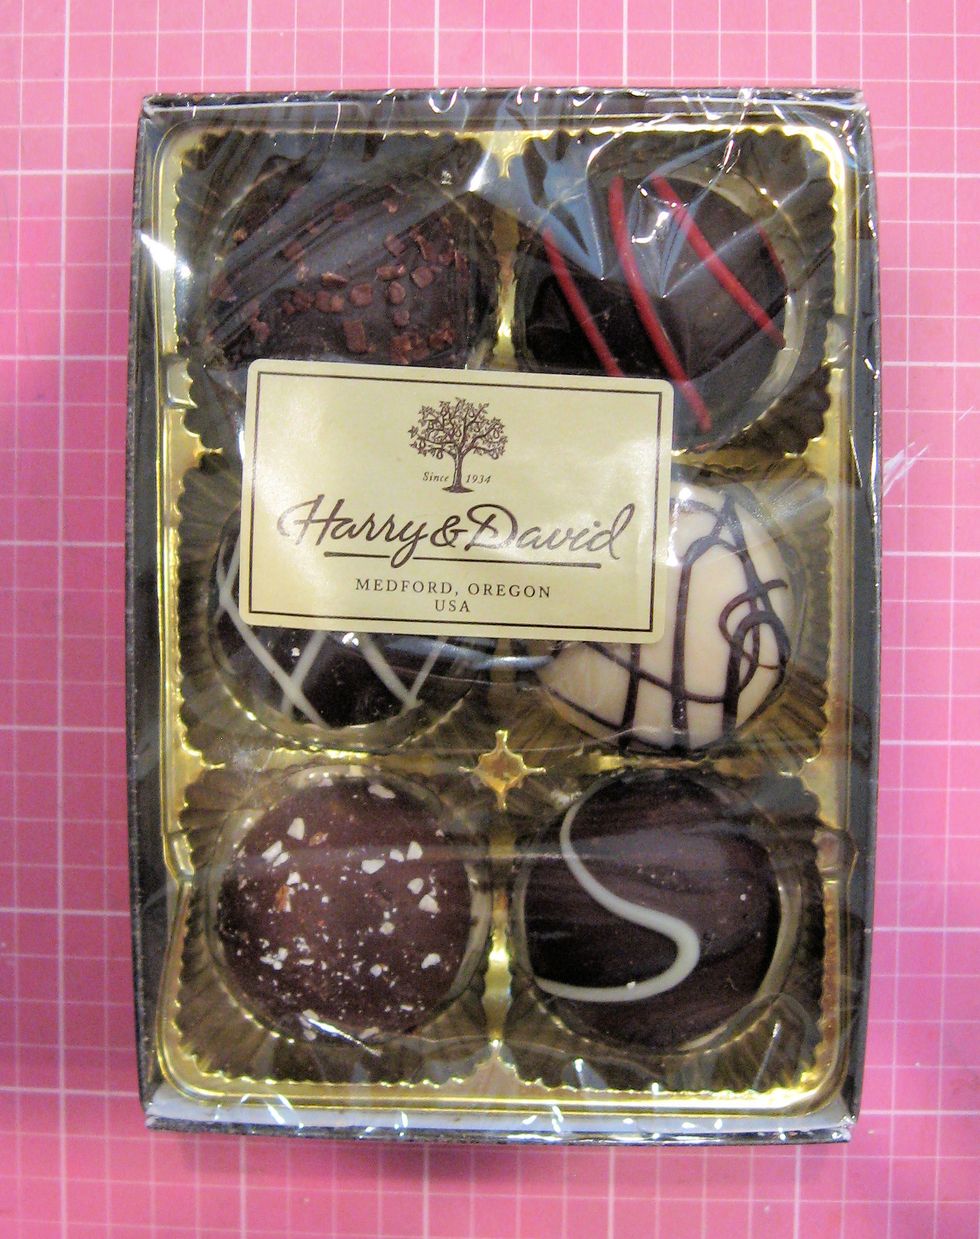
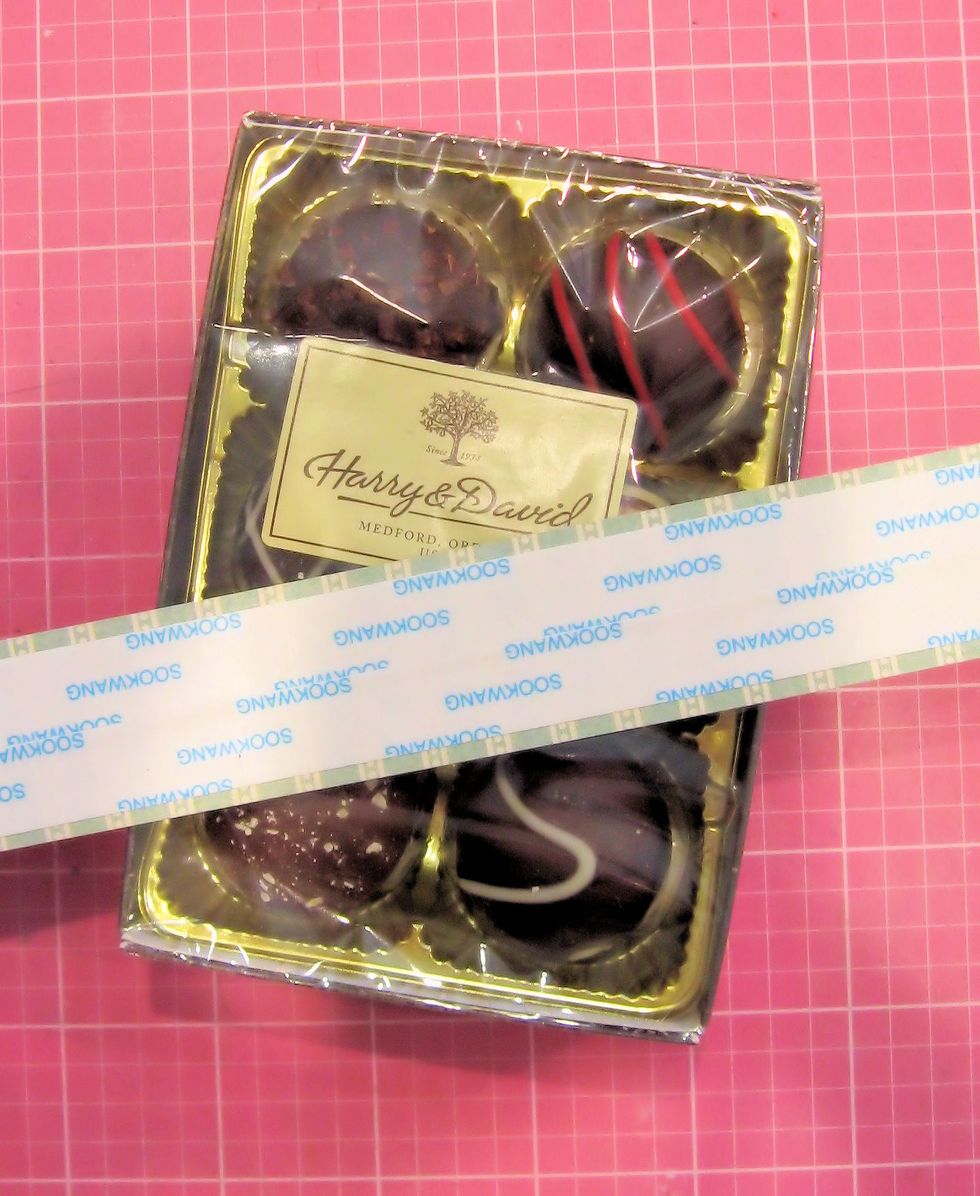
I sized my book cover to match this 3.5" x 5" Harry & David box of 6 truffles. You can adjust measurements for a different sized box of chocolates.

Cut this border piece from Ladies' Diary. Trim it so that it is just under 1.25" high. You want to match the height of the box. Ink the edges.
Turn the border piece over and line with 1/2" Scor-Tape.

Remove the tape liner and add the border to the top, bottom and right hand side of the box. The left hand side of the box will not be covered. Use one of the pre-cut spine pieces to cover that side.
Use Scor-Tape to secure the chocolate box to the right hand side of the book cover. Add spine pieces and decorations. The fussy cut Cupid image is from February Place in Time.
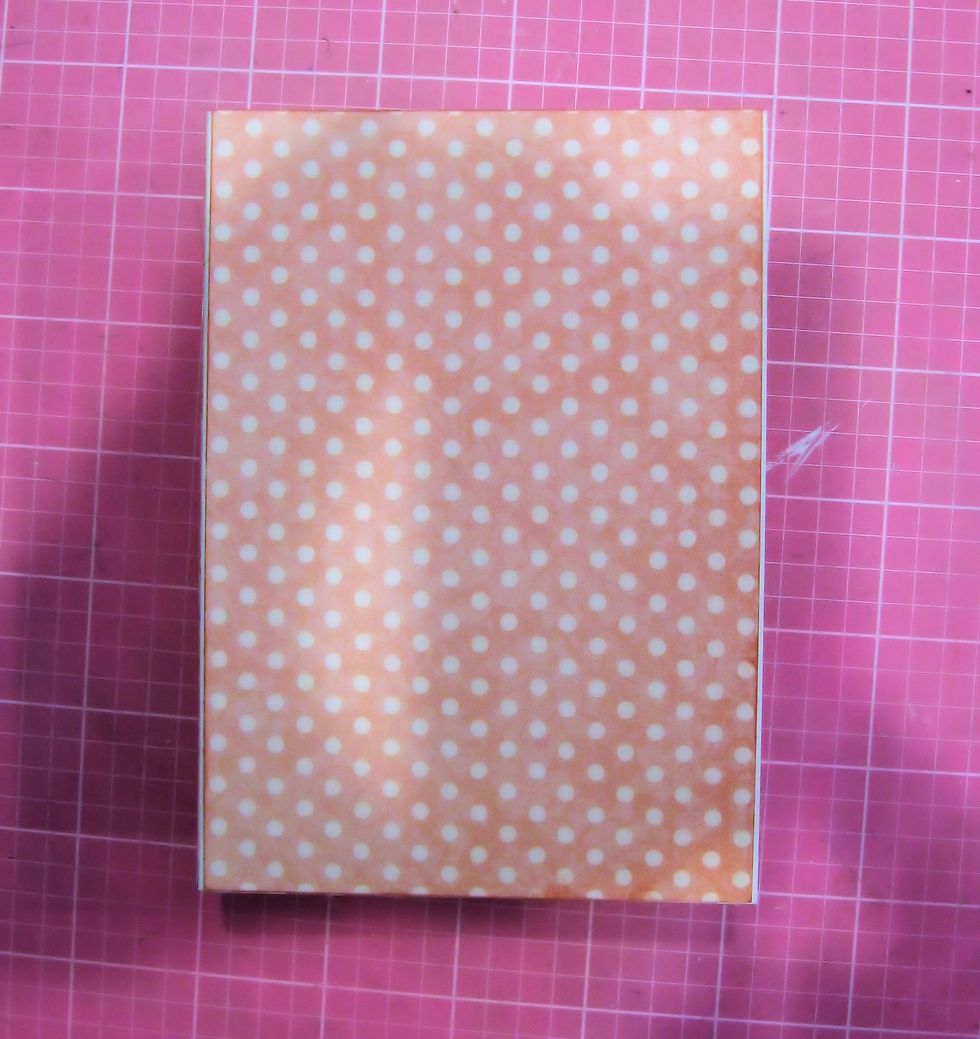
Now add the pre-cut covers and spine to the front, back and side of the book box.

Find the center point of the box front and wrap with 3 strips of 1/2" Scor-Tape.
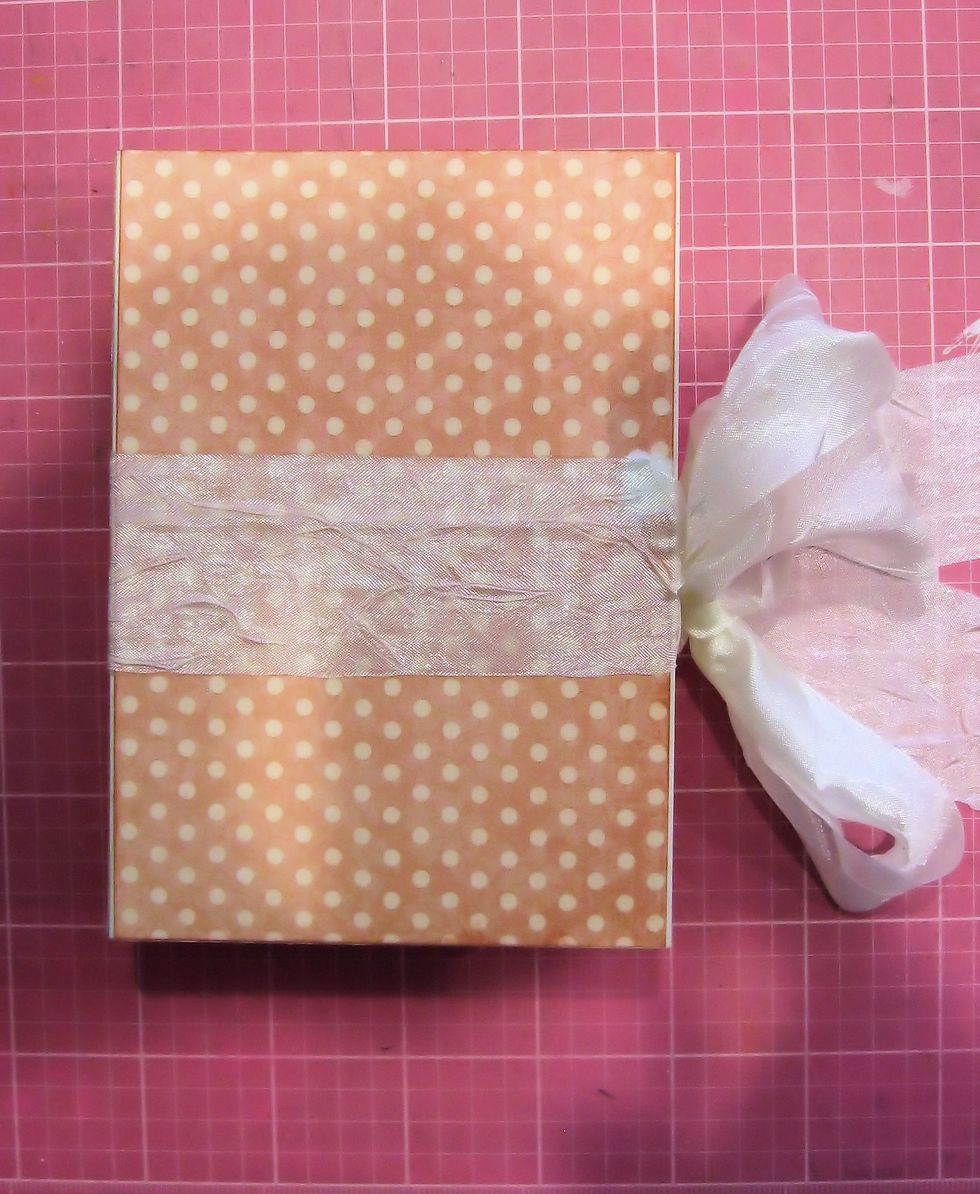
Remove tape liner. Cut a 2 foot length of white silky crush ribbon. Fold it in half. Place the center point of the ribbon on the center point of the spine. Press in place to create ribbon closure.
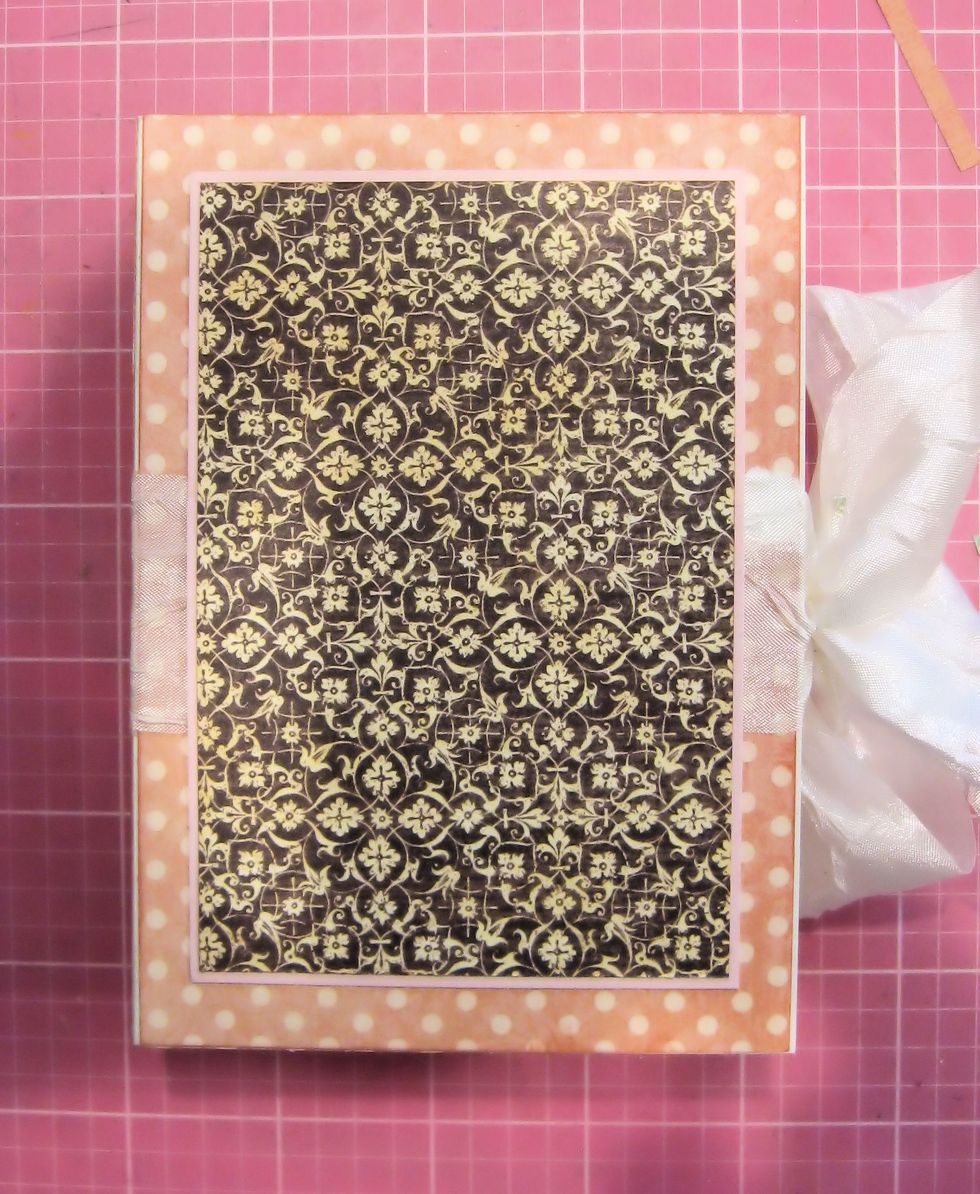
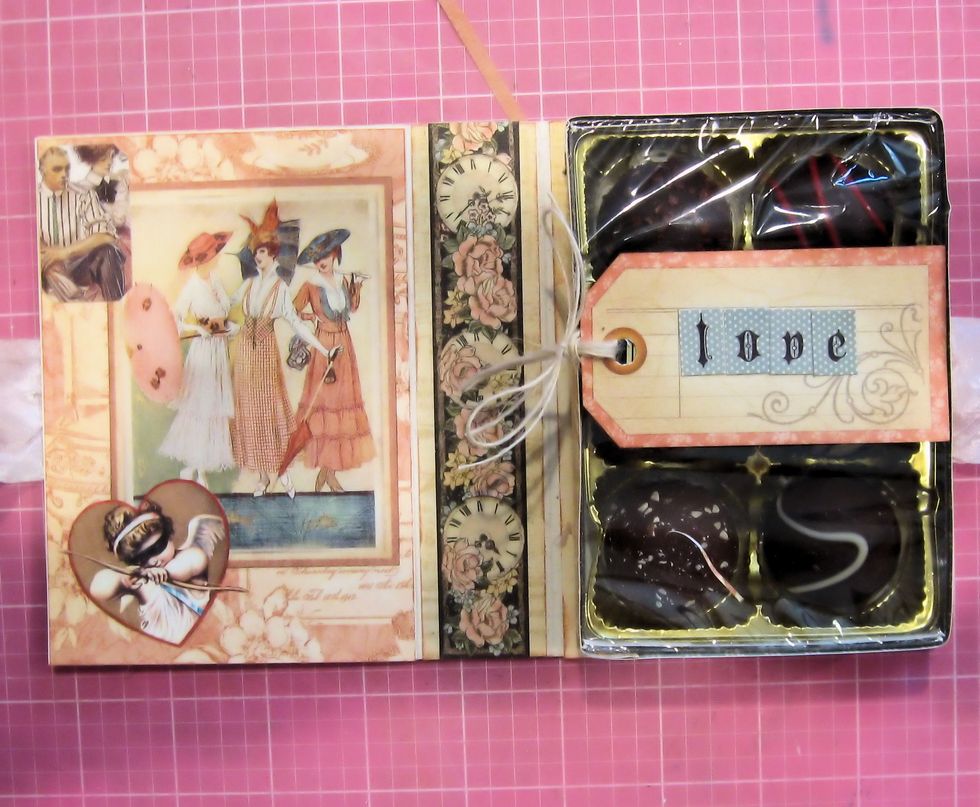
Mat a 3" x 4.5" rectangle of designer paper on Pink Cardstock. Glue in place. Fussy cut flowers from the paper collection to use as decoration.
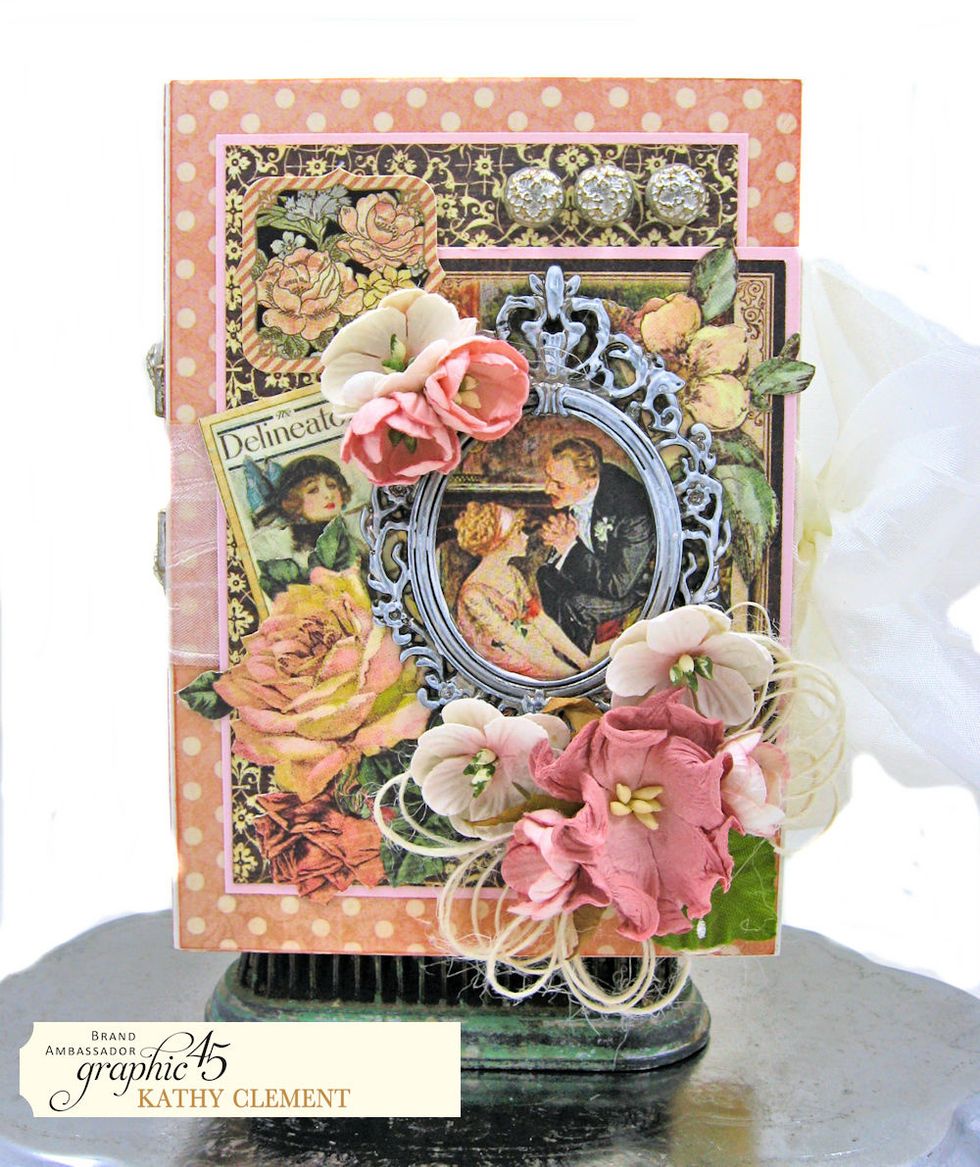
Cut image from the collection. Mat on pink cardstock. Paint Baroque Frame with Picket Fence Distress Paint. Glue over image. Add fussy cut pieces, tucking under the frame. Add sticker.

Fussy cut "Kisses" from Place in Time border strip. Glue to spine. Add ornate brads to ornate keyhole and glue in place on spine.
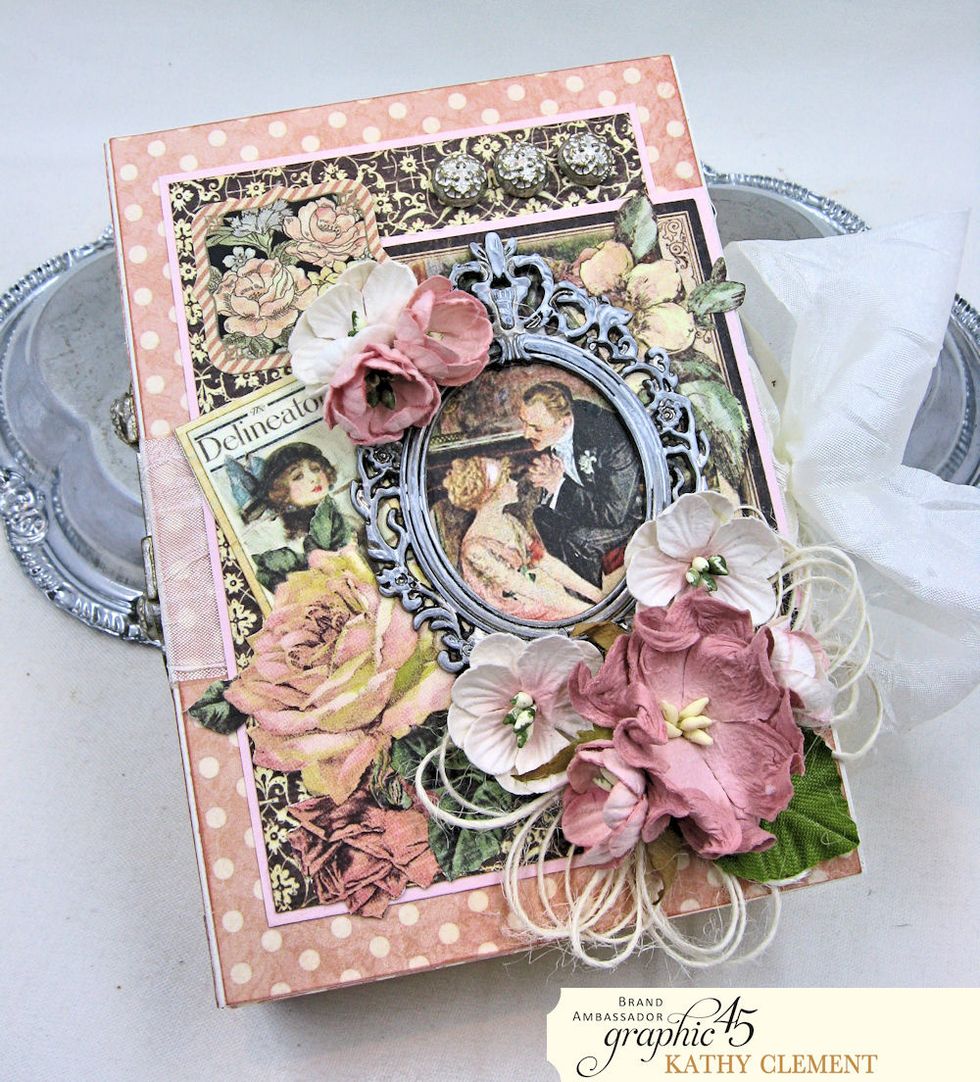
Remove the "legs" from 3 Ornate metal brads and glue to cover as seen here. Add paper flowers and burlap string.
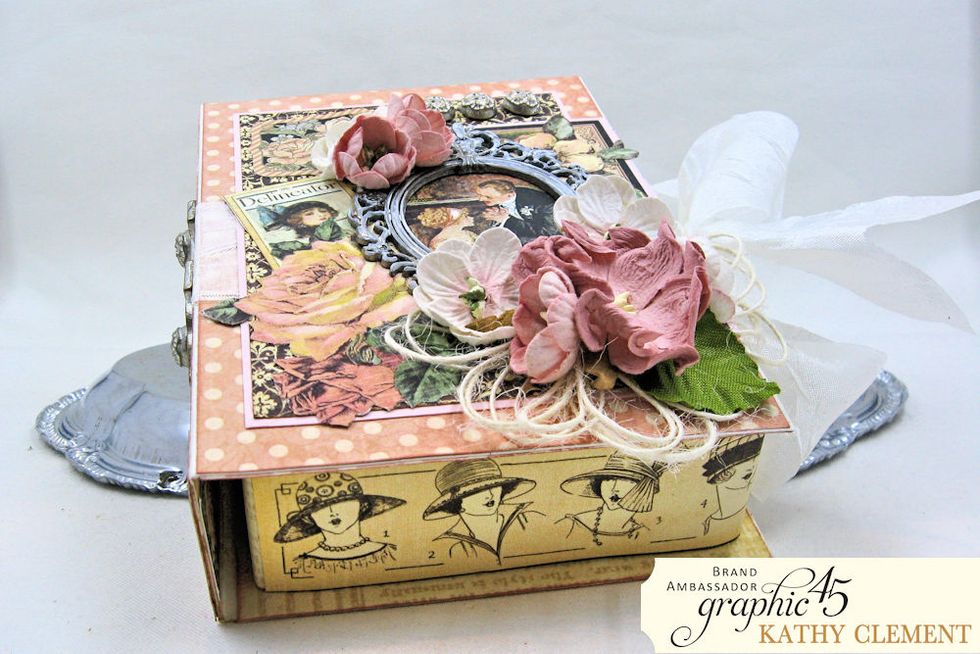
Your box is now finished!

You could add a photo to the inside of the box instead of using the image from A Ladies' Diary. I hope you enjoyed this tutorial! I'd love to hear your comments below!