The Conversation (0)
Sign Up
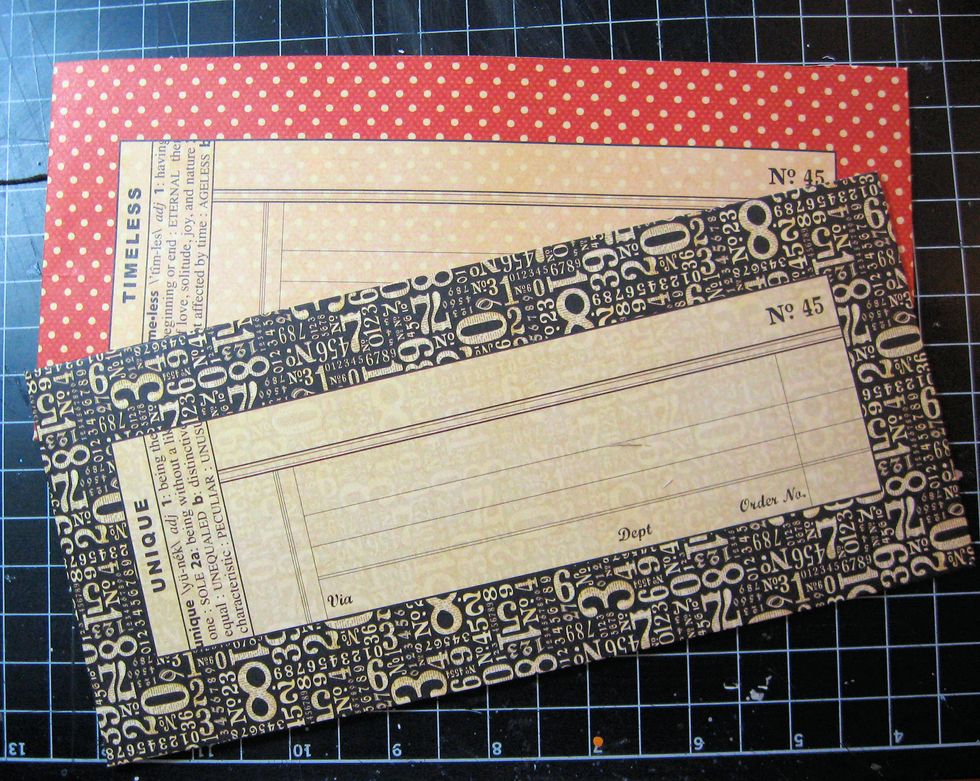
We will use 1 long red policy envelope and 1 long black policy envelope to create our wallet and tag pocket.

We will begin with the red envelope. Carefully remove the round string tie discs from the end flap.
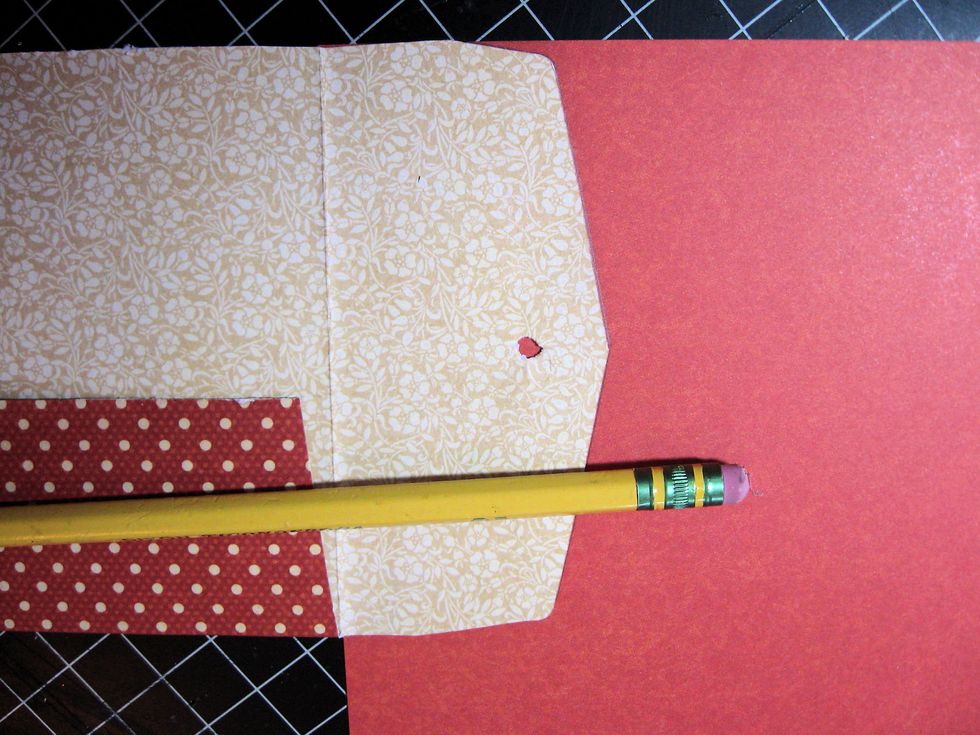
Trace flap onto reverse side of Nature Sketchbook Prints and patterns as seen here. Cut out with scissors.
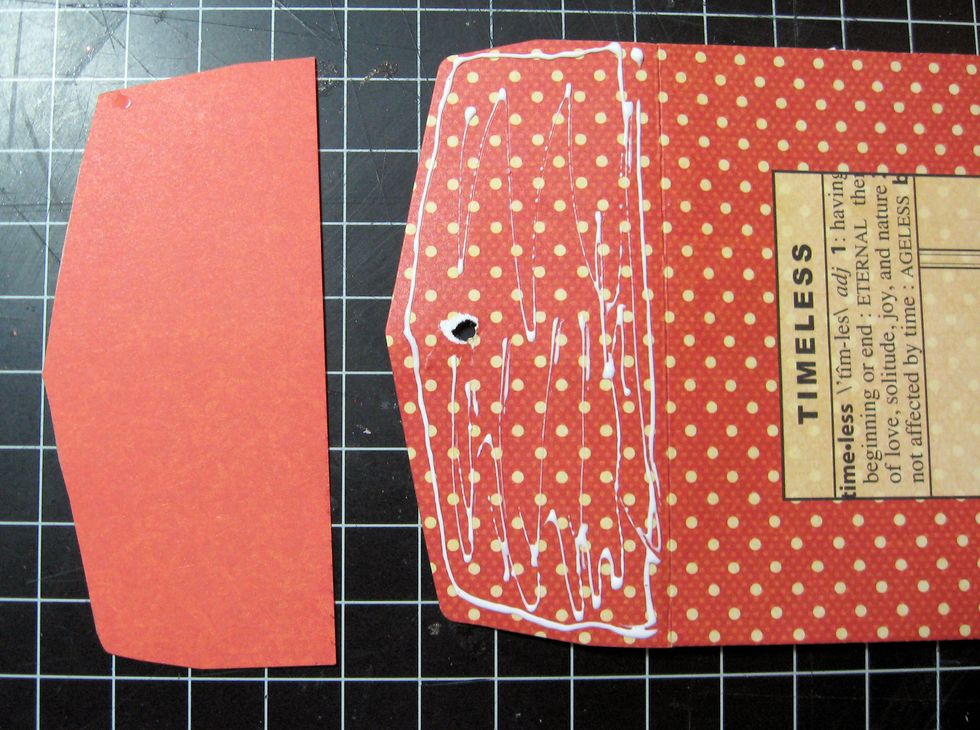
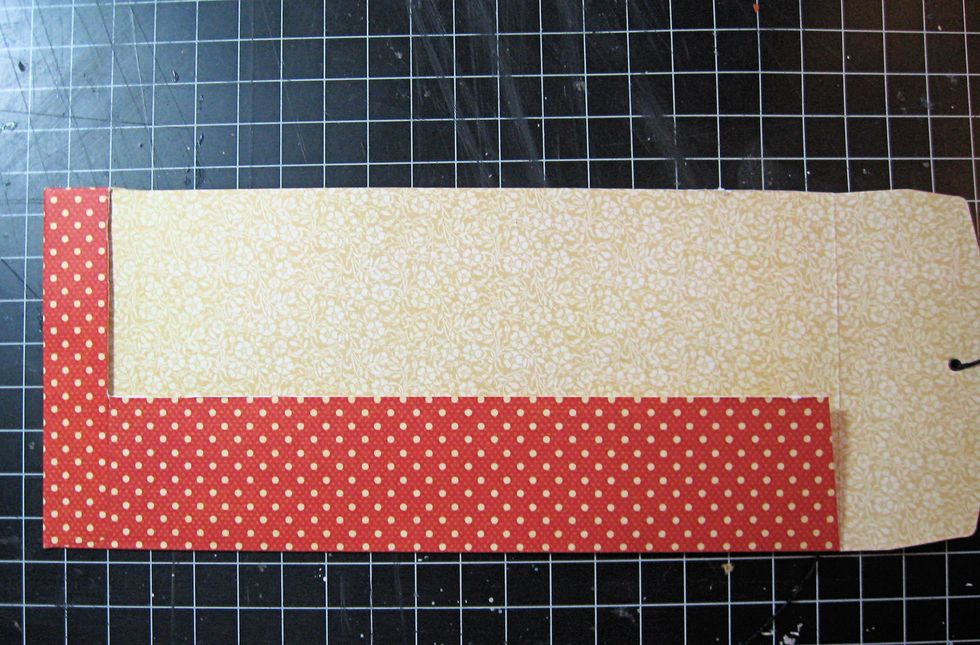
Flip envelope over to polka dot side. Add glue to flap as seen here. Glue traced/cut out flap piece on top. Trim to fit. Ink edges with Vintage Photo Distress Ink.
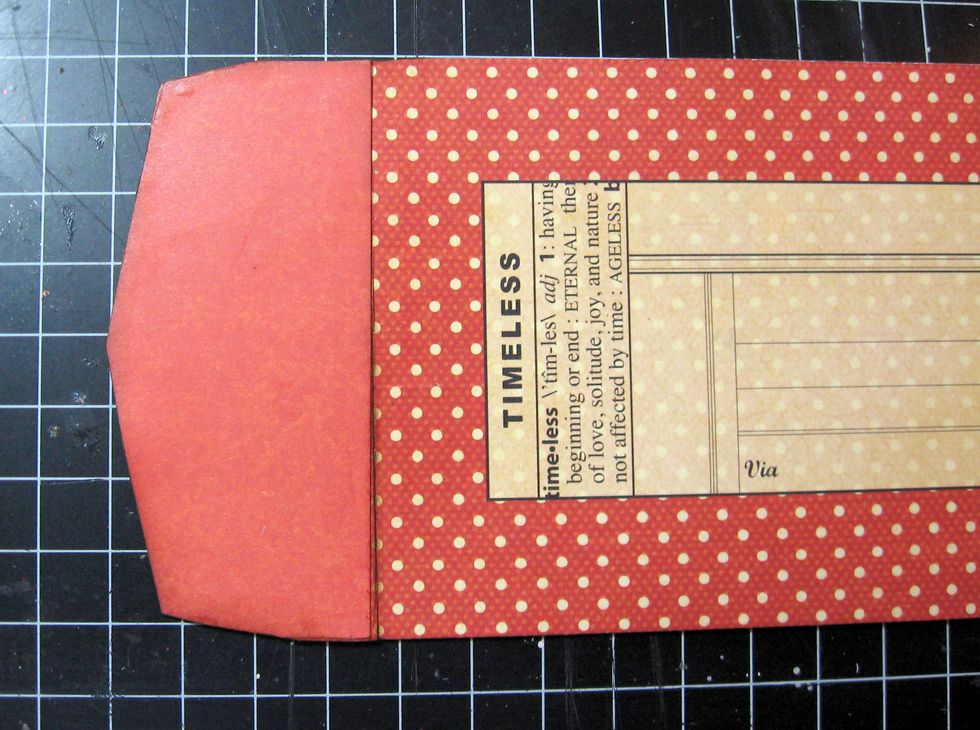
It should look like this. By the way, I ink all my edges with Vintage Photo Distress Ink.
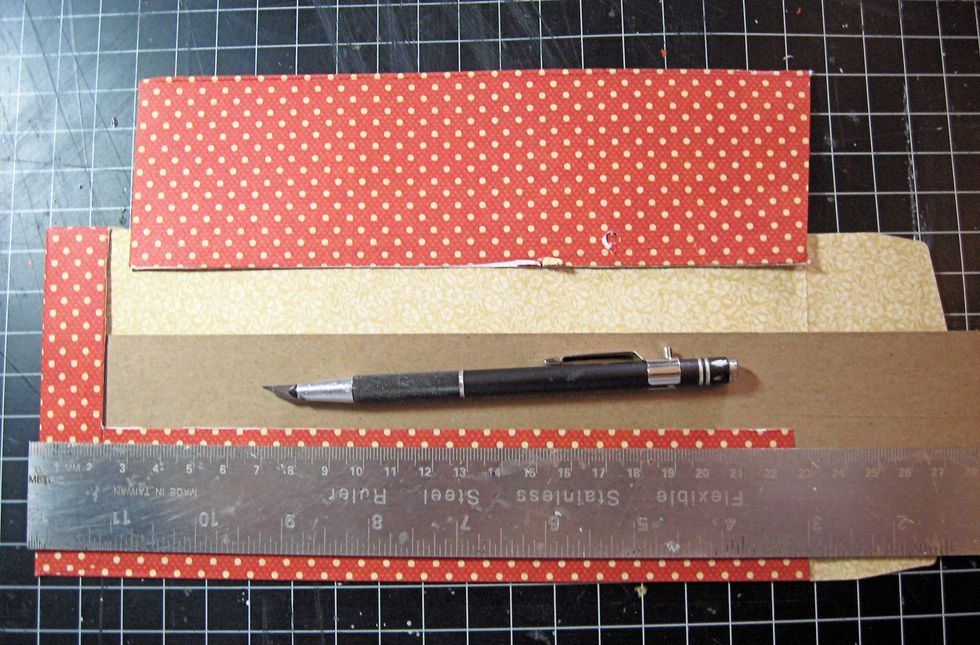
Flip the envelope onto the back side. Insert a piece of thick cardstock between the two layers. Use a craft knife and ruler to cut the top flap off, forming a pocket.
It should look like this.

Lay the envelopes side by side as seen here. Both envelopes are laying face down. The black envelope flap is on the right. Cover the red envelope flap with double sided adhesive.
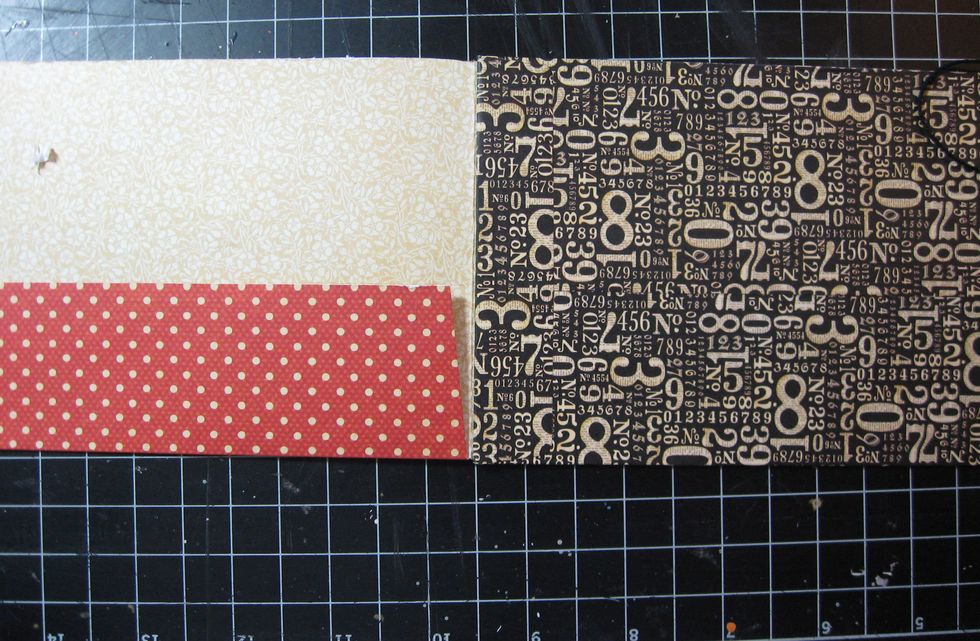
Place the black envelope on top of the red envelope flap, being careful to line up along the crease and along top and bottom. When you are satisfied that everything is in place, burnish to seal.

Ink the edges of your pocket. Measure and cut a panel of Plant Kingdom paper to fit behind the pocket from top to bottom.

Add washi tape to top edge of pocket, also along the left hand side.
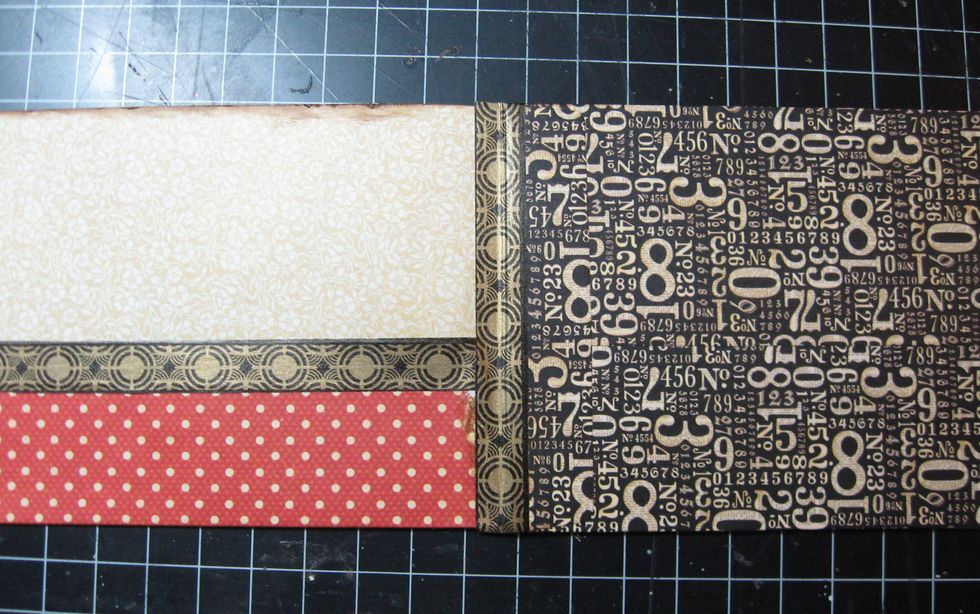
To add strength to the "hinge" wrap the seam between envelopes with washi tape.
Add border strips from 8x8 papers to top and bottom of pocket.
Decorate the right hand side with border strip, journal tags and fussy cut elements. Make custom string closure buttons by gluing chipboard buttons over the top of the black discs.
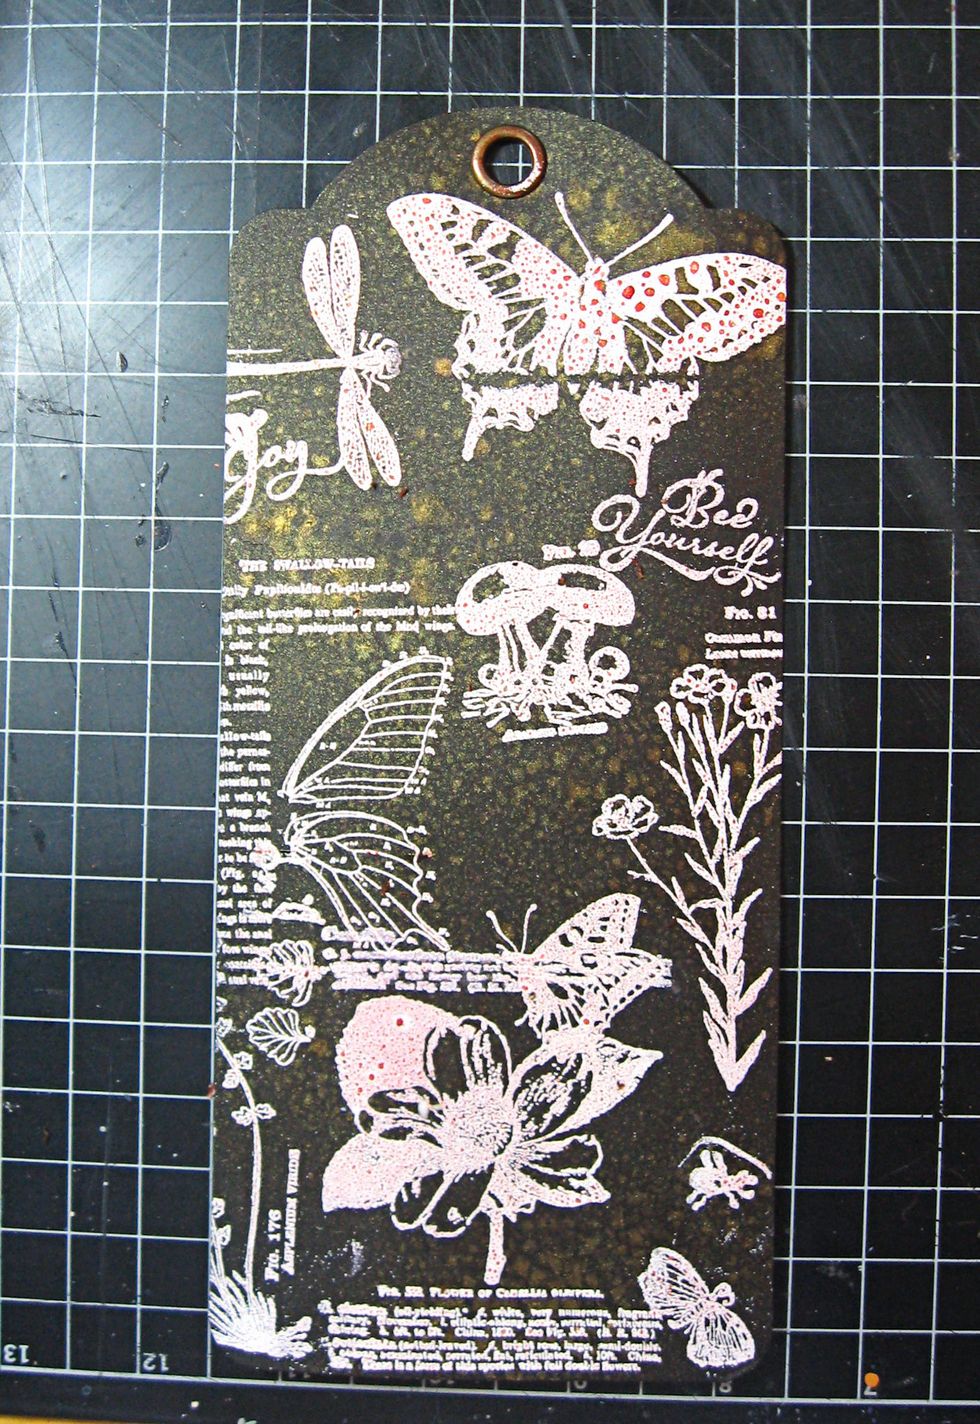
Stamp long Black Tag with white pigment ink. Heat emboss with superfine white embossing powder. Spritz with Glimmer mist. Heat gently until droplets melt into embossing powder.
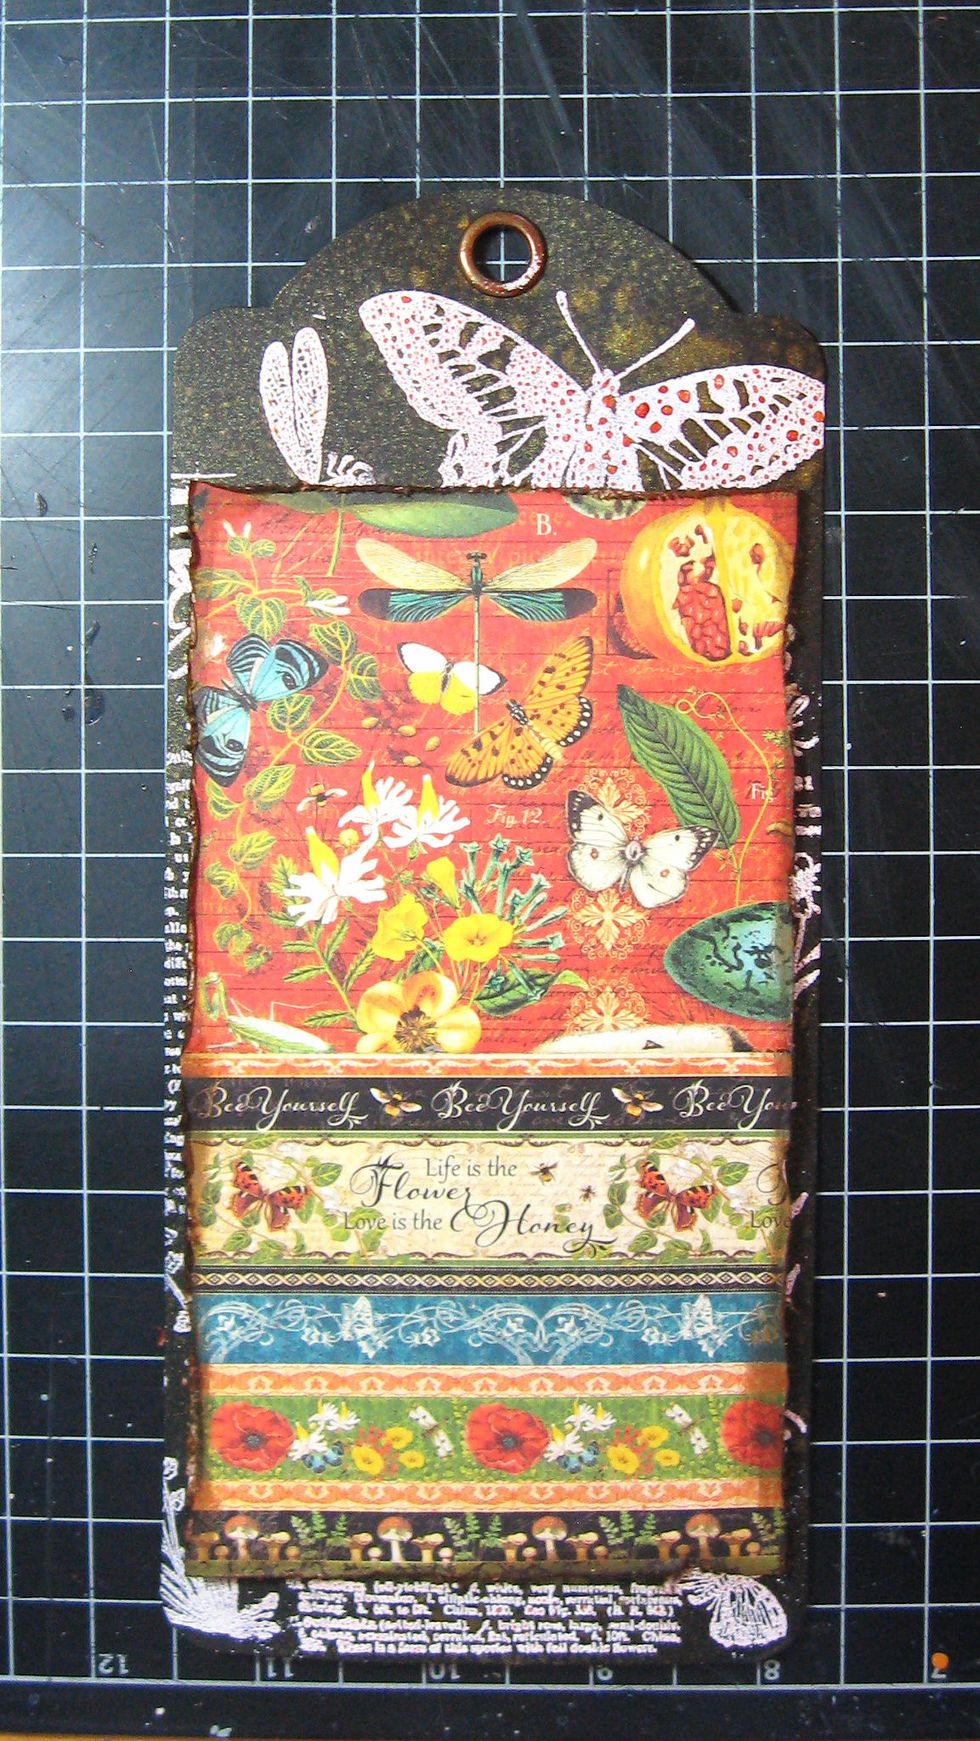
Cut two squares of Nature Sketchbook and layer over stamped tag.
Add Chipboard element, ribbon and button. Mat sentiment on black cardstock. Punch holes on either side. Thread ribbon through. Glue in place. Tag is finished! It fits inside the pocket.
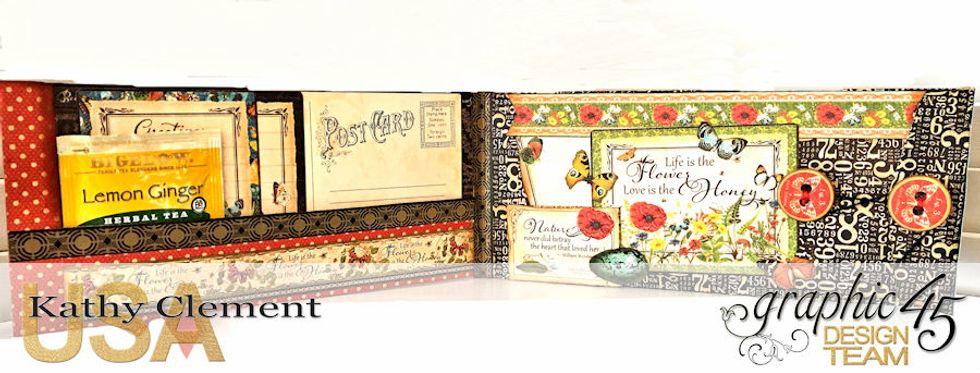
Add ephemera cards and tea bag to pocket. Inside is finished. Click on photo for full picture.
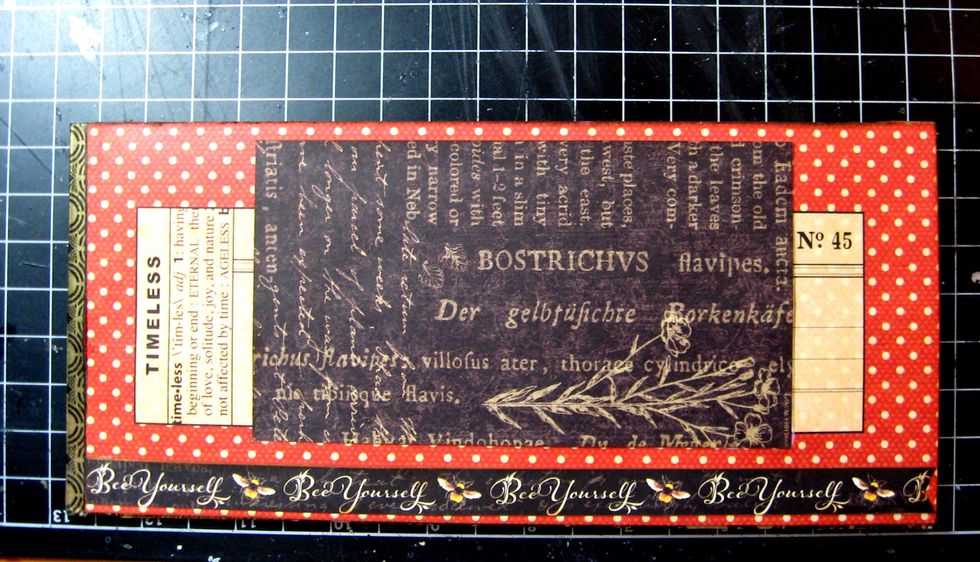
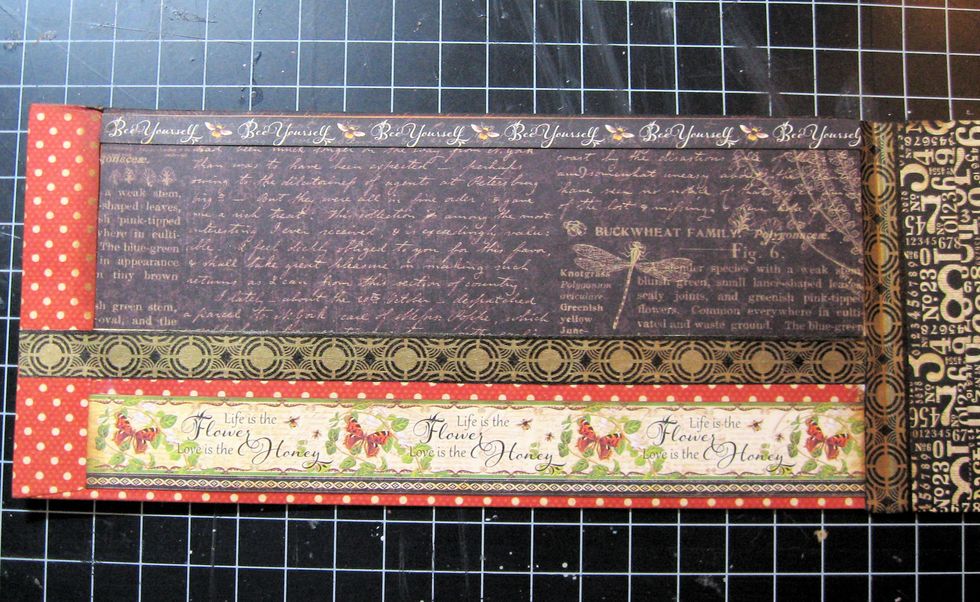
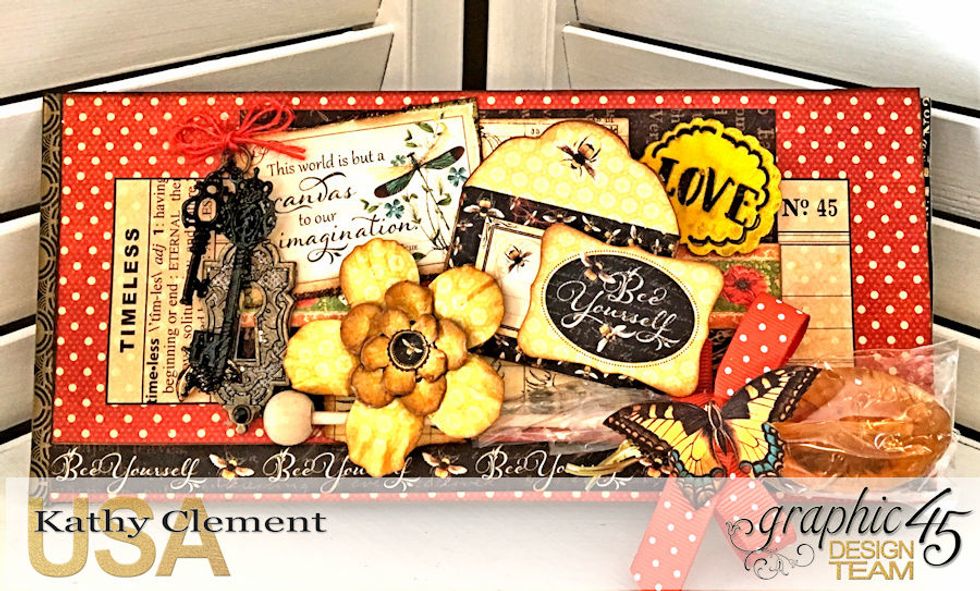
Now we will decorate the front cover. Cut a 5.5" x 3.25" panel of Plant Kingdom paper and glue in place as shown. Glue "Bee Yourself" border to base of envelope.

Cut a section of Plant Kingdom paper. If you cut along the lines that are built into the design, you'll have a piece that looks like this. Tear the bottom edge. Glue over black paper.
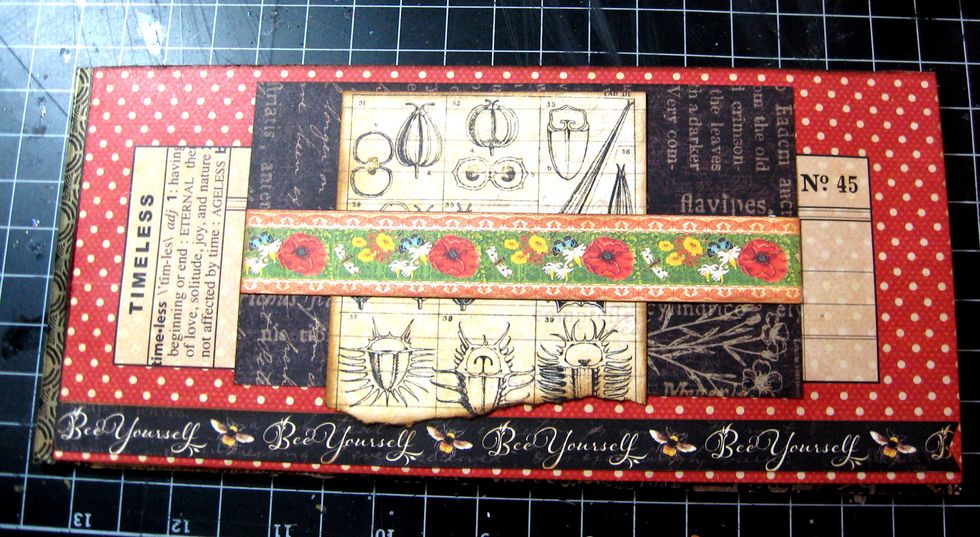
Top with a border strip.
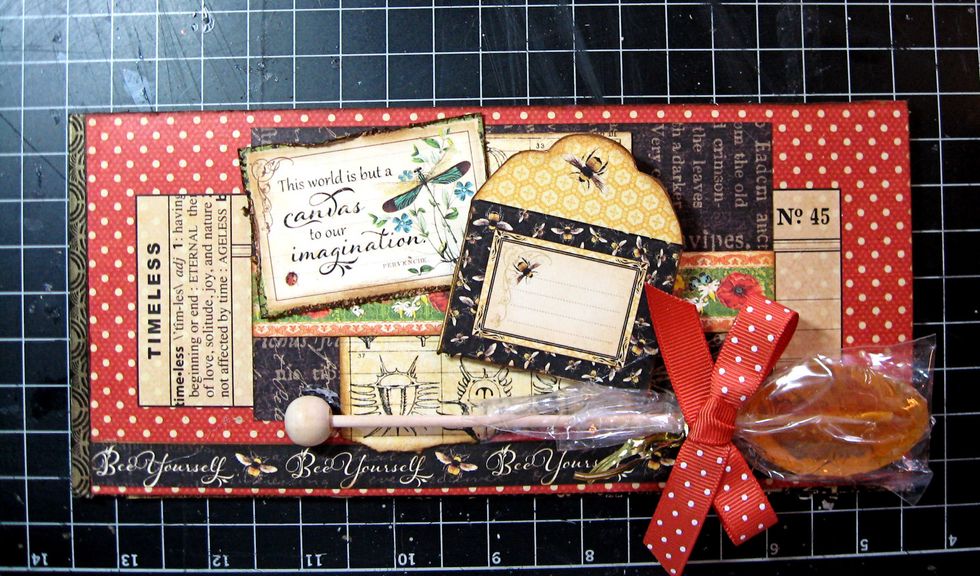
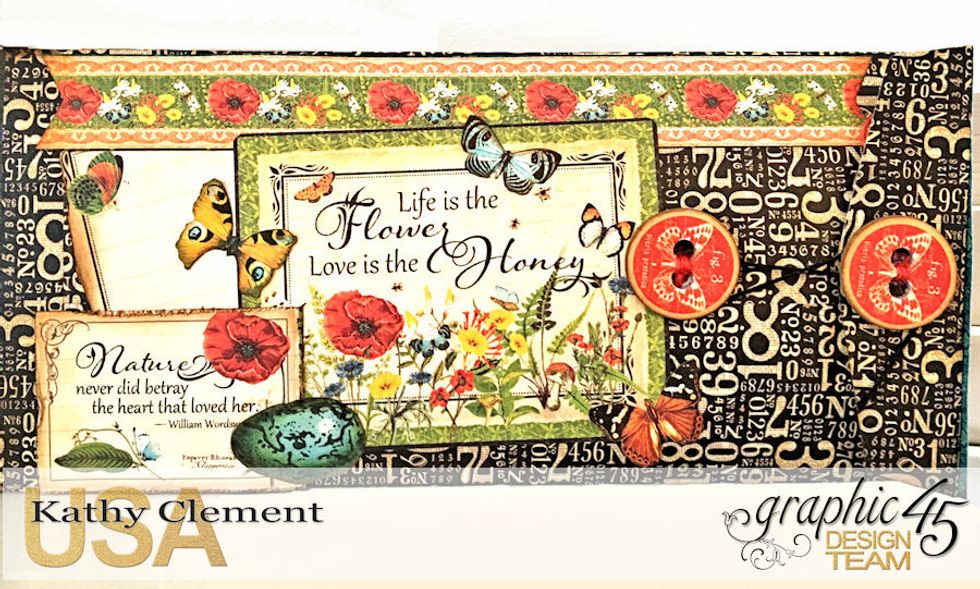
Add cut out sentiment. Attach chipboard envelope with foam dimensional. Tie ribbon around honey spoon and hot glue in place.
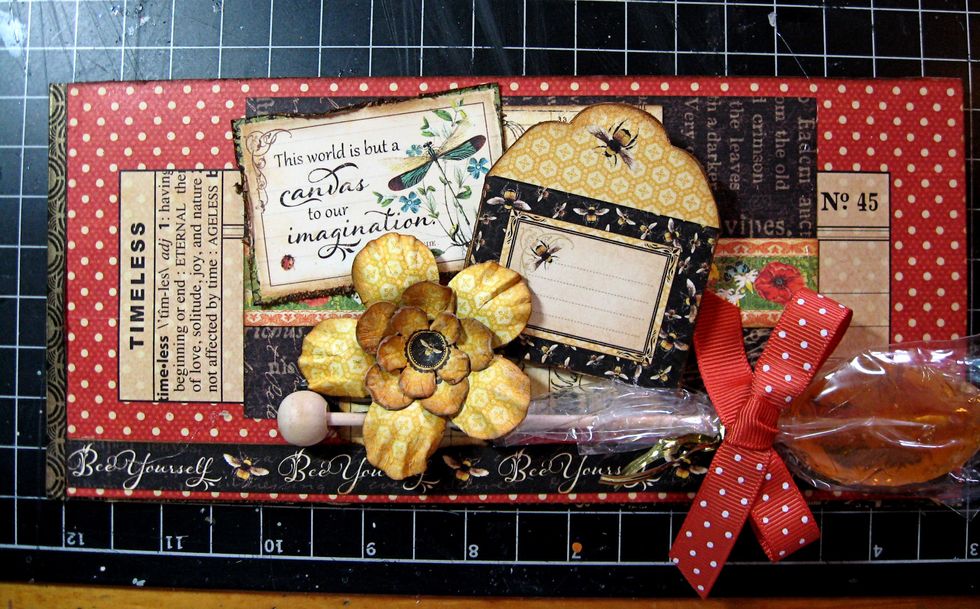
Shape Chipboard flower and hot glue in place.
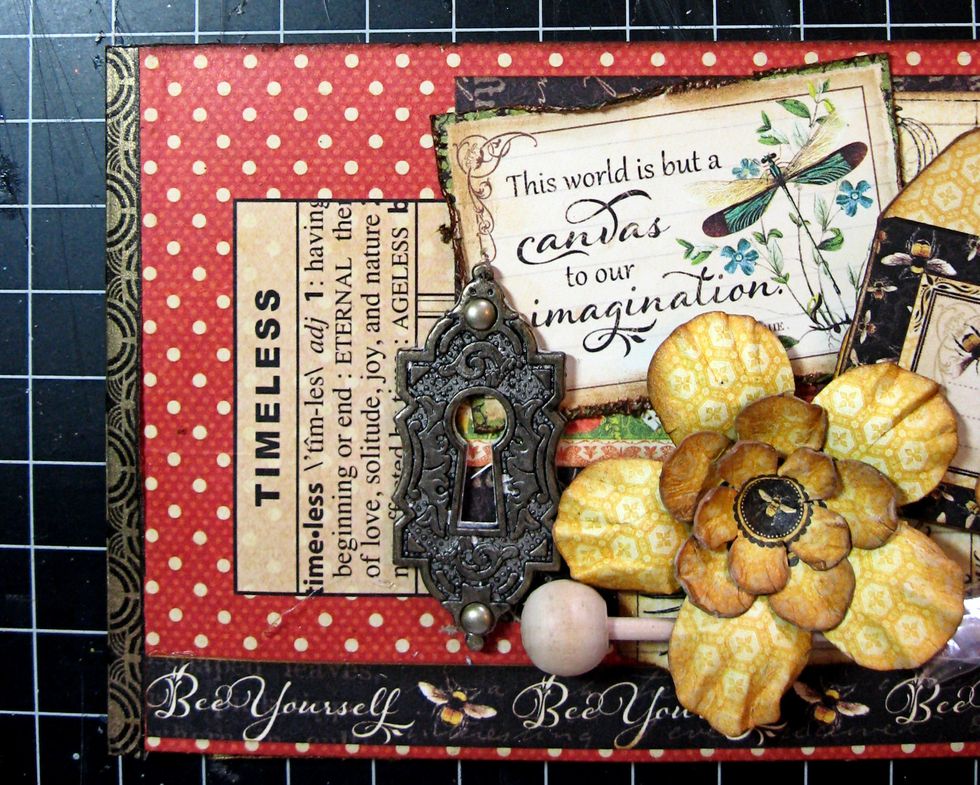
Paint door plate with Black Soot Distress Ink. Let it dry for about 1 minute, then wipe off with barely damp paper towel. Glue to the left of the flower.
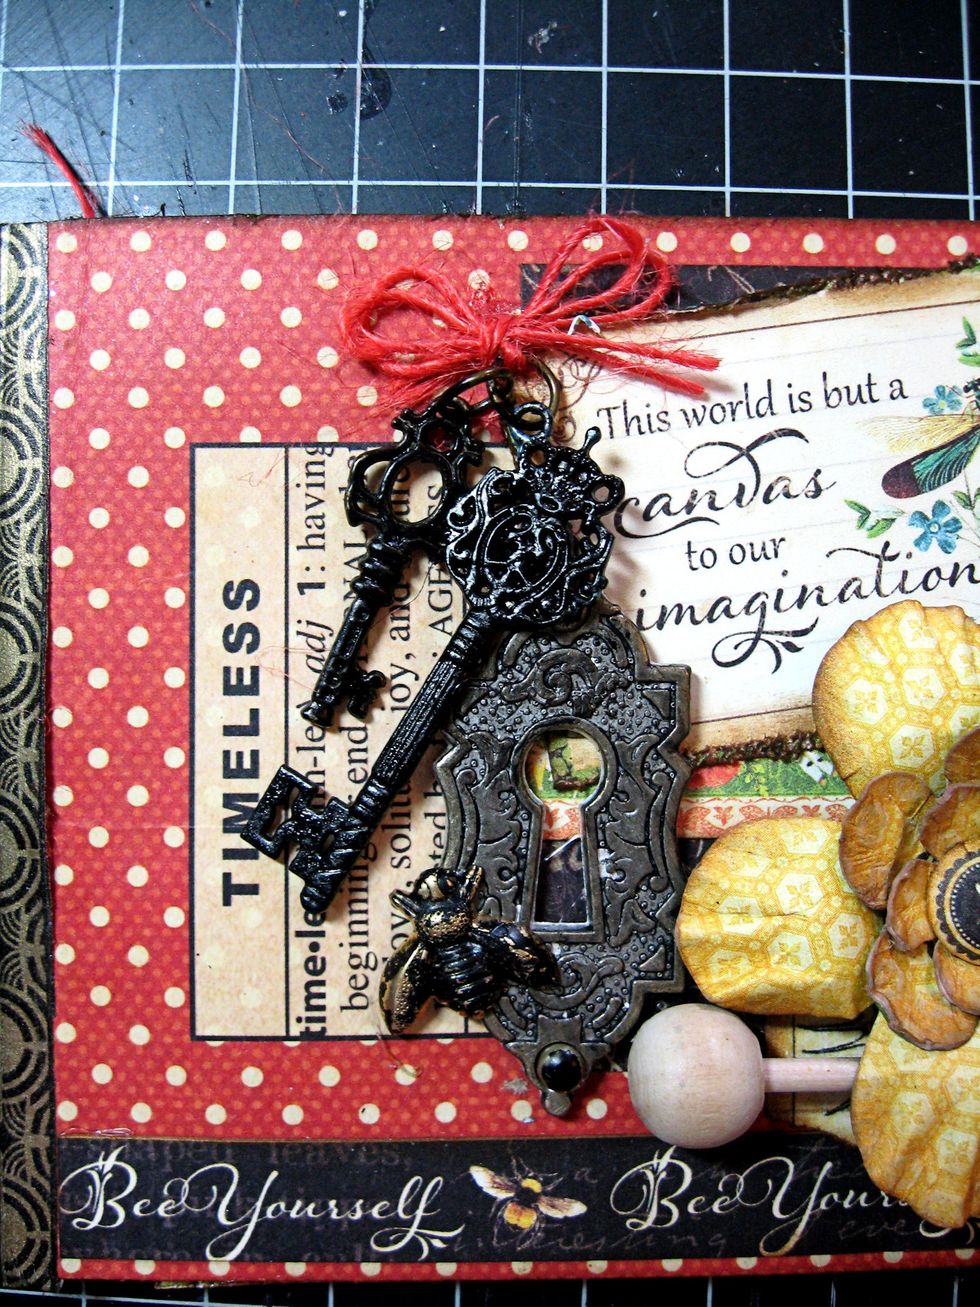
Tap brads with black paint. Paint ornate keys. Add jewelry findings and tie onto a piece of burlap string. Glue in place. Paint brass bee, wipe off as you did the door plate. Glue in place.
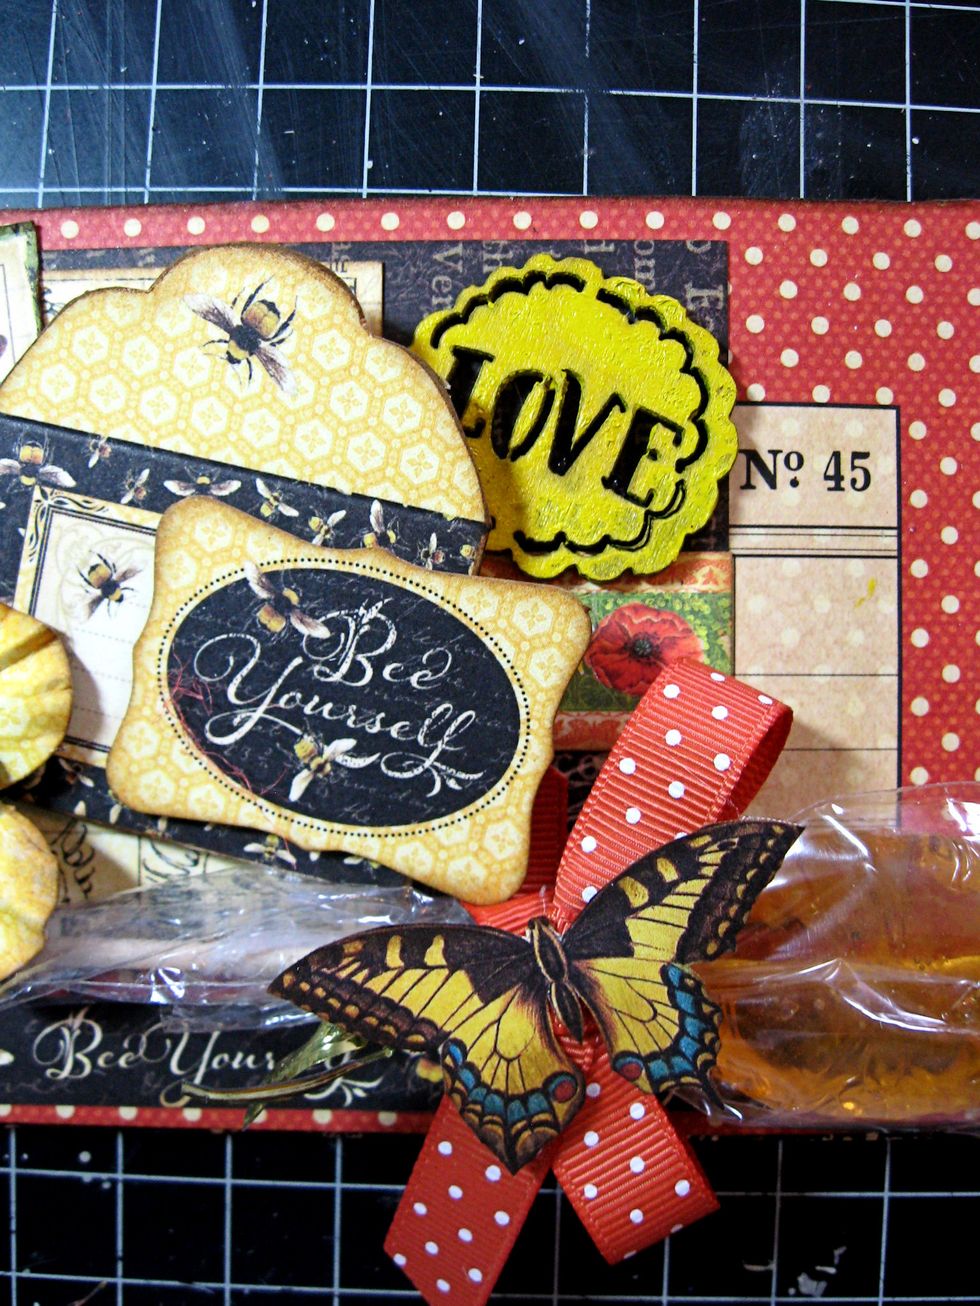
Paint wood chip with Warm Mustard Distress Paint. Add Fussy cut butterfly to bow.

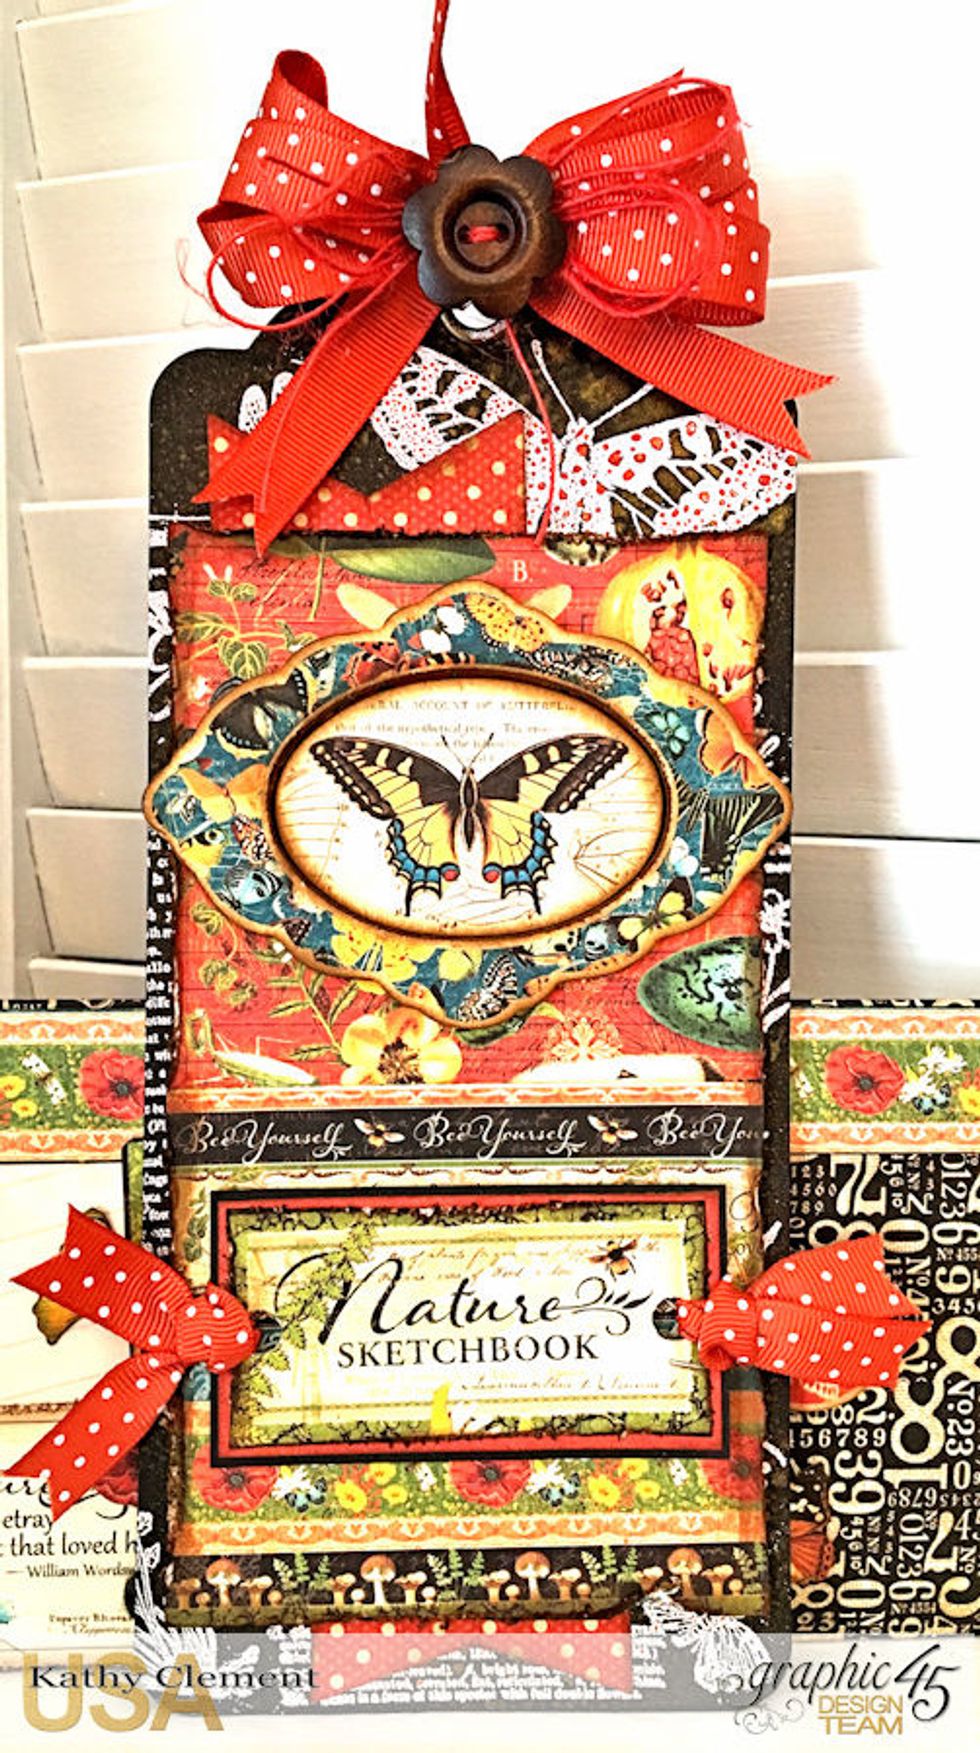
Ta Da! Your Love Sweet Love Policy Envelope Wallet & Tag is now complete!
Thanks for stopping by! I hope you enjoyed this tutorial. I'd love to hear from you in the comment section below. Now go get your craft on!