STEPS
TOOLS
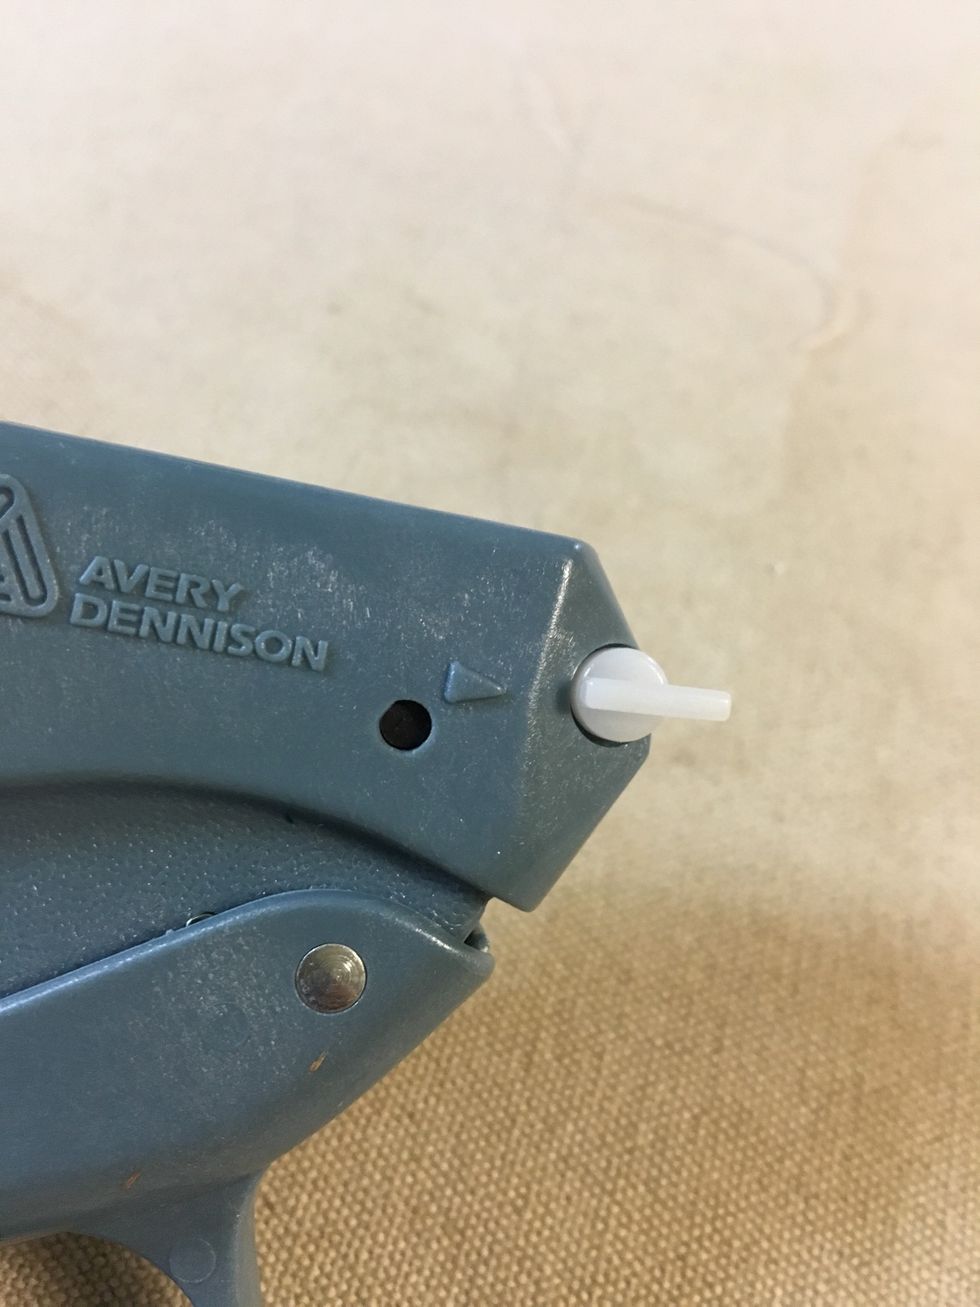
First turn your needle lock to the open position. The lever is pointed out or away from the little arrow.
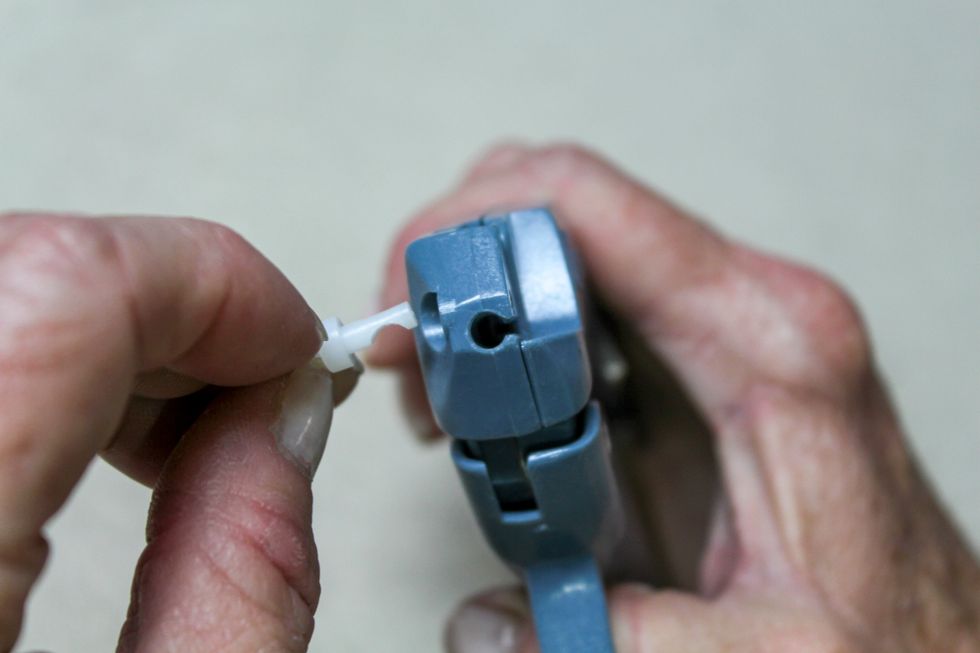
The groove of the needle lock will be down if it is in the open position and ready to receive the needle.
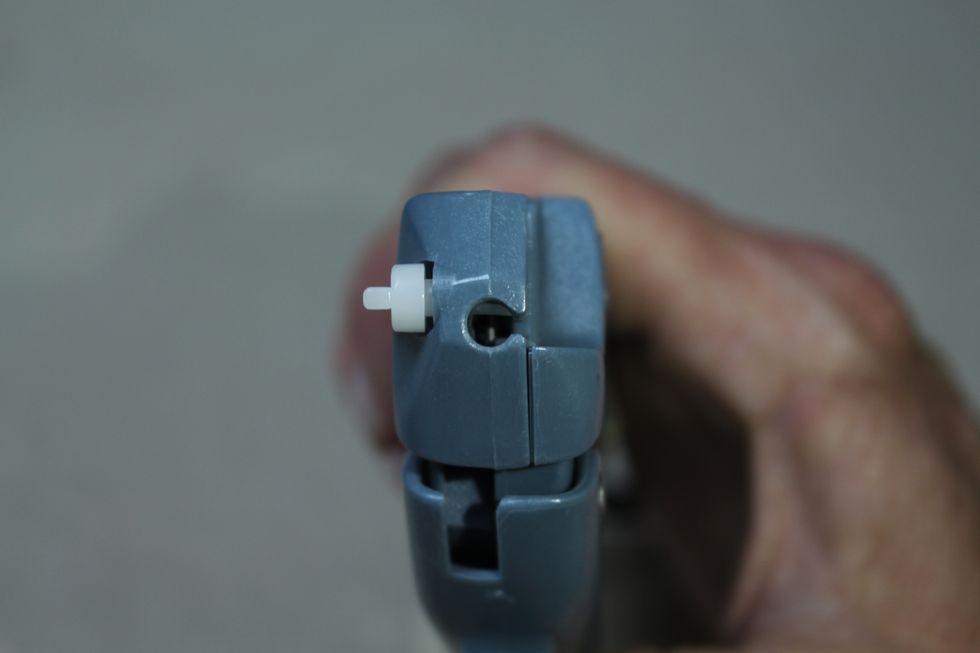
When the needle lock is in the closed or locked position it will look like this. You can see that the groove is turned up so it will tighten on the needle to hold it in place.
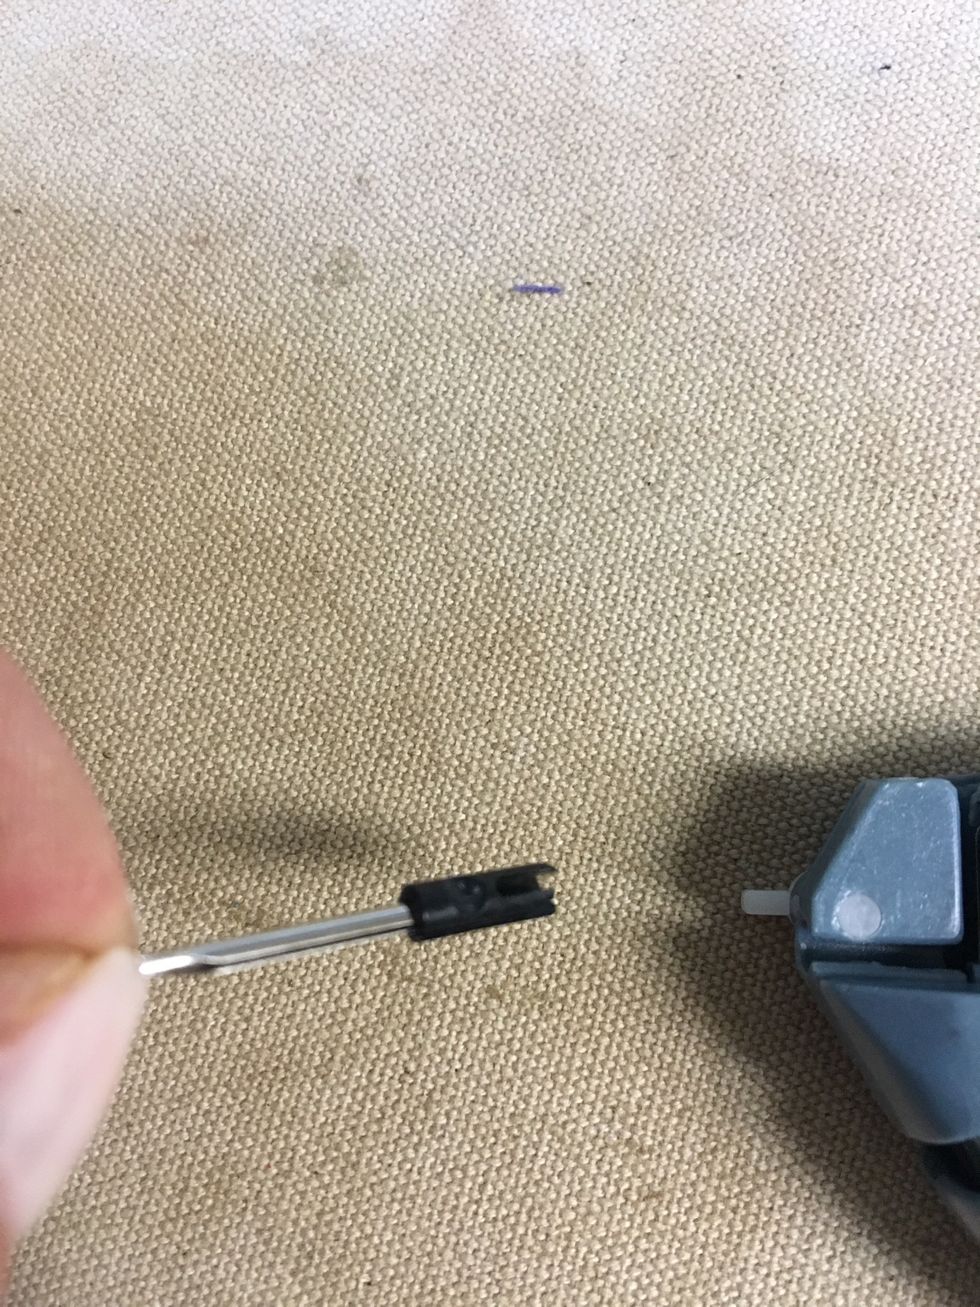
Carefully holding the needle on the tip with the groove pointed up.
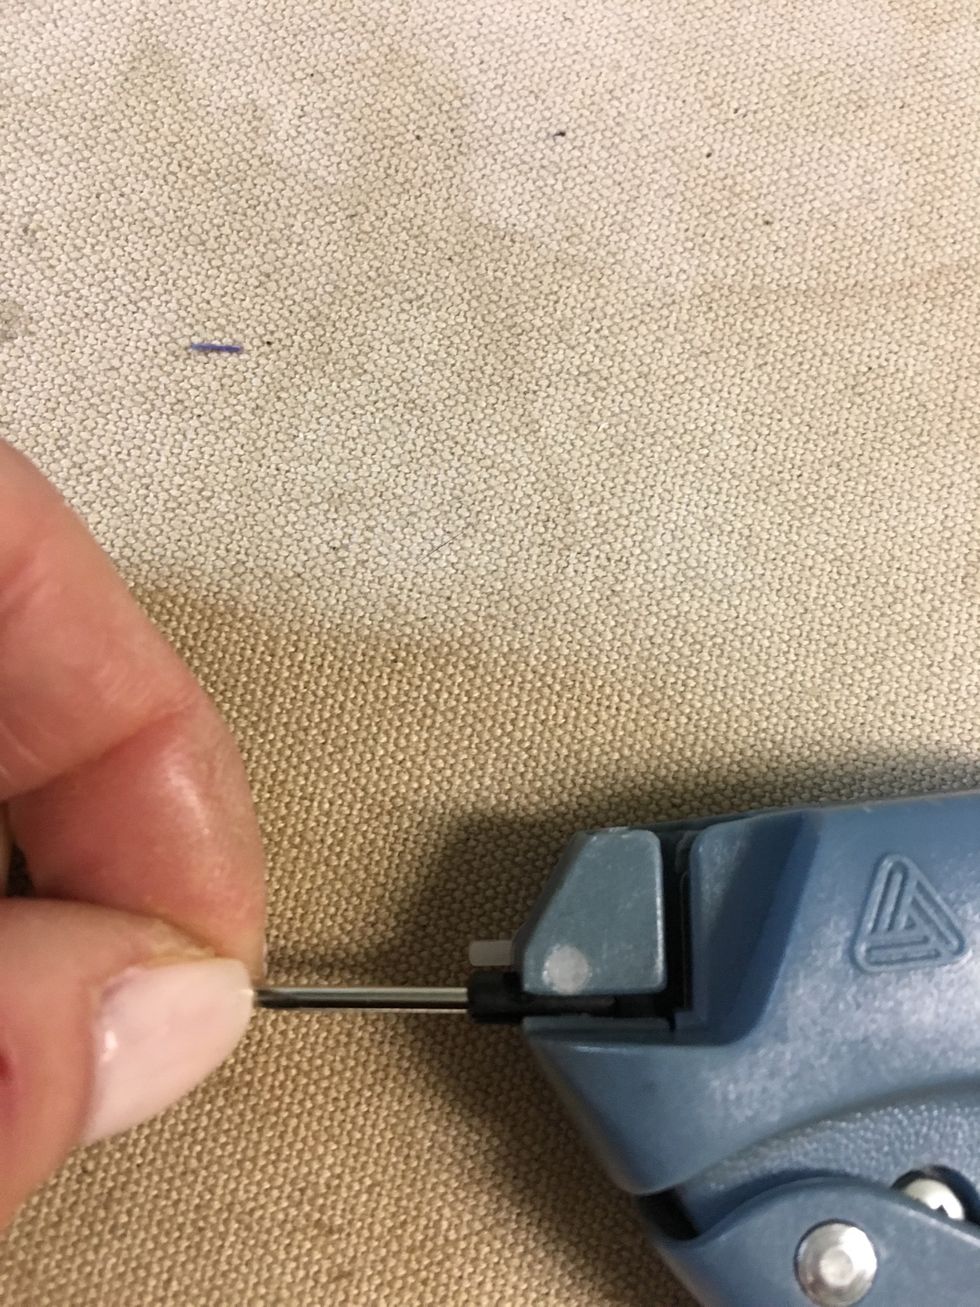
Slide the needle into the channel aligning the groove of the needle with the channel of the gun as shown.

Turn the lever to the locked position. The lever should be pointed toward the arrow. Sometimes there is quite a bit of resistance which means the needle is tight.
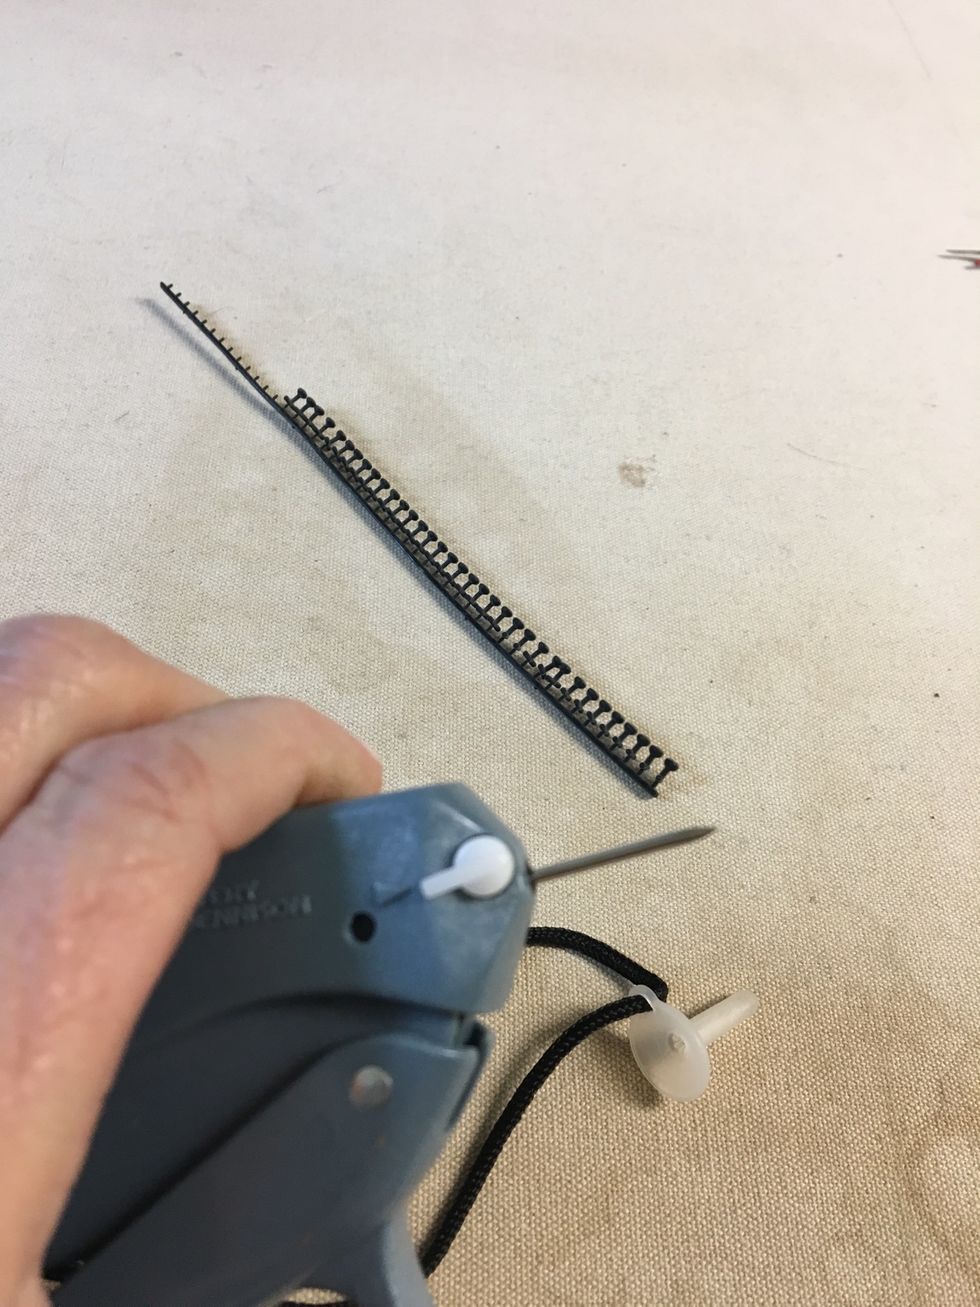
As shown.
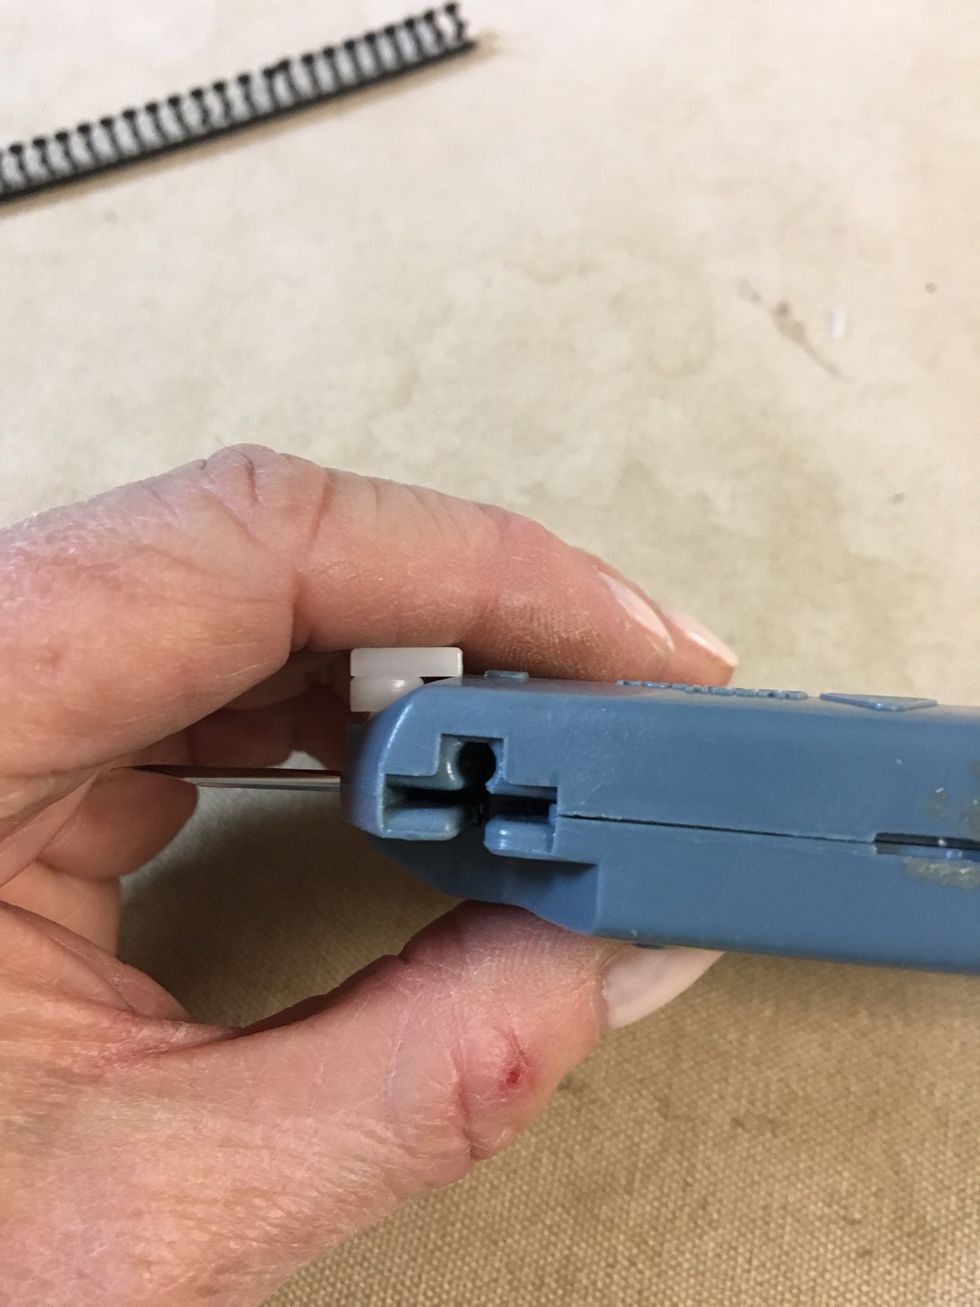
The tacks are loaded into the top of the gun.
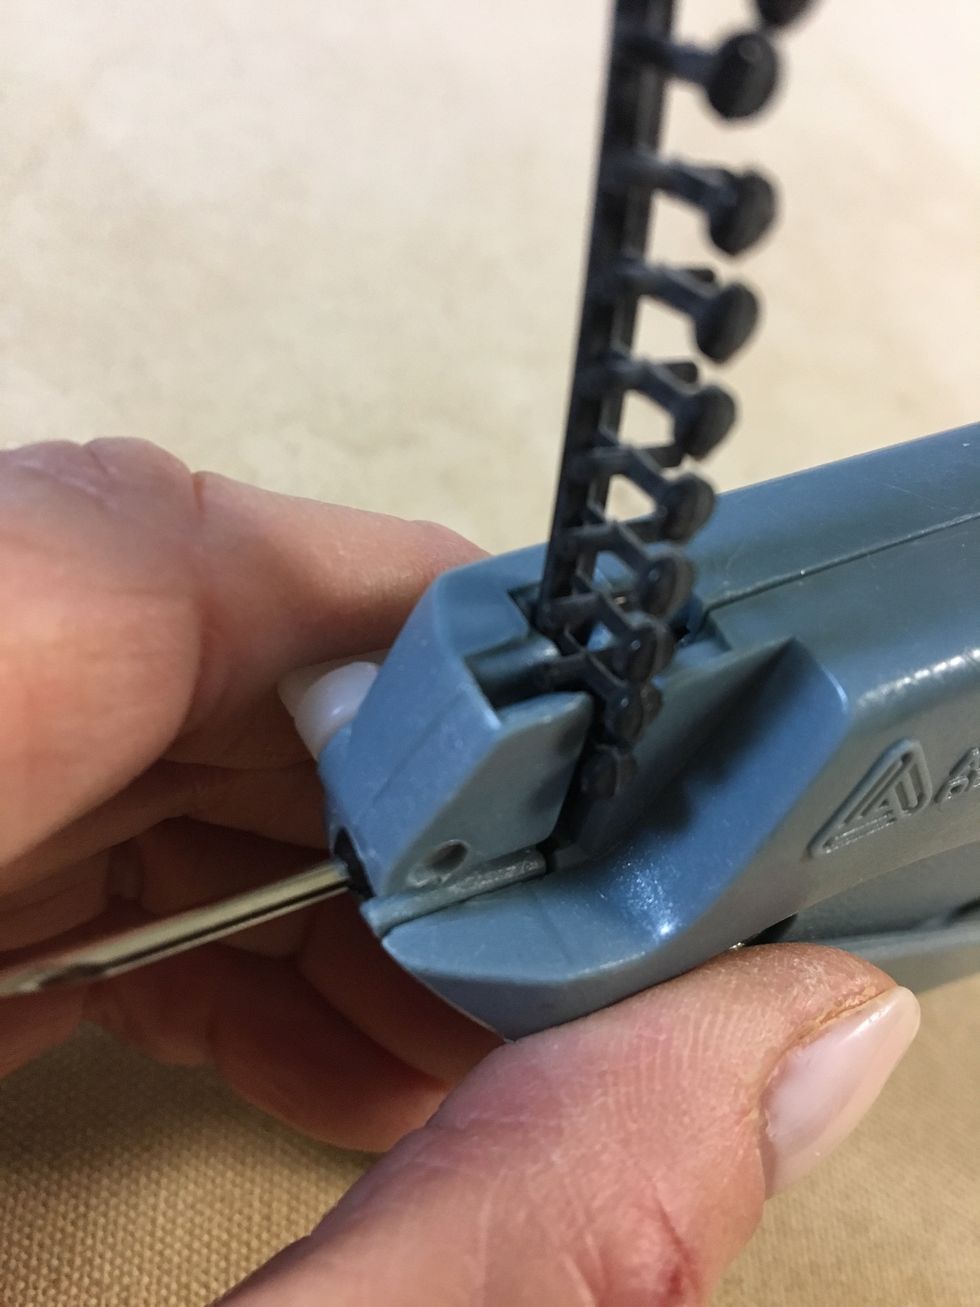
Slip them down until they are completely loaded into the beginning of the channel.

The bottom tack should be at the very bottom and ready to slide into the channel when the piston is engaged.
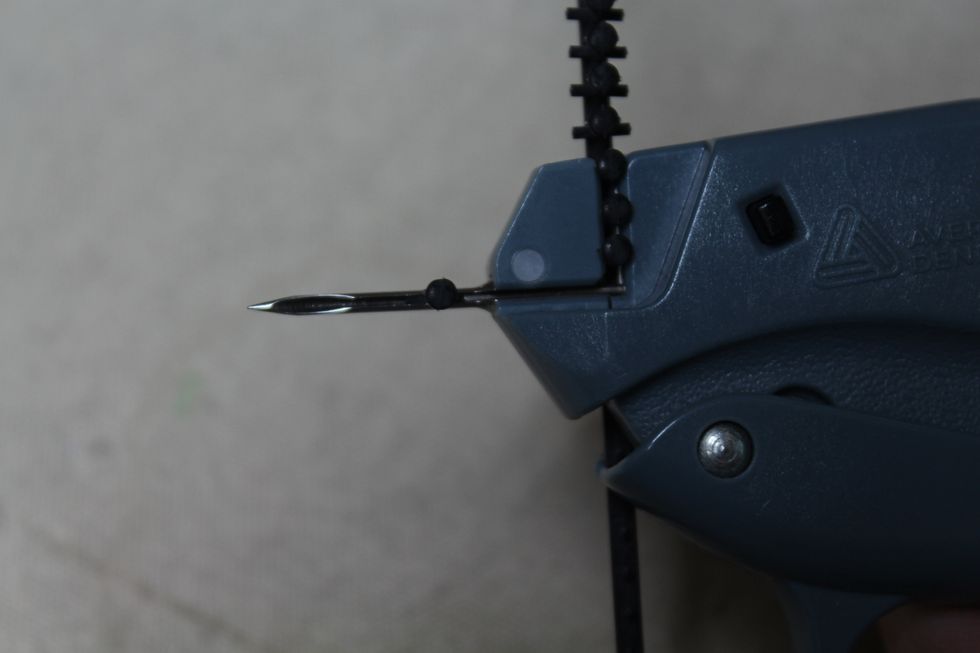
The tack travels down the channel of the needle, pushed by a wire piston. Control the tack sliding into the channel by slowly clicking the handle of the gun. Clicking too quickly can bend the piston
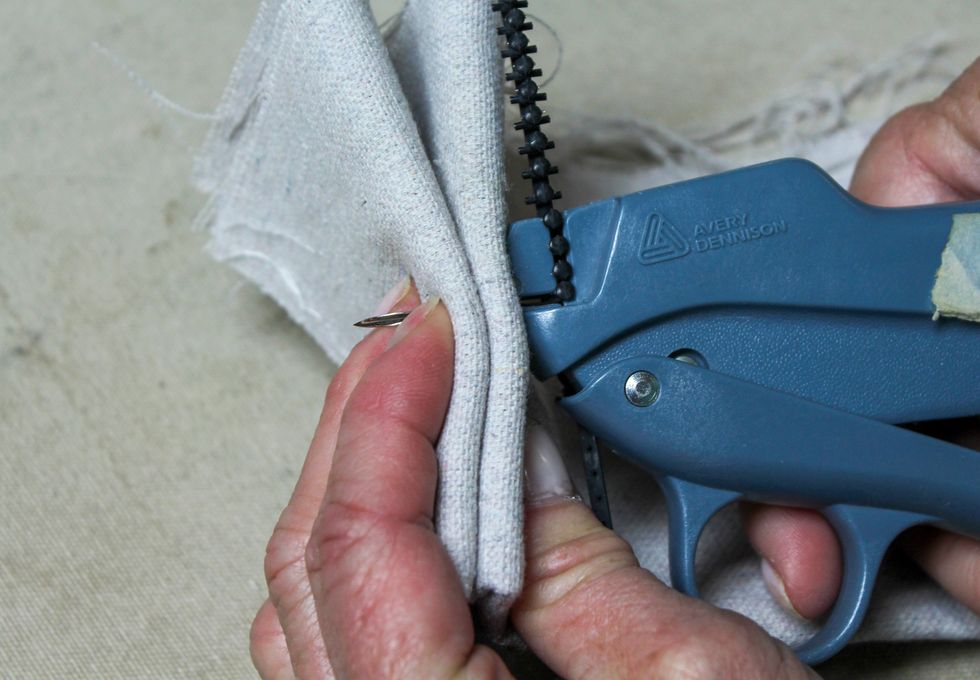
Insert the needle into the fabric (this is 12 layers of drop cloth fabric - very thick). Twist and wiggle the needle around to expand the hole of the fabric so that it is not tight around the needle.
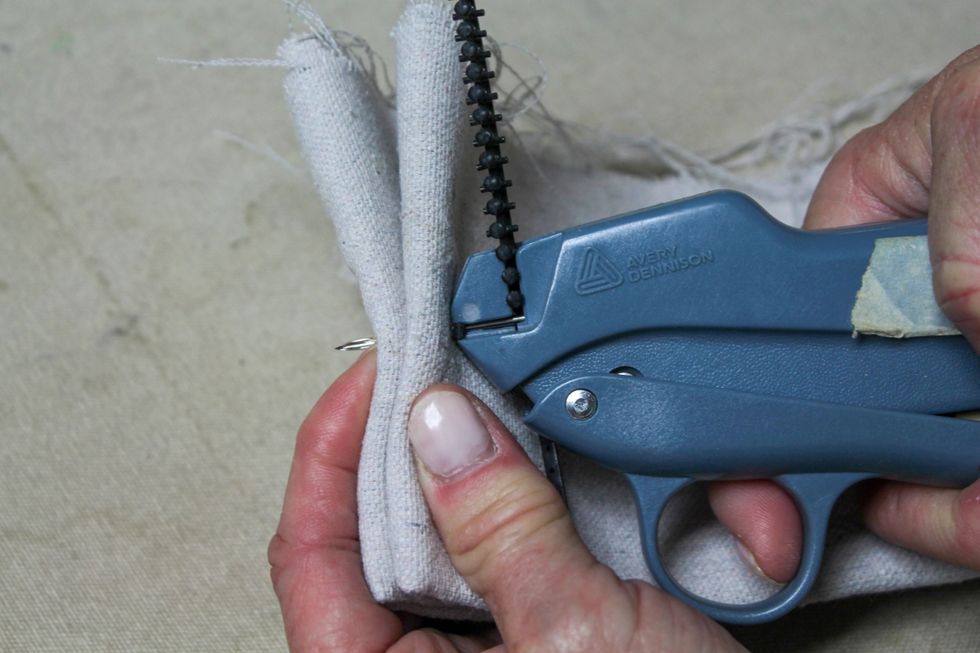
When installing the tack into thick fabric, gently push the gun and squeeze the trigger at the same time, so the tack begins to stretch while you are clicking it through the needle and into fabric.
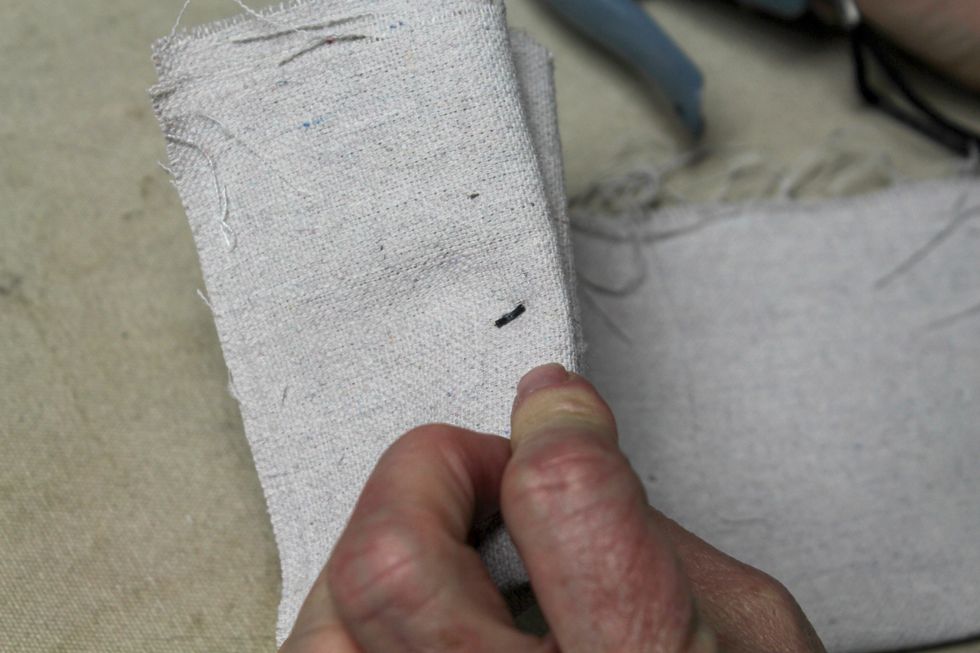
Make sure both ends of the T are completely through the fabric.
If your tacks are breaking, they could be brittle. If that is the case, run them under hot water for a few seconds. This will make them flexible and they won't break.
- Tack Gun
- Tack Gun Needle
- Tacks
Pate Meadows Designs
Franklin, TN
The Conversation (0)
Sign Up