The Conversation (0)
Sign Up
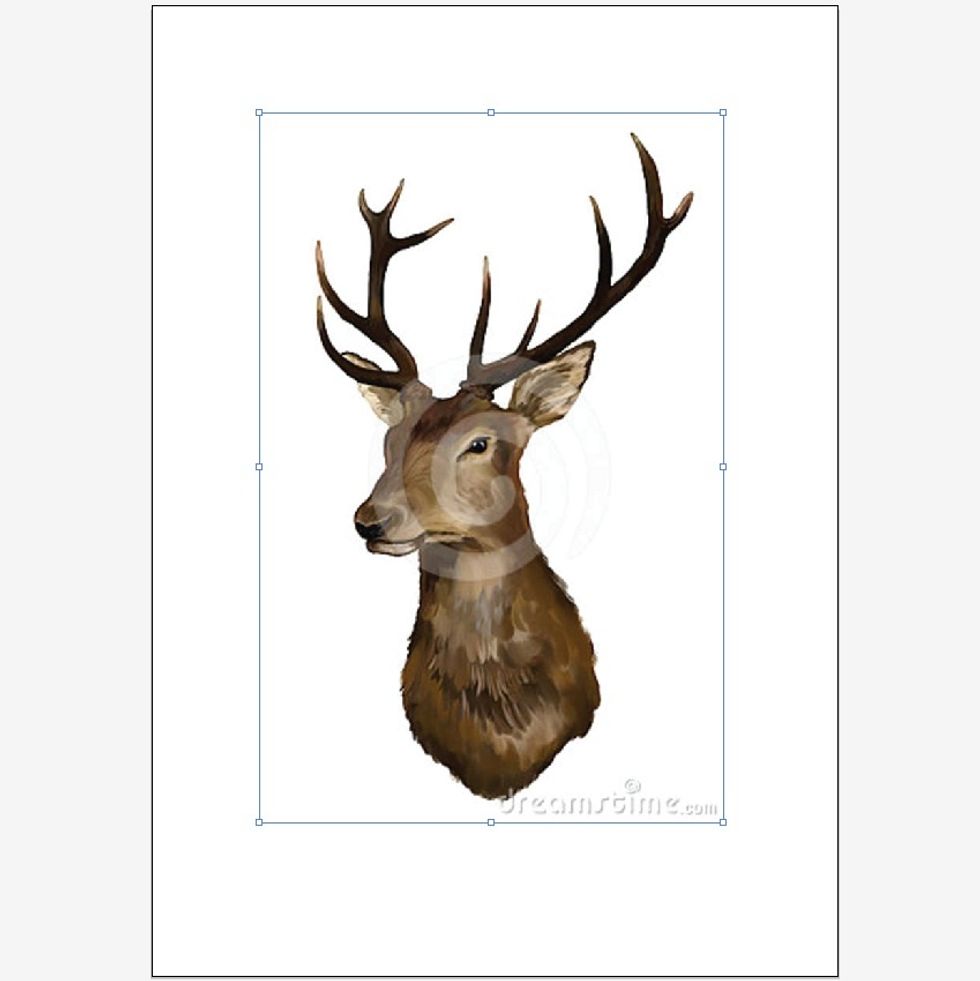
Open a Print Document in Adobe Illustrator with a picture you want to Live trace. TIP:: Photos with white or light coloured backgrounds work the best.
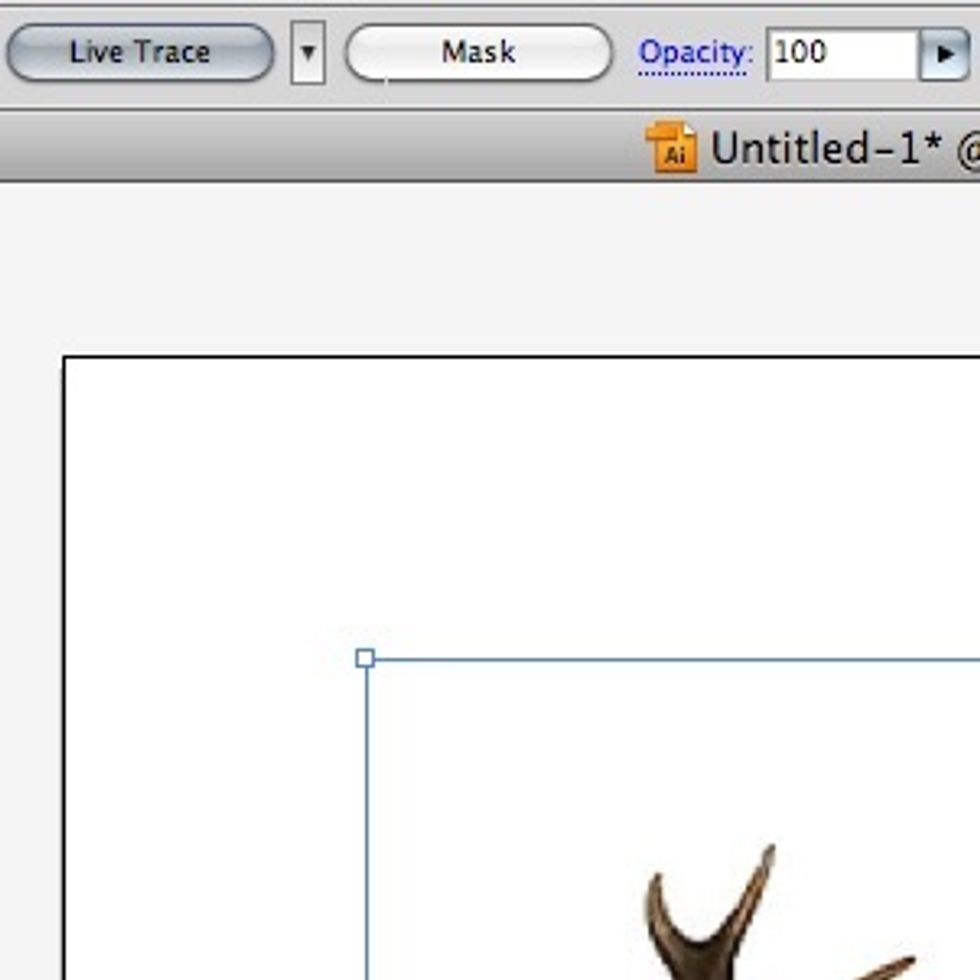
Make sure the photo you want to live trace is selected, click on the "Live Trace" button at the top of the screen
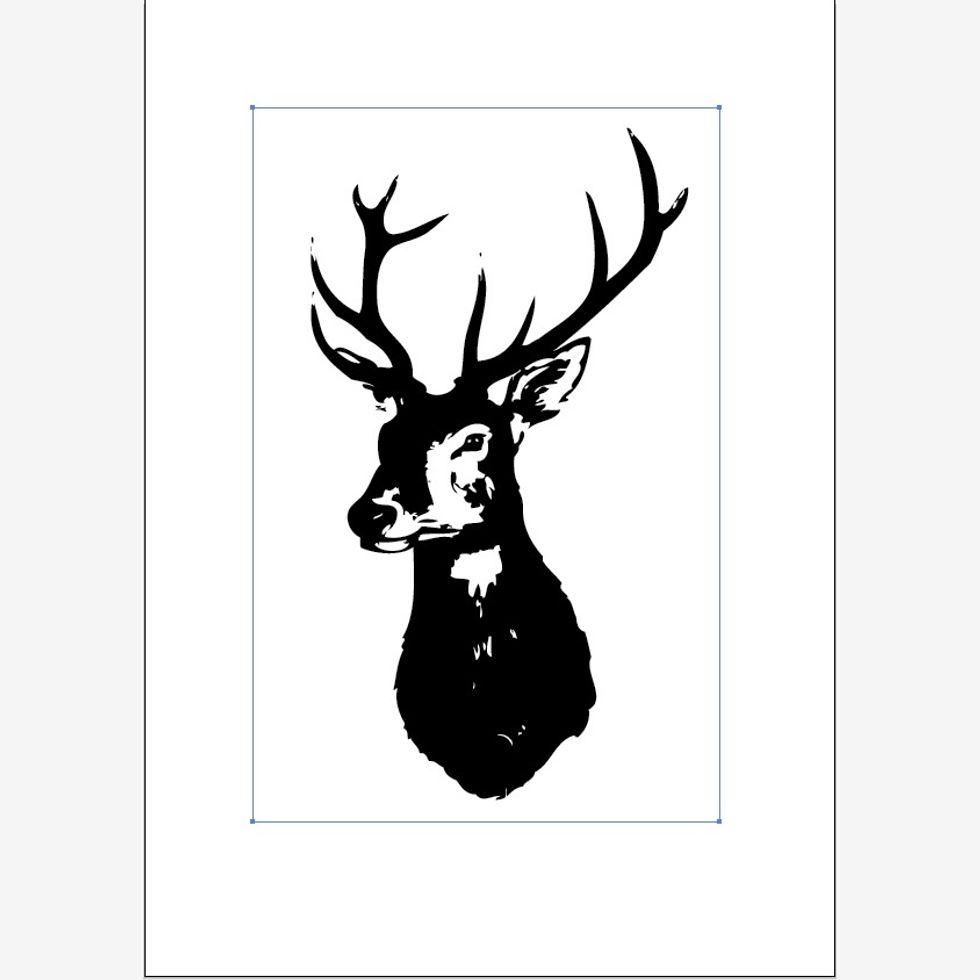
Your live trace should look like this.
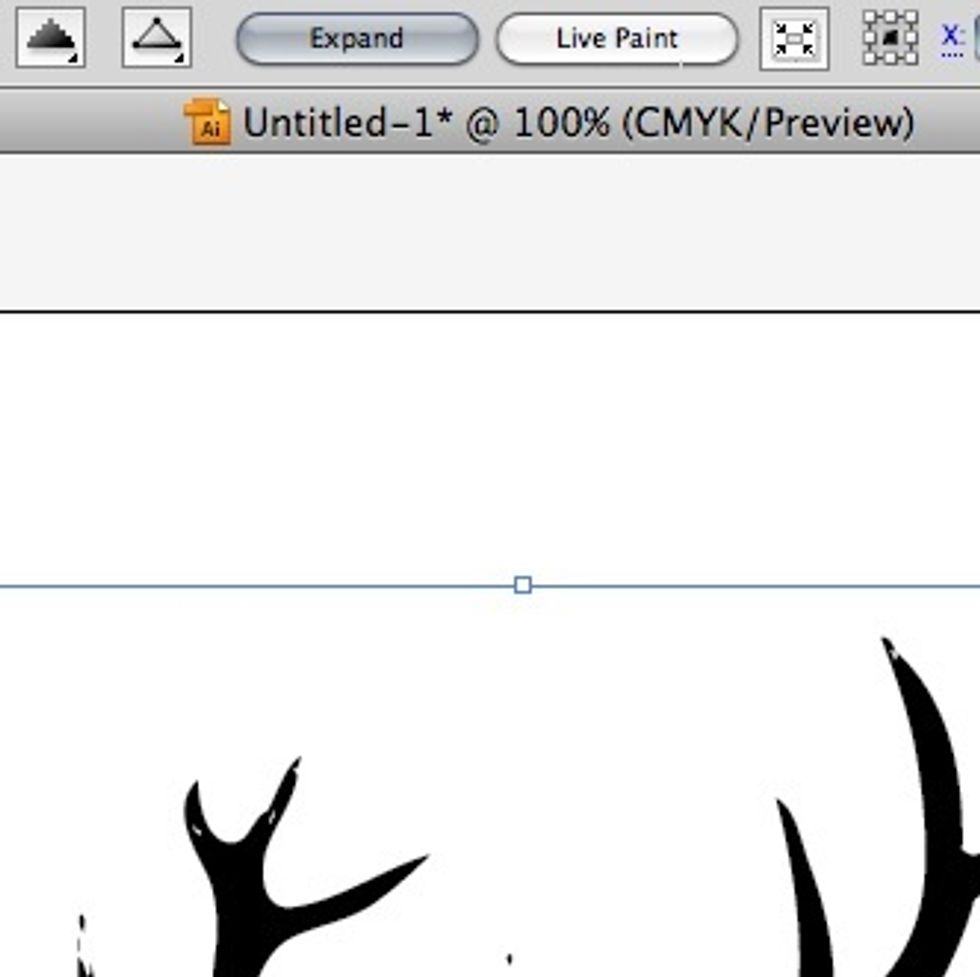
To make your live trace image editable we need to separate the white from the black. Select the image and click on the "Expand" button at the top of your screen.
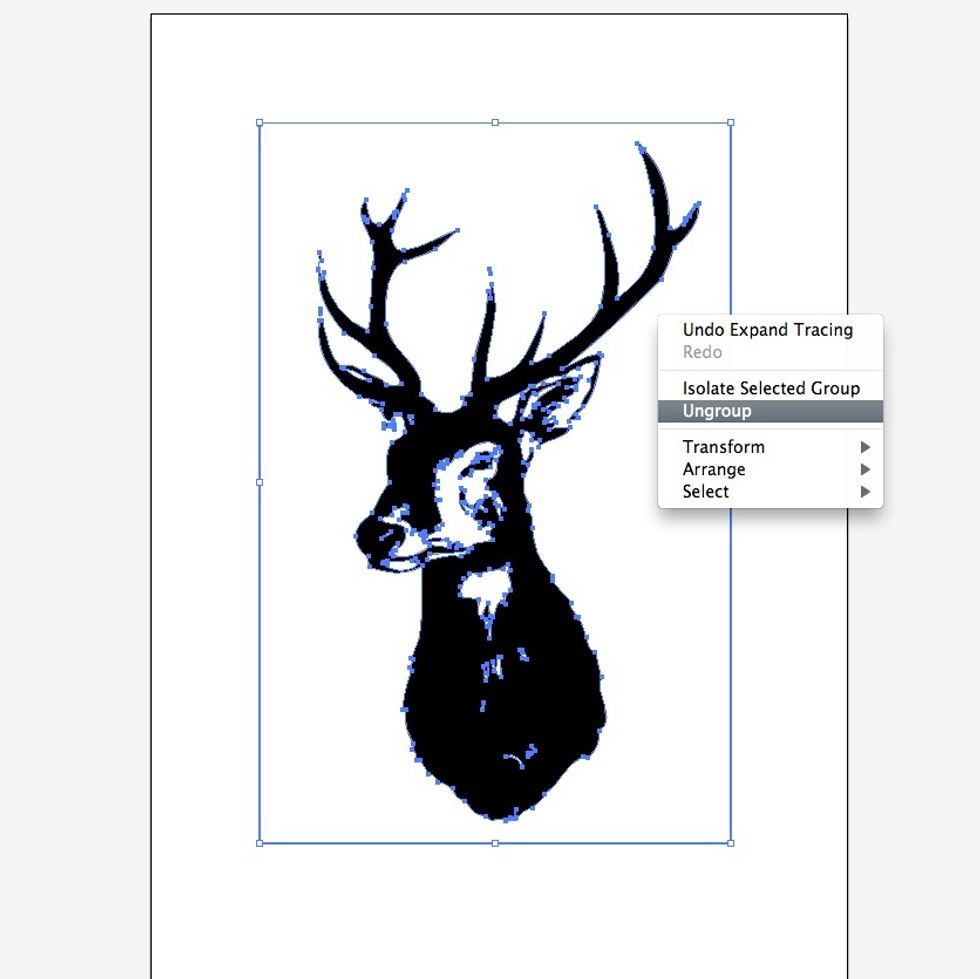
Your live trace will look like this now. To unground the white and black vectors: right click > ungroup!
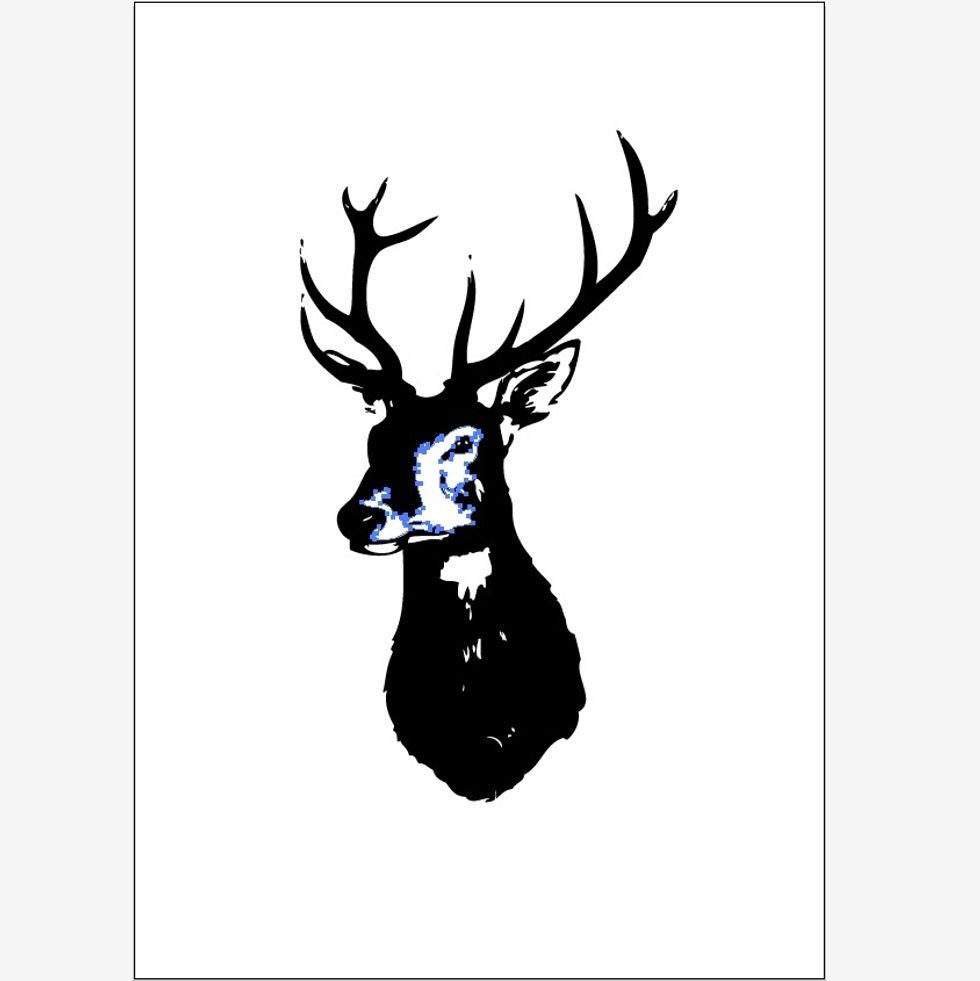
You can now edit your image! Each white and black space is a separate vector. I like to go through and delete all of the white.