The Conversation (0)
Sign Up

Click on photo for full picture. This 6" x 6" top fold card is loaded with layers texture and Victorian images. Learn how to make it using craft supplies from Little Birdie Crafts.

Cut a sheet of LBC Vintage Reflections into 3 pieces as follows: 5 3/4" square, 5 1/2" square, 5 1/4" square. Distress all the edges and ink. Cut a 6" pink square from Aquarelle paper.
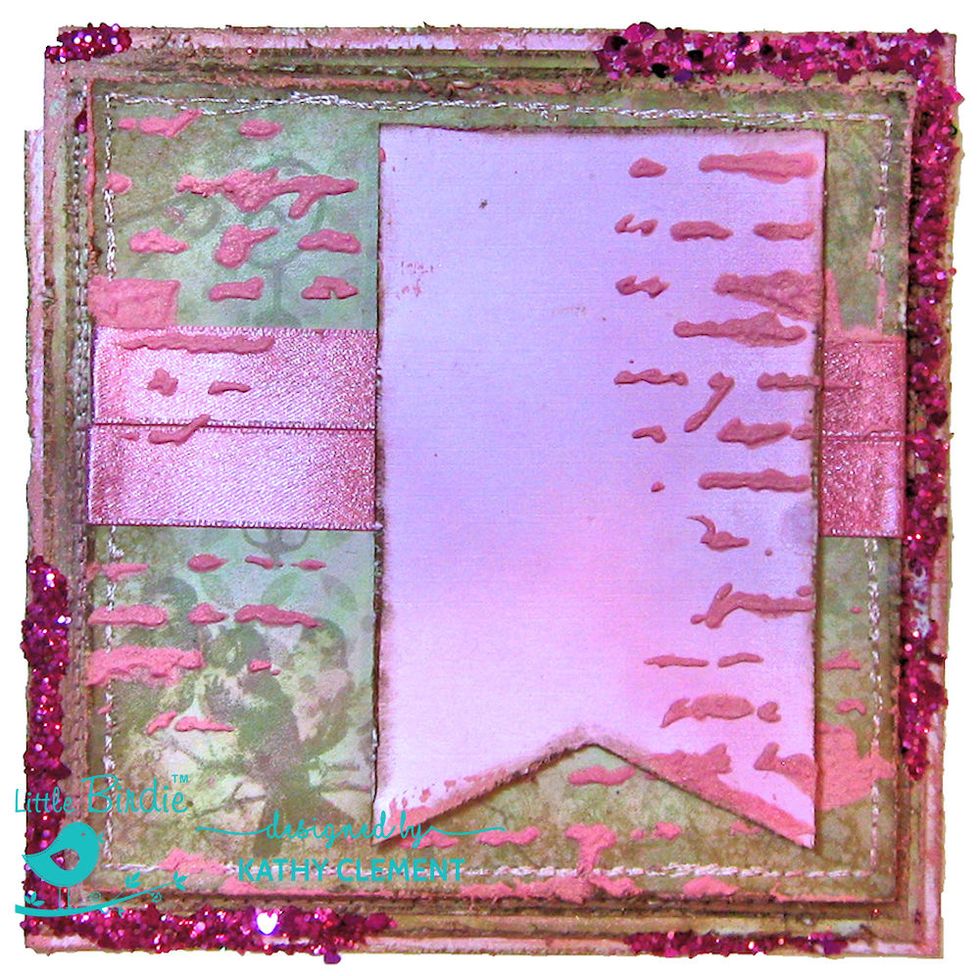
Set the 5 1/4" panel aside. Then stitch or adhere the other three panels together as seen here.

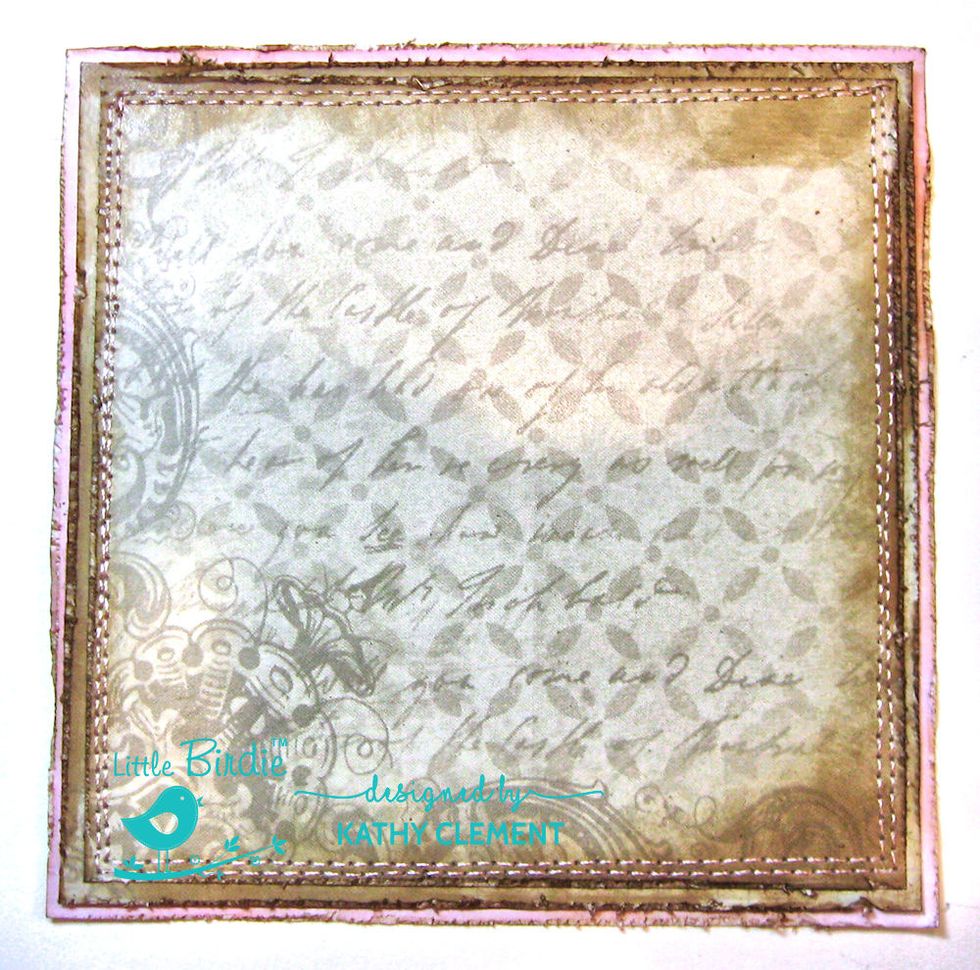
Locate the 5 1/4" square. Stitch around the edges. Back with foam tape to add extra dimension. I colored some of the images with Tattered Rose Markers, but they don't show in the end project.

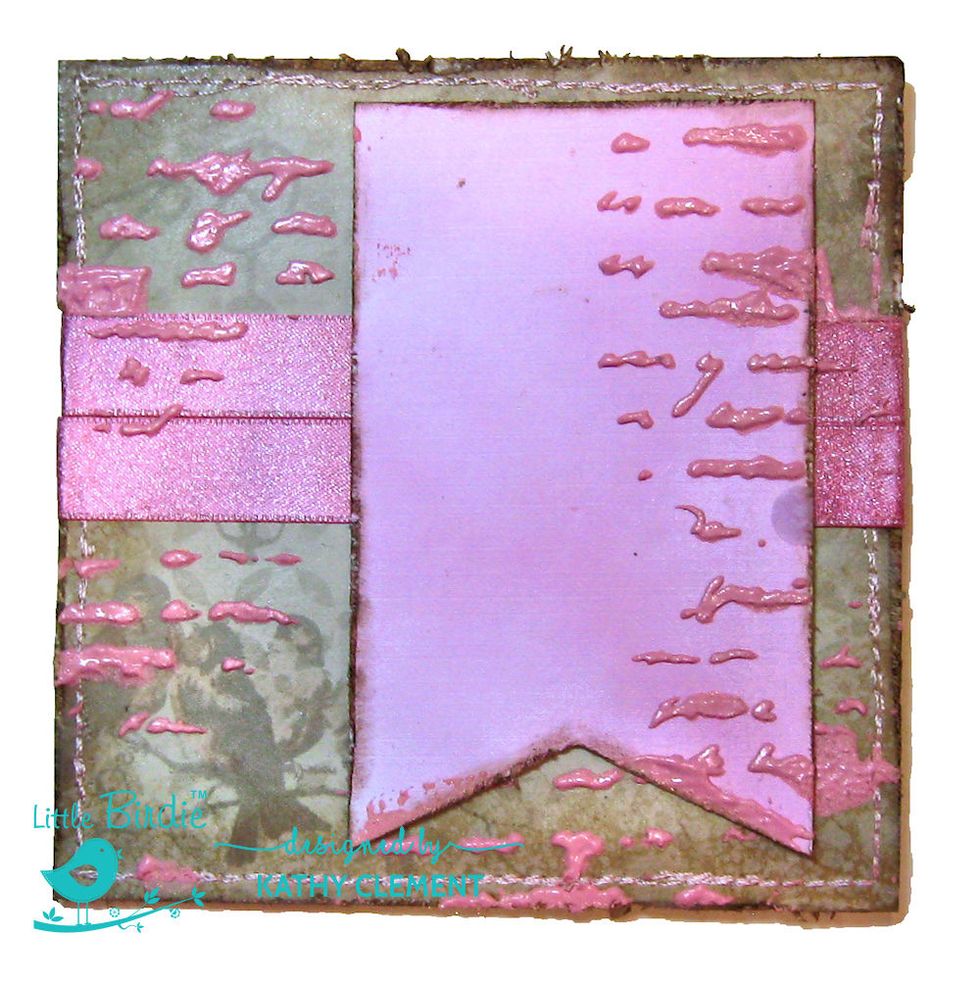
Adhere 2 lengths of Fantasy Rose Shimmer Satin Ribbon to the 5 1/2" panel as seen here.

Cut a 2 3/4" x 4 1/2" pink panel from Aquarelle pack. Cut a pennant shape on the bottom. Back with foam adhesive and adhere to the 5 1/4" square panel as seen here.
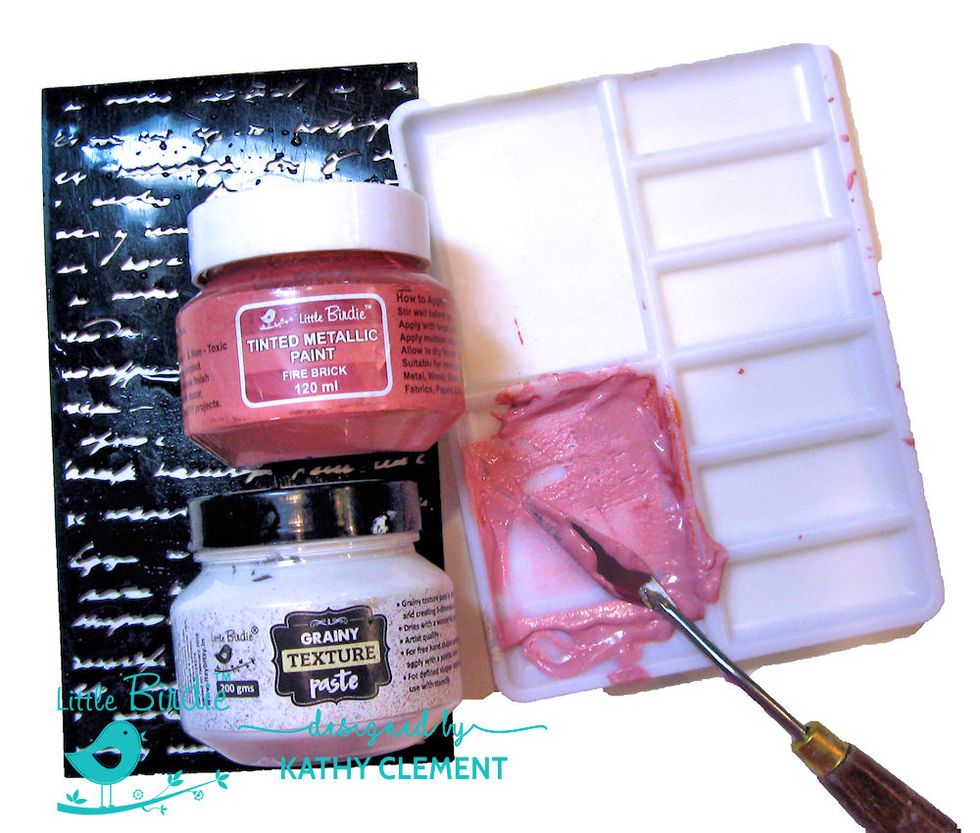
Mix a Tablespoon of Grainy Texture Paste with a teaspoon of Fire Brick Tinted Metallic Paint. Locate the script stencil and a tool to apply this mixture.
Click on photo for full sized picture. Apply the paint/texture paste mixture through the stencil and set aside to dry.
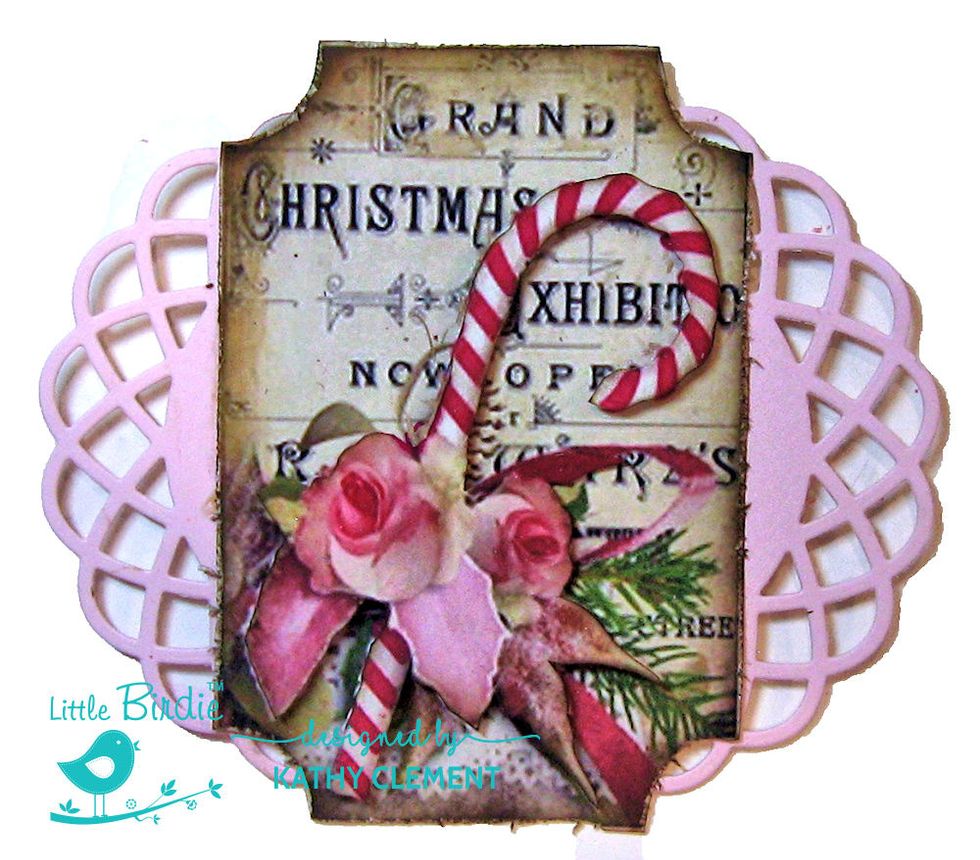
Cut a pink doily in half. Print out (2) digital images sized at 3" x 4". Distress & Ink edges. Fussy cut the candy cane and flowers from one image. Use foam adhesive to adhere to the other image.

Adhere one half of the pink doily behind the image. Back the image with a double layer of foam adhesive to give it extra dimension on the card. Set aside.
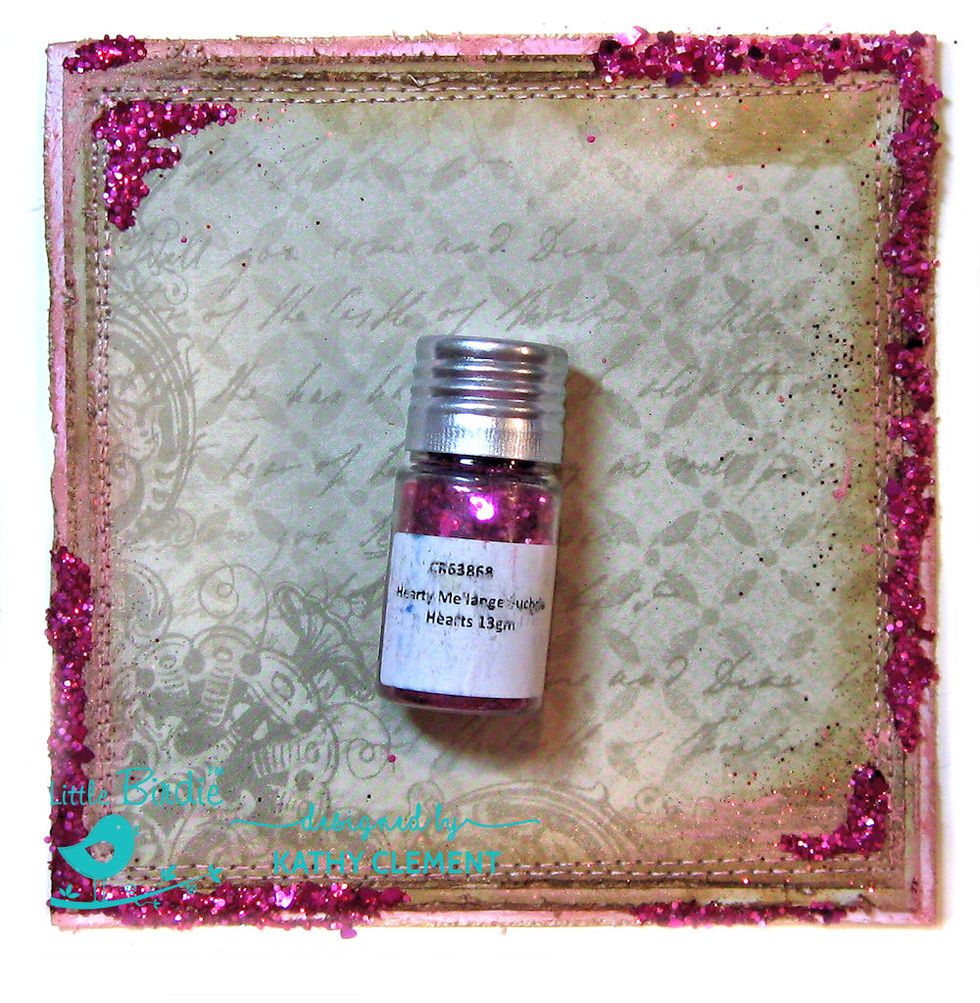
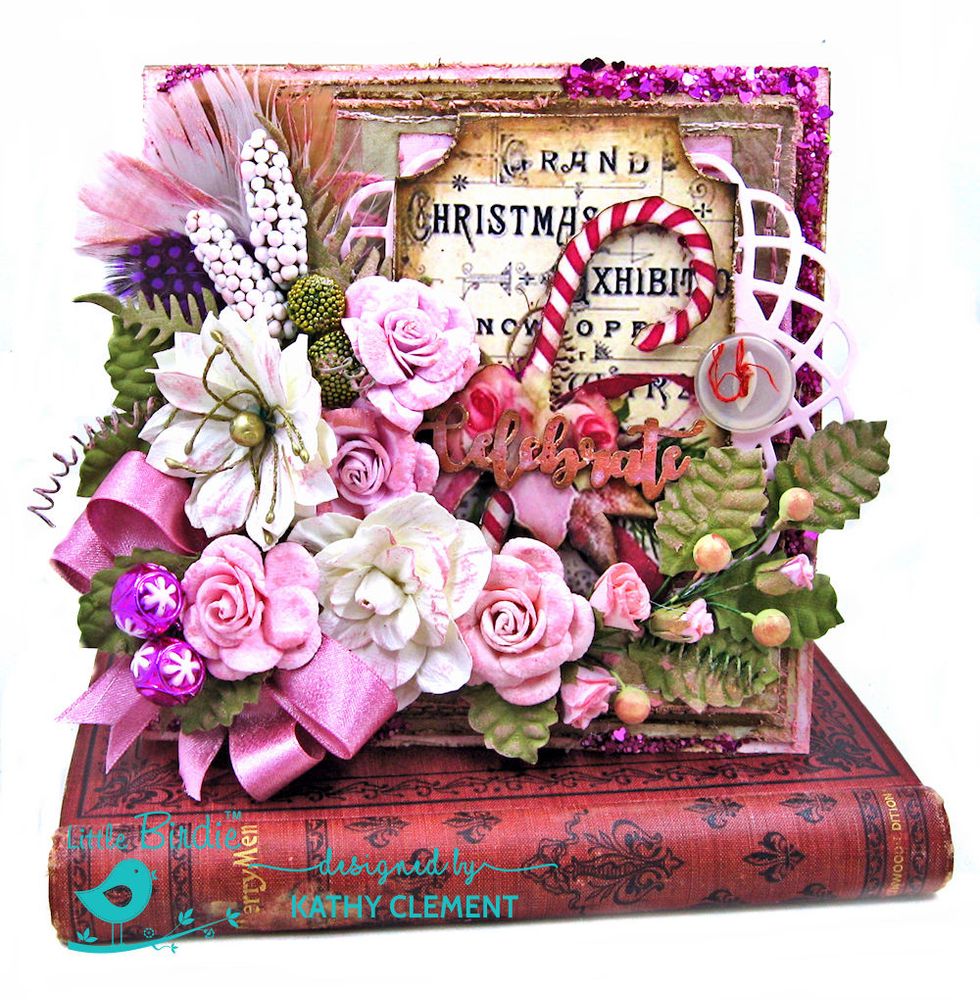
Click photo. Place Art Institute Dries Clear Glitter Adhesive along edges and corners of the triple layered panel. Sprinkle liberally with Fuschia Melange. Set aside to dry.
Place foam adhesive on the back side of the 5 1/4" panel. Center and adhere to the larger panel as seen here.
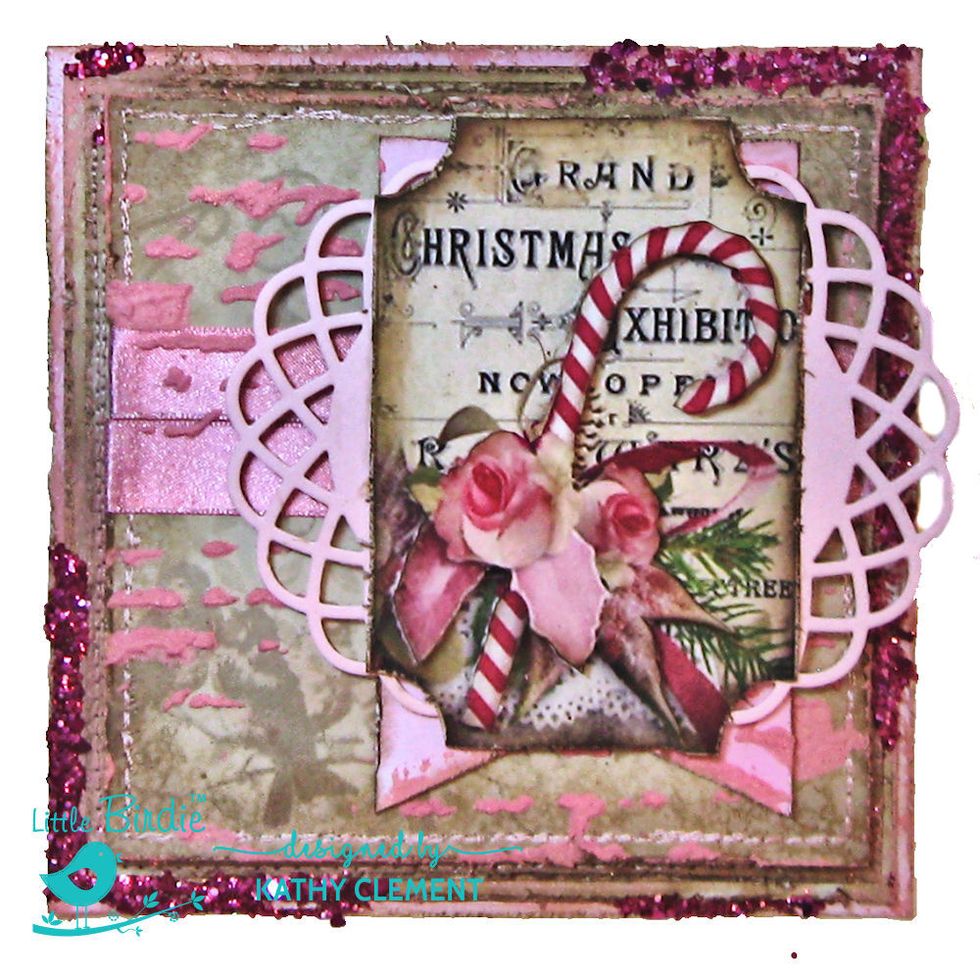
Adhere the candy cane image over the pink pennant. Now you are ready to add the flowers, ribbons and embellishments. Arrange these according to your taste. I'll show you what I did.
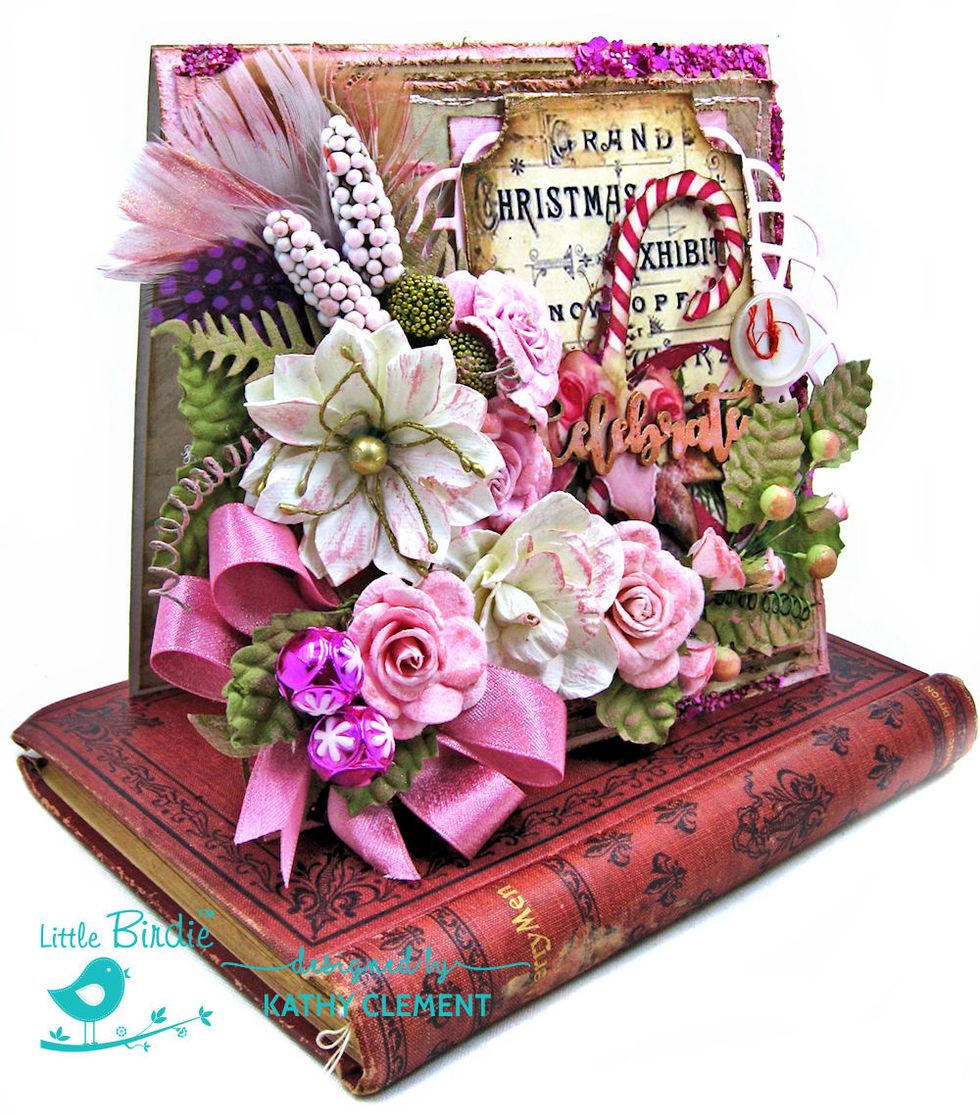
First I adhered some feathers from my stash in the upper left corner. then I added ferns and foliage over that layer. Then I twisted together Carina foliage and Green Allium and adhered.

I adhered the large white Camila blossom. Then I arranged Rosemund Pink Roses &Camila flowers. Adhere the bow, top with Rosemund rose. Tie ornaments together & adhere under rose.

Dry brush the flower petals & leaves with the paint/grainy texture paste mixture to add contrast and texture. Adhere a vintage button to the right of the image. Now we will make the inside.

Cut 1 sheet Vintage Reflections to measure 6" x 12". Score and fold in half on the long side. Line top and bottom with 5 3/4" panels of Vintage Reflections. Adhere digital sentiment & ticket.
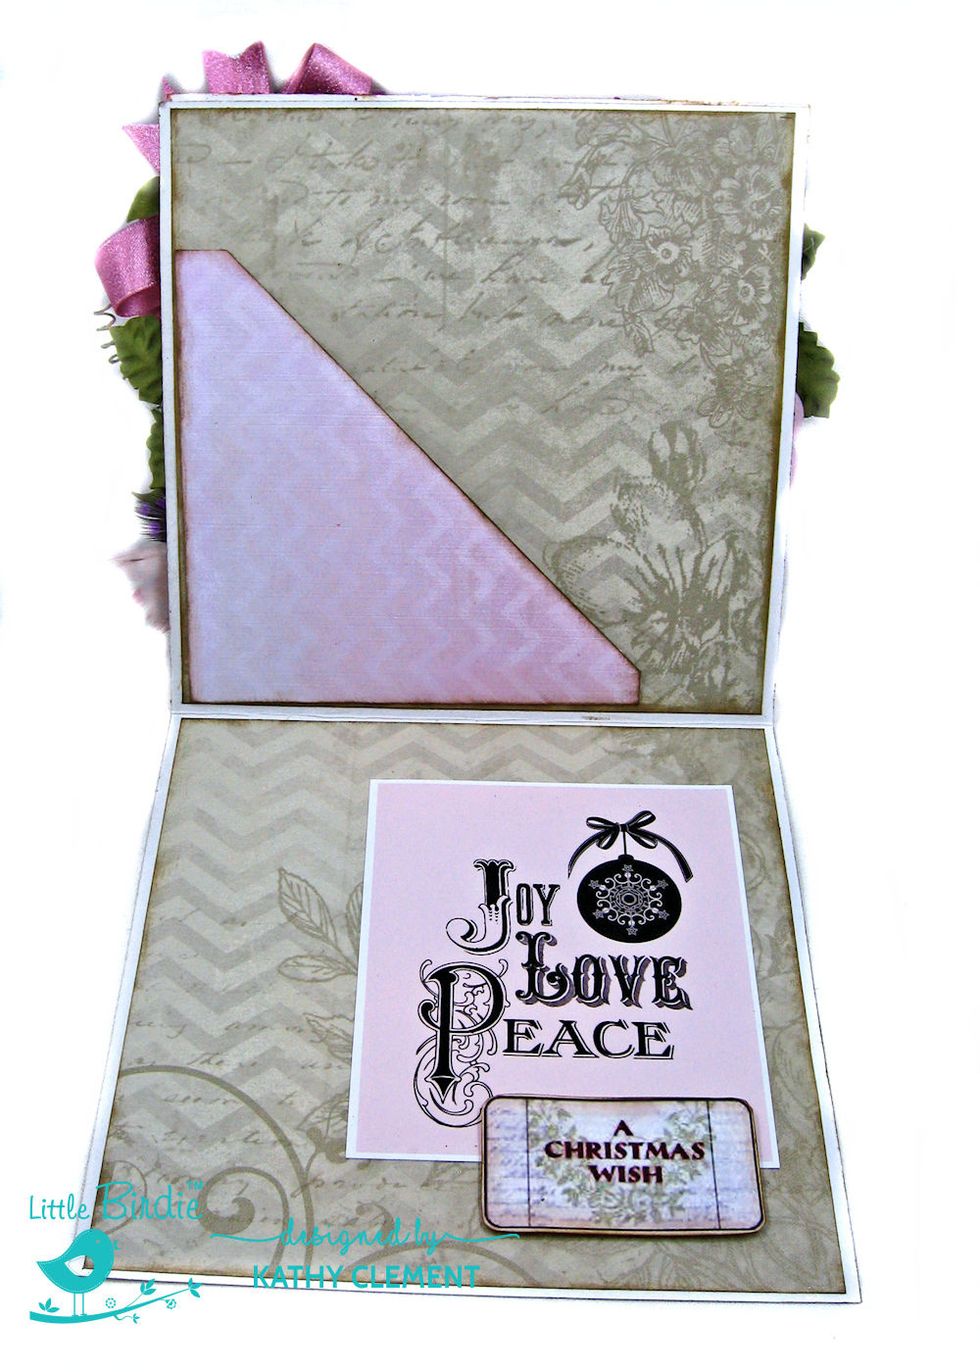
Cut a 5" square of Aquarelle paper in half diagonally. Score 1/2" on left and bottom edges. Fold to form a slash pocket/gift card holder. Trim top and side edges square. Adhere as seen here.
Now your Victorian Christmas Card is complete and ready to display proudly in your home. If you enjoyed this tutorial, you might enjoy by blog at http://www.kathybydesign.com. Thanks for joining me.