The Conversation (0)
Sign Up
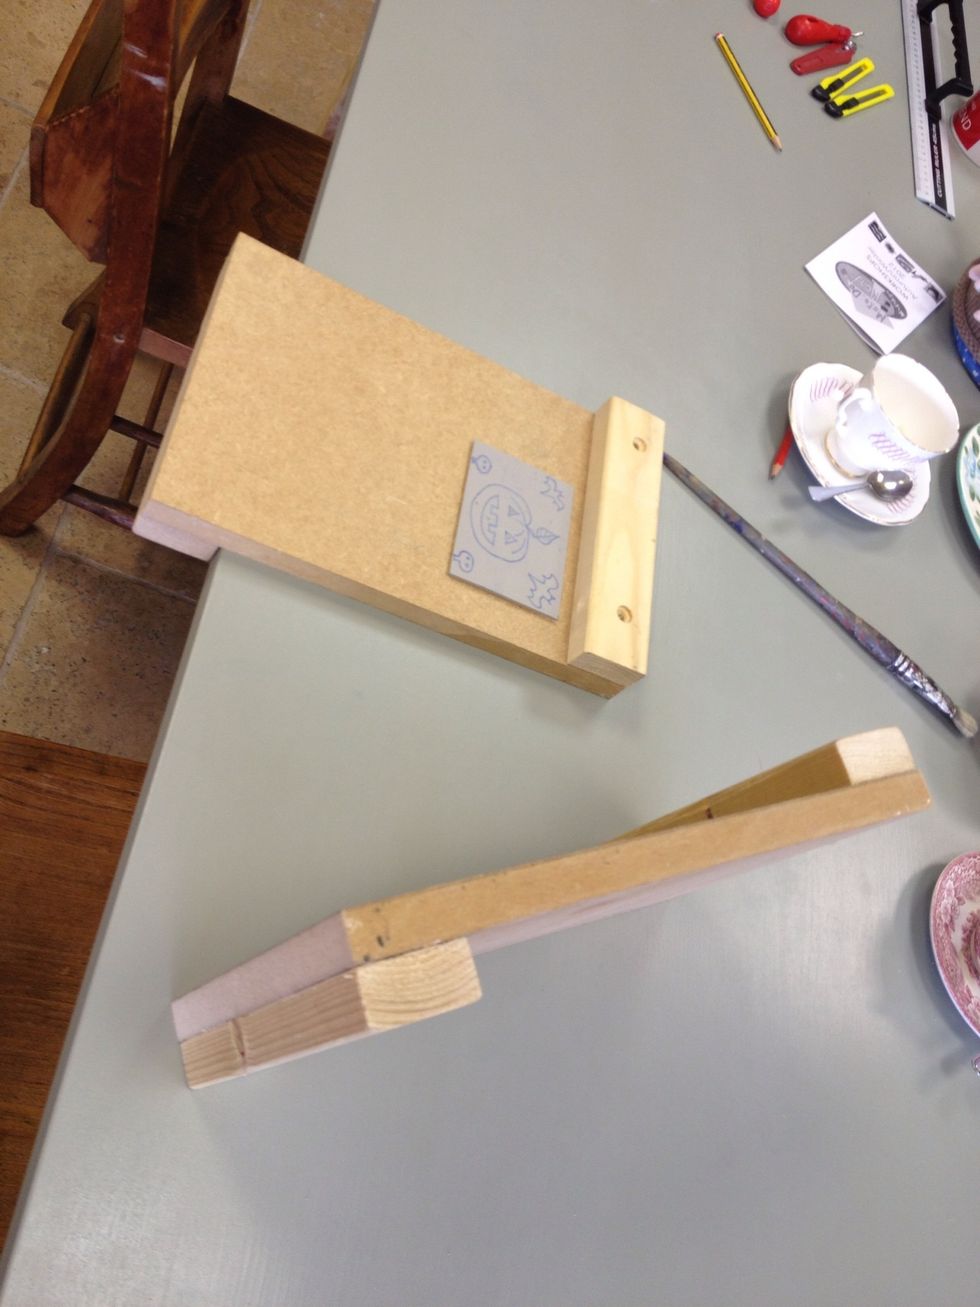
This is a bench hook. You can make one yourself from wood scraps.
Craft knives for doing lots of little jobs; scoring, neatening up things, and ya know, slicing stuff?
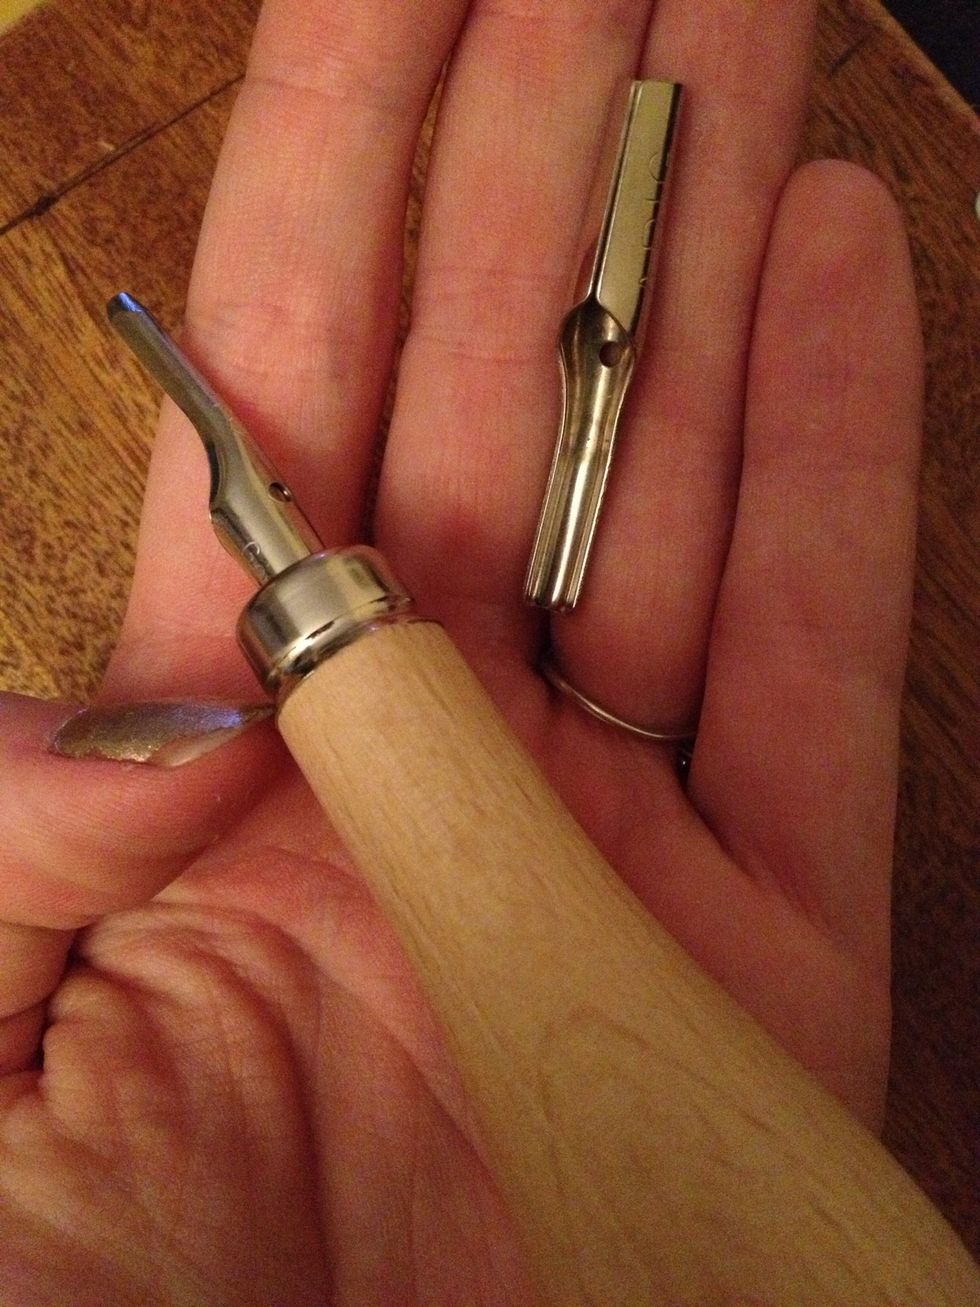
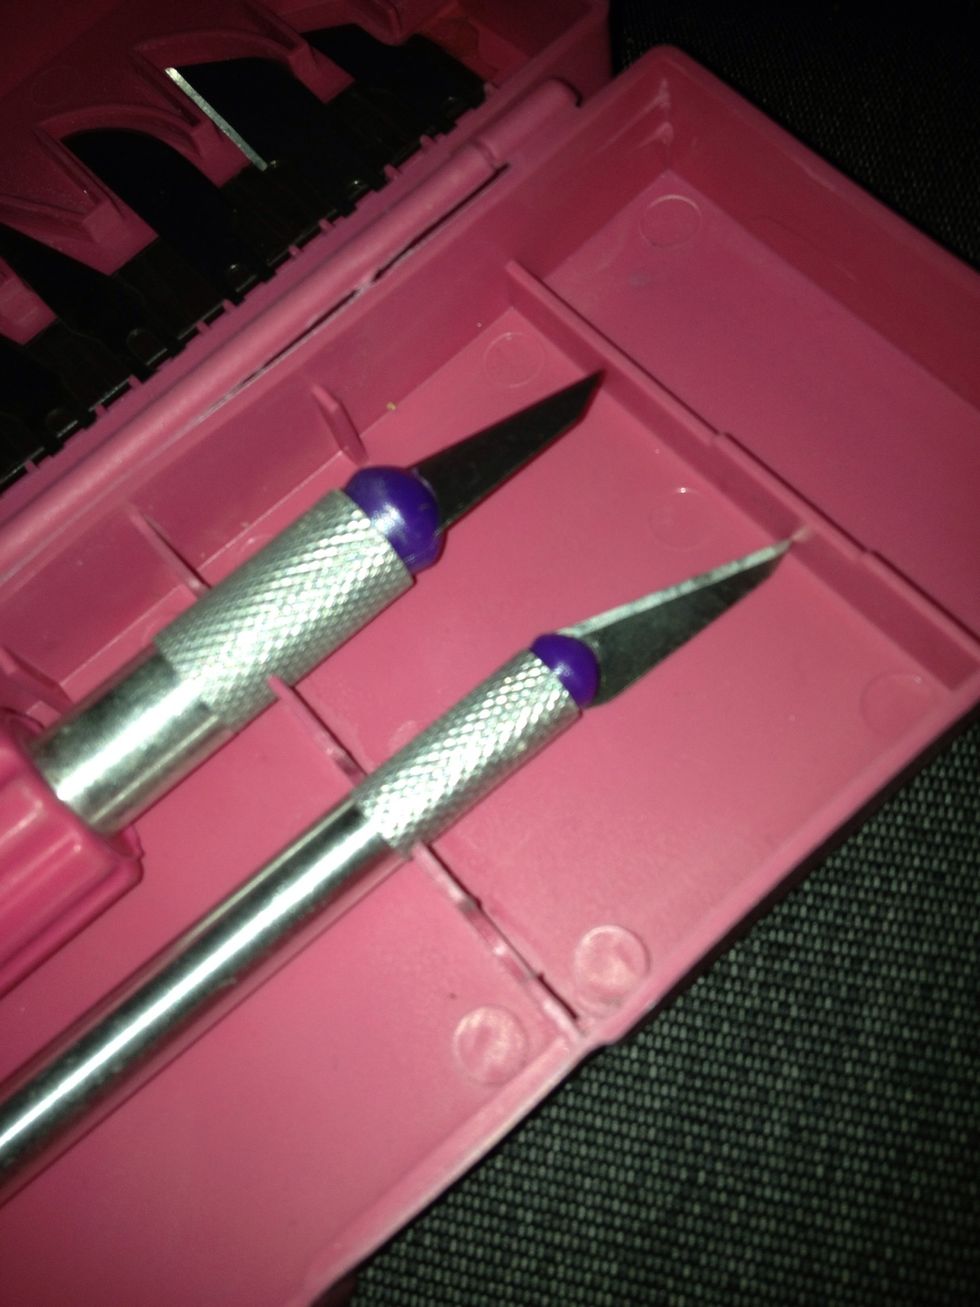
This is a Lino cutter. The blade in the handle is a #1 V, the one in my hand loose is a #4 Gouge (U).
There's a bit of Lino offcut... Not necessarily the same stuff as what's on the kitchen floor. This has hessian backing.
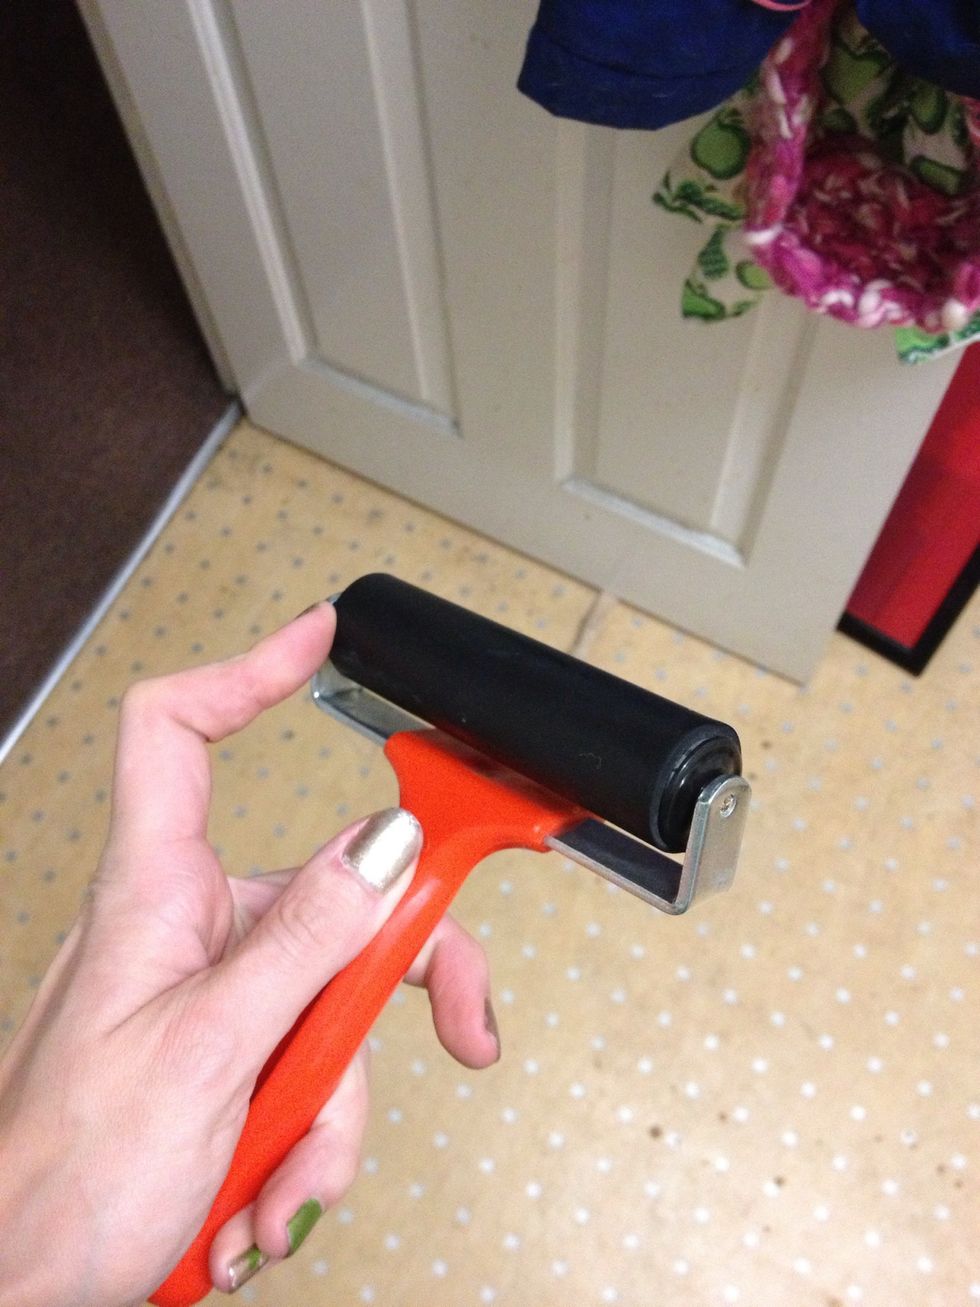
This is a brayer; or roller, to those not in the know
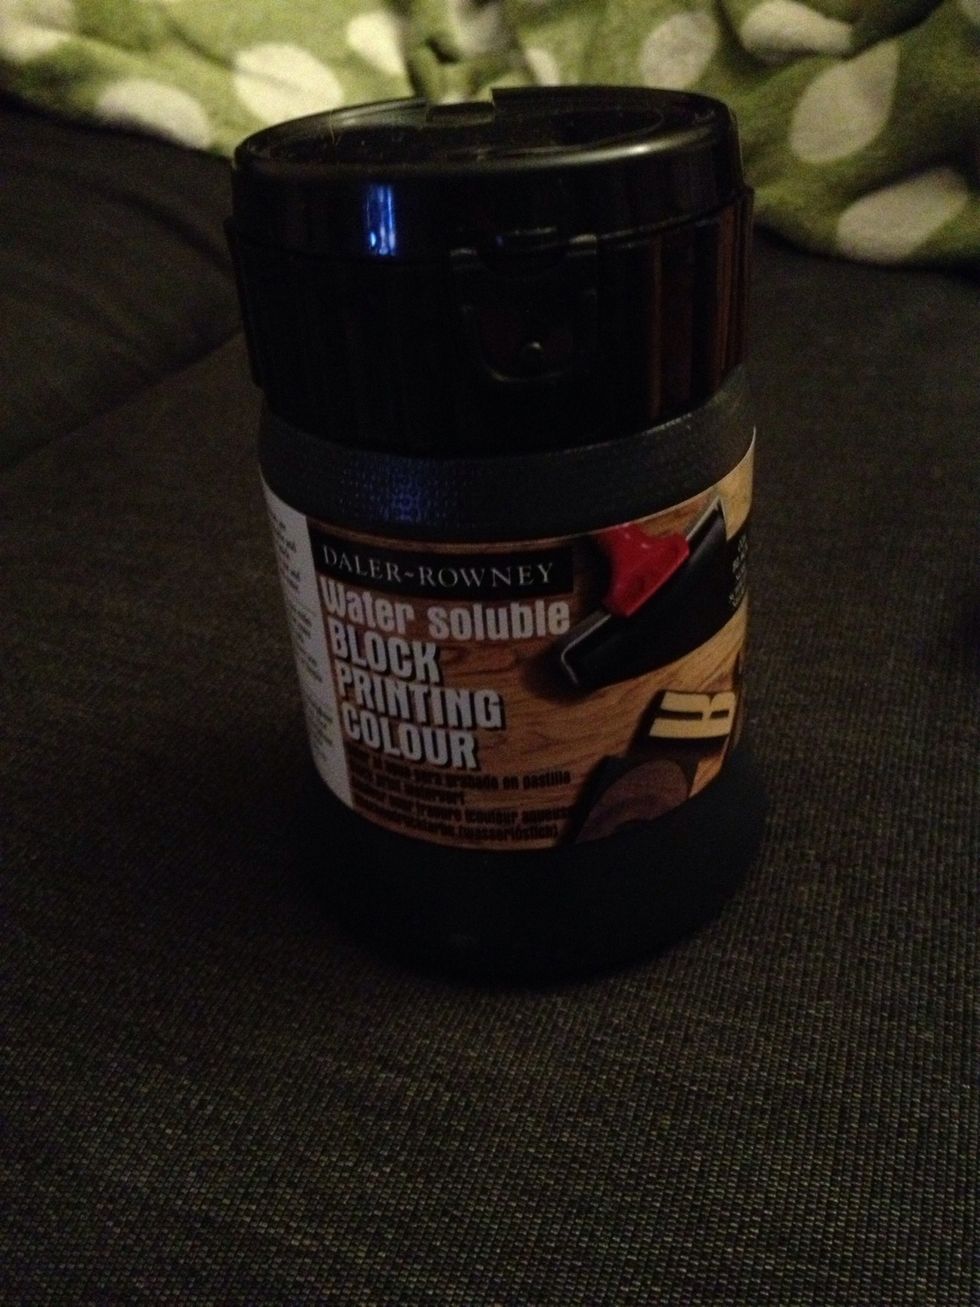
Printing ink. Comes in many colours, but you can also mix it. You can get either oil or h2O based versions; this is water based. Easy to clean up!

My ink tray. It's a cake board covered in sticky backed plastic! I am cheap and inventive...
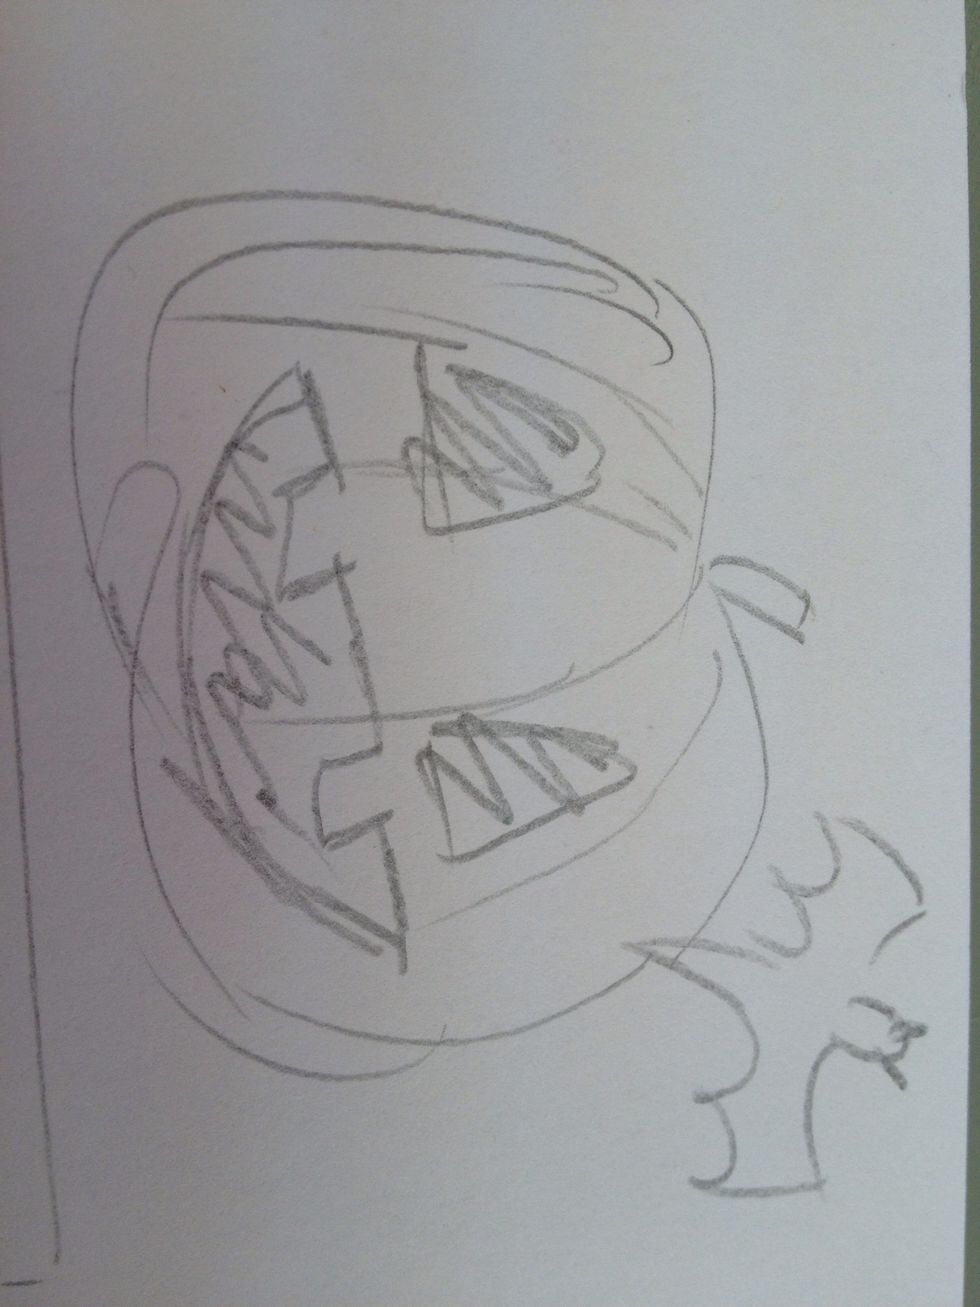
First things first, sketch your design.
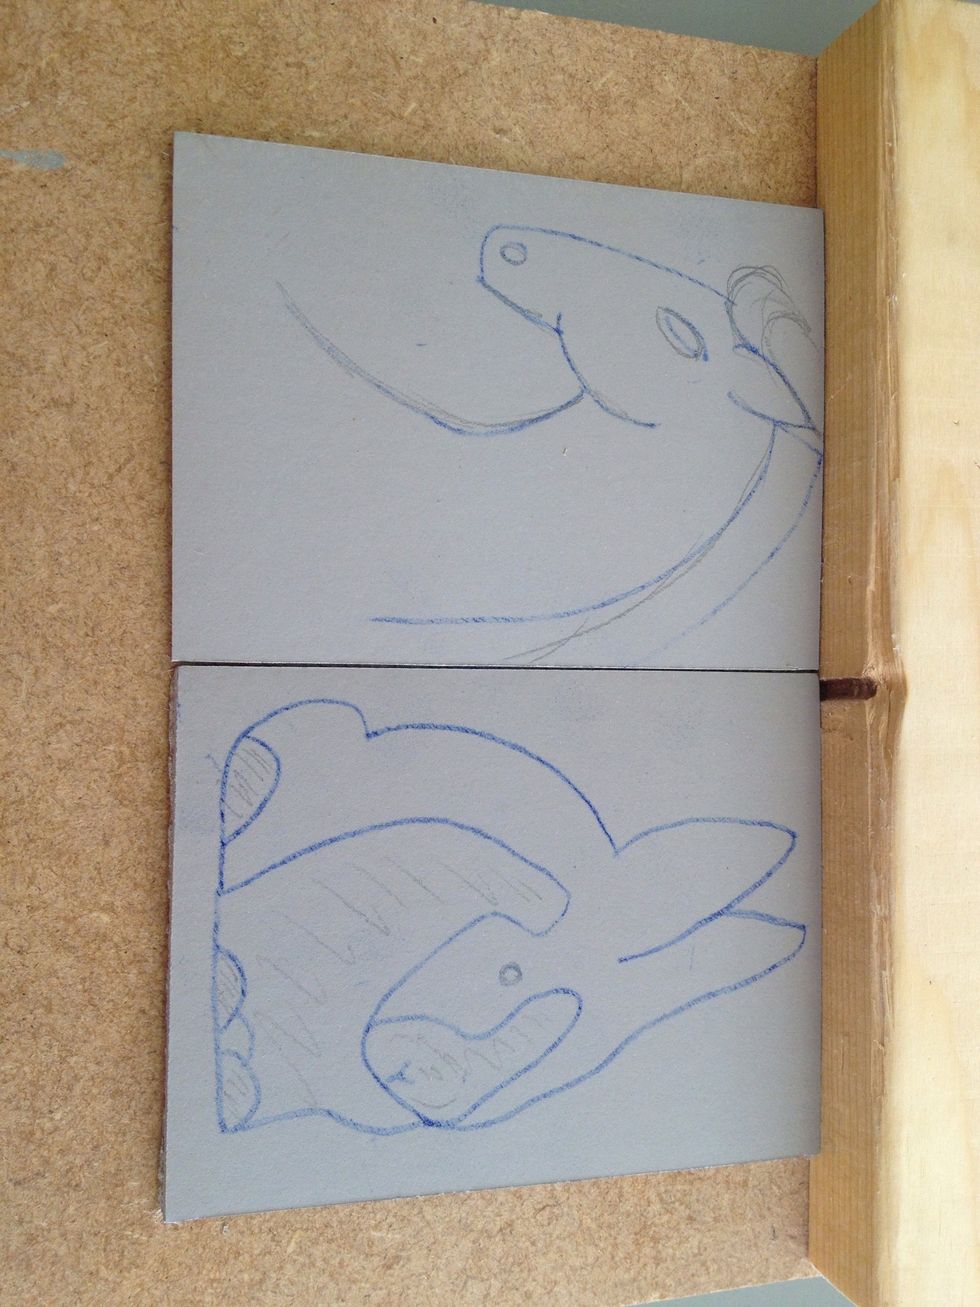
Draw up your designs. On this 🐰 one, I shaded the parts I was cutting away. Do whatever works for you.
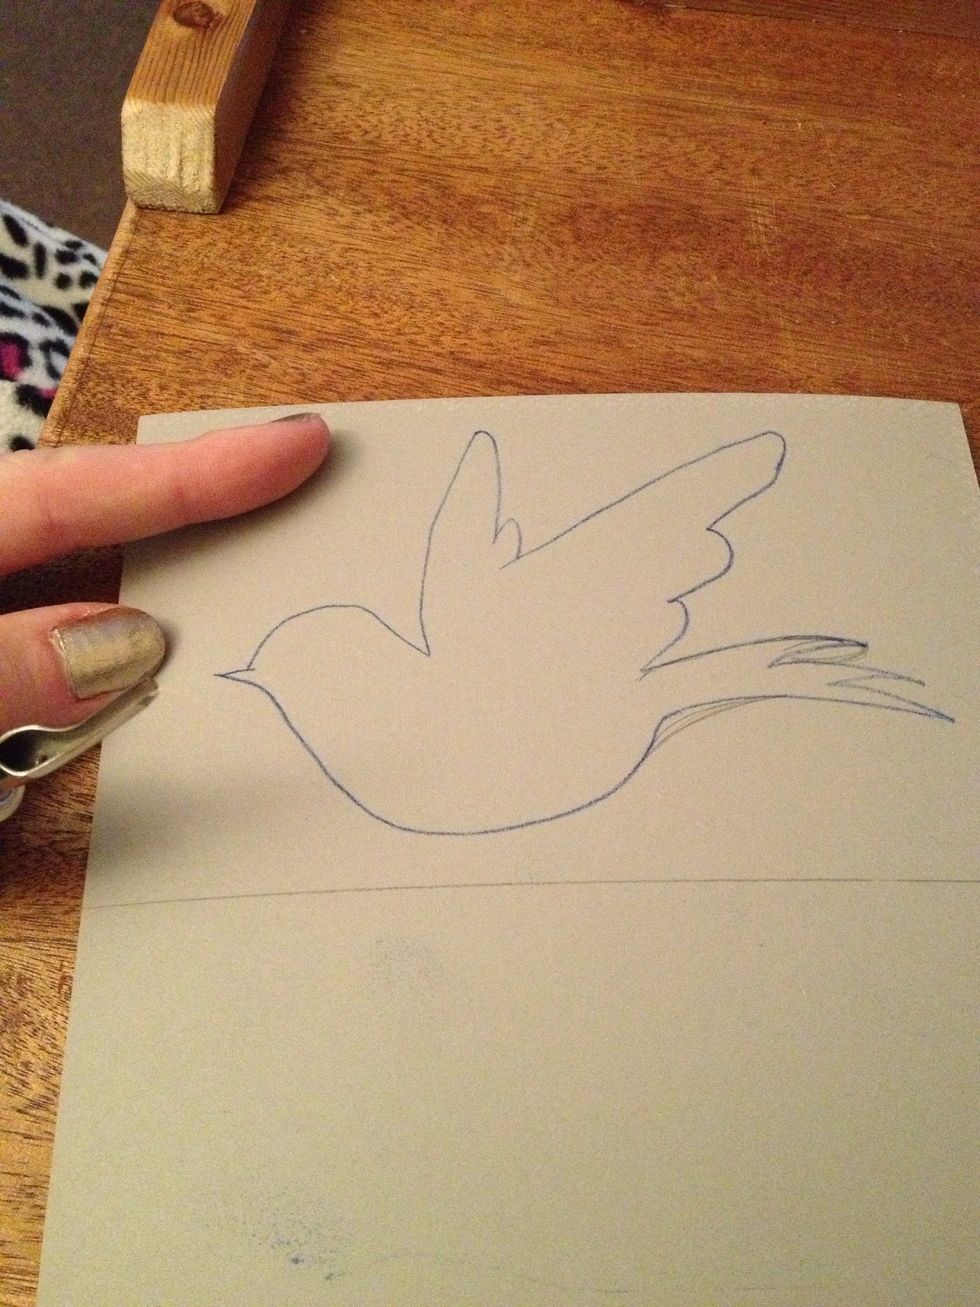
Plan which areas will be coloured (inked) and which will remain white (un-inked). For this one, I think the dove shape will be cut out (white).

Cut your outlines first.
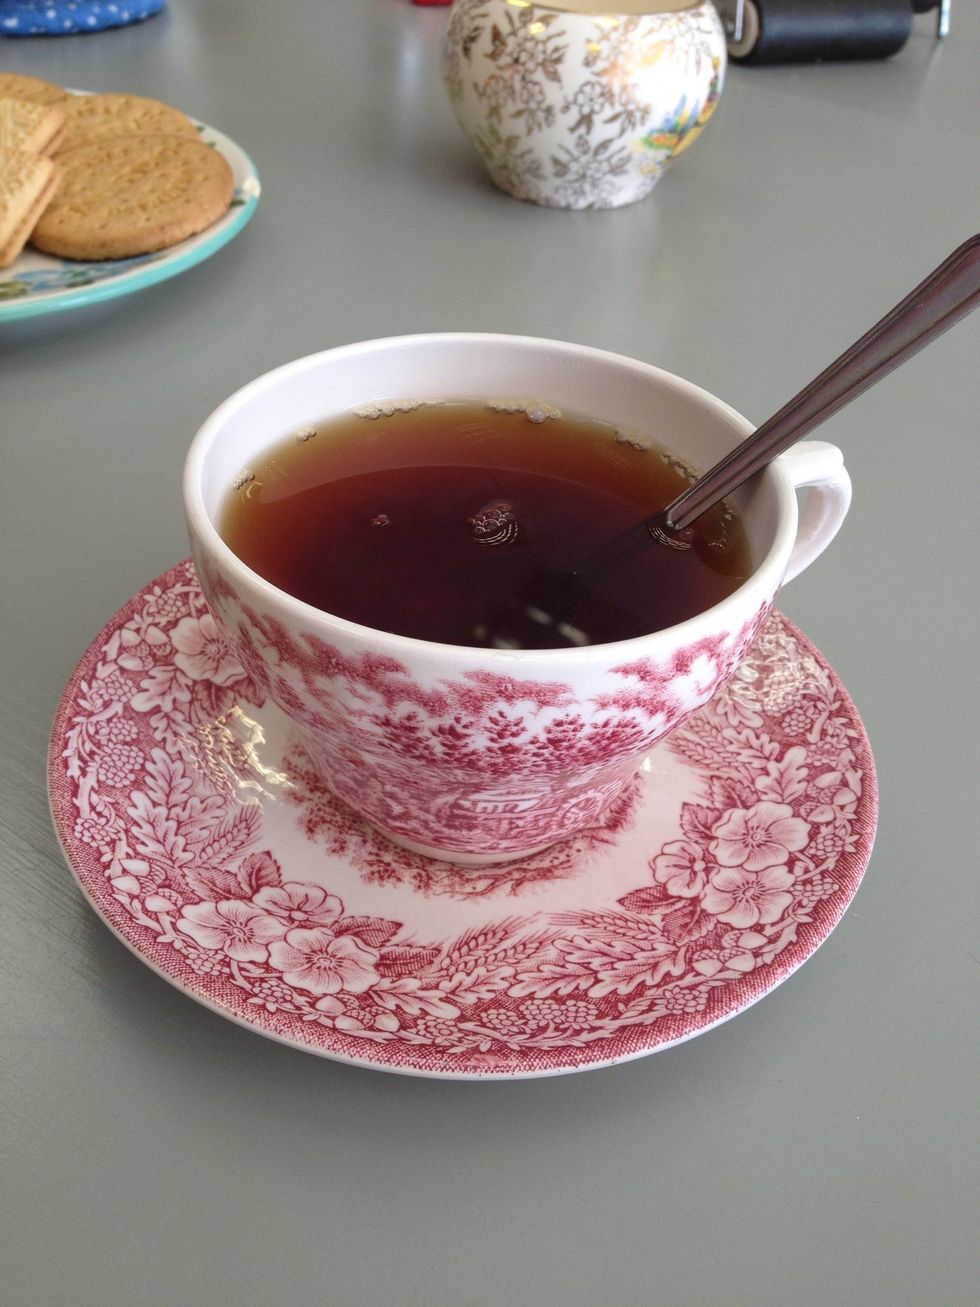
This is a good place for a cuppa. Don't rush, don't hurry it. You can always take more, you can't easily fix it if you take out too much at once.
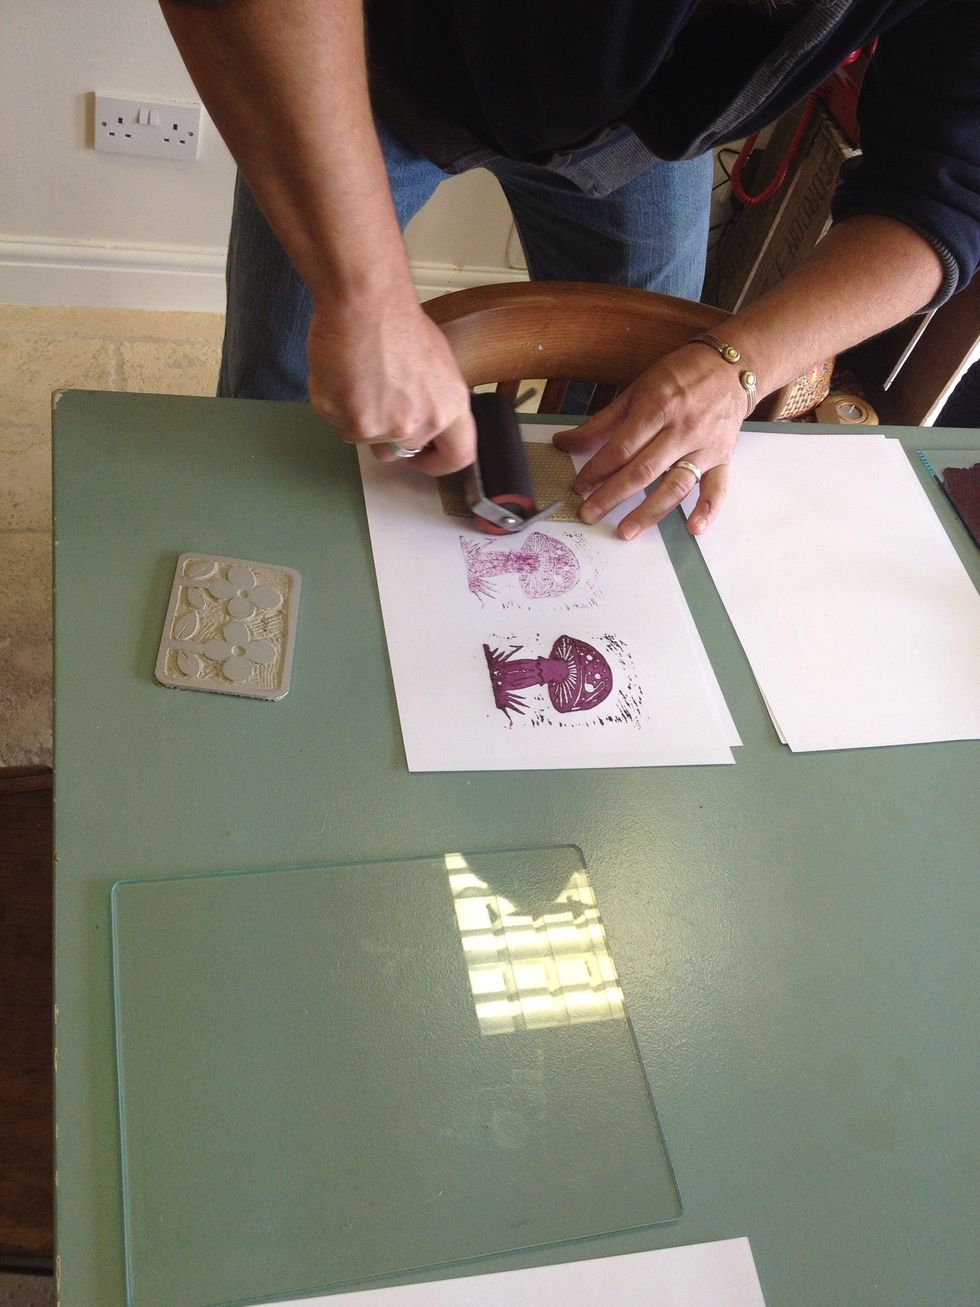
When your brayer (roller) is inky, gently and smoothly transfer ink to your Lino.

Rub the back of the print firmly with another brayer, a door knob etc to make sure the print has transferred. Then carefully peel away the paper.
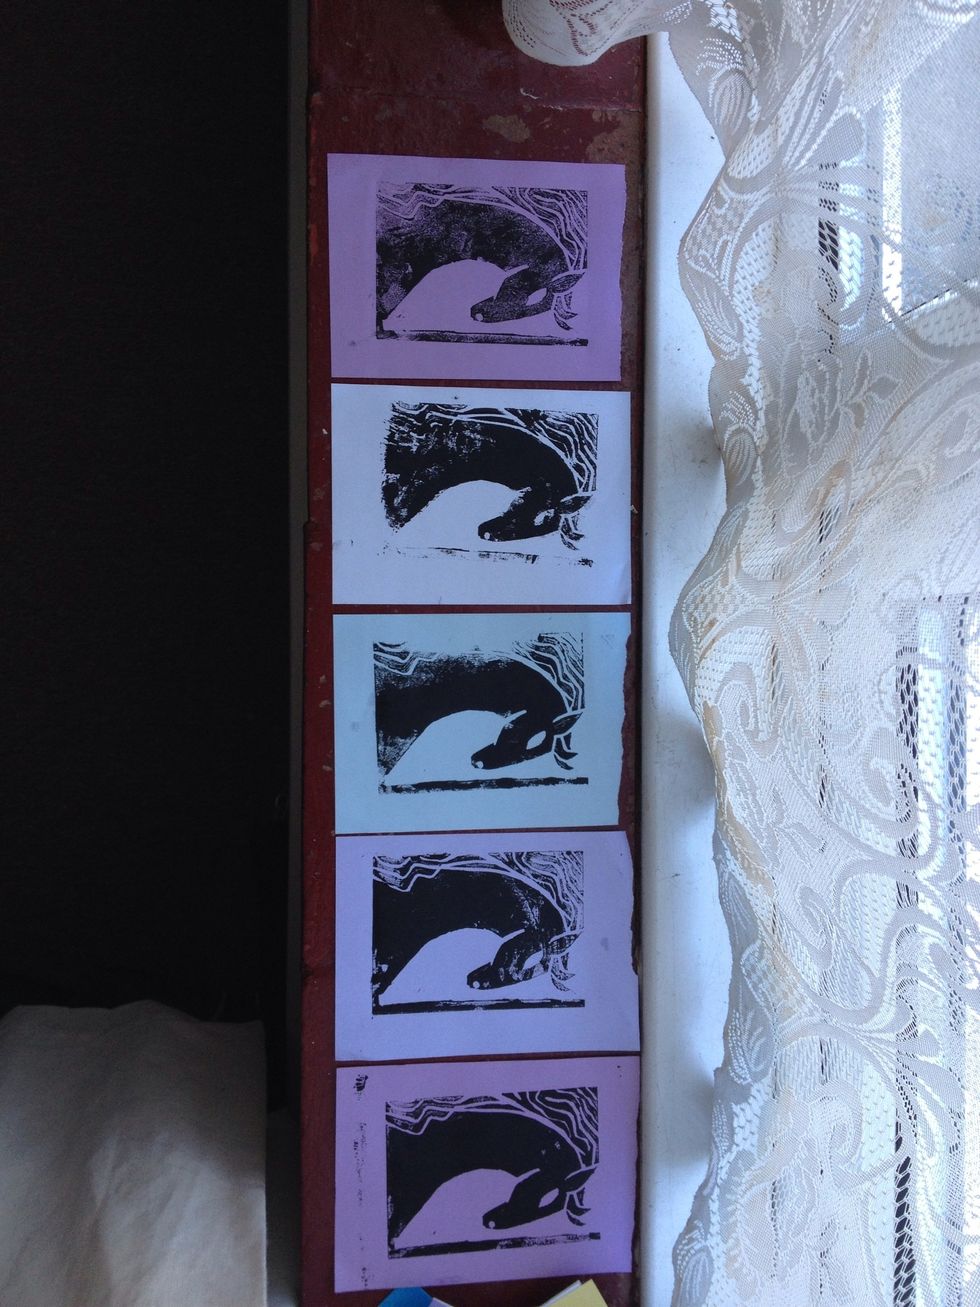
L-R, first to last. This allows you to see if you need to cut more. (not happy with the neck here, and the mane needs depth) Leave the block to dry with ink on it so you can tell where to cut.

Make sure you wash your print block carefully and check your brayer is clean.