The Conversation (0)
Sign Up
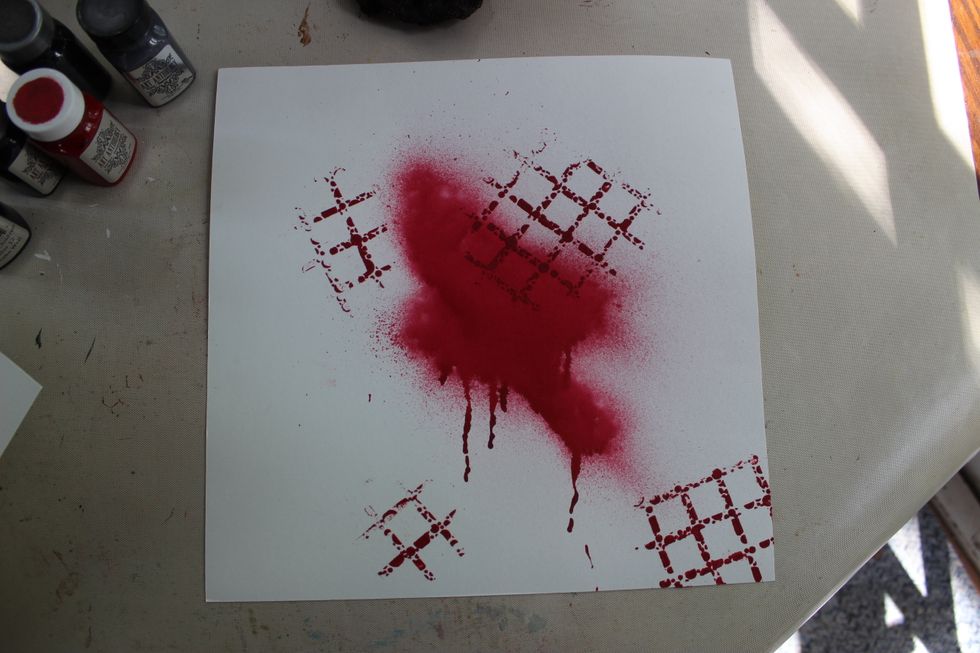
As a lot of times, I started out with a 12x12 piece of 140 lb watercolor paper
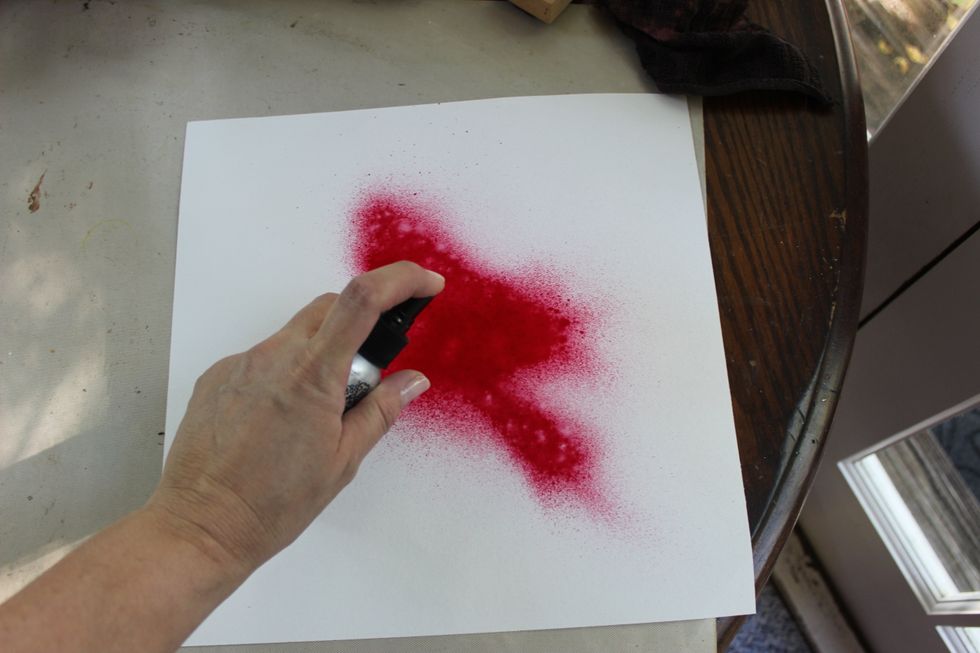
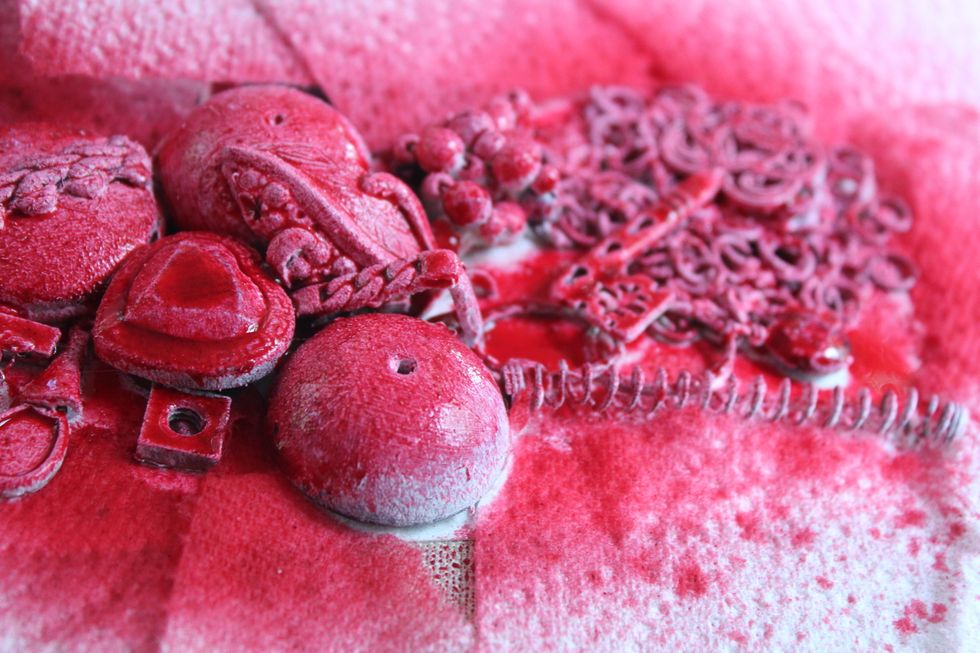
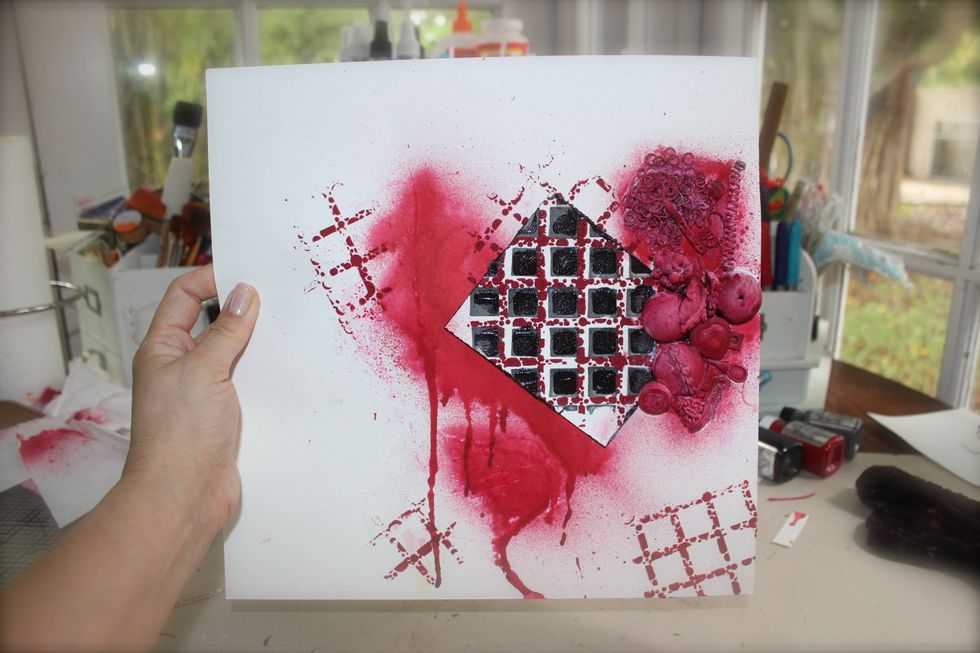
I started by spraying the center of the paper with our new fabulous Colorations color, Valentine. I sprayed a lot. Spray and puddle it.
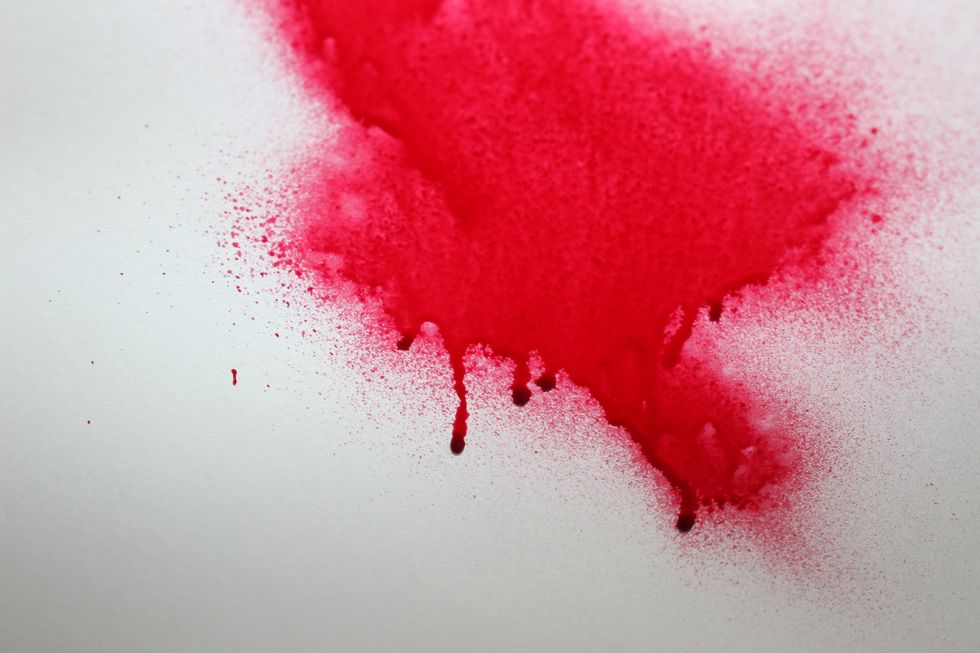
Then gently lift the sheet and let some of the color run.
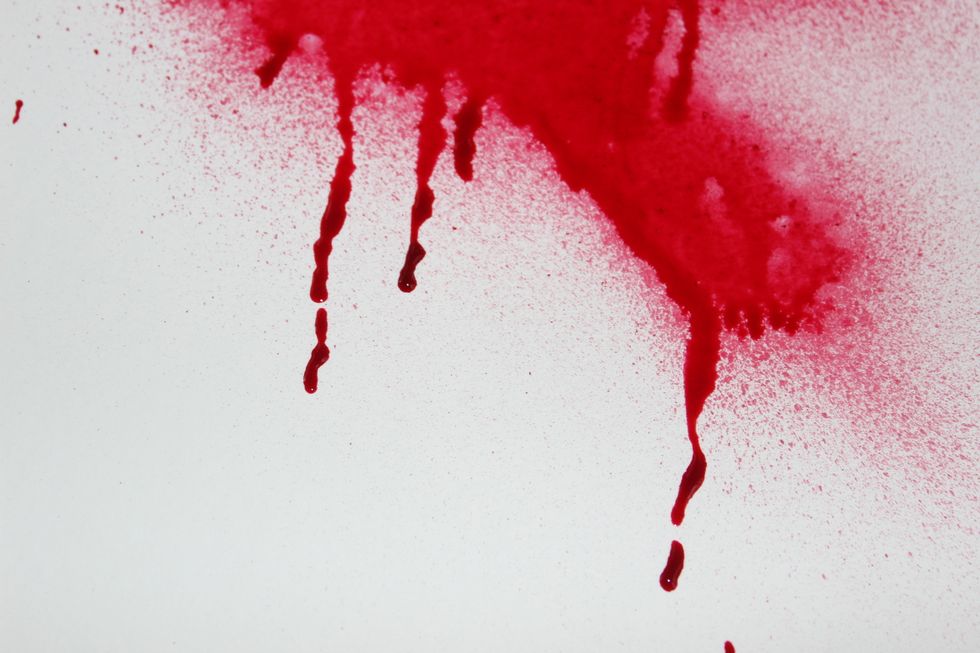
I love having drip marks :-) Set it aside flat and let it dry.
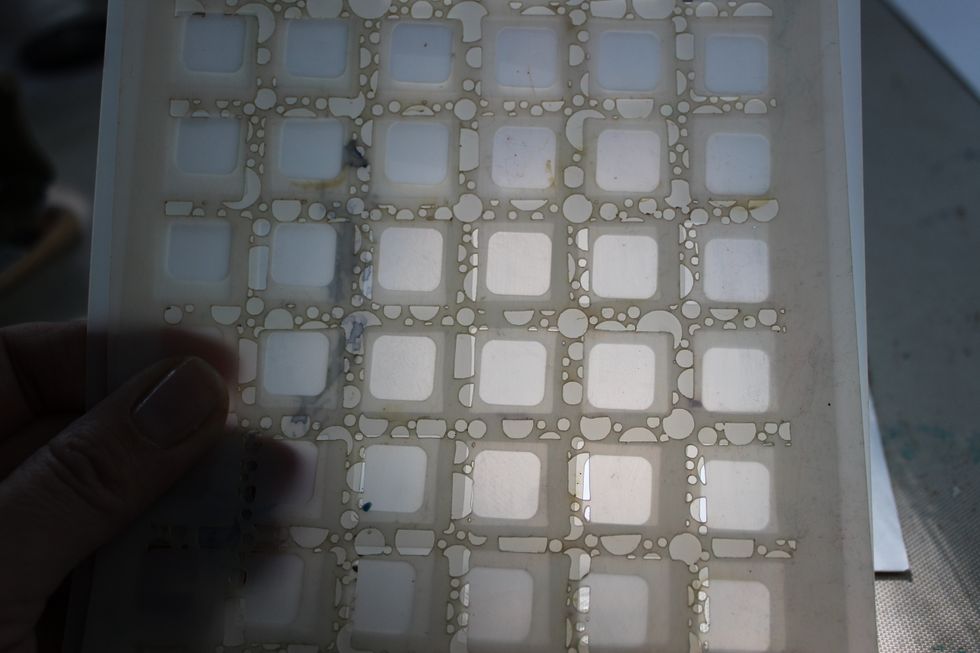
While that's drying, we are going to work with one of Art Anthology's new Stencil Stacks. This one is called "Off the Grid"
First I started with the larger squares.
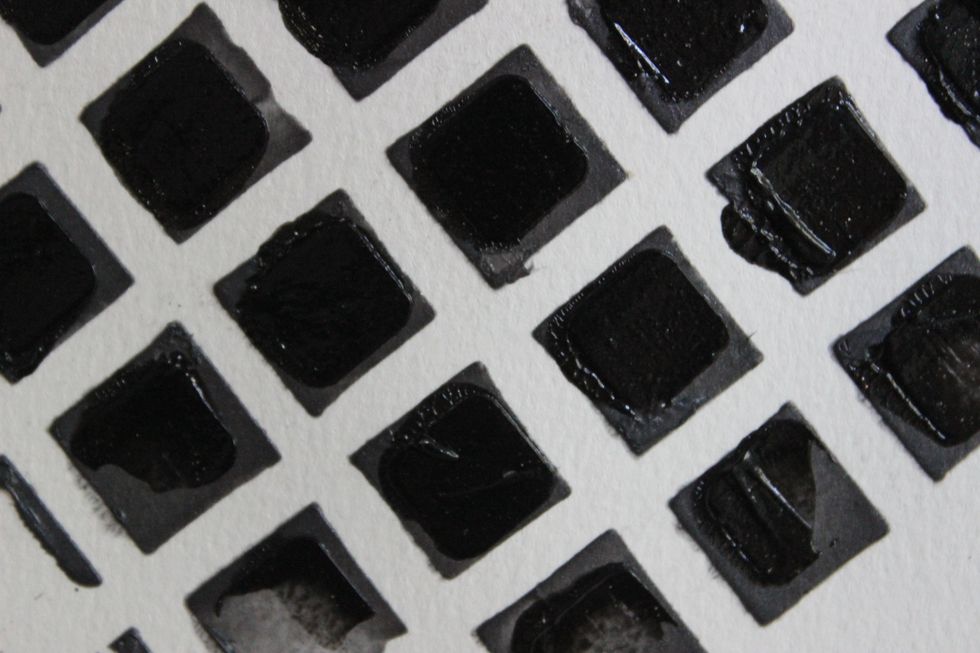
Sorry, I didn't take a photo the actual step. But on a 4x6 piece of paper use a palette knife and apply Velvet in Ash by simply swiping the color over the stencil and then lift stencil off the paper
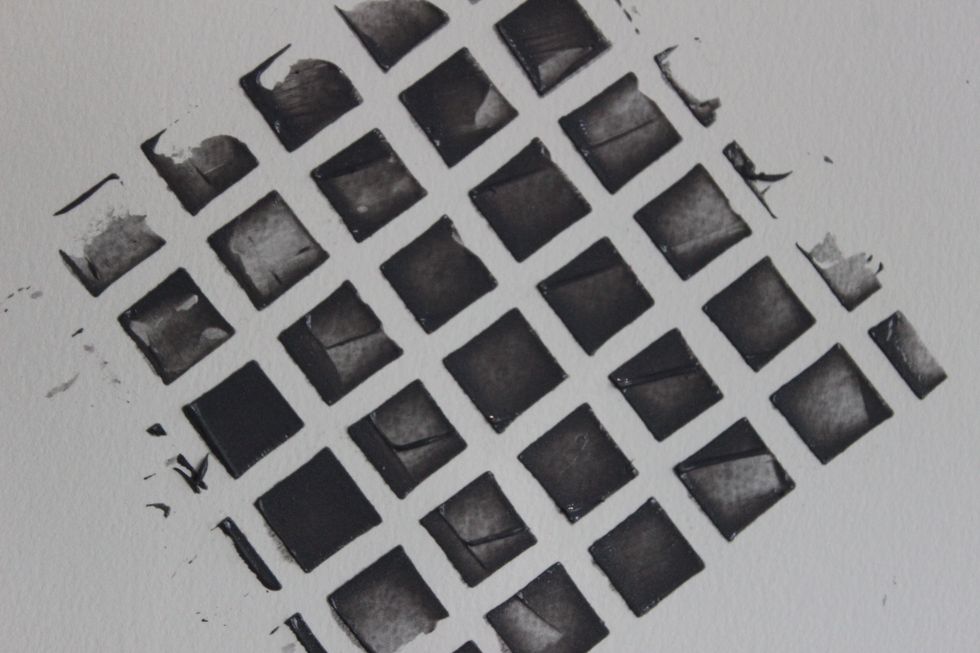
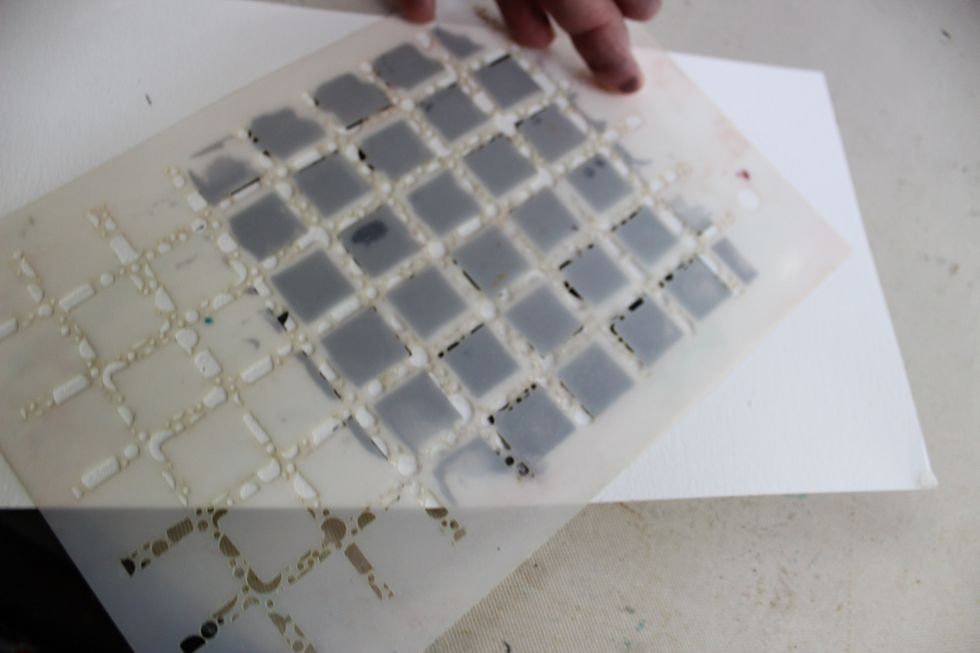
When you lift the stencil this is what you should see.
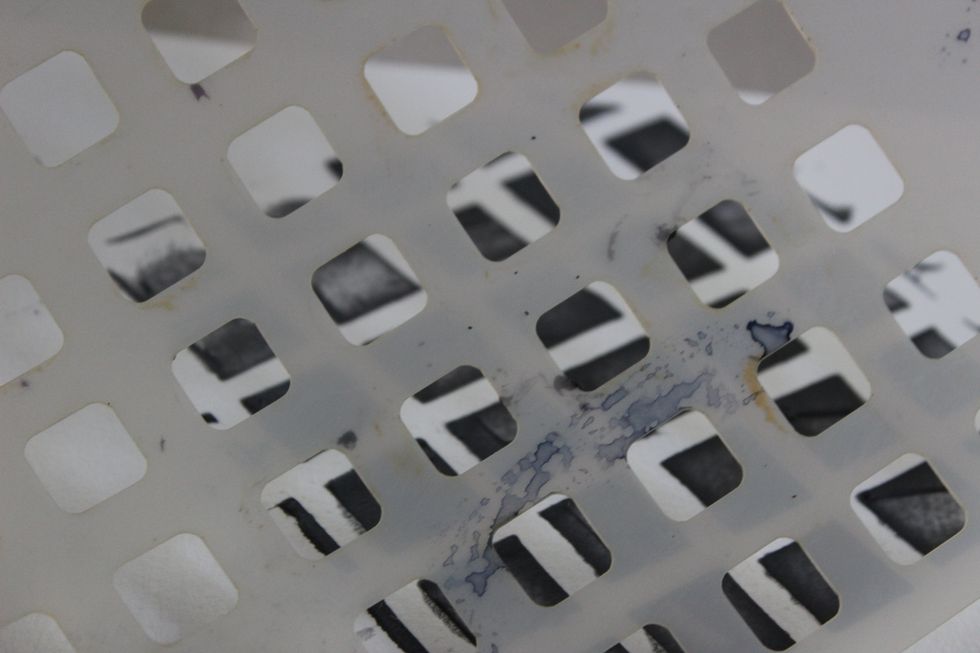
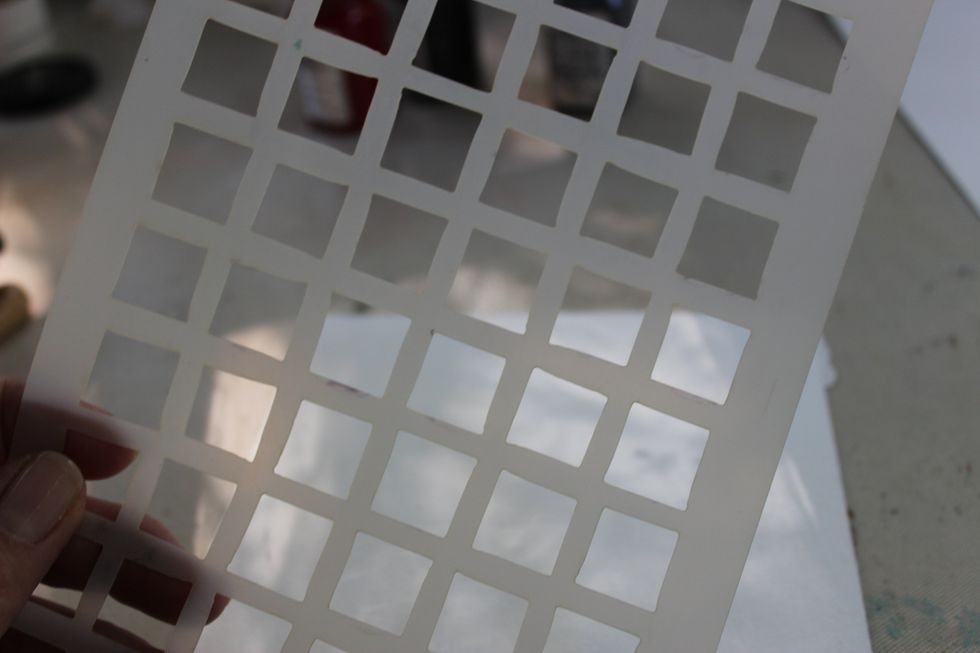
Then I used the smaller square stencil from the stack kit.
Place it over the dried image. I lined it up to make sure if was squared center.
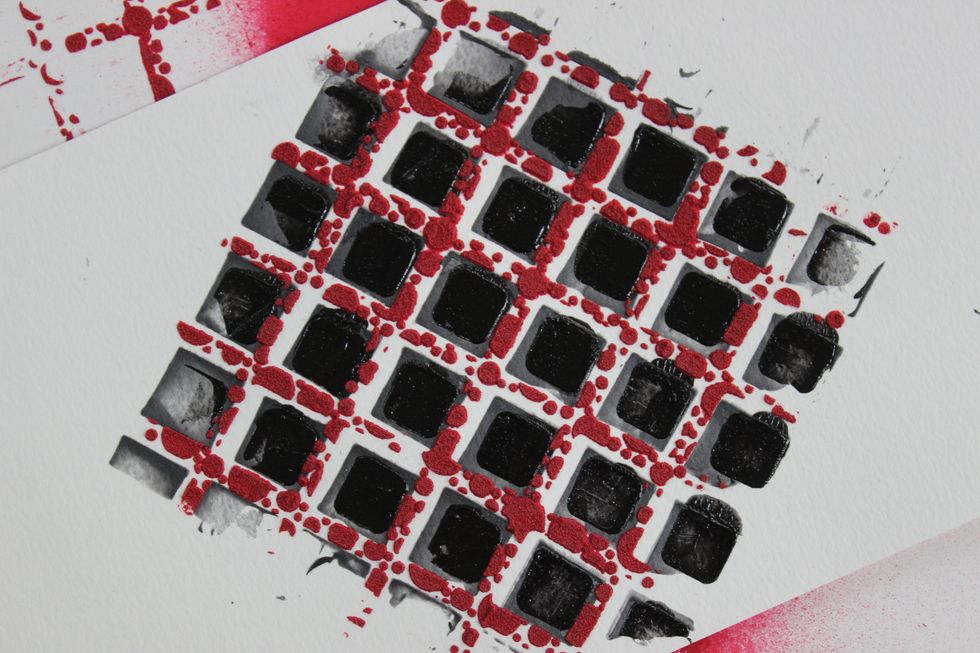
Then using the same technique of swiping the color on with a palette knife I applied Sorbet in Black Leather Jacket. It almost makes a 3 dimensional image.
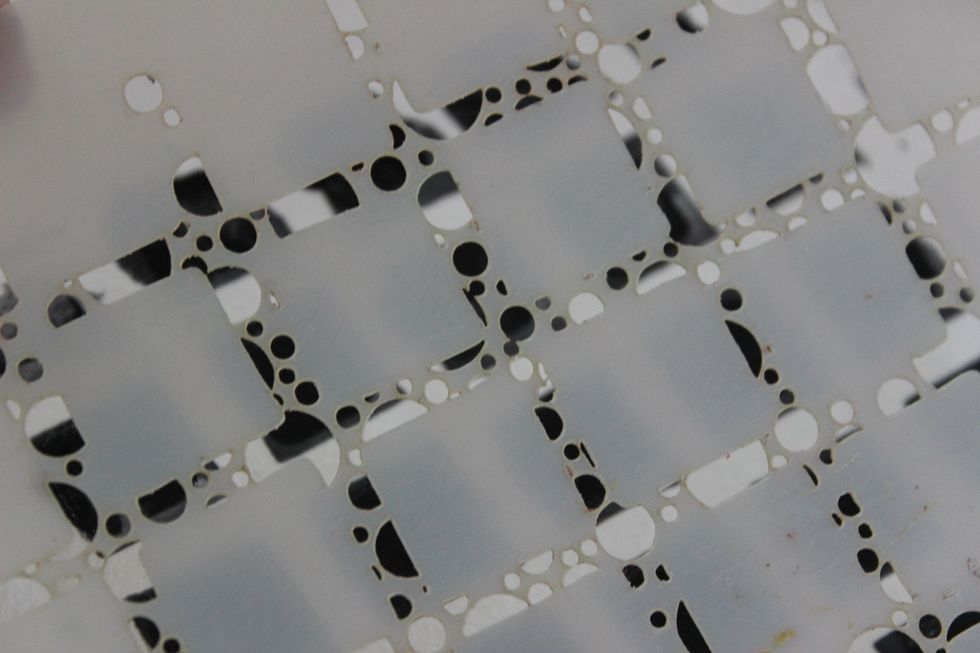
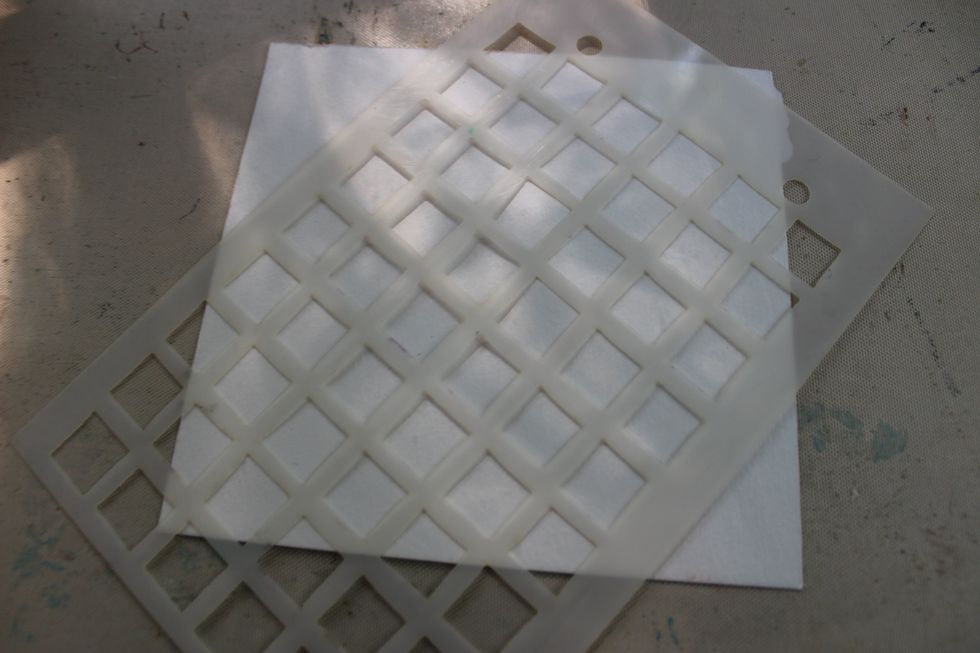
The next step is with the 3rd stencil from the stack kit.
Place it over the other image from the stencils. I lined it up so it was centered in the areas in between the squares. For this step I am going to use Stone Effects in Lava.
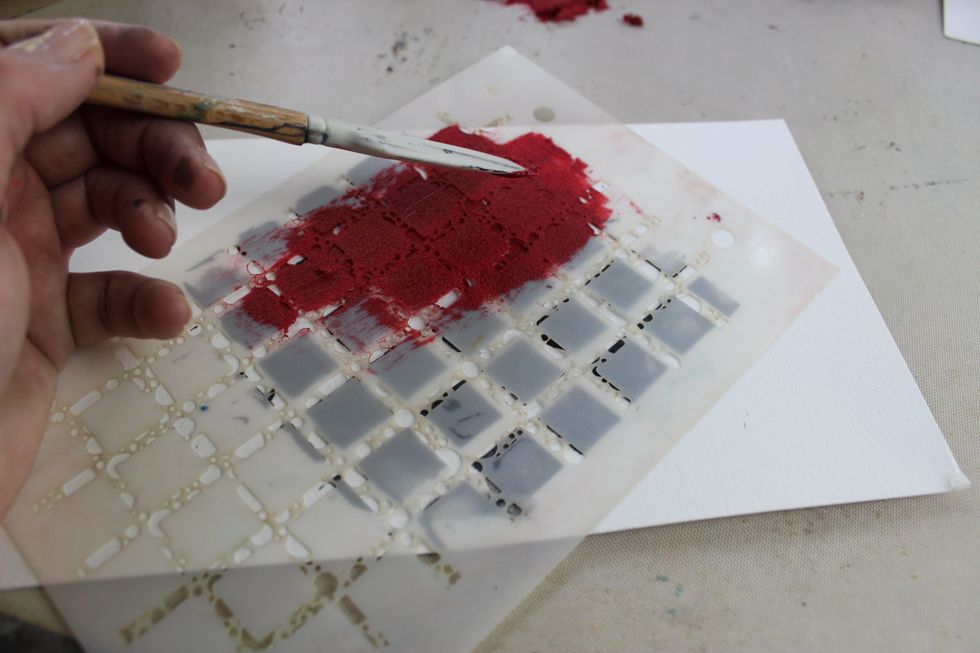
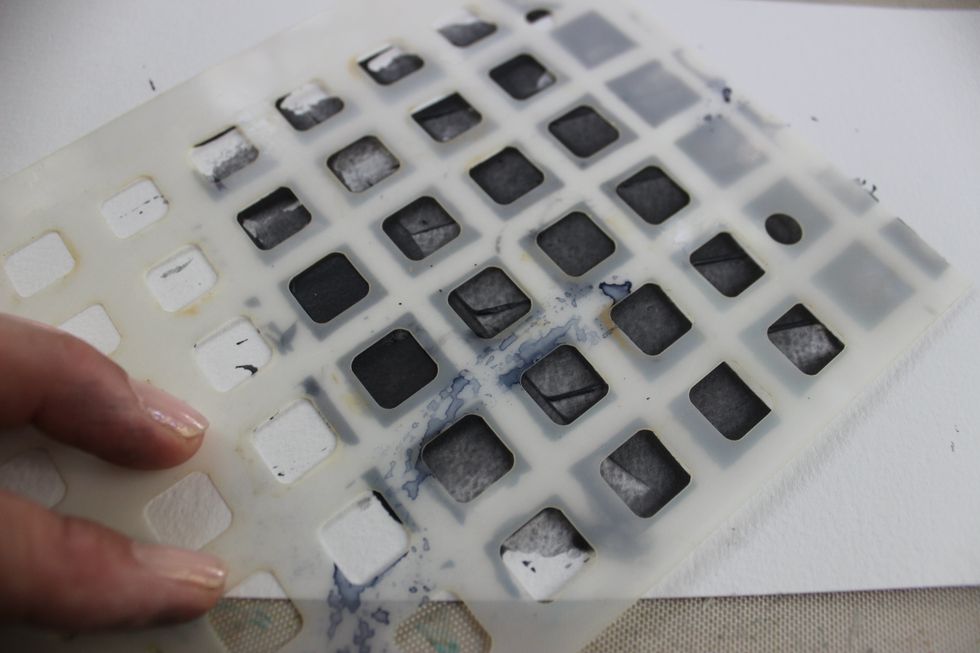
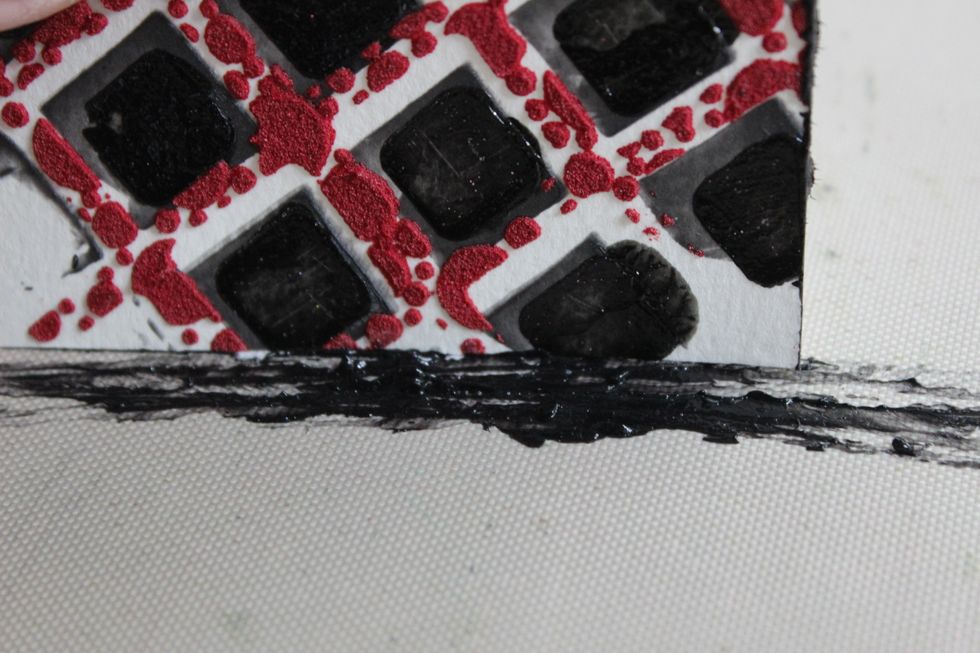
Here is a photo of the technique I use to apply the products over the stencils. I always go in one direction when applying the product. So for example only go from top to bottom or from left to right.
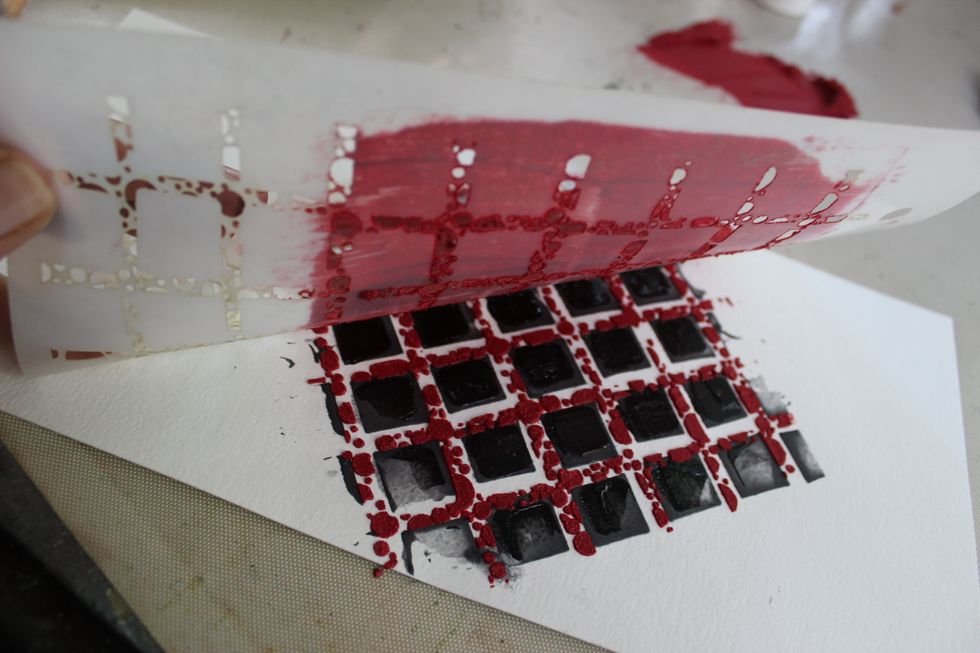
Once you have applied it over the entire area you chose remove the stencil. The quicker you are while doing this technique the better. That way the product will not bleed under. Set aside to dry.
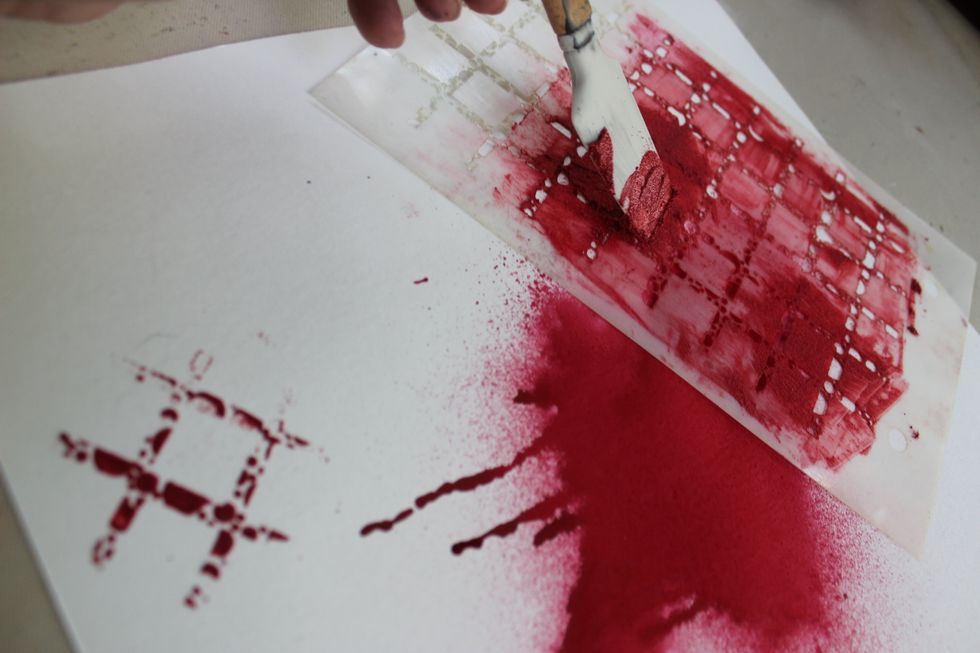
I then went ahead and added a few spots of the image from the stencil on other areas of the 12x12 sheet.
This is what it looked like after I applied random areas of the image.
Once this sheet was dry I went ahead and trimmed it to about a 3.5x3.5 piece.
To edge it I simply added some Black Leather Jacket to my Art Anthology craft mat. Then I ran the edges over the color.
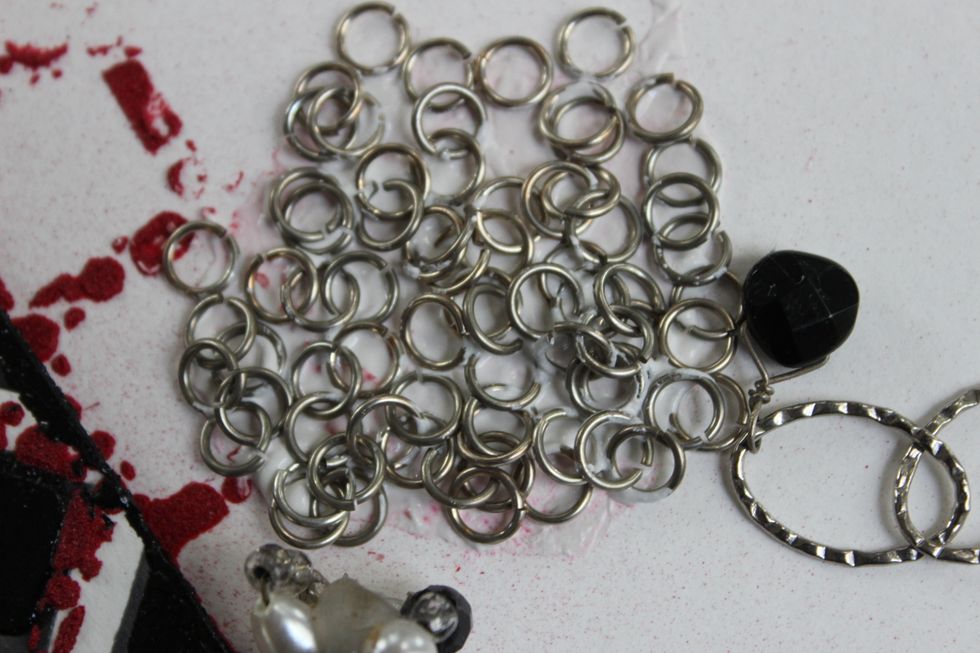
Now it's time to start piecing together all the pieces of the layout. I used a handful of trinkets for this layout.
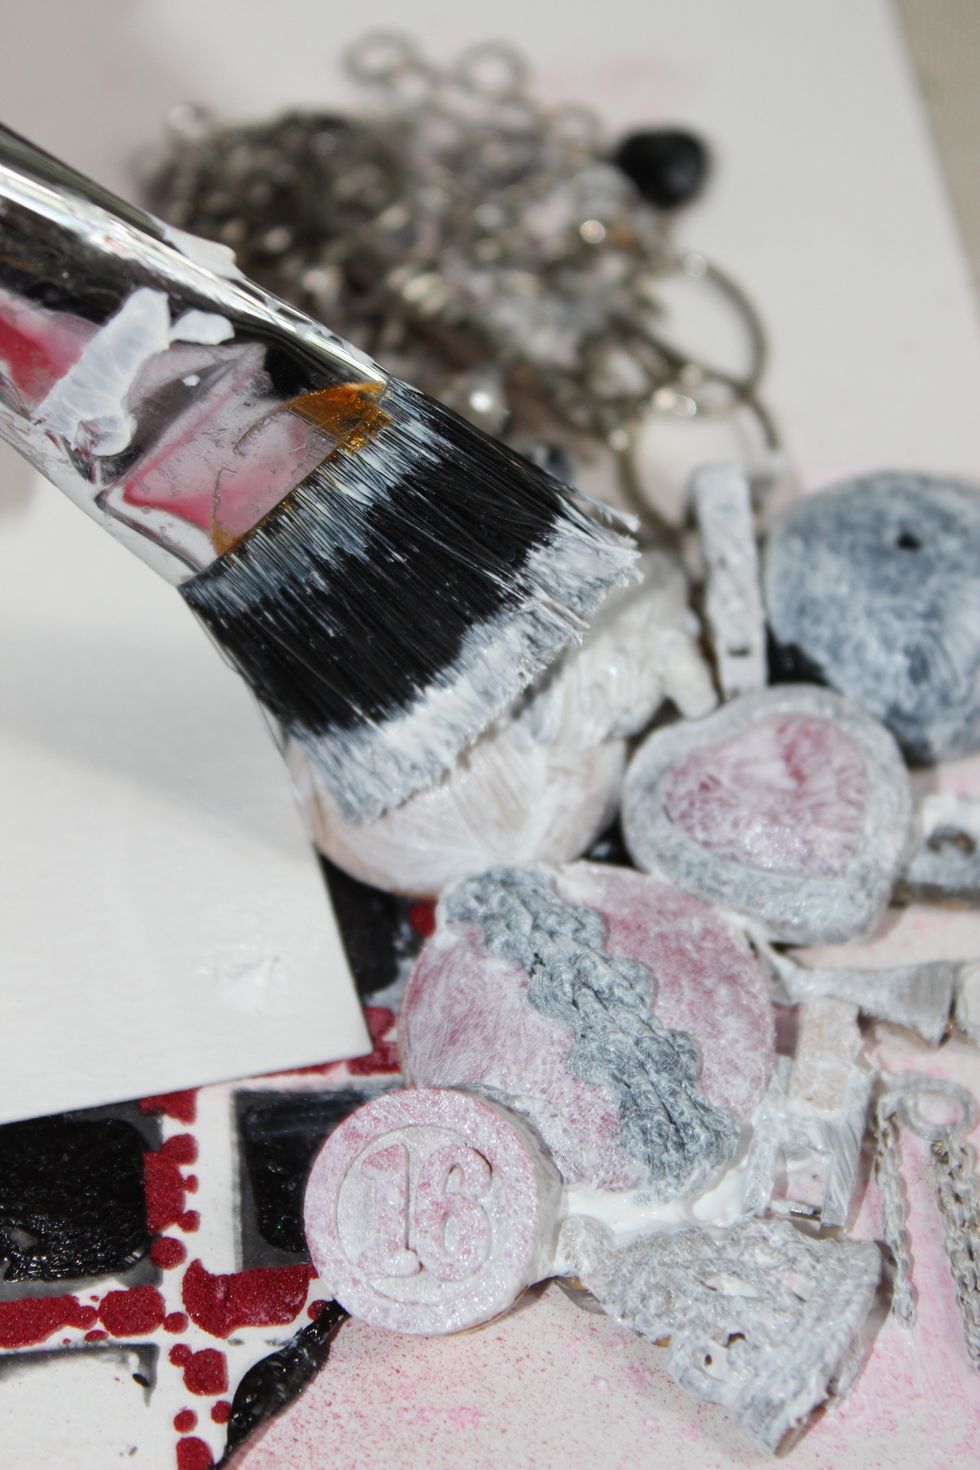
After hot gluing all the pieces to the layout, I went over them with Gesso.
I did do two coats of Gesso.
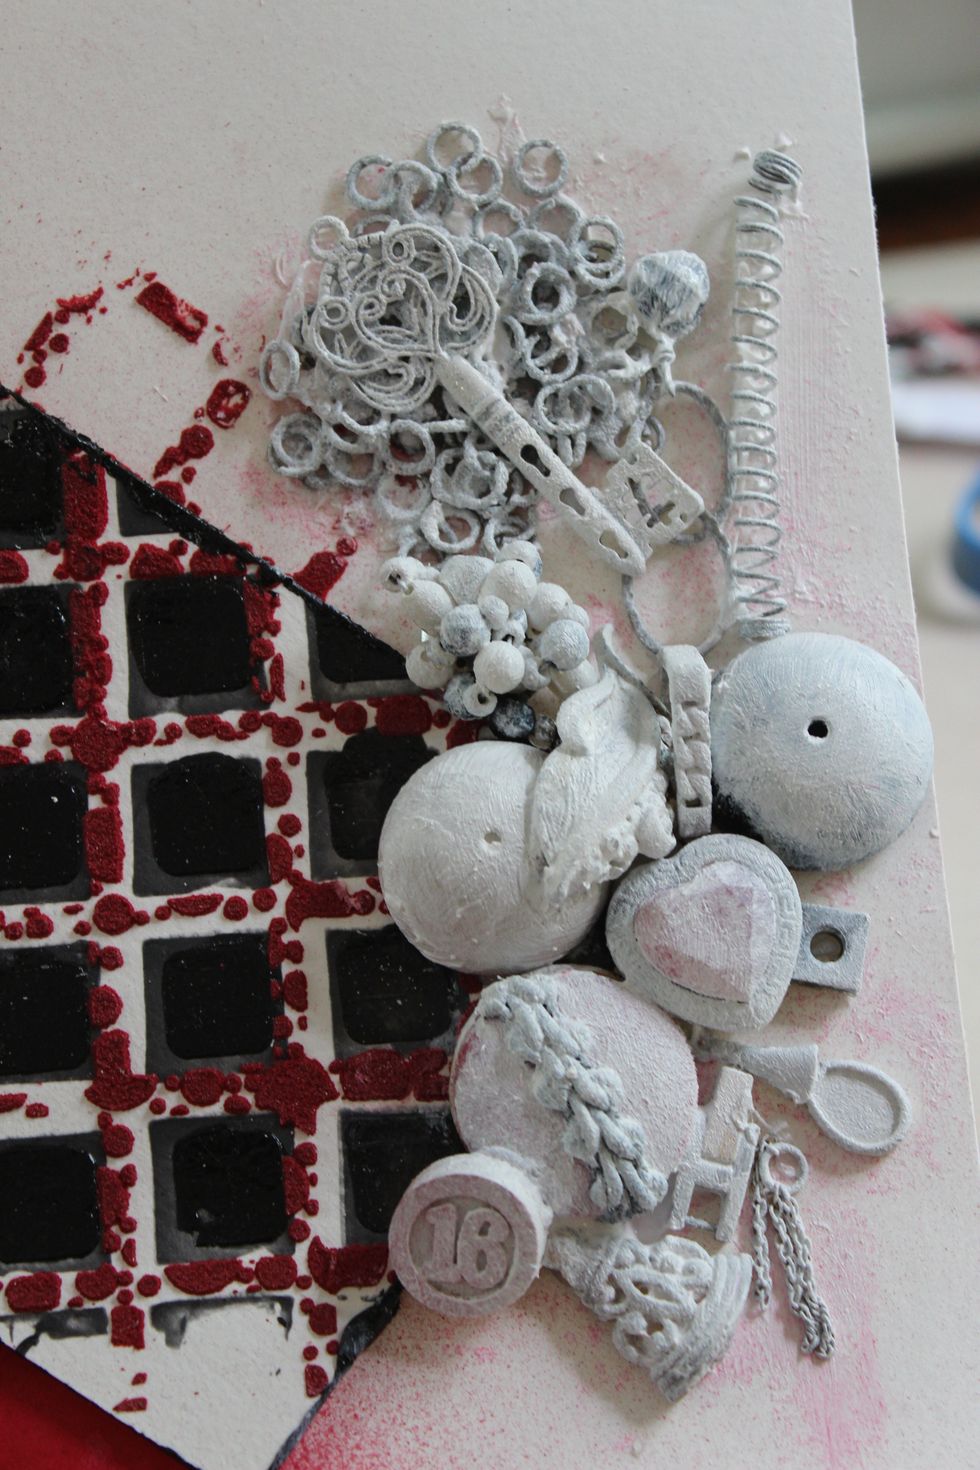
This is what it started to look like.
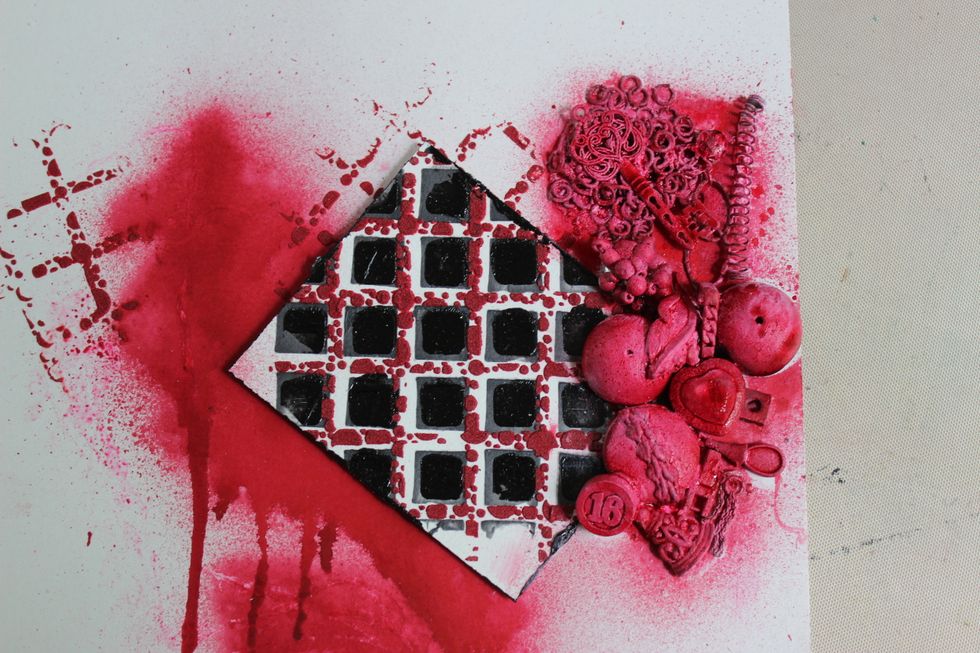
Here is the entire layout.
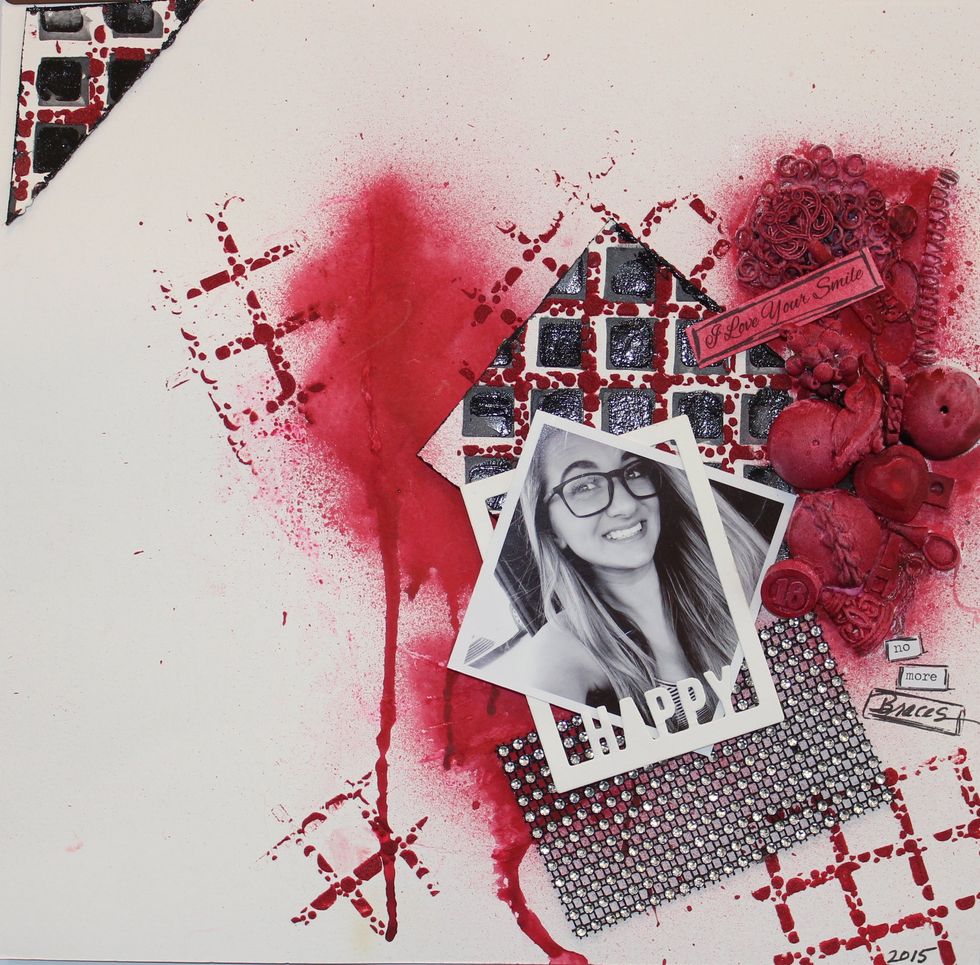
Here is the finished layout! SMILE!!!!!

http://www.roxannedondanville.com https://www.facebook.com/roxydondanville