The Conversation (0)
Sign Up
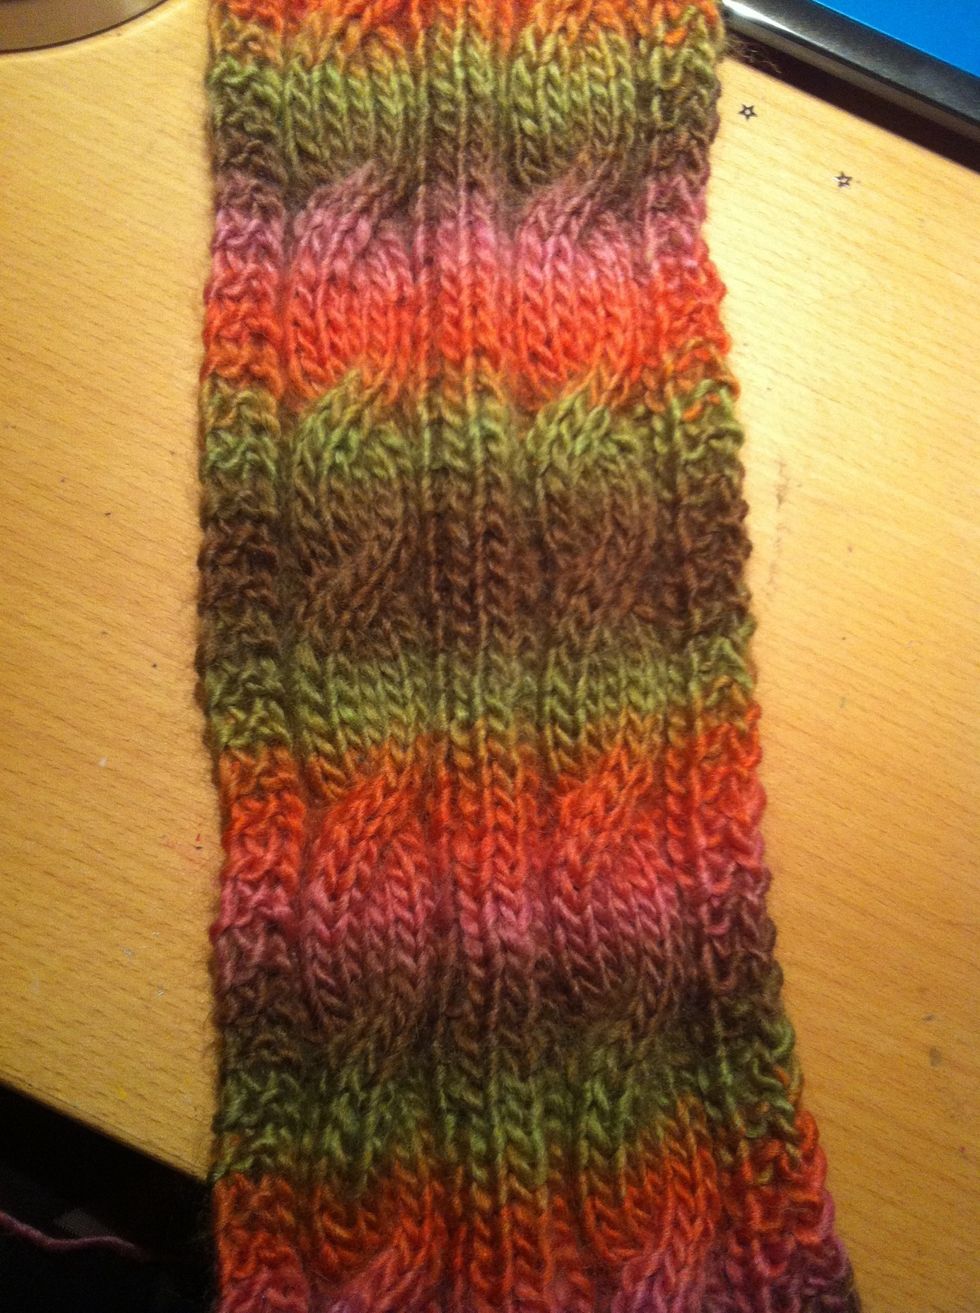
This is what the scarf looks like after a number of repeats! :-) I love the gradient of the wool, but this would look great with just one colour too.
This is a 10 row pattern. But there are only 3 varieties of row to know. The odd number rows 1,3,5,7 & 9 (wrong side) The even number rows 2,4,8 & 10 (right side) and the cable row 6
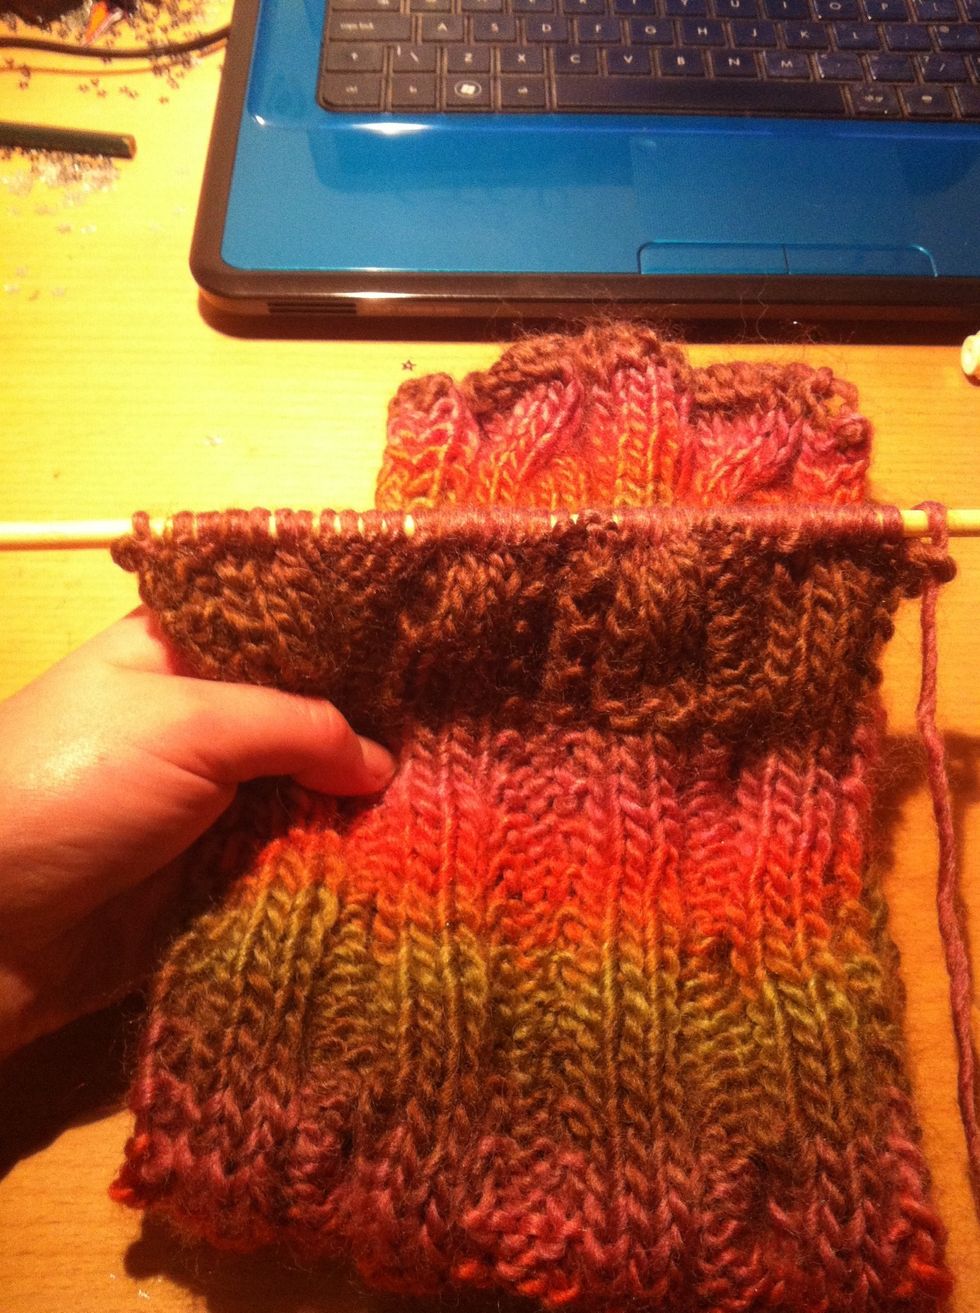
Start by casting on 36 stitches for the two cables. You could use a chunky wool and only cast on 18 sts for a single cable which is also really nice.

Row 1,3,5,7 & 9 are as follows: *P1 K1 P1 K3 P6 K3 P1 K1 P1* (Only repeat for double cable design)
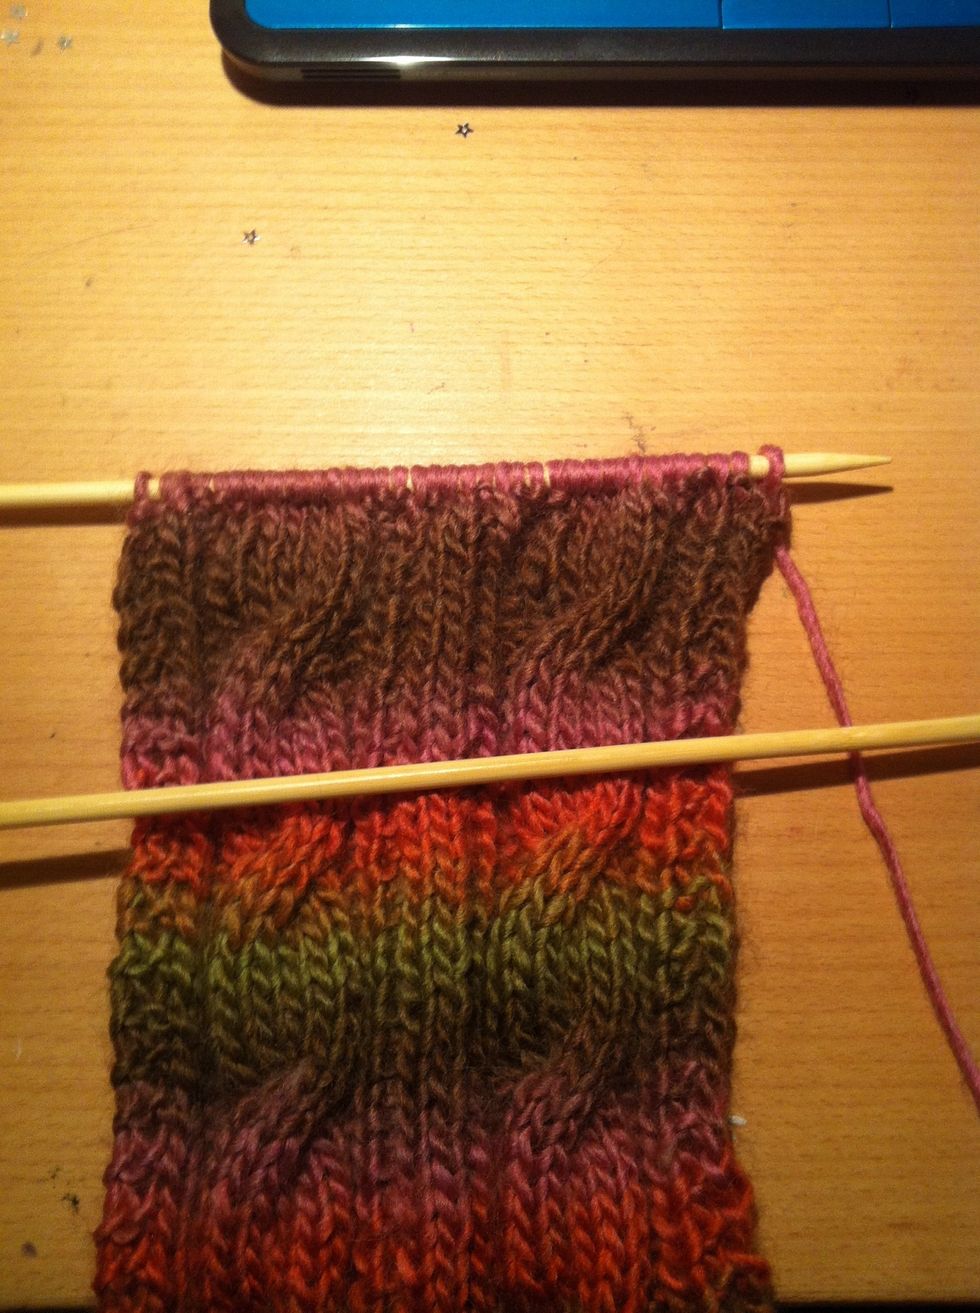
Now turn your work for the right side row (2,4,8 & 10) *K3 P3 K6 P3 K3* (Only do repeat for double cable design - which is what is pictured)

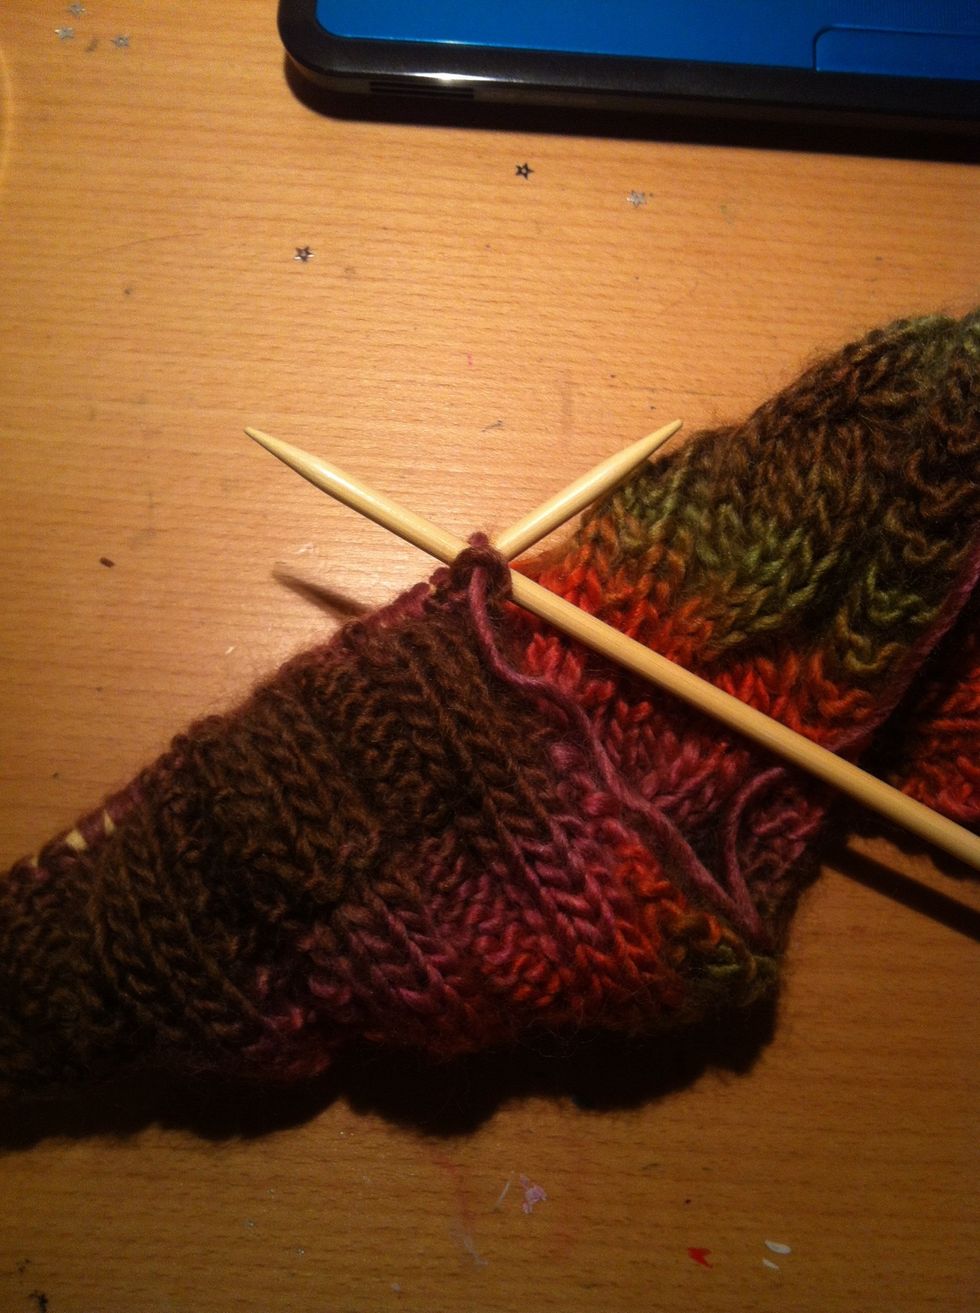
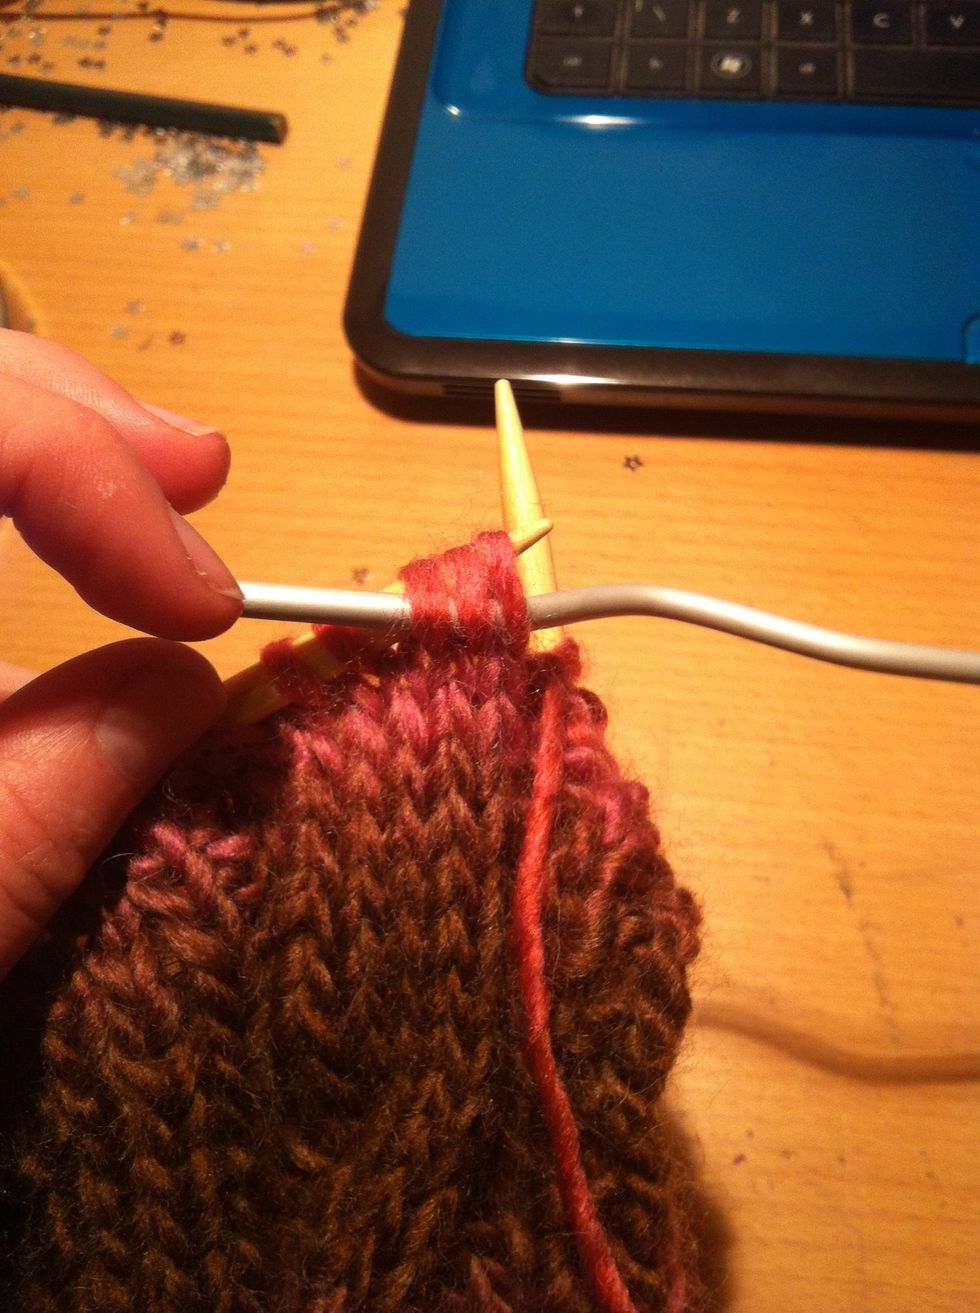
Now after row 5 grab your cable needle. I believe mine is 5 or 5.5mm

Start the same as you would the other right side rows with: K3 P3.
Now slip the next 3 sts from the left needle onto the cable needle.

Hold the cable needle behind your work and knit the next 3 sts on the left needle. Don't worry about dropping the cable sts, they should sit in the curve. If they don't try a slightly bigger needle.
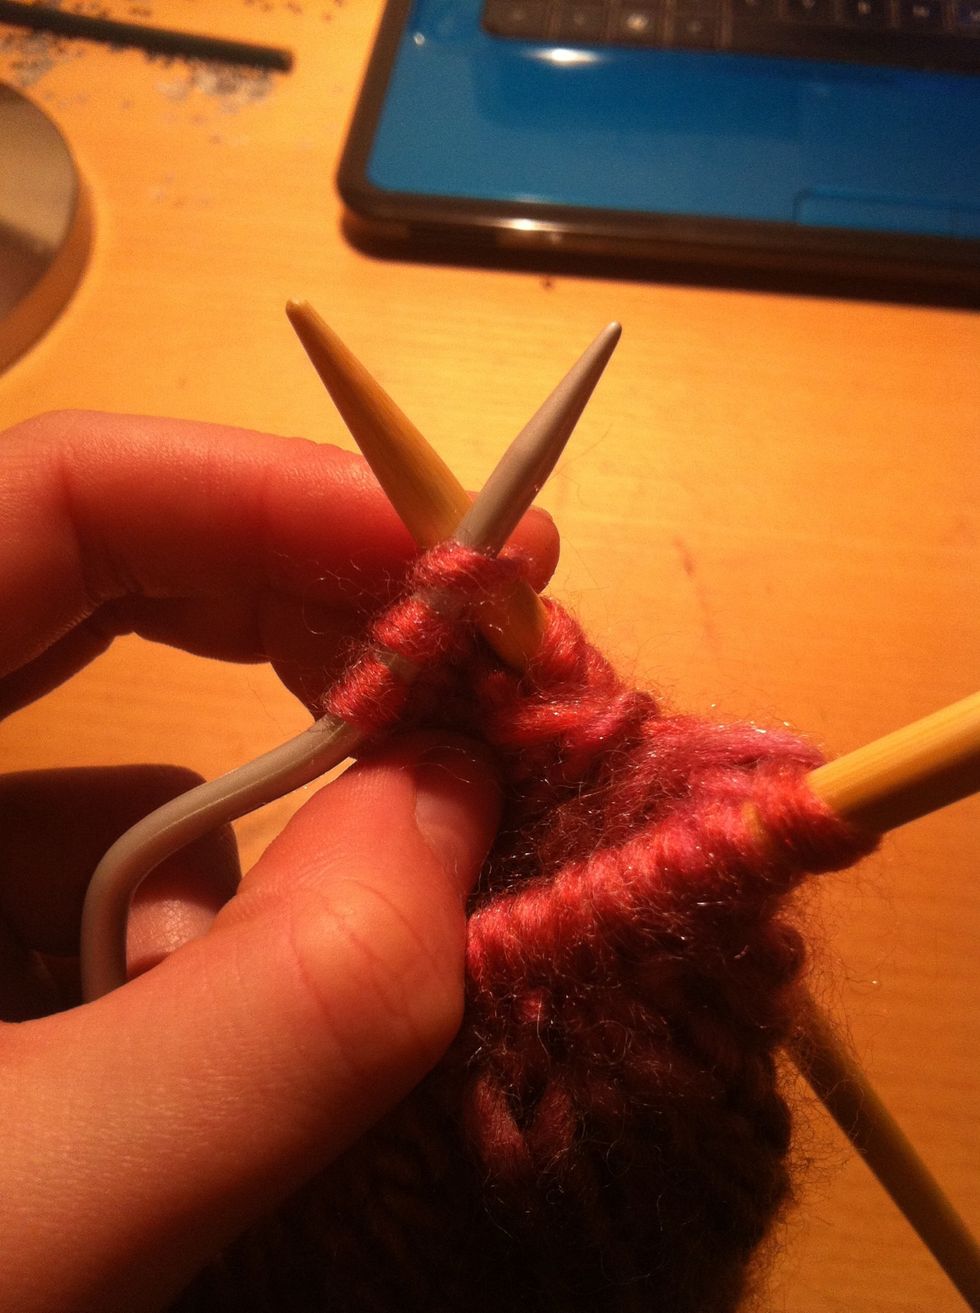
Now knit the 3 sts on the cable needle.

To end this repetition: P3 K3
So the full pattern for the cable row is: *K3 P3 slip 3 K3 CB3 P3 K3*

Repeat the 10 rows until your scarf is the desired length and then do a standard knit wise cast-off, and you're done!
Thanks very much for checking out my first guide. I'd love to do more so feel free to comment a request for a pattern/project etc! I'll also do my best to answer any questions you may have :-) x