The Conversation (0)
Sign Up

Create your own iBook using iBooks Author.
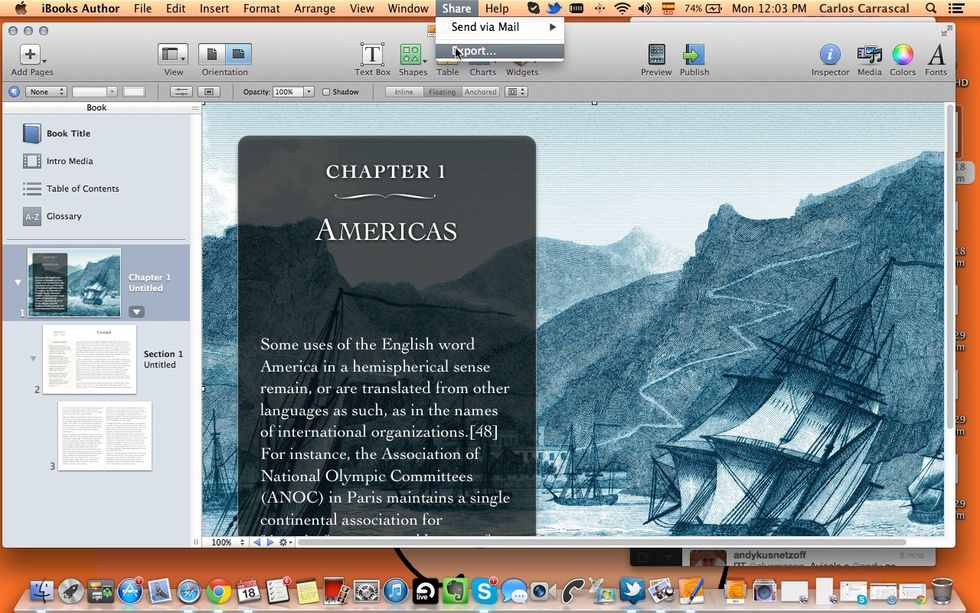
When ready, choose Share > Export, and select the PDF format. Create a PDF file for viewing only onscreen (not as a printout).
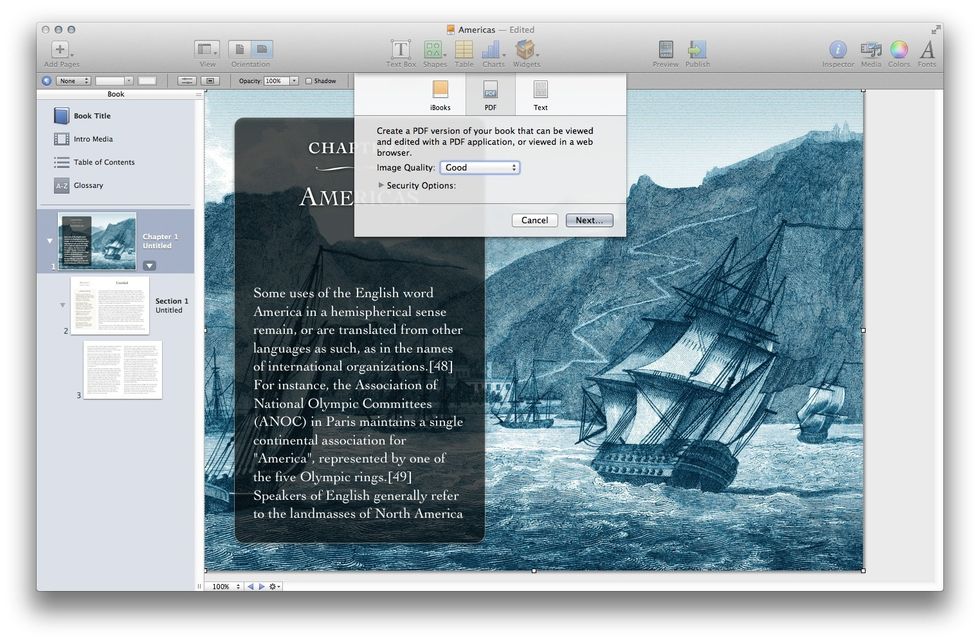
Select image quality and security options and click Next.
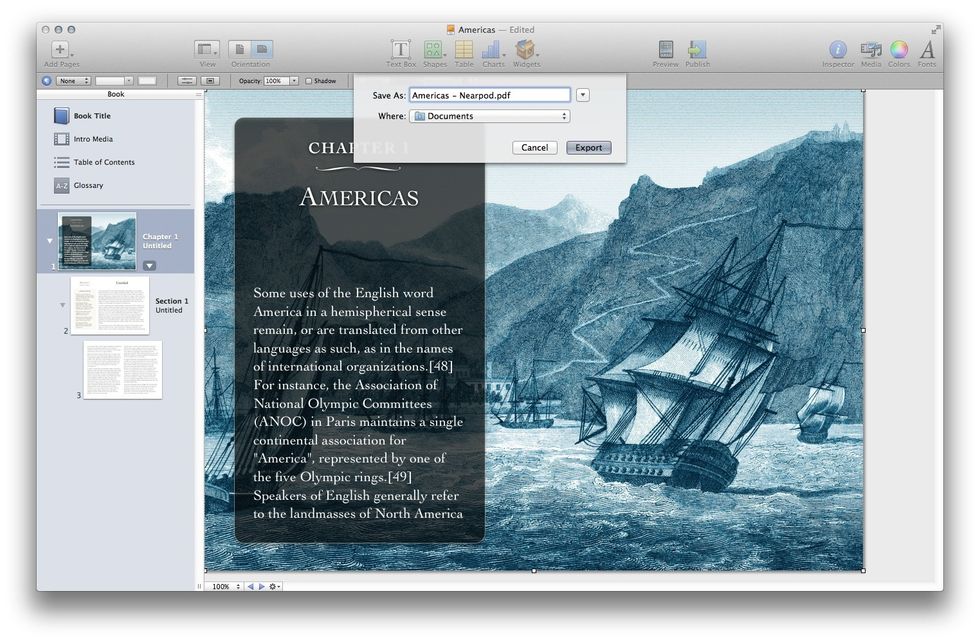
Type a name and choose a location for the file, and click Export. PDF ready!
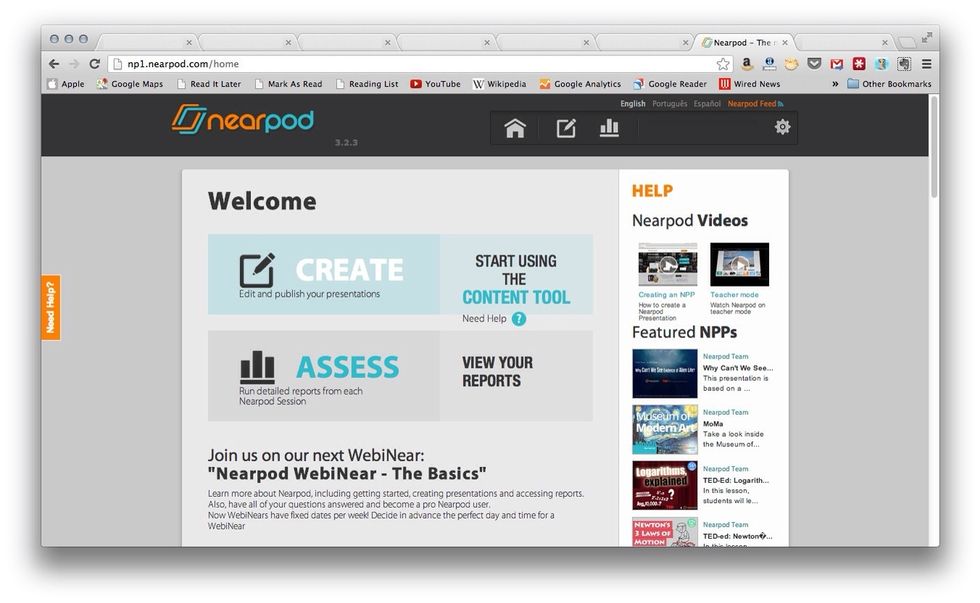
Go to nearpod.com and log in to the Content Tool.
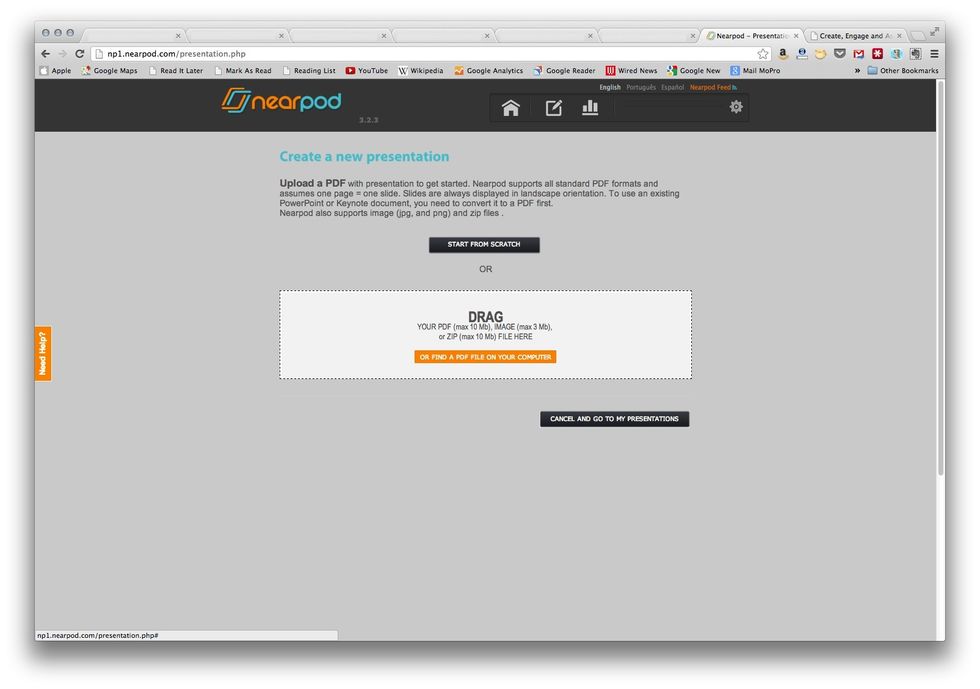
Start a new presentation.
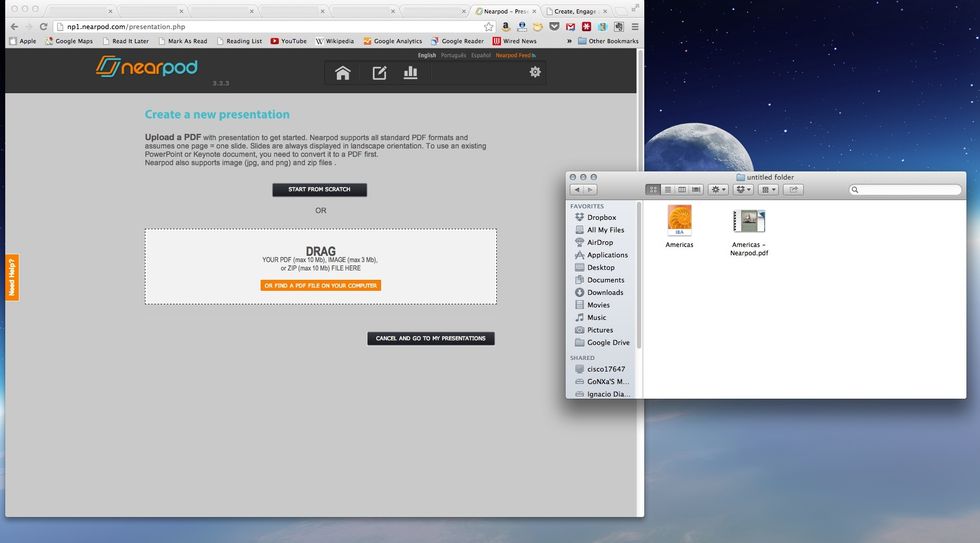
Drag and drop the PDF from your computer to upload the iBook to Neapod.

You can add as many interactive features as you'd like.
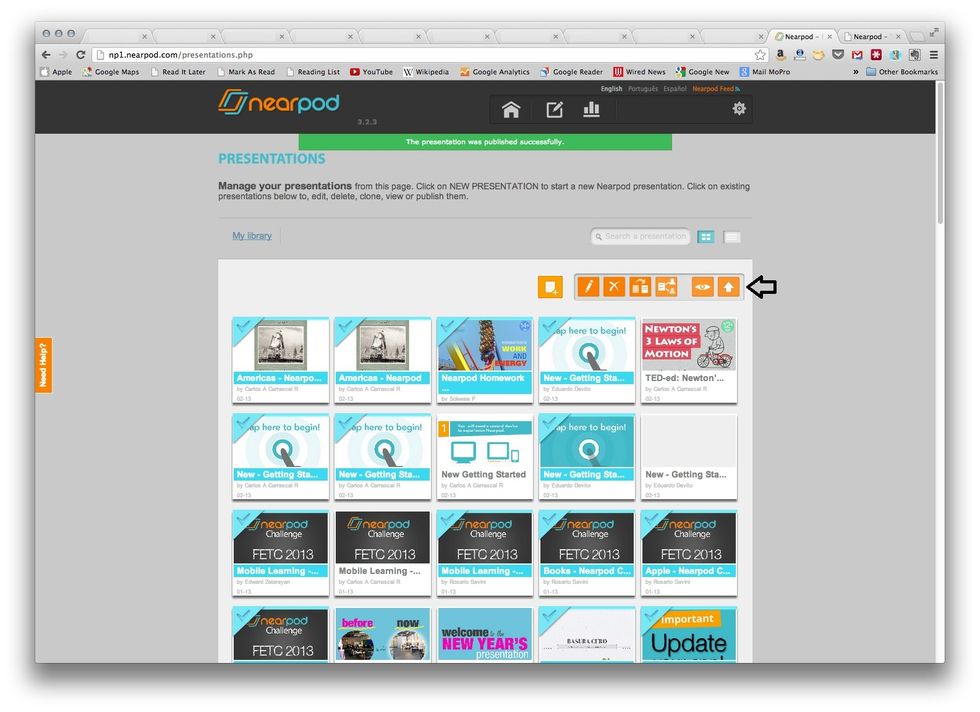
Once you have finished creating your NPP and are ready to publish it, select it and it will appear highlighted in blue. Then press the Publish button. iBook integrated :)