The Conversation (0)
Sign Up
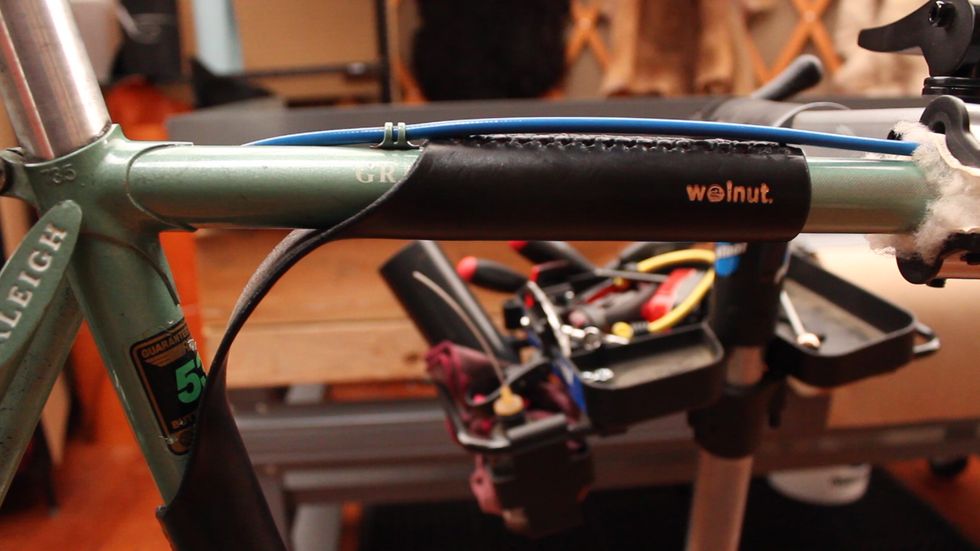
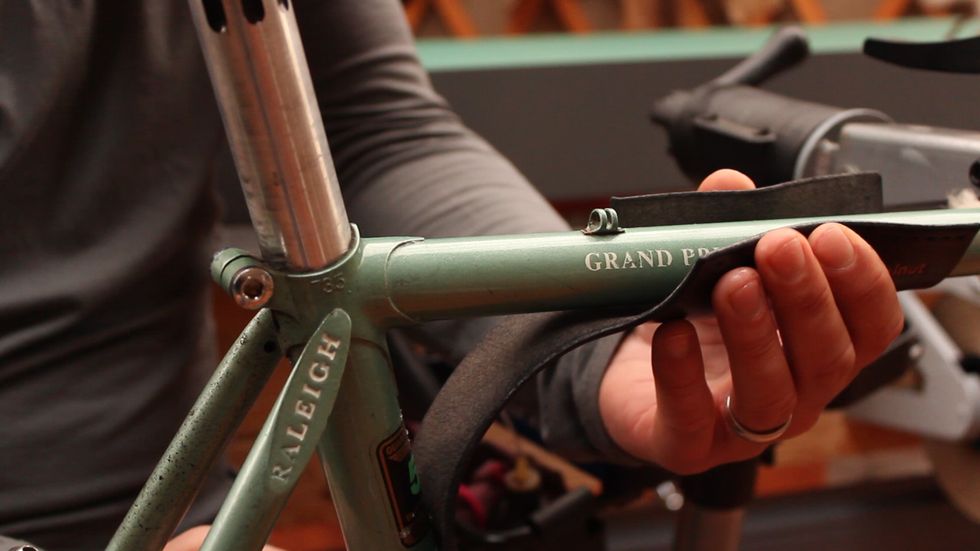
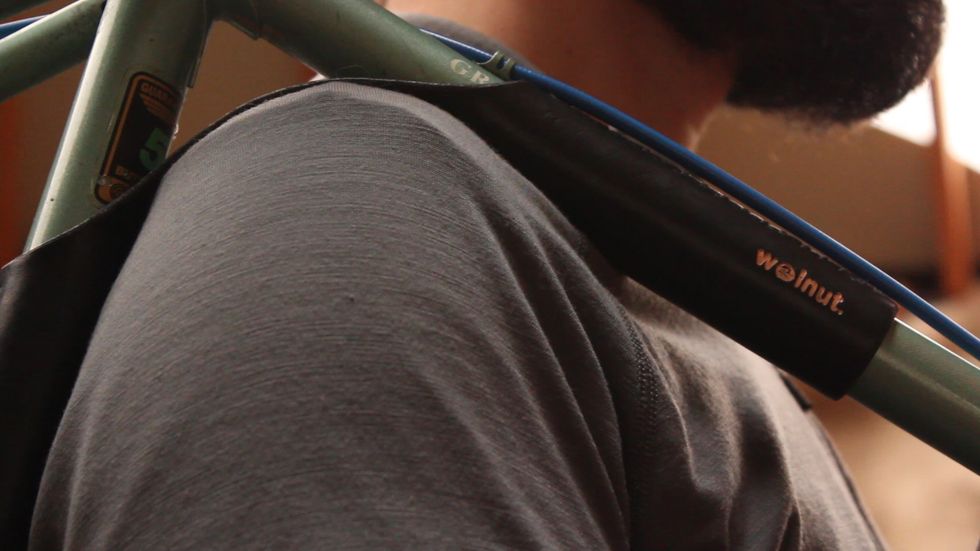
This is the portage strap, which is designed to help you carry your bike on your shoulder.
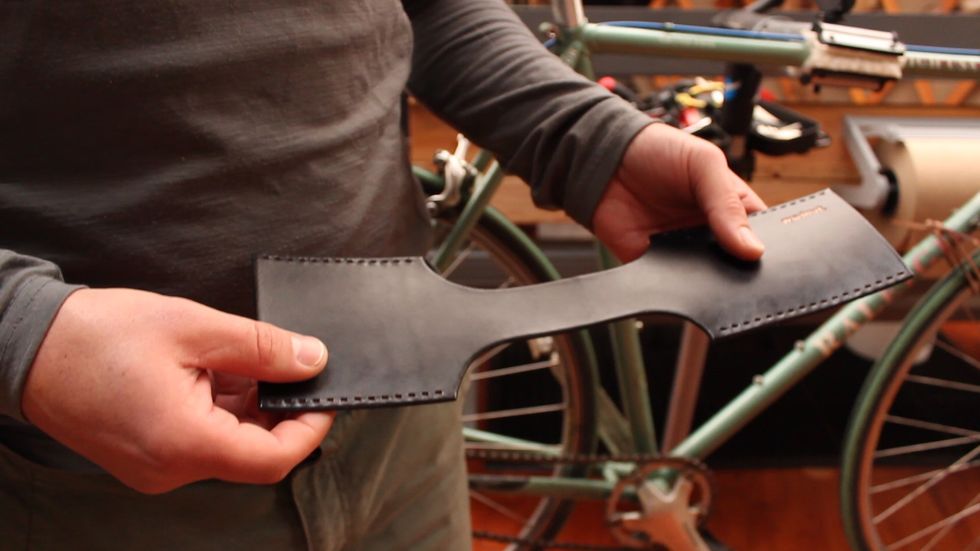
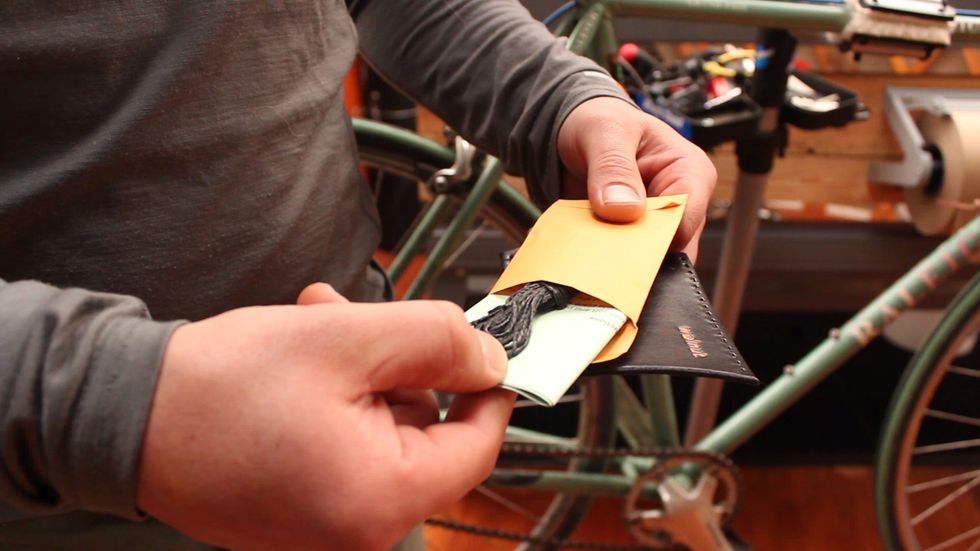
It looks like this when you receive it, a leather strap, and a packet with needle, thread, and instructions.

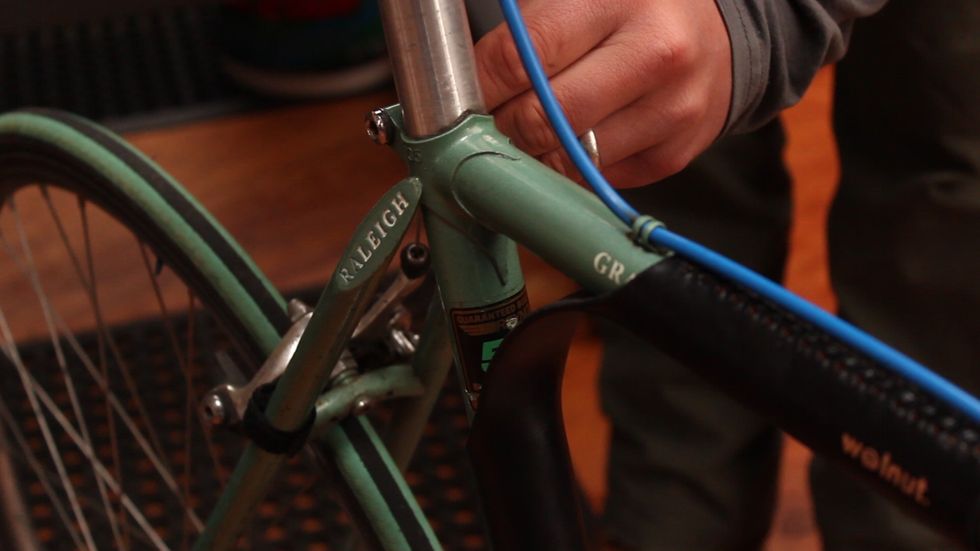
It gets stitched on the top tube and seat tube like so. You want to be sure when ordering that your top tube is 1 1/8" and that the cable stays aren't positioned where the portage strap would go.
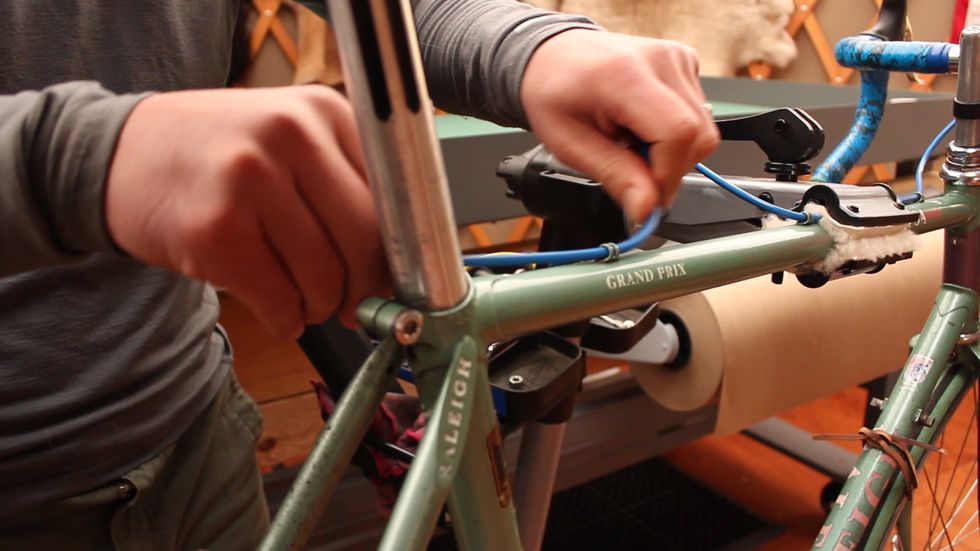
For installation, we're simply going to move the cable housing out of the way while we stitch it on and then reconnect it when we're done.
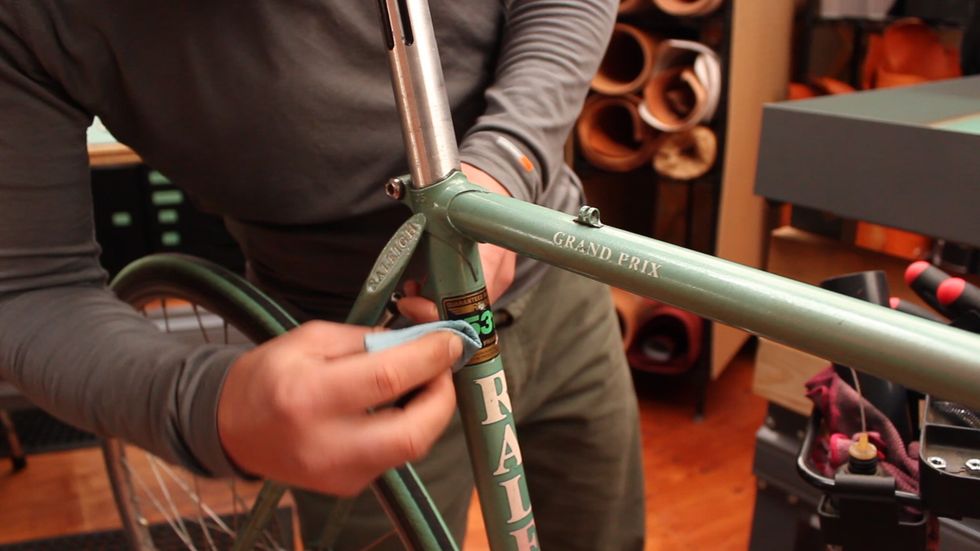
Clean your top tube and seat tube where the portage strap is going to go with rubbing alcohol or warm soapy water.

Saturate the leather with water, so it's thoroughly wet and pliable. As it dries, it will keep the shape of the tube.
Before you remove the double-sided tape backing, position the strap on the bar to make sure you know where it's going to go.
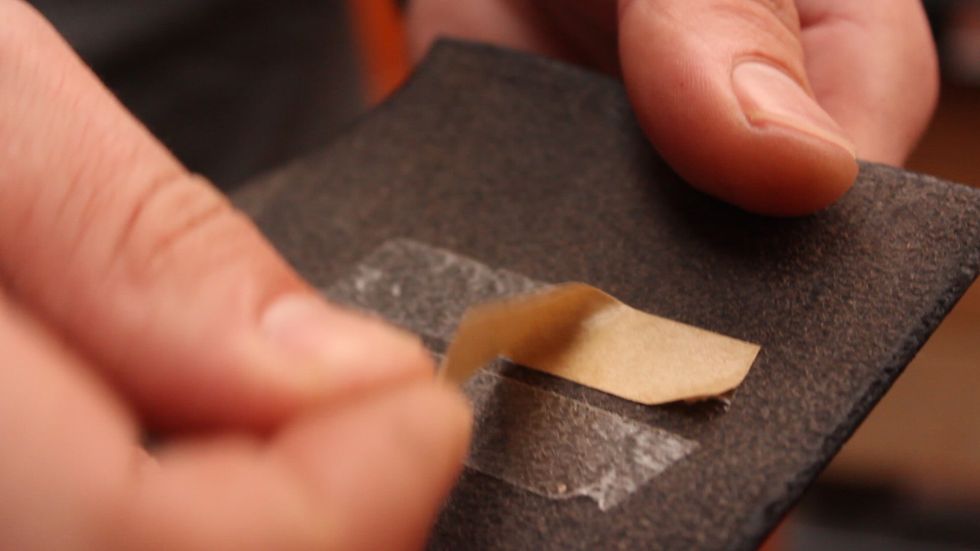
Remove the paper backing of the double-sided tape on the top tube (long) side, which will hold it in place while stitching.
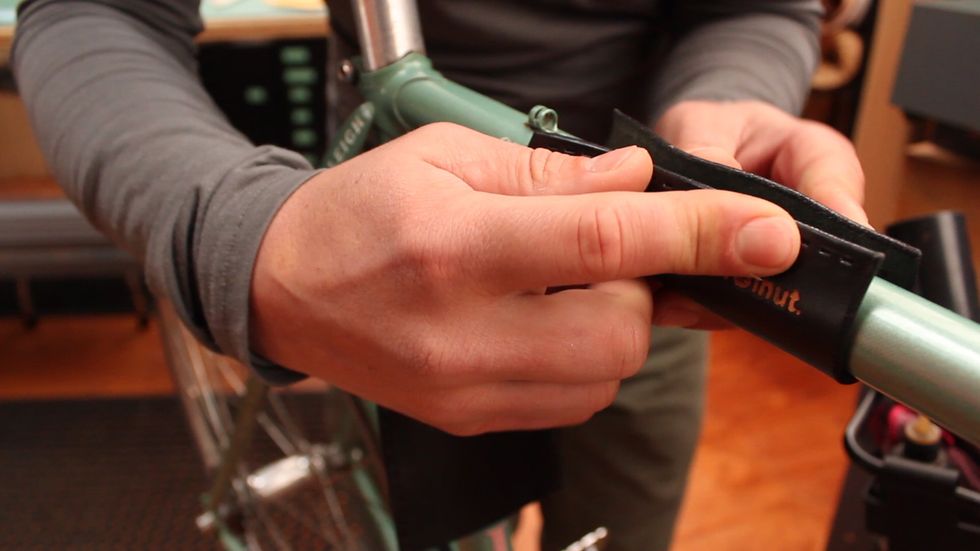
Carefully position the strap on the top tube to make sure it's centered on the bar before beginning stitching.
Cut the included thread in half, one for each side.
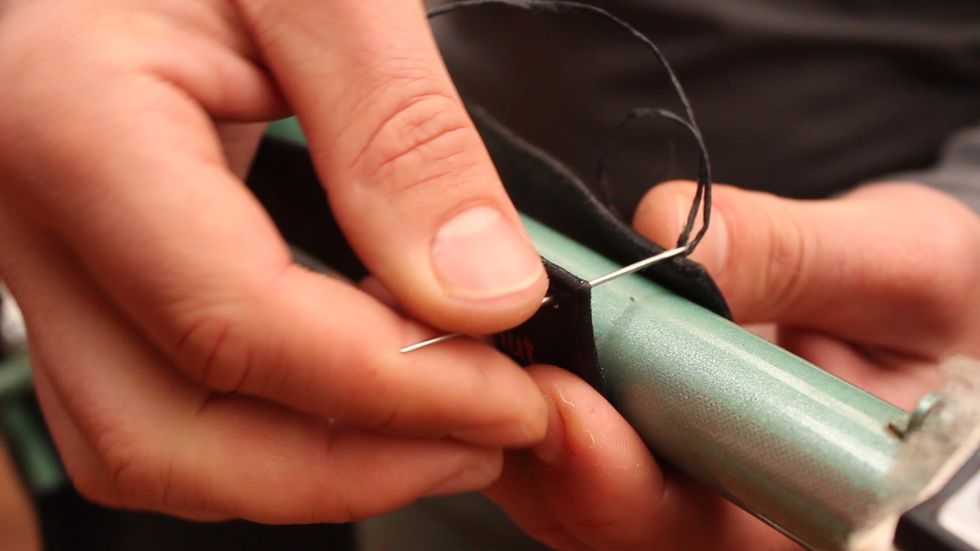
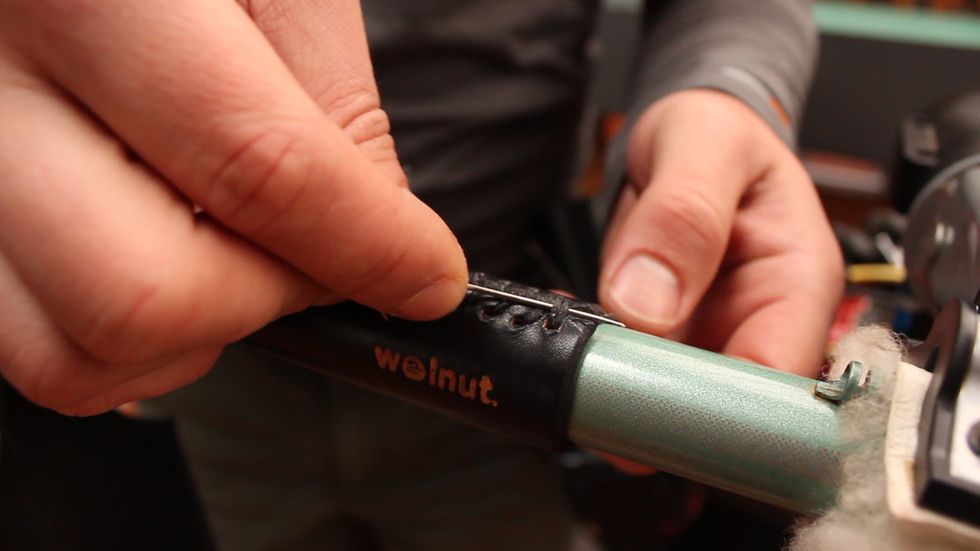
Begin stitching by going out the first hole from the inside. Leave a good-sized "tail" of string, which we'll come back and tie off later.

Stitch through the first hole twice.
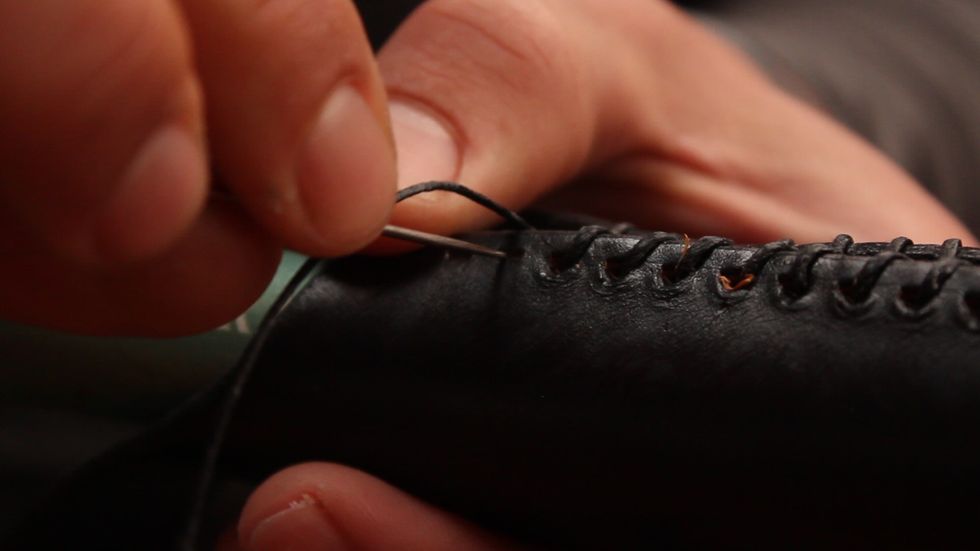
Continue stitching in the pattern of your choice through the end. Leave your stitching loose the first time through, we'll tighten it up at the end.
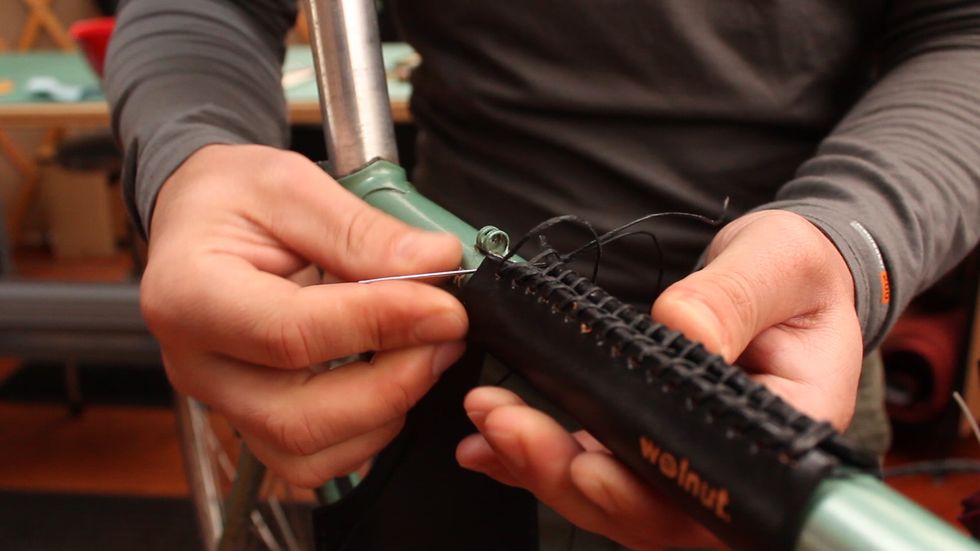
Stitch through the last hole twice.
Now go back through and tighten down the stitching using the blunt end of the needle or a pair of needle nosed pliers.
(Tightening down, continued.)
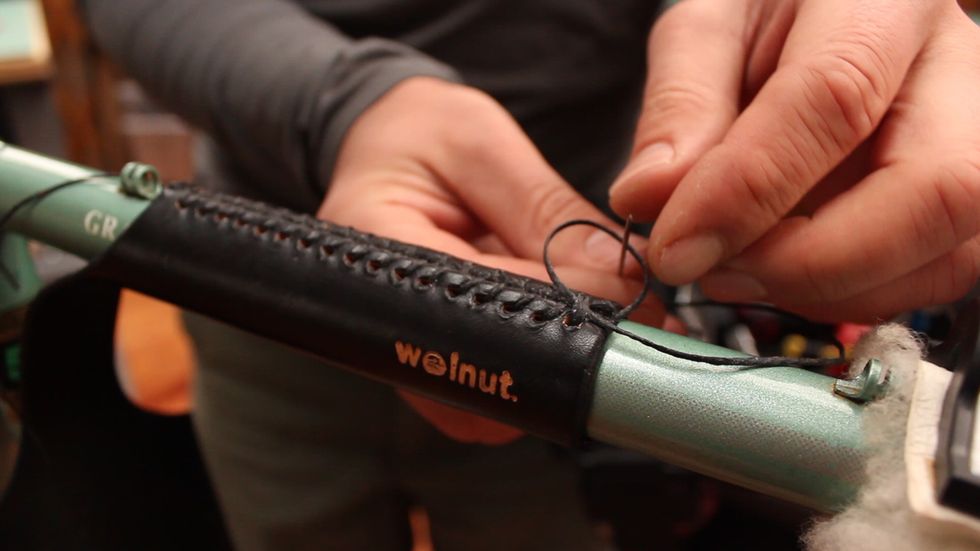
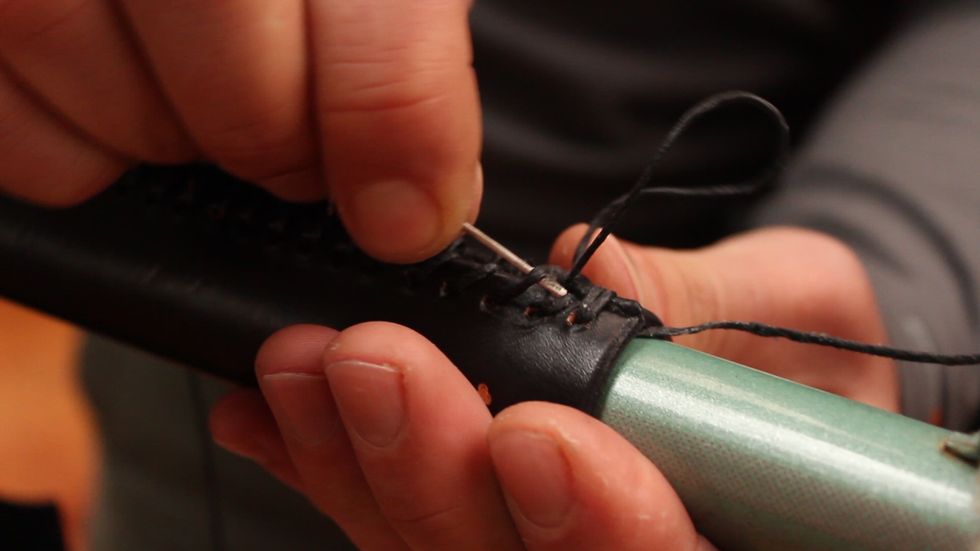
Tie off each end by threading the needle with the "tail" you left and creating a surgeon's knot, going through the knot hole twice and tightening down.

(Surgeon's knot, continued.)

Thread the tail through one of the stitching holes on the underside of your stitching to tuck the knot underneath.
Pull it tight, and...
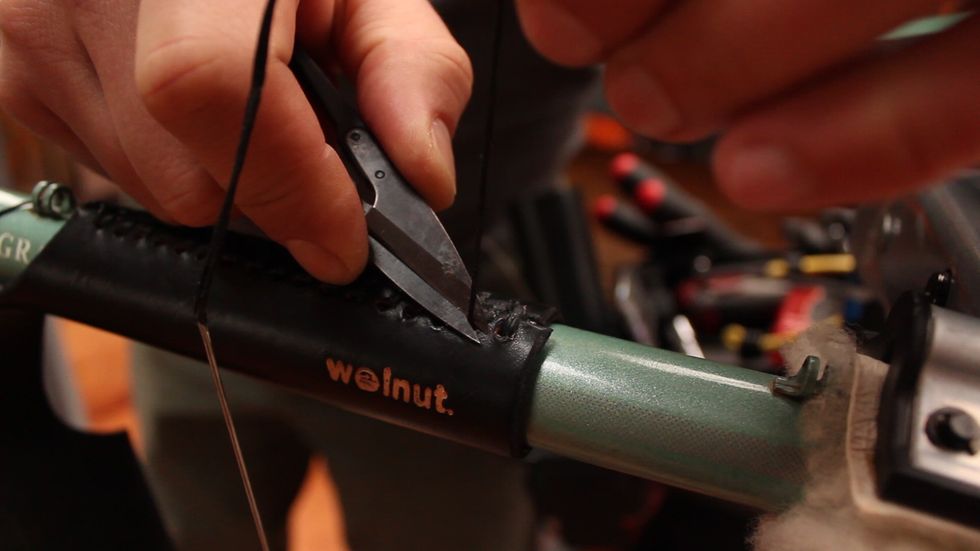
Trim with scissors.

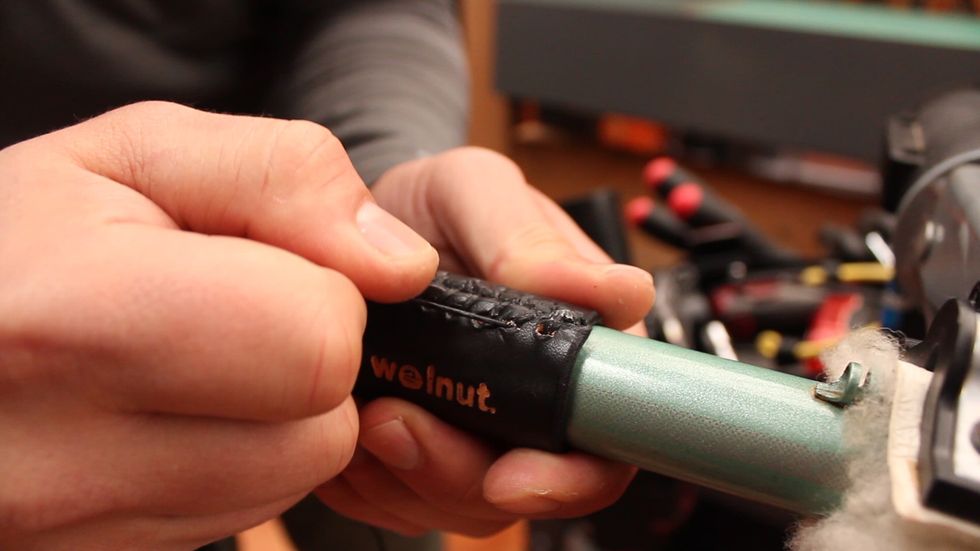
Do the same on the other end, and you're done with the top tube!

Repeat this installation on the seat tube.
You're ready to roll!