The Conversation (0)
Sign Up
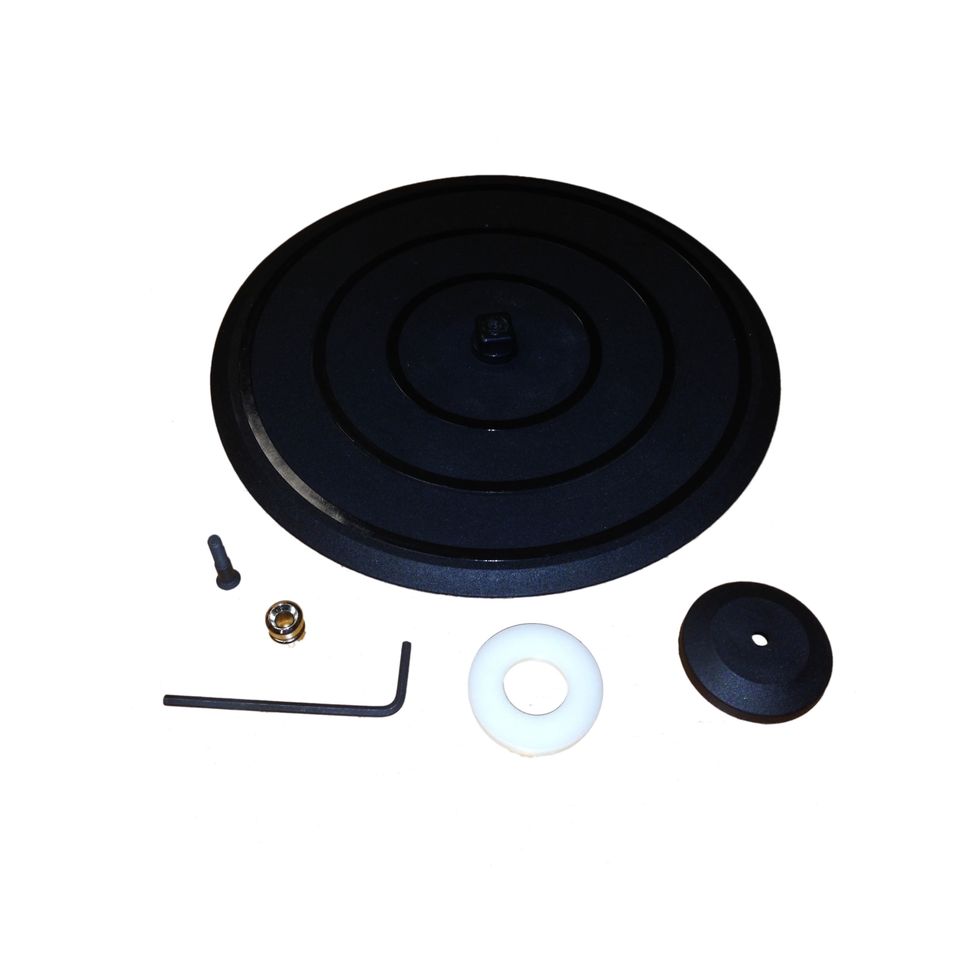
Verify that all parts are included (screw, white ring, black cap, disc base, wrench)
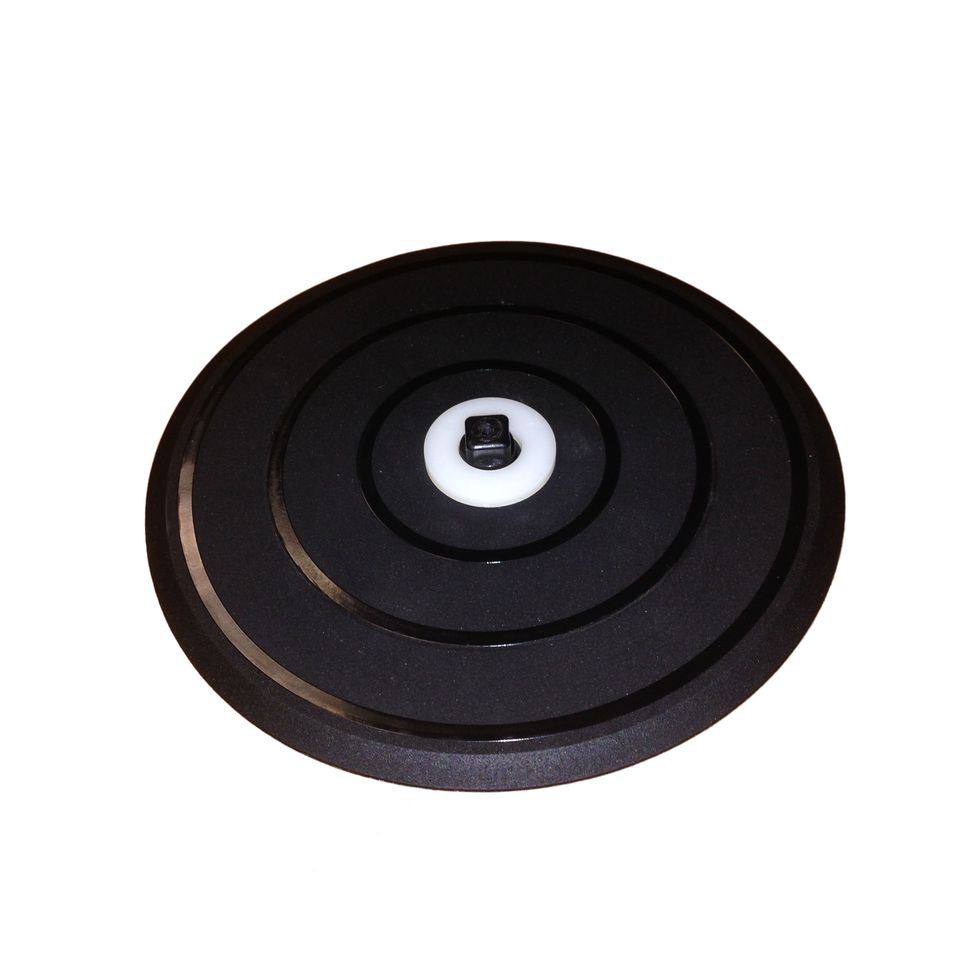
Place white spacer ring onto bottom disc pad as shown
Place Enclosure onto disc as shown. The legs have been removed in this example for easier viewing.
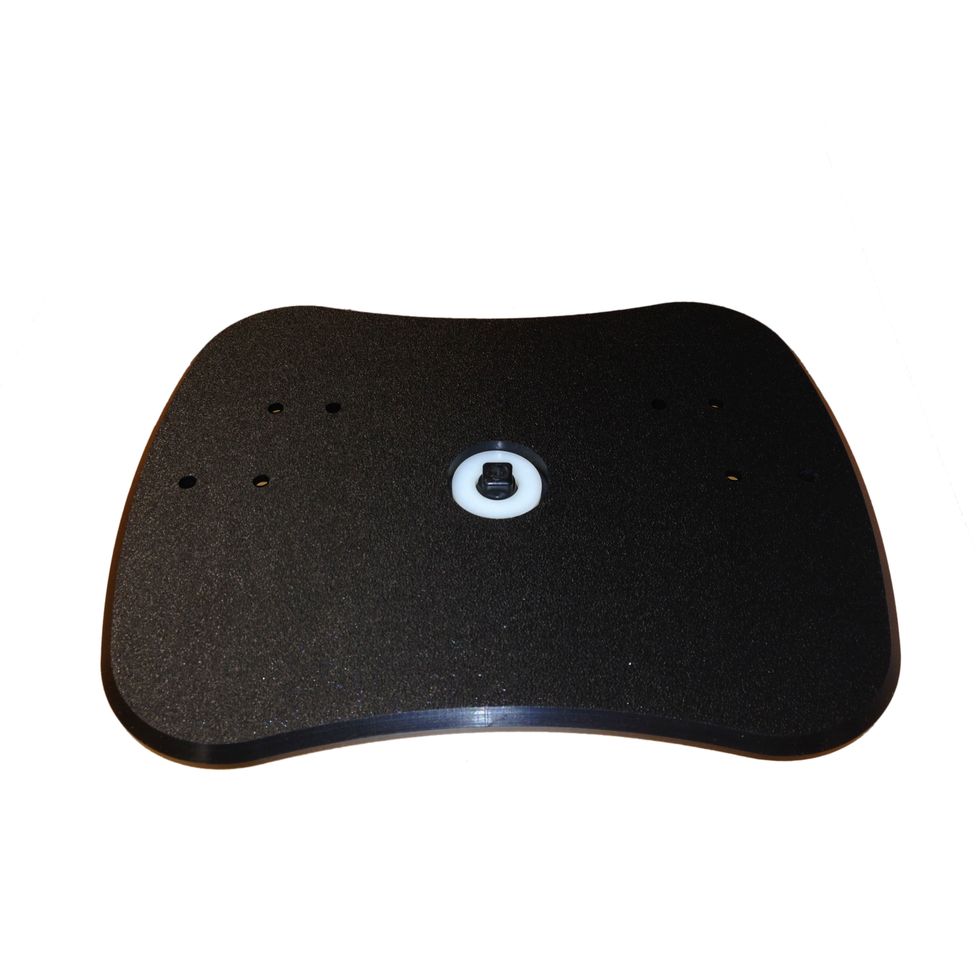
Add Black Cap and secure with screw using the included wrench
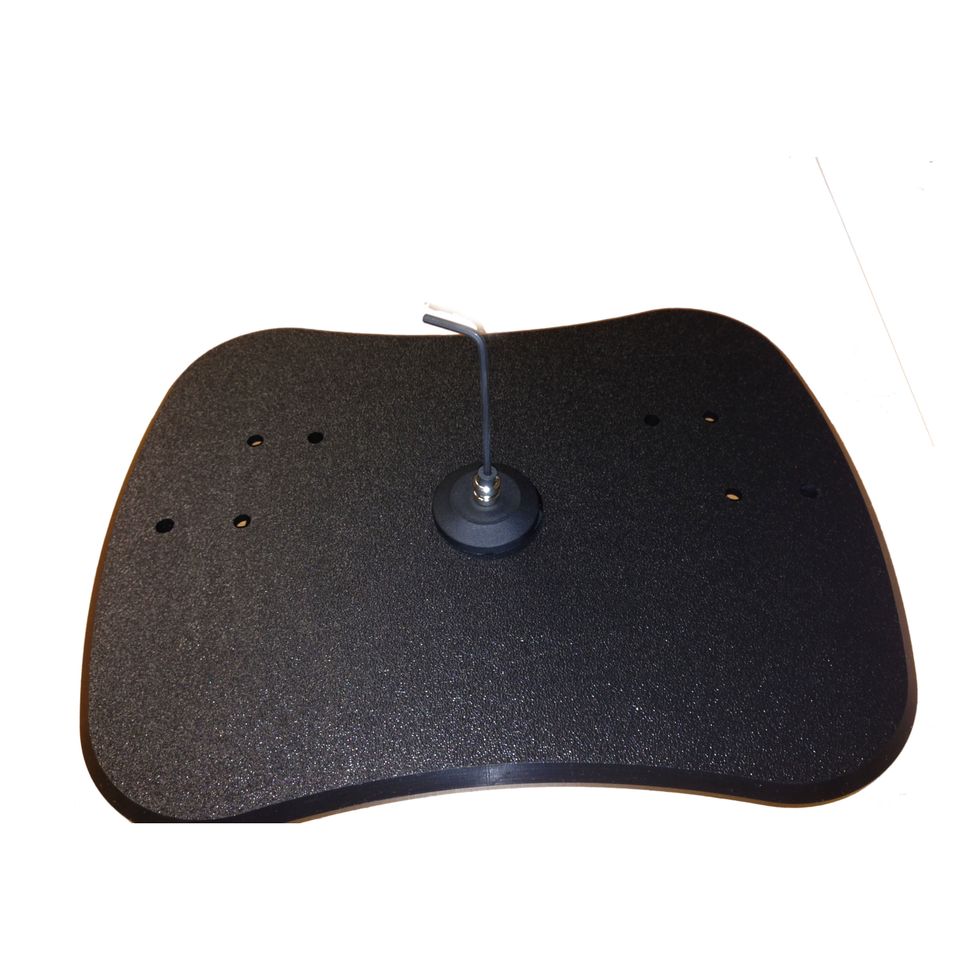
To allow the unit to rotate more freely turn the screw counterclockwise. To tighten down rotation, turn the screw the opposite direction which is clockwise
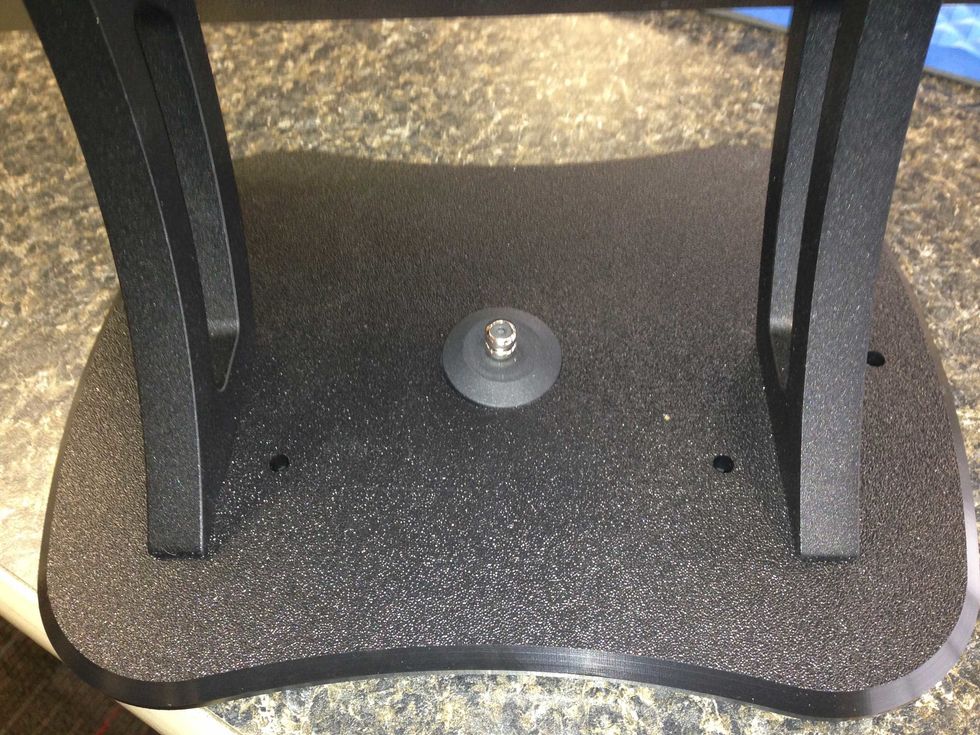
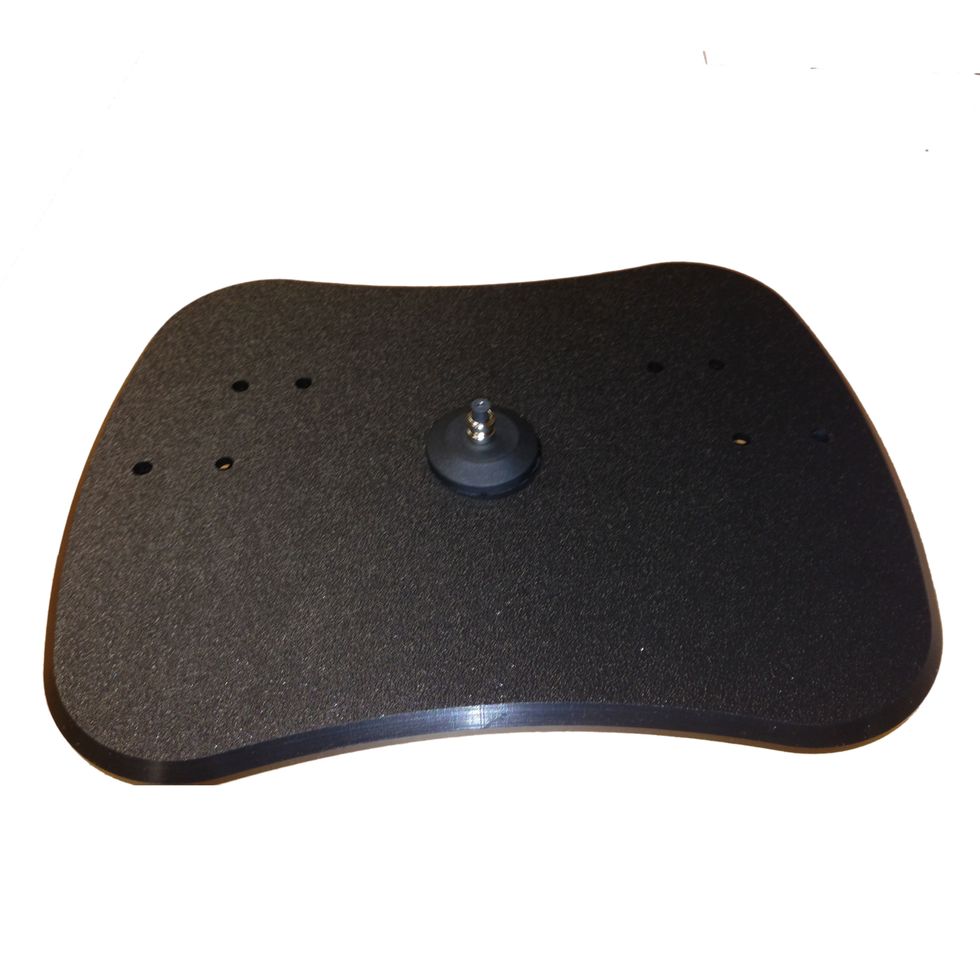
Finished unit

If you would like a more permanent install, remove the 5 rubber feet on the bottom and secure the disc to the counter with 3M Command Strips.

Please contact our support group at support@vaultenclosures.com for assistance.
© 2013-2014 VAULT, LLC. All rights reserved. i7p, i10, s10, m10, g10, including variations, the VAULT logo, and all associated logos and designs are trademarks or registered trademarks of VAULT, LLC
All other registered trademarks or trademarks used in this document are the property of their respective owners.

Visit www.vaultenclosures.com to see all of our table protection solutions.