The Conversation (0)
Sign Up
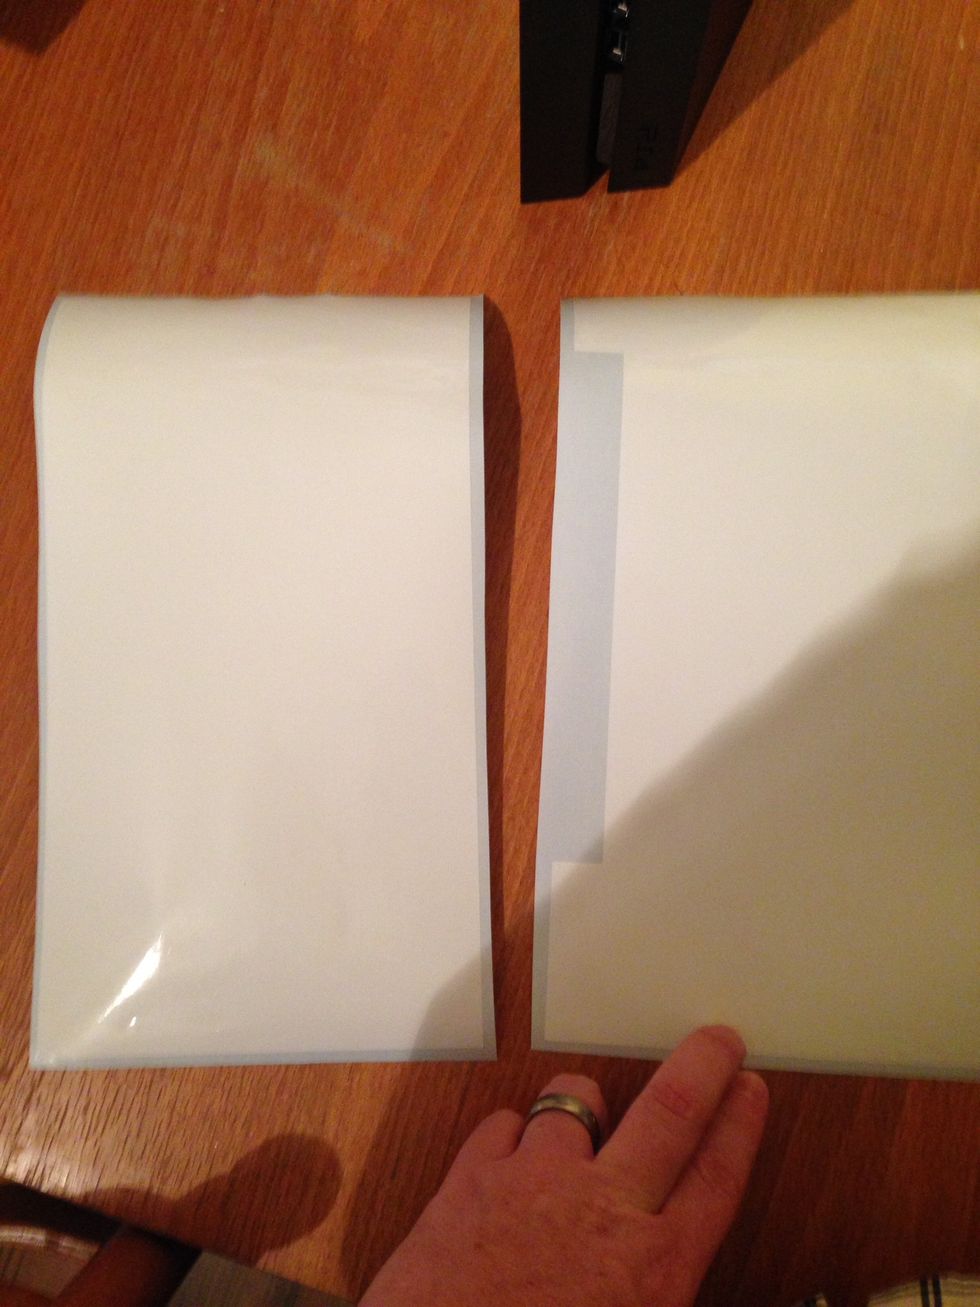
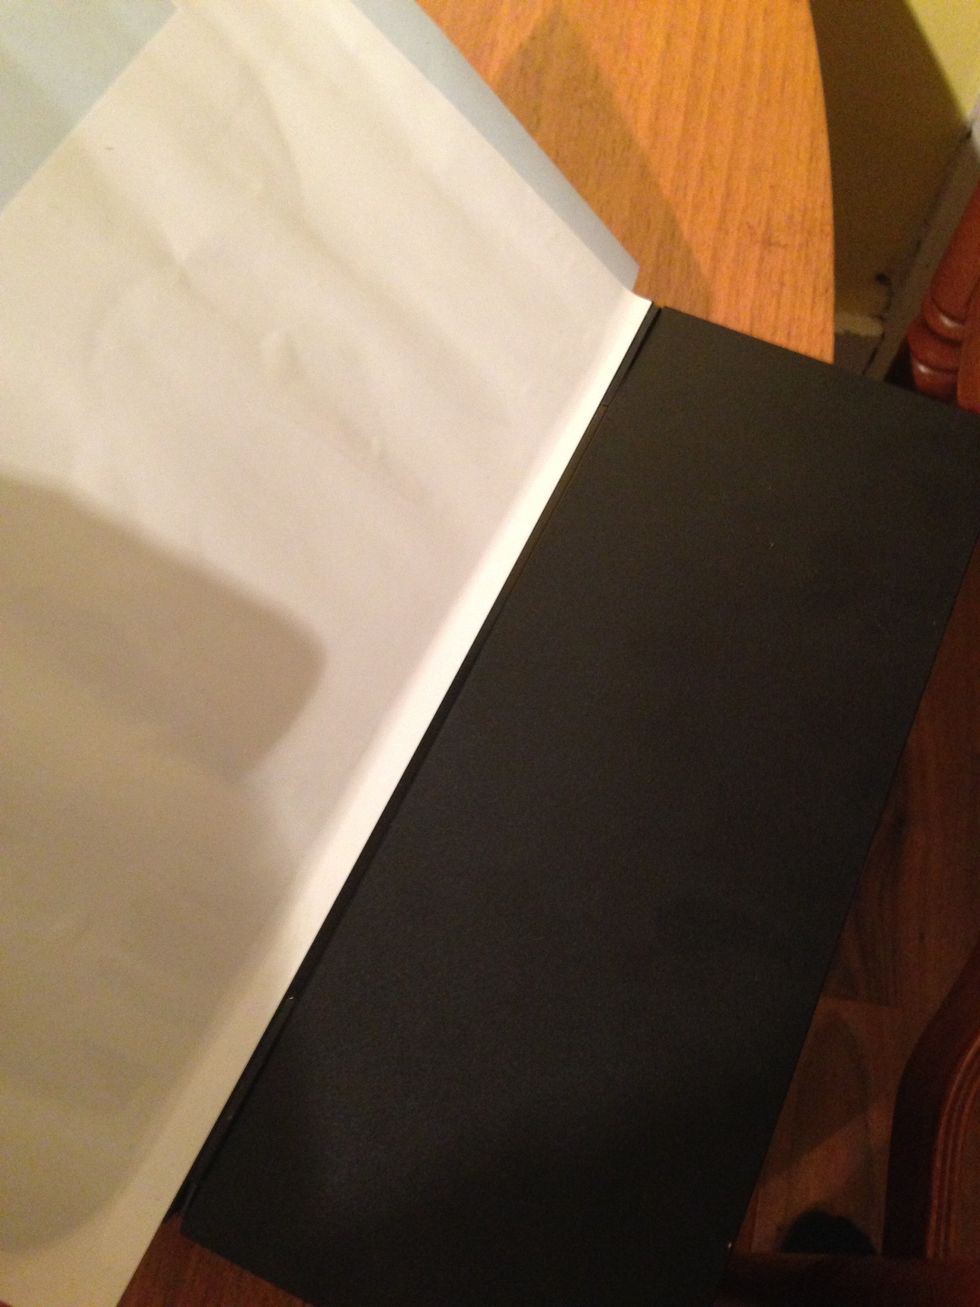
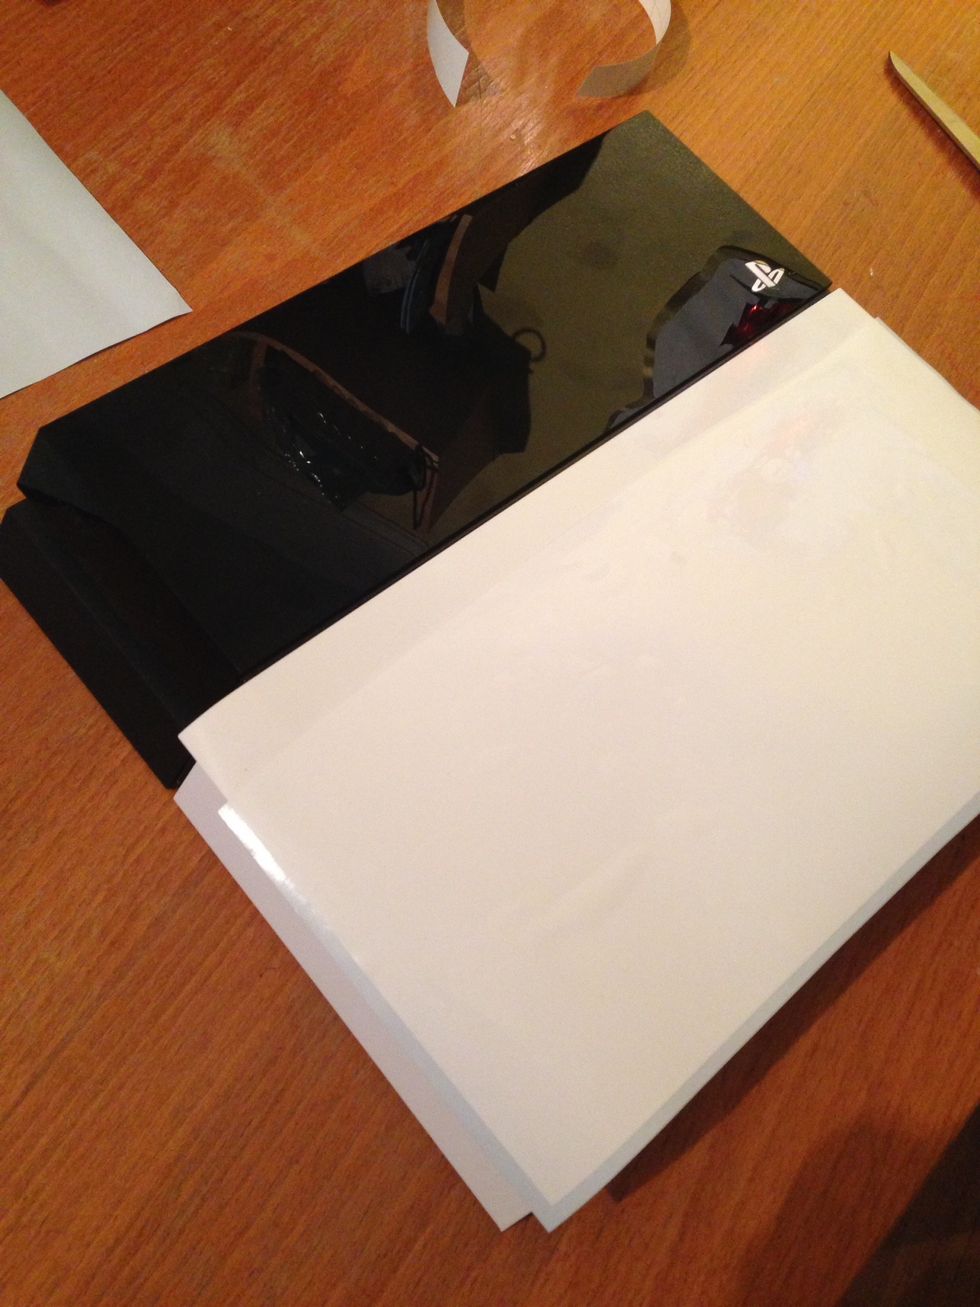
Separate the 2 skins. The skin with the slot is for the bottom of your console.
Clean your PS4 and your work surface.
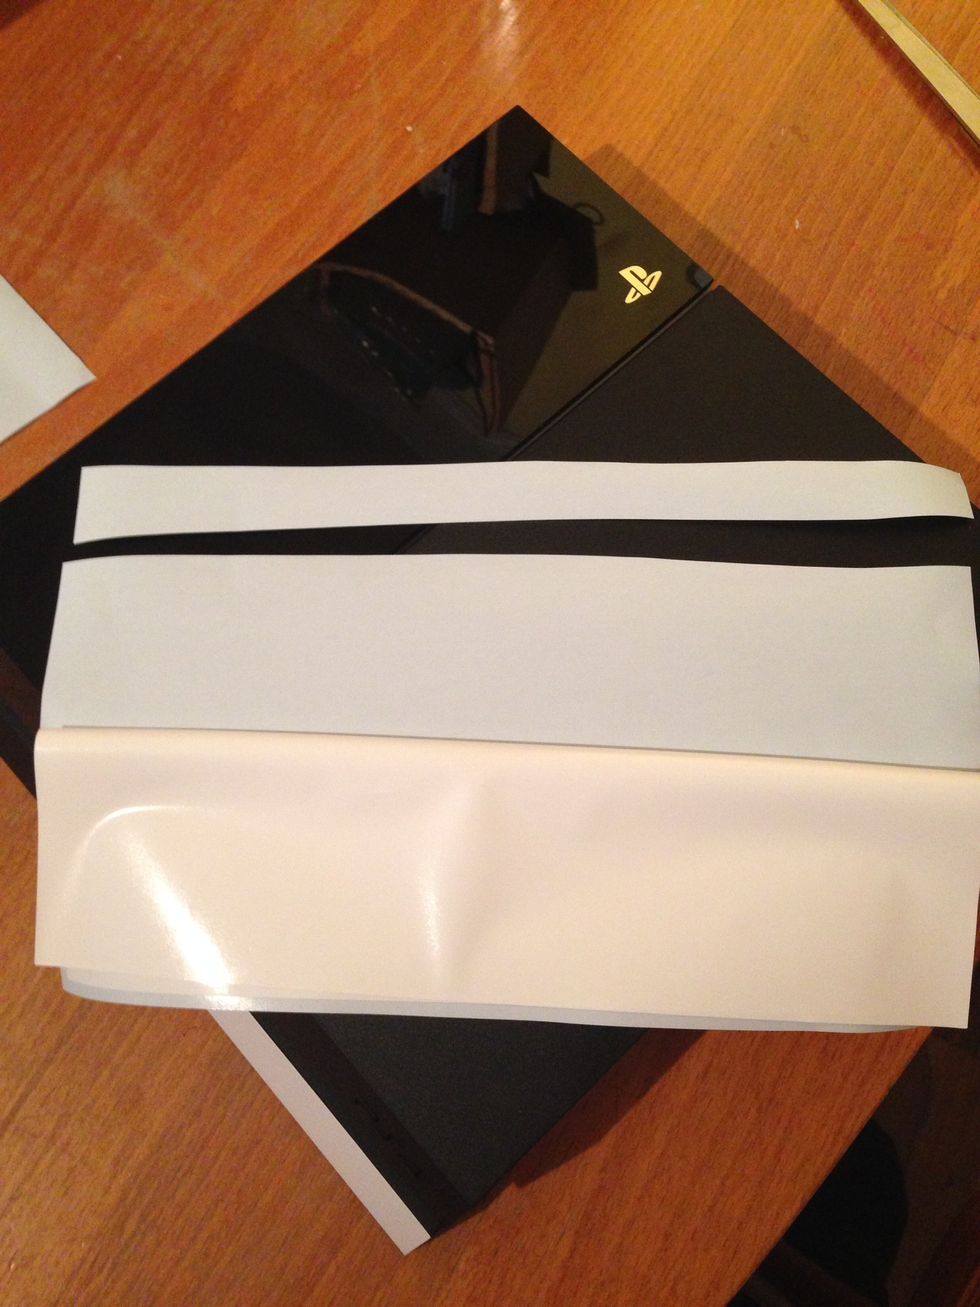
Peel the vinyl away from the backing paper and trim approx 2cm from the backing paper. Stick the vinyl back onto the backing paper. This should leave some of the vinyl exposed
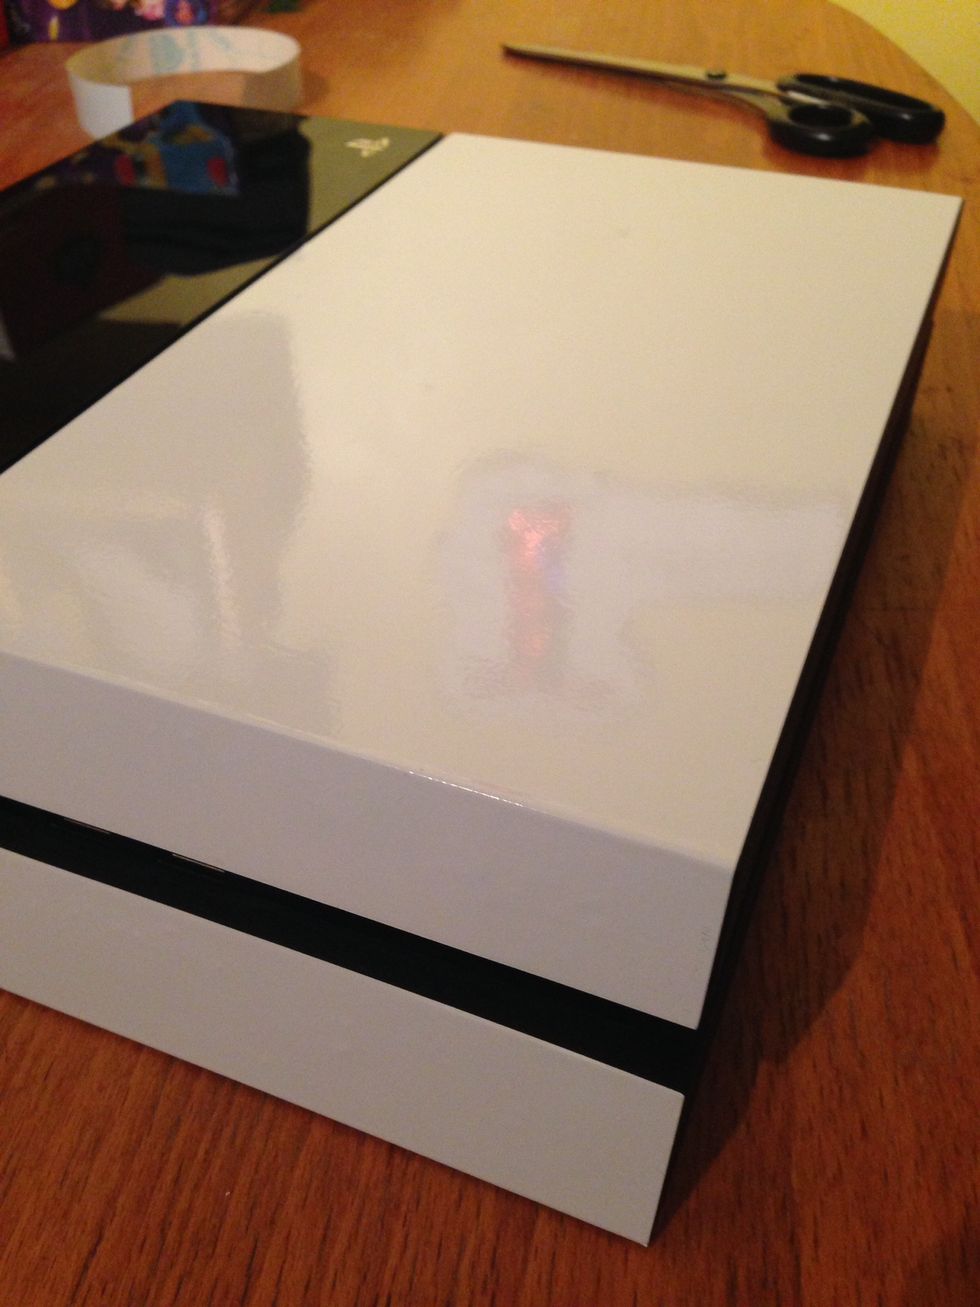
Stick the exposed 2cm of vinyl to the edge of the PS4 then remove the remaining backing paper and smooth over.
Your PS4 should look at this. Next you need to pull the vinyl tight and smooth over the face of your PS4.
Don't worry if you have made a mistake or your alignment is off, the vinyl is removable without damage at this stage. Just replace the vinyl on the backing paper and start again.
Finally rub over all of the vinyl paying attention to the sides and edges. This vinyl skin is removable and will not damage your console.