The Conversation (0)
Sign Up
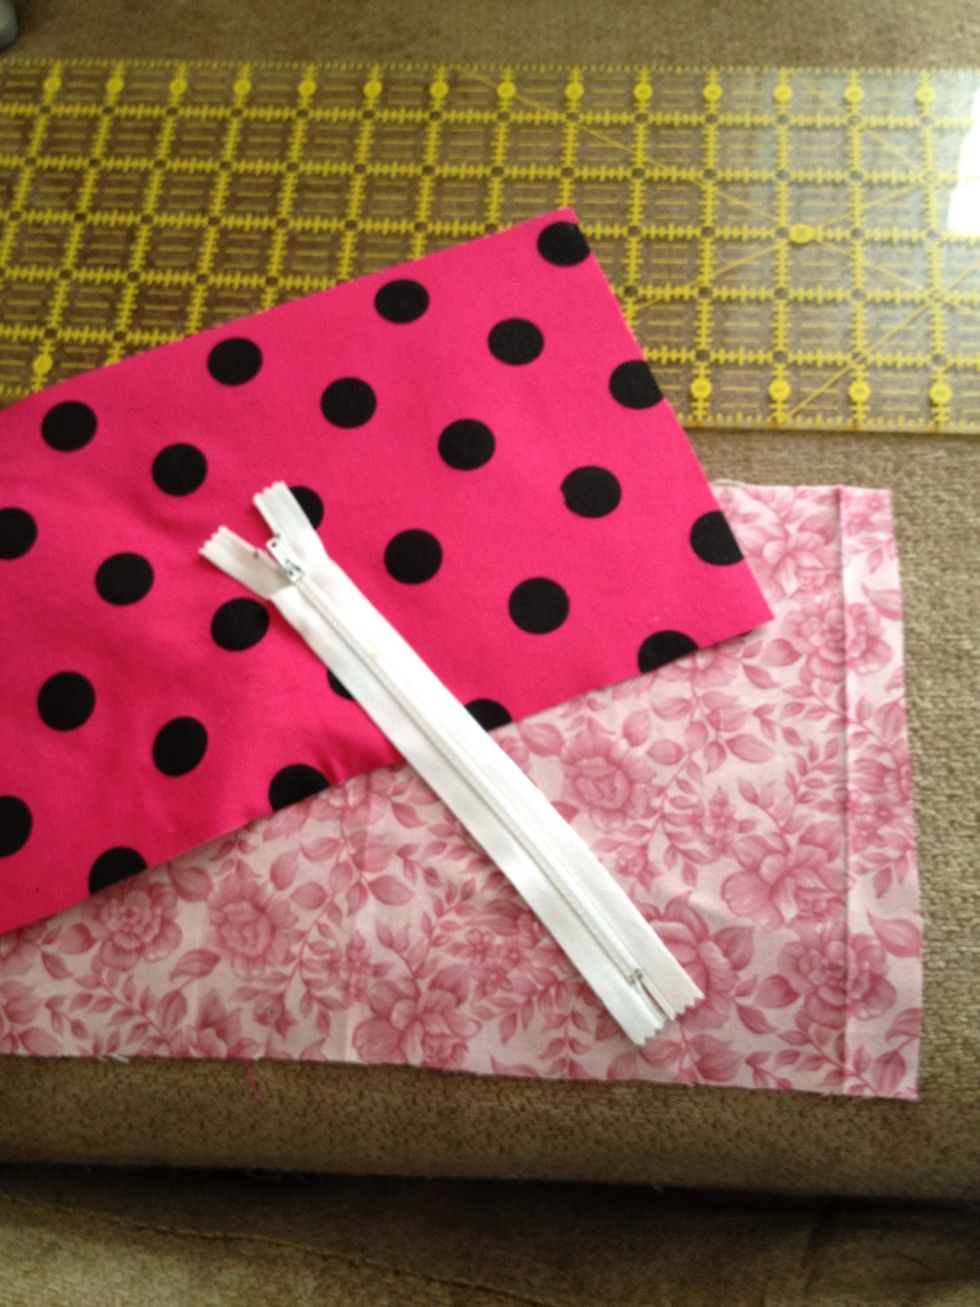
Collect supplies. The pink polka dotted fabric I interfaced before this project to its whitish on the wrong side. You can use an iron to iron out as you go. But im to lazy to iron.

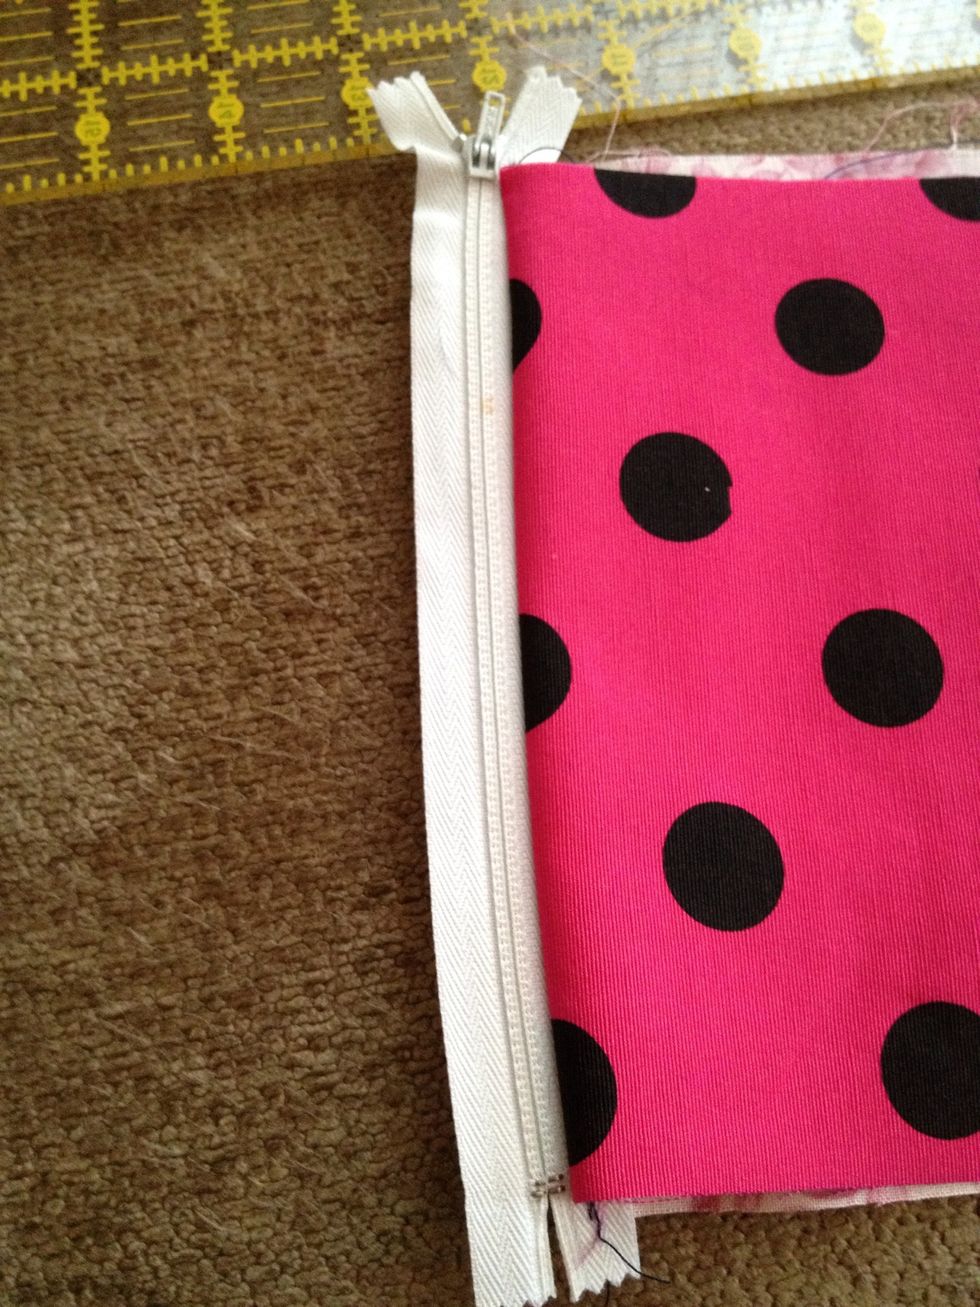
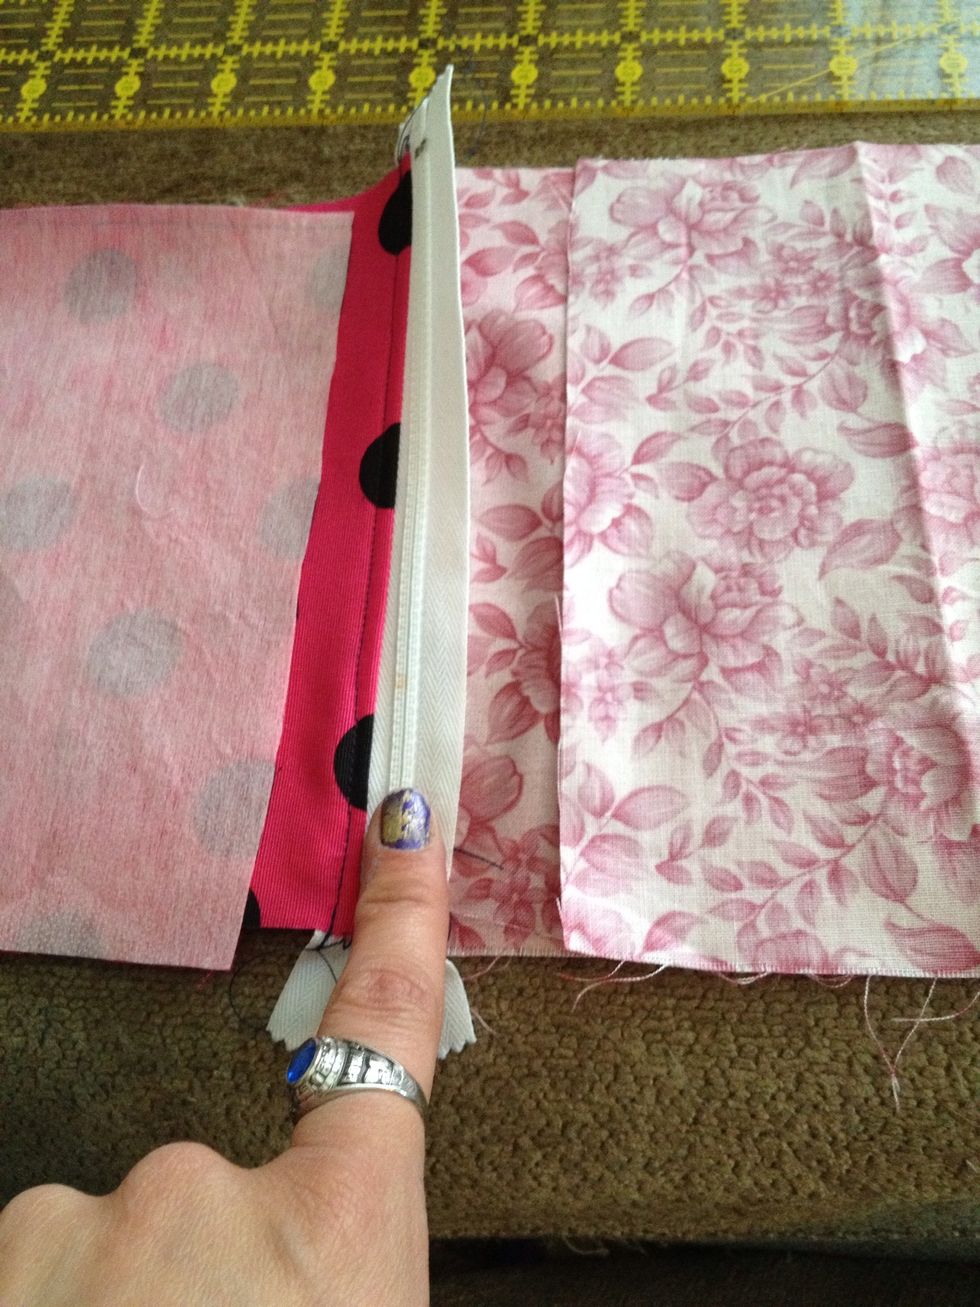
After measuring out your fabrics. Lay them right sides (the printed side) together. This bag is made with two long rectangles
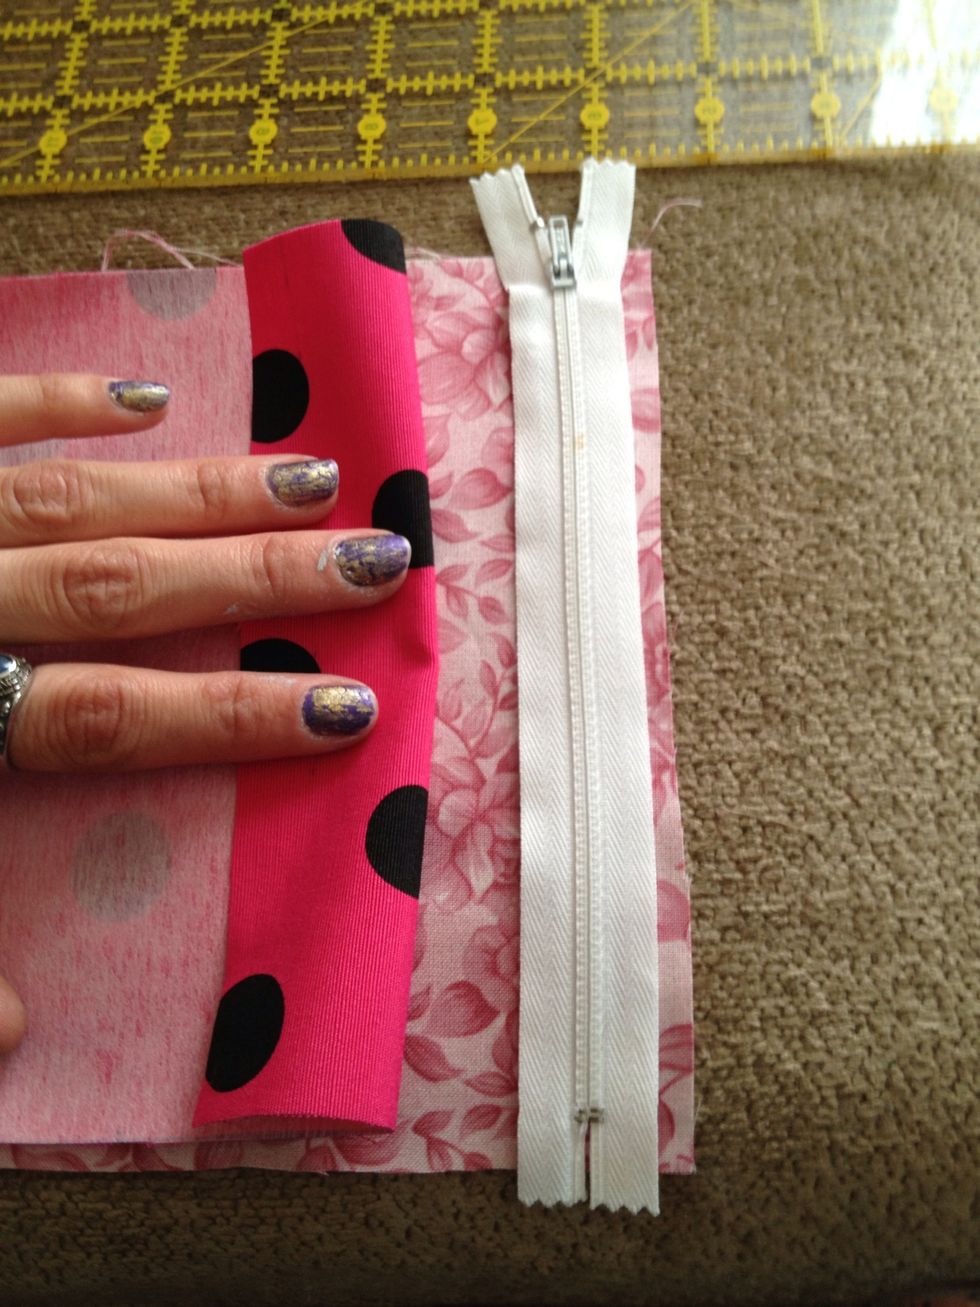
Placing your zipper between the right sides facing the side that will be the outside.
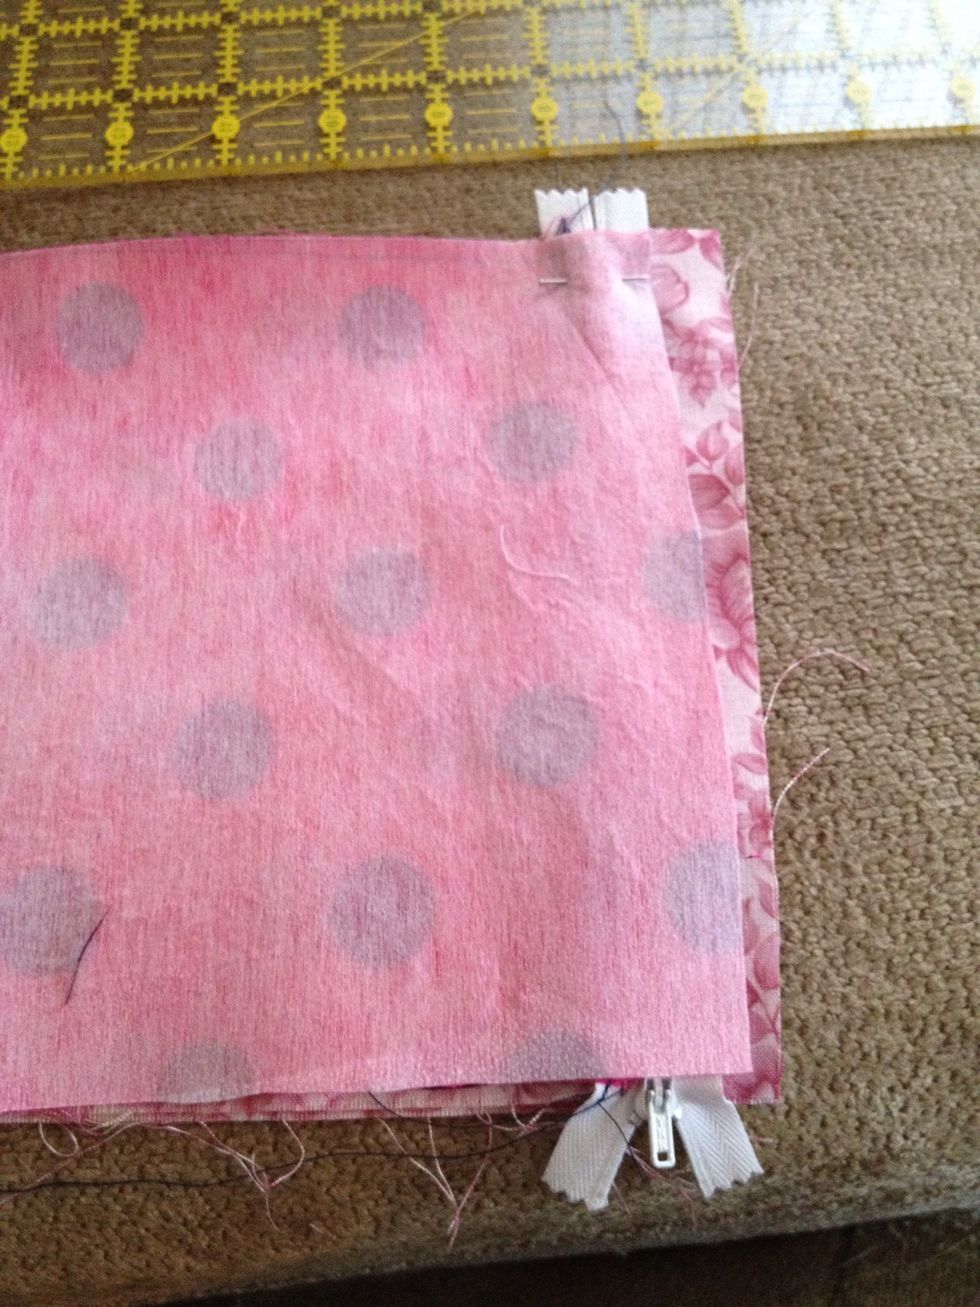
Make sure your zippers level and proper then pin.
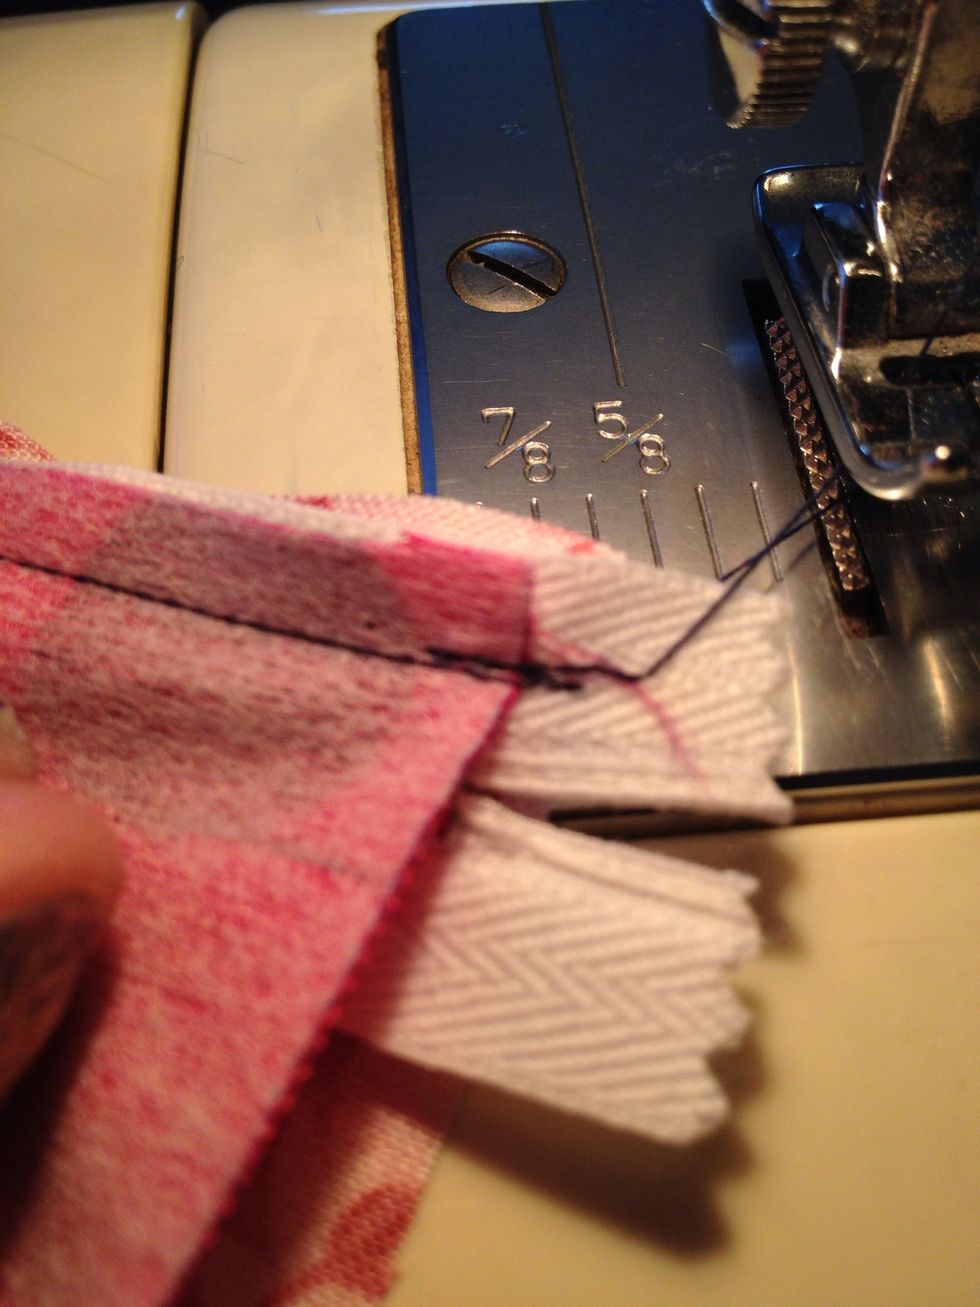
When starting your stitch on your zipper, the end with the zipper on it slightly unzip it to start the seam on the sewing machine.
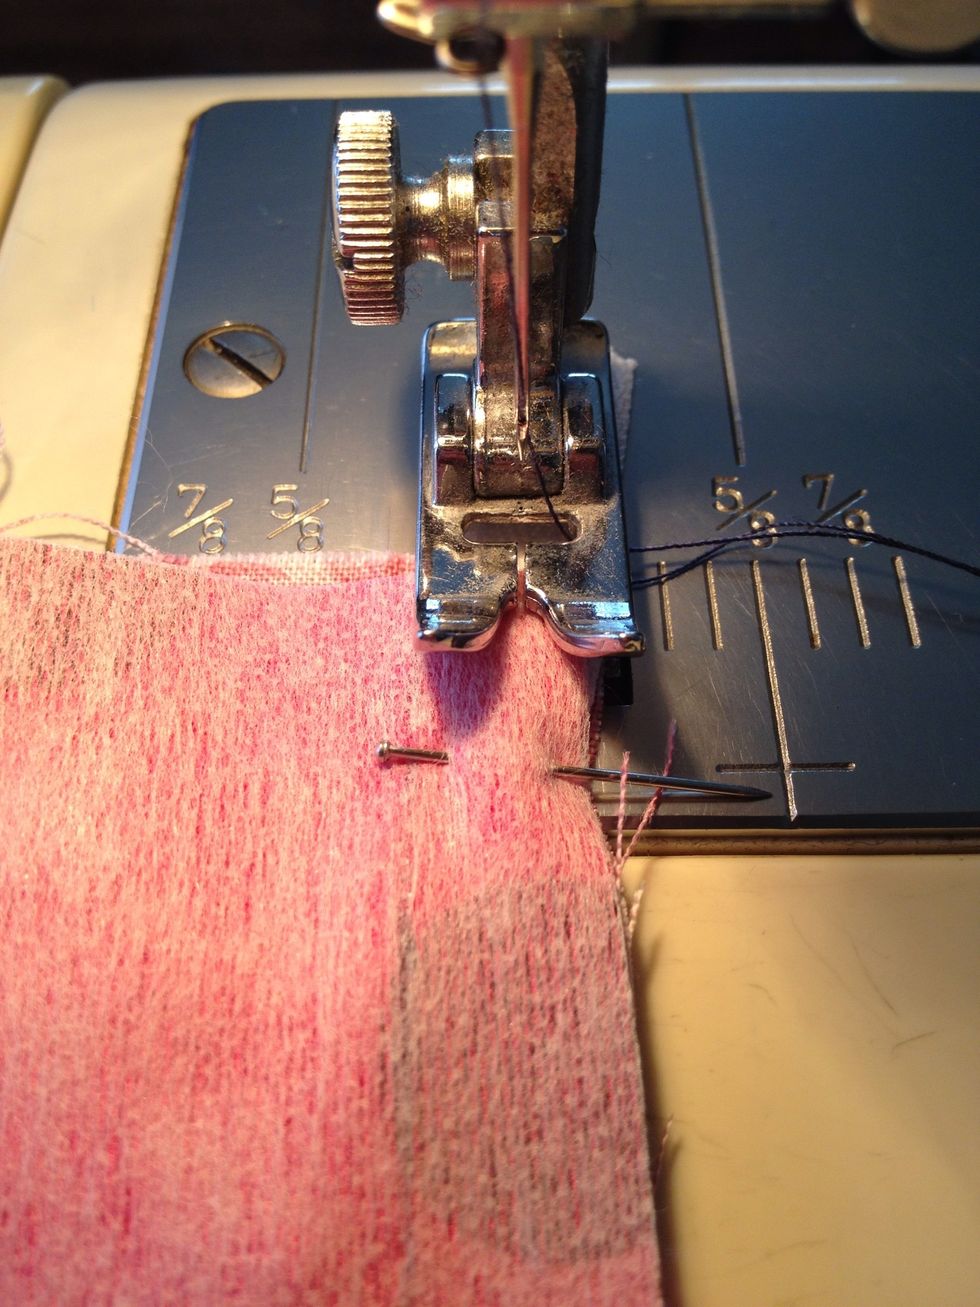
*Dont forget to backstitch.*
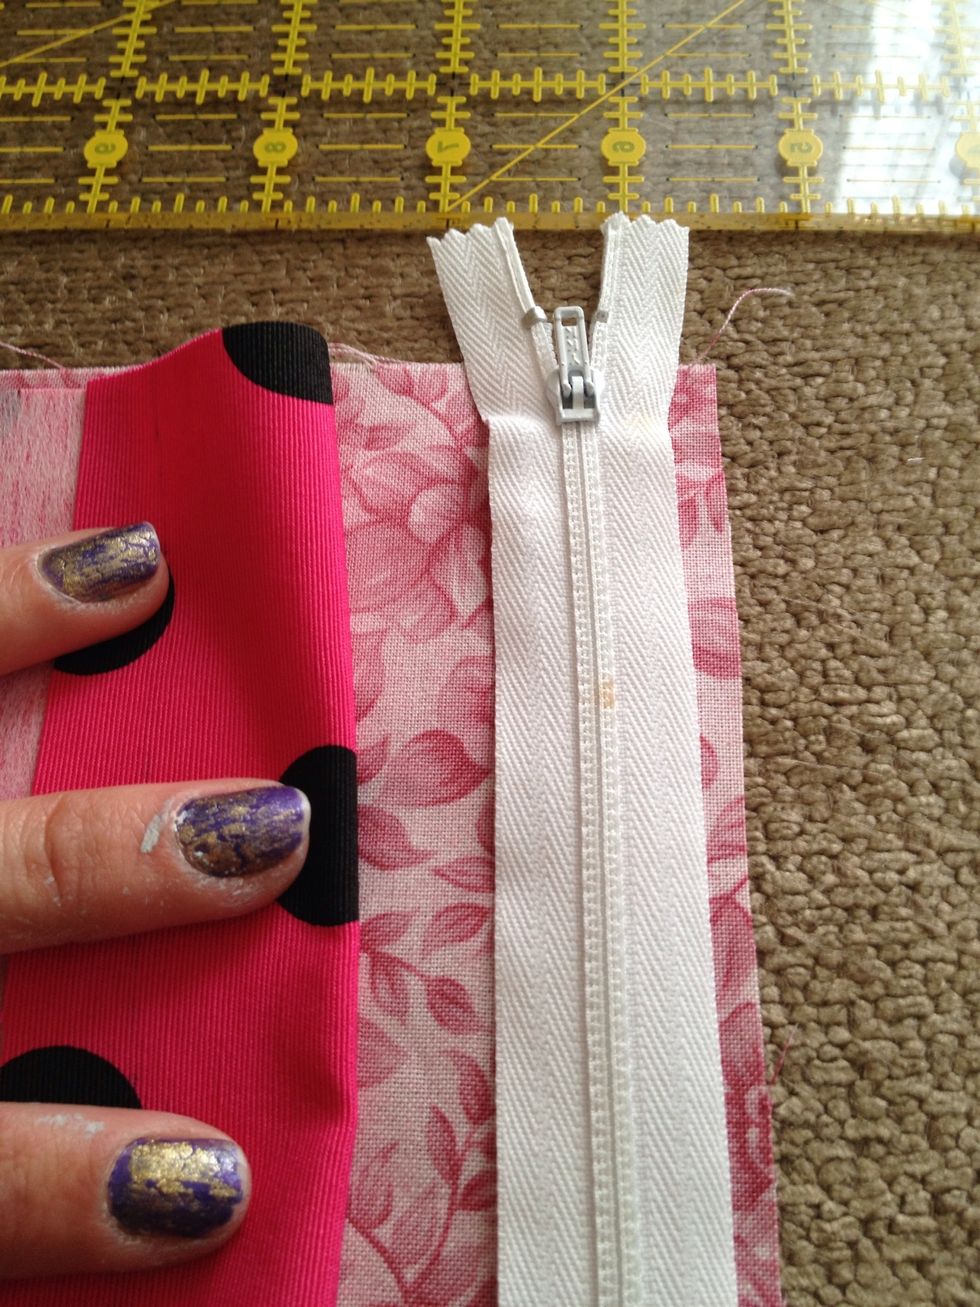
When I sew a zipper In I take the one side of the presser foot and have it resting on the actual zipper and I use that as a guide to keep my lines straight.
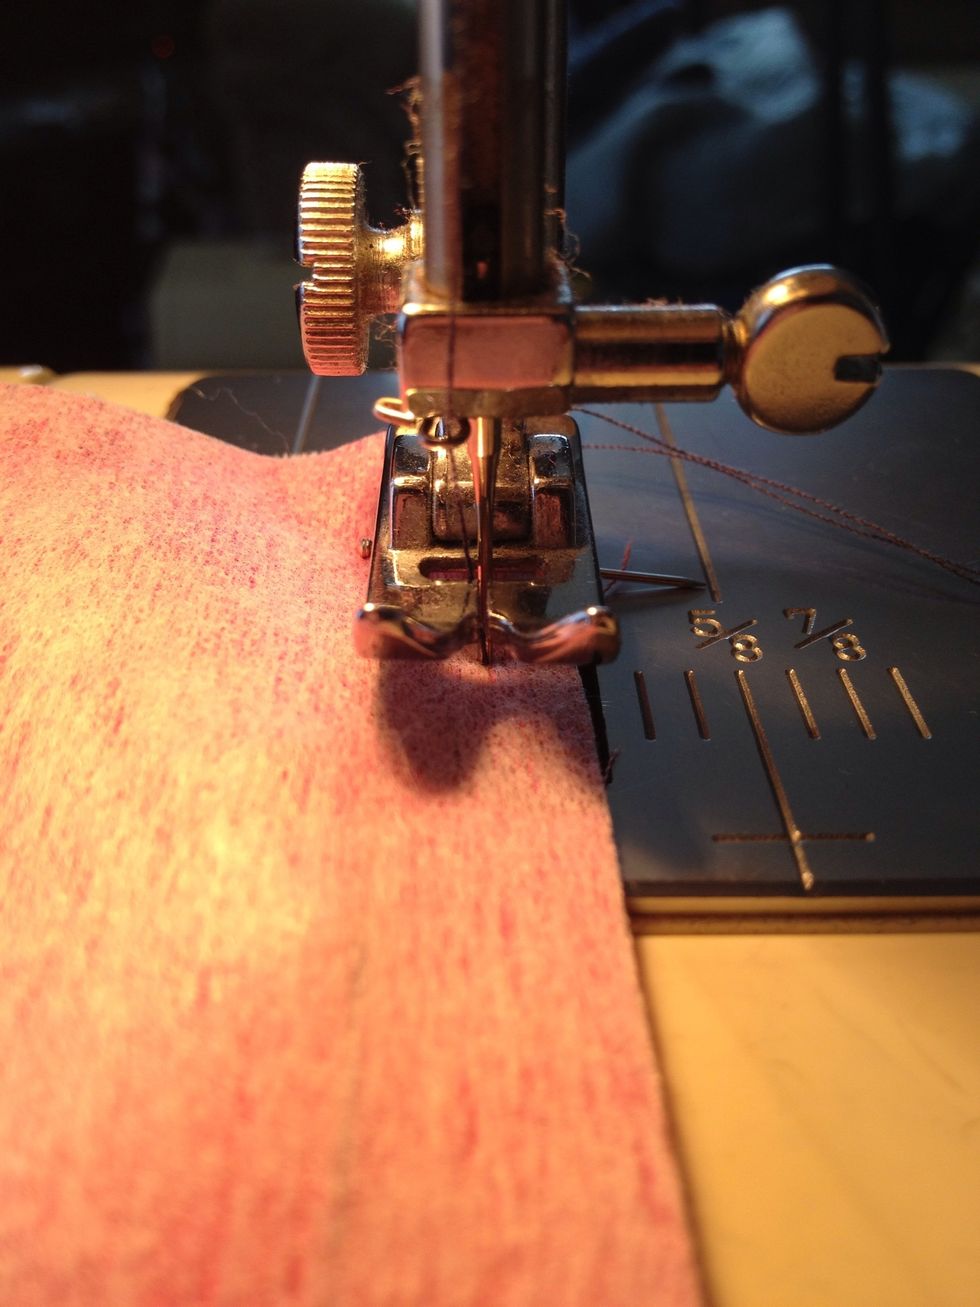
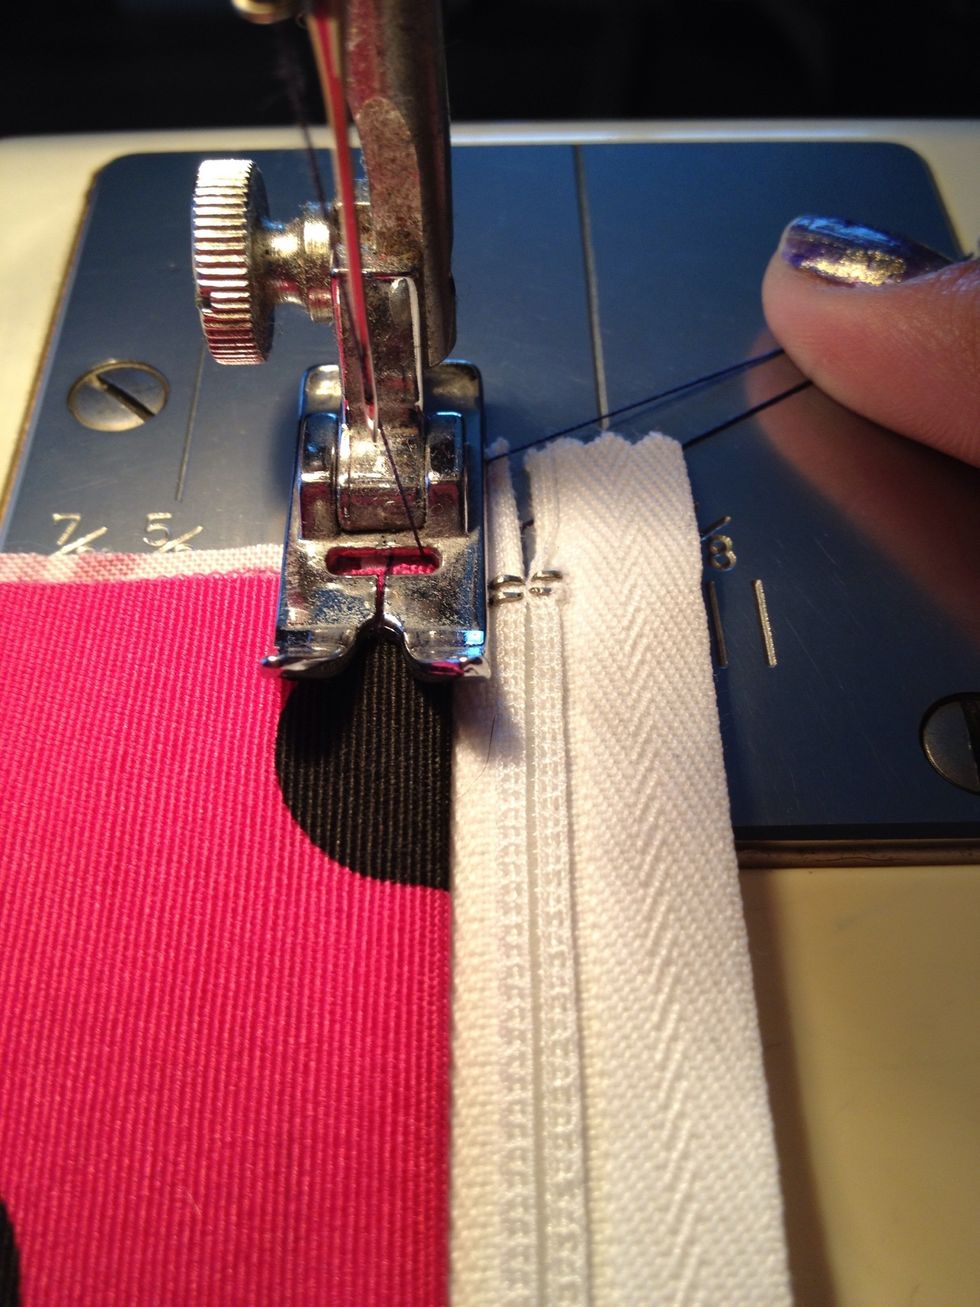
Once you get your seam going, stop sewing but leaving your needle in the fabric. Raise your presser foot and gently zip the zipper back up and continue.
Sew sew sew.
*Back stitch*
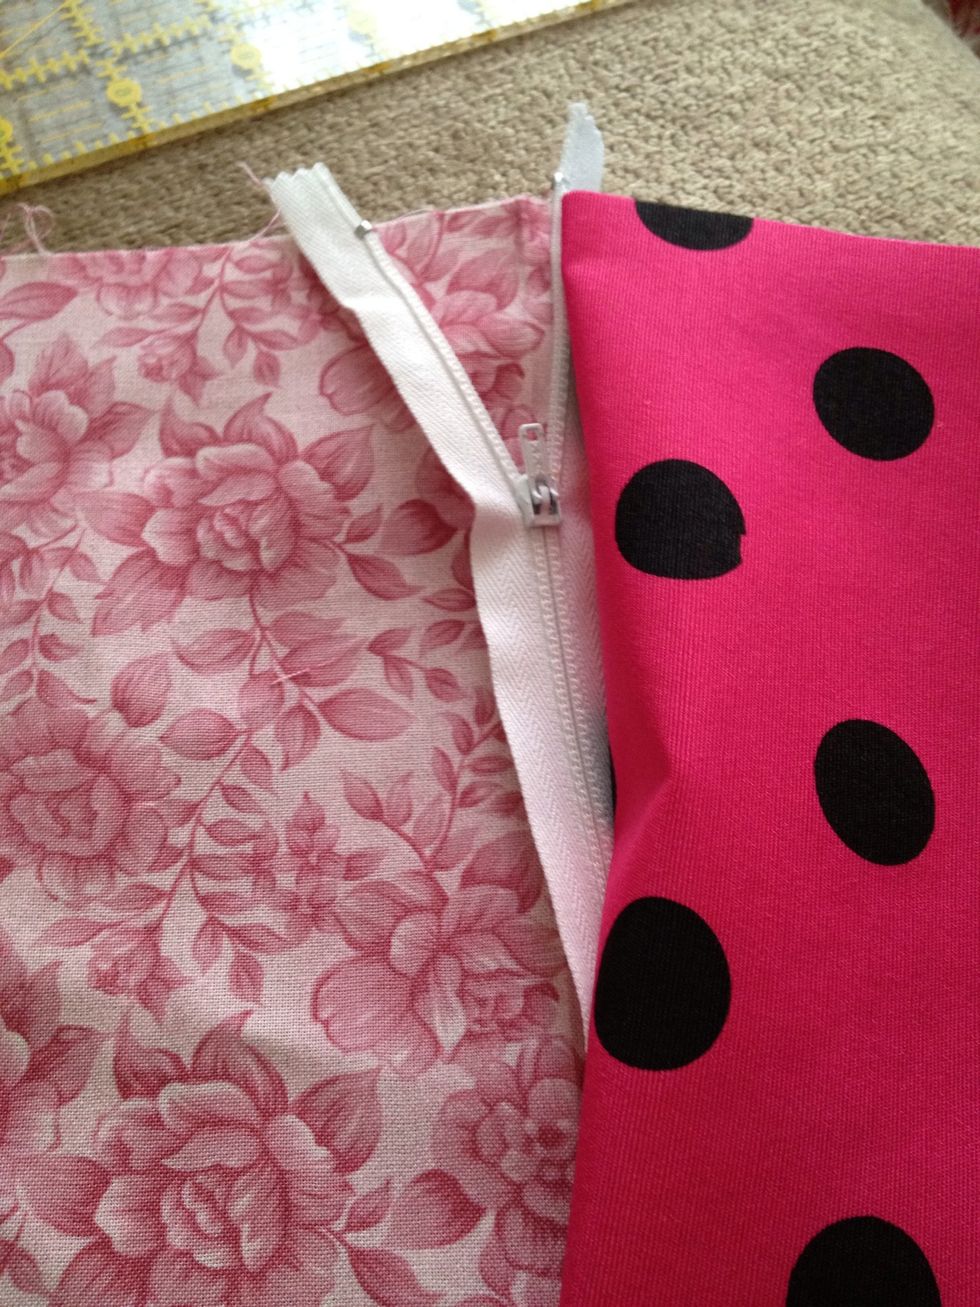
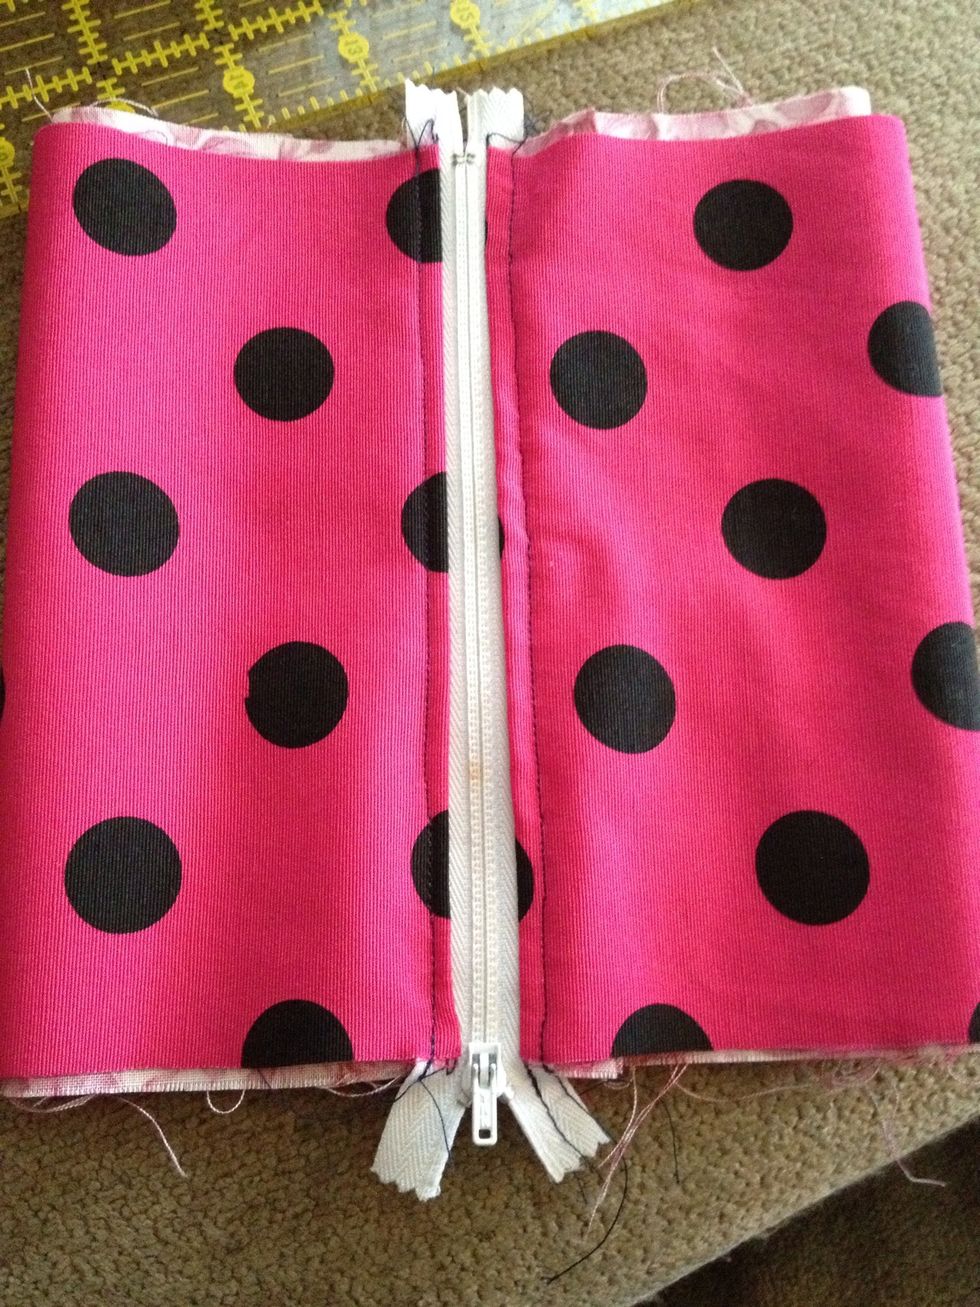
Ta Da. That's one side of the zipper complete.
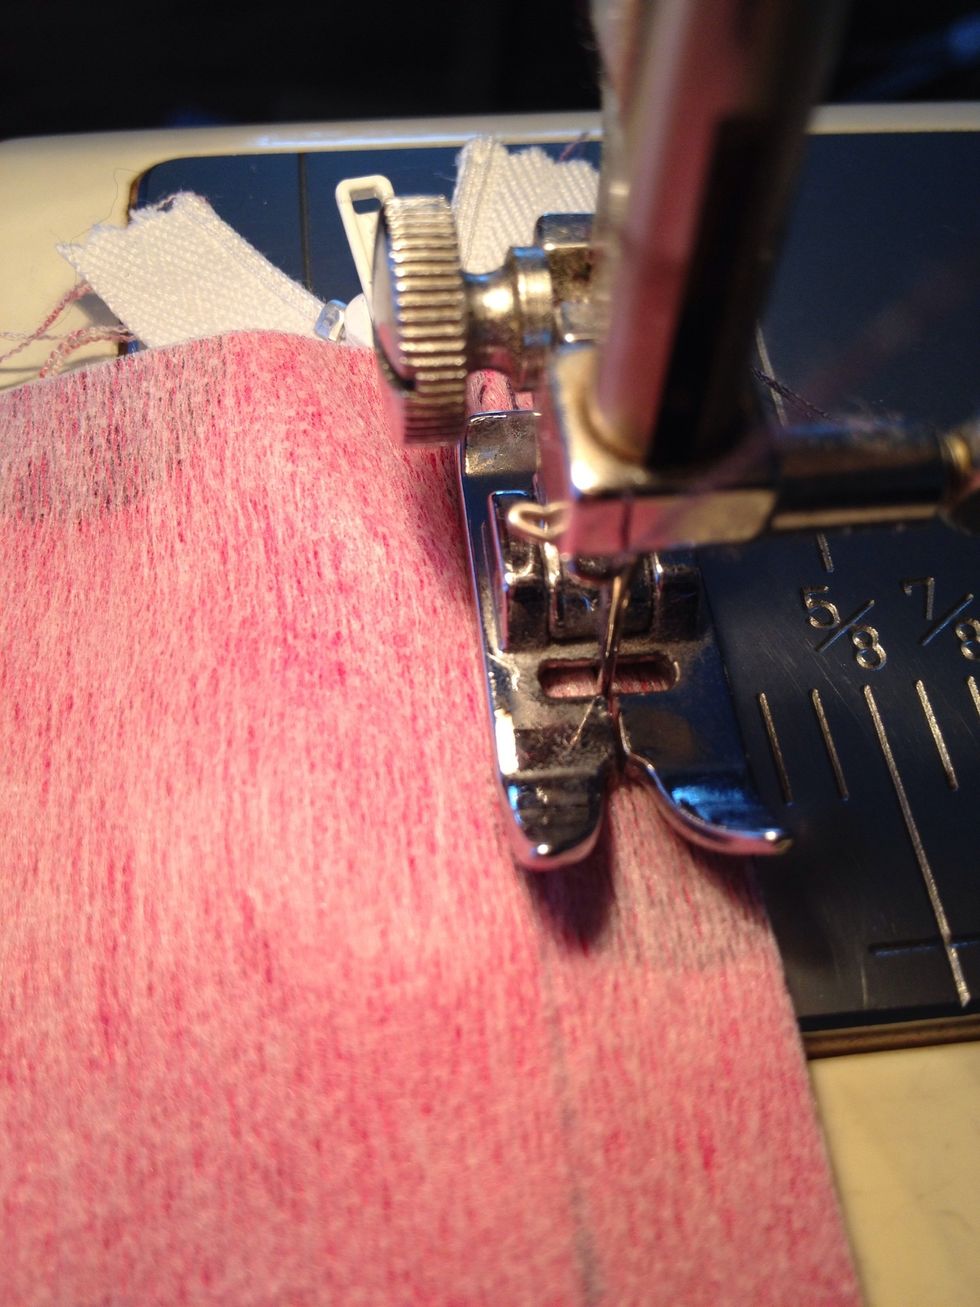
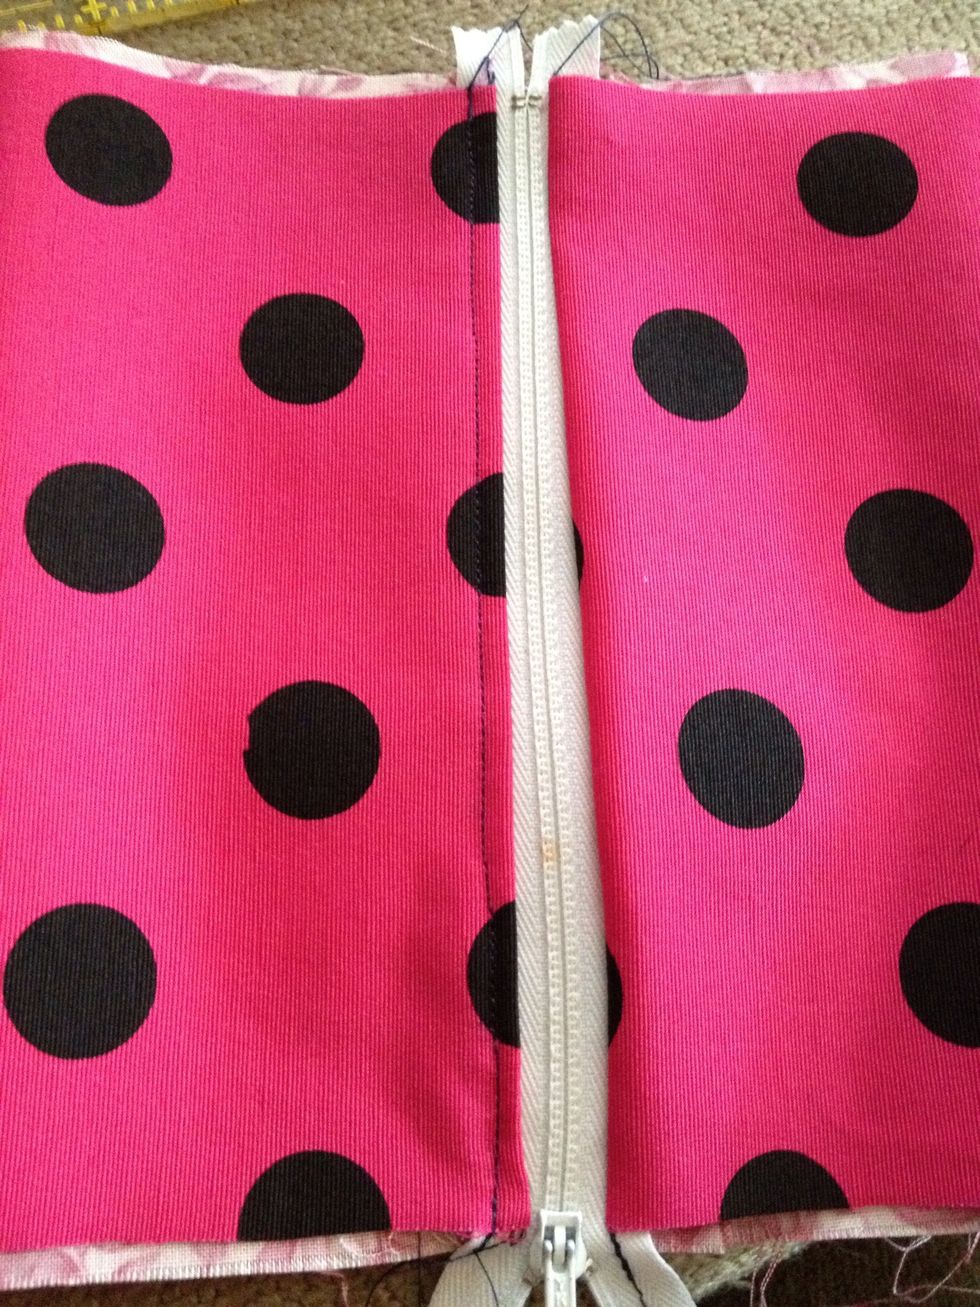
Now this is optional. sewing a straight seam along the zipper. I think that this is called a top stitch seam. ( don't quote me. :D) this just make the seam more sturdy also give it a finished look.

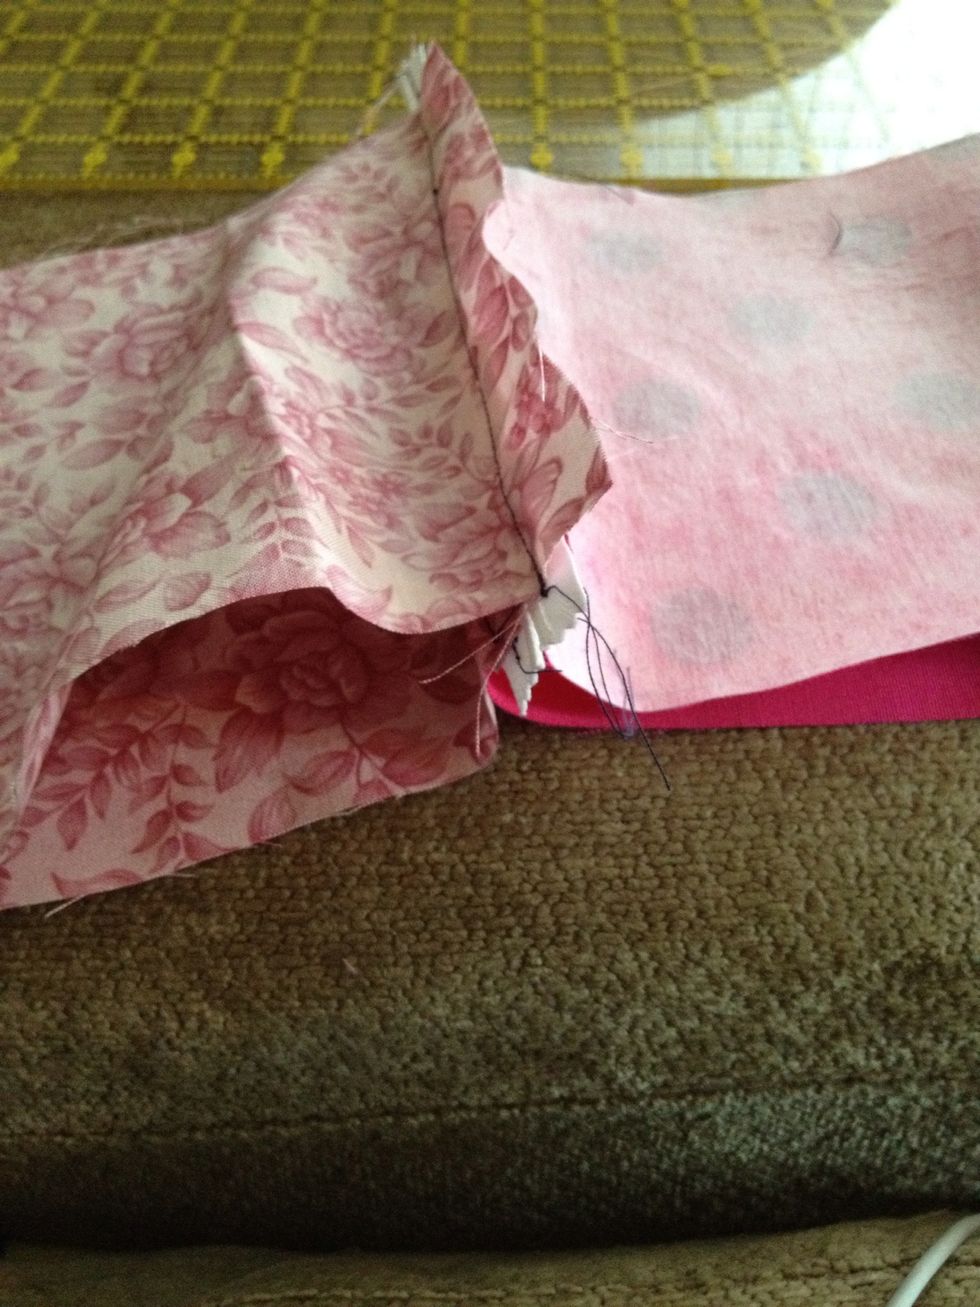
And there's one side done. Now the other side is more tricky because of the bag becoming two loops.
That's what they look like beside each other you can do eather or.
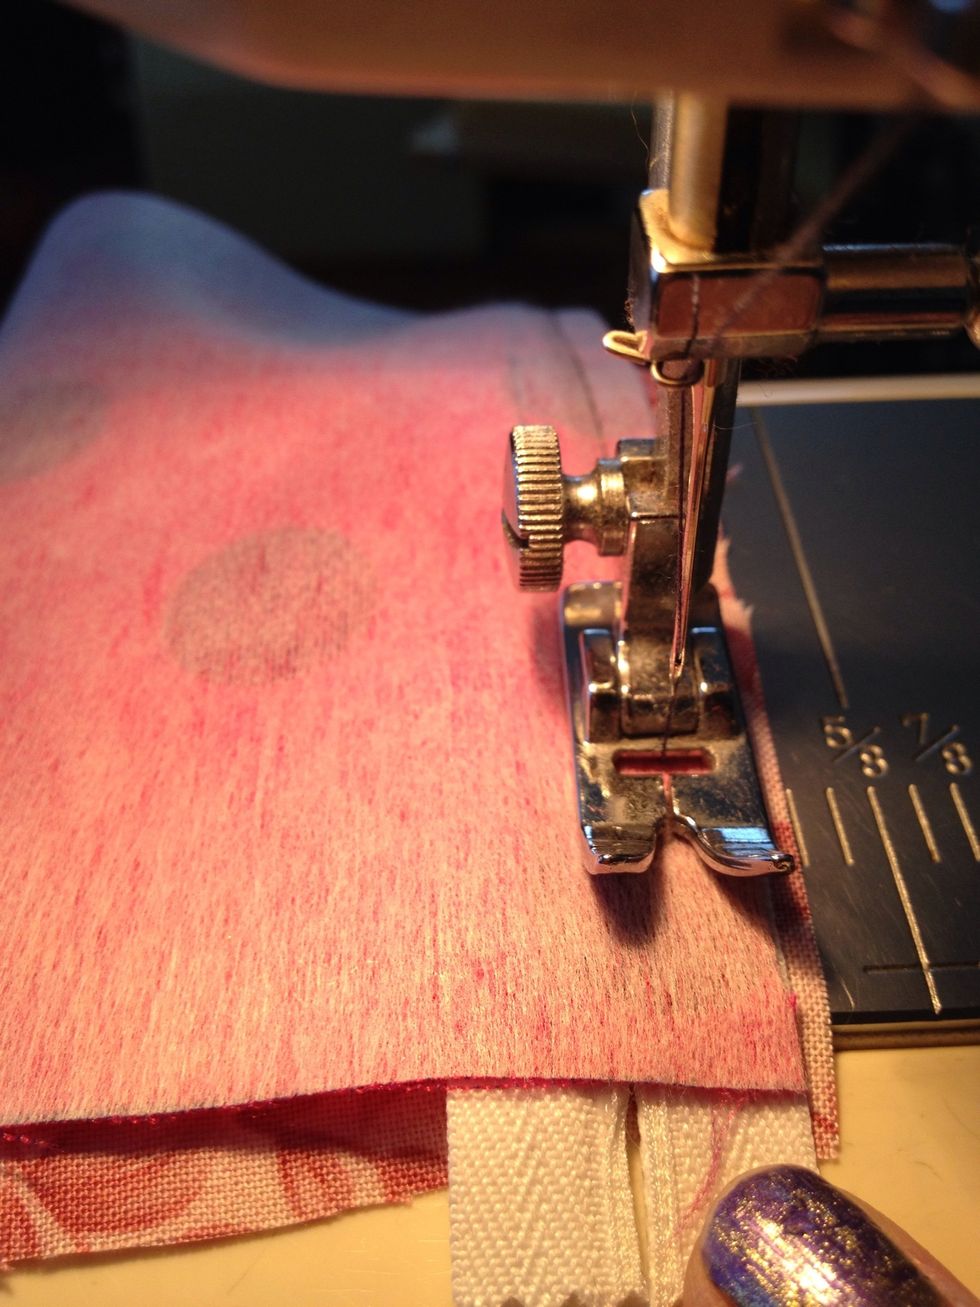
Now using the same methods as before, pin and prep the other side.
Pin and sew.
Now you have two loops attached in the middle with a zipper like so.
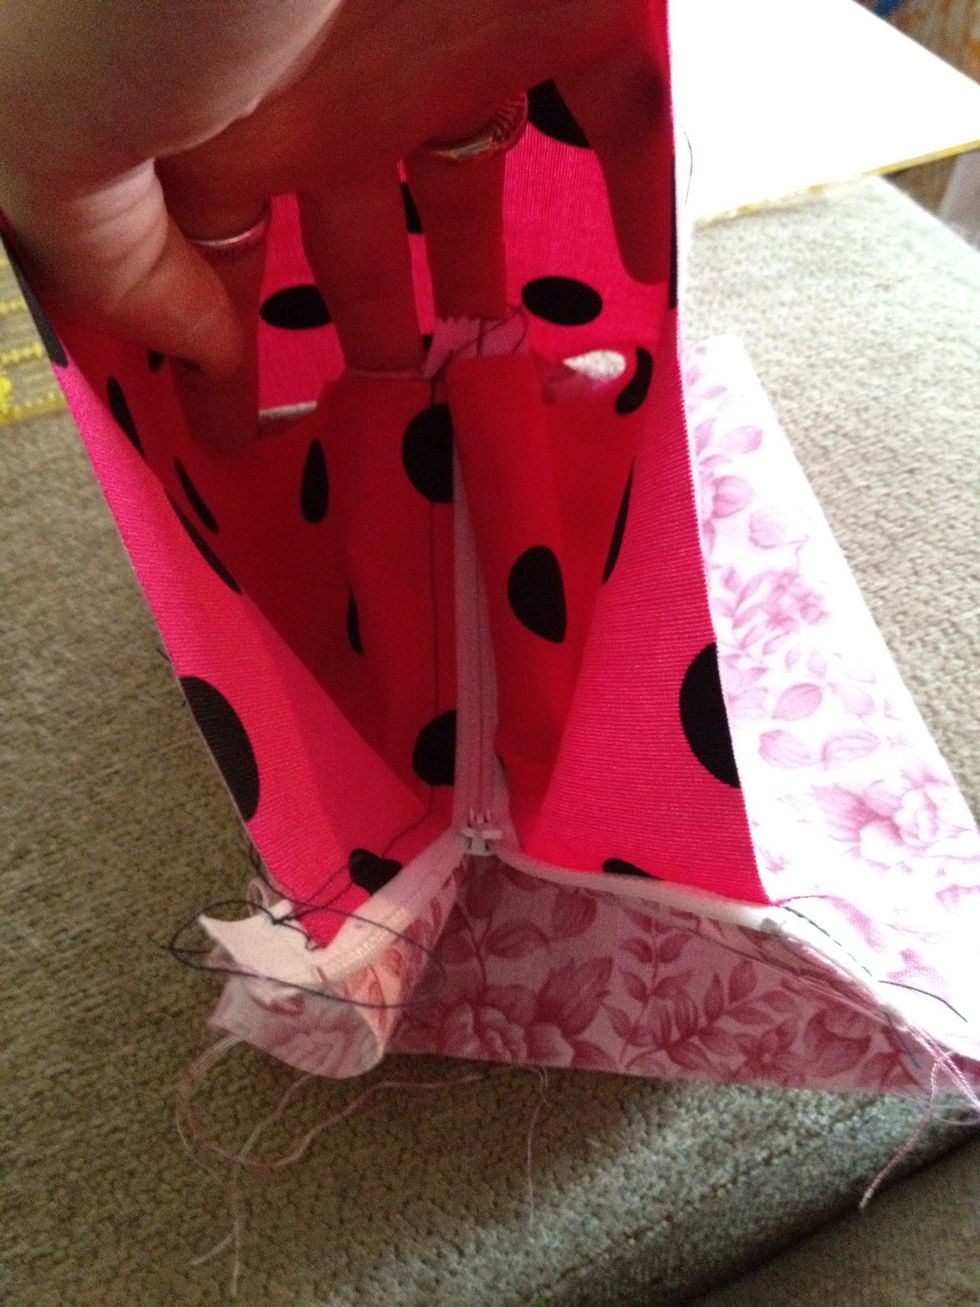
Flip the fabrics to the right side out.
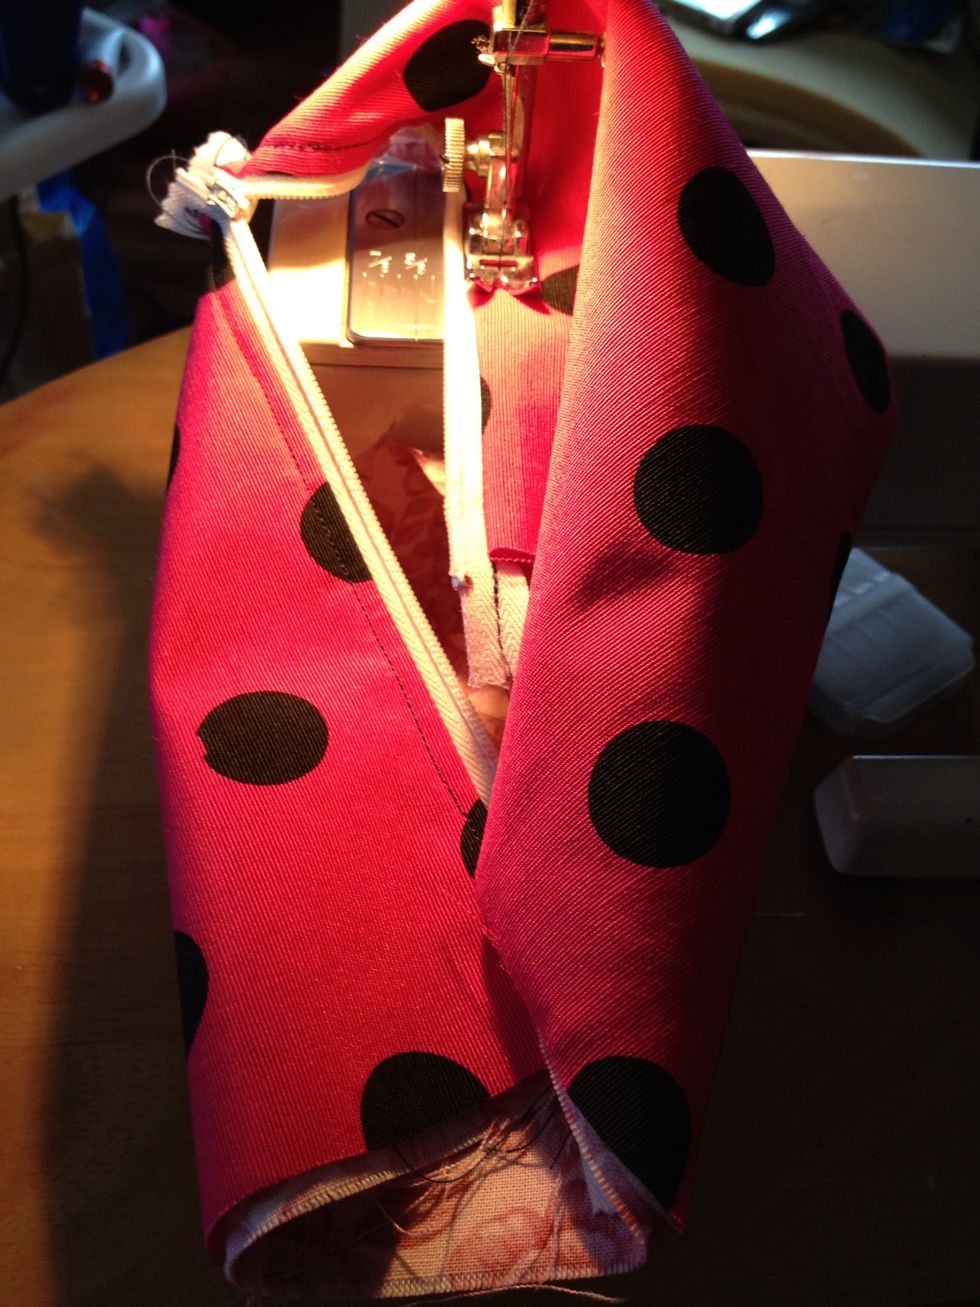
This is where it gets tight, slow and finicky. If the zipper doesn't separate at the end, youll have to be careful sewing the top seam. Making sure you don't sew another piece along with it.
Ta da that's a finished zipper!! Be proud!
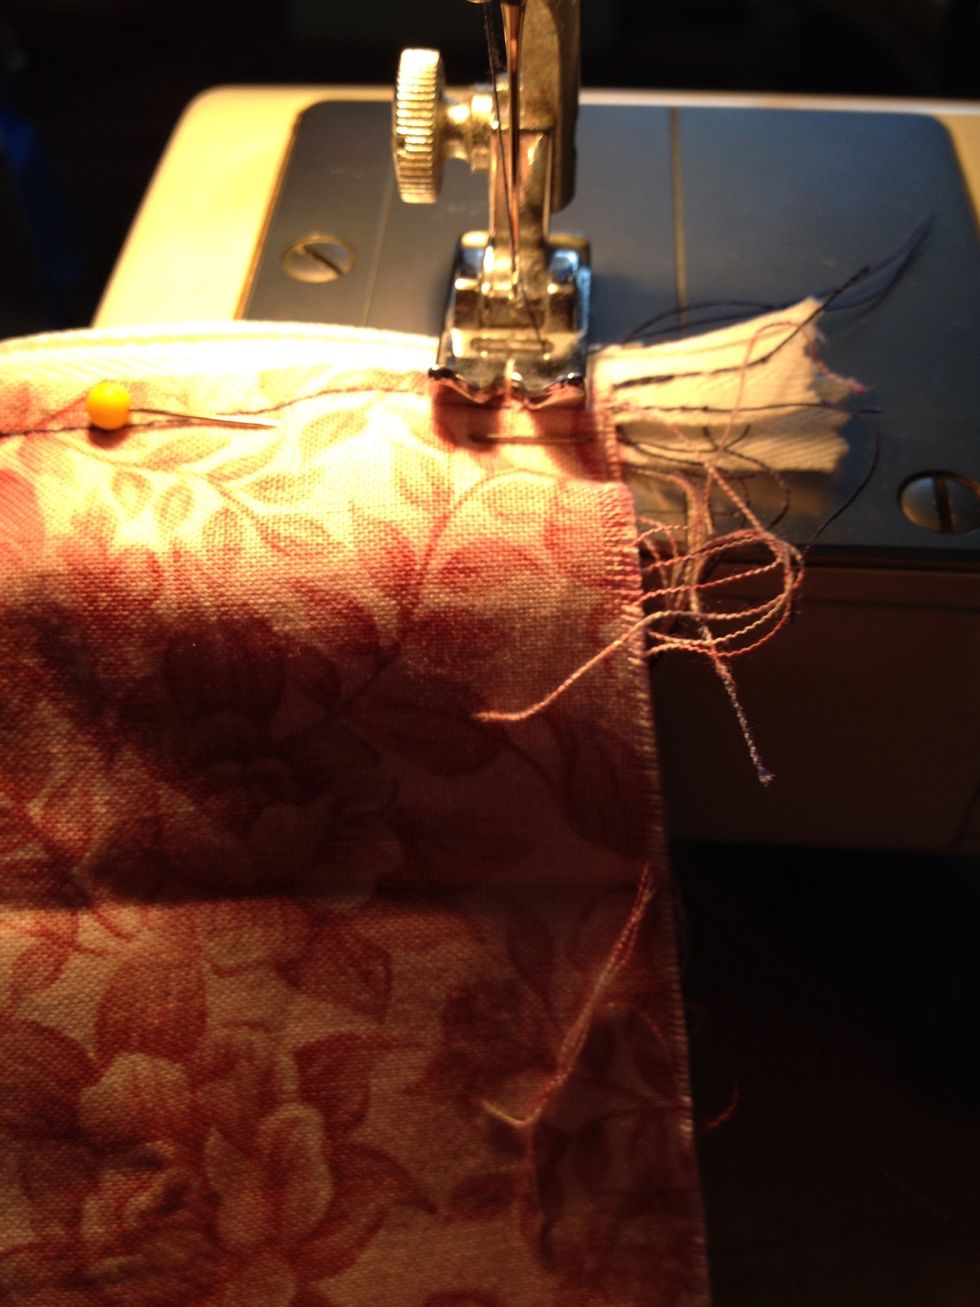
Now finishing off my project I pinned the zipper and sewed the sides up.
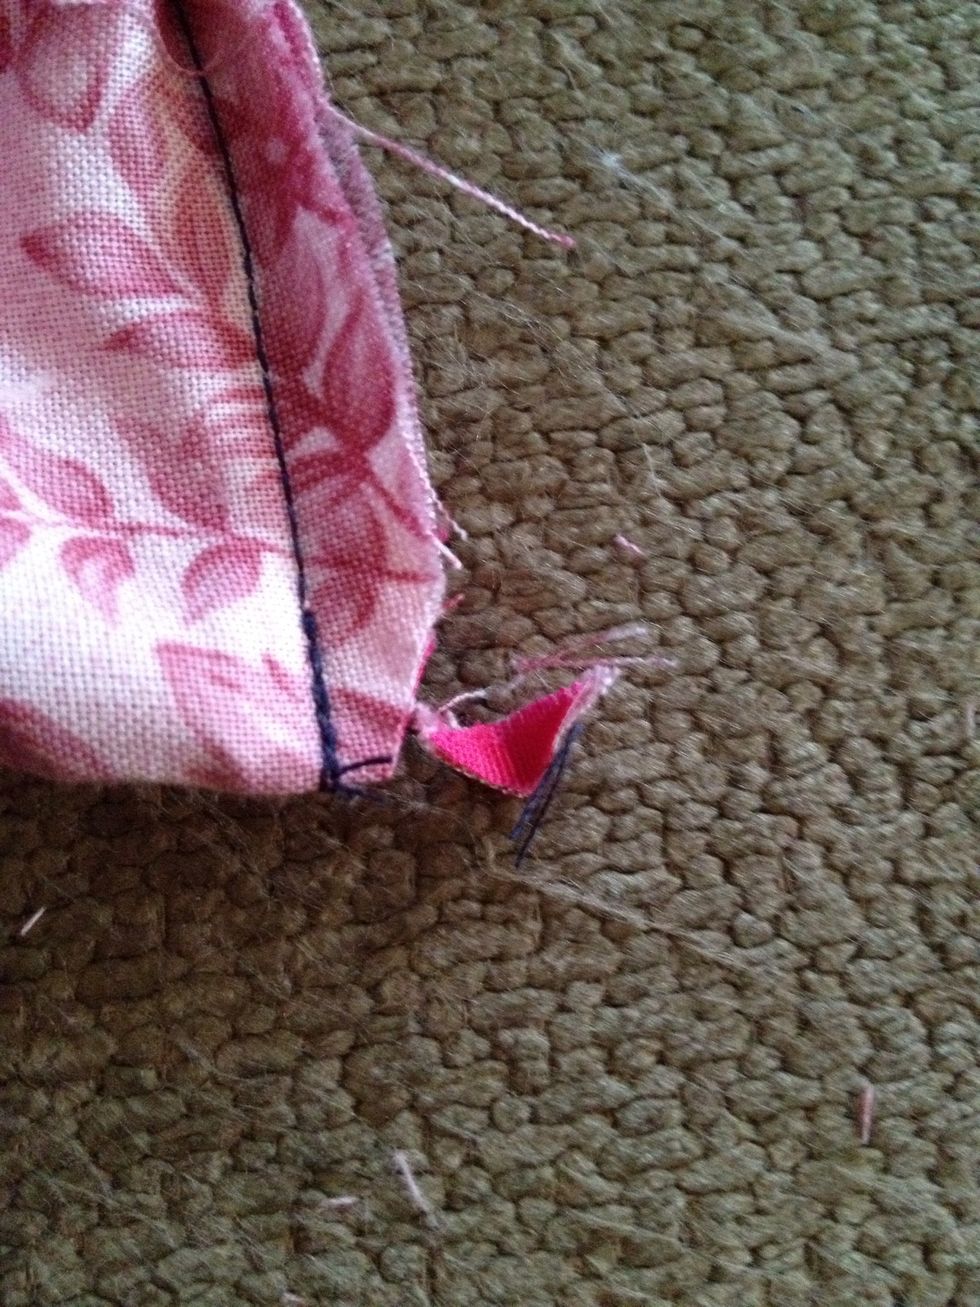
*Tip* In the corners for them to sit perfectly 90' trim a little triangle off. Making sure you don't cut any stitches or seams.
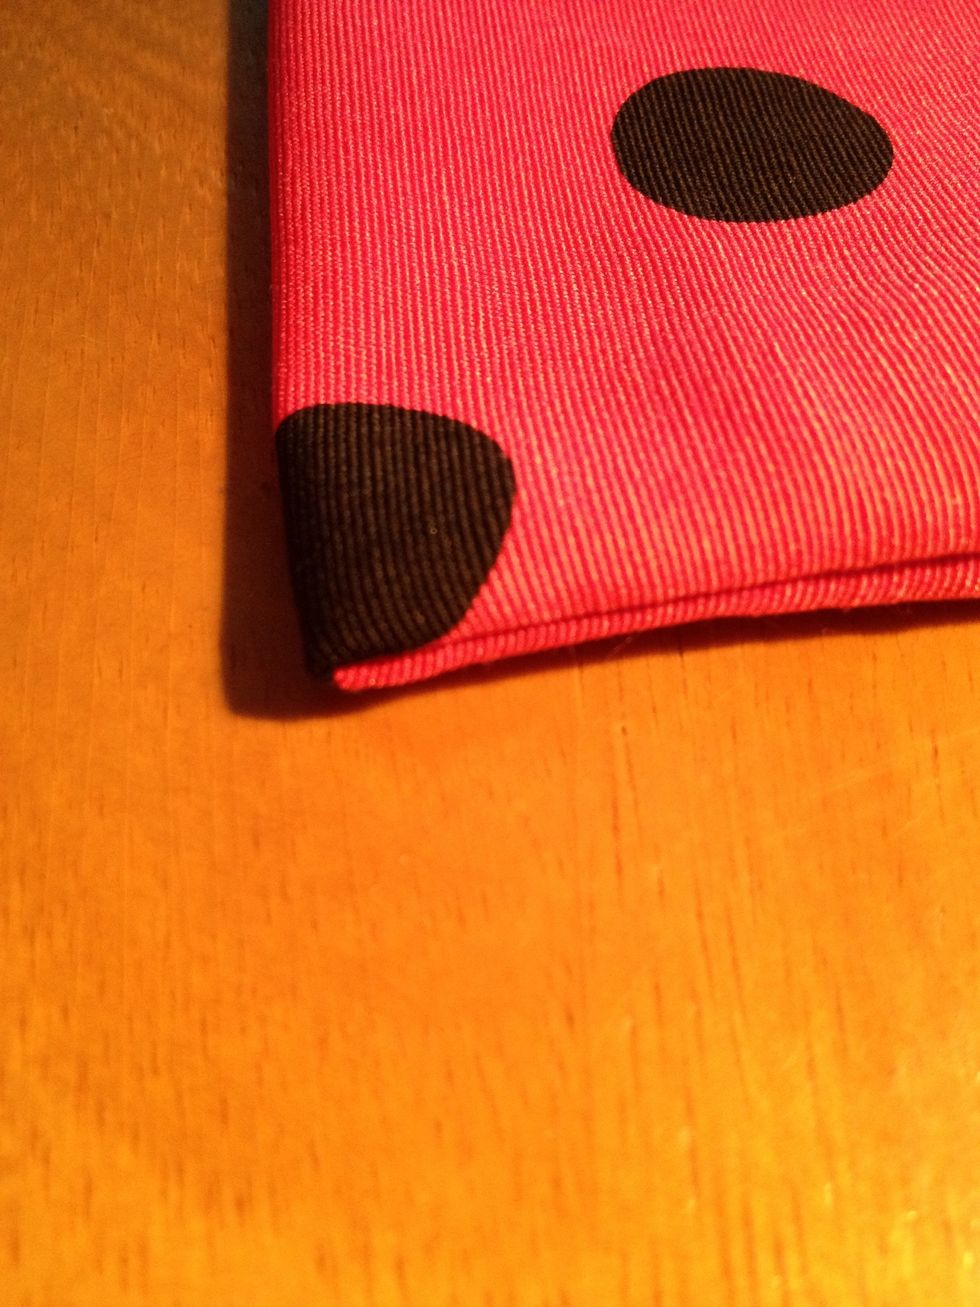
This is a cut corner, see how it sits nice and 90'.

This is an uncut corner, see how it doesn't sit proper and it's sucked in,
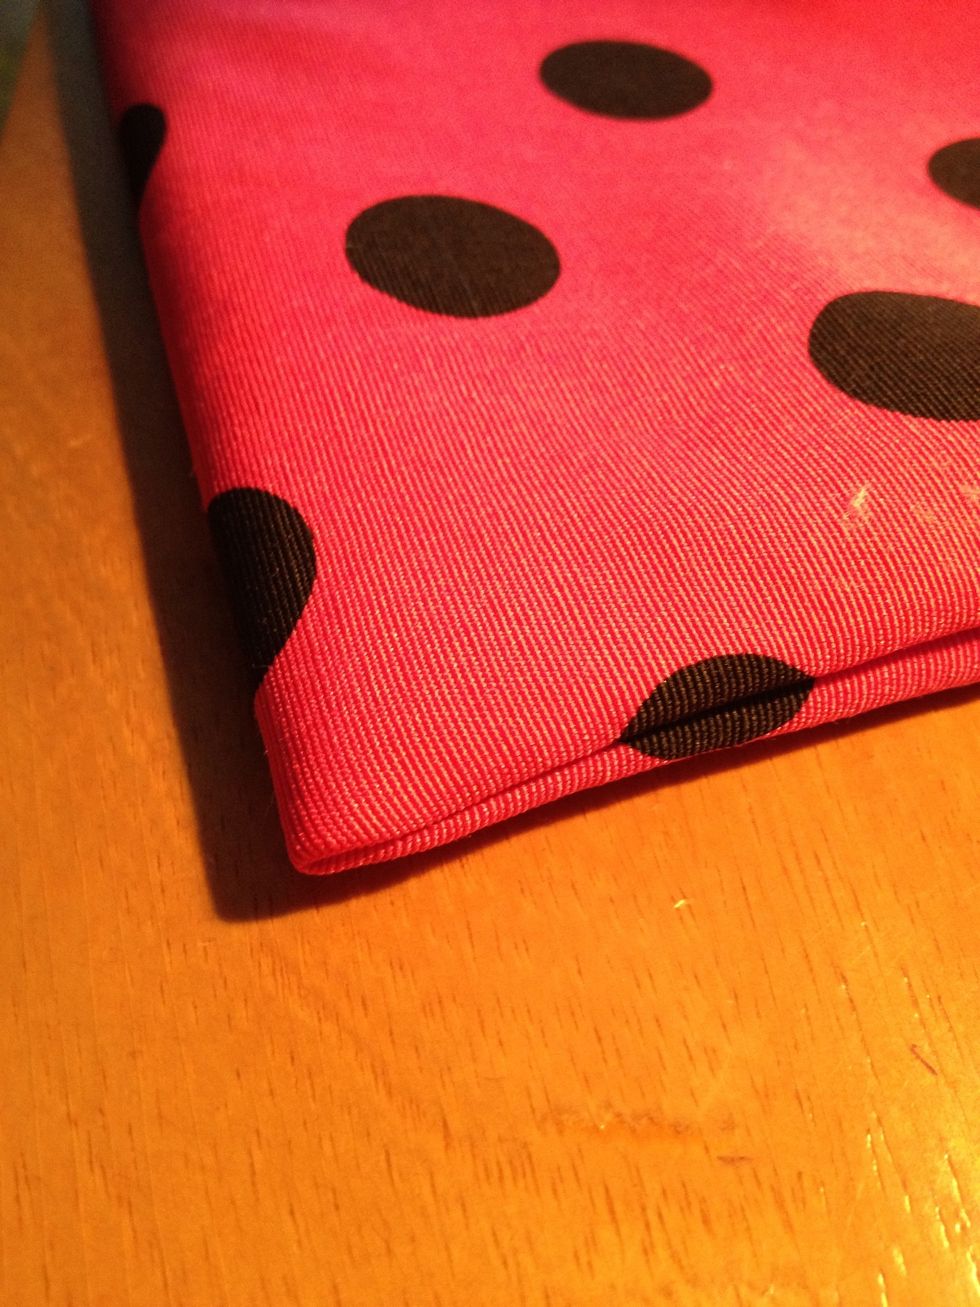
Same corner clipped.
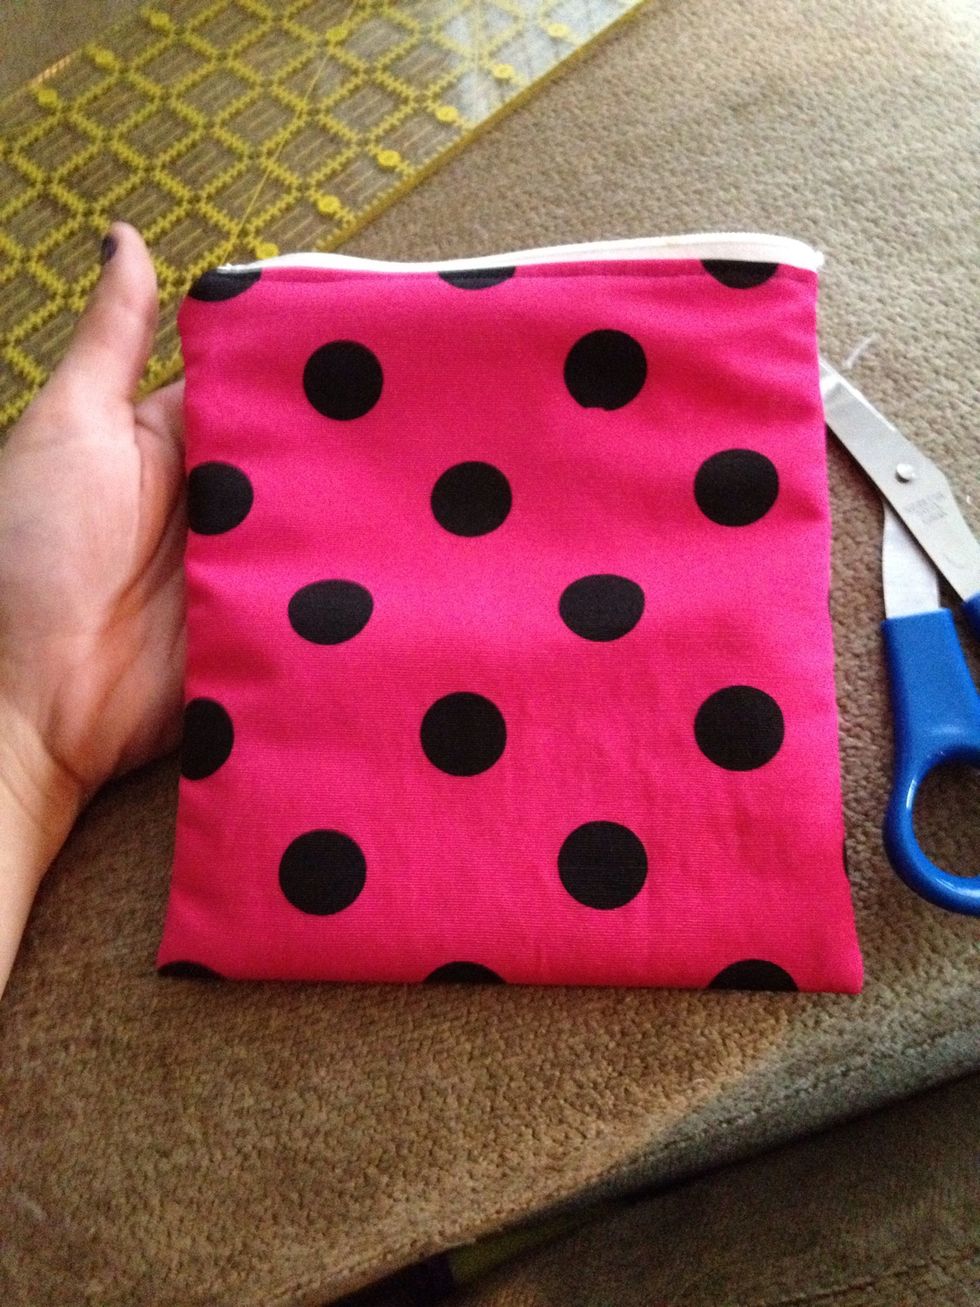
And there's your bag! Hope you enjoy!!