The Conversation (0)
Sign Up
Before installing read the manual thoroughly. If you have never replaced electrical outlets or are uncomfortable working with electricity let an experienced electrician install this outlet for you.
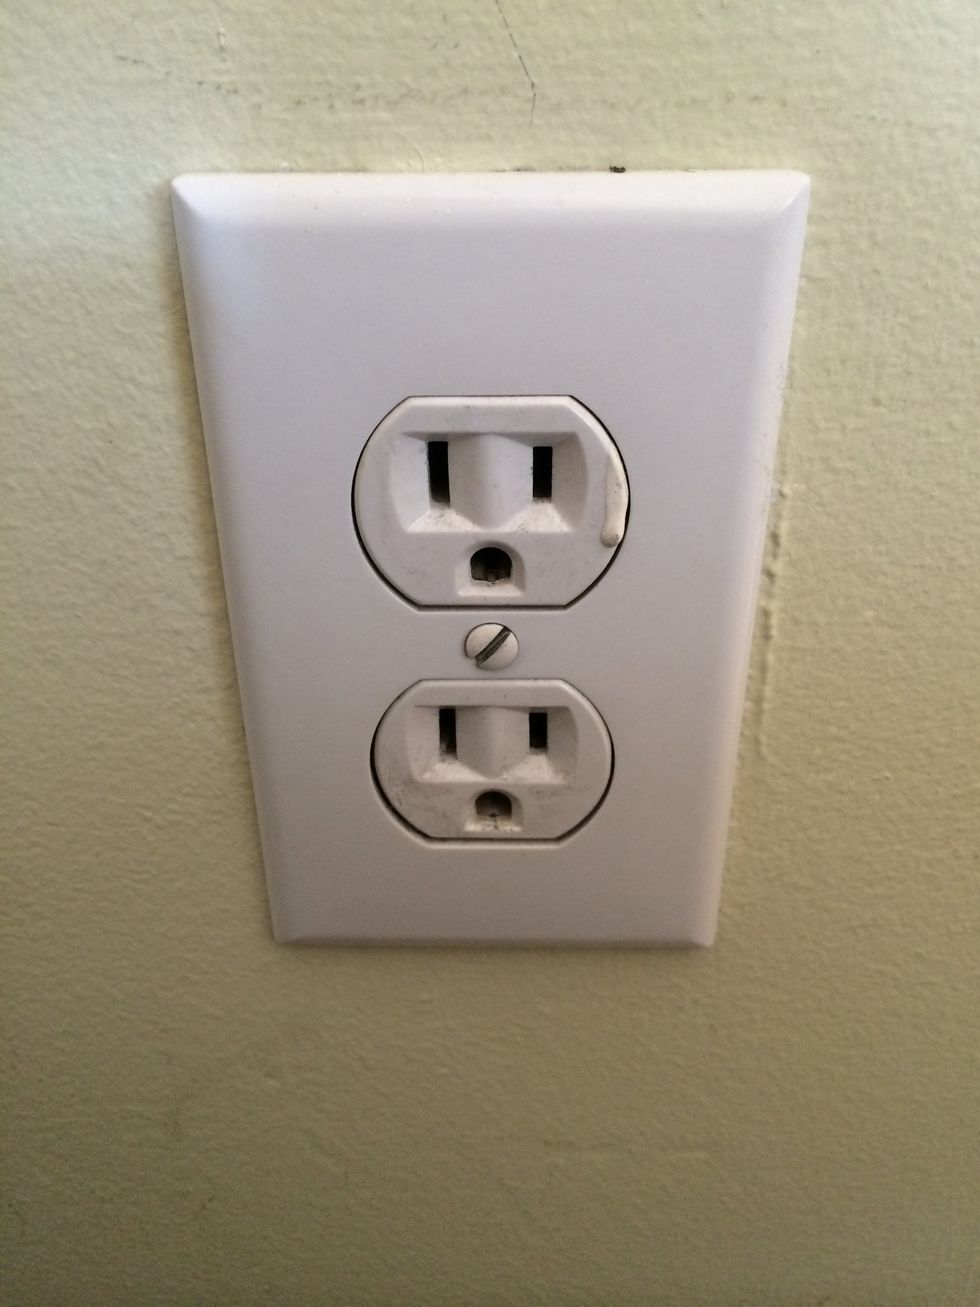
Remove the faceplate from the wall.
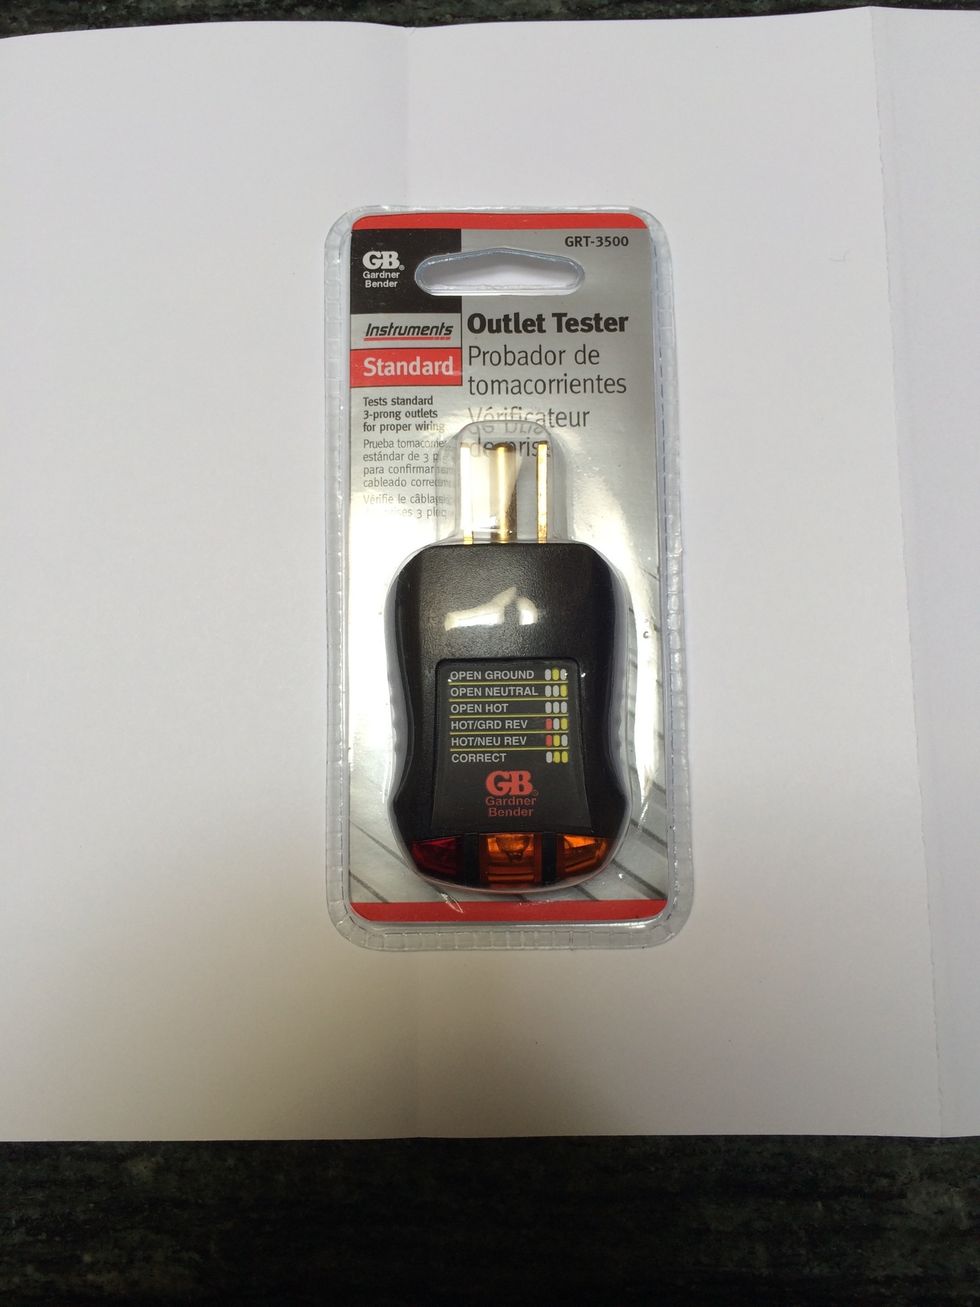
Acquire an outlet tester. Note: these won't always work on a GFCI receptor so if your outlet has a reset switch you might need something else.

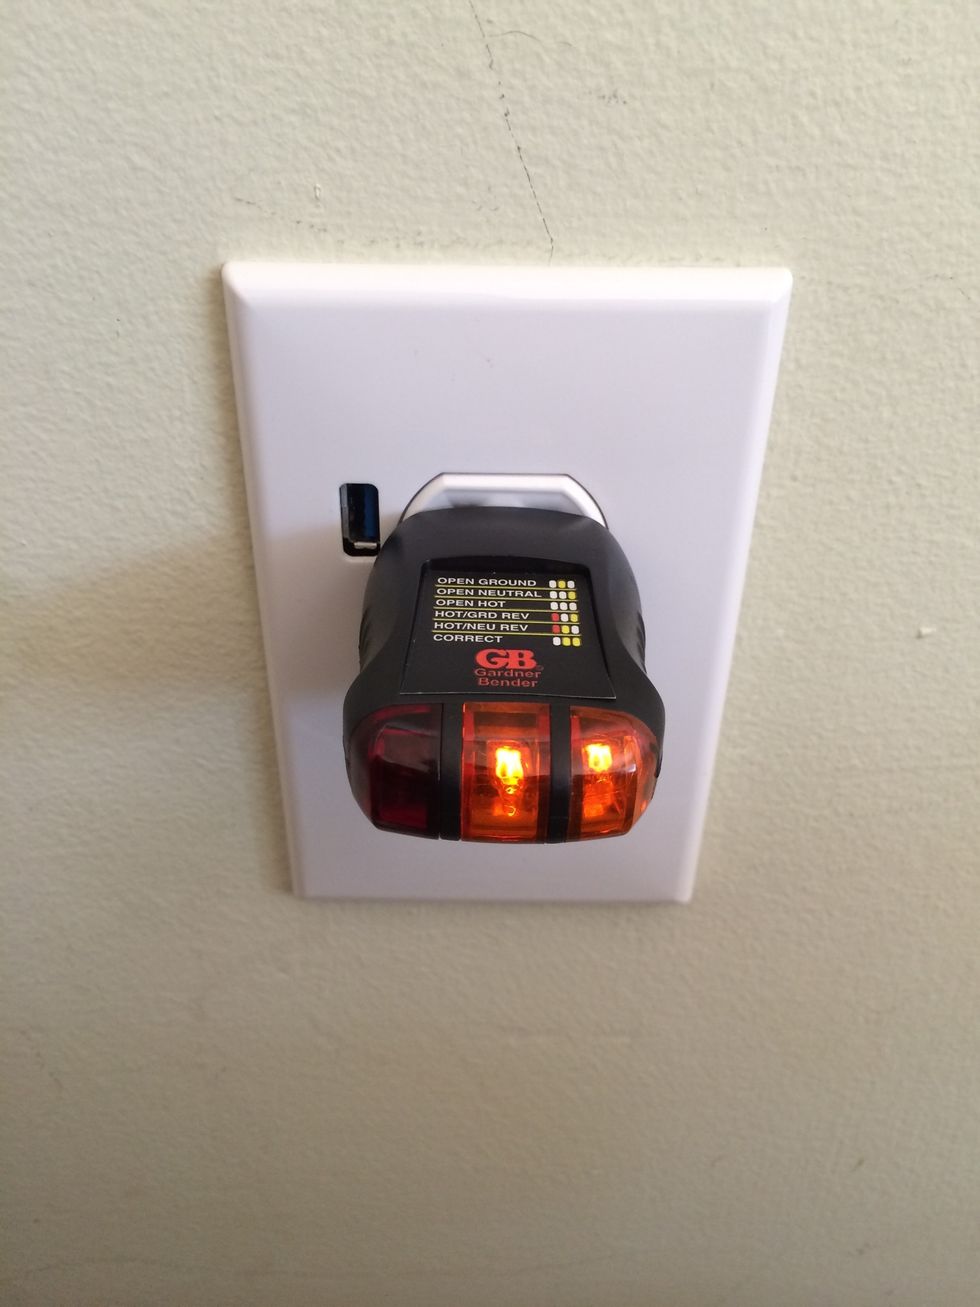
Plug your outlet tester into each outlet you're planning to replace. You want to ensure they are working. And, more importantly you want to understand how your outlet tester works on a live outlet.
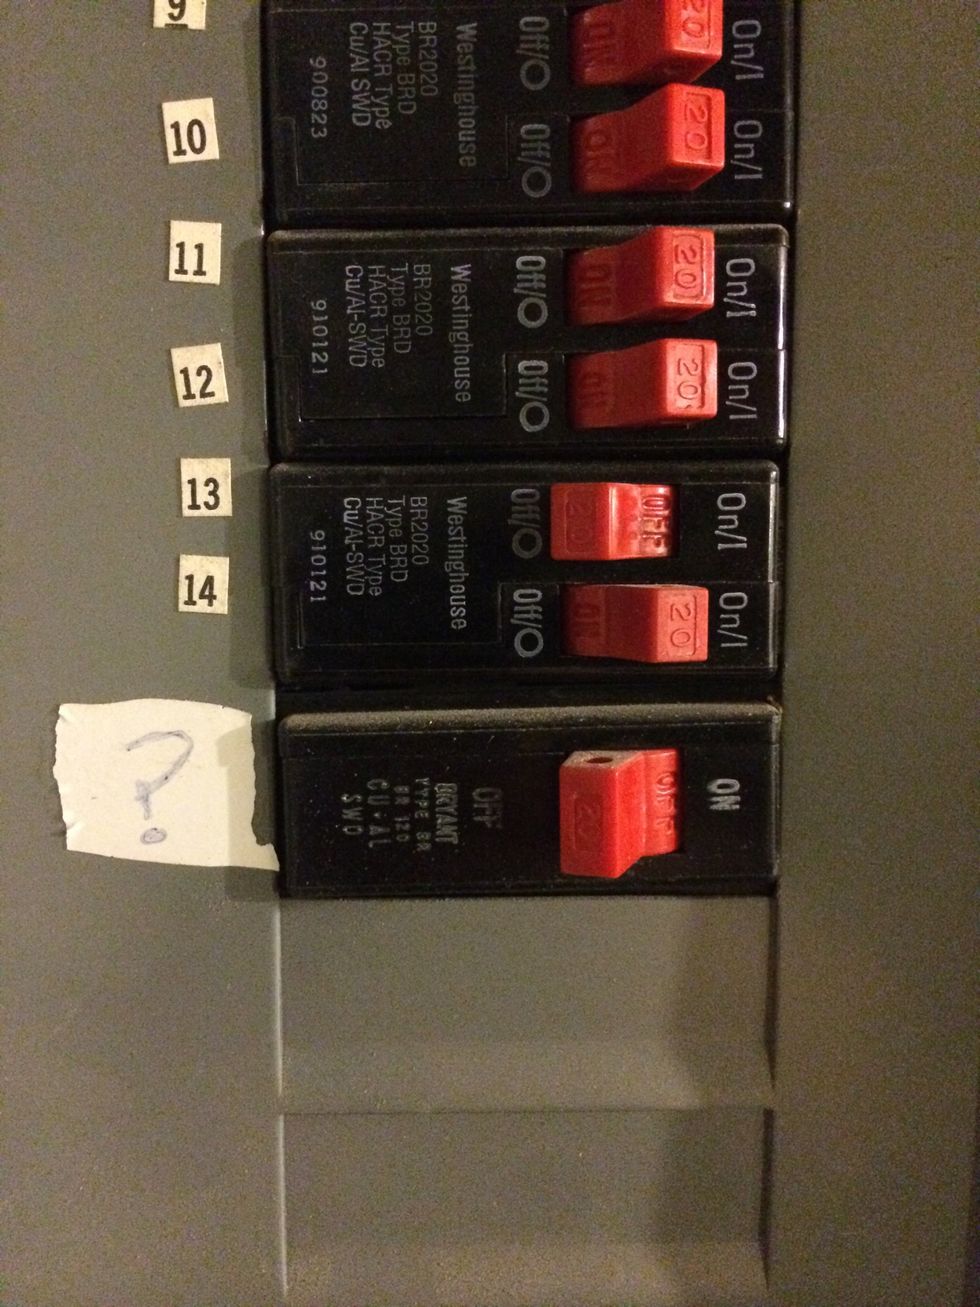
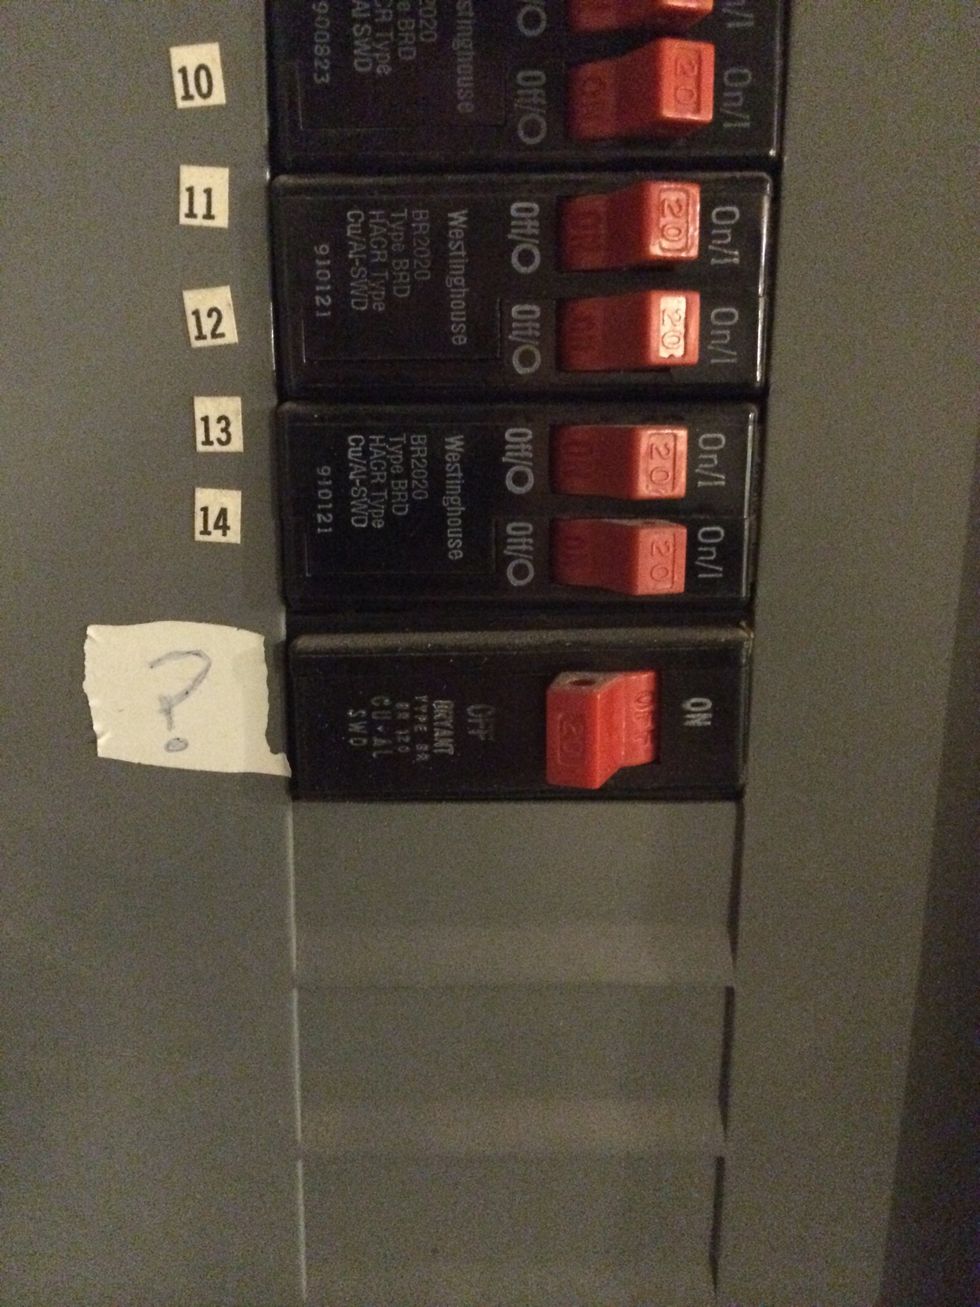
Turn off the electricity to the outlet.
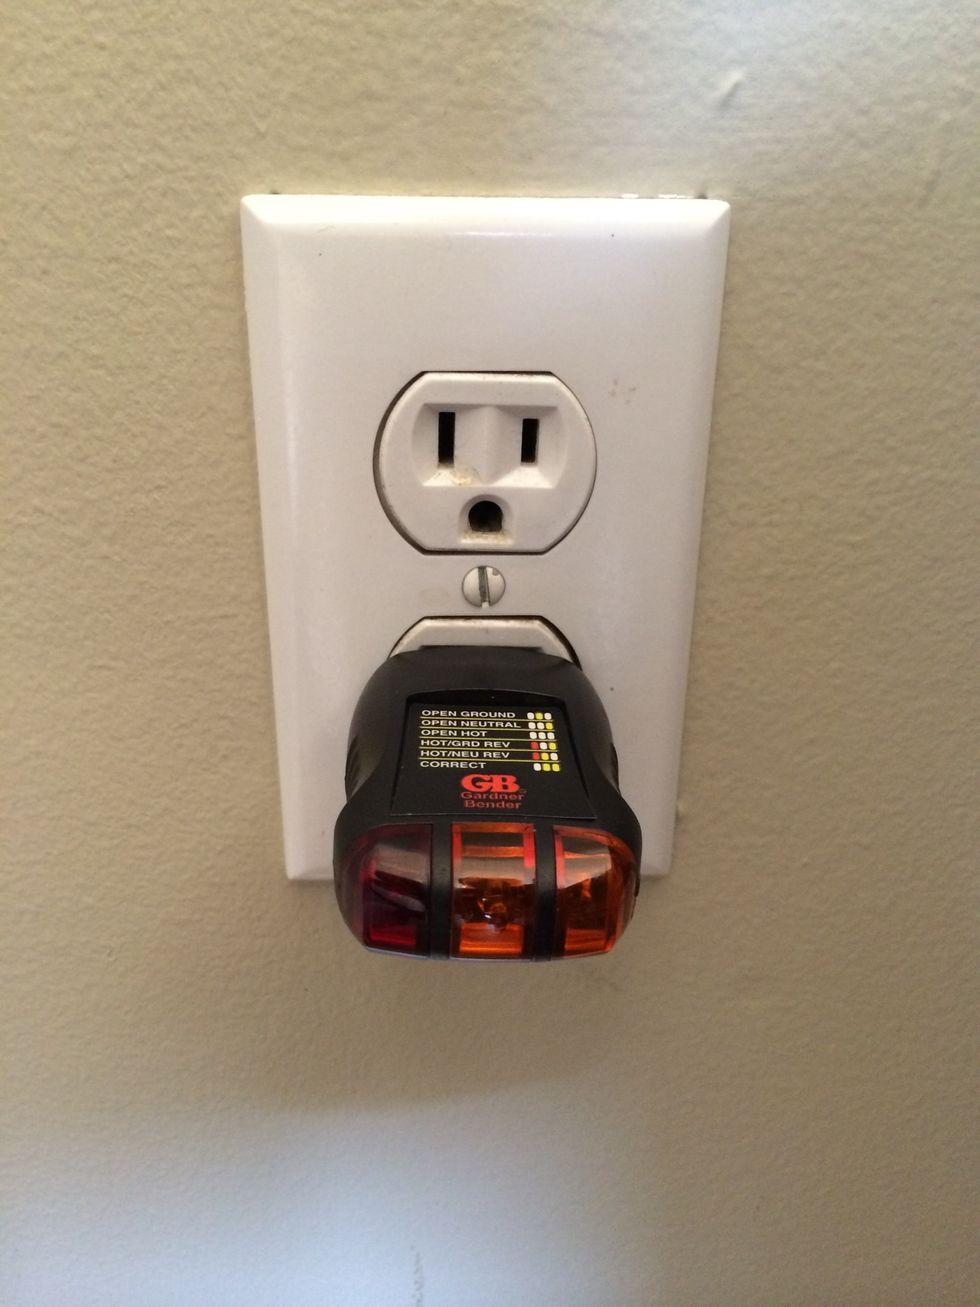
With the power off use the electricity tester to confirm the outlet does not have power. You need to test both plugs!
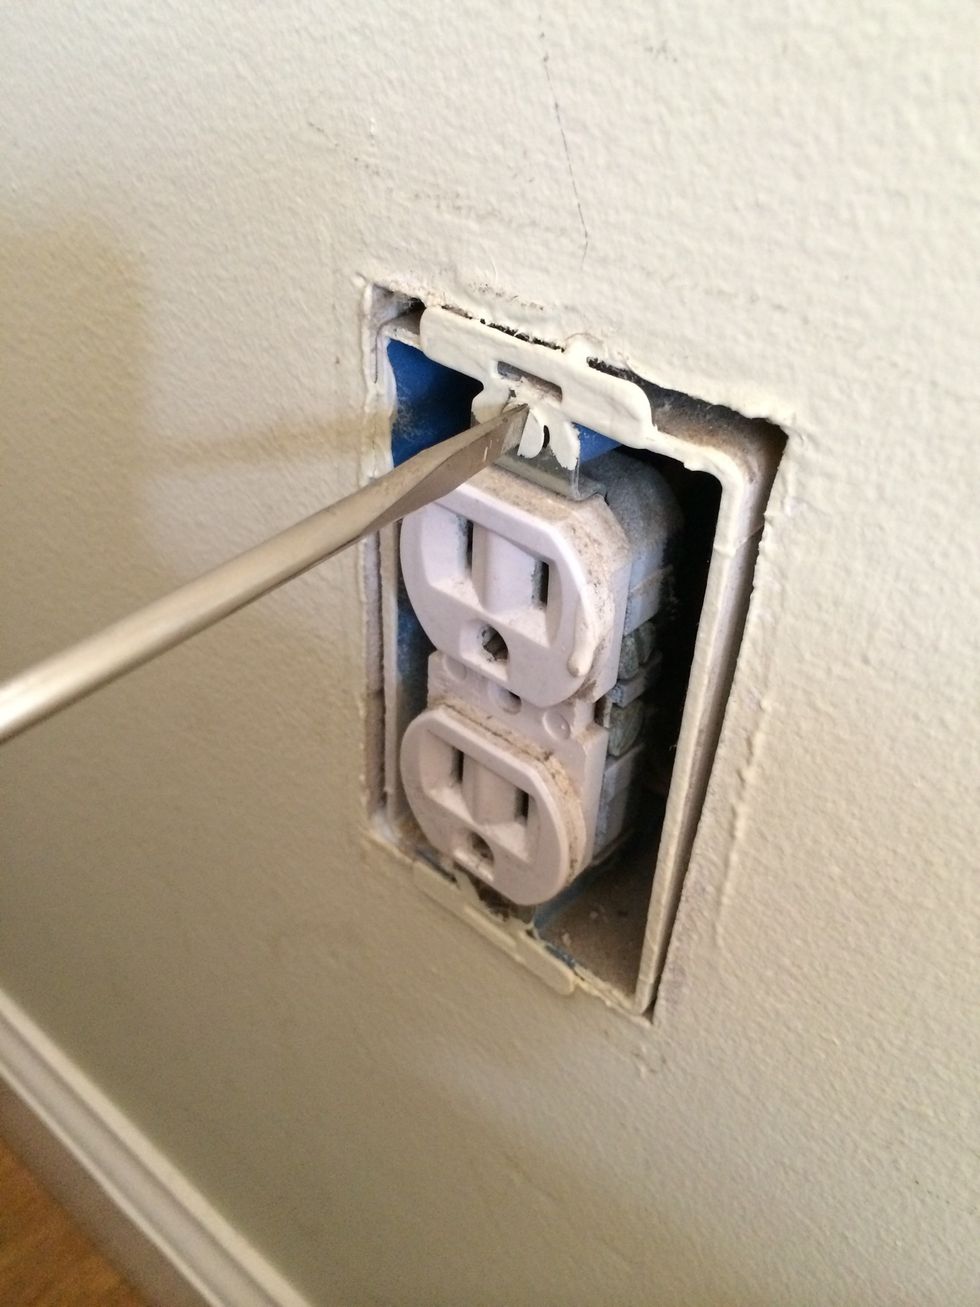
With the electricity to the jack off you can now safely remove the outlet from the wall.
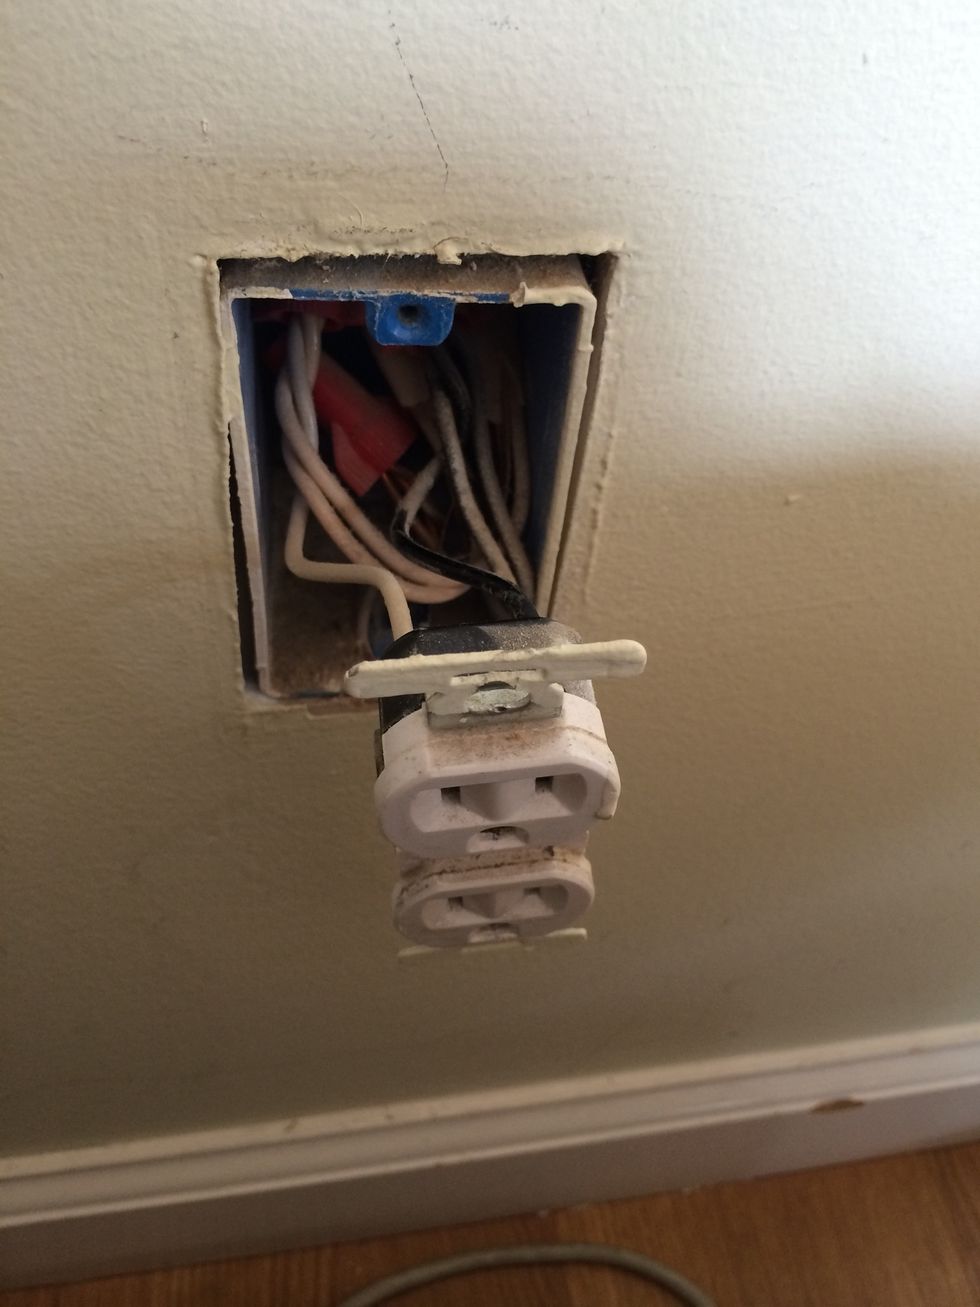
Disconnect the wires noting where they were connected and which are Live, Neutral and Ground. Remove your old outlet from the wall.
Note: the polarity of the wires is usually indicated by color. Black or Red is Live. White is Neutral. Green is Ground (or it might just be a plain copper wire.) If uncertain hire an electrician!!
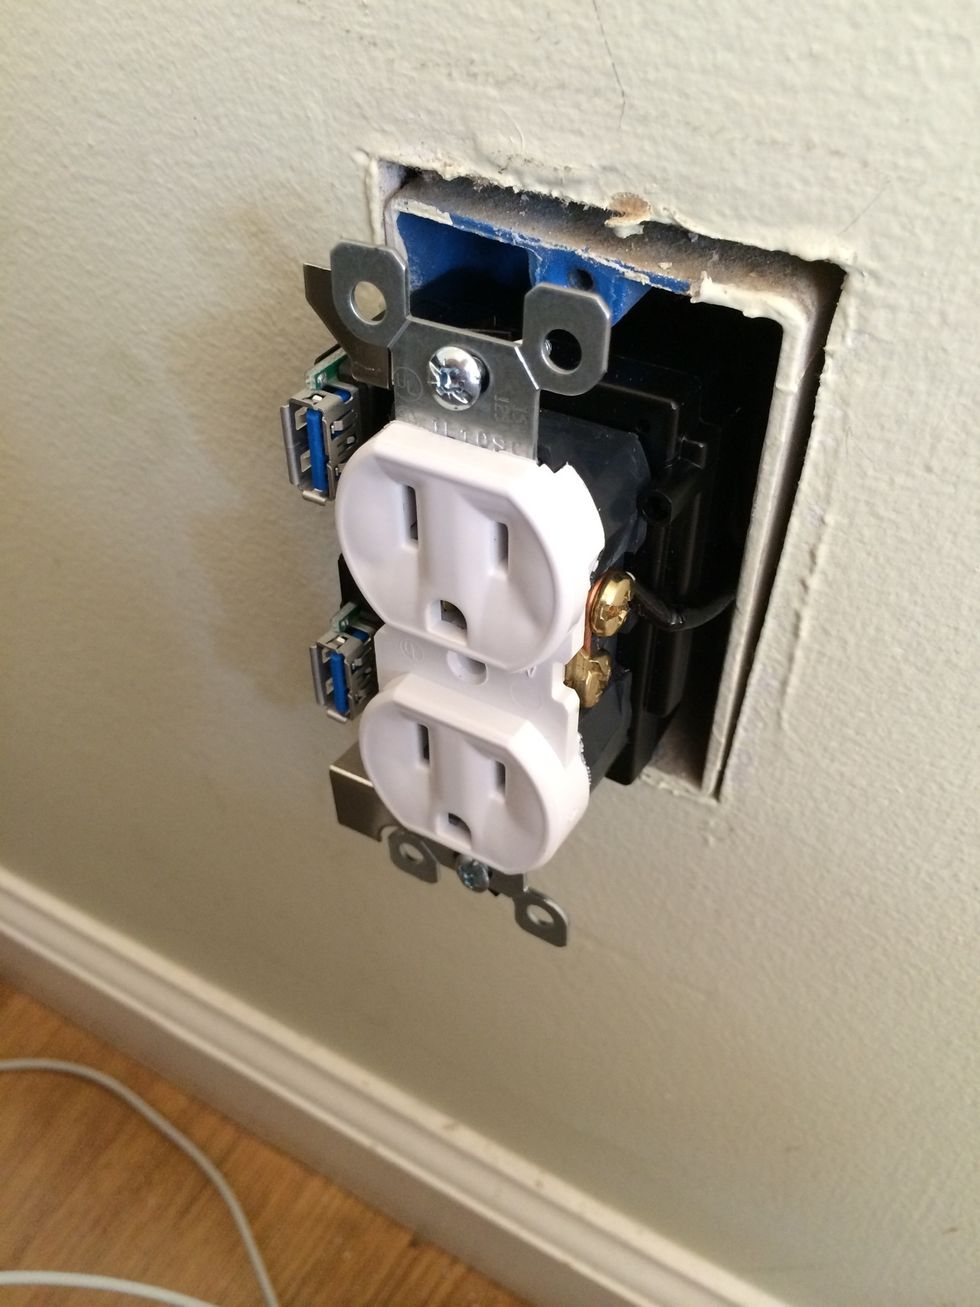
Insert the U-Socket into the wall. Follow the instructions from the U-Socket installation manual to ensure you reconnect your Live Wire, Neutral Wire and Ground Wire correctly.
Note: when attaching the wires around the screws a needle nose pliers will come in handy. Make sure each wire is solidly attached under the screw. Making a U shape with the wire is recommended.
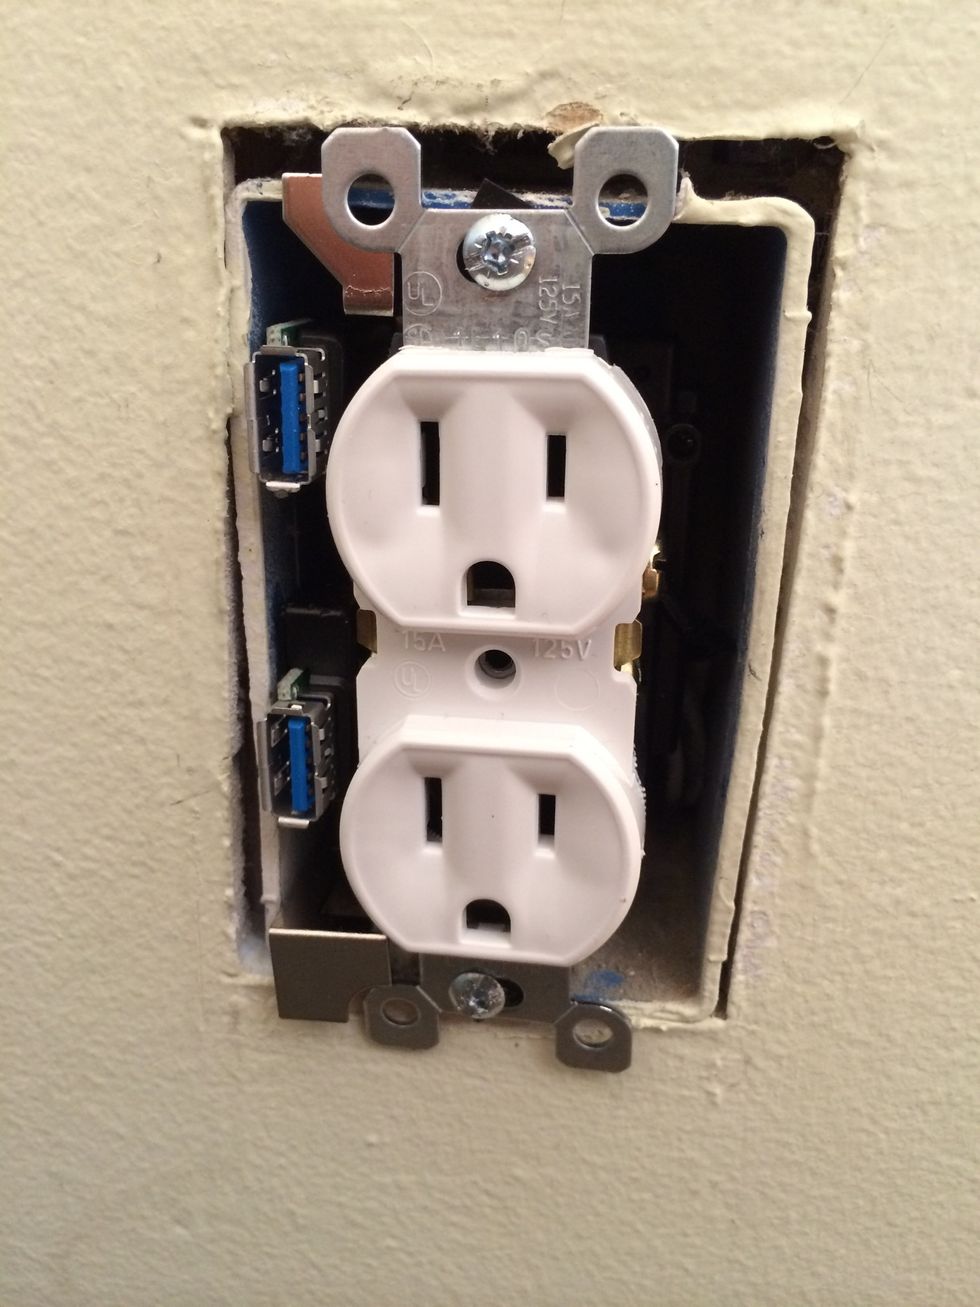
Once all the wires are connected, place the outlet back into the box and fasten the box via the the mounting bracket screws.
Attach the faceplate taking care to ensure everything is aligned.
Turn the power back on to the outlet.
Before plugging anything in test the outlet with the outlet tester. Everything works great! Note: If you have any concerns immediately turn off the power and call an electrician.
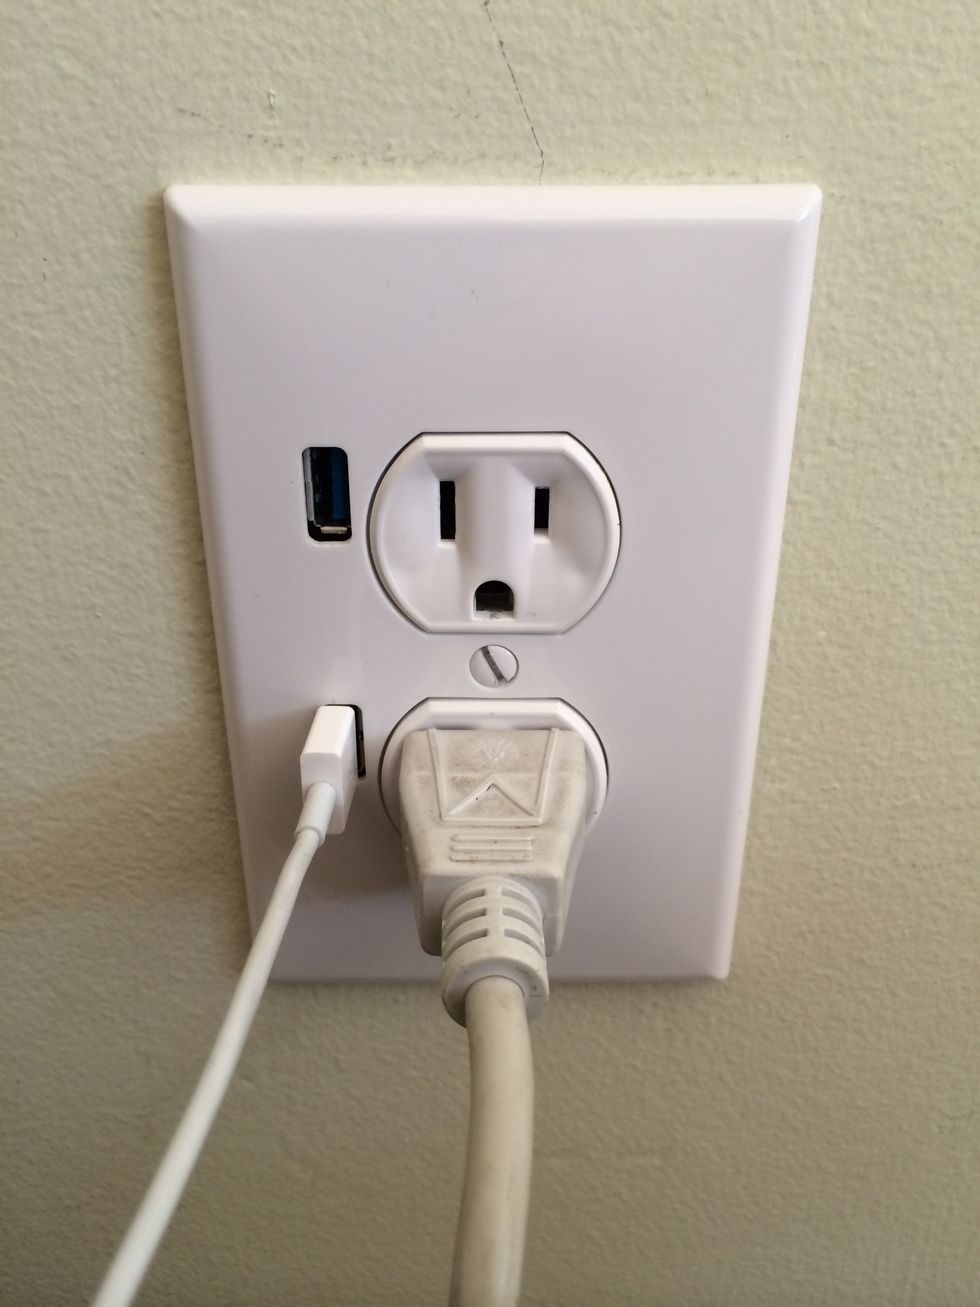
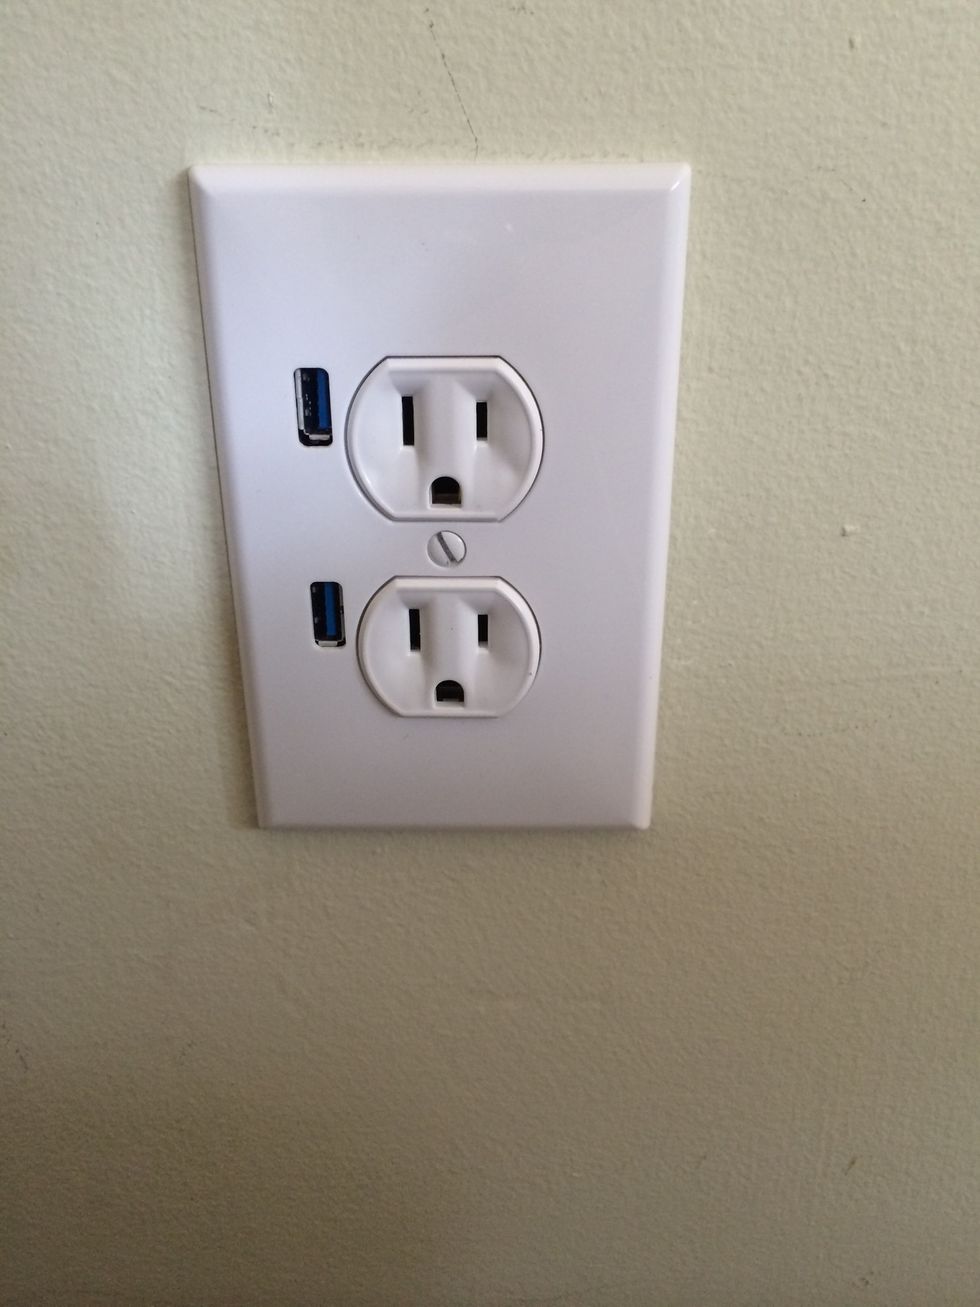
With a working outlet you can now directly plugin USB charging devices to the outlet. We have eliminated the unsightly clutter of AC adaptors hanging from the wall!