The Conversation (0)
Sign Up
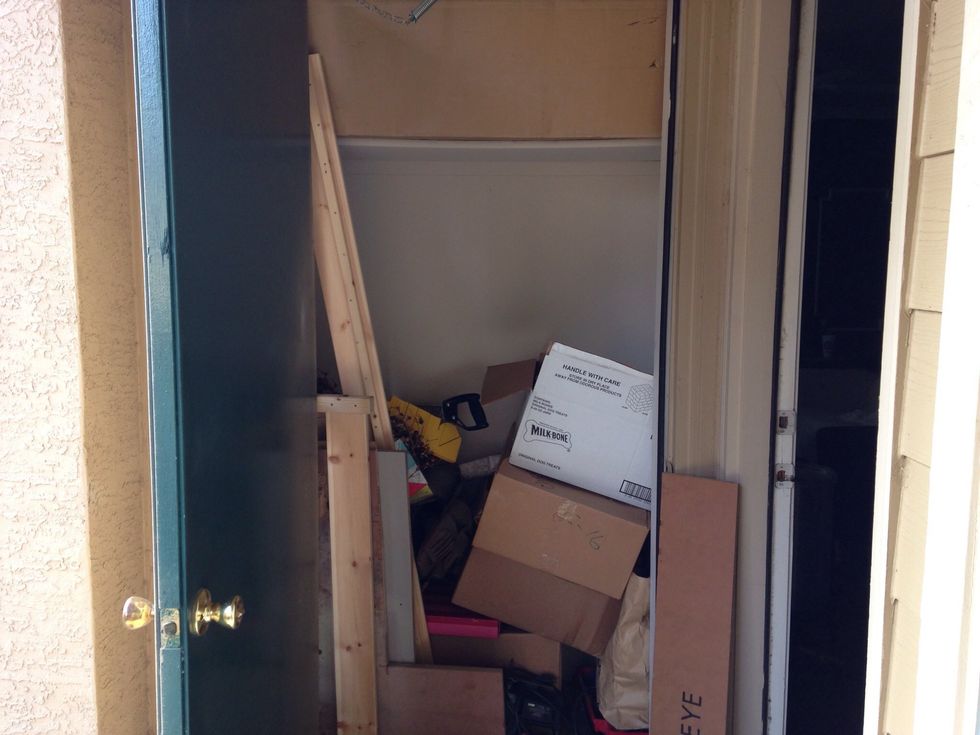
This is our patio closet. Yuck!!! It has been driving me nuts for a while now, so I decided to add some shelves and get it organized.
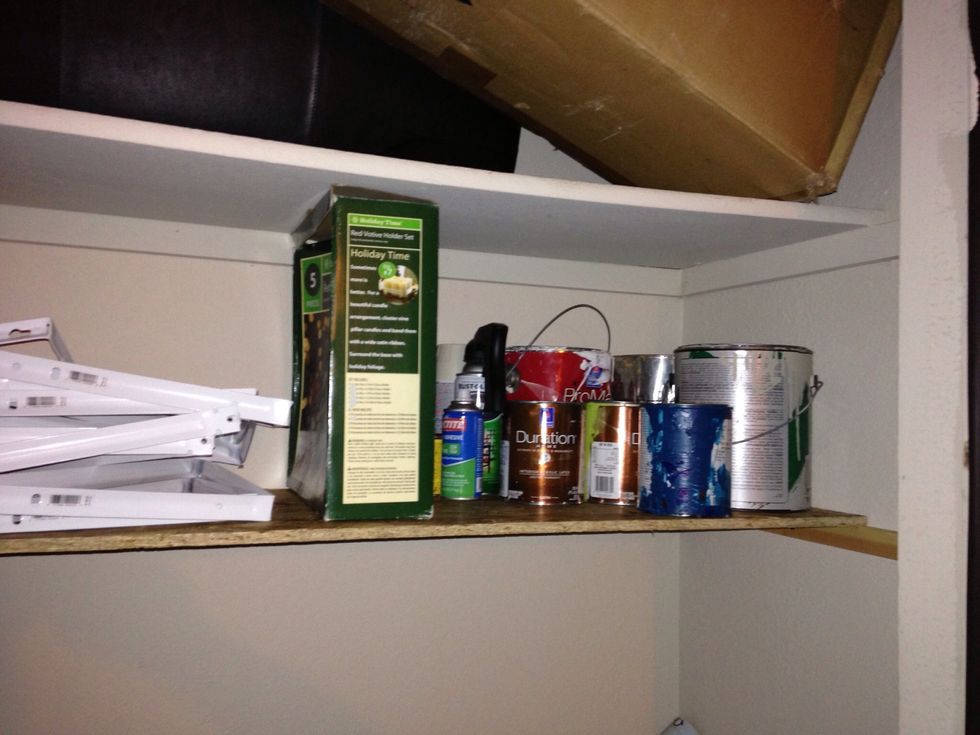
The first thing you need to do is take a quick inventory, and get an idea about what you're going to put on the new shelf.
We do this so we can measure our tallest item and figure out how much space we need between shelves.
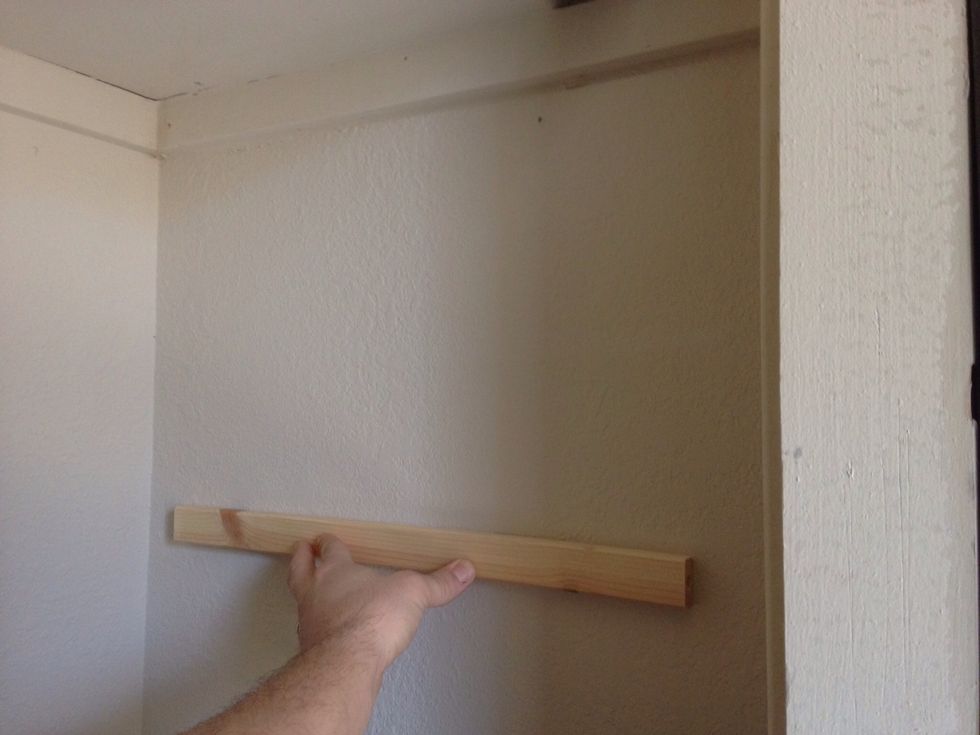
Now that I have my inventory figured out, I can start making my marks. I've determined that my shelf will be 12 inches below the top one.
So, I just butt my ruler against the top shelf and make a mark 12 inches below. On each wall, I make 2 marks -one towards the left side and one on the right. Then, just use a pencil connect the lines.
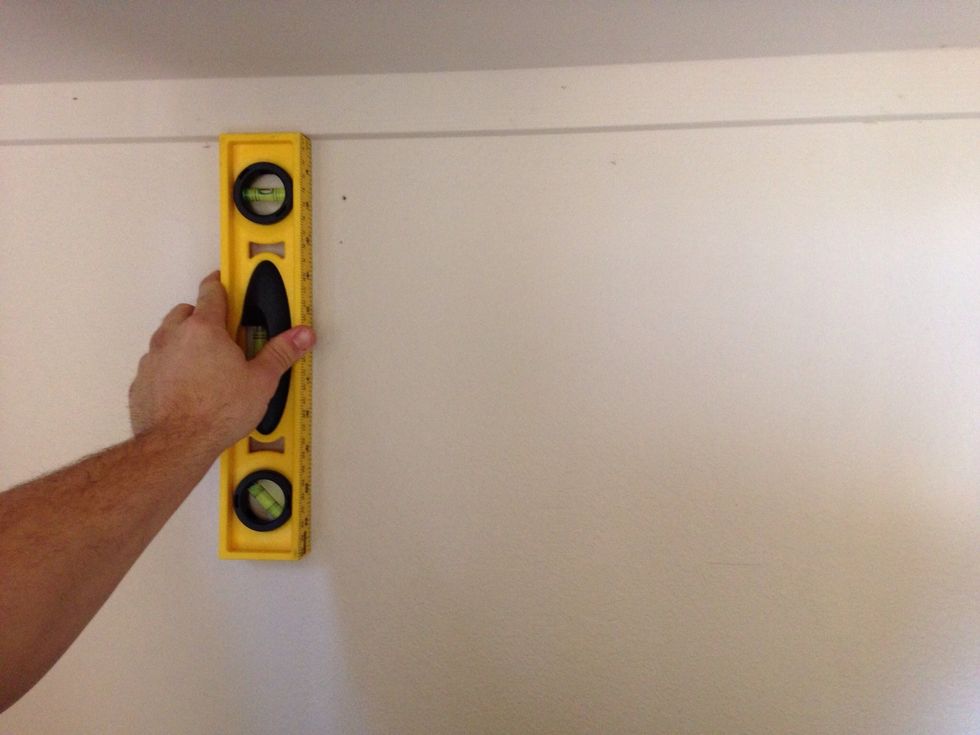
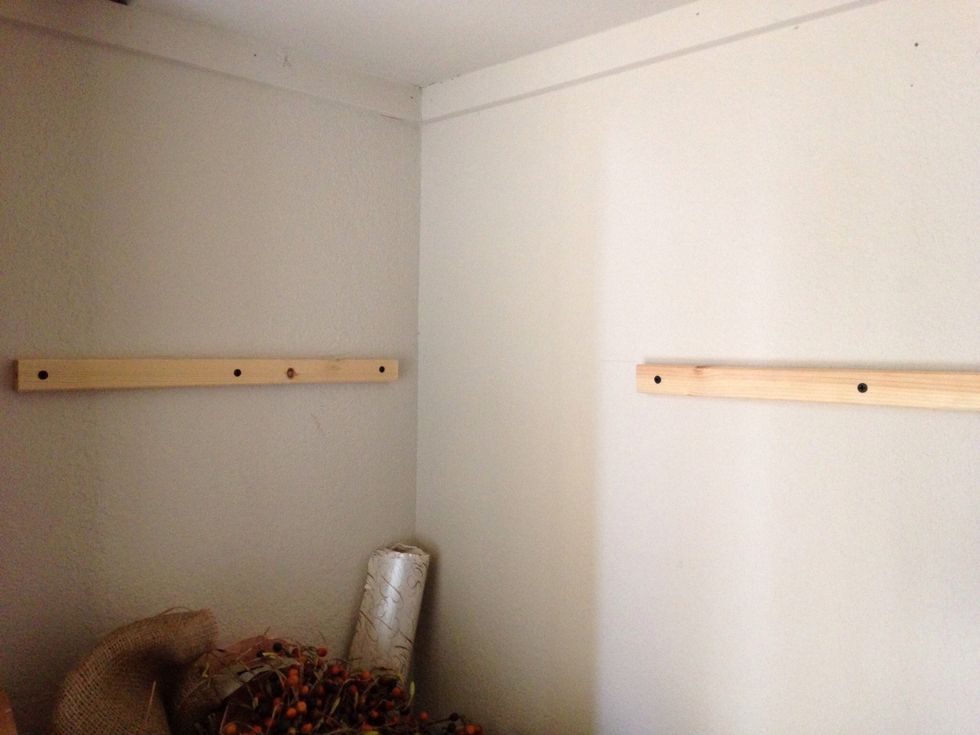
Repeat this step for each of the three walls. Once this is finished, it is time to get started on our wood pieces used to hold the shelf.
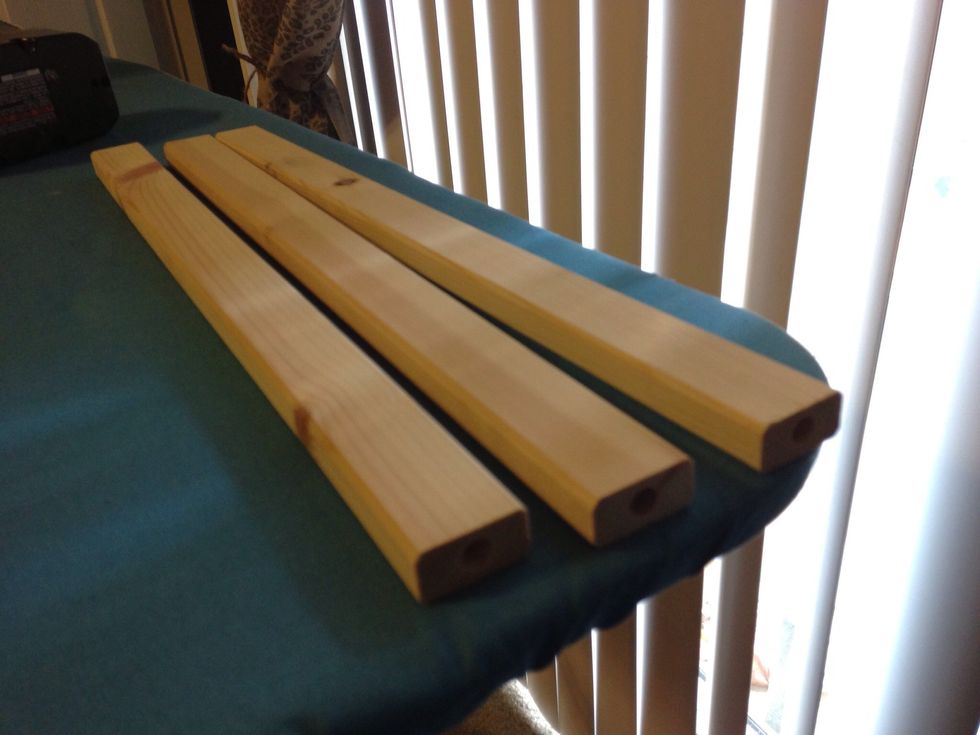
I salvaged these three pieces from an old Ikea bed frame that I had. I cut them to 10 inches long. Then, I screwed in 3 evenly spaced wood screws into each strip.
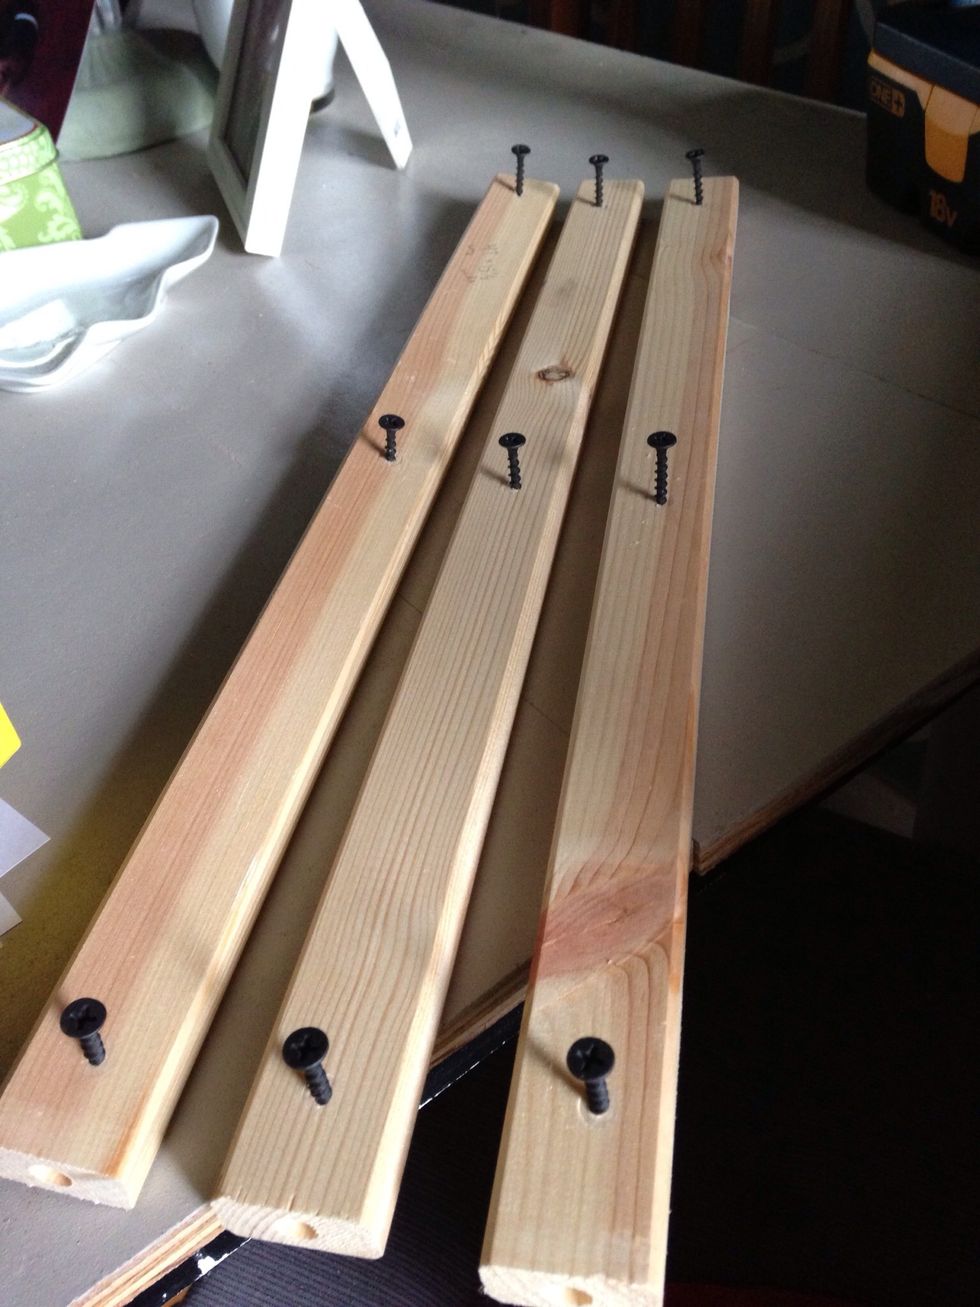
Be sure to put each screw in the center of the wood. Also, don't send the screw all the way through the wood. just get it set. You should have something like this when complete.
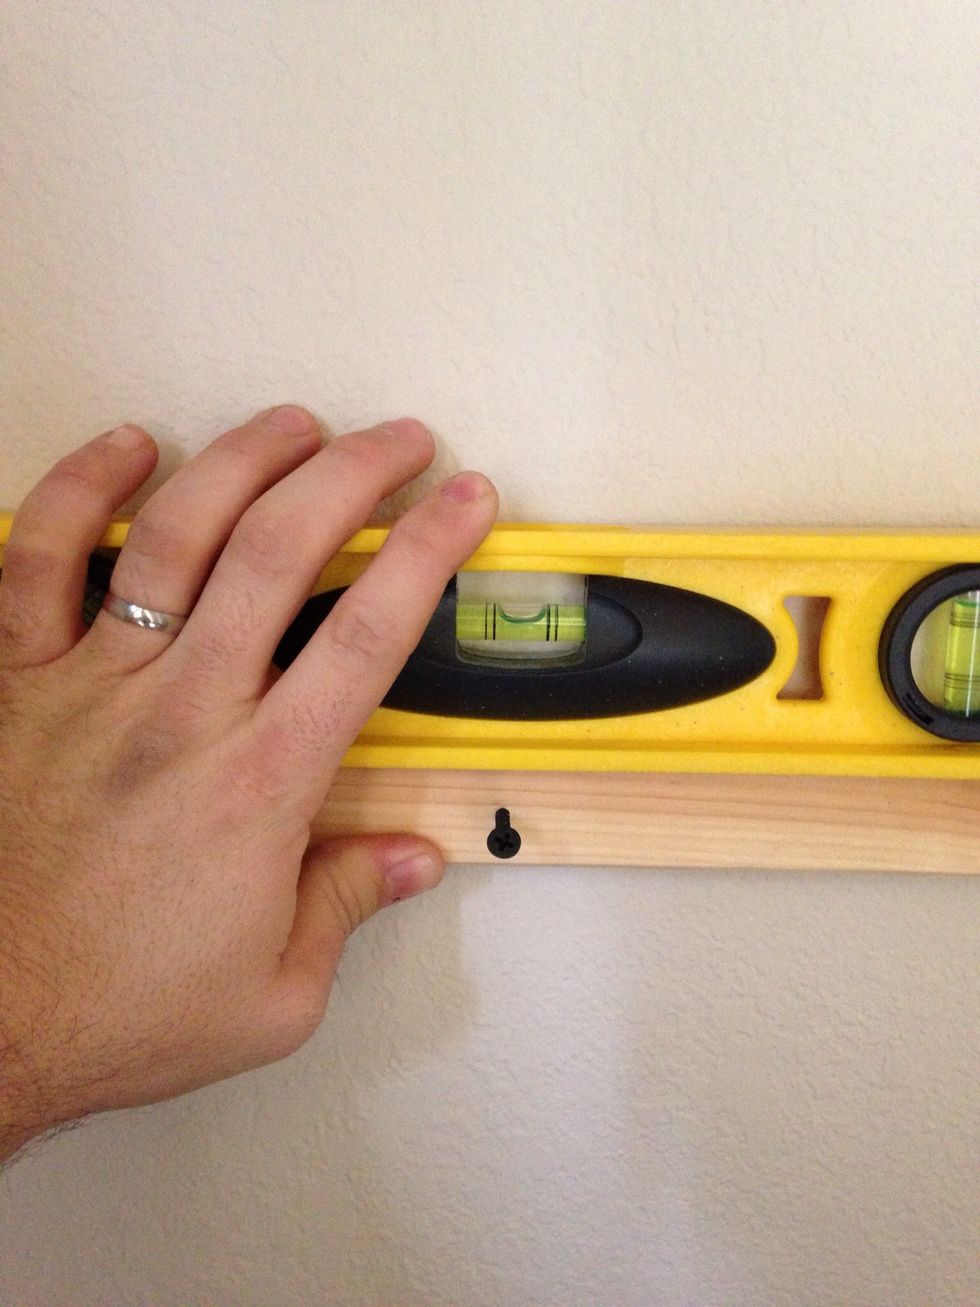
Place each wood strip below the line you drew previously, making sure it is level, and then screw it in.
If you're screwing into drywall, you'll first need to add some drywall anchors so it holds properly.
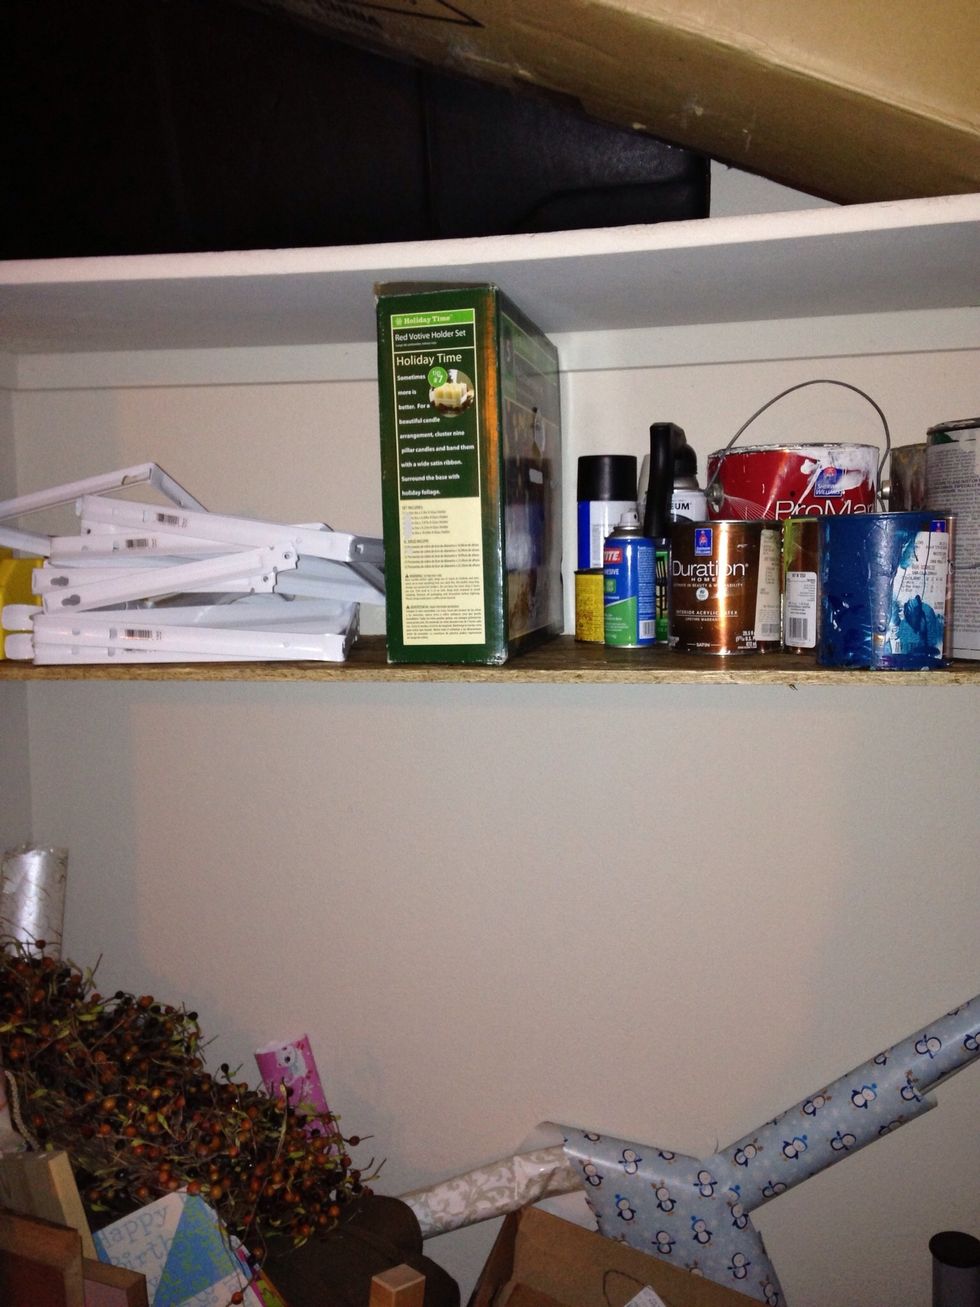
Then, cut your plywood to the size you want your shelf to be and simply pop it in so that it rests on the 3 support pieces you just screwed in.
If this shelf was going in the kitchen pantry, I would recommend painting it first, but this was on our patio closet so I didn't worry about it.
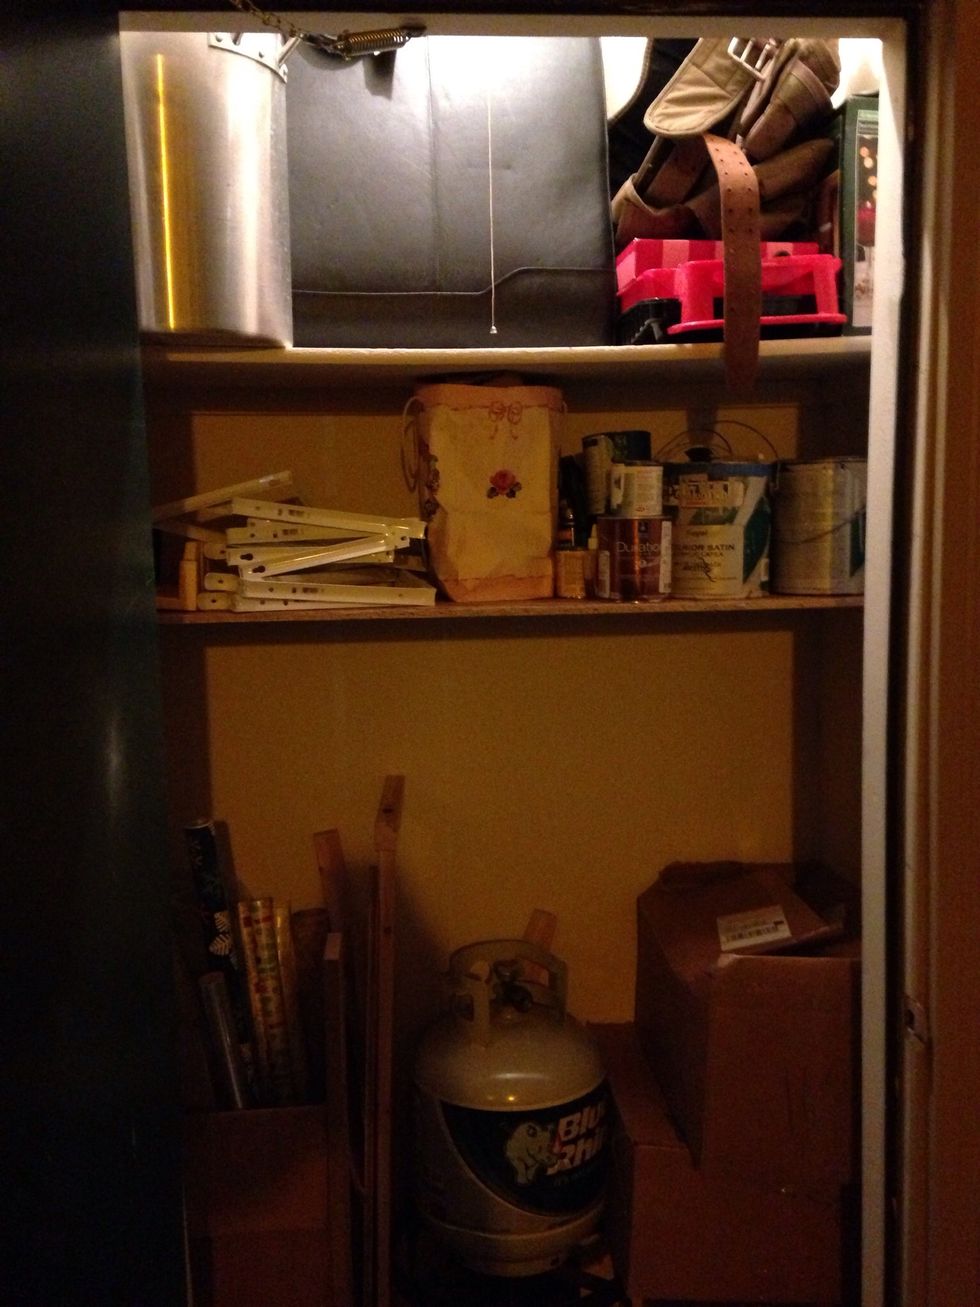
Here is my completed shelf. Organized (mostly) and easy to find stuff. Yay!!!