The Conversation (0)
Sign Up
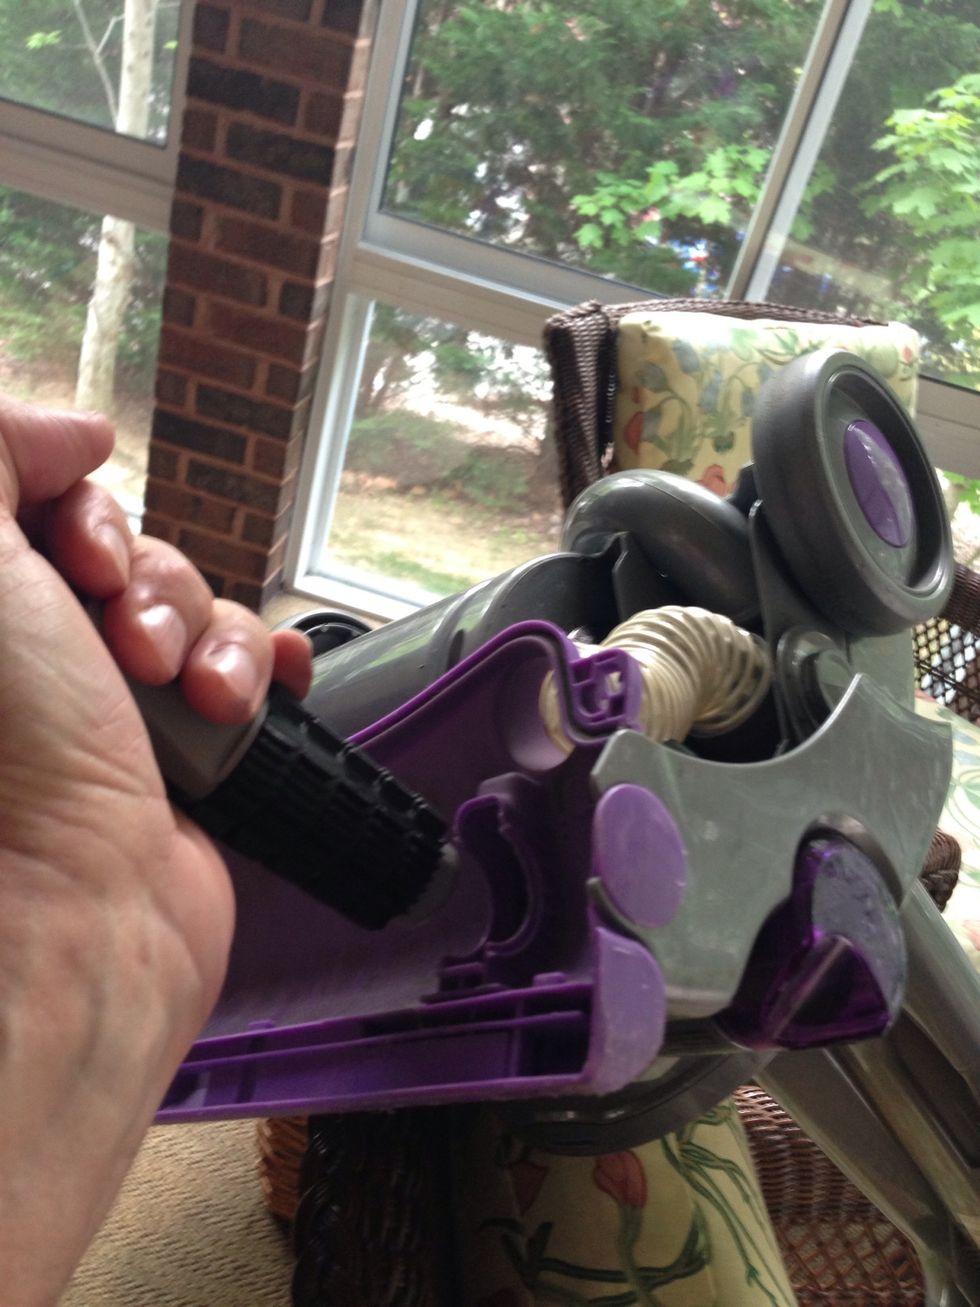
I'm assuming you followed the SnapGuide for removing the old clutch. Replacing the clutch is simply doing everything in reverse. With one exception. The new belt installation requires a special tool.
The tool , like the clutch, can be ordered from Amazon. The new a Dyson clutch is under $30 and the Belt Tool is under $10. Compare that to repair shops that charge $75 plus labor
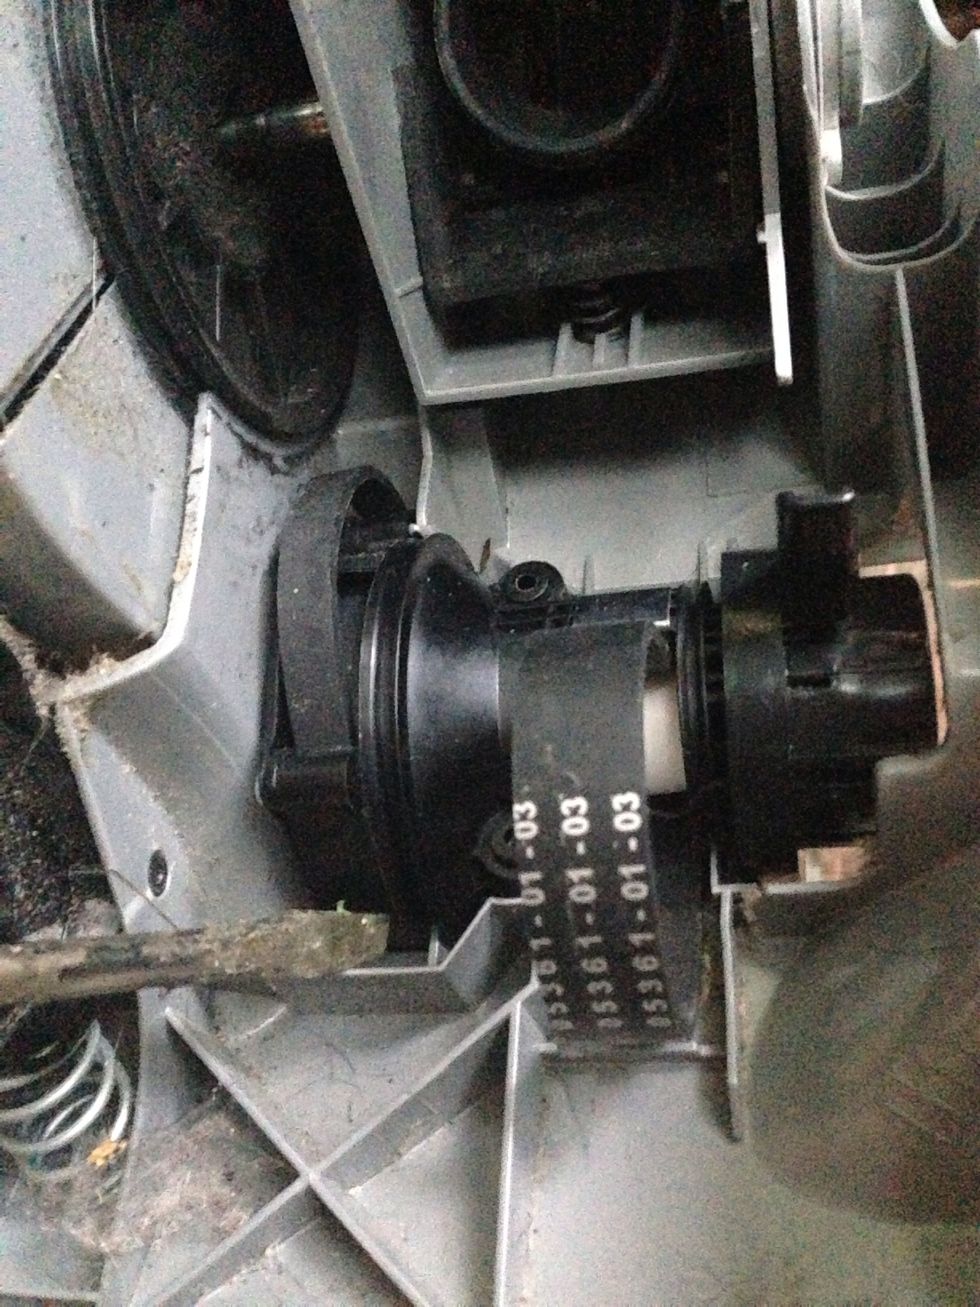
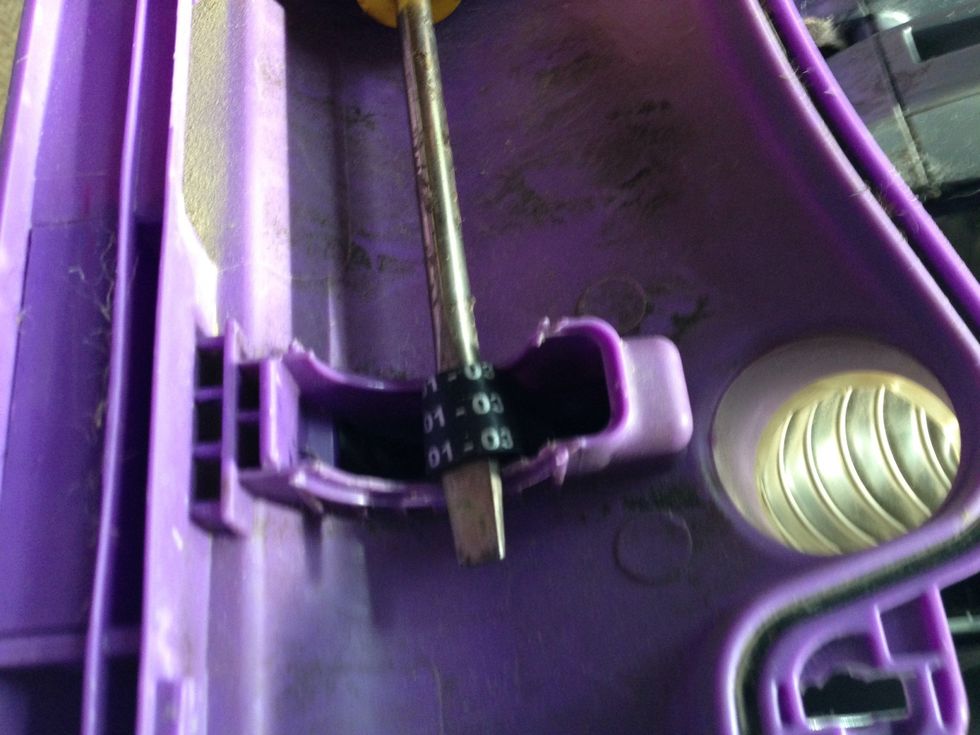
Push (snap) the new clutch into place. The screw driver in the picture shows the grooves that you need to align and snap into.
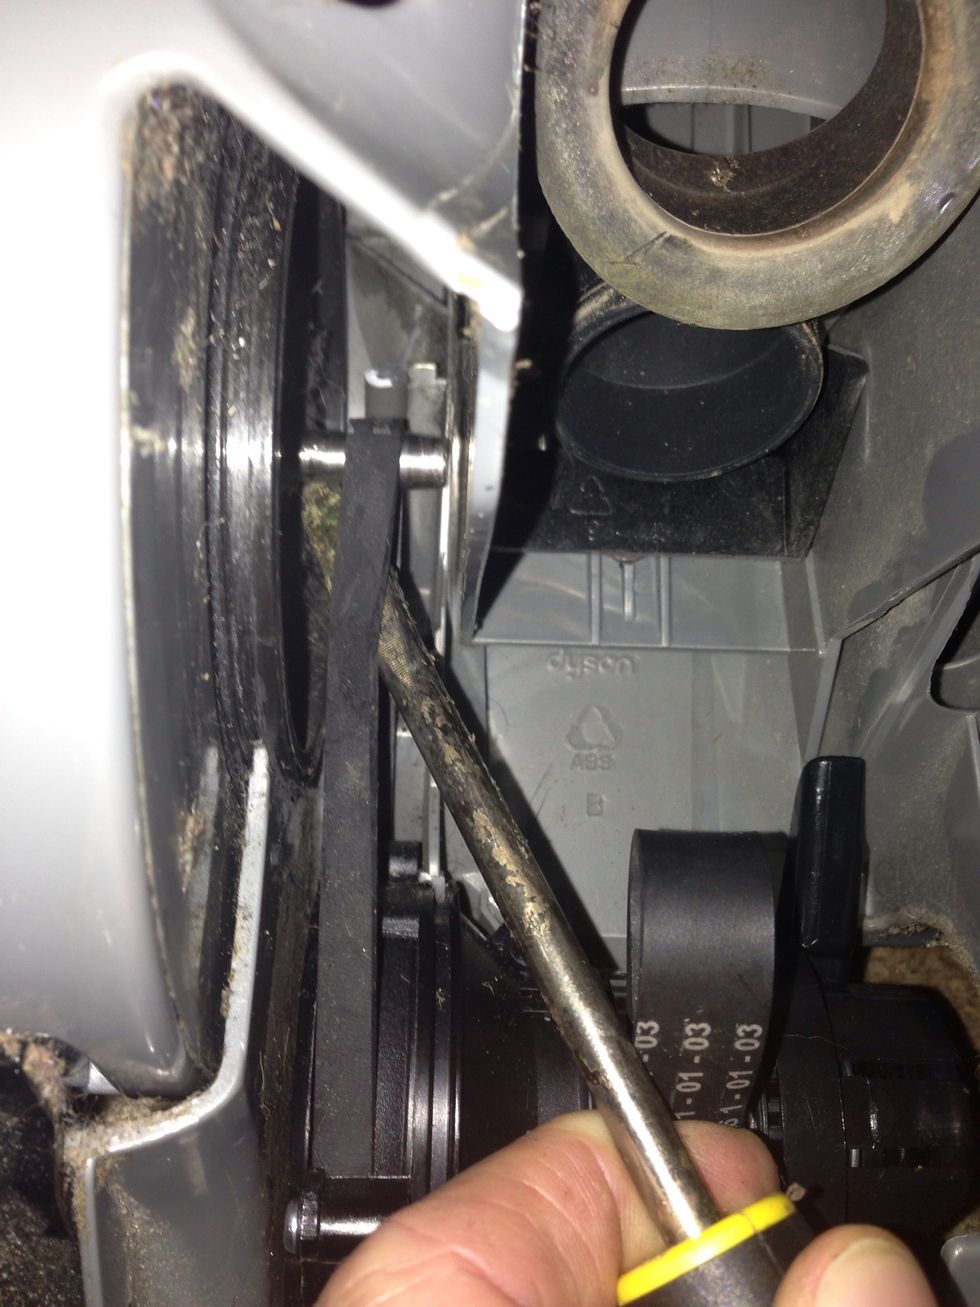
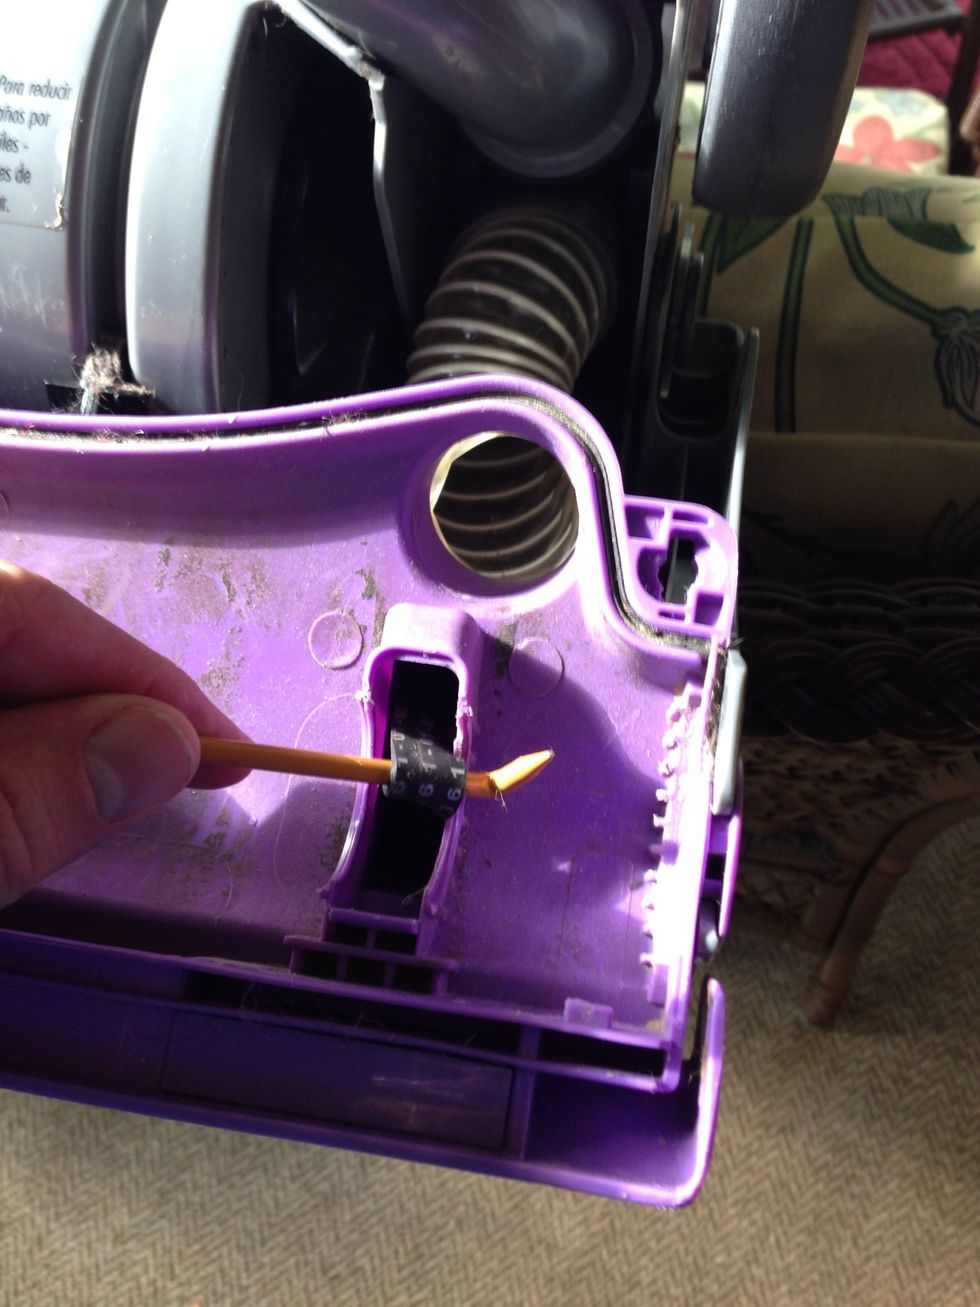
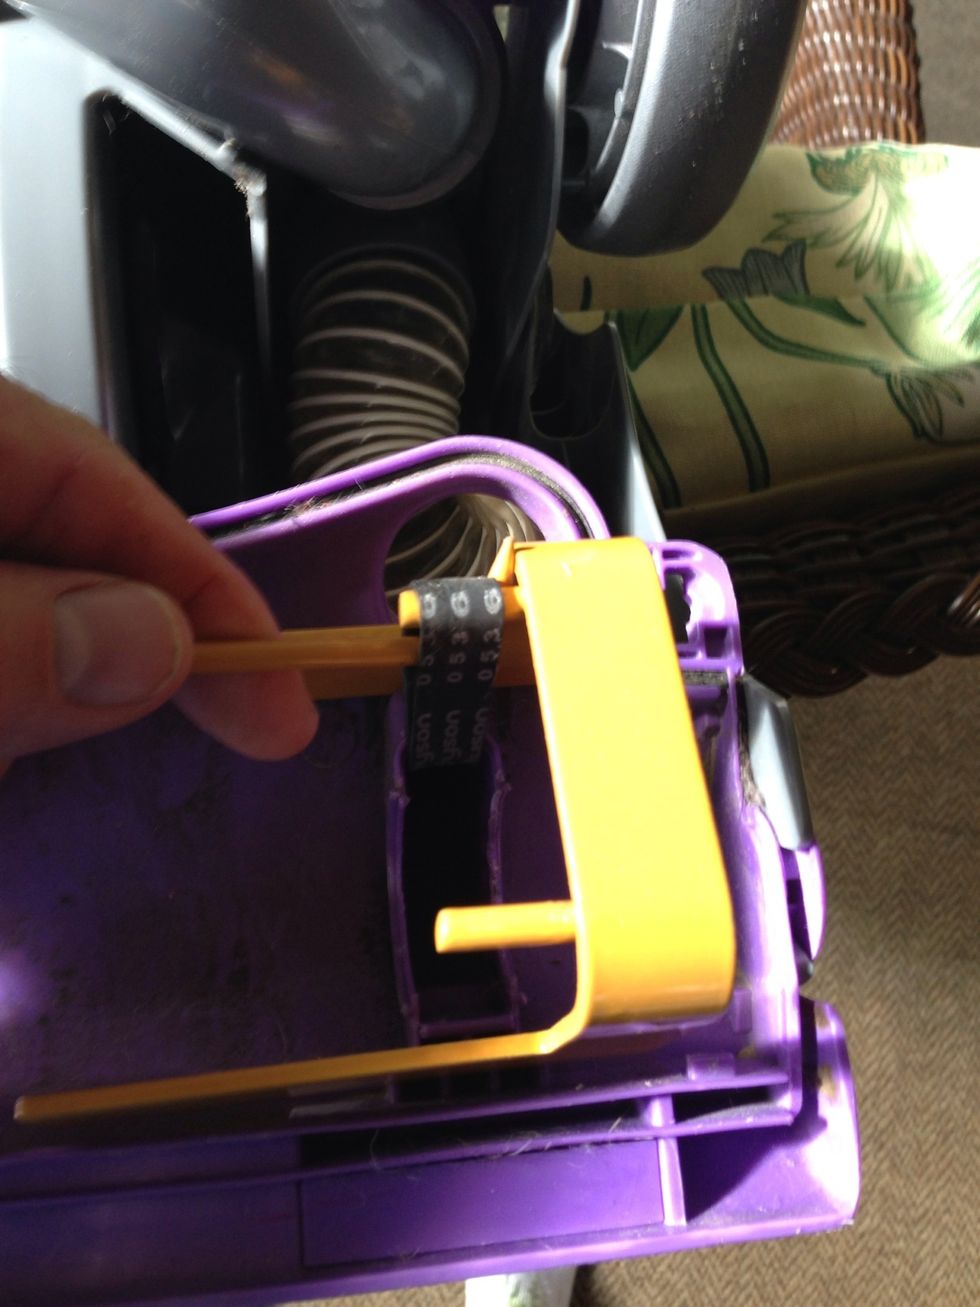
Use your screw driver to place the belt in position.
Take a flat head screw driver and pull the left hand belt onto the motor shaft. Turn it manually a few times to make sure there are no twists. It's not hard but takes a few tries.
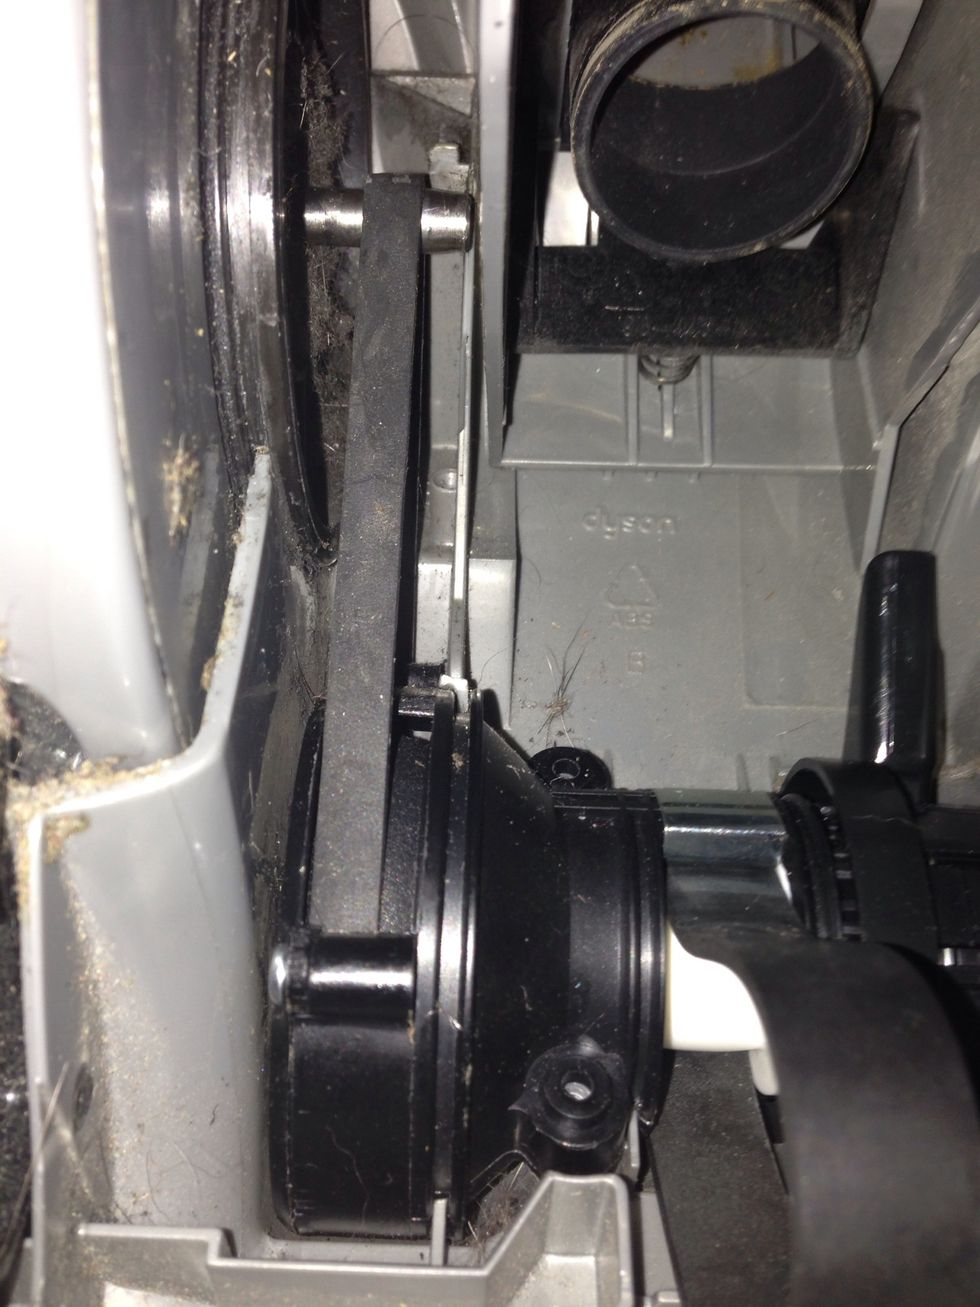
Take the clutch cover and simply push it down into place over the belt you just installed. It should snap in when pushed firmly down
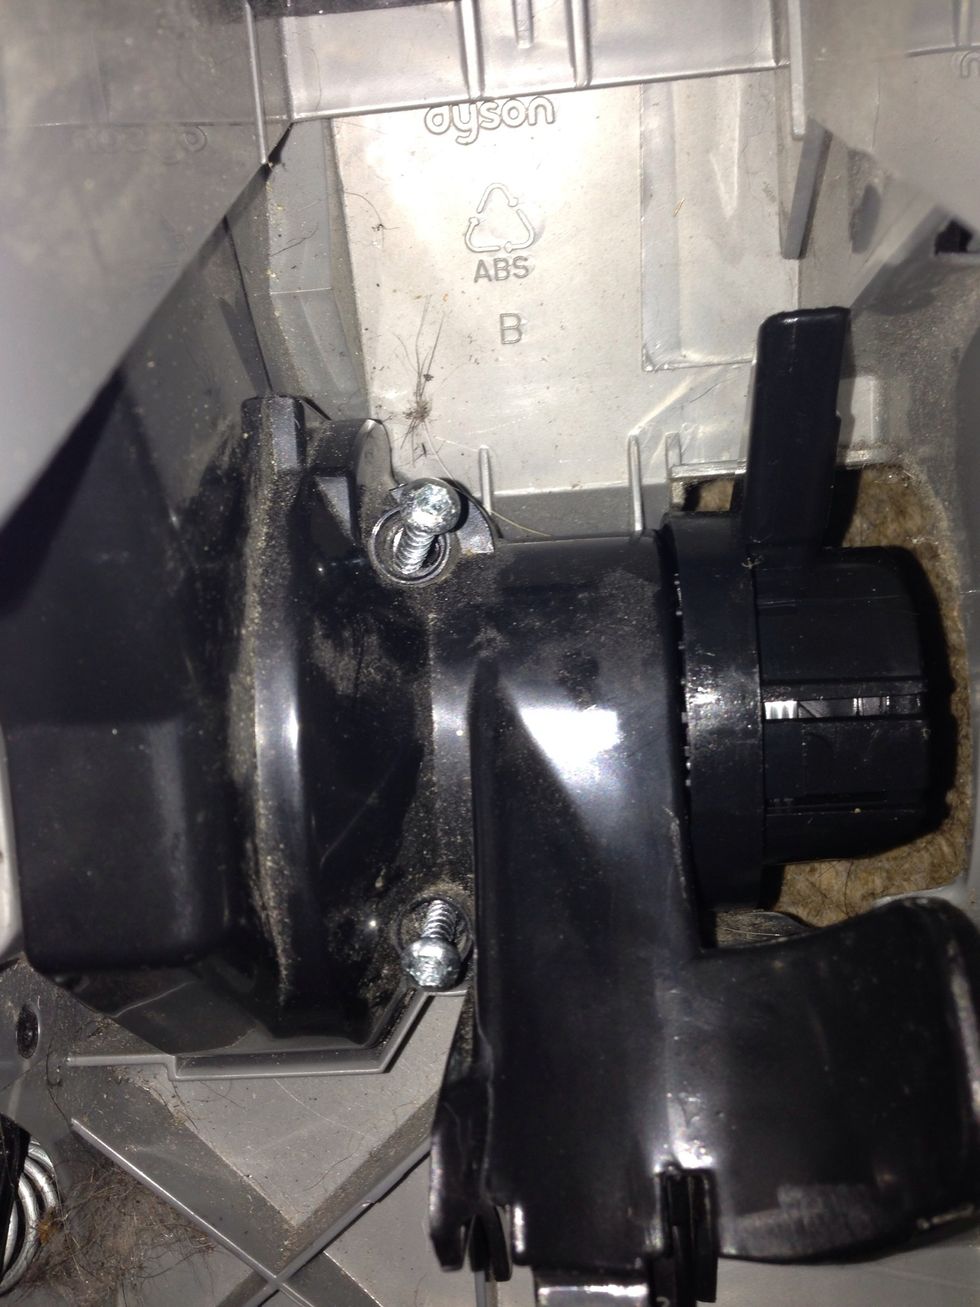
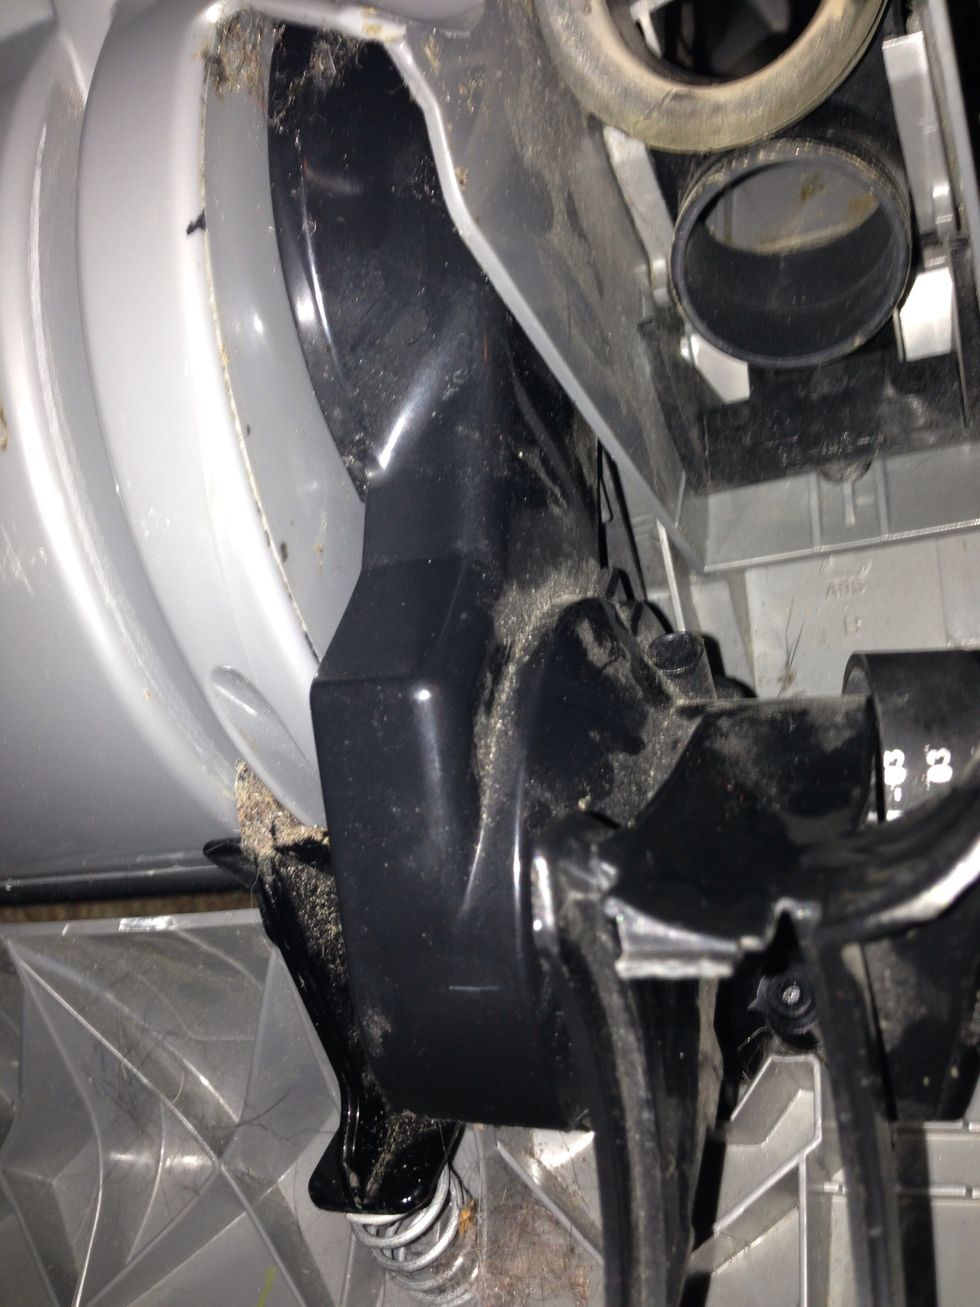
Replace the three torx #15 screws. Two are pictured here.
The third screw is tricky. It's hidden higher up and requires a long shaft.

Take the carpet selector knob and align it using the grooves inside the cap and just smash it into place.
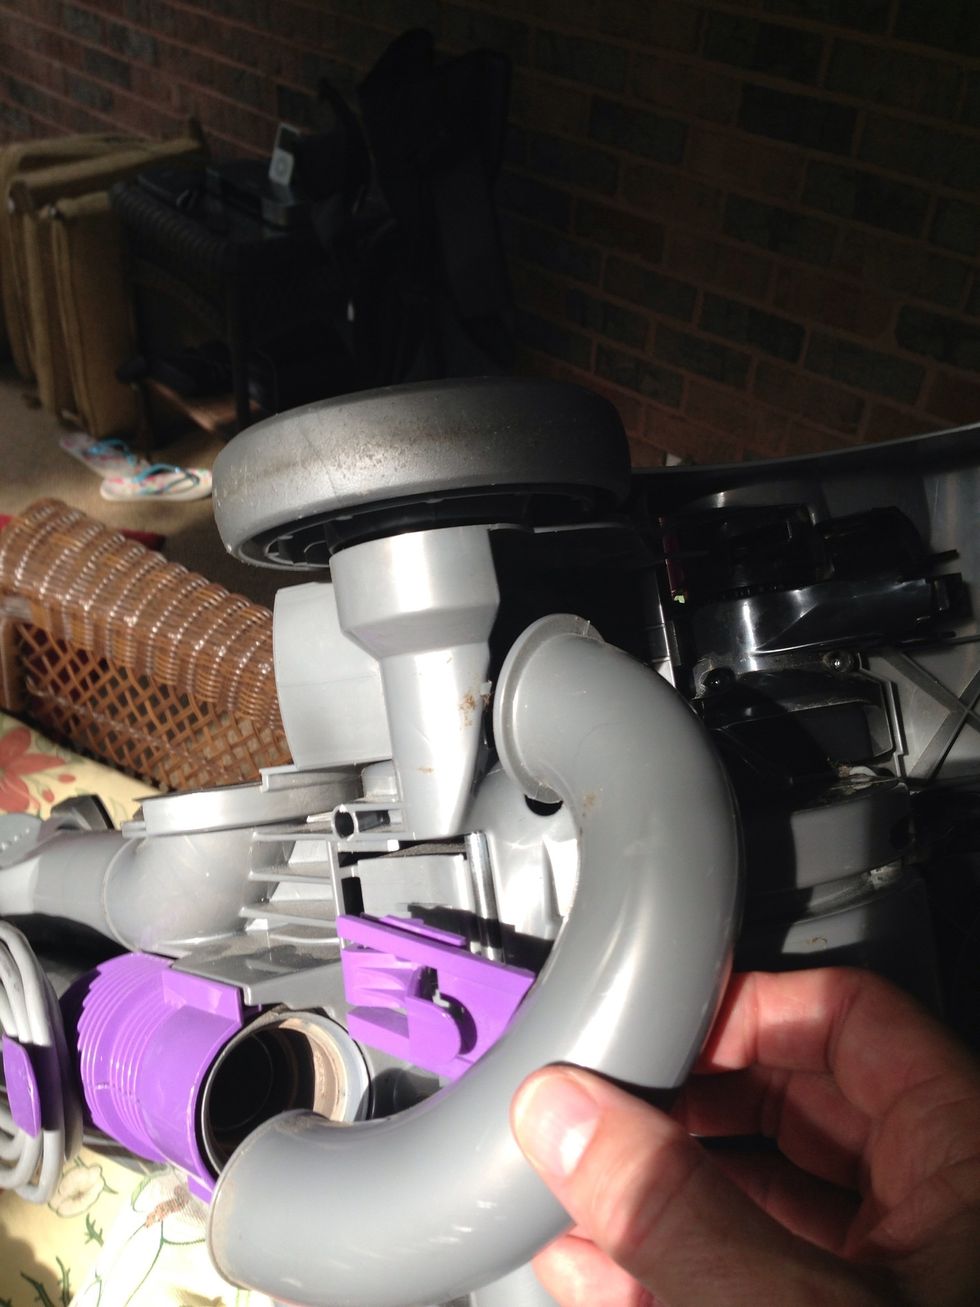
Replace the U-tube. Slide the purple slider to lock in place.
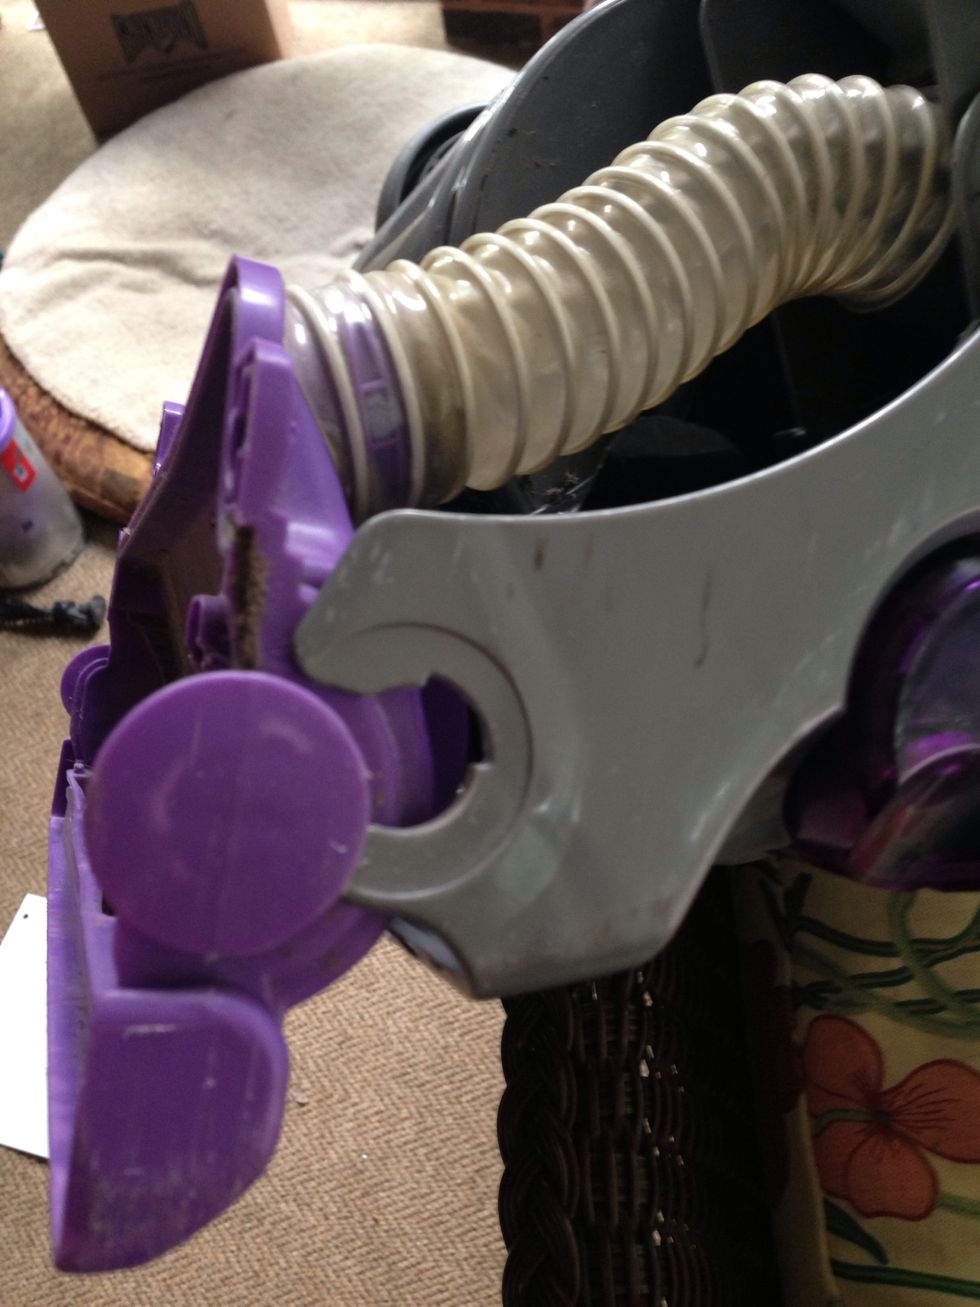
Align the housing to the side C slots.

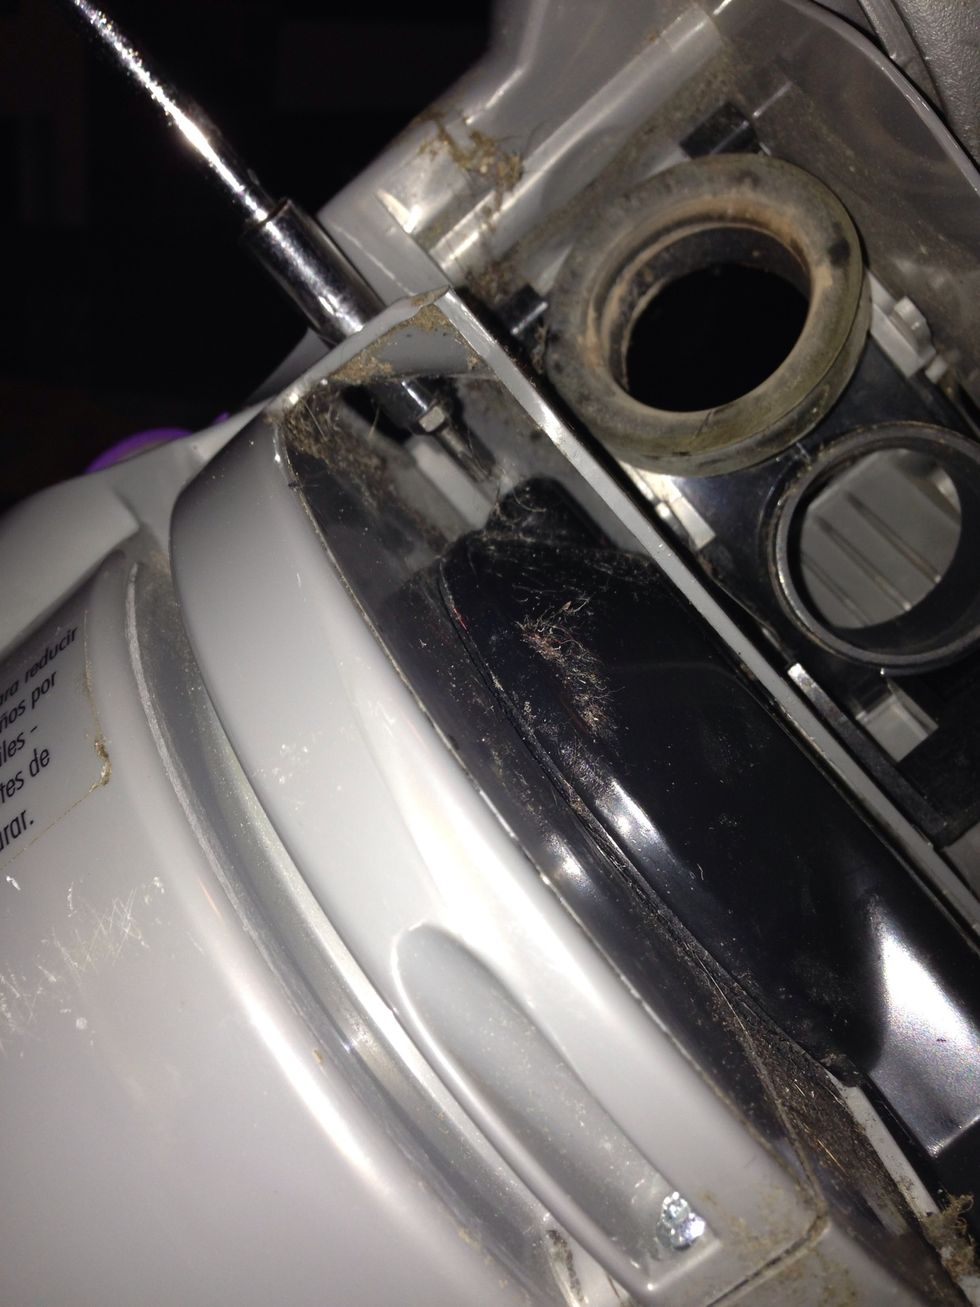
Replace the housing cover. First attach the plastic tube. Inspect the tube. Make sure there are no cracks in it that would cause vacuum loss. Snap the housing in place firmly. It won't break.
You may need to smash the inside of the housing with the butt end of a screw driver to seat the two fittings behind the housing into the vacuum base.
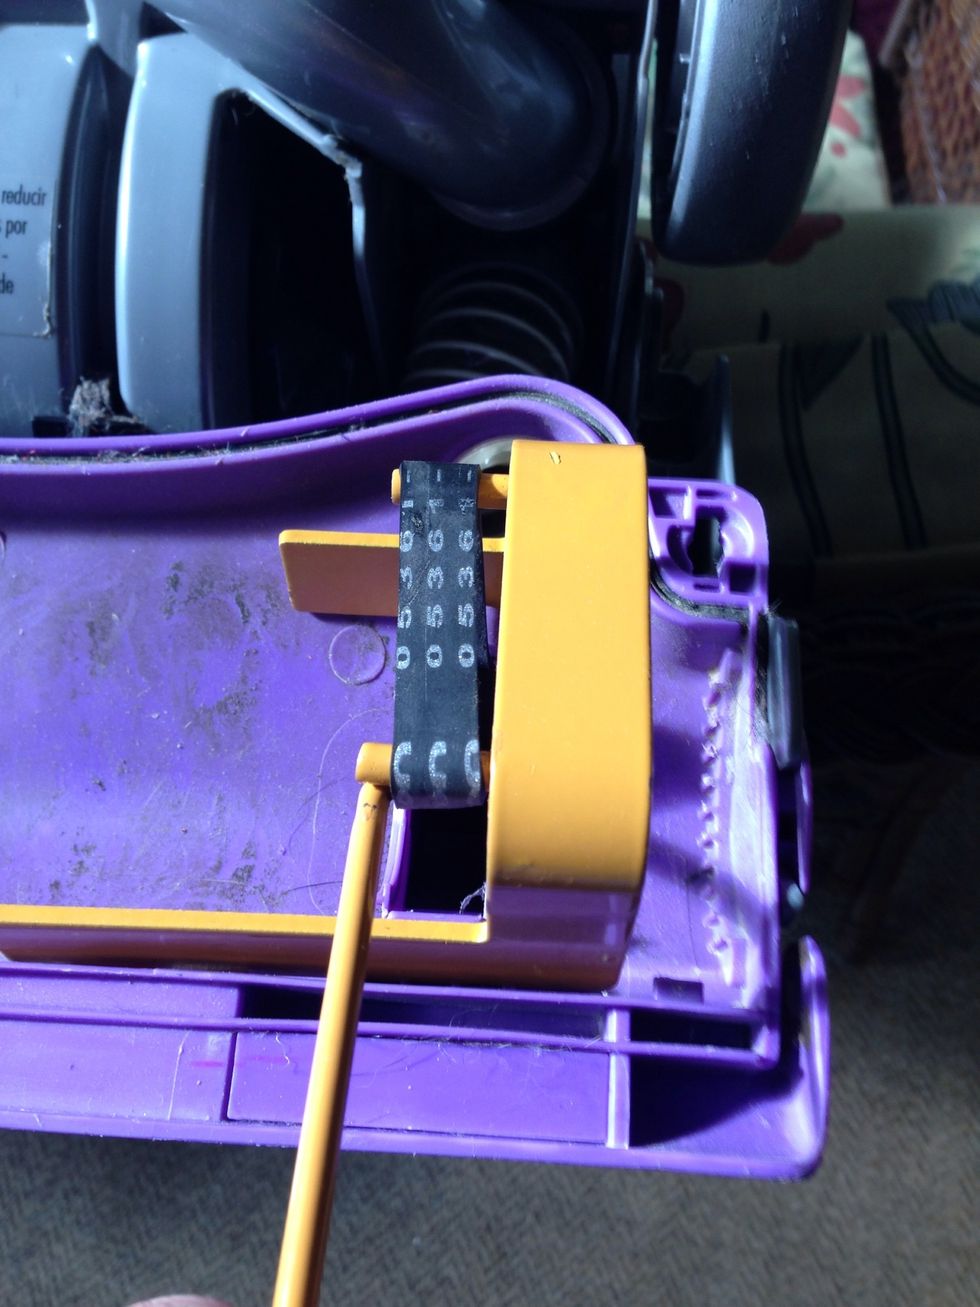
Next take your flat head and fish out the smaller belt through the housing. You can also use the tool provided with the Belt Tool kit.
Here is the belt tool fishing out the belt. The belt is much too short and tight to fit the roller brush under so you need the tool kit.
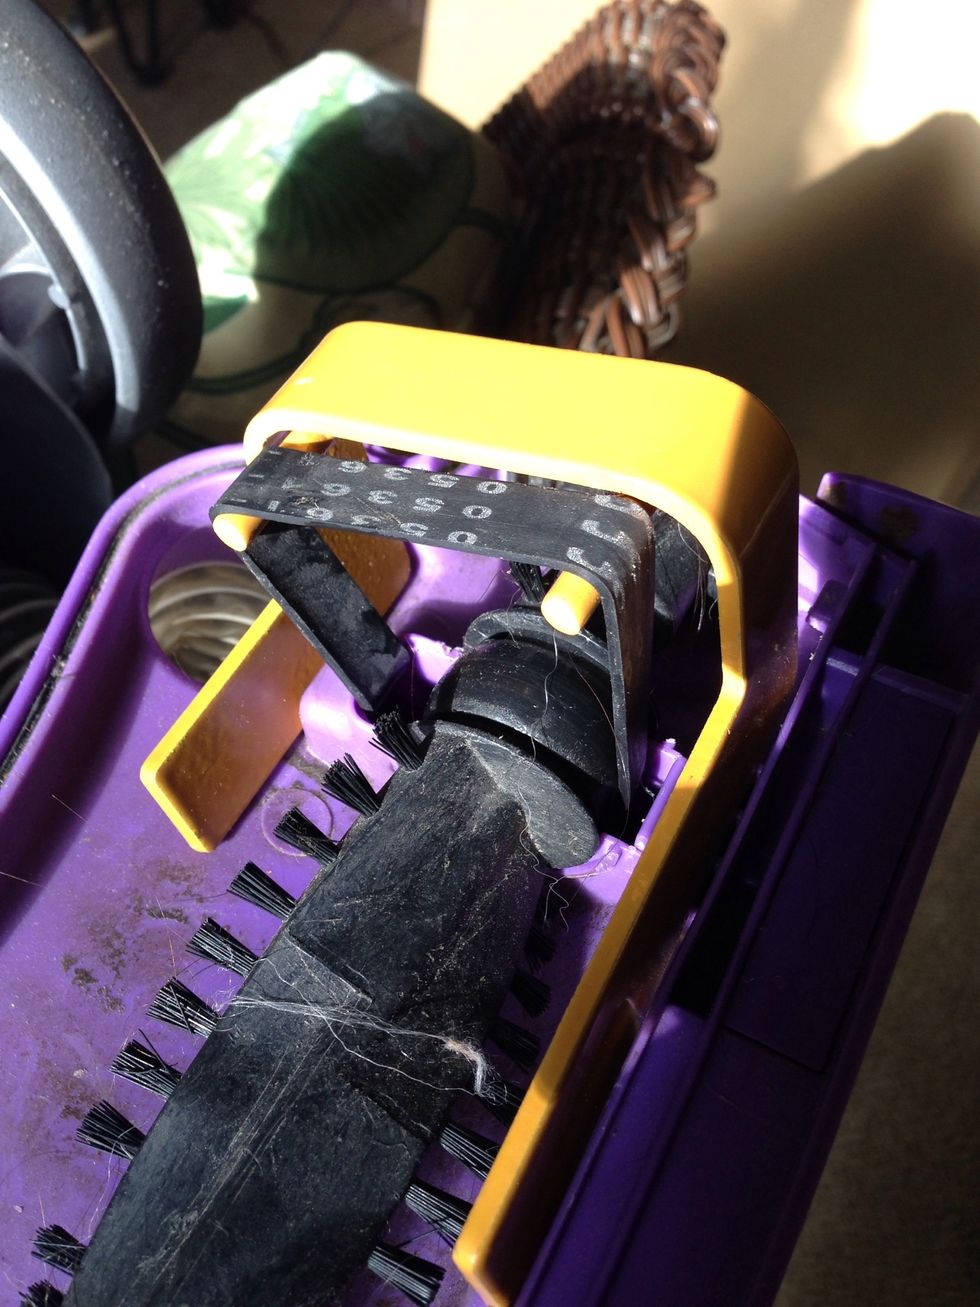
Place the tool with the prongs facing toward the center of the vac. Pull the belt using the hooked tool. Pull like crazy until you can slip it on to the top prong. Take a breather.
Now use the tool to stretch the belt to the second prong. You might need someone to hold the vacuum. This belt is very tight.
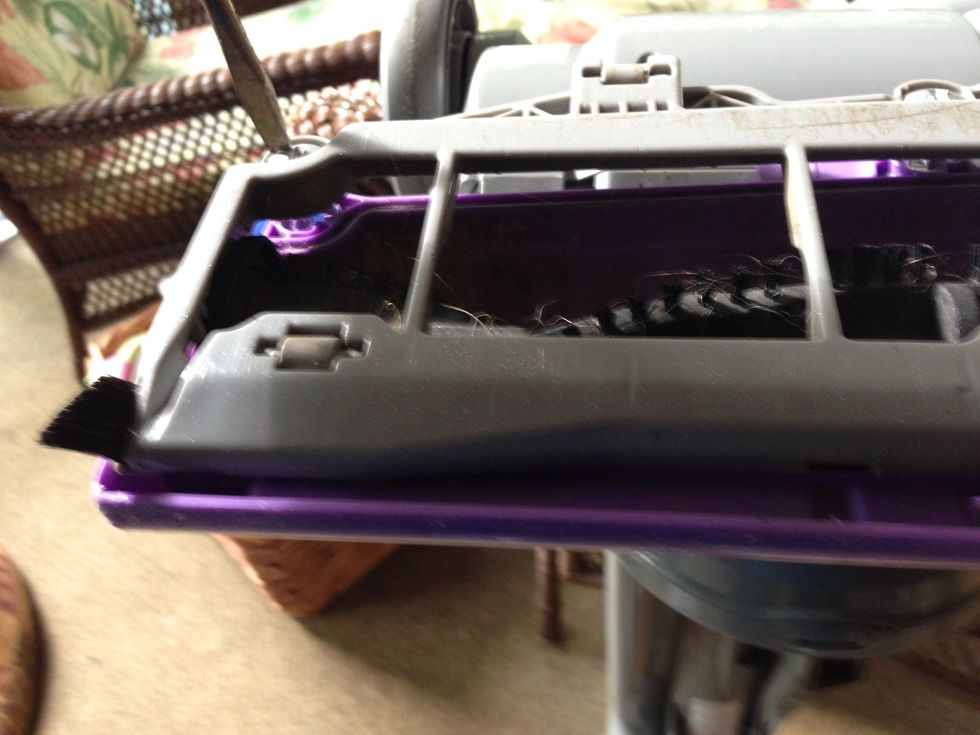
Place your roller under the stretched belt. The roller has a left side and right side. Place the end with the belt guide under the belt. Remember to align the roller so the flat ends face away.
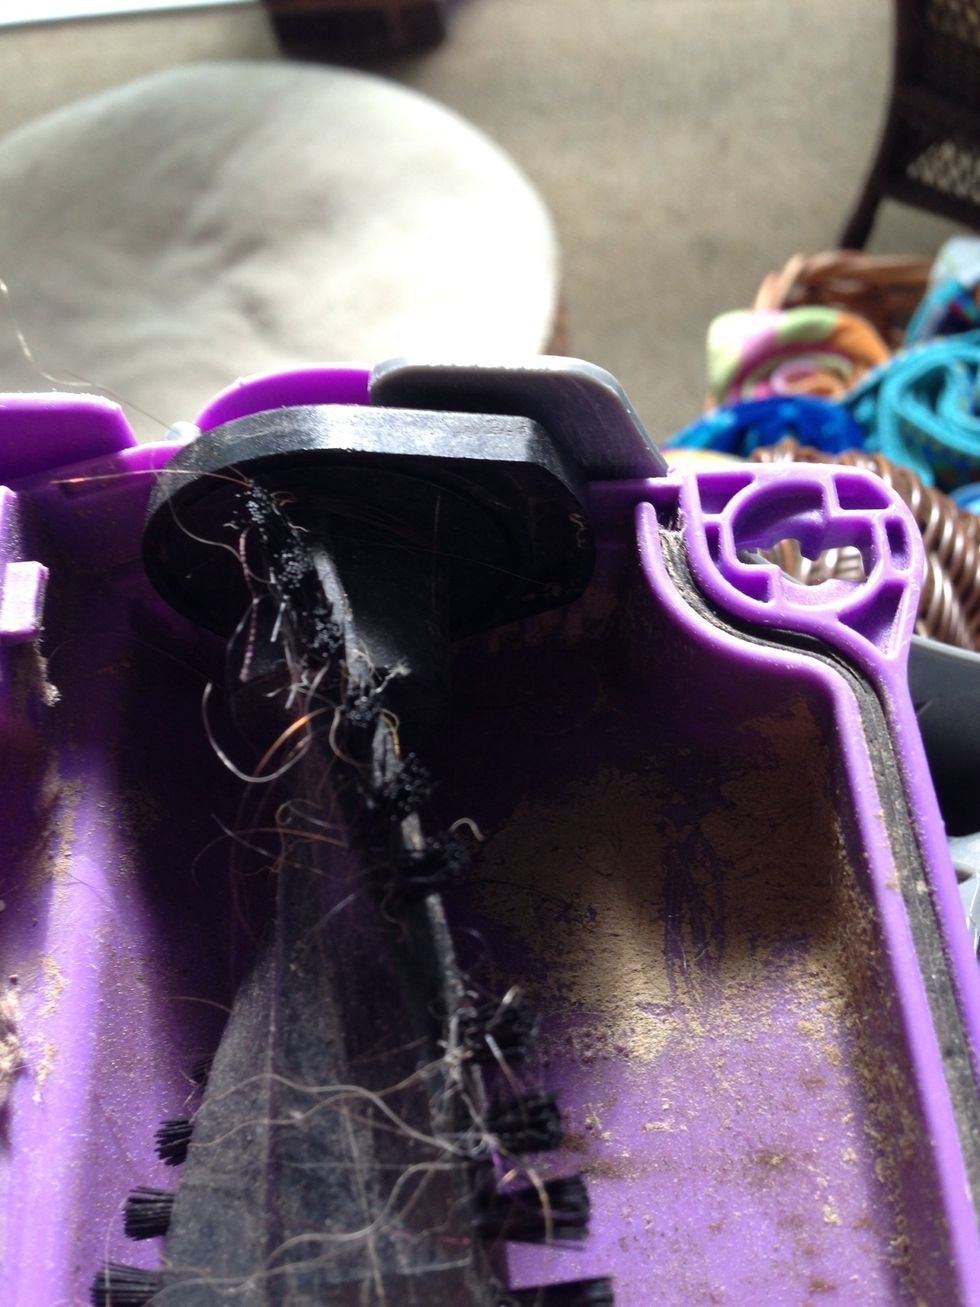
Here you can see the flat end I was referring to
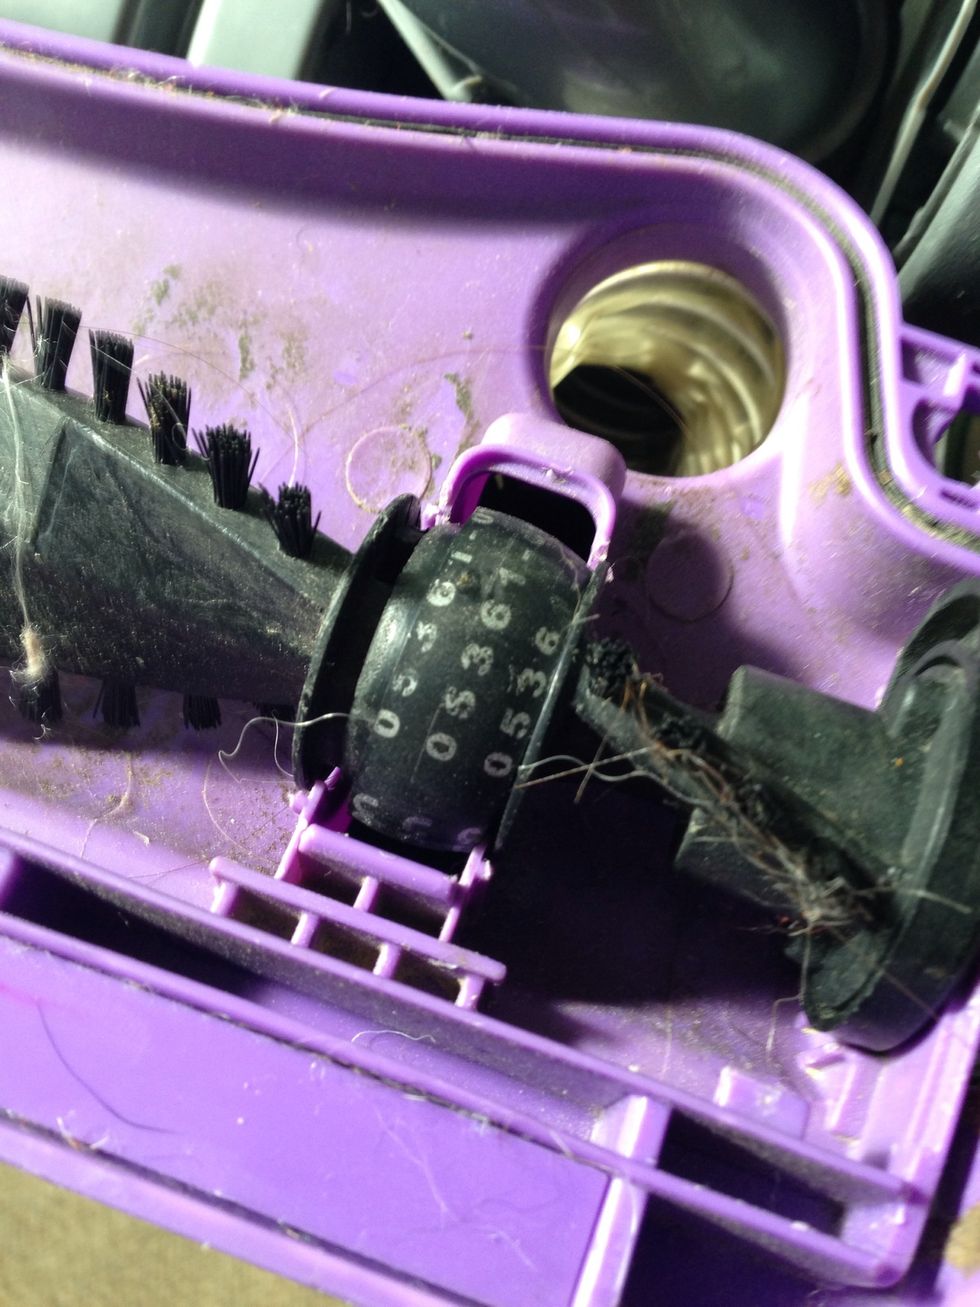
Just push the belt off the two prongs and remove the tool. Make sure the belt turns easily and is centered on the roller guide.
Now snap on the last piece. The roller brush plate and 1/4 turn the three built in a screws.
You are done. Replace the vacuum canister, plug in the vacuum, turn it on and test the new clutch. Your roller bar should now turn and do it's job. Make sure to have the selector in carpet mode.