How to install a freelander bicycles bicycle trunk
Install a FreeLander Bicycles Bicycle Trunk
195
STEPS
TOOLS
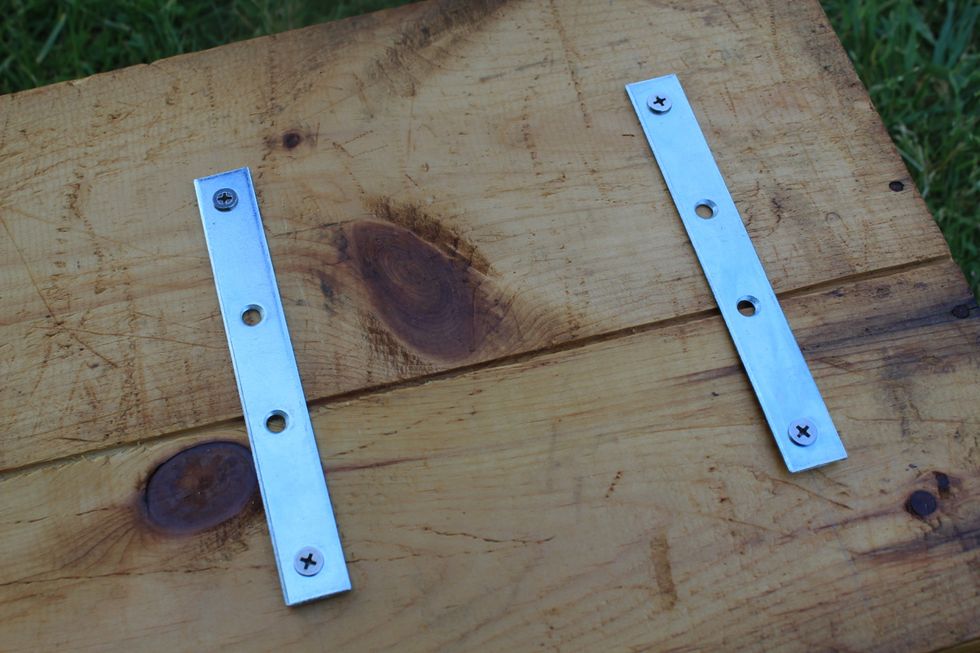
In most cases, your Bicycle Trunk will arrive with the hardware in place.
The bars on the trunk are positioned towards the front of the bicycle or the saddle/seat.
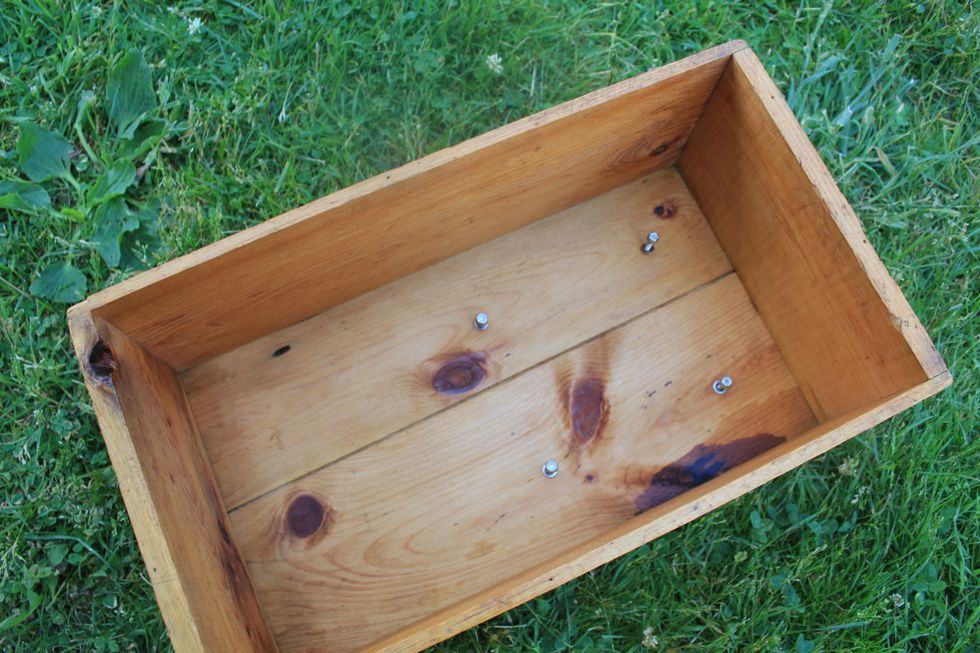
Unscrew two nuts from the same side (left or right) of the trunk and remove bolts and washers.
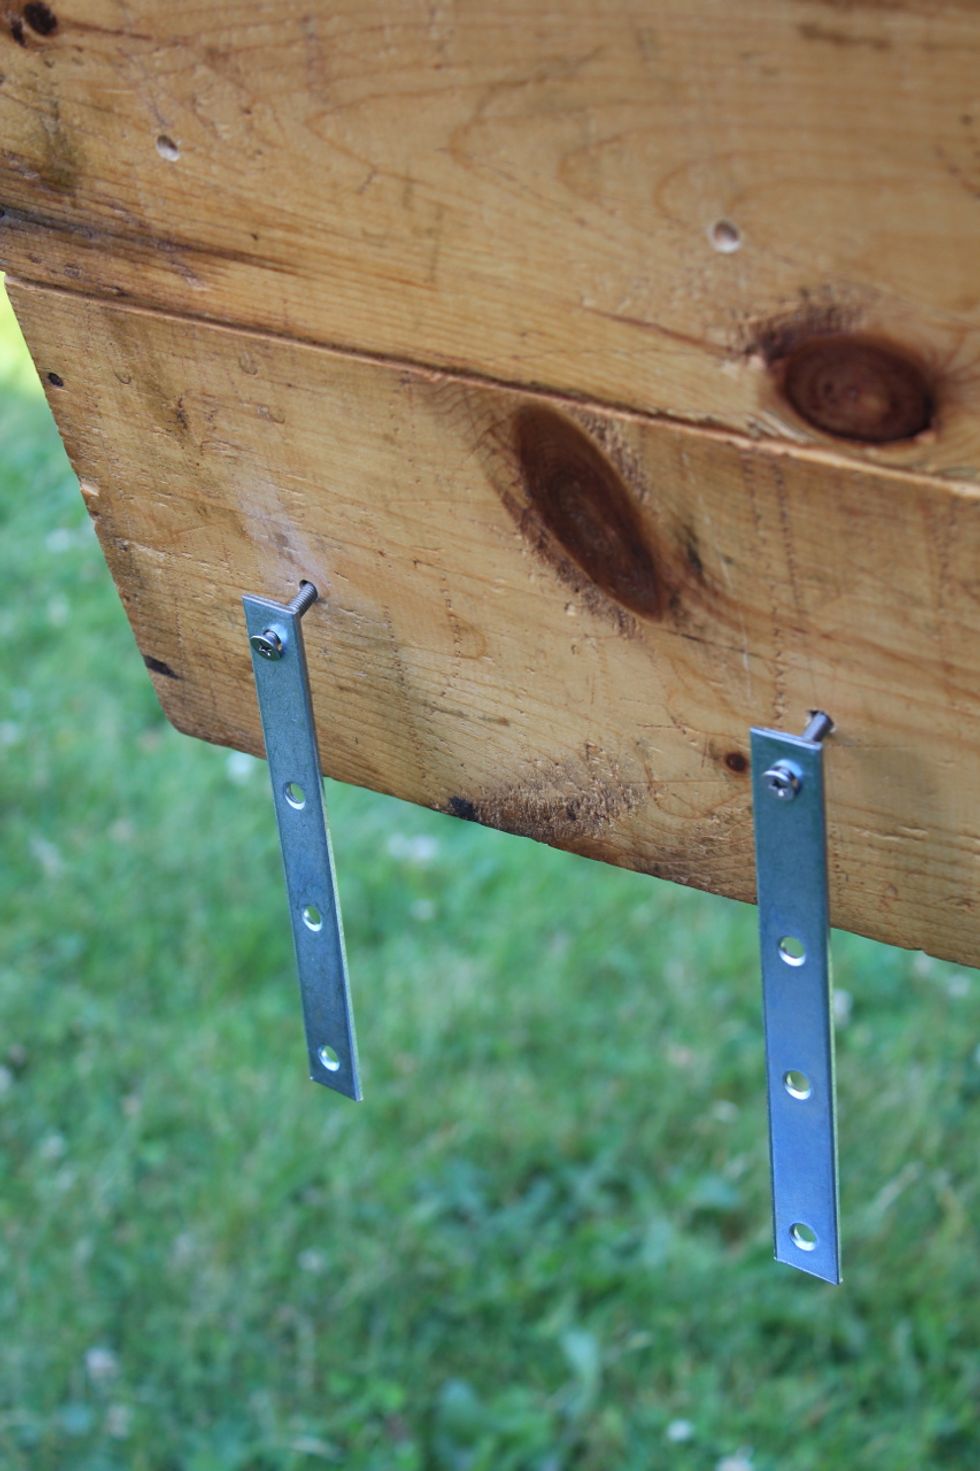
Allow the fastening bars to hang down. Next, place the Trunk on the rear rack and swivel the bars to pass beneath the rack to the other side where the bolts will re-enter the trunk.
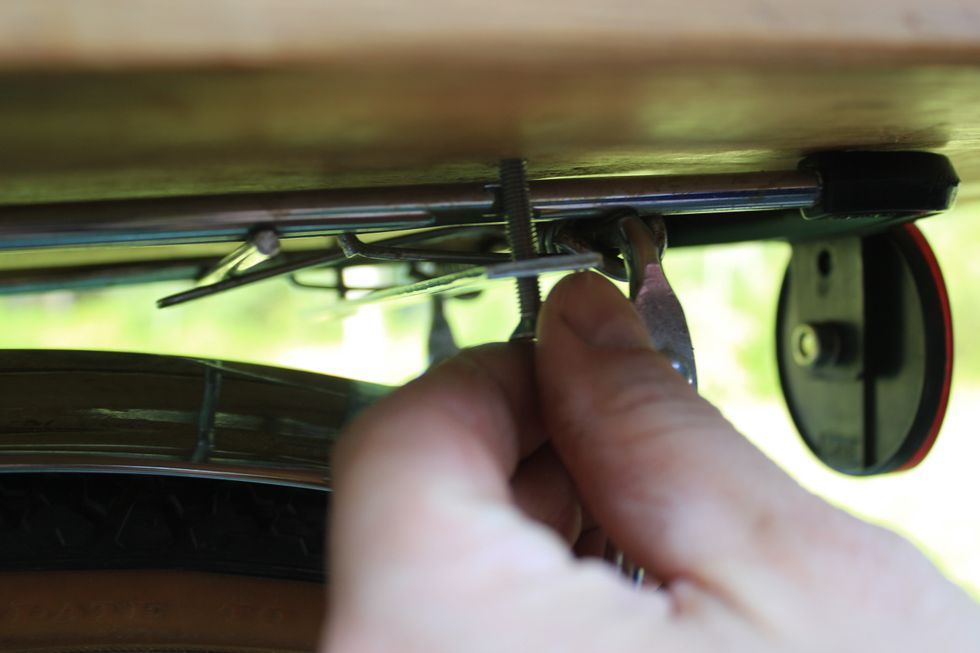
Find a location on the rack where the bars can be located that will place the trunk back from the seat slightly. The bars should also have adequate contact with the rack. (Cont.)
Locating the trunk on the rack (2): The bolts may pass through the rack or to the outside of the rack. The precise location will depend on your rack. Always find the best and most secure location.
Locating the trunk on the rack (3): If you feel you can get the rack to secure better by drilling alternate holes, please do so. Included are bolts to fit most racks. On occasion a given rack may...
Locating the trunk on the rack (4): ... require a shorter or longer bolt. These are easily acquired from a local hardware store for about $1.
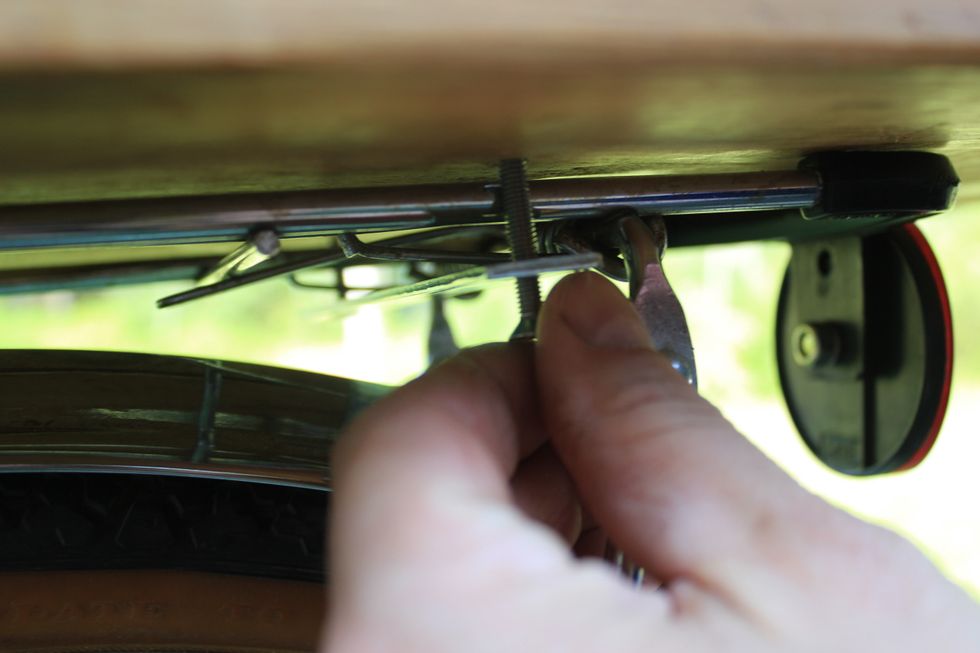
Replace the bolts passing the them through the bar and the appropriate hole in the trunk so the threads are visible on the inside of the trunk.
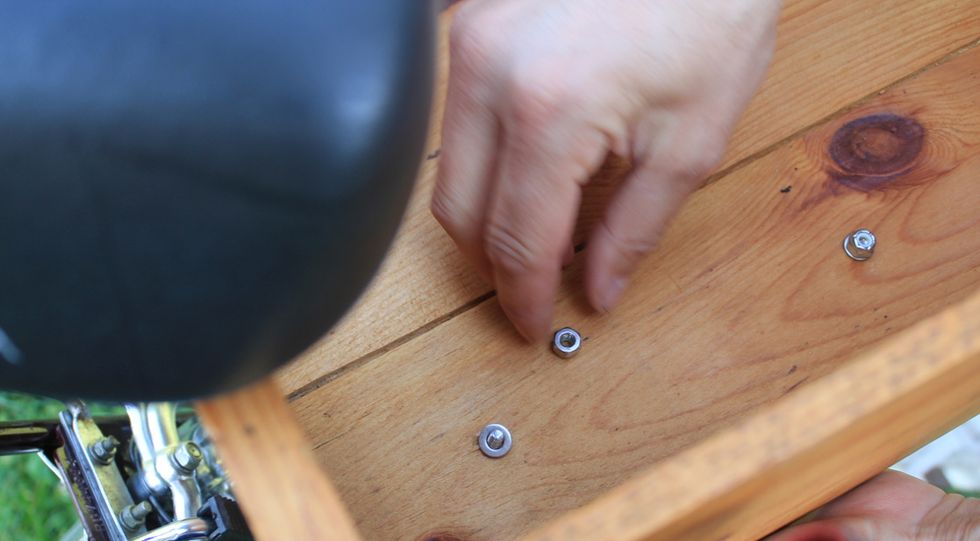
Replace the washer and nut and tighten to hand tight. Repeat for the second bolt.
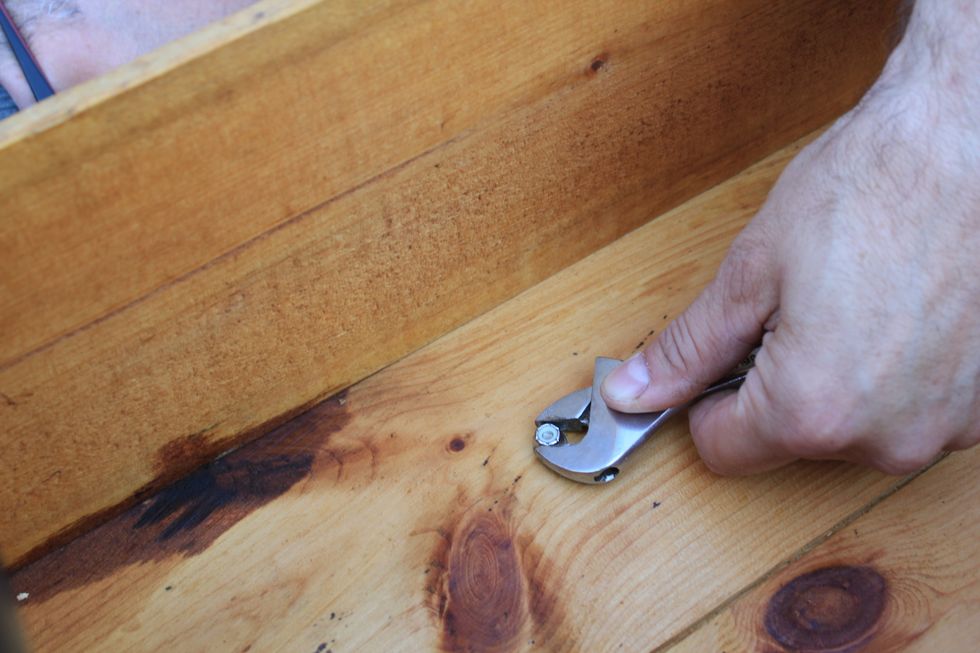
Using an appropriate size wrench to hold the nut in place, tighten each of the four bolts with a (philips) screwdriver a few turns at a time for each, rotating between the four bolts.
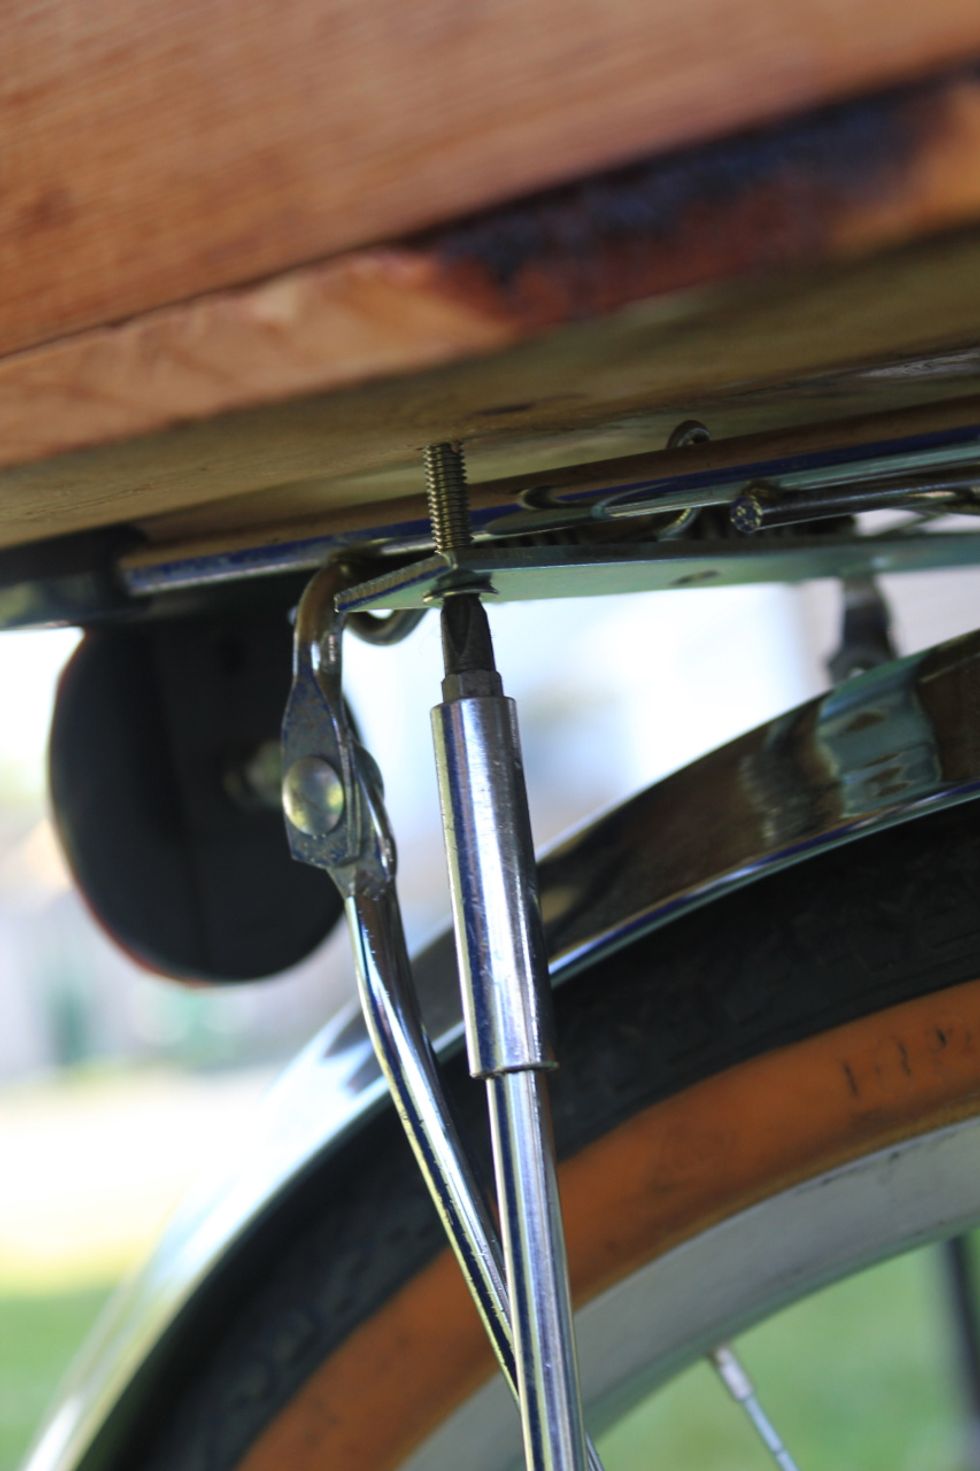
Tighten until all four bolts hold the trunk securely to the rack without any movement when tested.
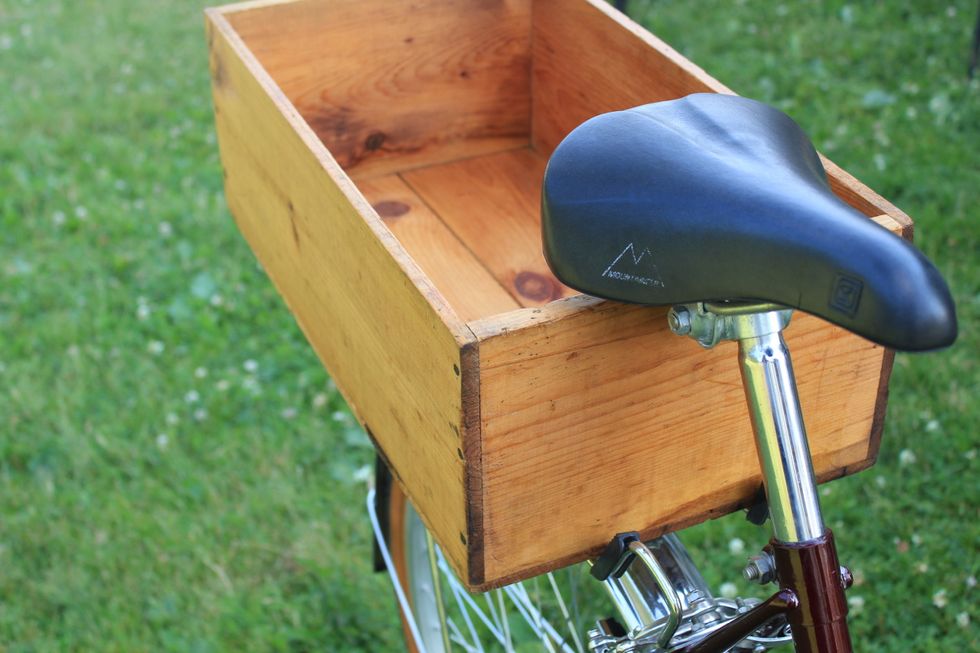
You're Done! Now fill it with fresh produce, a picnic or whatever cargo you want to. Use bungee cords slung over the top and attached to your rack to keep things in place. Enjoy!
- 1.0 FreeLander Bicycles Bicycle Trunk
- 1.0 Philips (or other) Screwdriver
- 1.0 Wrench (usually 10mm)
Freelander Bicycles
FreeLander Bicycles is about creating functional and accessible bicycle accessories for those who want to get the most from their bicycling lifestyle.
Nova Scotia, Canada
The Conversation (0)
Sign Up