The Conversation (0)
Sign Up
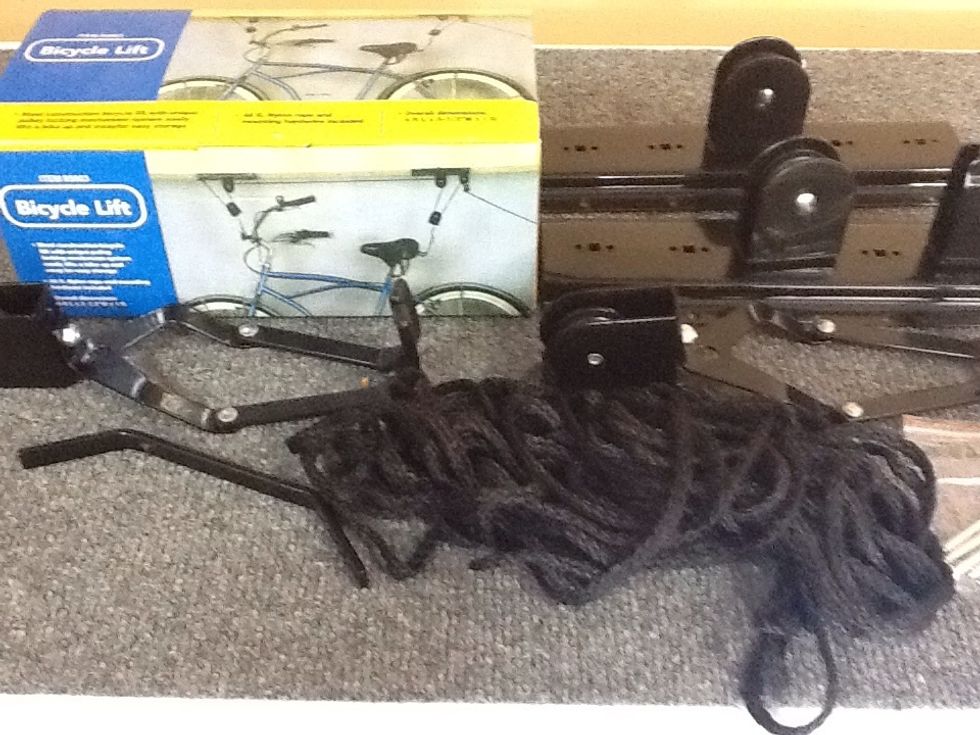
This is what will be installed.
This project might take 3-4 hours, or if you get lucky, maybe a 1/2 hour. The basic steps are locating the joists to attach a mounting board to and attaching the lift brackets to that board.
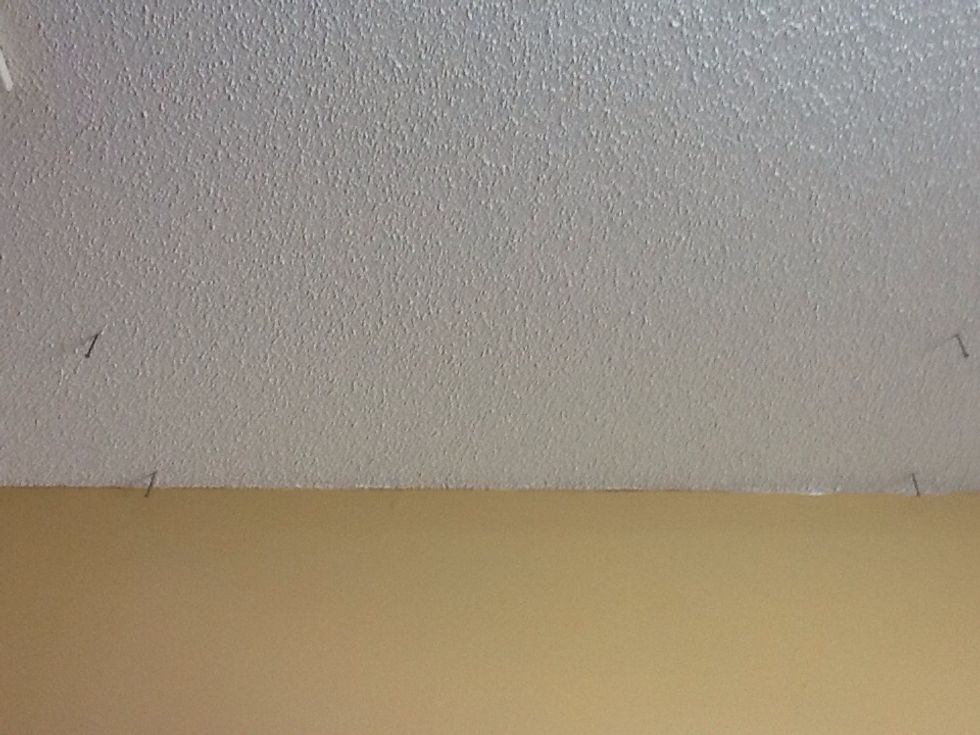
Where are the floor joists located?
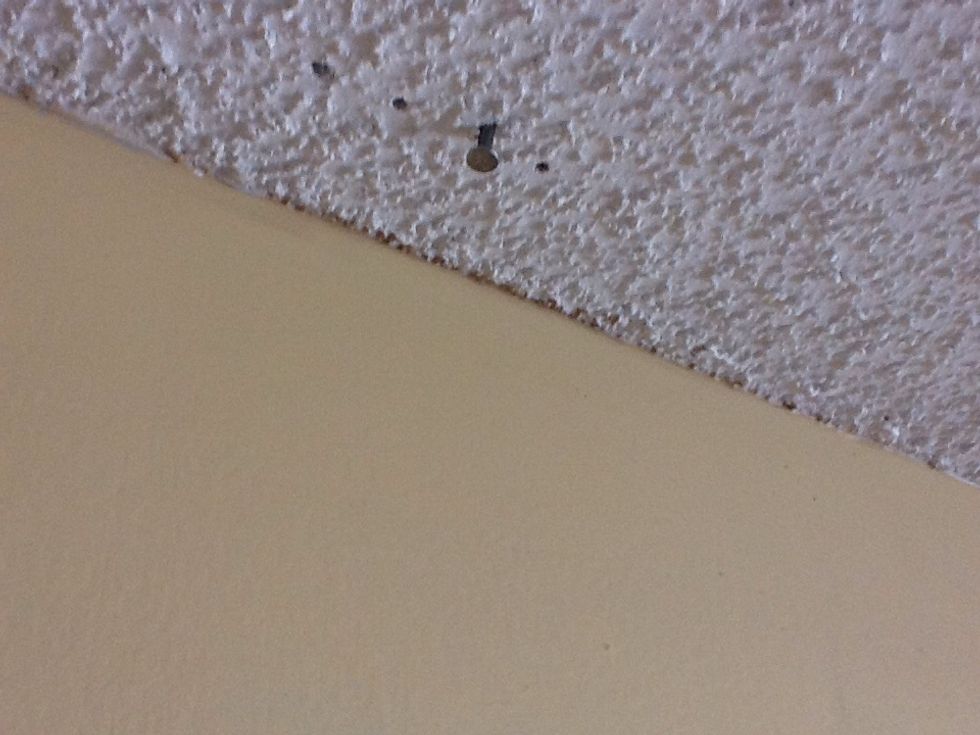
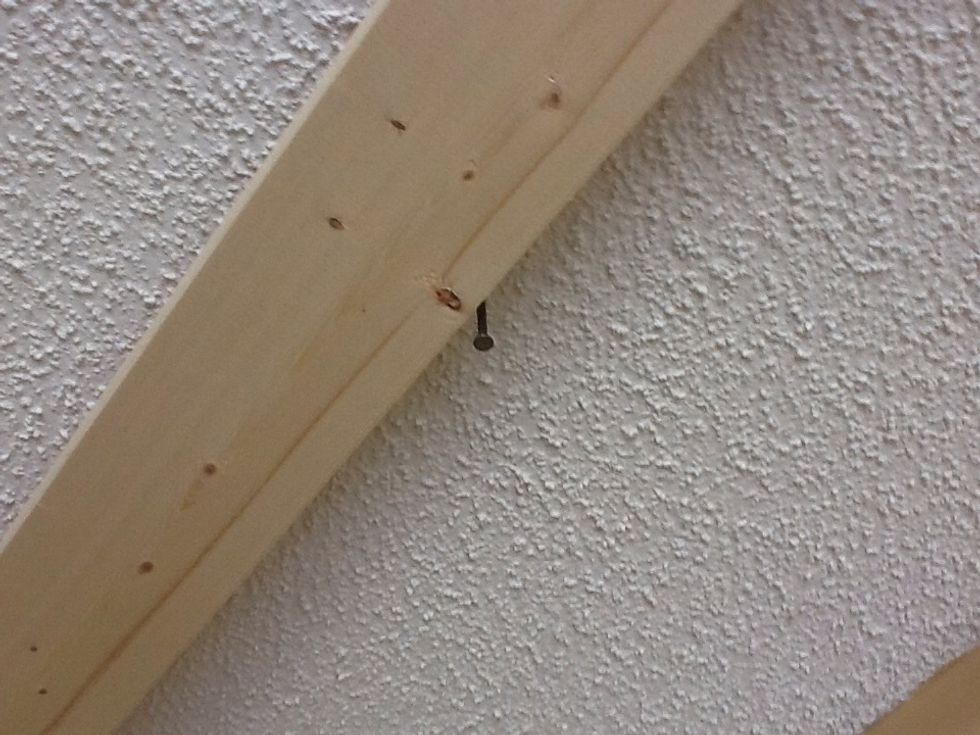
You should have a general idea of where they are located - generally, they are spaced 16 inches apart starting from the wall. Locate them by nailing into the ceiling. You will locate them eventually.
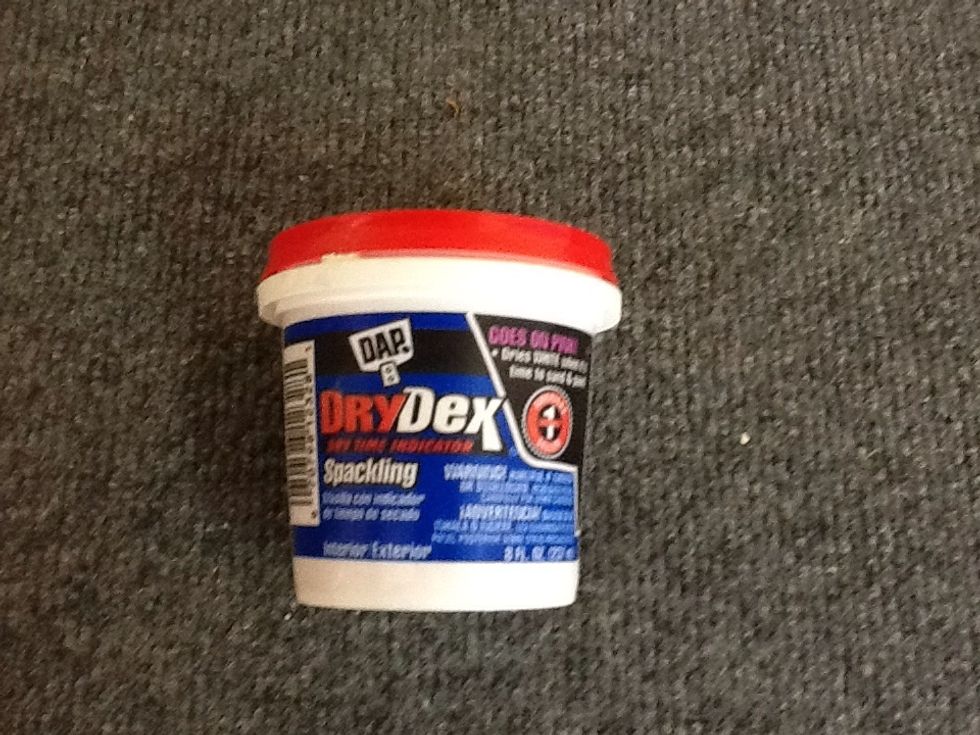
This material can fill the holes. Just dab some into the nail holes.
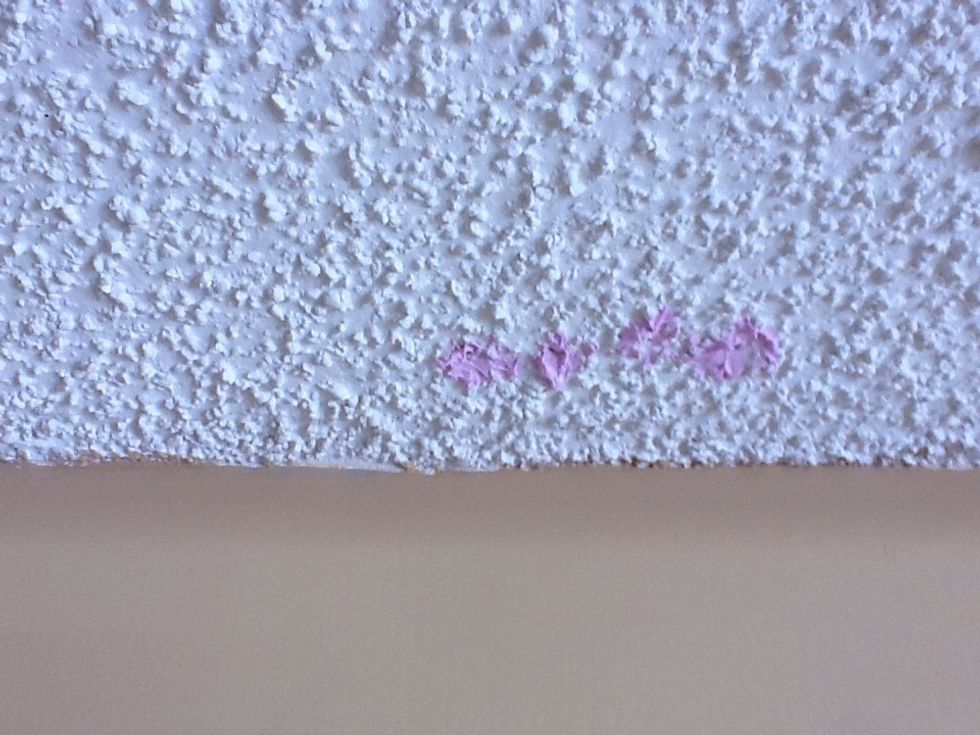
It goes on pink but will dry to white.
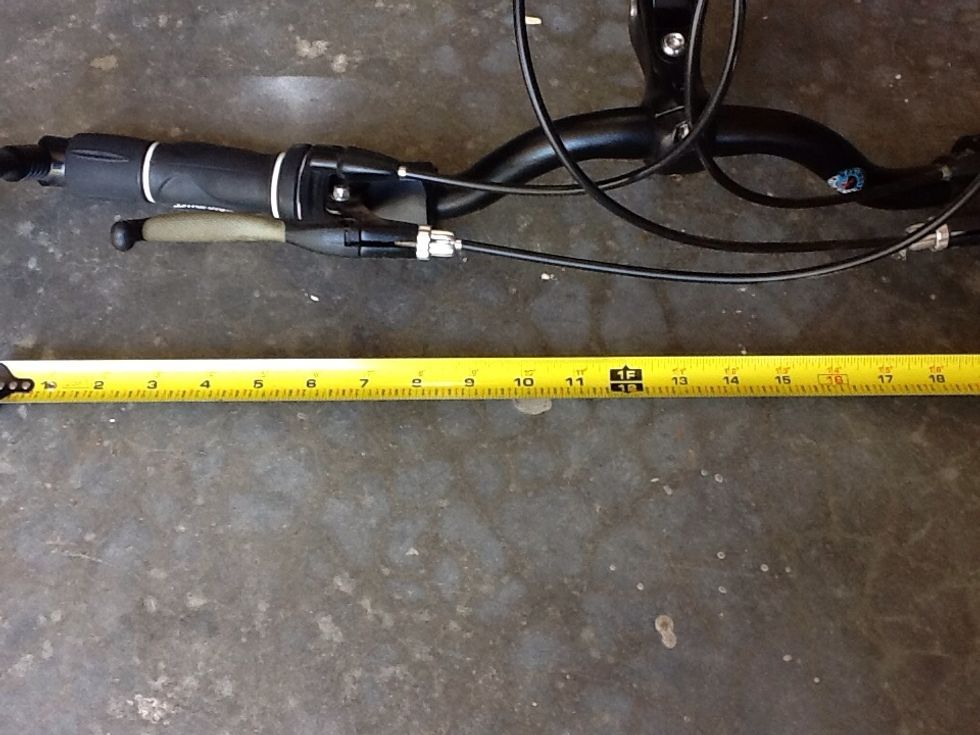
Measure the total width of the handle bars, divide by 2 and add 2 inches to that measurement. The mounting board center will be that distance from the wall.
Nail is the space from the wall and also is located on a joist. The edge of the mounting bracket is 1/2 the of the distance of the handle bar length plus about 2 inches.
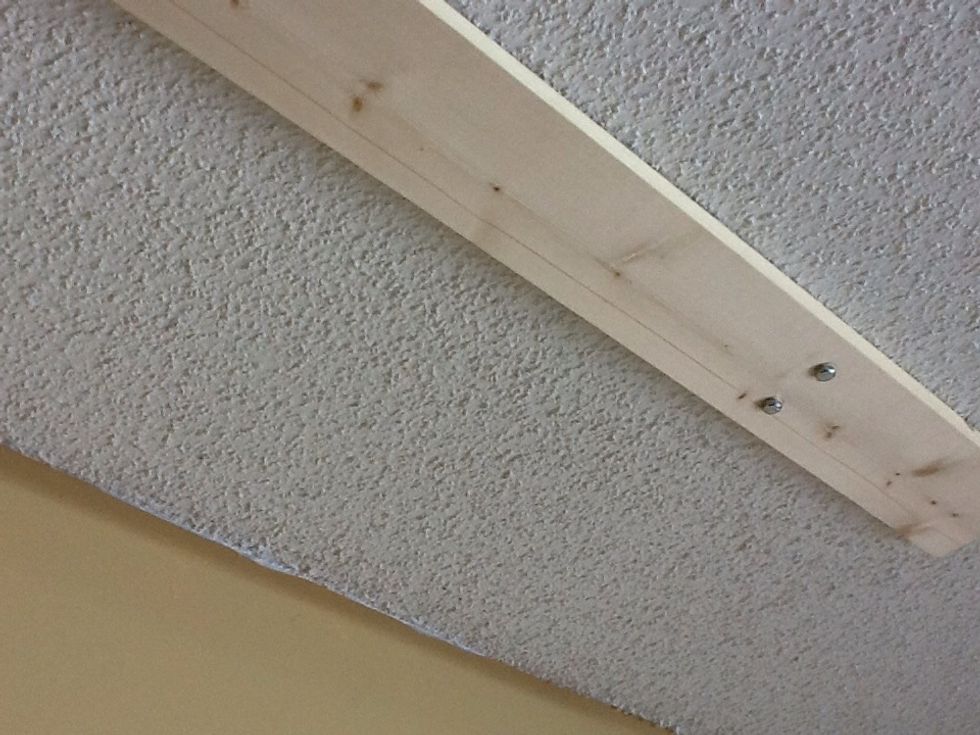
Drill pilot holes for the lag screws (I used 3 inch screws). Tighten them and repeat on the other end - distance recommended is 48 inches apart.
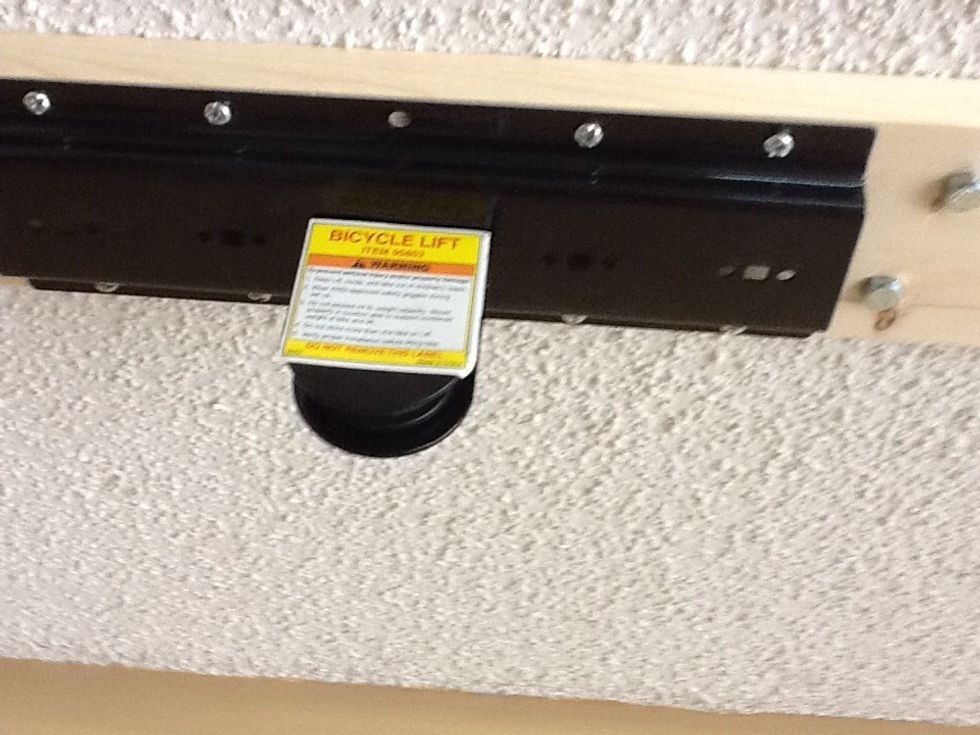
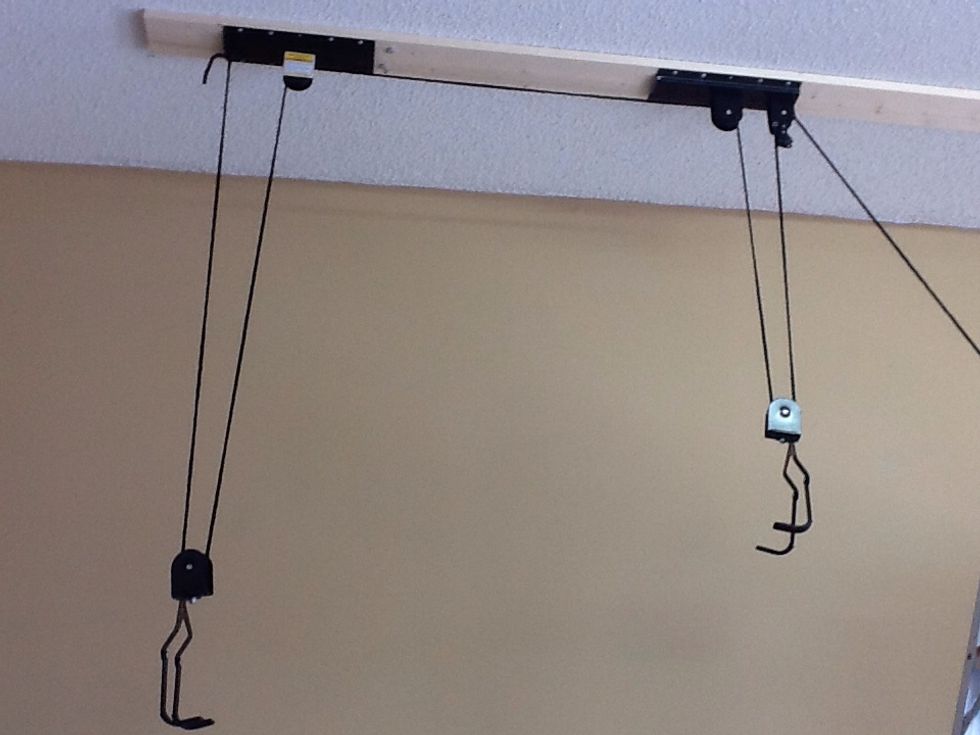
Attach this rear lift bracket as shown with at least 8 wood screws about 2 inches long.
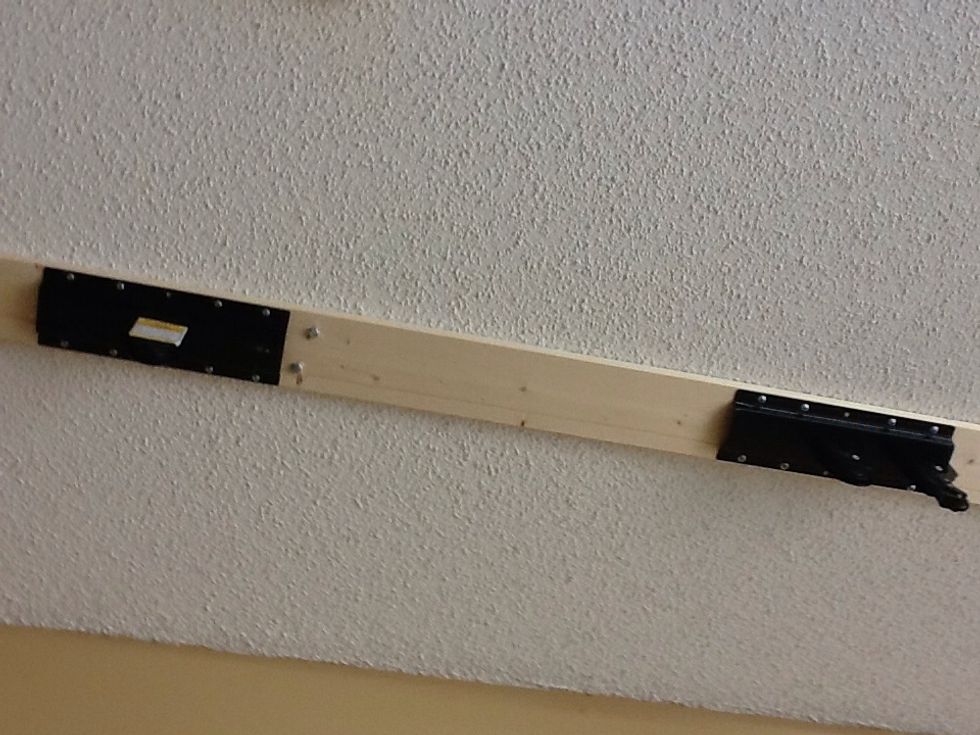
Add the front lift bracket. It should be spaced the distance from the end of the bicycle seat to the handle bars plus an inch or so. Center of one bracket to the center of the other bracket.
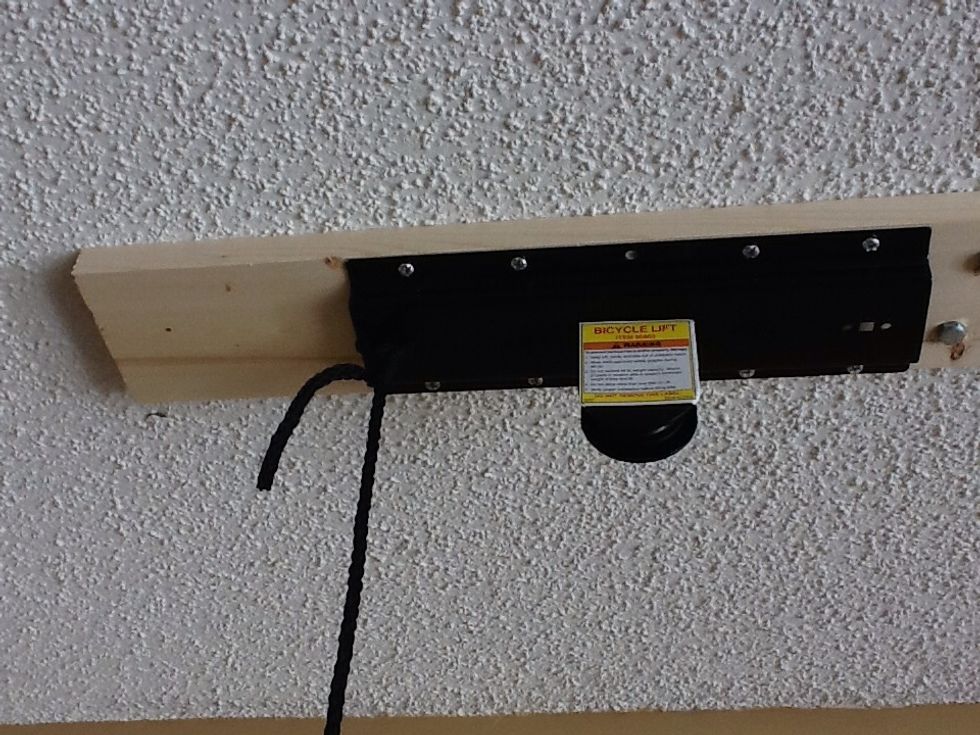
Tie a knot of your choosing at the back of the bracket. It must be quite tight.
Thread pulley rope as shown.
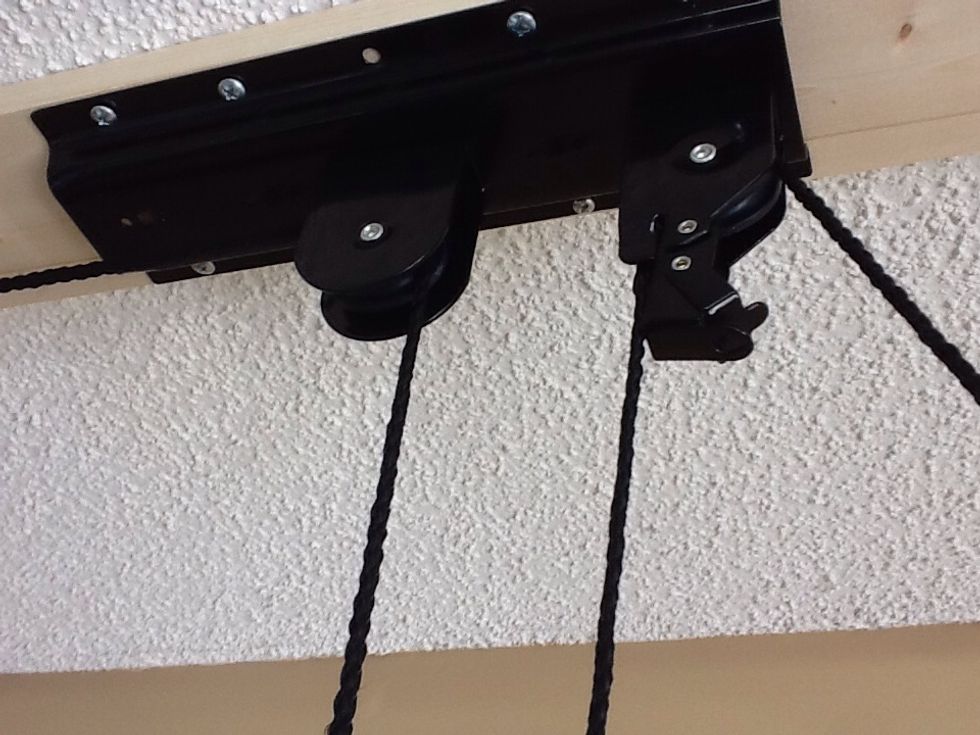
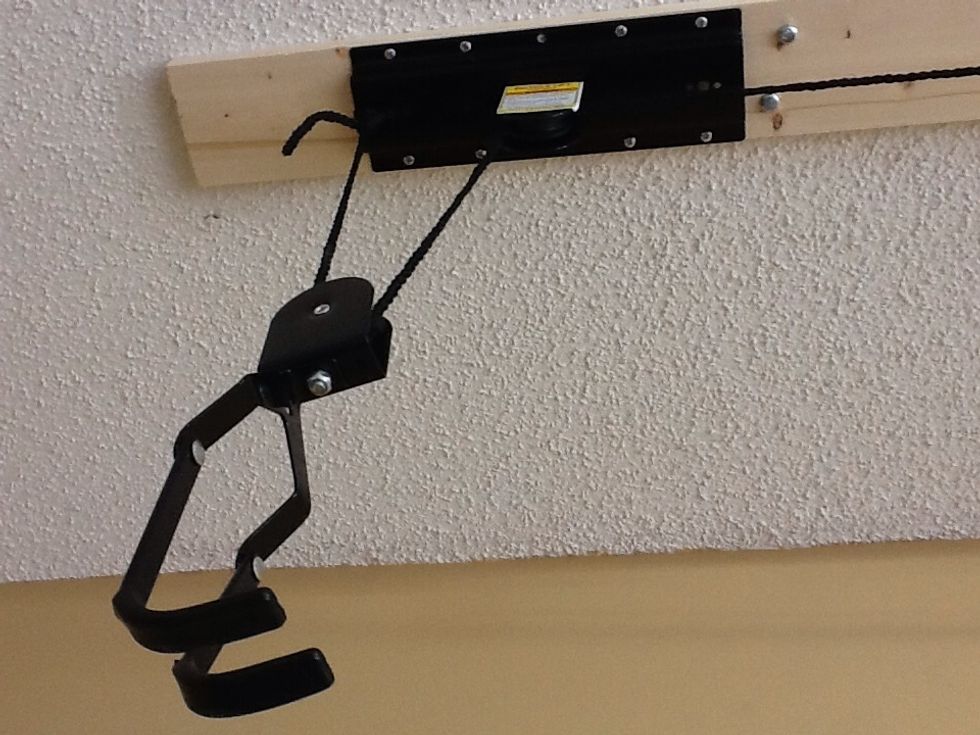
Thread pulley rope through front bracket as shown.
Pulley rope attached to brackets.
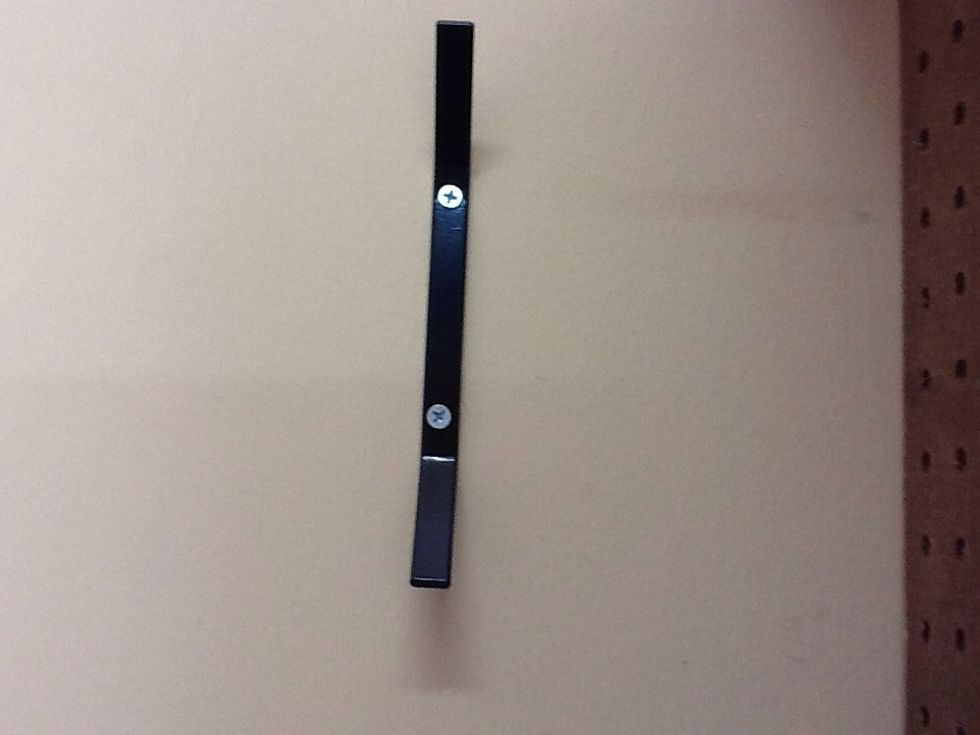
Attach excess rope holder to wall.

Will be used to hold excess rope.

Detail of last pulley rope attachment.
Back of seat rests on the bracket and the front bracket is under the handle bars.

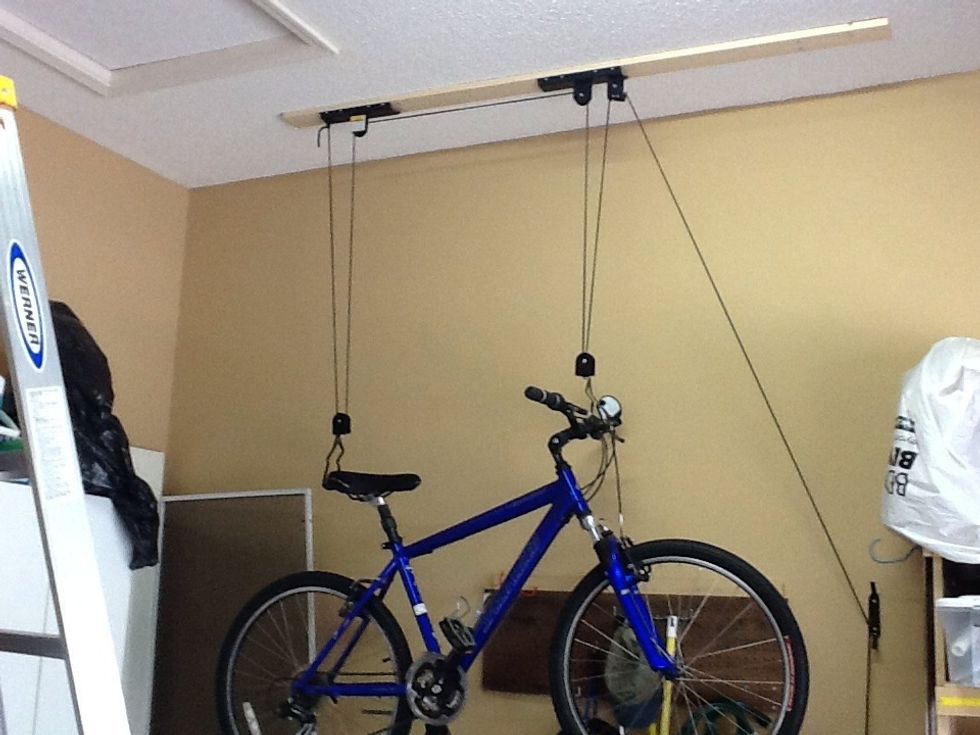
Bicycle hoisted and excess pulley rope attached to wall holder. Yea!!! Done!!!!
As always, read the instructions first. These photos should help clear up your questions. Enjoy!