The Conversation (0)
Sign Up
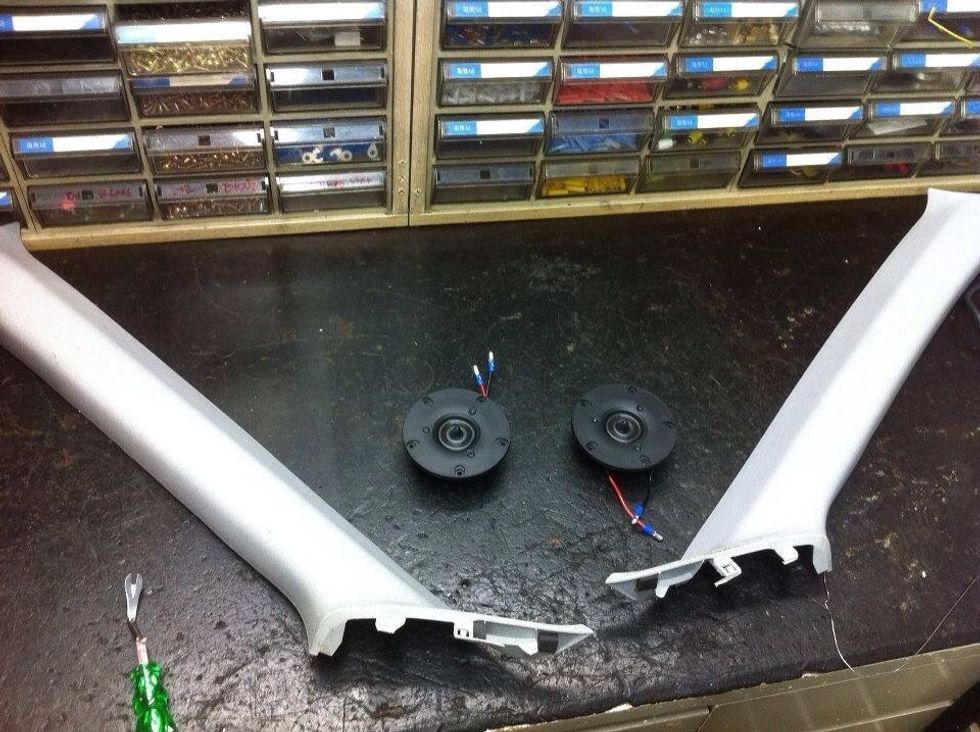
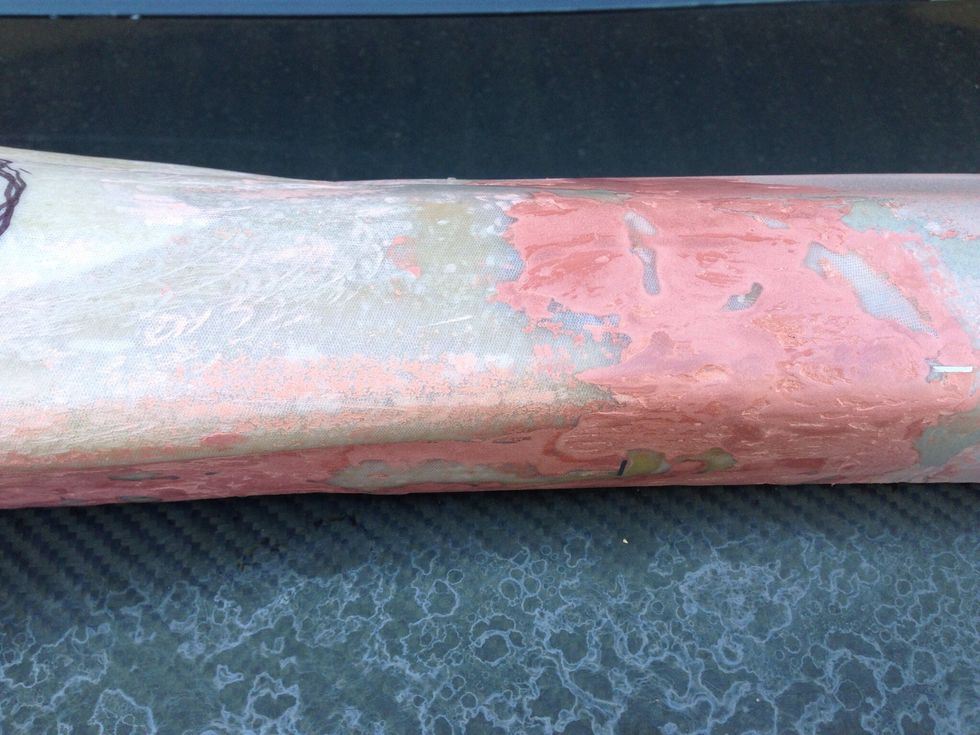
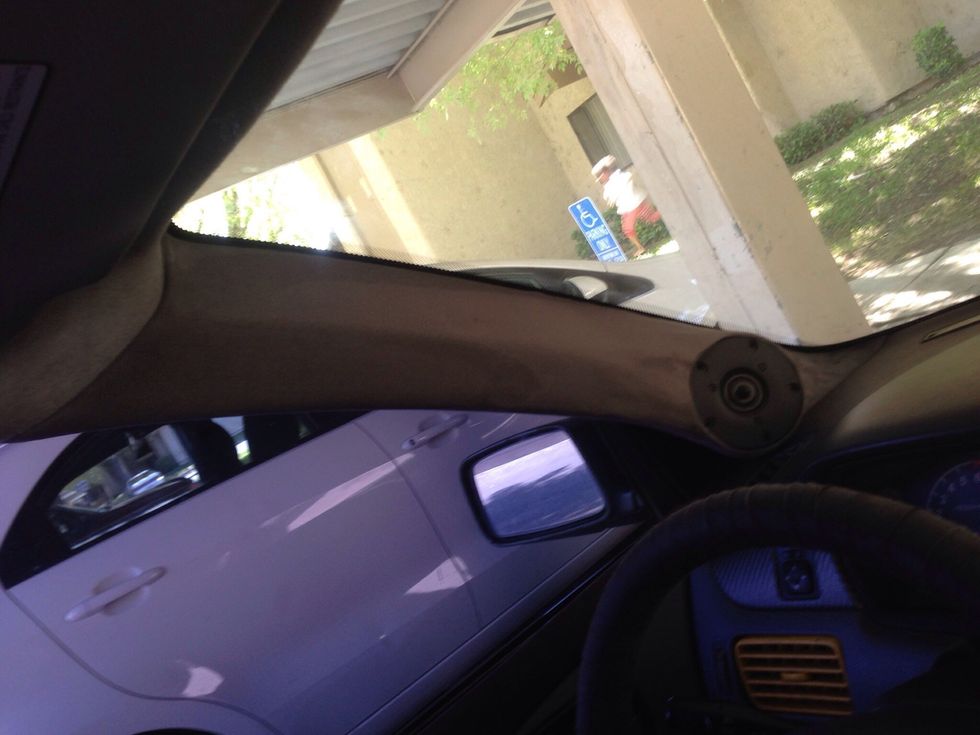
This is before
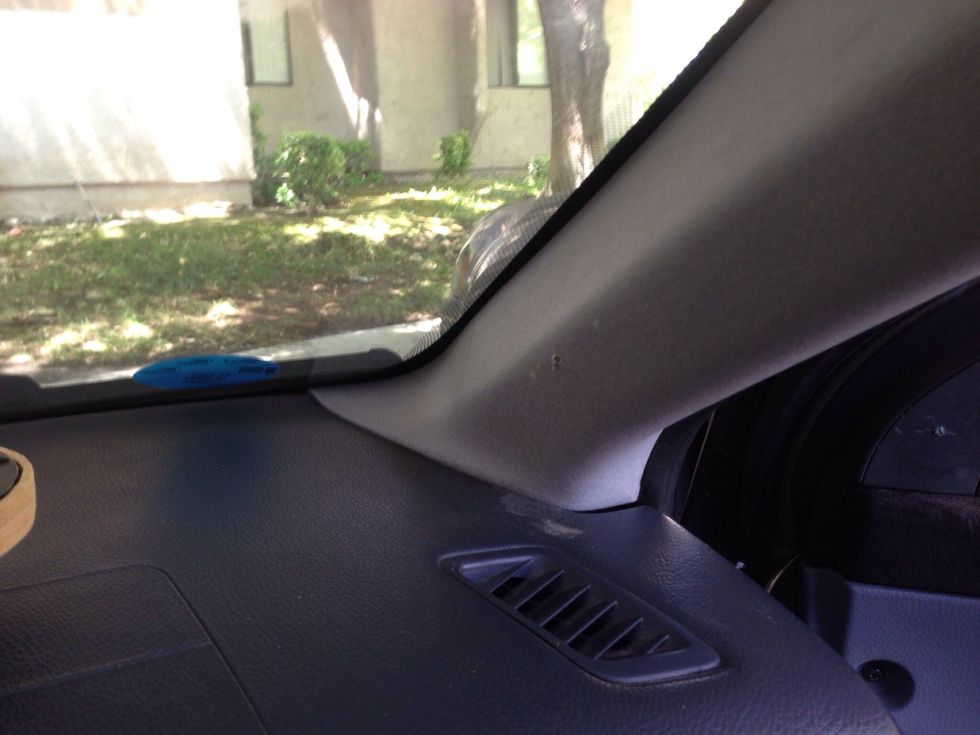
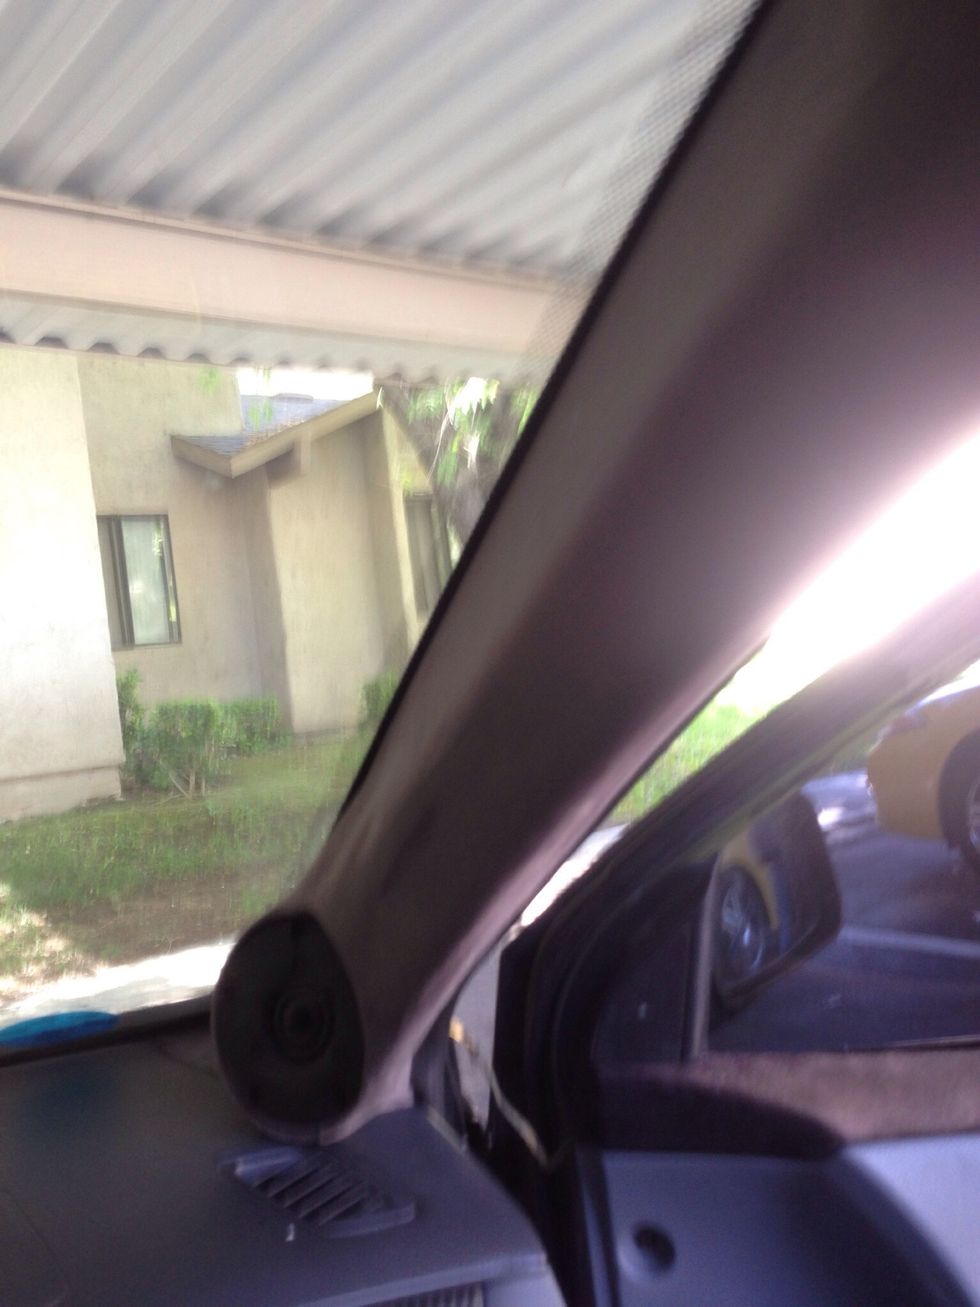
With A-pillar installed IMAGEgin how you want it to look. High off the dash or low to the dash and keep in mind (sound stage)
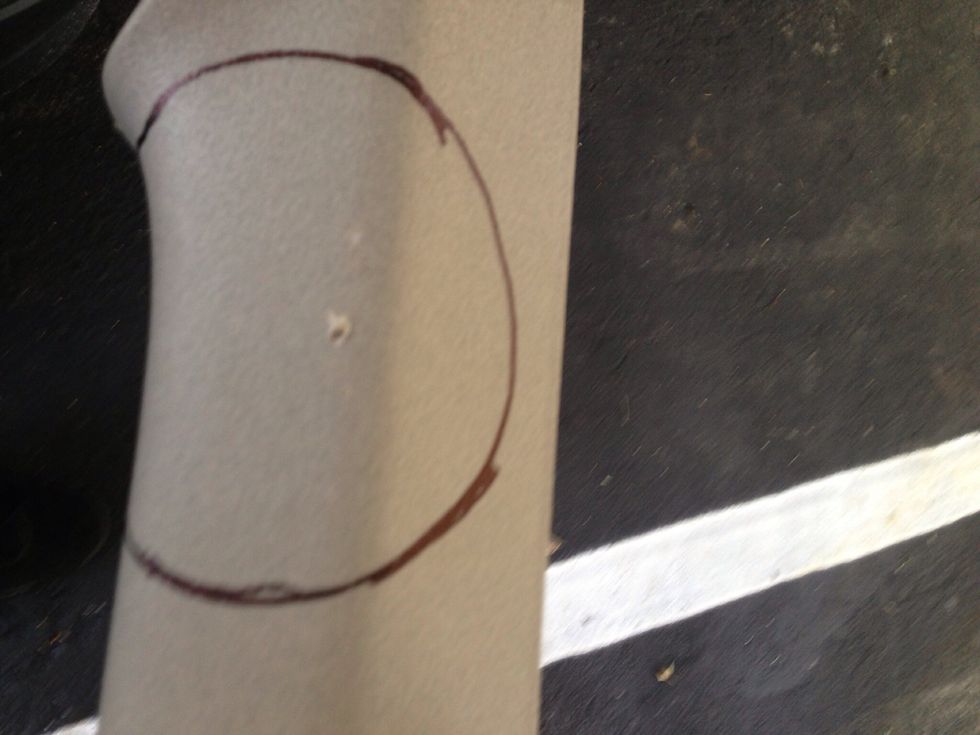
Make marks for reference (measure twice cut once)

Make sure that the dash clearance is how you want it
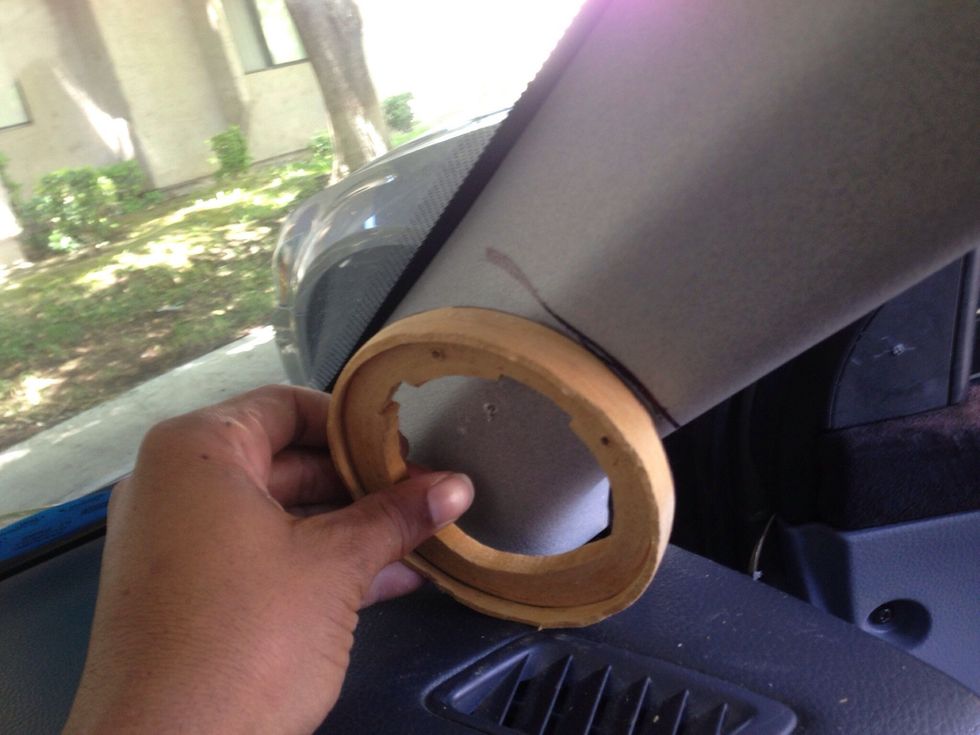
Use the 4" ring to complete the circle (this will allow for a lower profile)
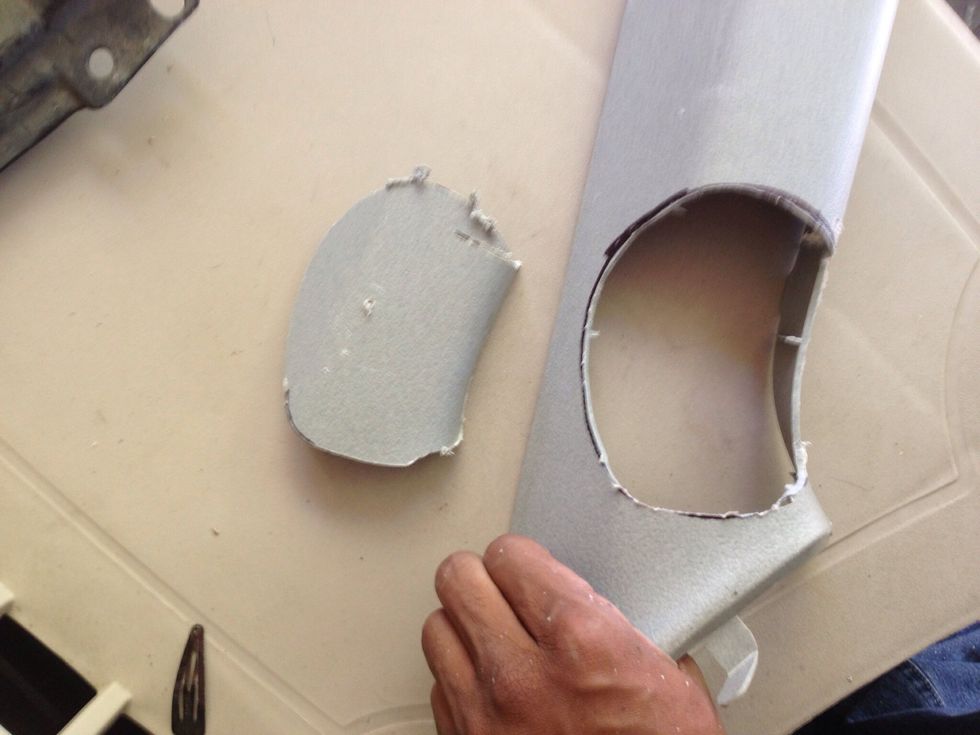
Cut to the inside of the line (if you cut to much out there's no going back)
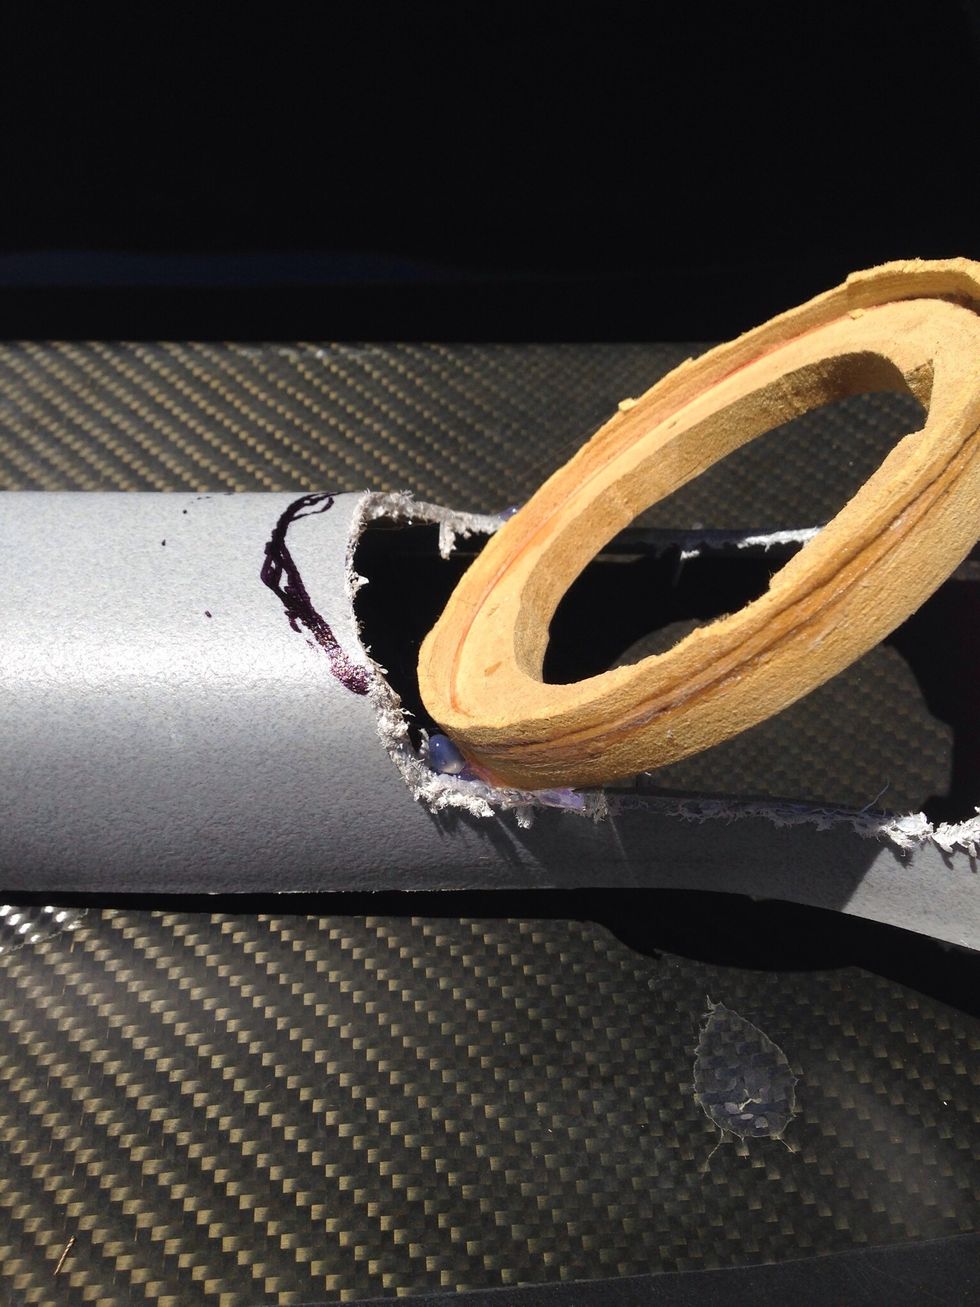
Mount in the car and use hot glue to position the ring correctly. (I will make a how to for this step but common sense will work) Remember tweeters are directional.
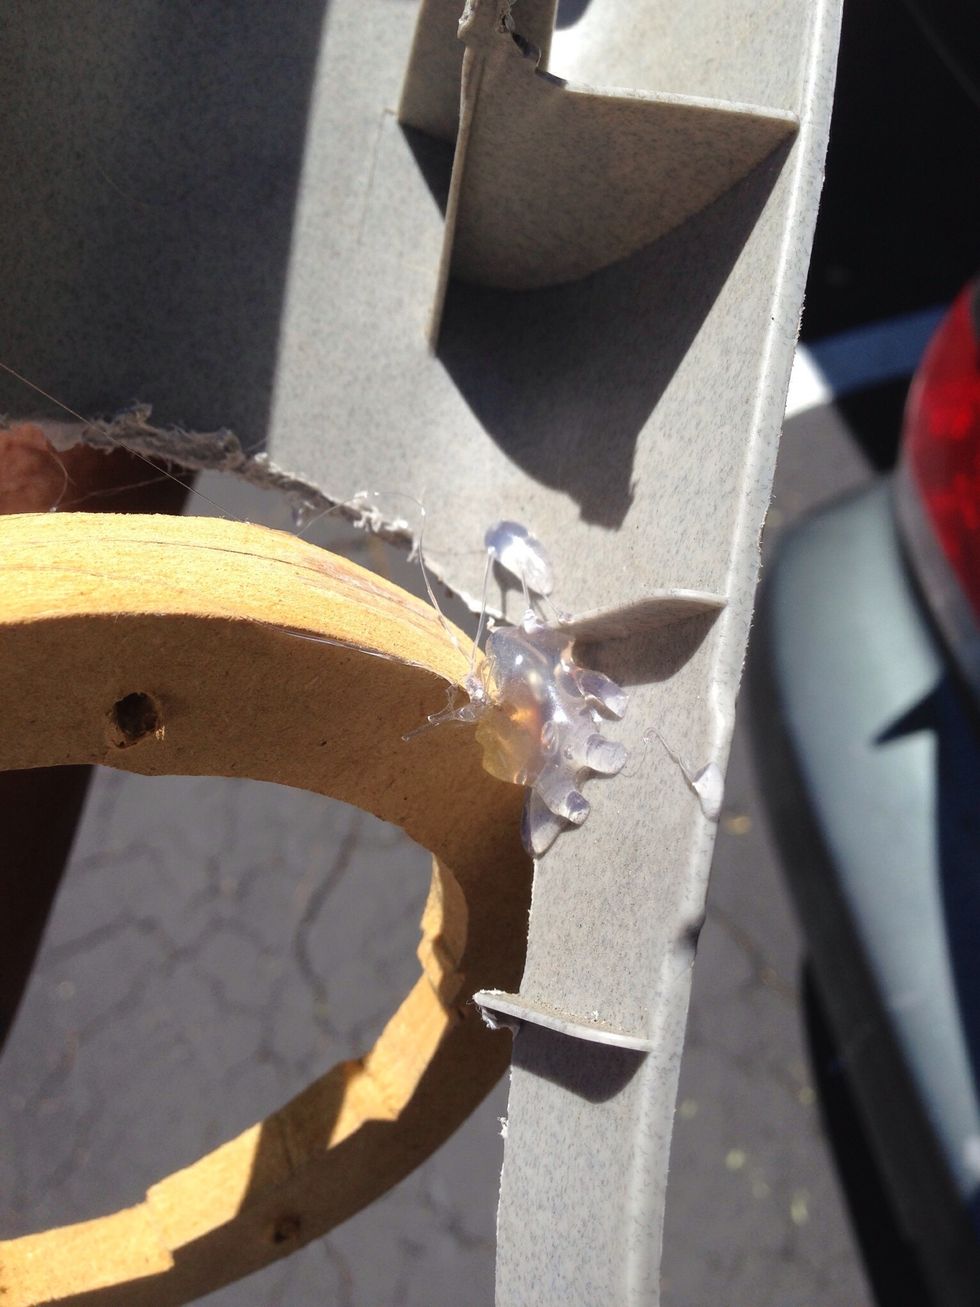
Glue front and back (helps out later)
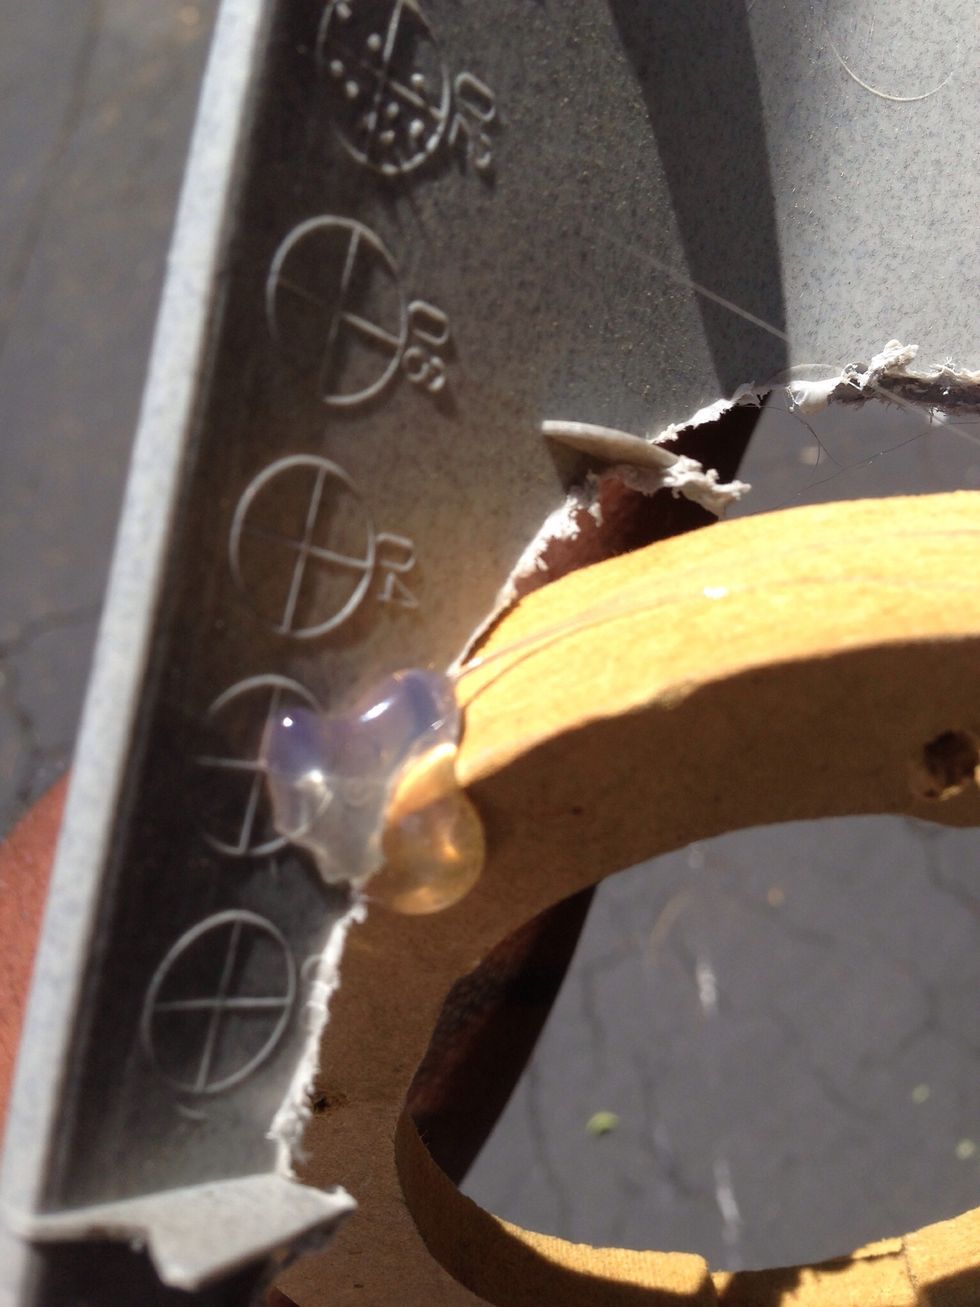
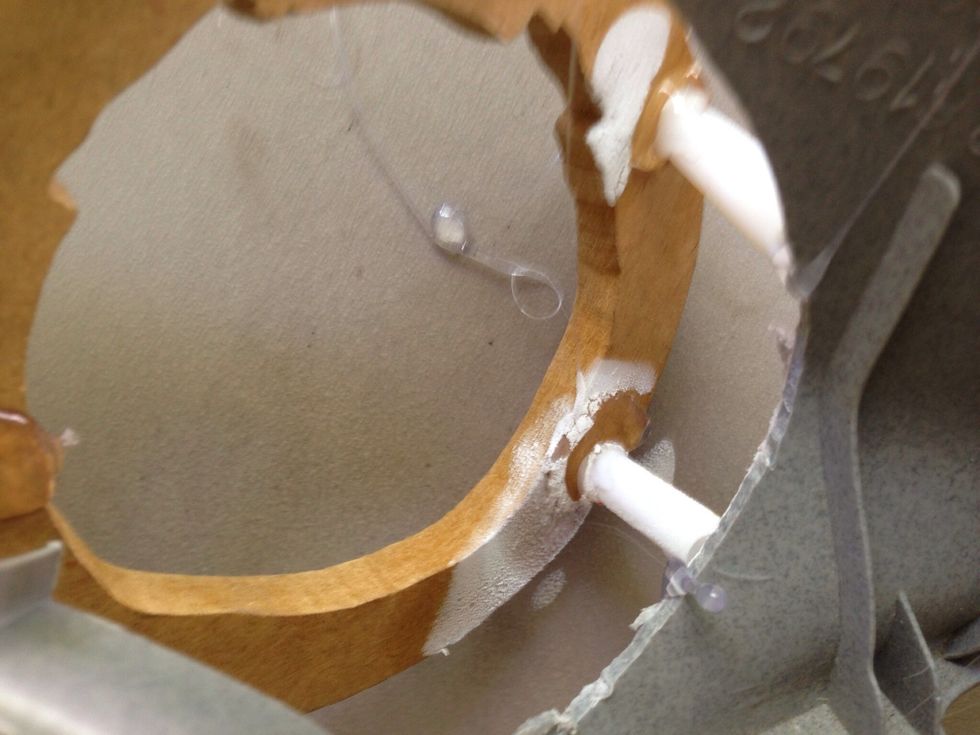
I used straws but chopsticks work to hold ring in place. (A friend showed me that can of up side down aerosol will harden hot glue fast)
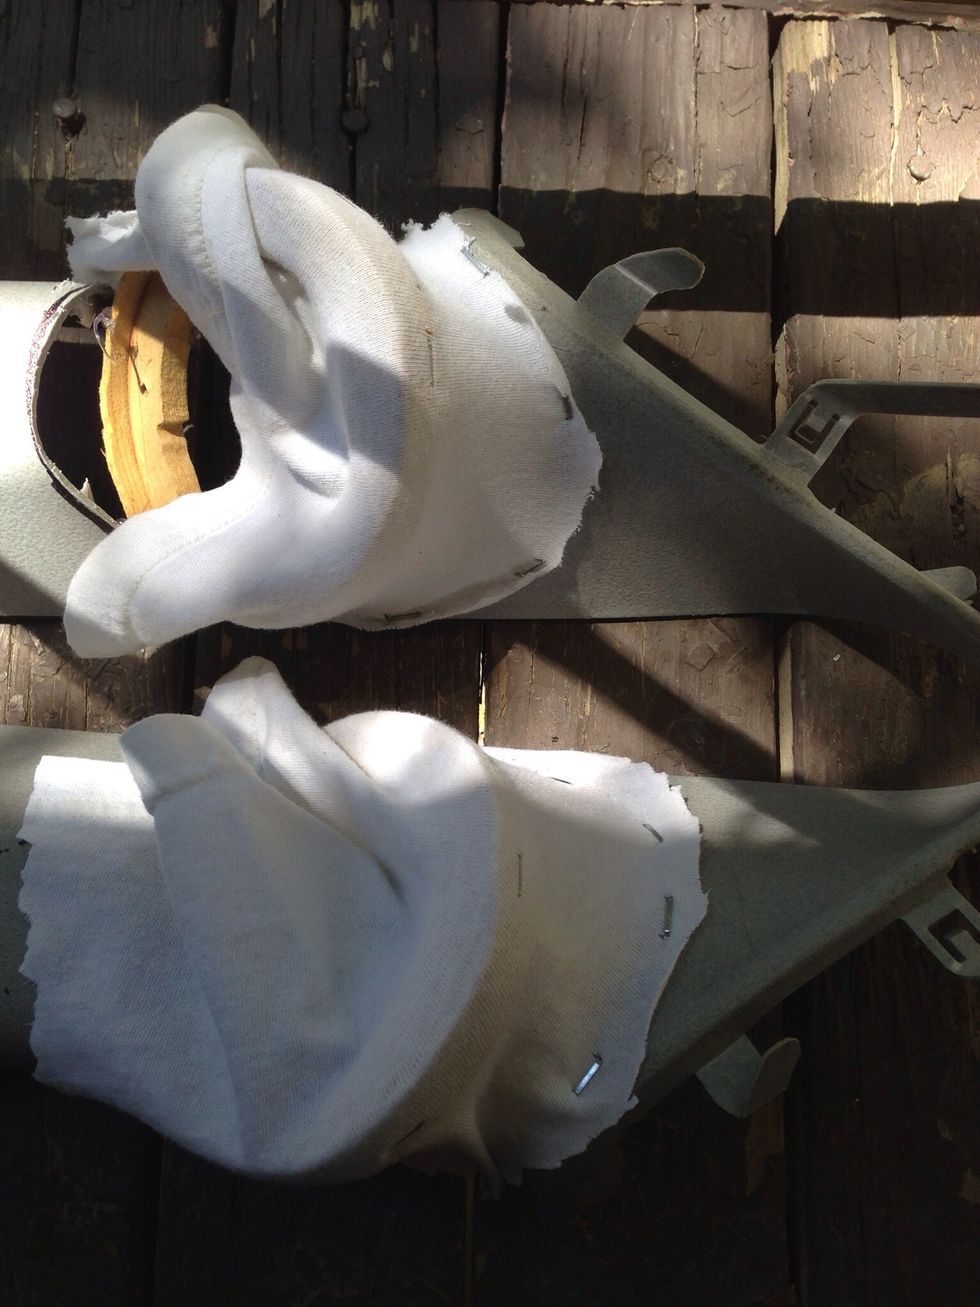
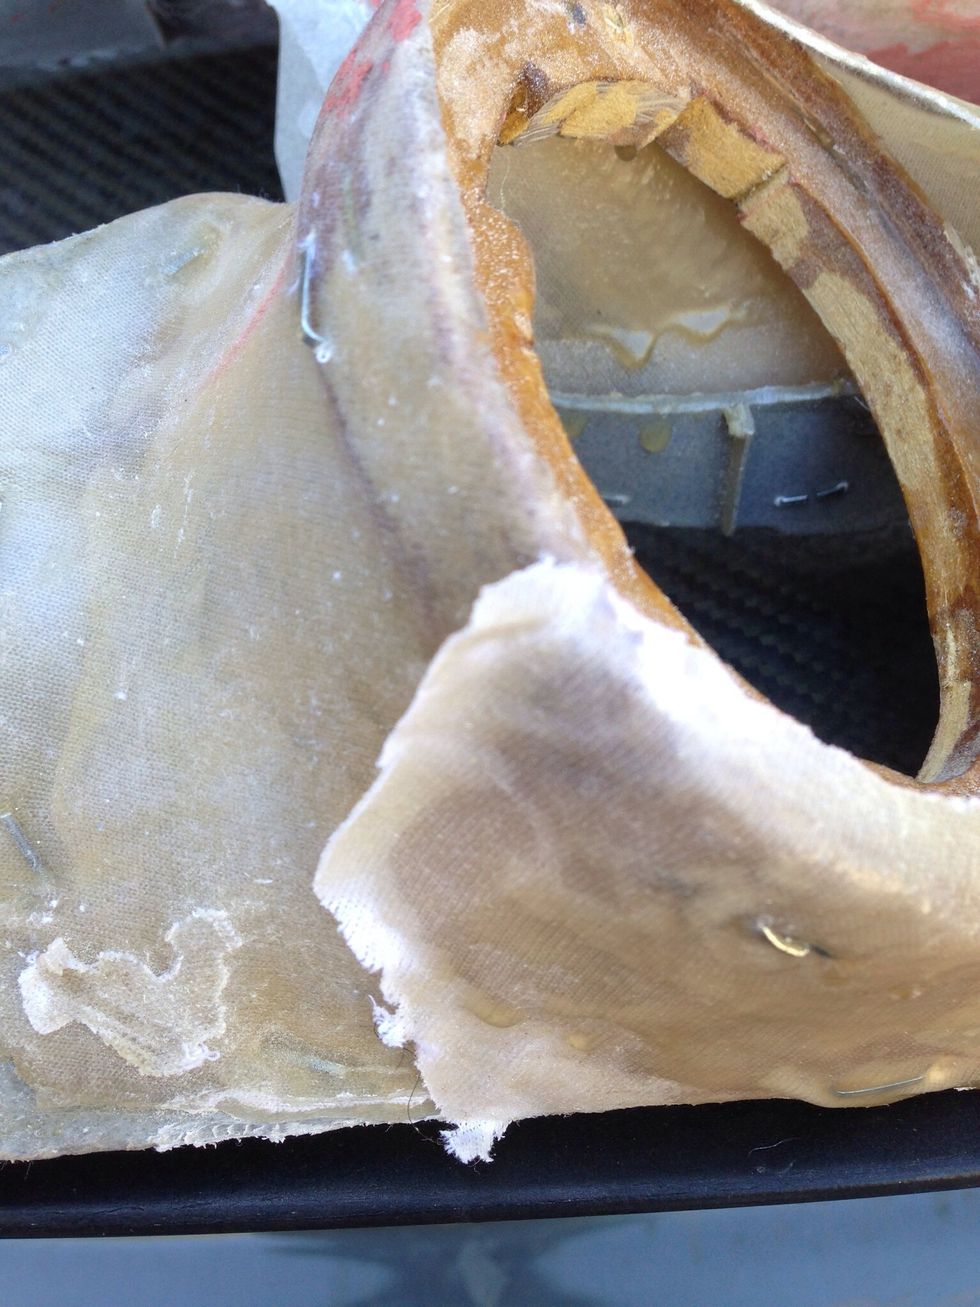
Use a T-shirt and staple it to the A-pillar, stretch it over the ring, staple again on side of the ring (wrinkle free) paint resin over the fabric use liberally three times for strength
Cut extra away and do the same on the other side over lapping the last step and cut extra away now you have the basic shape
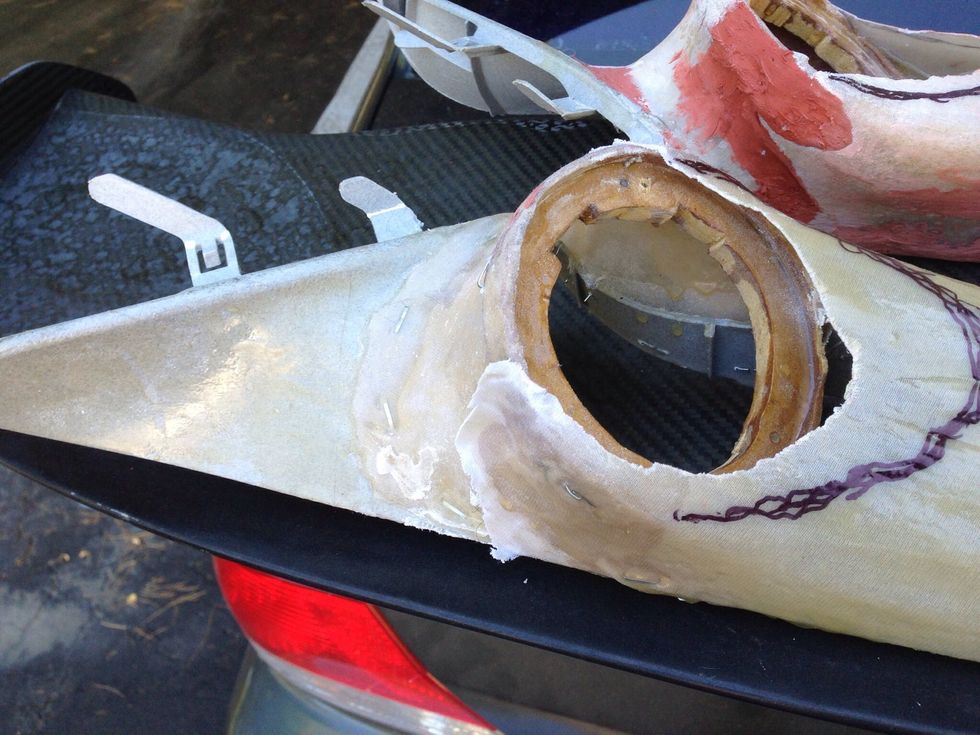
Be sure to go over the edge
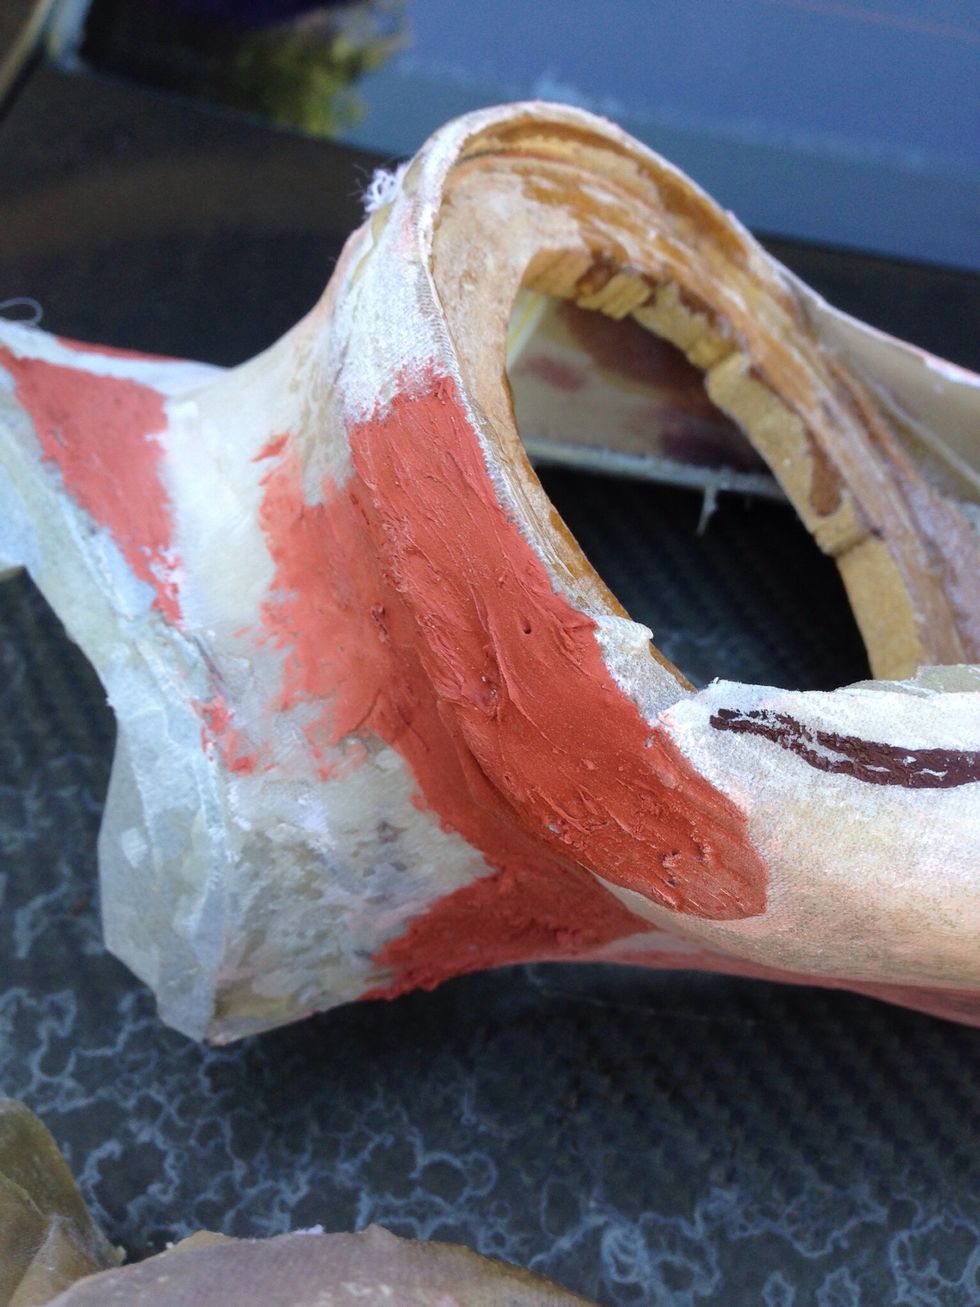
Sand and use putty filler to hide the edges sand smooth
Sand and fill this edge to
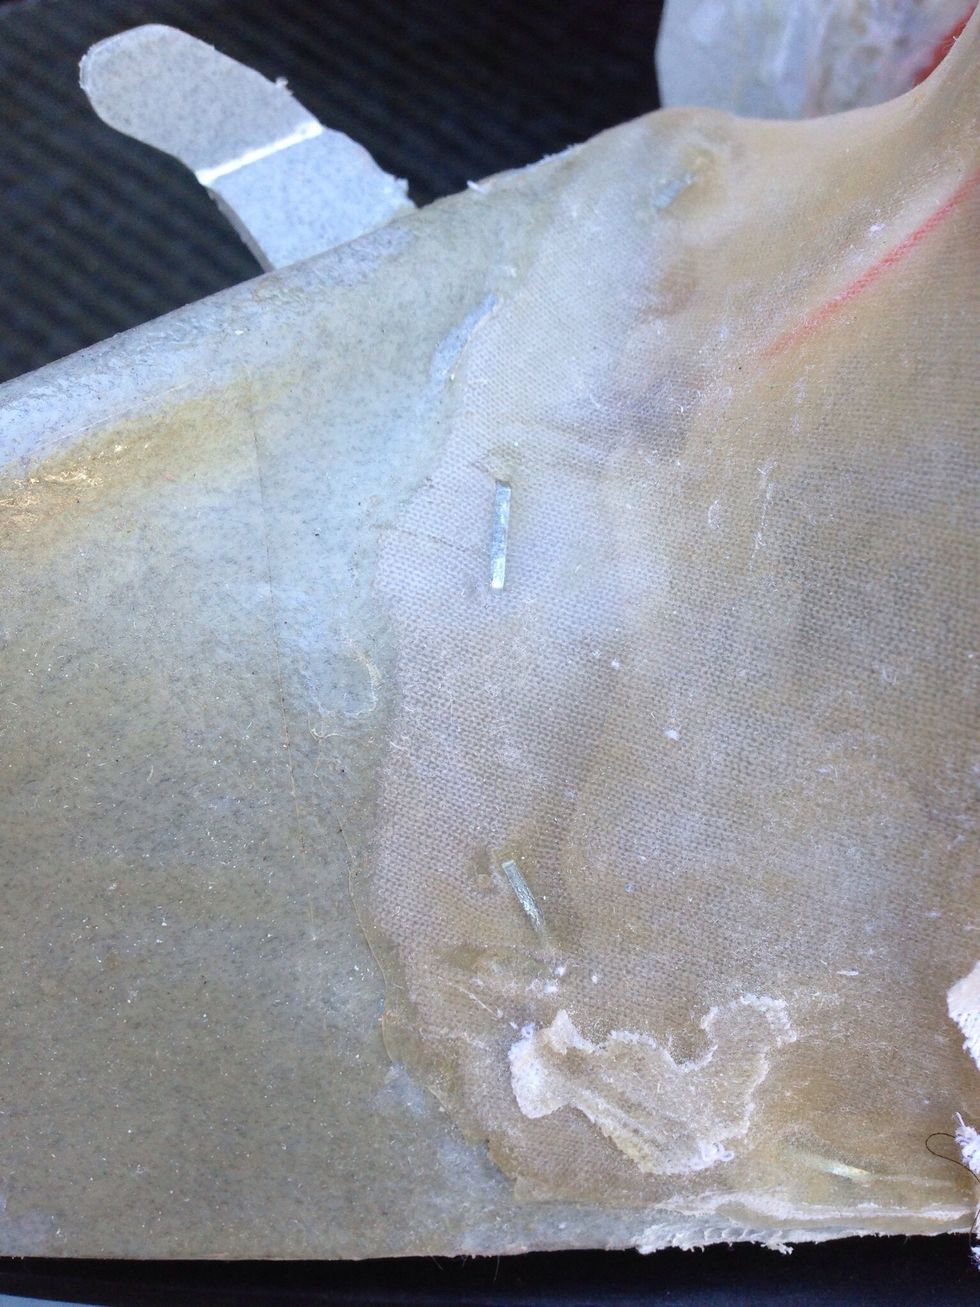
Fill over staples also
It will look like this
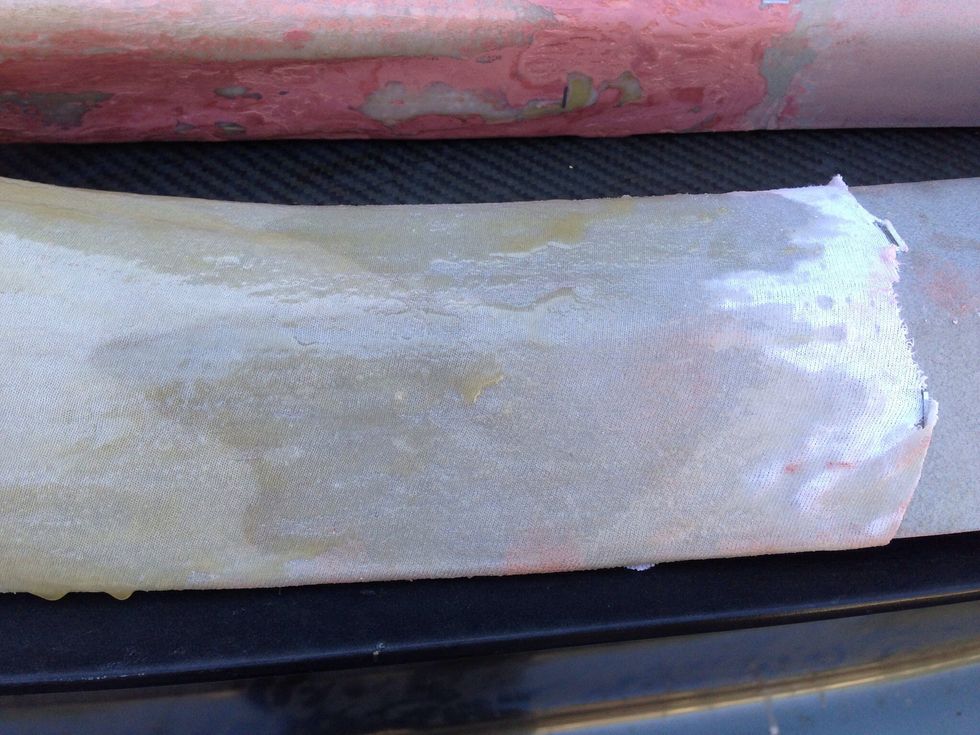
I chose to rap in fabric to hide any imperfections but you can sand smooth and paint
Looks clean I liked how it came out