The Conversation (0)
Sign Up
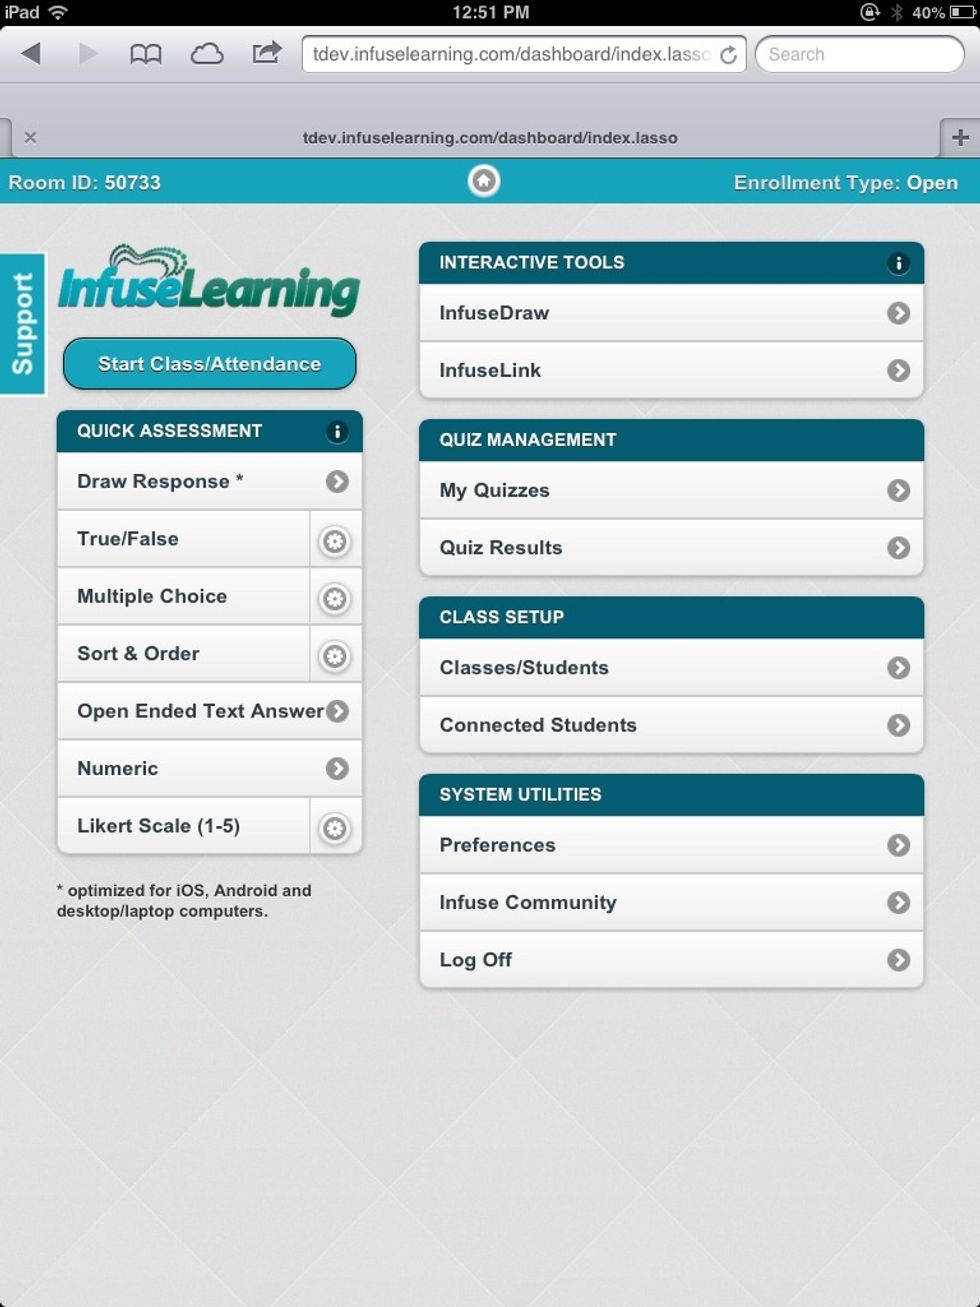
Login to InfuseLearning Teacher Dashboard on a computer.* For help with Login see: How to Get Started with InfuseLearning SnapGuide http://snp.gd.ta53hc *Student upload process optimized for computer
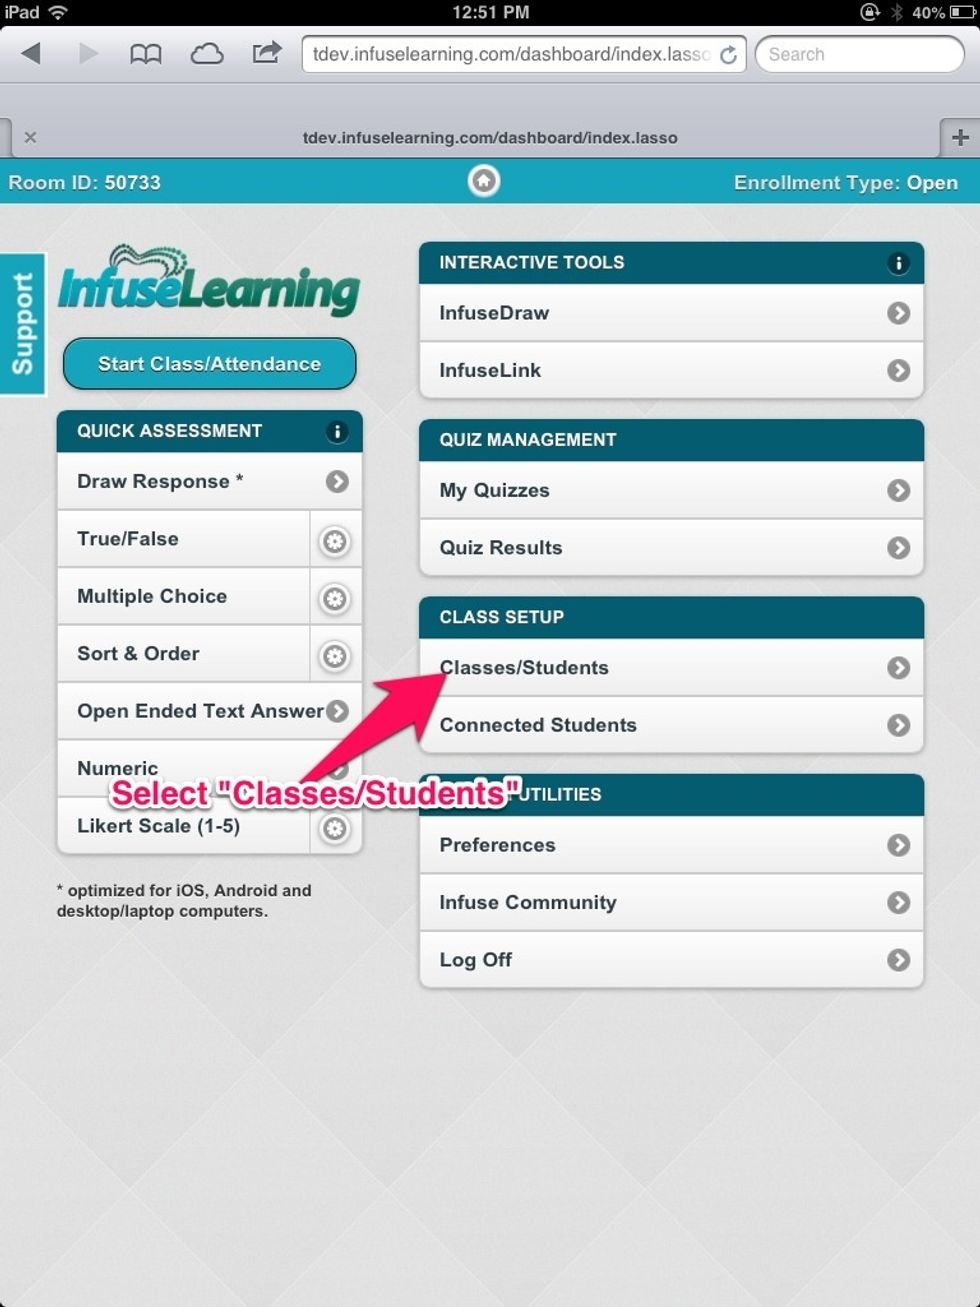
Select "Classes/Students" to view your class lists

Here you can choose to Add a New Class (manual entry of each student) or Import Students (import pre-created list). For this guide we will select the "Import Students" button.
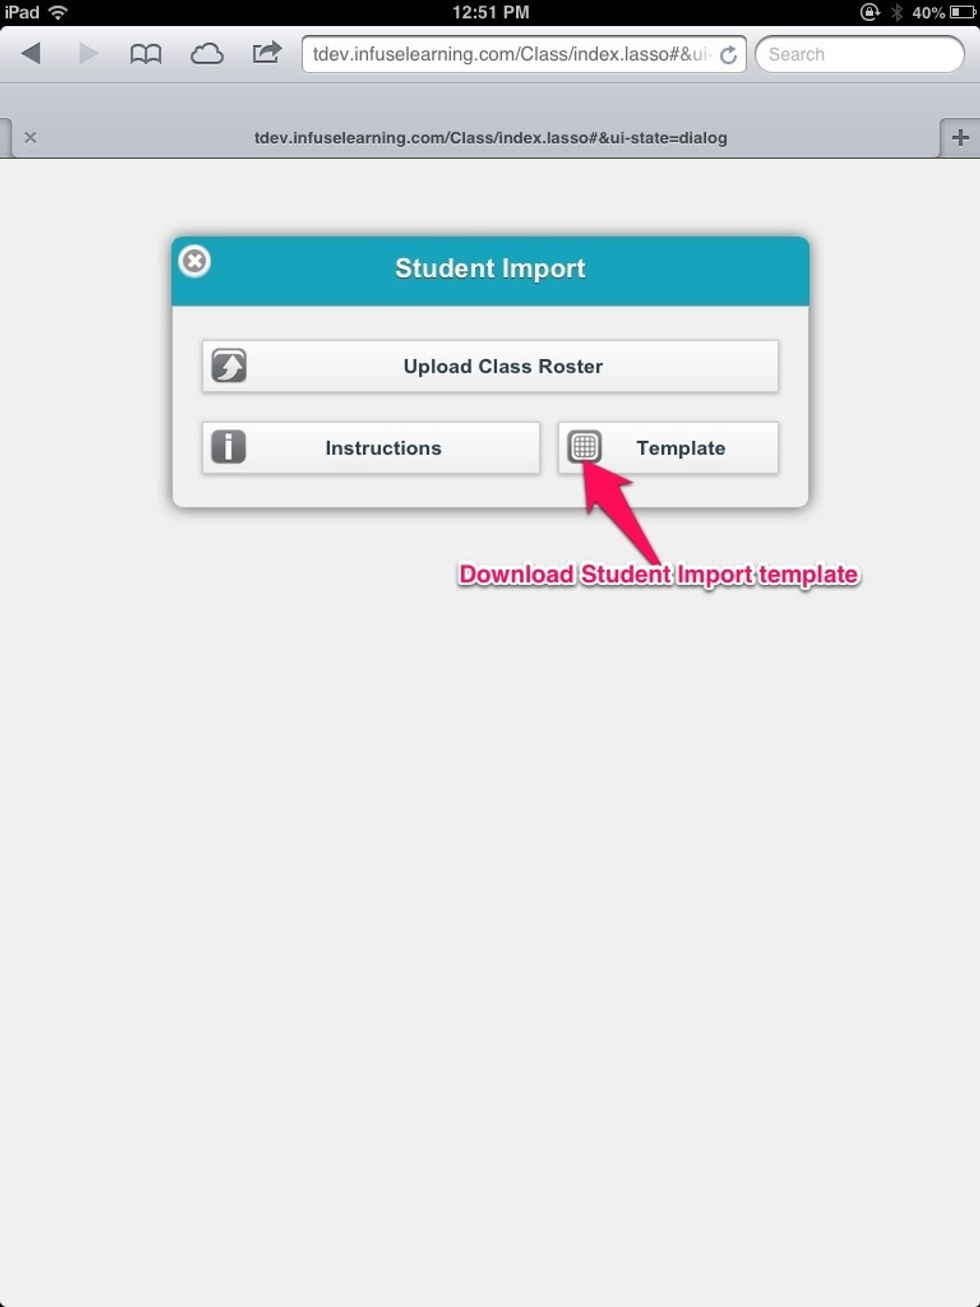
Select the "Template" button to download the Student Import Excel Template. Open template in Excel.
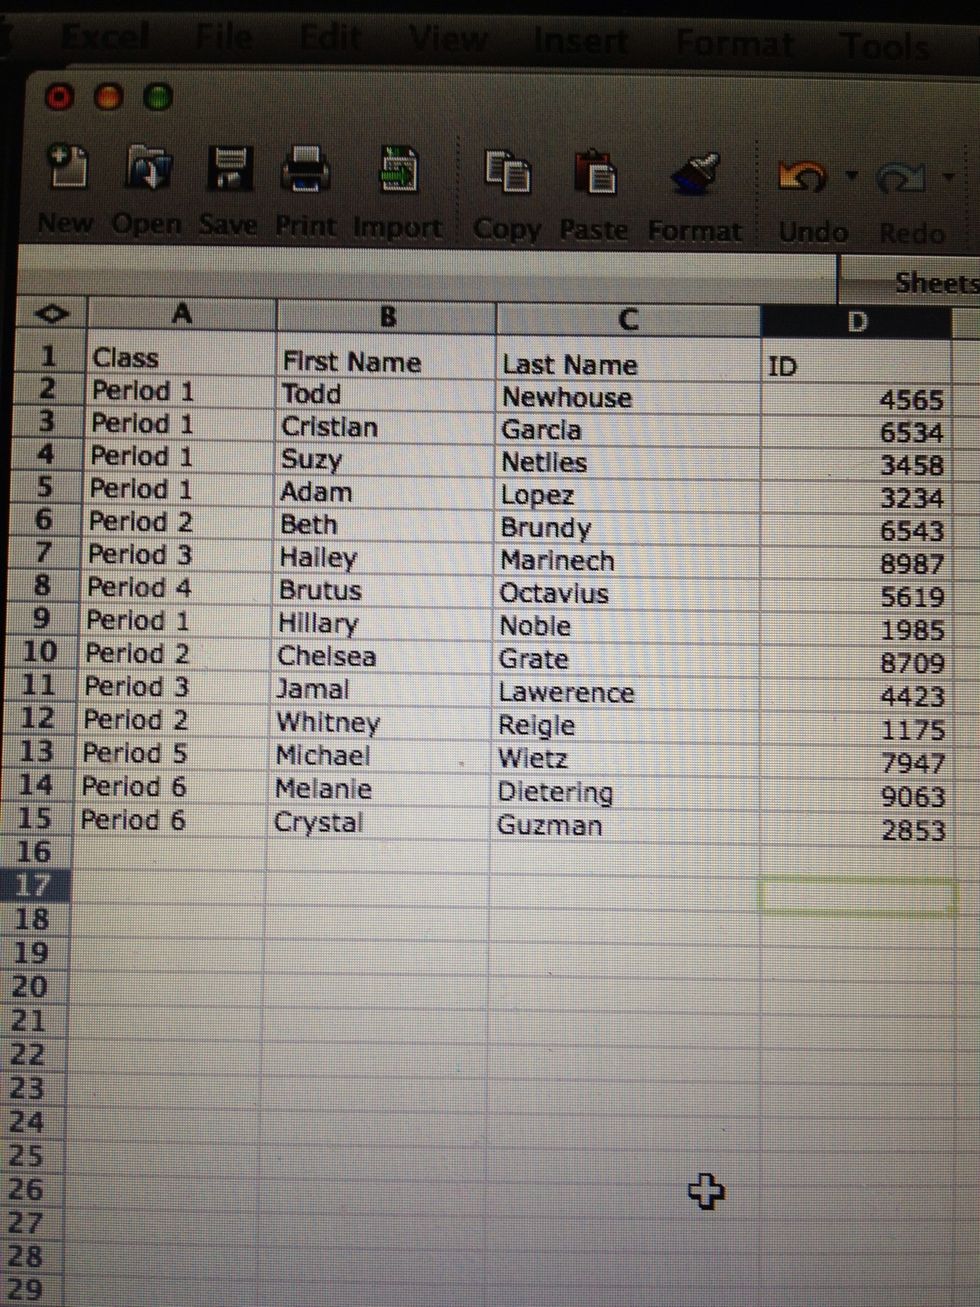
Input class information using the template or paste data from existing file into each column. Each class entered will create a unique class in the InfuseLearning system. *Student ID not required.
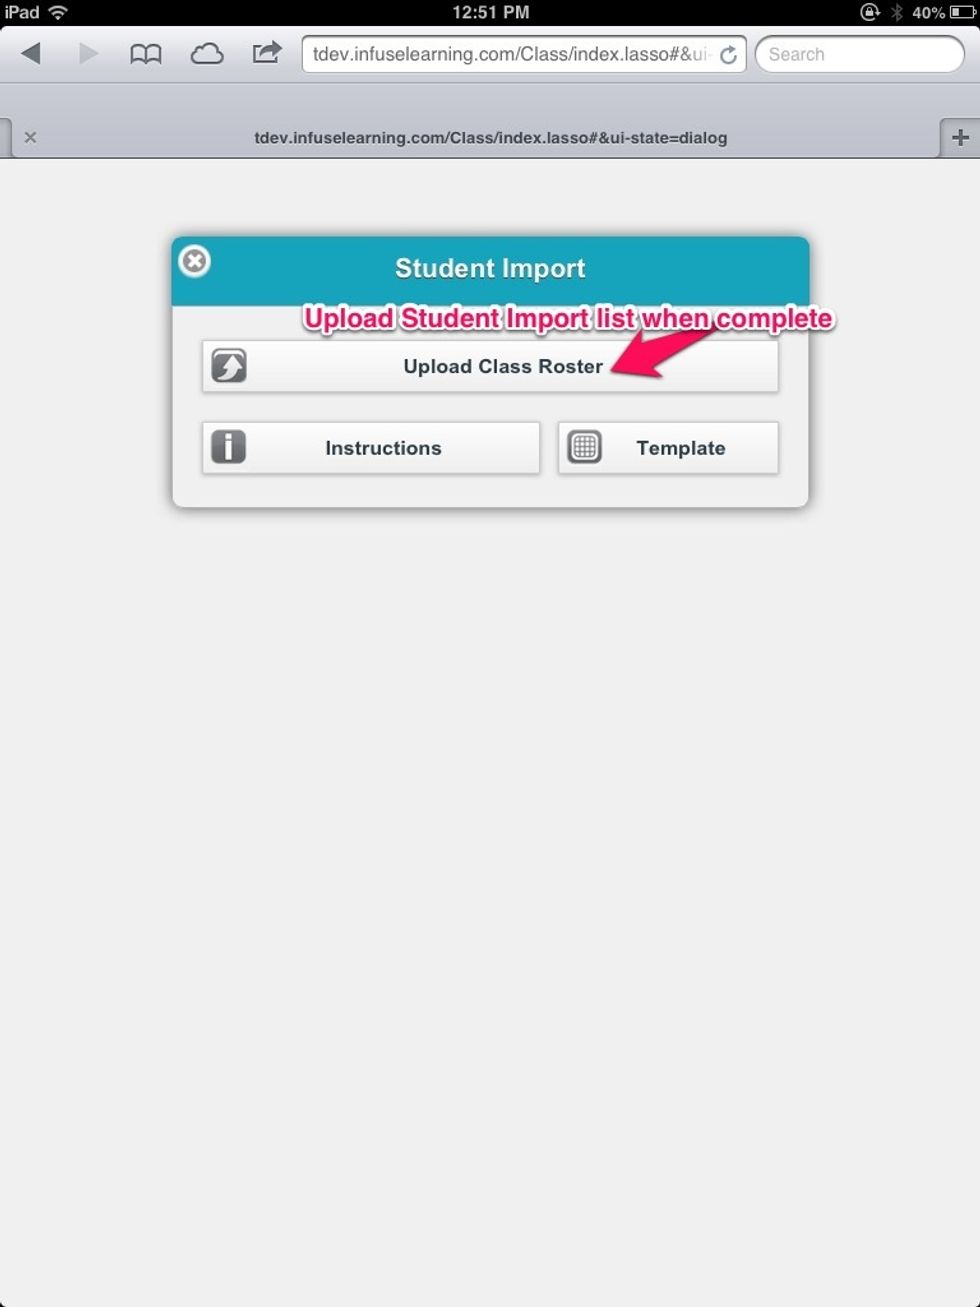
When Student/Class list is prepared and saved (must be saved in the .xls format), select the "Upload Class Roster" option.
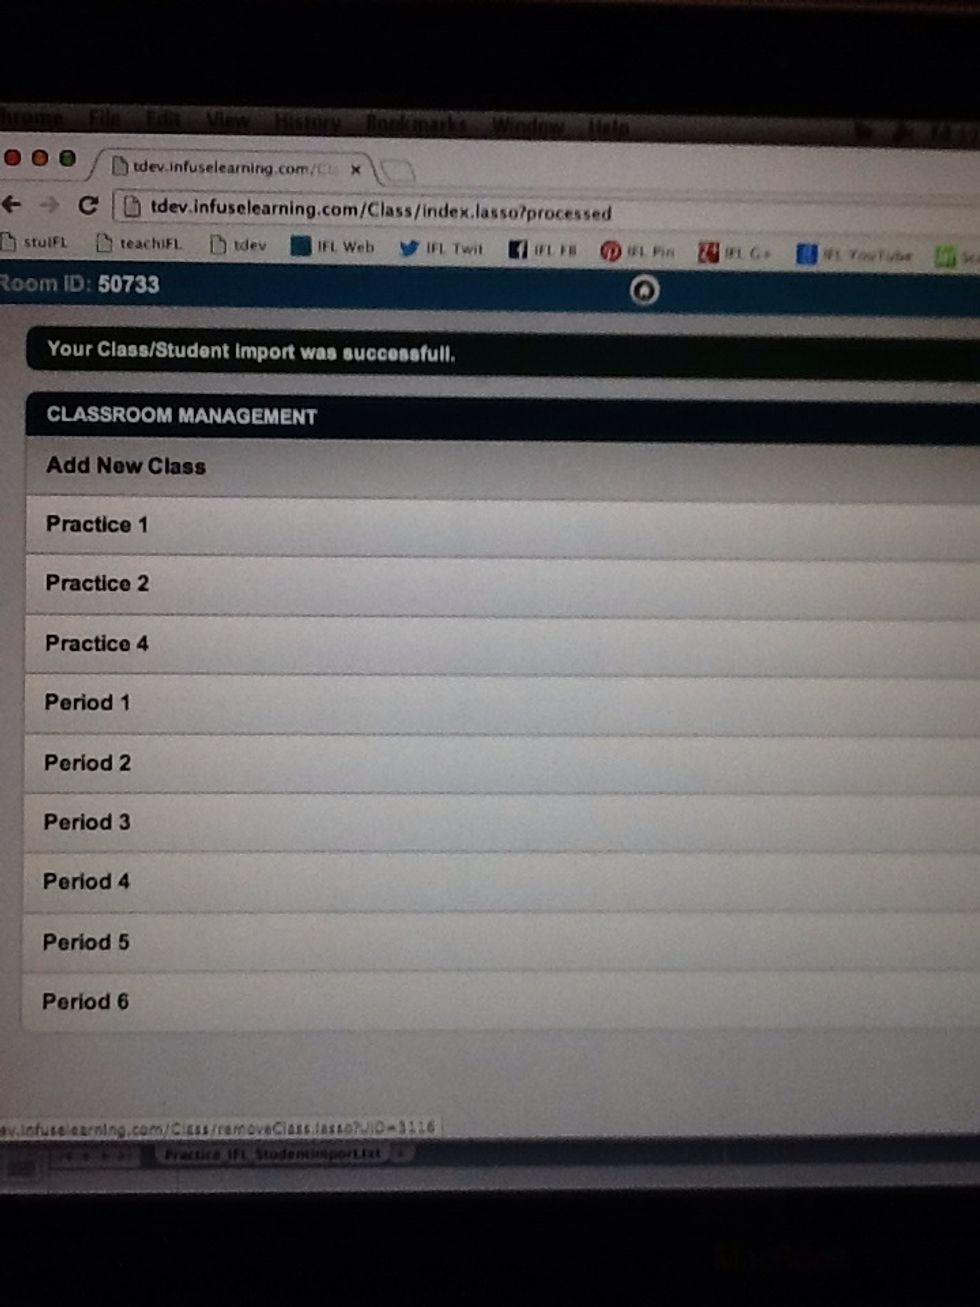
Once Class Roster import is complete, defined classes will now appear on the class list. For help with file import select the "Support" tab on the Teacher Dashboard.
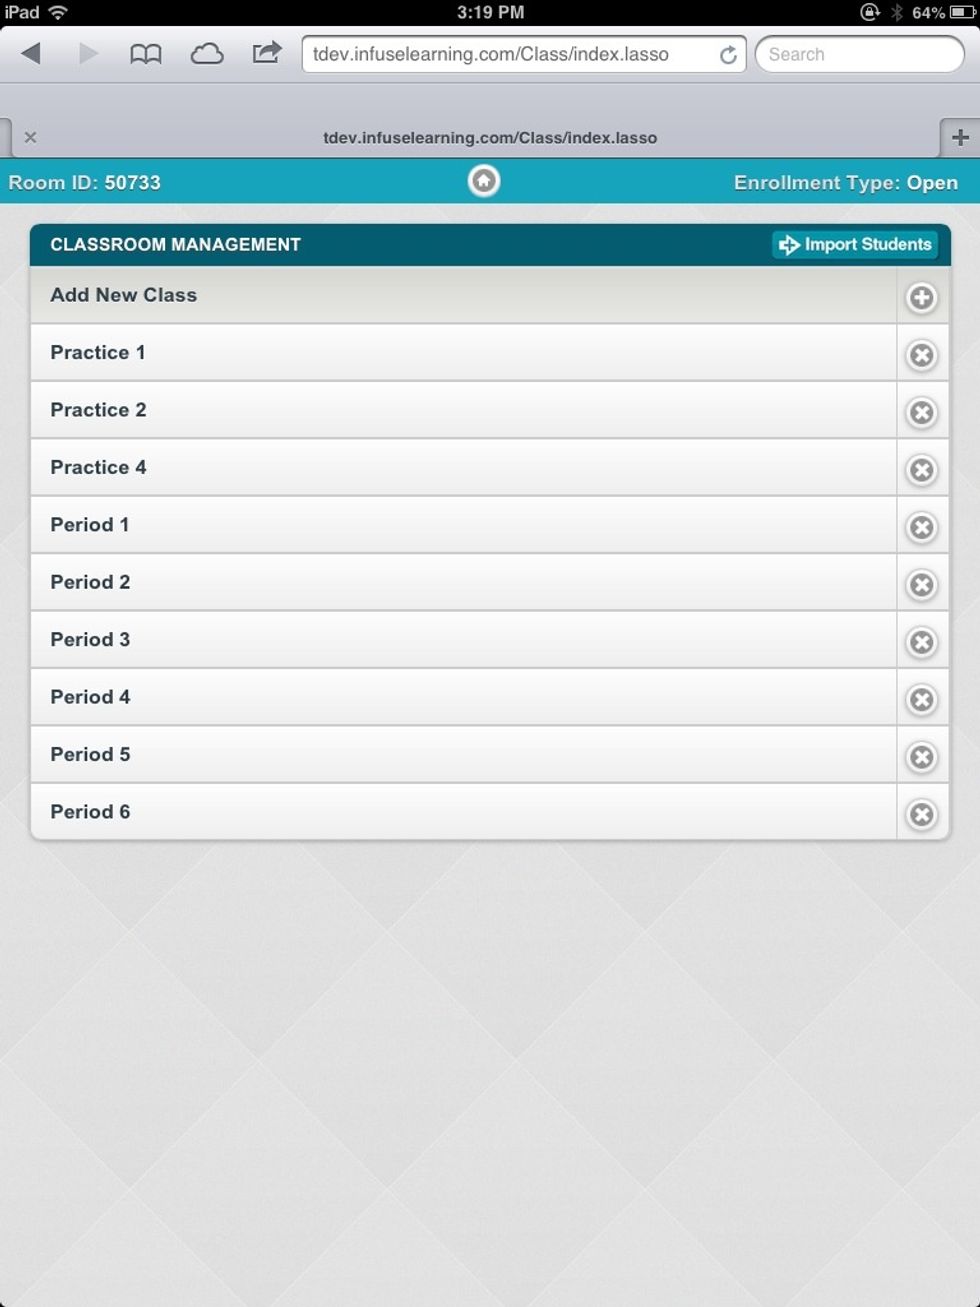
To view or edit a class list simply select the class you wish to view/edit.
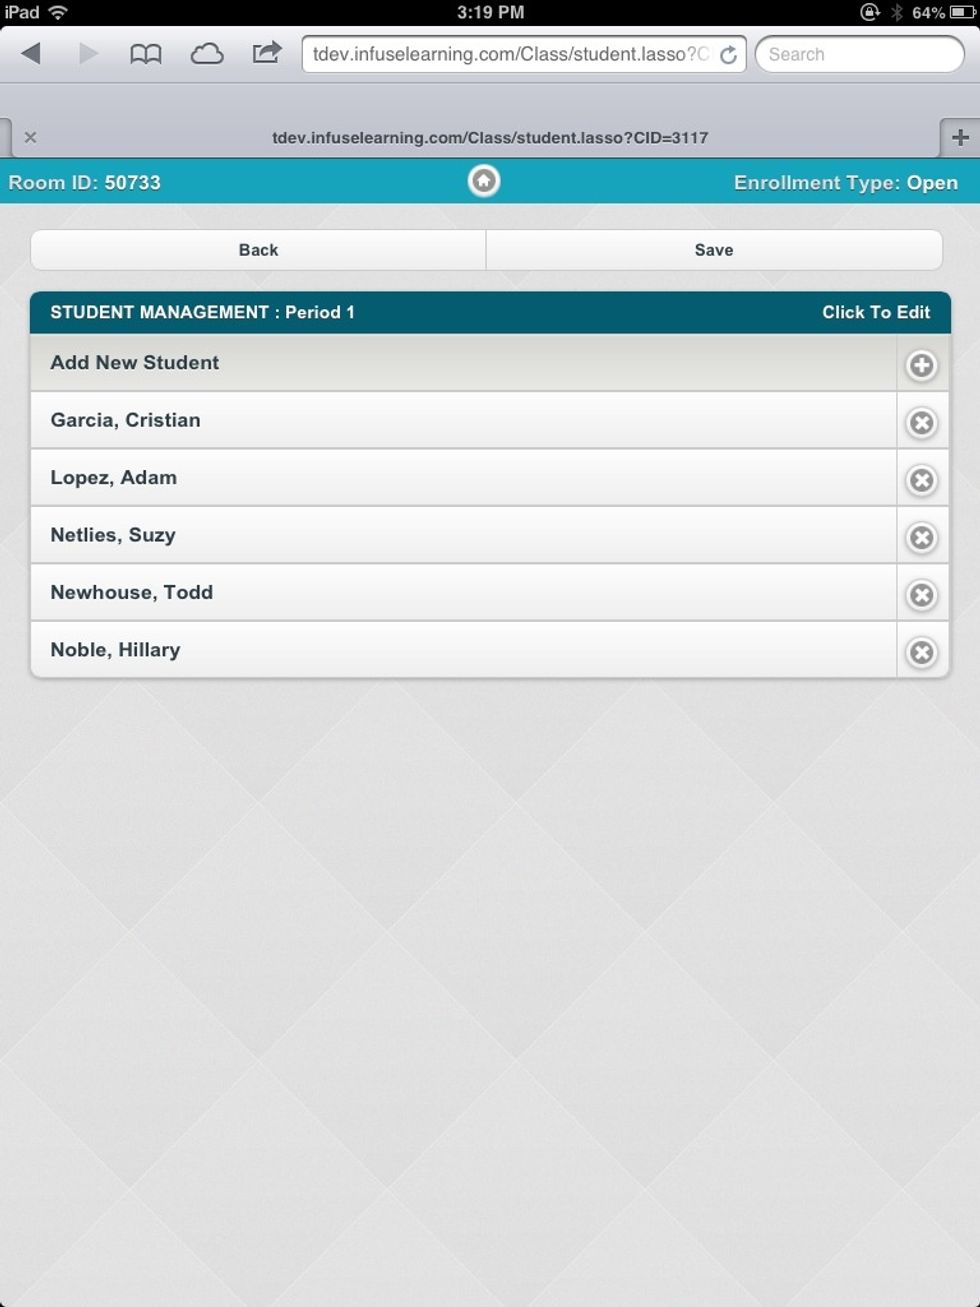
From this view you can add additional students or edit student settings.
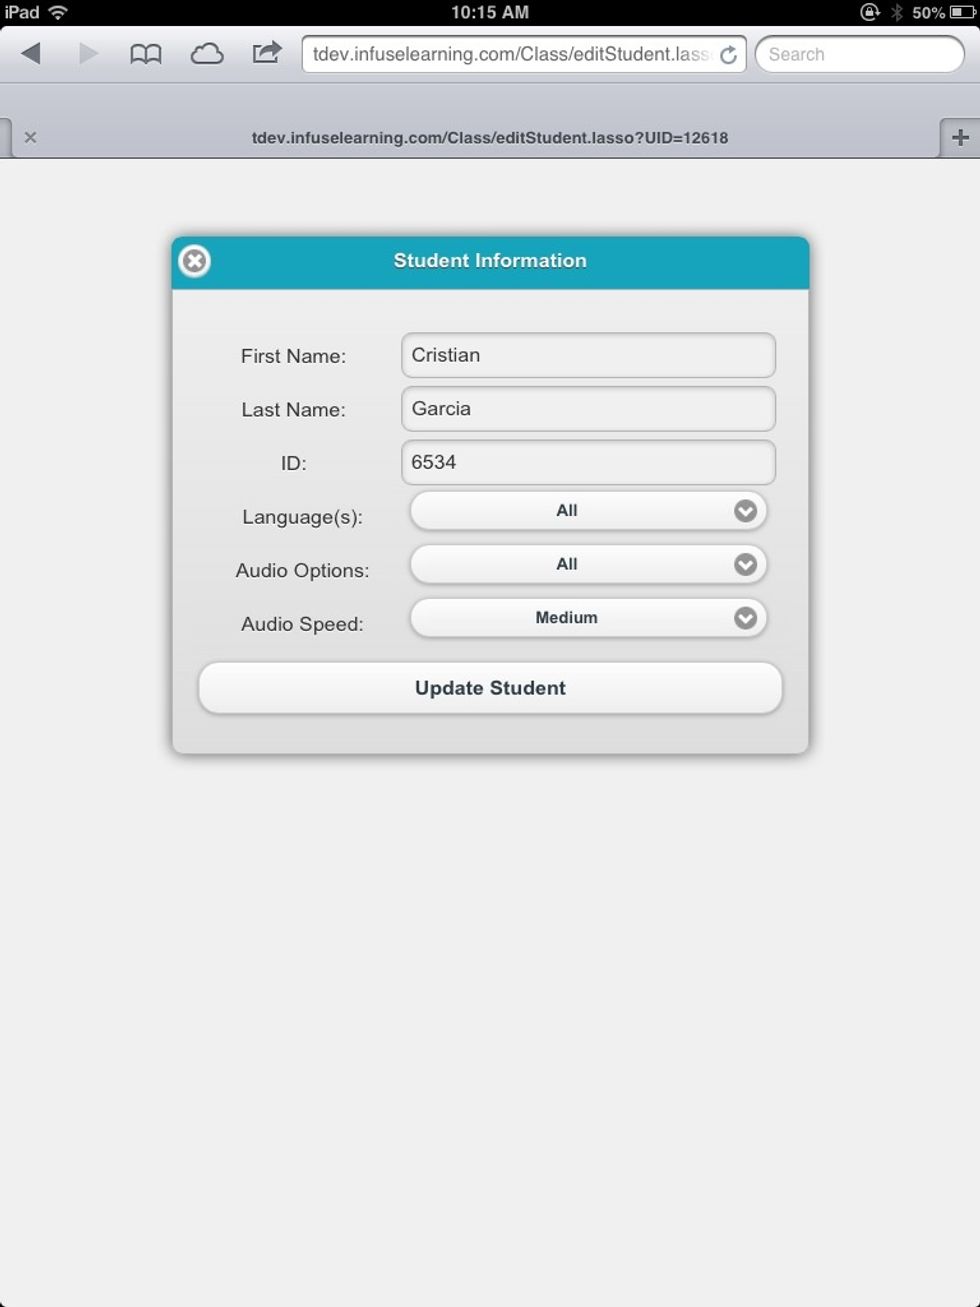
Student settings and information can be modified as necessary. Language translation and audio settings can be modified to support language acquisition and accessibility considerations.
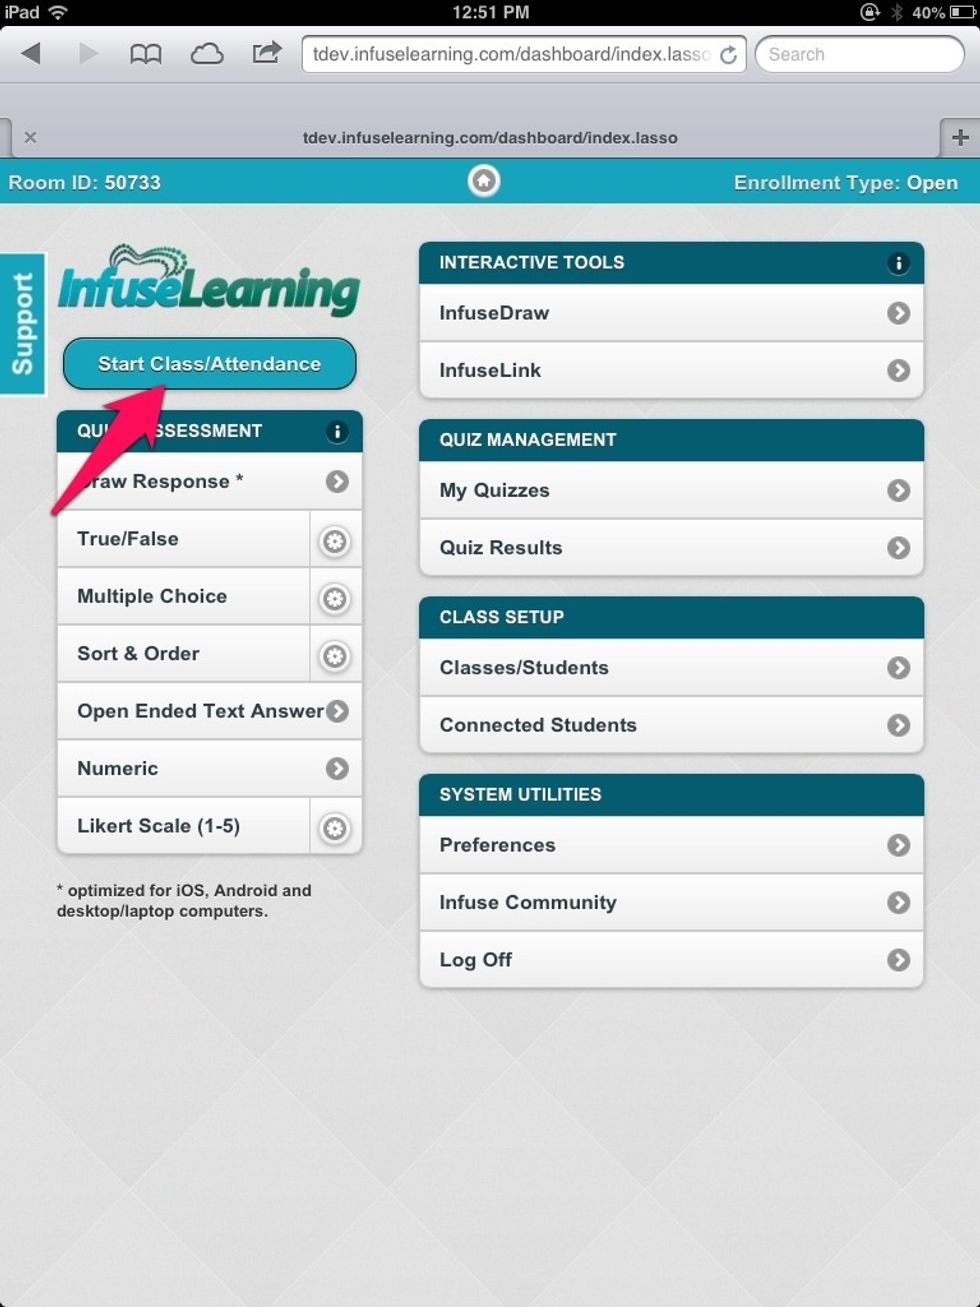
Once class/student lists are to your liking, select the "Start Class/Attendance" button.

Each defined class will appear, including an option for "Open Enrollment" to use as needed.
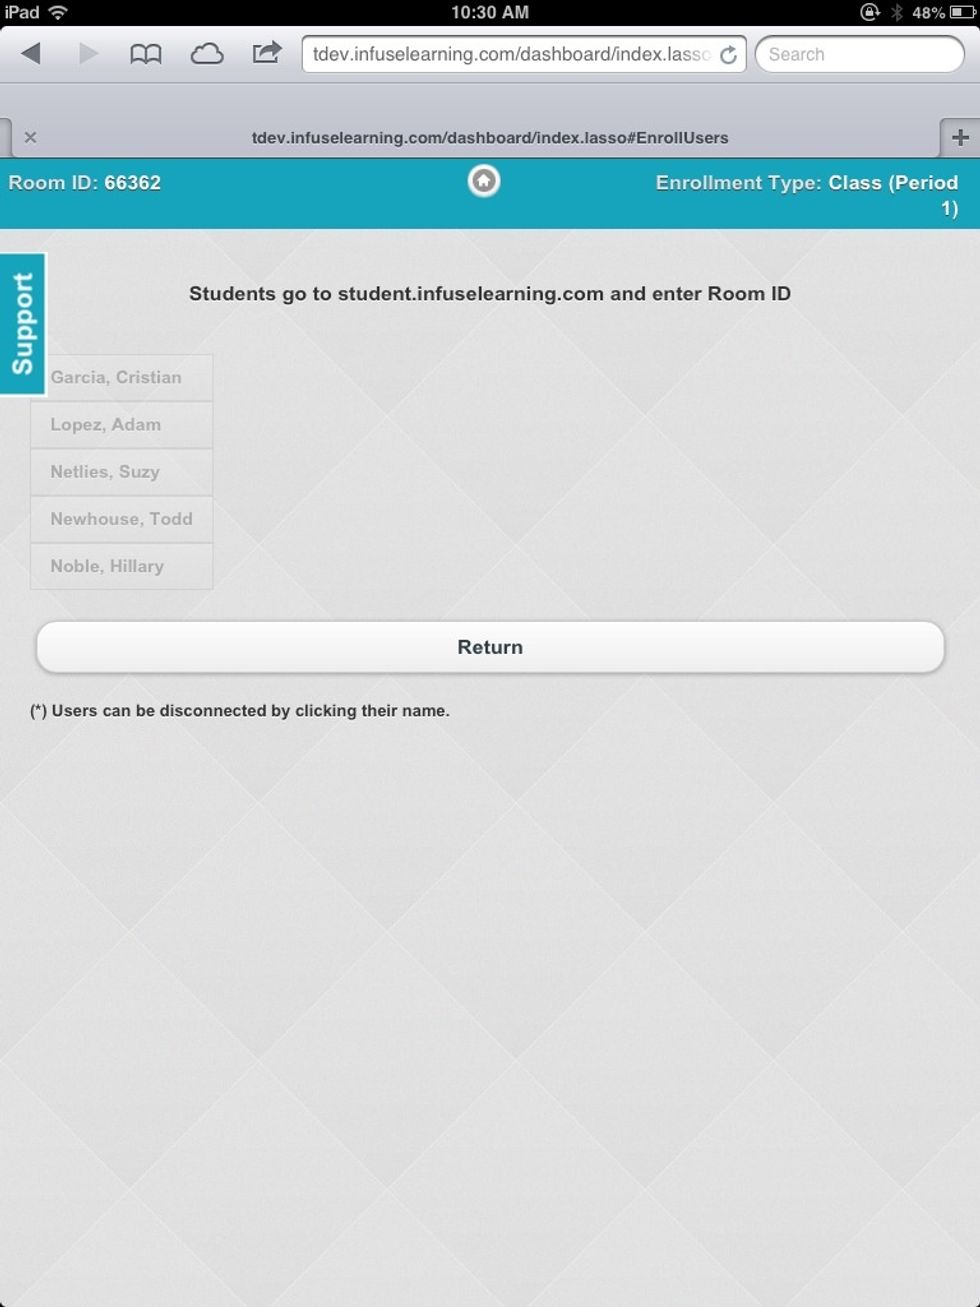
Upon selecting a class, student names will appear greyed out until students login to the class by going to student.infuselearning.com on a web enabled device and entering the Room ID.
And that's how to import classes/students into InfuseLearning! Check out our other SnapGuides for more tips on how to use InfuseLearning! Or connect with us on twitter @infuselearning !